Articles
How To Build A Rumford Fireplace
Modified: October 20, 2024
Discover the step-by-step process of building a Rumford fireplace with our comprehensive articles. Learn the best techniques and tips for creating a cozy and efficient fireplace in your home.
(Many of the links in this article redirect to a specific reviewed product. Your purchase of these products through affiliate links helps to generate commission for Storables.com, at no extra cost. Learn more)
Introduction
Welcome to the world of Rumford fireplaces, where timeless beauty and efficient functionality come together. Whether you’re a homeowner looking to add a touch of elegance to your living space or a builder seeking a unique selling point for your project, building a Rumford fireplace can be a rewarding endeavor. This article will guide you through the process of constructing your very own Rumford fireplace, from understanding the principles behind its design to selecting the right location and gathering the necessary materials and tools.
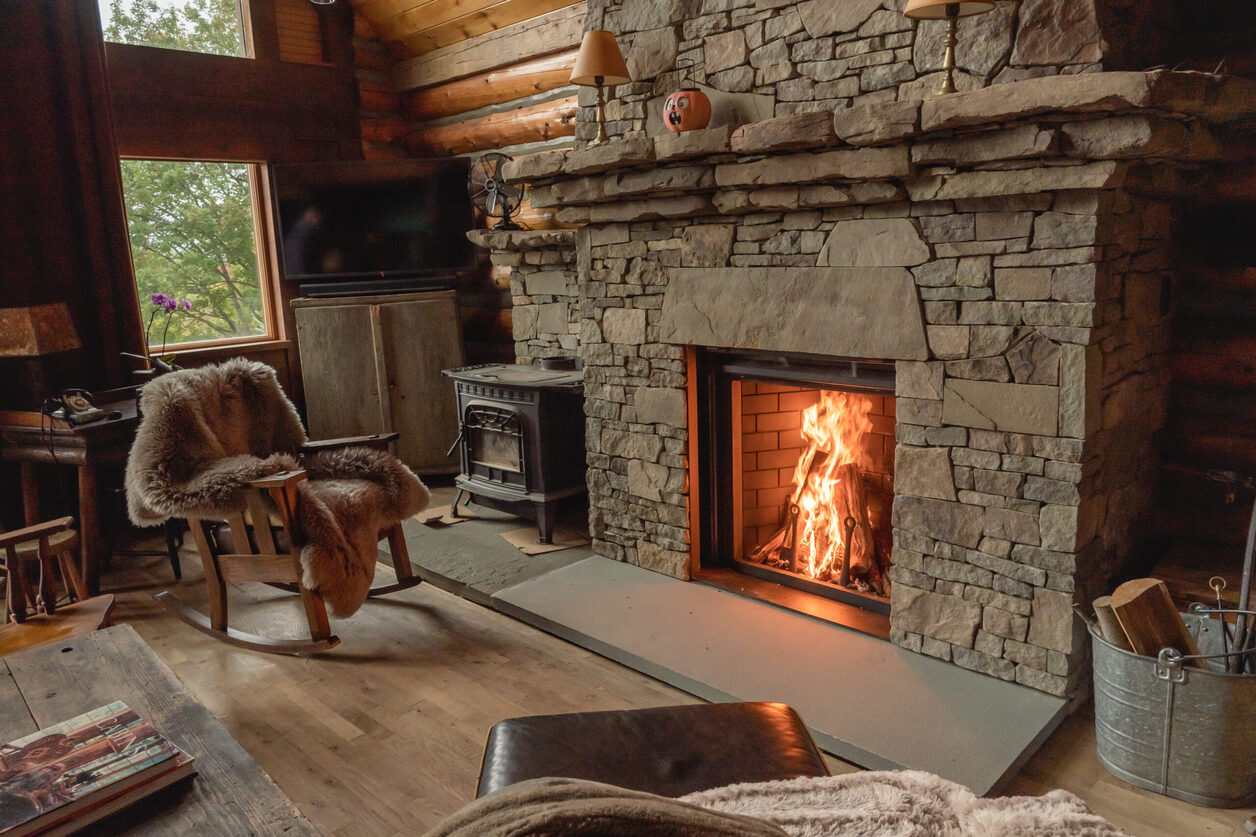
Invented in the 18th century by Sir Benjamin Thompson, also known as Count Rumford, the Rumford fireplace revolutionized the way we think about fireplaces. Based on the principles of physics and thermodynamics, the Rumford design maximizes heat output while minimizing smoke and pollution. Its distinct tall and shallow firebox, graceful curved throat, and tapered chimney provide better combustion efficiency and heat radiation compared to traditional fireplaces.
Before embarking on this project, it’s crucial to familiarize yourself with the local building codes and regulations in your area. Additionally, consult with a professional if needed, especially if you are dealing with structural modifications or installing a Rumford fireplace in an existing home.
So, let’s dive deeper into the world of Rumford fireplaces and learn how to create a stunning centerpiece that will not only keep you warm but also elevate the aesthetics of your living space.
Key Takeaways:
- Embrace the timeless elegance and efficiency of a Rumford fireplace by understanding its unique design principles, gathering the necessary materials, and carefully constructing each component to create a stunning centerpiece in your home.
- Prioritize safety and regular maintenance to ensure the longevity and optimal performance of your Rumford fireplace. From sealing gaps to installing carbon monoxide detectors, take the necessary steps to enjoy warmth and ambiance safely.
Read more: How To Build A Fireplace
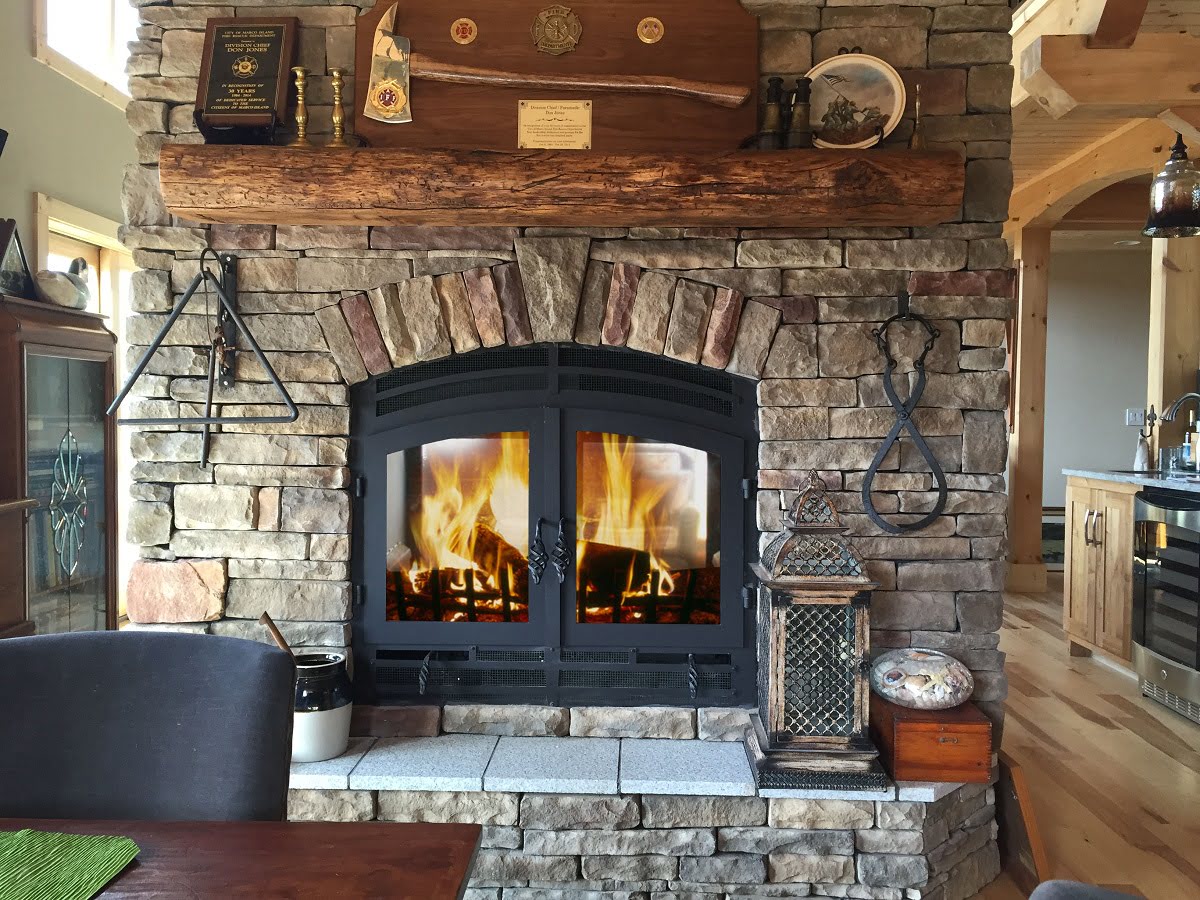
Understanding the Rumford Fireplace
When it comes to fireplaces, the Rumford design stands apart with its unique characteristics and exceptional efficiency. Unlike traditional fireplaces that primarily focus on aesthetics, the Rumford fireplace aims to maximize heat production and minimize smoke emission.
The key feature of a Rumford fireplace is its tall and shallow firebox. This design allows for better airflow and encourages the fire to burn more efficiently. The shallow depth of the firebox ensures that the flames are closer to the opening, allowing more radiant heat to be emitted into the room. The tall aspect ratio helps to create a stronger natural draft, reducing smoke and improving combustion.
Another essential element of the Rumford fireplace is the curved throat. This specially designed opening between the firebox and the flue serves several purposes. Firstly, it helps to smoothly transition the smoke from the firebox to the chimney, reducing turbulence and facilitating better airflow. Secondly, the curved throat enhances the aerodynamics of the fireplace, creating a natural draw that pulls the smoke up and out of the chimney more efficiently.
In addition to the firebox and the curved throat, the Rumford fireplace also features a tapered chimney. The tapering design increases the velocity of the flue gases as they travel up the chimney, leading to better draft and improved performance. The increased velocity helps to carry the smoke away from the firebox, reducing the risk of smoke backdrafts and ensuring a cleaner burning process.
Overall, the Rumford fireplace design is a testament to the brilliance of Count Rumford’s innovative thinking. By focusing on practicality and thermal efficiency, he created a fireplace that not only provides warmth and comfort but also minimizes environmental impact. So, if you’re considering building a fireplace that combines beauty, functionality, and sustainability, the Rumford fireplace is the ideal choice.
Gathering the Necessary Materials and Tools
Before you can start building your Rumford fireplace, it’s essential to gather all the necessary materials and tools. Having everything prepared beforehand will streamline the construction process and ensure that you have everything you need at your fingertips. Here are the key items you’ll need:
- Fireplace Kit or Firebrick: The heart of your Rumford fireplace is the firebox, which can be constructed using a pre-made fireplace kit or individual firebricks. Both options have their advantages, so choose the one that suits your preferences and budget.
- Fireplace Mortar: To secure the firebricks and create a strong, durable firebox, you’ll need high-temperature fireplace mortar. Make sure to choose a mortar that can withstand the intense heat produced by the fireplace.
- Throat Form: This specially shaped form is used to create the curved throat of the Rumford fireplace. It helps ensure the proper flow of smoke from the firebox to the chimney and facilitates efficient combustion.
- Chimney Components: Depending on your specific needs and local regulations, you’ll need chimney components such as flue tiles, chimney liner, chimney cap, and spark arrestor. Consult with a professional or local building authorities to determine the appropriate components for your Rumford fireplace.
- Masonry Tools: To construct the fireplace and chimney, you’ll need a variety of masonry tools, including a trowel, brick hammer, jointer, level, and masonry saw. These tools will help you shape and lay the bricks, mortar, and other materials.
- Safety Gear: Working with masonry materials can be messy and potentially hazardous. Make sure to equip yourself with safety gear such as gloves, safety glasses, and a dust mask to protect yourself from dust, debris, and chemicals.
Keep in mind that this is just a general list of materials and tools. Depending on your specific fireplace design, you may need additional items. It’s always a good idea to consult with professionals or experienced builders to ensure you have everything you need for a successful construction project.
Once you’ve gathered all the necessary materials and tools, you’ll be ready to move on to the next step: choosing the right location for your Rumford fireplace.
Choosing the Right Location for Your Rumford Fireplace
When it comes to installing a Rumford fireplace, selecting the right location is crucial for both practicality and aesthetics. Here are some factors to consider when choosing the perfect spot:
- Functionality: Think about how you plan to use your fireplace. Will it be a focal point in the living room or a cozy addition to the bedroom? Consider the layout of the room and how the fireplace will fit into the space. Ensure that the location allows for proper ventilation and safe usage.
- Accessibility: Keep in mind that you’ll need easy access to firewood, so choose a location that is convenient for storage and loading. Additionally, consider the proximity to entrances and exits for easy transportation of firewood and ashes.
- Clearance: Ensure that there is adequate clearance around the fireplace. Leave enough space for furniture, decorations, and foot traffic. Avoid placing the fireplace near flammable materials or close to windows, doors, and electrical outlets.
- Ventilation: Proper ventilation is essential for the safe operation of a Rumford fireplace. Choose a location that allows for the installation of a chimney system that meets local building codes and regulations. Ensure that the chimney can extend vertically without obstructions.
- Aesthetics: Consider the overall design and style of your home when choosing the location. The fireplace should complement the existing architecture and enhance the visual appeal of the space. Take into account sight lines, focal points, and symmetry or asymmetry within the room.
- Structural Considerations: Depending on the type of construction, you may need to consult with an engineer or building professional to assess the structural integrity of the chosen location. This is especially important if you plan to install a Rumford fireplace on an upper level or in an existing structure.
It’s always a good idea to consult with professionals, such as architects or experienced fireplace builders, before finalizing the location. They can provide valuable insights and help you make an informed decision that meets both functional and aesthetic requirements.
Once you have determined the ideal location, you can proceed to the next steps in the construction process. In the next section, we’ll discuss how to prepare the site for building your Rumford fireplace.
Preparing the Site
Before you can start constructing your Rumford fireplace, it’s crucial to properly prepare the site. Here are the key steps to follow:
- Clear the Area: Remove any furniture, decorations, or obstructions from the chosen location. Clear the area of debris, dust, and other materials that may hinder the construction process.
- Protect the Surrounding Surfaces: Use drop cloths or protective coverings to shield the floor, walls, and nearby surfaces from dust, dirt, and potential damage during construction.
- Temporary Support: If you’re building the fireplace in an existing structure, provide temporary support to the floor above the intended location. This will prevent any structural damage or sagging during construction.
- Mark the Layout: Use a measuring tape, level, and chalk or marker to mark the outline of the fireplace and chimney on the floor and walls. Double-check the measurements to ensure accuracy.
- Check for Obstructions: Inspect the ceiling and walls for any electrical wiring, plumbing pipes, or structural elements that may be affected by the fireplace construction. Avoid cutting or damaging these components.
- Plan for Ventilation: Depending on the design and layout of your Rumford fireplace, you may need to create an opening or chase for the chimney to connect to the flue. Consult with professionals to ensure proper ventilation and adherence to local codes.
Take your time during the site preparation phase to ensure that everything is in order before proceeding with construction. It’s better to address any potential issues or obstacles at this stage than to encounter problems during the building process.
With the site properly prepared, you can move on to the exciting part of the project: constructing the foundation and firebox of your Rumford fireplace. Keep reading to learn the essential steps for building a solid fireplace structure.
Read more: How To Build A Corner Fireplace
Constructing the Fireplace Foundation
The foundation of your Rumford fireplace is a critical component that provides stability and support. Follow these steps to construct a solid foundation:
- Excavation: Start by excavating the area to the required depth and size for the foundation. Consult local building codes and regulations to determine the specific requirements for your area.
- Leveling and Compacting: Ensure that the excavated area is level and compact the soil properly to create a stable base for the foundation. Use a plate compactor or tamper to achieve good compaction.
- Formwork: Create formwork using wooden boards or metal stakes to contain the concrete mixture. Ensure that the formwork is sturdy and properly aligned to the desired dimensions.
- Reinforcement: Depending on the size and design of your fireplace, you may need to install steel reinforcement bars or mesh within the foundation. This will add structural integrity and prevent cracking over time.
- Mix and Pour Concrete: Prepare a concrete mixture according to the manufacturer’s instructions or consult with a professional. Pour the concrete into the formwork, ensuring that it fills the entire area evenly.
- Smooth and Level: Use a trowel or float to smooth and level the surface of the concrete. Pay attention to the corners and edges to ensure a clean finish. Allow the concrete to cure according to the recommended time.
- Remove Formwork: Once the concrete is fully cured, carefully remove the formwork. Take your time and be cautious to avoid damaging the newly poured foundation.
Remember, the quality of the foundation is crucial to the overall stability and longevity of your Rumford fireplace. If you’re unsure about any aspect of the foundation construction, it’s best to consult with a professional or experienced builder to ensure a solid and reliable structure.
With the foundation in place, you’re ready to move on to the next step: building the firebox structure. In the next section, we’ll explore the process of creating the heart of your Rumford fireplace.
When building a Rumford fireplace, make sure to follow the proper dimensions and angles for the firebox and throat to ensure optimal performance and efficiency.
Building the Firebox Structure
The firebox is the central component of your Rumford fireplace, where the flames will burn and radiate heat into the room. Follow these steps to construct the firebox structure:
- Layout Design: Start by marking the layout of the firebox on the foundation using chalk lines or markers. This will serve as a guide during the construction process.
- Firebrick Placement: Begin placing firebricks along the marked lines to form the walls of the firebox. Use high-temperature fireplace mortar to secure the bricks and create a strong bond. Ensure that the bricks are level and plumb as you work.
- Arched Opening: To create the arched opening at the front of the firebox, use fire-resistant arch bricks or cut regular bricks to fit the desired shape. Secure them in place with mortar, making sure to maintain the proper curvature.
- Back Wall and Insulation: Build the back wall of the firebox using firebricks, leaving a gap between the bricks and the masonry behind. This gap will be filled with insulation material, such as a mixture of vermiculite and cement, to enhance heat reflection into the room.
- Flue Connection: Depending on your chimney design, create an opening in the back wall to connect the flue or chimney liner. Consult with professionals or local building codes to ensure proper sizing and installation.
- Lintel and Hearth: Install a lintel across the top of the firebox opening to provide support for the bricks above. Construct a sturdy and heat-resistant hearth using fire-resistant materials such as stone or concrete slab.
- Clean and Inspect: Once the firebox structure is complete, clean off any excess mortar and debris. Inspect the construction for any gaps or weak spots and address them promptly.
Remember, the firebox is where the magic happens, so take your time to ensure its construction is done with precision and attention to detail. A well-built and properly insulated firebox will not only enhance the performance of your Rumford fireplace but also provide a safe and enjoyable experience.
In the next section, we’ll explore how to create the throat and smoke chamber, which play a crucial role in the efficiency of the fireplace.
Creating the Rumford Fireplace’s Throat and Smoke Chamber
The throat and smoke chamber of a Rumford fireplace are essential components that ensure efficient smoke movement and combustion. Here are the steps to create them:
- Throat Design: Start by using a throat form to create the curved throat that connects the firebox to the smoke chamber. The form helps achieve the optimal shape and size specified for a Rumford fireplace.
- Apply Mortar: Place mortar on the sides of the throat form and press it firmly against the back wall of the firebox. Ensure that the throat form is centered and level within the firebox opening.
- Build the Smoke Chamber: After the throat form is secured, build the smoke chamber above it using firebricks and mortar. As you construct the smoke chamber, create smooth curves and gently taper the walls towards the chimney to encourage proper smoke flow.
- Smooth and Insulate: Once the smoke chamber is constructed, use a trowel or jointer to smooth the mortar joints and create a clean finish. Insulate the smoke chamber by filling the gaps between the bricks with insulation material, such as vermiculite, to enhance heat reflection.
- Check Slope and Alignment: Ensure that the smoke chamber is sloped towards the chimney, allowing for the proper flow of smoke. Check for any misalignments or unevenness and correct them as needed.
- Throat Closure: Once the smoke chamber is complete, remove the throat form carefully. Fill any gaps or spaces left behind with mortar to create a tight and sealed throat closure.
- Inspect and Clean: Inspect the throat and smoke chamber for any loose bricks, gaps, or cracks. Clean off any excess mortar or debris that may affect the performance of the fireplace.
The throat and smoke chamber are integral parts of a Rumford fireplace, ensuring efficient airflow and combustion. Their proper construction and alignment contribute to the overall performance and functionality of the fireplace.
In the next section, we’ll discuss the crucial steps involved in building the chimney, another vital component of your Rumford fireplace.
Building the Chimney
The chimney is a crucial element of your Rumford fireplace, responsible for safely venting smoke and gases out of your home. Follow these steps to build the chimney:
- Consult Local Codes: Before starting, consult local building codes and regulations to determine the required specifications for your chimney. This may include the appropriate chimney height, clearance requirements, and necessary materials.
- Gather Chimney Components: Acquire the necessary components for your chimney, such as flue tiles, chimney liner, chimney cap, and spark arrestor. These components are essential for ensuring proper ventilation and preventing debris from entering the chimney.
- Build the Chimney Structure: Construct the chimney structure using bricks or other suitable materials. Lay the bricks using mortar according to the desired design and dimensions. Ensure that the chimney is sturdy and securely attached to the structure of the house.
- Install Flue Tiles or Liner: Insert flue tiles or a chimney liner into the chimney structure. This provides a smooth and insulated passage for the smoke and gases to flow up and out of the fireplace. Make sure the tiles or liner fit properly and are securely in place.
- Create a Chimney Cap: Install a chimney cap on top of the chimney to prevent rain, debris, and animals from entering. The chimney cap should also have a spark arrestor to contain any embers or sparks that may pose a fire risk.
- Seal and Insulate the Chimney: Seal any gaps or openings in the chimney structure to prevent leaks and reduce heat loss. Additionally, insulate the chimney to improve its energy efficiency and prevent condensation buildup within the flue.
- Ensure Proper Clearances: Check that the chimney maintains the required clearances from combustible materials, such as walls, roofs, and trees. Follow local regulations and guidelines to ensure safety and compliance.
- Regular Maintenance: Once the chimney is complete, prioritize regular maintenance and inspections. Schedule annual chimney cleanings and inspections to remove creosote buildup and address any potential issues or damages.
Building the chimney requires careful attention to detail and adherence to local codes and regulations. If you’re uncertain about any aspect of chimney construction, it’s advisable to consult with professionals or experienced chimney builders.
In the next section, we’ll move on to installing the mantel and surround, which will add the finishing touches to your Rumford fireplace.
Read more: How To Build A Stone Fireplace
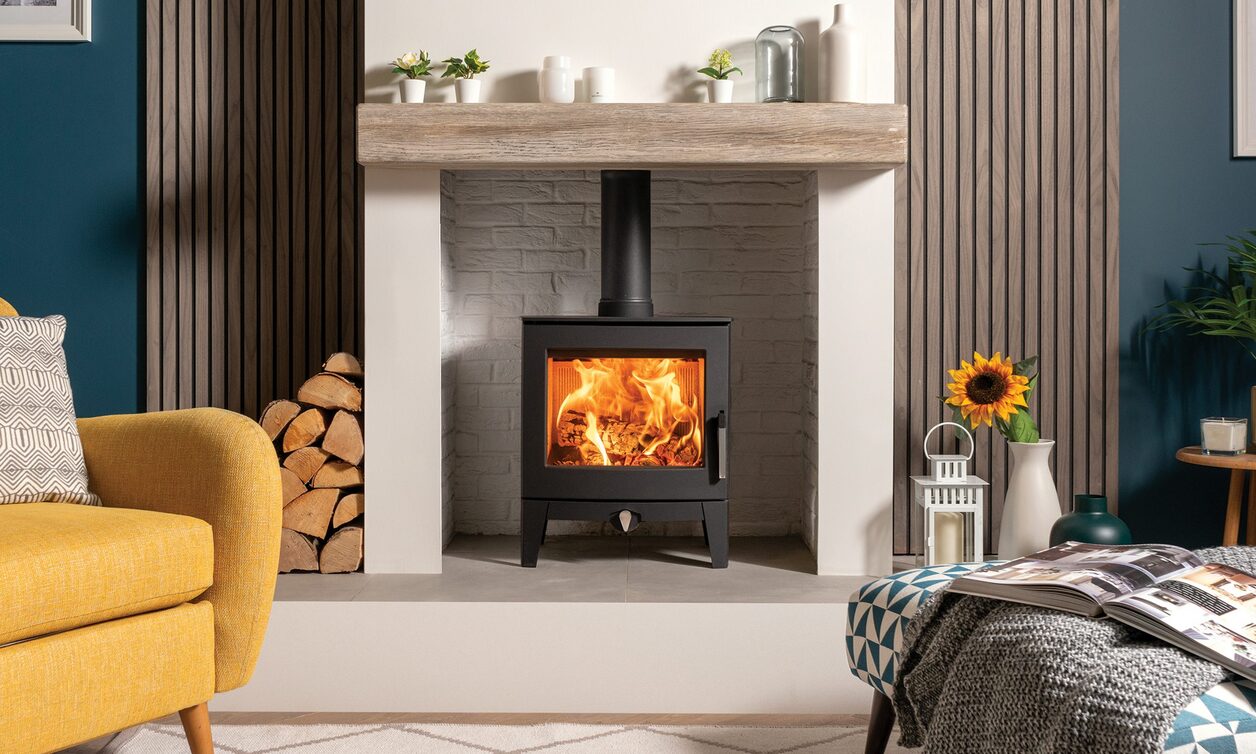
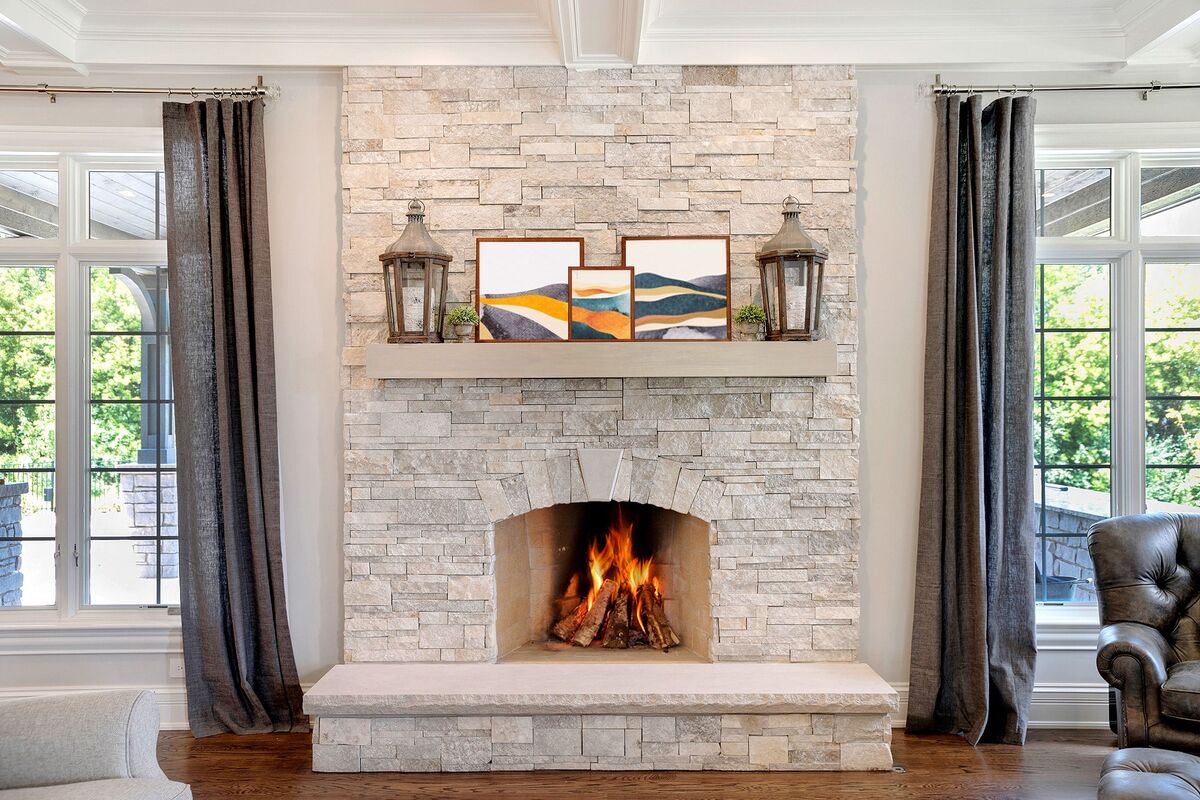
Installing the Mantel and Surround
The mantel and surround of your Rumford fireplace are not only functional but also add aesthetic appeal to your living space. Follow these steps to install the mantel and surround:
- Measure and Mark: Measure the dimensions of the fireplace opening and determine the desired position and height of the mantel. Use a level and tape measure to mark the location and ensure accuracy.
- Select the Material: Choose a material for the mantel and surround that complements the style and decor of your room. Common options include wood, stone, tile, or cast stone. Consider the heat resistance and durability of the material.
- Prepare the Surface: Ensure that the area where the mantel and surround will be installed is clean, sturdy, and free from any debris. Remove any existing mantel or surround components if necessary.
- Install the Mantel: If using a wooden mantel, attach it to the wall using appropriate brackets or mounting hardware. Use a level to ensure that the mantel is straight and securely fastened.
- Attach the Surround: Install the surrounding material around the fireplace opening, following the manufacturer’s instructions or professional guidance. Secure the surround firmly to the wall using adhesive or mounting brackets, ensuring stability and proper alignment.
- Finishing Touches: Once the mantel and surround are in place, add any additional decorative elements such as trim, molding, or decorative tiles to enhance the overall aesthetic appeal of the fireplace.
- Fireplace Accessories: Complete the installation by adding fireplace accessories such as a fire screen, tools, or decorative items on the mantel. These accessories not only add functionality but also enhance the visual impact of your Rumford fireplace.
- Test and Inspect: Before using the fireplace, conduct a thorough inspection to ensure that the mantel and surround are securely installed and do not interfere with the operation of the fireplace. Test the functionality of any additional features or components.
Proper installation of the mantel and surround requires attention to detail and precision. If you’re uncertain about any aspect of the installation process, it’s advisable to consult with professionals or experienced contractors to ensure a safe and aesthetically pleasing result.
In the final section, we’ll discuss some finishing touches and safety considerations to keep in mind as you complete your Rumford fireplace.
Finishing Touches and Safety Considerations
With your Rumford fireplace nearing completion, it’s important to address some finishing touches and safety considerations to ensure a functional and safe fireplace. Here are the final steps to take:
- Seal Gaps: Inspect the fireplace, chimney, and surrounding areas for any gaps where drafts or smoke could enter. Seal these gaps with appropriate materials, such as high-temperature caulking or sealant, to enhance the efficiency of the fireplace.
- Clean and Test: Clean the fireplace thoroughly, removing any construction debris or dust from the firebox and chimney. Test the fireplace to ensure that the draw is proper, and smoke is venting out efficiently.
- Fireplace Screen: Install a fireplace screen to prevent sparks and embers from escaping the firebox and potentially causing a fire hazard. Choose a screen that complements the overall look of your fireplace while providing adequate protection.
- Maintain Clearances: Ensure that there is adequate clearance around the fireplace, complying with local building codes and regulations. Keep flammable materials, such as furniture, rugs, and curtains, at a safe distance from the fireplace to prevent the risk of fire.
- Regular Maintenance: Schedule regular maintenance for your Rumford fireplace. This includes annual chimney cleanings conducted by a professional to remove any creosote buildup and ensure proper venting.
- Use Proper Fuel: Use only appropriate firewood or fuel specifically designed for the type of fireplace you have. Avoid burning prohibited materials, such as treated lumber or trash, as they can release harmful toxins and damage your fireplace.
- Install Carbon Monoxide Detectors: Install carbon monoxide detectors near the fireplace and throughout your home. These will provide an early warning in the event of any potential dangers or malfunctions.
- Practice Fire Safety: Educate yourself and your family members about fire safety. Use a fireplace screen, keep a fire extinguisher nearby, and establish proper procedures for starting and extinguishing fires.
By addressing these finishing touches and safety considerations, you can ensure that your Rumford fireplace not only enhances the beauty of your home but also provides a safe and enjoyable environment for you and your loved ones.
Congratulations on completing your Rumford fireplace! Enjoy the warmth and ambiance it provides, and may it serve as a gathering place for cherished moments with family and friends.
Conclusion
Building a Rumford fireplace is a rewarding endeavor that combines timeless beauty with exceptional functionality. Throughout this article, we’ve explored the key steps involved in constructing your very own Rumford fireplace. From understanding the principles behind its design to selecting the right location, gathering the necessary materials and tools, and completing the construction process, each step contributes to the creation of a stunning centerpiece in your home.
A Rumford fireplace is not just a heating source; it’s a work of art that enhances the aesthetics of your living space. Its tall and shallow firebox, curved throat, and tapered chimney create better combustion efficiency and heat distribution, resulting in an eco-friendly and highly efficient fireplace.
While the construction process may seem intricate, taking the time to understand and follow the steps ensures a safe and successful outcome. Remember to adhere to local building codes and regulations, consult with professionals when needed, and prioritize safety in every aspect of the construction process.
Once your Rumford fireplace is complete, be sure to maintain regular maintenance and inspections to ensure its longevity and optimal performance. Regular cleaning of the firebox and chimney, as well as practicing proper fire safety, will keep your fireplace operating smoothly and provide you with years of warmth and comfort.
Now that you have the knowledge and guidance to create your own Rumford fireplace, it’s time to embark on this exciting project. Enjoy the process of building a masterpiece that not only brings warmth but also adds a touch of elegance to your home. So gather your materials, roll up your sleeves, and let the construction begin!
Best of luck in your Rumford fireplace journey!
Frequently Asked Questions about How To Build A Rumford Fireplace
Was this page helpful?
At Storables.com, we guarantee accurate and reliable information. Our content, validated by Expert Board Contributors, is crafted following stringent Editorial Policies. We're committed to providing you with well-researched, expert-backed insights for all your informational needs.
0 thoughts on “How To Build A Rumford Fireplace”