Articles
How To Build Shiplap Fireplace Wall
Modified: December 7, 2023
Learn how to build a stunning shiplap fireplace wall with our expert articles. Transform your space with these step-by-step guides and design tips.
(Many of the links in this article redirect to a specific reviewed product. Your purchase of these products through affiliate links helps to generate commission for Storables.com, at no extra cost. Learn more)
Introduction
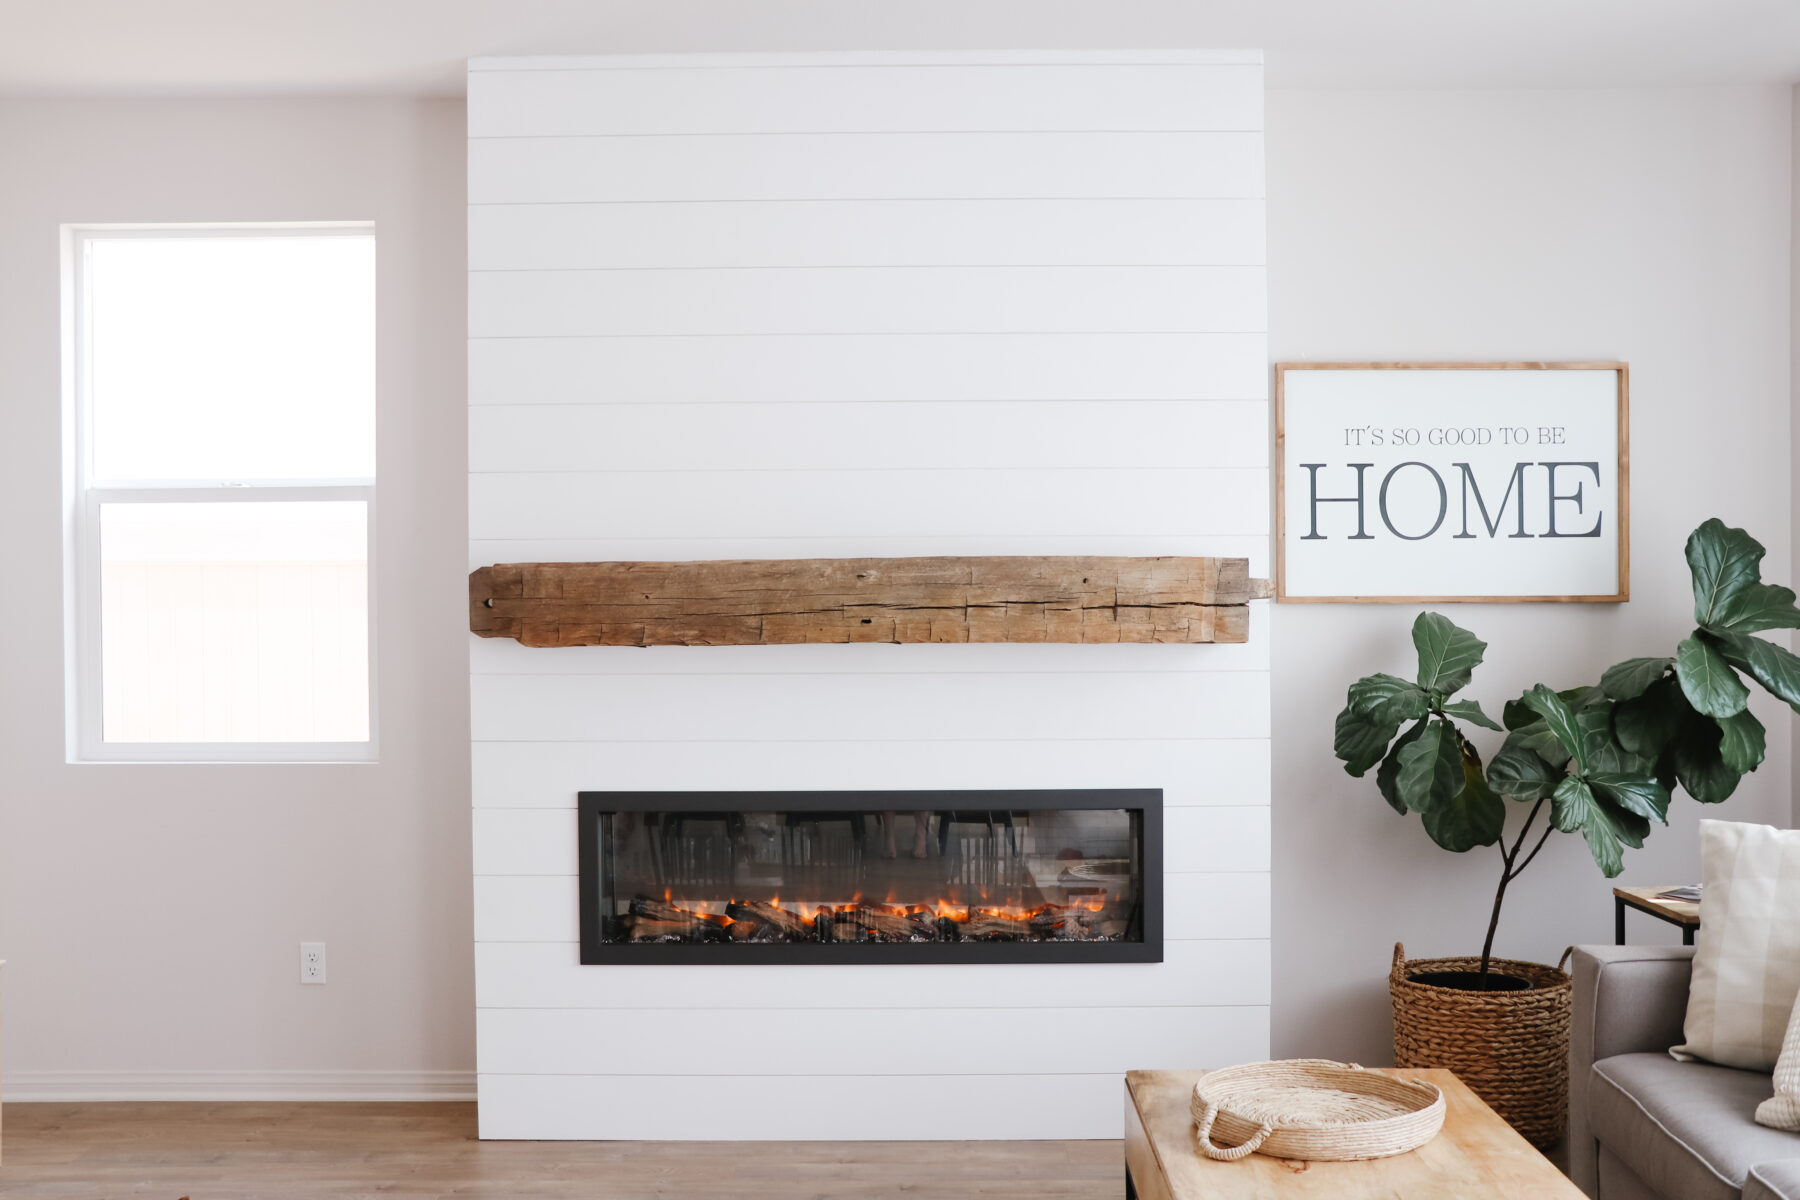
Welcome to our comprehensive guide on how to build a shiplap fireplace wall. Shiplap has become a popular choice for adding depth, character, and a touch of rustic charm to interior spaces. With its distinctive horizontal plank design, shiplap can transform a plain fireplace into a stunning focal point in any room.
In this article, we will take you through the step-by-step process of planning, gathering materials, and installing shiplap on your fireplace wall. Whether you’re a DIY enthusiast or a beginner, this guide will provide all the information you need to create a beautiful shiplap fireplace wall.
Before we dive into the details, let’s talk about why shiplap is a fantastic choice for your fireplace wall. Shiplap not only adds visual interest but also brings warmth and texture to the room. Its clean lines and subtle groove pattern create a timeless appeal that fits well with various interior design styles.
Additionally, shiplap can act as a protective layer for your fireplace wall, shielding it from scratches, stains, and general wear and tear. It’s a great way to refresh an outdated or plain-looking fireplace, adding value and aesthetic appeal to your home.
Now that you understand why shiplap is a popular choice, let’s move on to the first step: planning and designing your shiplap fireplace wall.
Key Takeaways:
- Transform your fireplace into a stunning focal point by following our step-by-step guide to building a shiplap wall. Elevate your space with character, warmth, and visual interest.
- From planning and designing to securing the boards and adding finishing touches, our comprehensive guide ensures a professional and polished result. Enjoy the process of creating a beautiful shiplap fireplace wall.
Read more: How To Build Fireplace Wall
Step 1: Planning and Designing
Before you start the installation process, it’s essential to plan and design your shiplap fireplace wall. This step will help you determine the layout, measurements, and materials needed for the project. Here are some key considerations when planning and designing:
- Measurements: Start by measuring the dimensions of your fireplace wall. Note the height, width, and any protrusions such as mantels or hearths. These measurements will guide you in determining the quantity of shiplap boards needed.
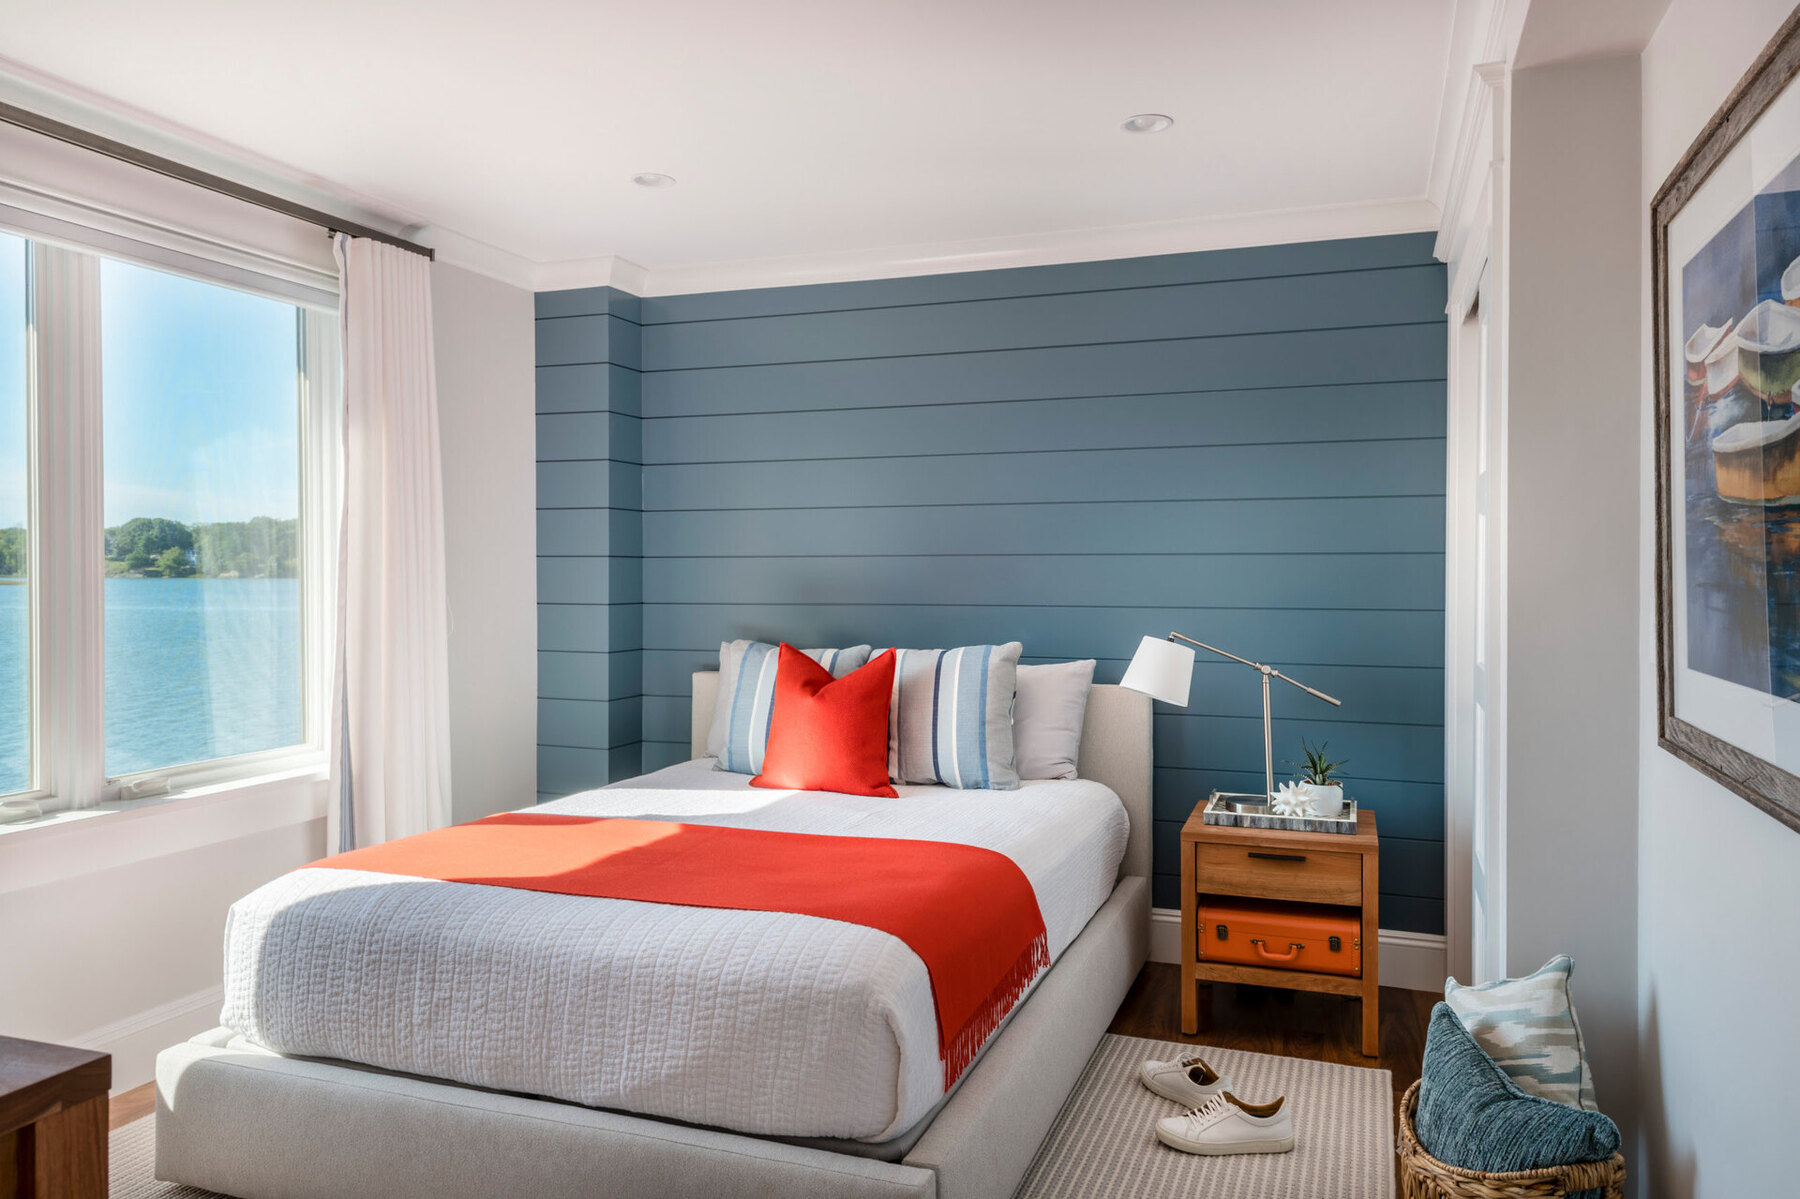
- Layout: Decide on the layout and orientation of your shiplap boards. You can choose between horizontal or vertical installation, depending on your preference and the overall style of the room. Horizontal installation tends to create a more traditional and visually expansive look, while vertical installation adds height and a modern touch.
- Materials: Select the type of shiplap boards and the wood species you want to use. Common options include pine, cedar, and poplar. Consider factors such as durability, cost, and aesthetic appeal when making your decision.
- Color and Finish: Determine whether you want to paint or stain the shiplap boards. This decision will influence the look and feel of your fireplace wall. Paint can give a clean and crisp appearance, while stain enhances the natural grain and texture of the wood.
- Accents and Trim: Think about incorporating additional design elements such as molding or trim to complement the shiplap. These accents can add depth and visual interest to the finished wall.
Take the time to sketch out your design and visualize how it will look in your space. You can use design software or simply draw it on paper. This planning stage ensures that you have a clear vision of the end result and helps you avoid unnecessary mistakes during the installation process.
Once you have finalized your plans, it’s time to move on to the next step: gathering materials and tools.
Step 2: Gather Materials and Tools
Now that you have planned and designed your shiplap fireplace wall, it’s time to gather the necessary materials and tools for the installation. Here’s a list of what you’ll need:
- Shiplap Boards: Purchase enough shiplap boards to cover your fireplace wall, accounting for any extra boards needed for cuts and mistakes. Make sure the boards are the length and width you require for your design.
- Wood Screws: Choose wood screws that are appropriate in length for securing the shiplap boards to the wall. The size of the screws will depend on the thickness of the boards you are using.
- Level: Use a good quality level to ensure that your shiplap installation is straight and level. This is crucial for achieving a professional-looking finished wall.
- Nail Gun or Hammer: Depending on your preference and the tools you have, you can use a nail gun or a hammer to secure the shiplap boards. If you choose to use a nail gun, make sure you have the correct size nails for your boards.
- Miter Saw or Circular Saw: You will need a saw for cutting the shiplap boards to fit around obstacles such as windows, doors, or electrical outlets. A miter saw or circular saw will make precise cuts, ensuring a clean and seamless installation.
- Sandpaper: To achieve a smooth and even surface, have sandpaper available for sanding down any rough edges or imperfections on the boards.
- Paint or Stain: If you plan to paint or stain your shiplap boards, make sure you have the necessary supplies for the desired finish. This includes paint brushes, rollers, or staining tools.
- Measuring Tape: A measuring tape is essential for taking accurate measurements before cutting the shiplap boards and ensuring precise placement on the wall.
- Painter’s Tape: Use painter’s tape to mark the placement of the shiplap boards on the wall before installation. This helps in visualizing the final layout and ensures proper alignment.
- Safety Equipment: Don’t forget safety goggles, gloves, and a dust mask to protect yourself during the installation process.
It’s important to have all the necessary materials and tools ready before starting the installation. This will save you time and ensure a smooth workflow throughout the project.
Now that you have everything you need, let’s move on to the next step: preparing the fireplace wall for shiplap installation.
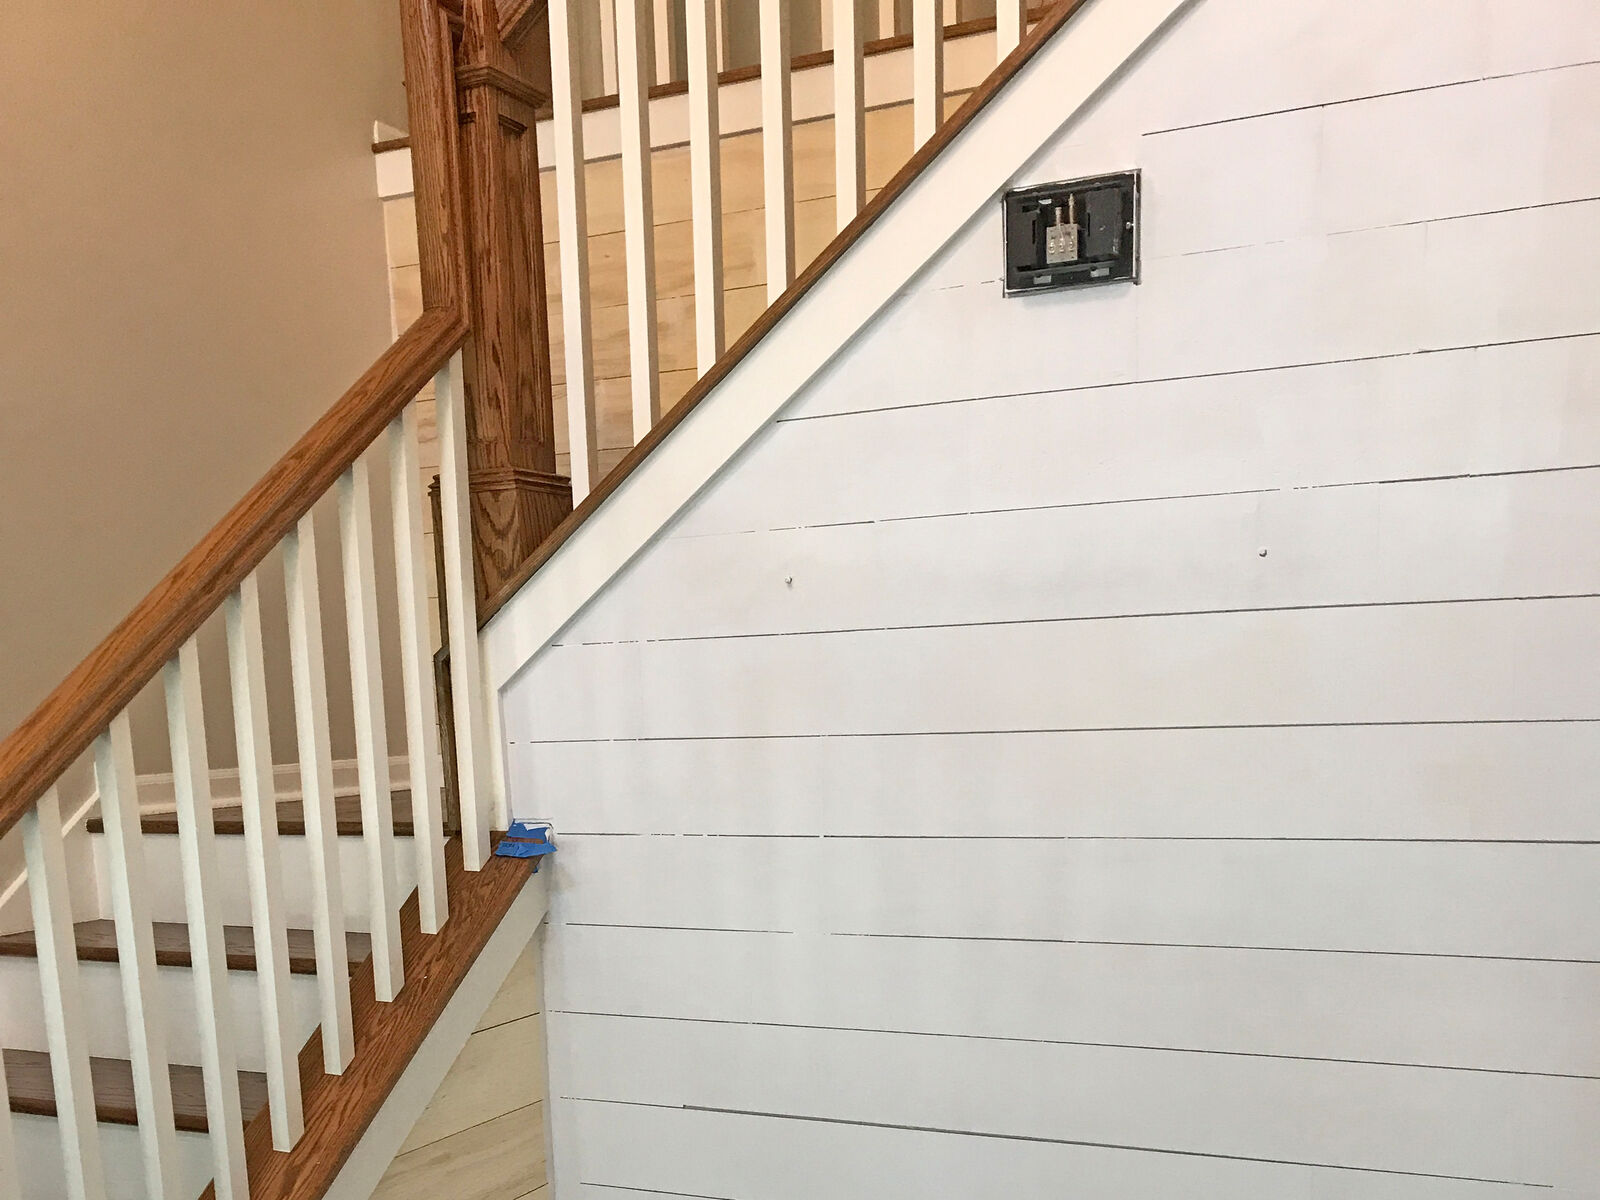
Step 3: Prepare the Fireplace Wall
Before you begin installing the shiplap boards on your fireplace wall, it’s crucial to properly prepare the surface. Taking the time to prepare the wall will result in a smooth and long-lasting installation. Here’s how you can prepare the fireplace wall:
- Clean the Wall: Start by thoroughly cleaning the surface of the wall. Remove any dirt, dust, or debris using a damp cloth or sponge. This ensures that the shiplap boards adhere well to the wall and prevents any imperfections from showing through.
- Remove Obstacles: If there are any obstacles on the wall, such as old mantels or trim, remove them carefully using a pry bar or screwdriver. This will create a flat surface for the shiplap installation.
- Repair Damages: Inspect the wall for any cracks, holes, or uneven areas. Use a patching compound or spackling paste to fill in any gaps or imperfections. Allow the compound to dry completely and then sand it down until it’s smooth and level with the rest of the wall.
- Prime the Wall: If your shiplap boards are going to be painted, it’s a good idea to apply a coat of primer to the wall. Primer helps the paint adhere better and provides a more even finish. Follow the manufacturer’s instructions for drying time before moving on to the next step.
- Locate Wall Studs: Use a stud finder to locate the wall studs on your fireplace wall. Mark their locations with painter’s tape or a pencil. Securing the shiplap boards to the studs ensures a sturdy and secure installation.
- Protect Surrounding Areas: Cover the surrounding areas near the fireplace with drop cloths or plastic sheets to protect them from dust and debris during the installation process.
By properly preparing the fireplace wall, you create a solid foundation for the shiplap installation. This step ensures that the boards adhere well, resulting in a professional and visually appealing finished wall.
Now that your wall is prepped and ready, it’s time to move on to the exciting part: installing the first shiplap board.
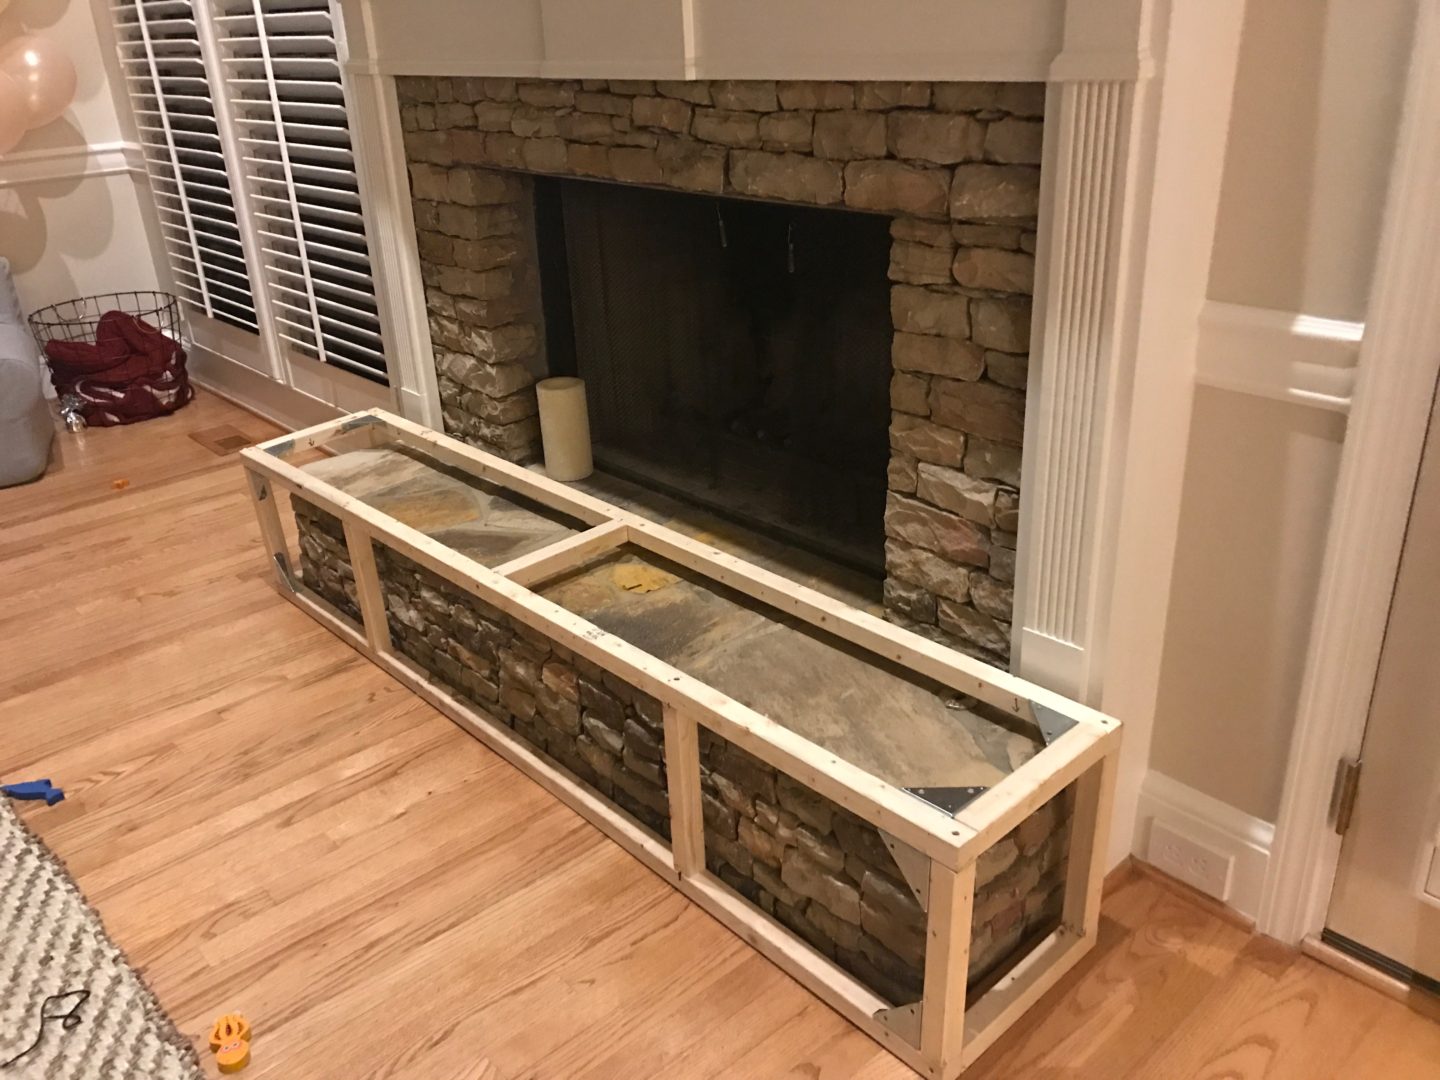
Step 4: Install the First Shiplap Board
With the fireplace wall prepared, it’s time to start installing the shiplap boards. Begin the installation process by installing the first shiplap board. This board will serve as the foundation for the rest of the boards. Follow these steps to install the first shiplap board:
- Measure and Cut: Measure the height of the wall from the floor to the desired height of the first board. Mark this measurement on your shiplap board and use a saw to make a clean and straight cut.
- Apply Construction Adhesive: Apply a thin bead of construction adhesive on the back of the shiplap board. This adhesive helps to provide extra stability and prevents the boards from shifting over time.
- Position the Board: Position the first shiplap board on the wall, starting from the bottom. Make sure it is aligned with the markings or reference line you have prepared. Press the board firmly against the wall to ensure a secure bond with the adhesive.
- Secure the Board: Use a nail gun or hammer to secure the shiplap board further. Drive nails or screws through the board into the wall studs, making sure to countersink the fasteners slightly to allow for putty or wood filler.
- Check for Level: Use a level to ensure that the board is straight and level horizontally. Adjust as needed by adding shims behind the board or tapping it gently with a mallet.
- Continue with Spacing: Place spacers, such as pennies or small blocks, between the first board and the next board to create consistent spacing. This ensures a uniform and visually pleasing look.
By properly installing the first shiplap board, you lay the foundation for a successful installation. Take your time to ensure that it is straight, level, and secure before moving on to the next step.
Now that the first board is in place, it’s time to continue installing the shiplap boards and create a stunning fireplace wall. Let’s move on to the next step: continuing the installation.
Read more: How To Build Wall For TV And Fireplace
Step 5: Continue Installing Shiplap Boards
Now that the first shiplap board is securely installed, it’s time to continue the installation and create a beautiful wall of shiplap. Follow these steps to efficiently and accurately install the remaining shiplap boards:
- Apply Adhesive: For each new board, apply a thin bead of construction adhesive on the backside, similar to the first board. This ensures a strong bond and prevents any movement over time.
- Align and Position: Align the next shiplap board with the previous one, ensuring a consistent gap between the boards. Press the board firmly against the wall, making sure it is level horizontally.
- Secure the Board: Use a nail gun or hammer to secure the shiplap board to the wall. Fasten the board to the wall studs, placing nails or screws at regular intervals along the board. Make sure to countersink the fasteners slightly.
- Check for Level: Regularly use a level to ensure that each board is straight and level horizontally. Adjust as needed by adding shims or tapping the board gently with a mallet.
- Continue the Process: Repeat the adhesive, aligning, and securing steps for each subsequent shiplap board. Work your way upwards, positioning each board tightly against the previous one.
- Cut and Fit: As you reach corners, obstacles, or areas where full boards cannot fit, measure and cut the shiplap boards to the appropriate size. Use a saw to make precise cuts, ensuring a seamless fit.
- Double-check Spacing: Make sure to consistently use spacers between each board to maintain proper spacing and a uniform appearance. Check for any gaps or inconsistencies and adjust as necessary.
As you continue installing the shiplap boards, step back from time to time to assess the overall look and make any adjustments. Take care to maintain a straight and level installation, as this will ensure a professional and polished finished wall.
With each board in place, your shiplap fireplace wall will begin to take shape. Now, let’s move on to the next step: cutting and fitting the shiplap boards around obstacles.
When installing shiplap for a fireplace wall, be sure to use a level to ensure the boards are straight and evenly spaced. This will create a professional and polished look for your shiplap fireplace wall.
Step 6: Cut and Fit Shiplap Boards around Obstacles
As you continue installing the shiplap boards on your fireplace wall, you will likely encounter obstacles such as windows, doors, electrical outlets, or vents. It’s important to cut and fit the shiplap boards around these obstacles to maintain a seamless and professional-looking installation. Here’s how you can cut and fit shiplap boards around obstacles:
- Measure and Mark: Carefully measure the dimensions of the obstacle on the wall. Transfer those measurements to the corresponding shiplap board, marking where the cut needs to be made.
- Cut the Board: Use a saw, such as a miter saw or circular saw, to make precise cuts along the marked lines. Take your time and cut slowly to ensure accuracy and a clean edge.
- Dry Fit the Board: After cutting the shiplap board, dry fit it around the obstacle to check the fit. Make any necessary adjustments by trimming small amounts off the board until it fits snugly.
- Secure the Board: Apply adhesive on the back of the cut shiplap board and position it around the obstacle. Secure the board to the wall studs using nails or screws, ensuring it is level and aligned with the rest of the boards.
- Repeat the Process: Continue this process for each obstacle you encounter, carefully measuring, cutting, and fitting the shiplap boards as needed.
It’s crucial to take your time and be precise when cutting and fitting the shiplap boards around obstacles. Properly fitted boards will ensure a seamless transition and maintain the overall aesthetic of the wall. Remember to always wear safety goggles and follow proper safety practices when using power tools.
Now that you have successfully cut and fitted the shiplap boards around obstacles, it’s time to secure them in place and add the finishing touches. Let’s move on to the next step: securing the shiplap boards.
Step 7: Secure Shiplap Boards in Place
Once all the shiplap boards are installed on your fireplace wall, it’s important to secure them properly to ensure a strong and long-lasting installation. Securing the shiplap boards in place will provide stability and prevent any shifting or movement over time. Follow these steps to securely fasten the shiplap boards:
- Locate Wall Studs: Use a stud finder to locate the studs behind the shiplap boards. Mark their locations with painter’s tape or a pencil.
- Drive Nails or Screws: Starting from the bottom of the wall, drive nails or screws through the shiplap boards into the wall studs. Make sure to countersink the fasteners slightly so they are below the surface of the boards.
- Spacing Interval: Secure the shiplap boards at regular intervals along their length, typically every 16 inches. This ensures that the boards are held securely in place.
- Check for Level: Regularly use a level to ensure that the boards are still straight and level. Adjust as necessary by adding shims or tapping the boards gently with a mallet.
- Repeat the Process: Continue driving nails or screws into the wall studs for each shiplap board until you reach the top of the wall.
- Fill Nail or Screw Holes: Once all the boards are secured, use wood filler or putty to fill the nail or screw holes. Smooth out the filler with a putty knife and let it dry completely.
- Sand the Wall: Once the filler is dry, use sandpaper to sand down any rough edges or imperfections on the wall. This creates a smooth and seamless surface for painting or staining.
Properly securing the shiplap boards will ensure that your fireplace wall remains sturdy and visually appealing. Take your time to ensure that each board is securely fastened to the wall studs.
Now that your shiplap boards are securely in place, it’s time to add the finishing touches and enhance the overall look of the wall. Let’s move on to the next step: adding trim and finishing touches.
Step 8: Add Trim and Finishing Touches
Adding trim and finishing touches to your shiplap fireplace wall will elevate its aesthetic appeal and create a polished and cohesive look. Trim not only serves as a decorative element but also helps conceal any gaps or uneven edges. Follow these steps to add trim and finishing touches to your shiplap wall:
- Select Trim: Choose trim that complements the style and design of your shiplap wall. Options include crown molding, baseboards, or corner blocks. Consider the dimensions and proportions of your fireplace wall when selecting the trim.
- Measure and Cut: Measure the length and angles of the areas where the trim will be installed. Use a saw to make accurate and clean cuts on the trim pieces. Take your time to ensure precise measurements and cuts.
- Dry Fit the Trim: Before securing the trim in place, dry fit each piece to ensure proper alignment and fit. Make any necessary adjustments by trimming or sanding the trim as needed.
- Apply Adhesive: Apply a bead of construction adhesive on the back of the trim. This will help provide extra stability and ensure a strong bond with the shiplap wall.
- Secure the Trim: Position the trim in place and secure it to the shiplap wall using nails or screws. Make sure to countersink the fasteners and fill the holes with wood filler or putty.
- Repeat for Additional Trim: If you have multiple trim pieces, repeat the process for each one, ensuring proper alignment and spacing between the pieces.
- Fill and Sand: Fill any nail or screw holes on the trim with wood filler or putty. Once dry, sand the filled areas to create a smooth and seamless surface.
- Paint or Stain: Apply a coat of paint or stain to the shiplap boards and trim, following the manufacturer’s instructions. Use a brush or roller to ensure an even and consistent finish.
Adding trim and finishing touches brings a refined look to your shiplap fireplace wall. The trim serves as a frame, enhancing the overall aesthetic impact and providing a professional and cohesive appearance.
Now that you have added trim and finished your shiplap wall, it’s time to bring it to its full potential through sanding and painting. Let’s move on to the next step: sanding and painting the shiplap wall.
Read more: How To Make A Shiplap Wall
Step 9: Sand and Paint the Shiplap Wall
After completing the installation of your shiplap fireplace wall and adding the finishing touches, it’s time to bring out the true beauty of the shiplap through sanding and painting. This step will ensure a smooth and visually appealing surface. Follow these steps to sand and paint the shiplap wall:
- Sand the Surface: Use a medium-grit sandpaper to lightly sand the surface of the shiplap boards. This will remove any rough edges, imperfections, or wood filler, resulting in a smooth and even surface. Sand in the direction of the wood grain for the best results.
- Clean the Surface: After sanding, clean the surface of the shiplap wall to remove any dust or debris. Use a soft cloth or brush to ensure a clean and smooth surface for painting.
- Prime (Optional): If you have chosen to paint your shiplap wall, consider applying a coat of primer before painting. Primer helps the paint adhere better and enhances the color and finish. Follow the manufacturer’s instructions for drying time.
- Paint: Apply your chosen paint color to the shiplap boards using a brush or roller. Start from the top and work your way down, ensuring even coverage. Apply multiple coats if needed, allowing proper drying time between each coat.
- Paint the Trim: If you have added trim to your shiplap wall, paint it using a brush or small roller. Take care to paint the trim neatly and evenly. Use painter’s tape to protect the surrounding areas if necessary.
- Allow Proper Drying Time: Follow the manufacturer’s instructions for the recommended drying time for the paint. Avoid touching or placing any objects against the freshly painted wall until it is completely dry.
Sanding and painting the shiplap wall not only enhances its appearance but also provides protection and durability. The paint brings out the beauty of the shiplap and allows you to customize the look to fit your style and desired aesthetic.
Now that you have completed the sanding and painting process, step back and admire your stunning shiplap fireplace wall. You have successfully transformed your space into a visually appealing and inviting focal point.
Congratulations! You have completed all the steps to build a shiplap fireplace wall. Enjoy the warmth and ambiance it brings to your room!
If you have any questions or need further assistance, feel free to reach out. Happy decorating!
Conclusion
Building a shiplap fireplace wall is a rewarding and visually captivating project that can transform the look and feel of any room. By following the step-by-step process outlined in this guide, you can create a stunning focal point that adds character, depth, and warmth to your space. From planning and designing to securing the shiplap boards and adding finishing touches, each step plays a vital role in achieving a professional and polished result.
Shiplap offers a versatile and timeless design element that works well with various interior styles. Its clean lines and horizontal planks create a sense of visual interest and depth, elevating the overall aesthetic appeal of the fireplace wall. Whether you choose to paint or stain the shiplap boards, you have the flexibility to customize the look to suit your personal style and preferences.
Throughout the installation process, it’s important to pay attention to detail and strive for precision. Taking accurate measurements, properly preparing the wall, and securing the boards to the wall studs are essential for a sturdy and long-lasting installation. Adding trim and finishing touches, as well as sanding and painting the shiplap wall, further enhance its overall appearance and ensure a seamless and cohesive look.
Remember to follow proper safety precautions, wear protective gear, and use the appropriate tools for each step of the process. Take your time, be patient, and enjoy the journey of creating a beautiful shiplap fireplace wall that you can admire for years to come.
We hope this comprehensive guide has provided you with the knowledge and inspiration to embark on your shiplap fireplace wall project. If you have any questions or need further assistance, don’t hesitate to seek help from a professional or reach out to us. Happy building!
Frequently Asked Questions about How To Build Shiplap Fireplace Wall
Was this page helpful?
At Storables.com, we guarantee accurate and reliable information. Our content, validated by Expert Board Contributors, is crafted following stringent Editorial Policies. We're committed to providing you with well-researched, expert-backed insights for all your informational needs.


0 thoughts on “How To Build Shiplap Fireplace Wall”