Articles
How To Build A Fake Fireplace
Modified: October 18, 2024
Learn how to build a fake fireplace in this step-by-step guide. Find articles on DIY fireplace construction and create a cozy and stylish focal point for your home.
(Many of the links in this article redirect to a specific reviewed product. Your purchase of these products through affiliate links helps to generate commission for Storables.com, at no extra cost. Learn more)
Introduction
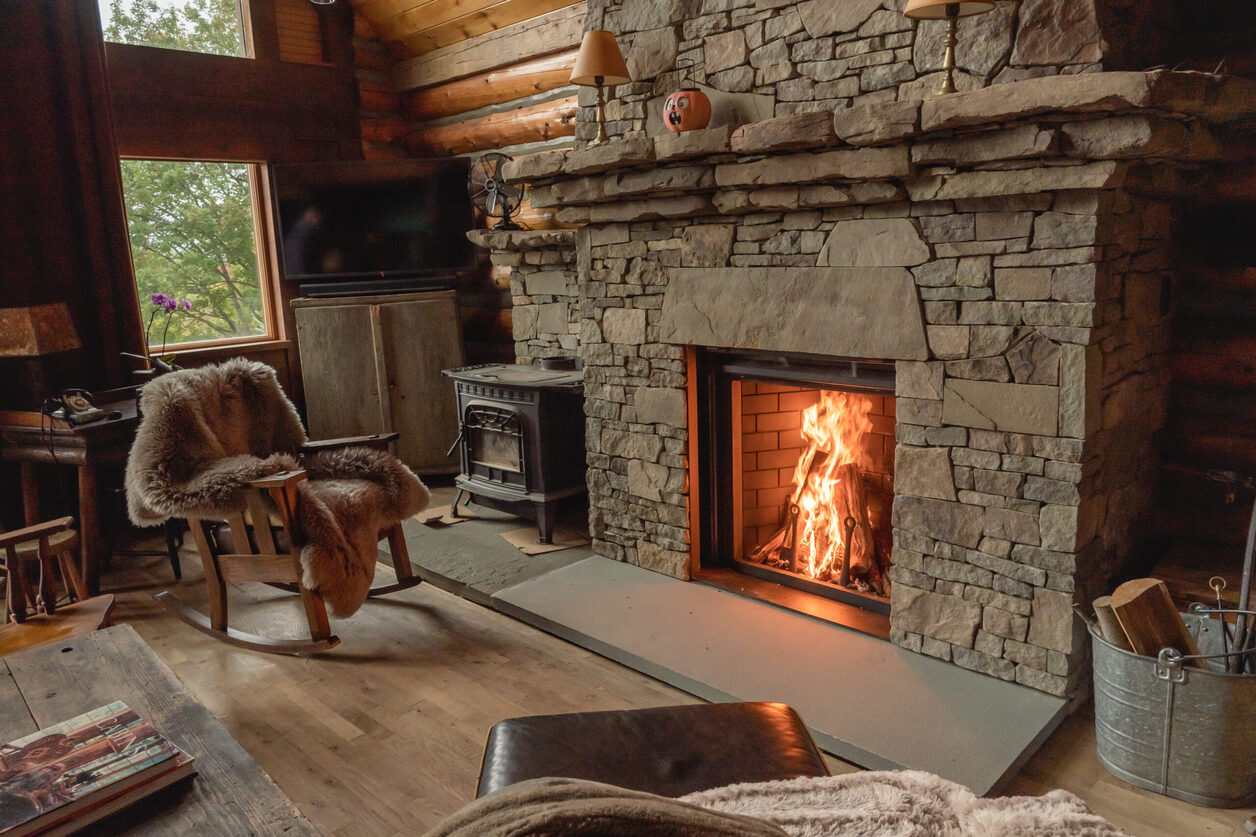
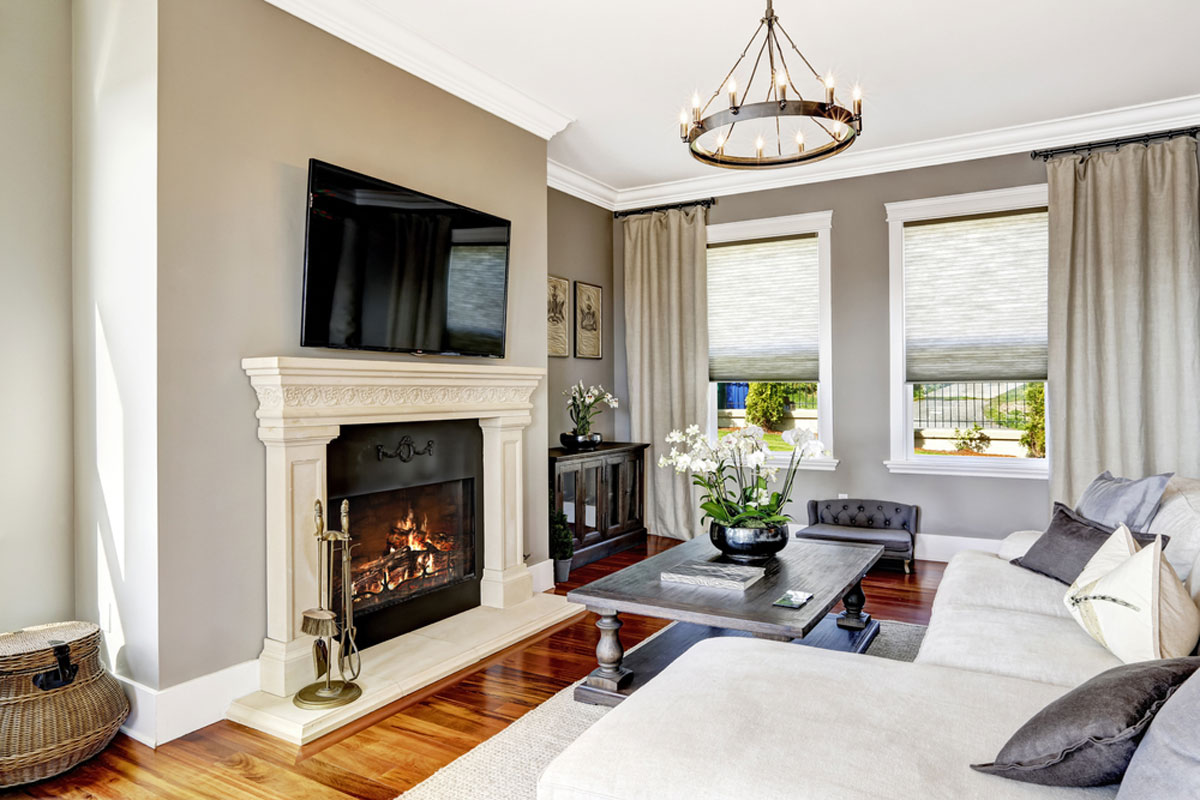
Creating a cozy and inviting atmosphere in your home is all about the little details. One feature that can instantly transform a space is a fireplace. Not only does it provide warmth and comfort, but it also adds a touch of charm and elegance to any room.
However, not all homes are equipped with a built-in fireplace. If you find yourself longing for the ambiance and aesthetics of a fireplace but don’t have the luxury of one, fear not! You can still enjoy the beauty of a roaring fire by building a fake fireplace.
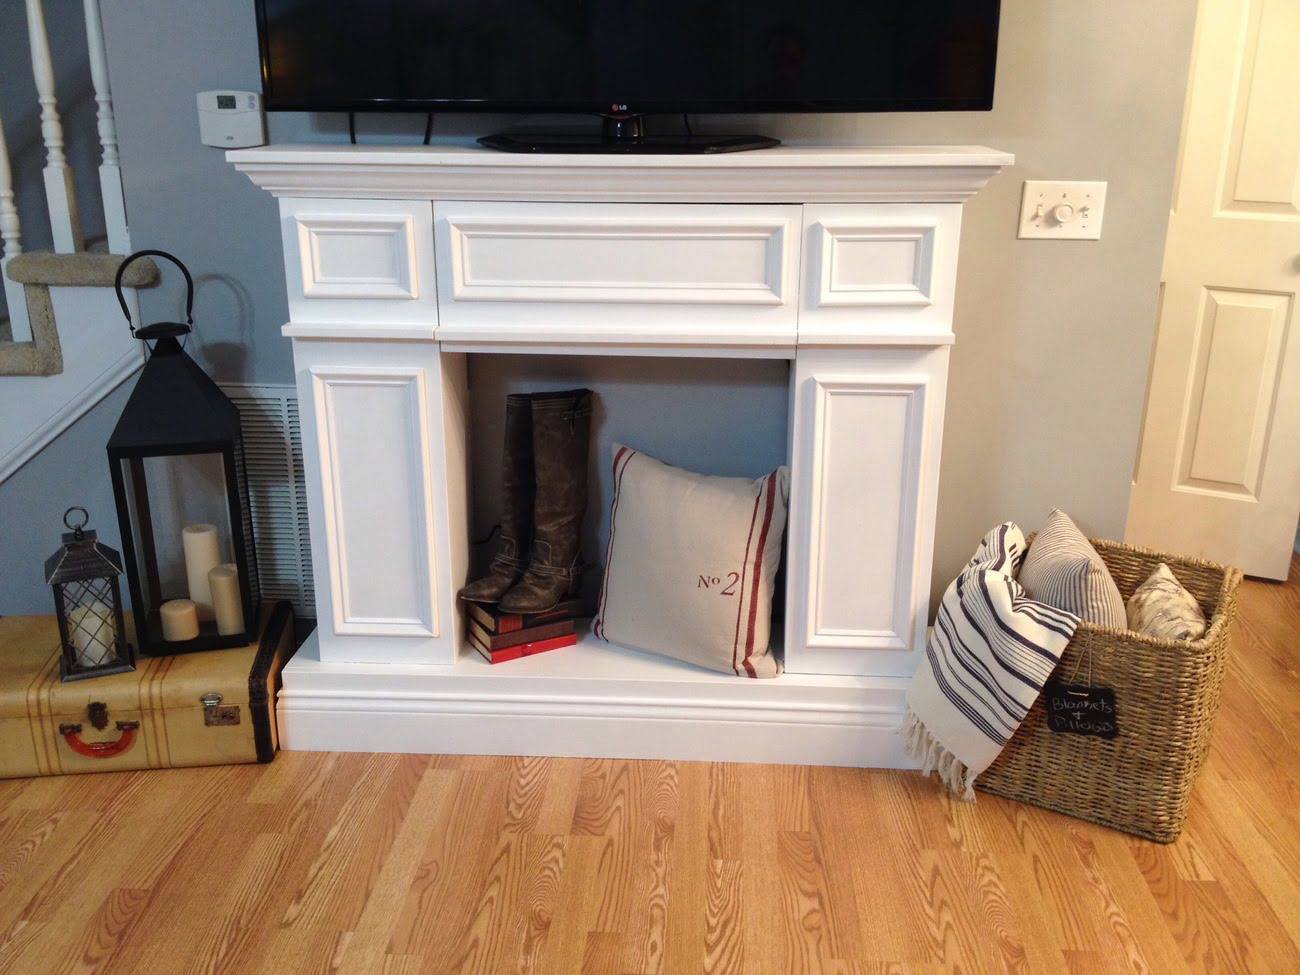
A fake fireplace is a creative and cost-effective solution that can give your space the cozy look and feel of a traditional fireplace without the need for expensive renovations or chimney installations. Whether you live in an apartment, a small house, or simply want to add a decorative element to your living room, building a fake fireplace is a fun and rewarding project that you can accomplish in just a few simple steps.
In this article, we will guide you through the process of building a fake fireplace from start to finish. We will cover everything from gathering materials and choosing a location to creating the mantel and adding finishing touches. So, grab your tools and let’s get started on creating the fireplace of your dreams!
Key Takeaways:
- Transform your space with a DIY fake fireplace, adding warmth and charm without costly renovations. Follow the steps to build a stunning focal point for any room.
- Personalize your fake fireplace with decorative touches, lighting, and storage solutions to create a cozy and inviting atmosphere. Enjoy the ambiance all year round.
Read more: How To Decorate A Fake Fireplace
Step 1: Gather Materials
Before you begin building your fake fireplace, it’s essential to gather all the necessary materials to ensure a smooth and efficient construction process. Here is a list of items you’ll need:
- Wood or MDF boards: These will be used to create the frame and structure of the fireplace.
- Nails and screws: You’ll need these to secure the boards together.
- Faux bricks or stones: Choose your preferred style to create the illusion of a real fireplace.
- Wood glue or adhesive: This will be used to attach the faux bricks or stones to the frame.
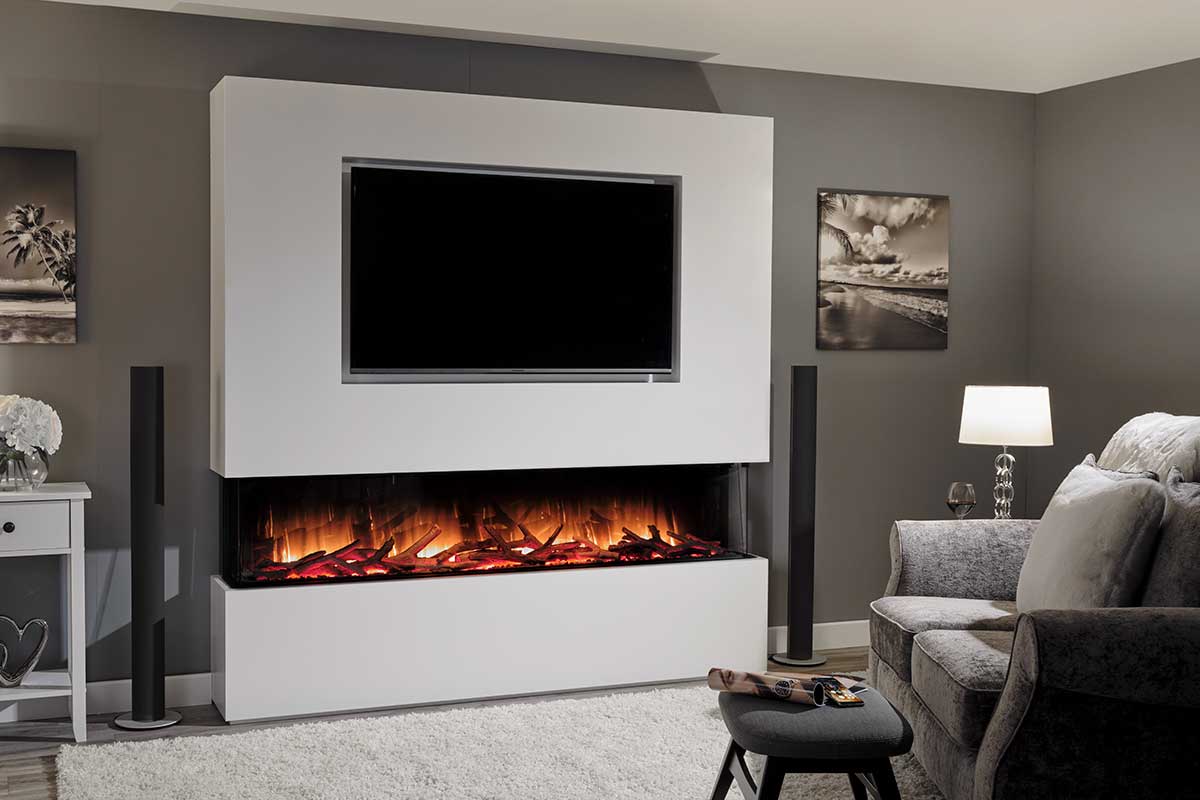
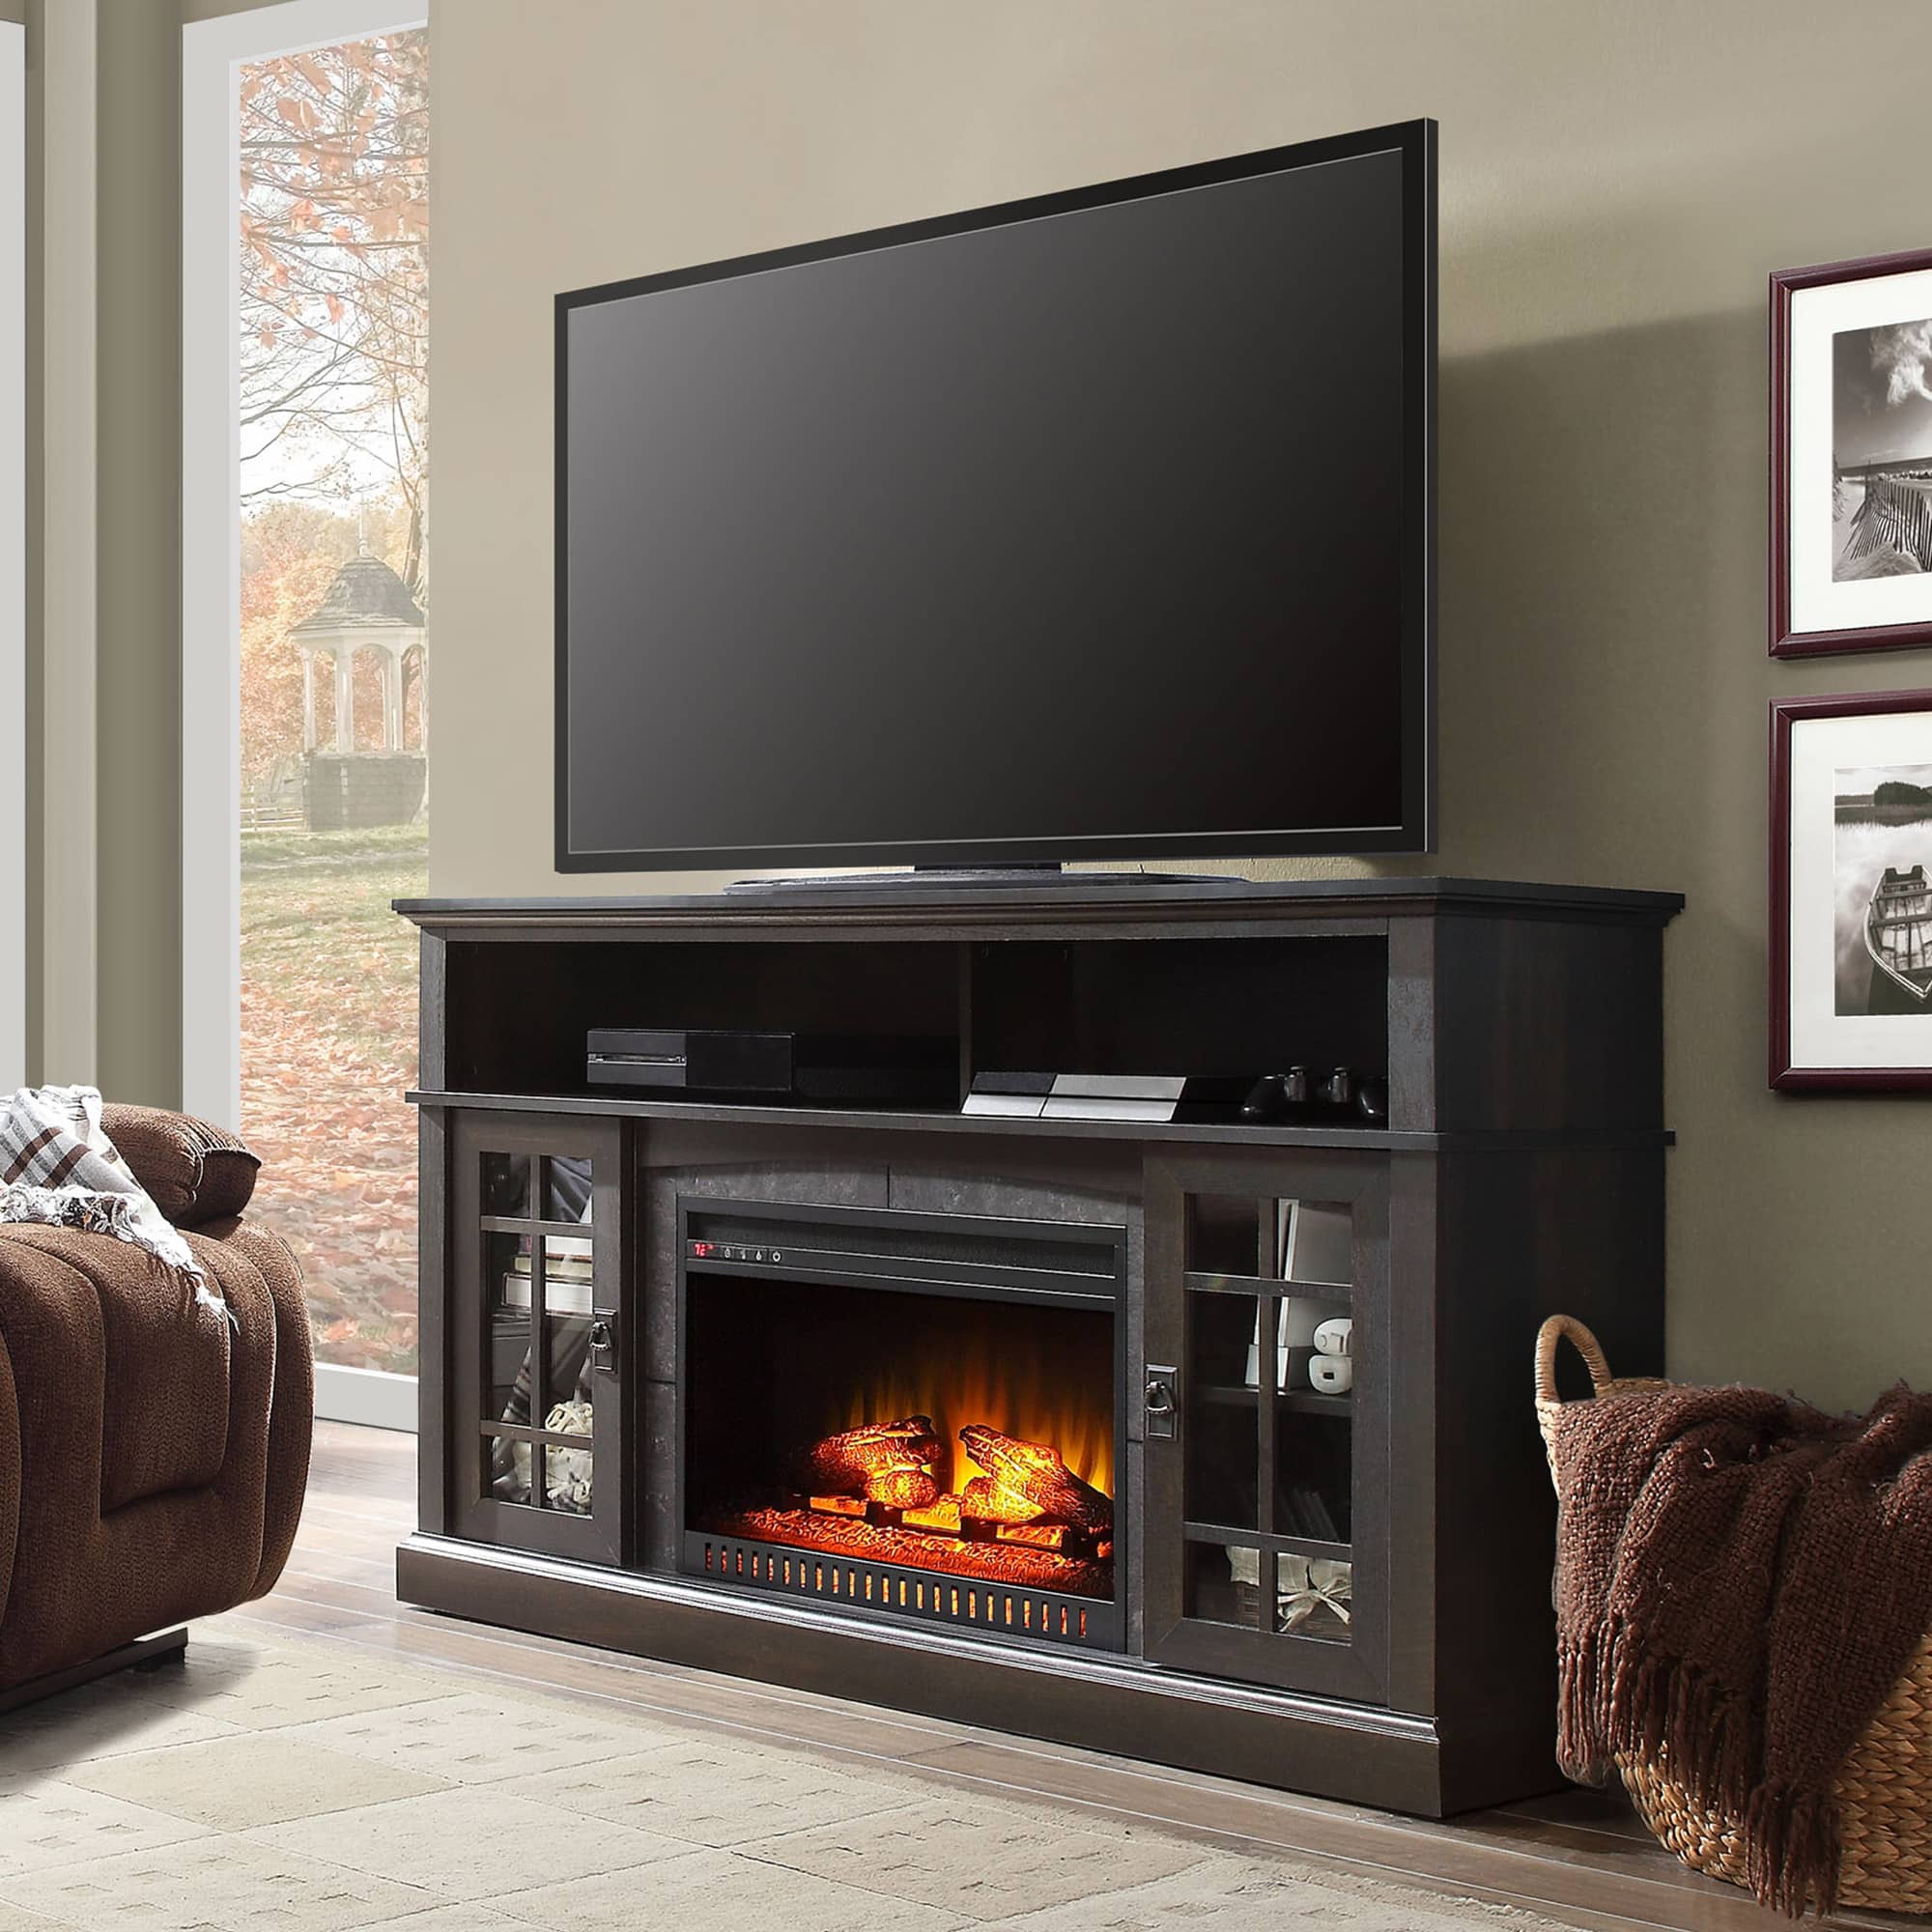
- Fireplace insert: Opt for a faux fire insert that mimics the look of real flames. There are several electric or gel fuel options available.
- Mantel: Select a sturdy and aesthetically pleasing piece of wood or a mantel kit to complete the fireplace.
- Paint and brushes: If desired, you can paint the wood or MDF boards to match your decor.
- Tools: Gather essential tools such as a saw, drill, measuring tape, and hammer for construction.
- Safety equipment: Don’t forget to prioritize safety by having gloves, safety goggles, and a dust mask on hand.
Once you have gathered all the necessary materials, you’ll be ready to move on to the next step: choosing a location for your fake fireplace. Consider the size of the room, the layout, and the focal point you want to create. Whether it’s a living room, bedroom, or even a cozy corner, finding the perfect spot will ensure that your fake fireplace stands out and enhances the overall ambiance of the space.
Step 2: Choose a Location
Choosing the right location for your fake fireplace is crucial in creating a focal point and achieving the desired aesthetic. Consider the following factors when selecting the perfect spot:
Room Layout: Take into account the size and layout of the room. Ideally, you want the fireplace to be a central element that can be easily seen and enjoyed from different angles.
Functionality: Determine the purpose of your fake fireplace. Do you want it to serve as a decorative element in the living room or bedroom? Or perhaps you want it to be the centerpiece of a cozy reading nook or entertainment area. Understanding the functionality will help you determine the most suitable location for your fireplace.
Focal Point: Consider the existing focal point in the room. If there is already a dominant feature, such as a large window or a statement piece of furniture, you may want to position your fake fireplace in proximity to enhance the overall visual appeal.
Accessibility: Think about the ease of access. Make sure the location you choose allows for easy and safe maneuvering around the fireplace. Remember to consider the proximity to electrical outlets if you’re opting for an electric faux fire insert.
Ambiance: Keep in mind the ambiance you want to create. If you’re looking to add warmth and coziness to a space, placing the fireplace in a central area, such as the living room, can achieve this effect. On the other hand, if you’re aiming for a more intimate and tranquil atmosphere, a bedroom or study may be the perfect location.
Take your time to evaluate different areas within your home and visualize how the fake fireplace will fit into the overall decor and ambiance. Once you’ve decided on the ideal location, you can move on to the next step: measuring and marking the area for construction.
Step 3: Measure and Mark the Area
Now that you’ve chosen the location for your fake fireplace, it’s time to measure and mark the area where the frame will be constructed. This step is crucial to ensure the proper fit and proportions of your fireplace. Follow these steps:
- Measure the Space: Use a measuring tape to determine the length, width, and height of the area where you want the fake fireplace to be located. Note down these measurements as they will be essential for building the frame.
- Mark the Dimensions: Use a pencil and a level to mark the dimensions of the fireplace on the wall or floor. Start by marking the outer edges of the fireplace, then add additional markings to indicate the inner frame where the faux brick or stone will be placed.
- Double-Check the Measurements: Take a moment to double-check your measurements and make sure they are accurate. This will help prevent any issues during the construction process and ensure a seamless final result.
Once you have measured and marked the area, you’ll have a clear visual representation of where your fake fireplace will be situated. This will serve as a guide as you proceed with building the frame and installing the faux brick or stone.
Note that the measurements and markings may vary depending on the style and design of your fake fireplace. Follow any specific instructions or guidelines provided by the manufacturer if you’re using a pre-made faux fireplace kit.
With the area properly measured and marked, you’re ready to move on to the next step: building the frame for your fake fireplace. This step will form the structure that holds the faux brick or stone in place and creates the illusion of a real fireplace.
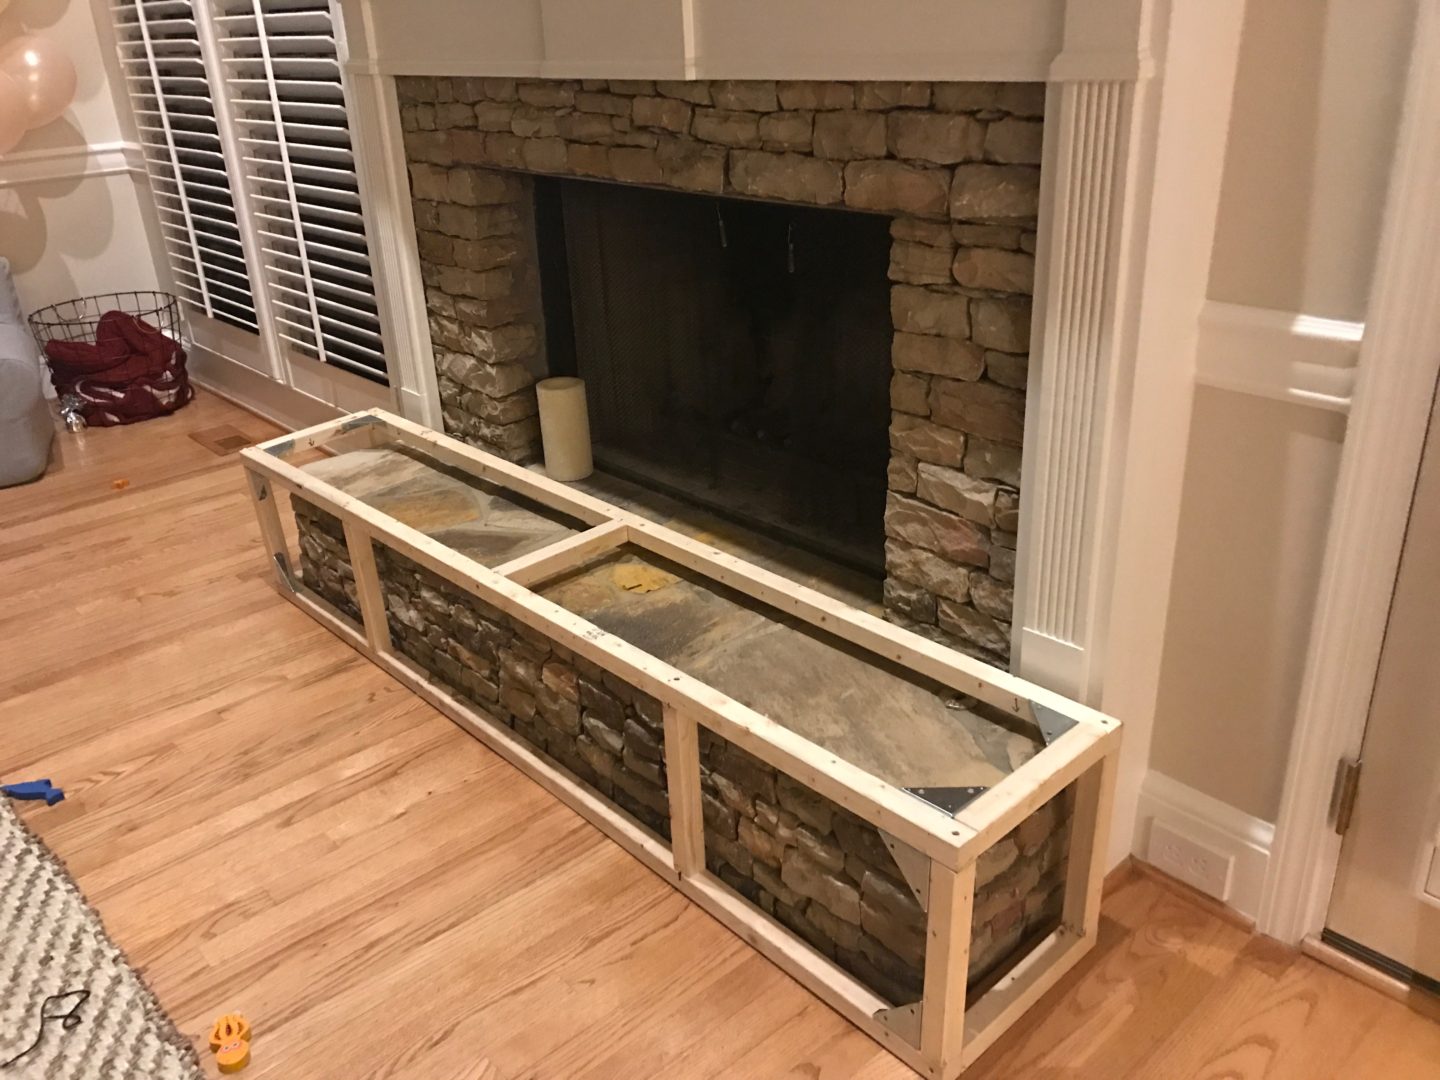
Step 4: Build the Frame
Building the frame is a crucial step in constructing your fake fireplace. The frame provides the structure and support for the faux brick or stone, as well as the mantel. Follow these steps to build the frame:
- Cut the Wood: Using the measurements you marked in the previous step, cut the wood or MDF boards to the appropriate lengths. You’ll need boards for the sides, top, bottom, and any additional sections that may be necessary depending on your design.
- Assemble the Frame: Use nails or screws to assemble the wood or MDF boards into the desired shape of the fireplace. Make sure the corners are square and the frame is sturdy. You may need to use a drill to create pilot holes before driving in the nails or screws to prevent splitting the wood.
- Attach the Frame to the Wall: Secure the frame to the wall using screws or wall anchors. Make sure the frame is level and positioned according to your markings from Step 3. This step ensures that the frame is securely in place and won’t shift during the next steps of the construction process.
Remember to refer to any specific instructions or guidelines provided by the manufacturer if you’re using a pre-made faux fireplace kit. These kits often come with pre-cut and pre-drilled components, making the assembly process more straightforward.
Building the frame is an exciting step in the construction process as you start to see the shape of your fake fireplace take form. Once the frame is securely in place, you can move on to the next step: adding the faux bricks or stones.
Consider using a pre-made electric fireplace insert to create a realistic-looking fake fireplace. This can be easily installed into a custom-built surround to achieve the desired aesthetic without the need for a real chimney or venting.
Read more: How To Build A Fireplace
Step 5: Add the Faux Bricks or Stones
Adding the faux bricks or stones is where your fake fireplace starts to come to life. This step involves attaching the chosen material to the frame to create the look and texture of a real fireplace. Follow these steps to add the faux bricks or stones:
- Prepare the Faux Bricks or Stones: If necessary, cut any bricks or stones to fit the dimensions of your fireplace. This may require a saw or a scoring tool, depending on the material. Ensure that the cut edges are clean and smooth.
- Apply Adhesive: Using wood glue or a construction adhesive specifically designed for faux bricks or stones, apply a generous amount to the back of each brick or stone. This will allow them to adhere securely to the frame.
- Attach the Faux Bricks or Stones: Starting from the bottom, press each brick or stone firmly onto the frame, following your predetermined design or pattern. Be sure to press and hold on each piece for a few seconds to ensure proper adhesion. Continue this process until the entire frame is covered.
- Fill in Gaps: If there are any gaps between the bricks or stones, use a putty knife to apply additional adhesive and fill in these areas. Smooth out any excess adhesive to maintain a clean and seamless look.
As you add the faux bricks or stones, step back regularly to assess the overall appearance and make any necessary adjustments. This will help you achieve a realistic and visually appealing fake fireplace.
If desired, you can also paint the faux bricks or stones to match your decor or desired aesthetic. Use a small brush and appropriate paint to carefully apply the desired color, allowing for proper drying time between coats.
With the faux bricks or stones securely in place, your fake fireplace is starting to take shape. The next step will involve creating the mantel, which adds the finishing touch to the overall design.
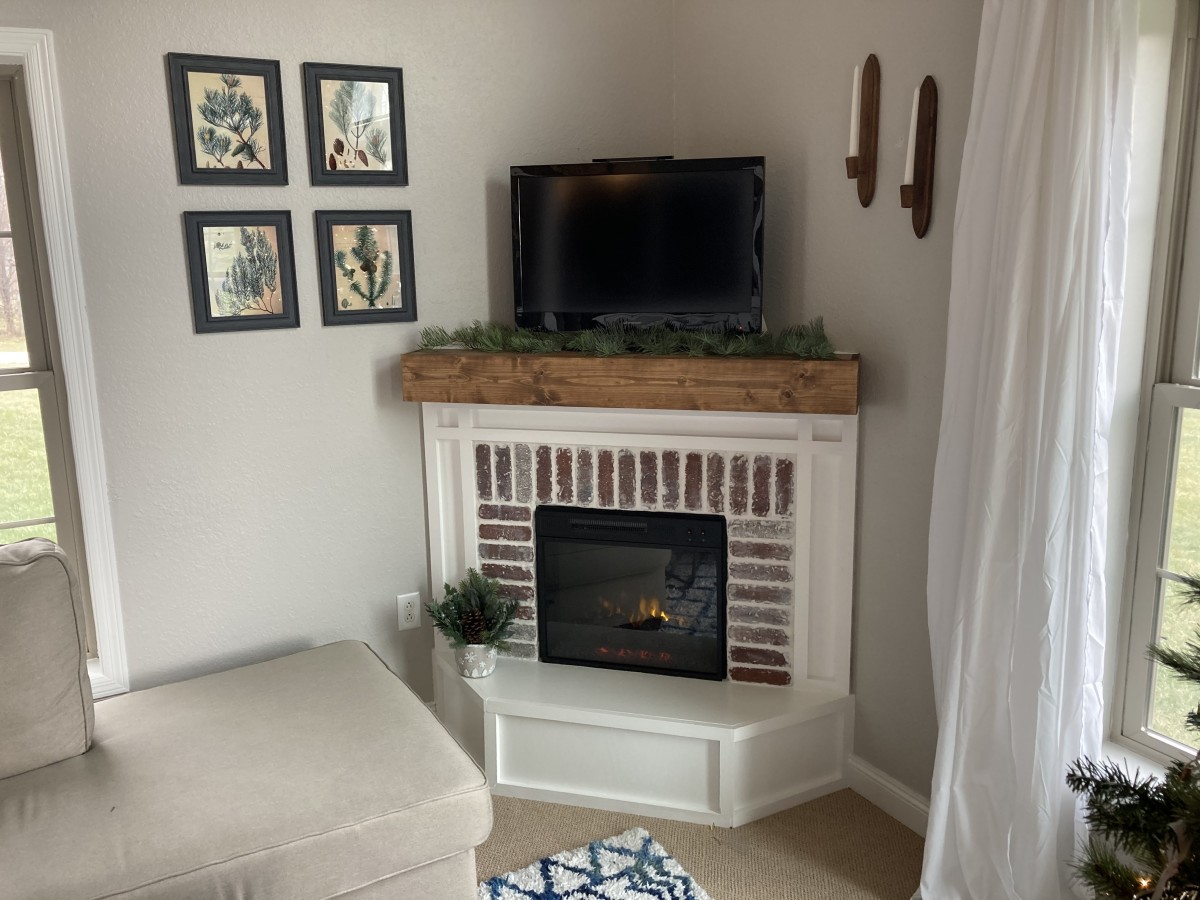
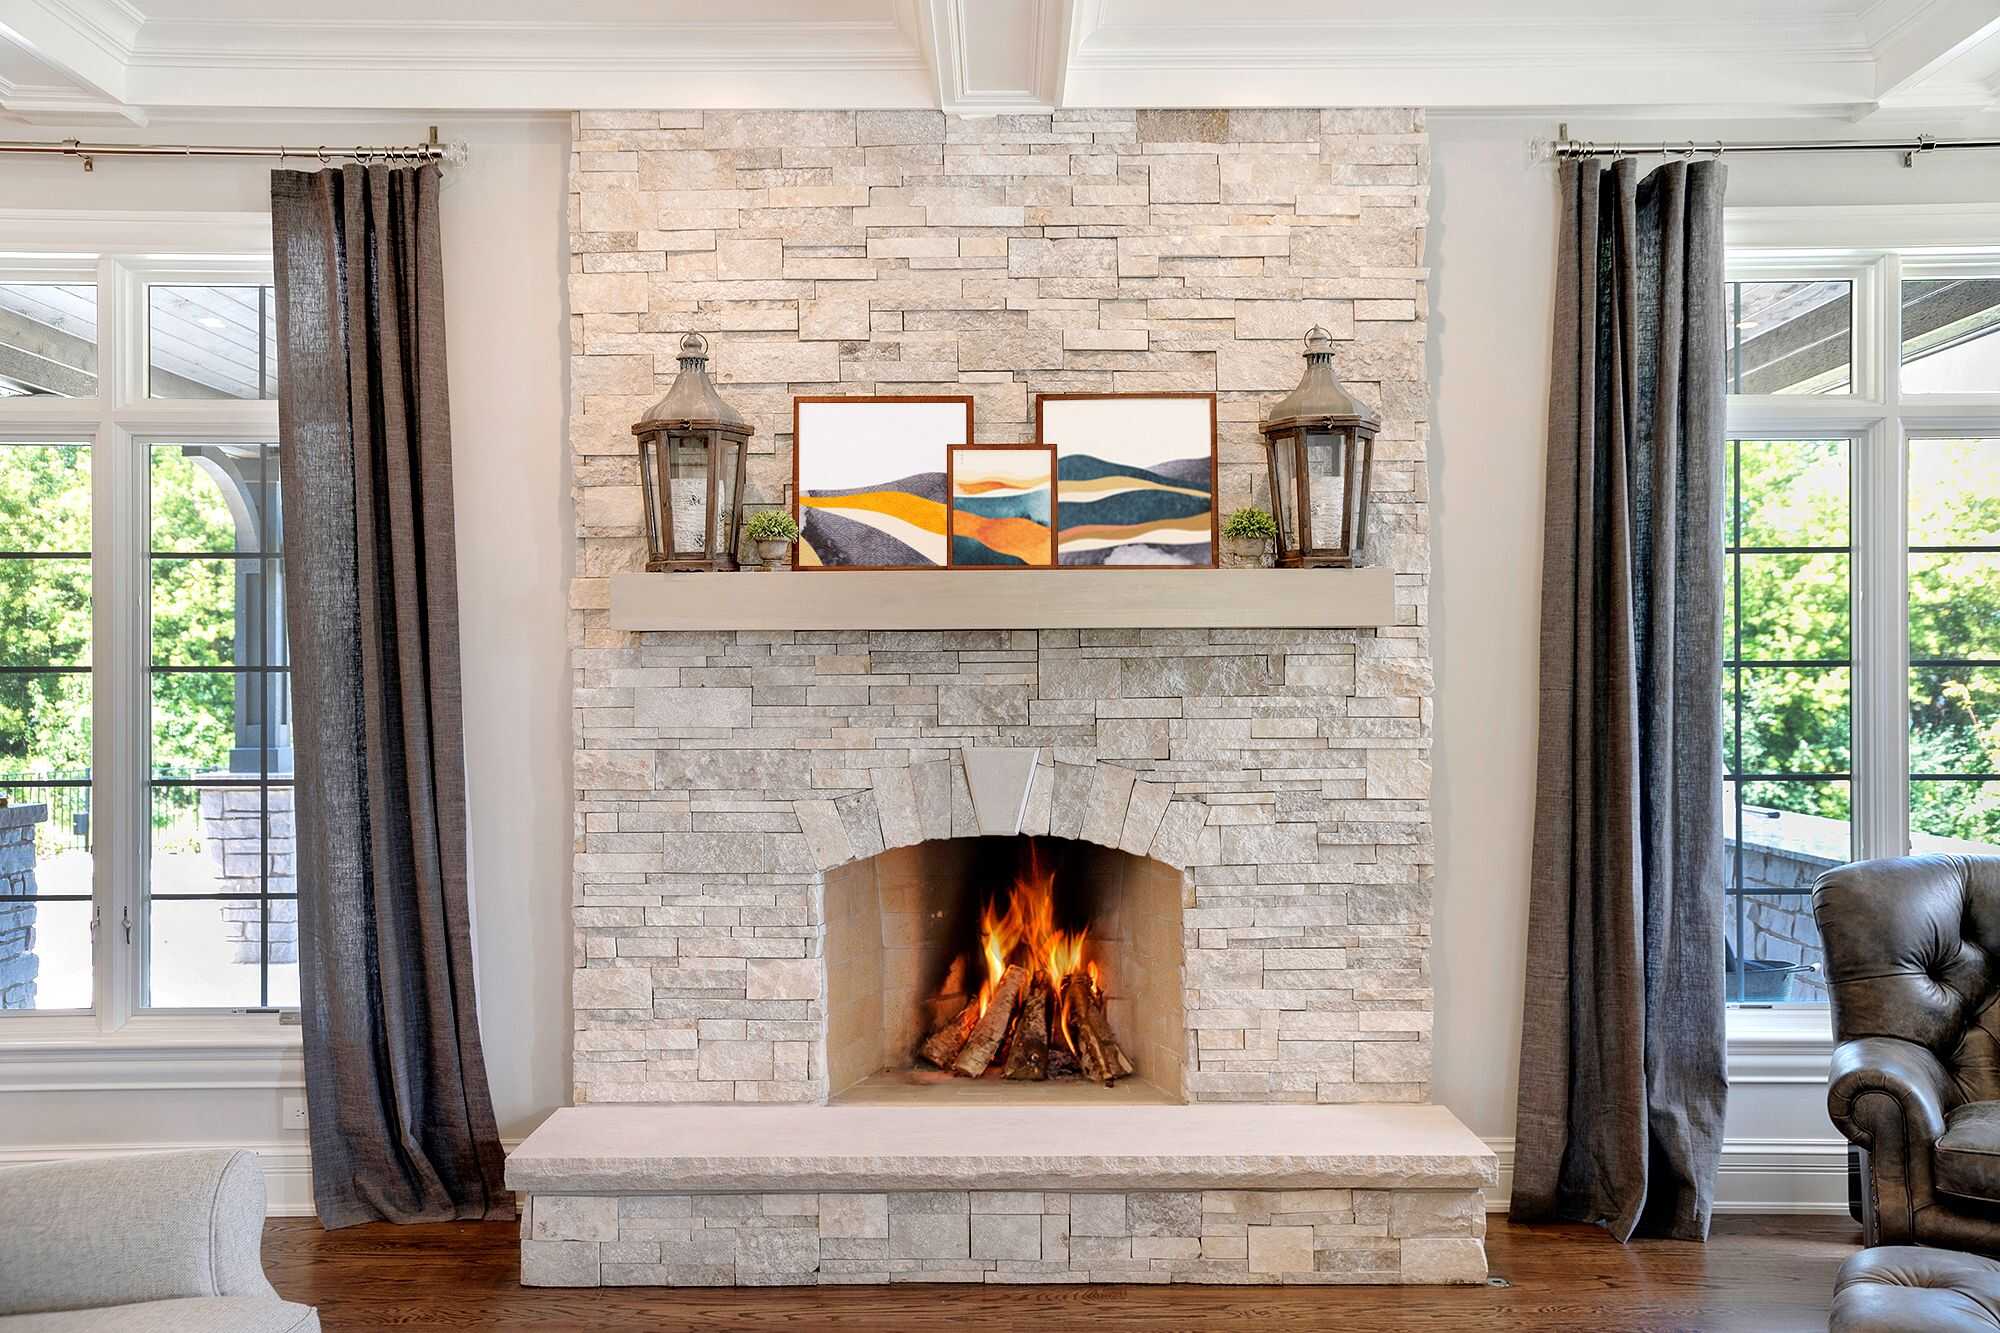
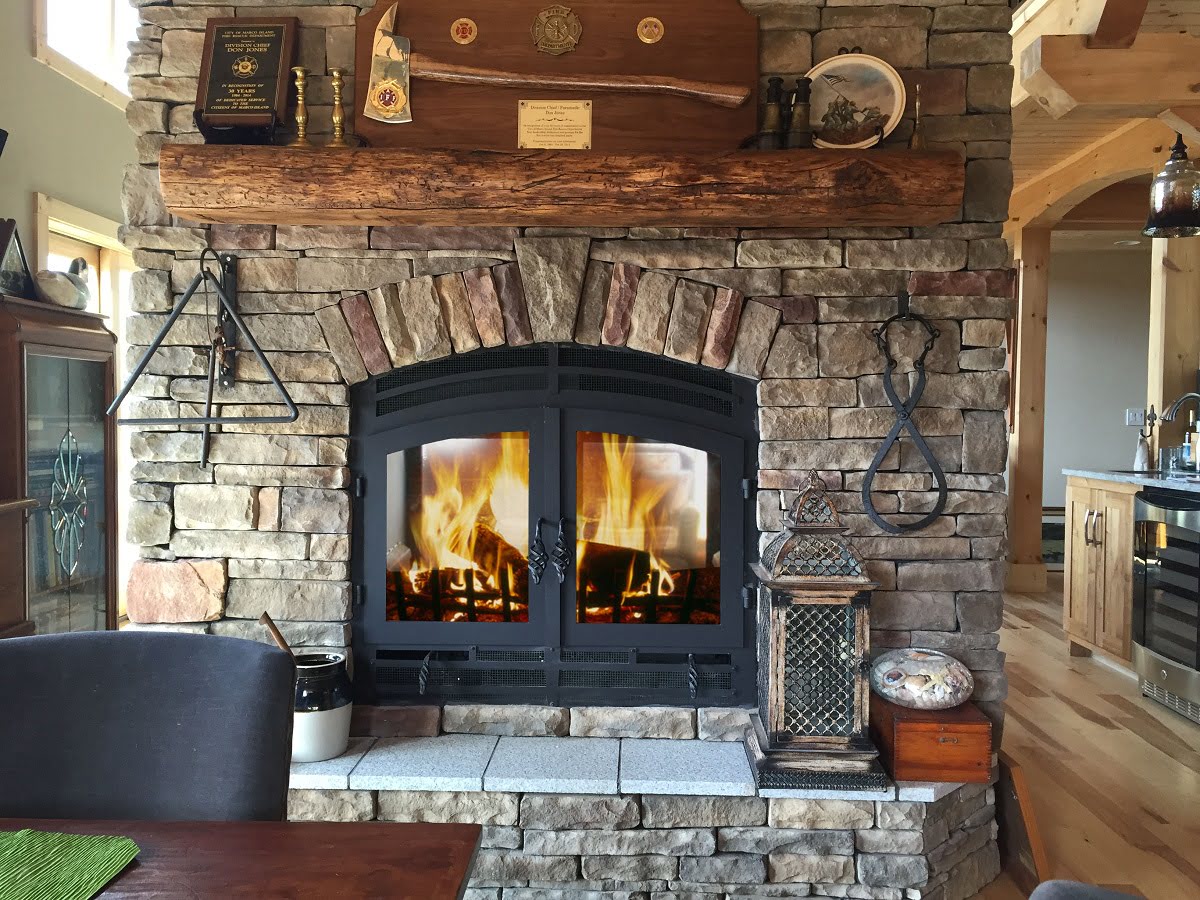
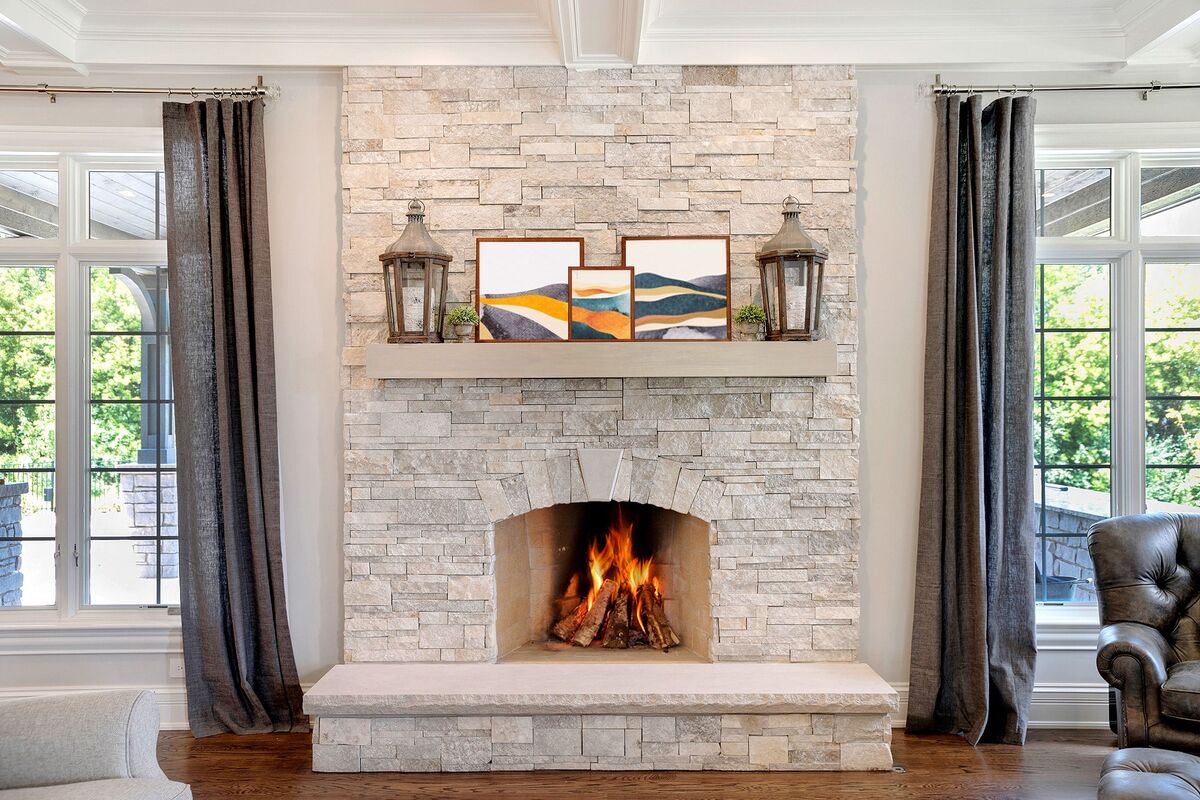
Step 6: Create the Mantel
The mantel is an essential feature of a fireplace, whether real or fake. It provides a decorative and functional space to display items such as artwork, photographs, or seasonal decor. Follow these steps to create the mantel for your fake fireplace:
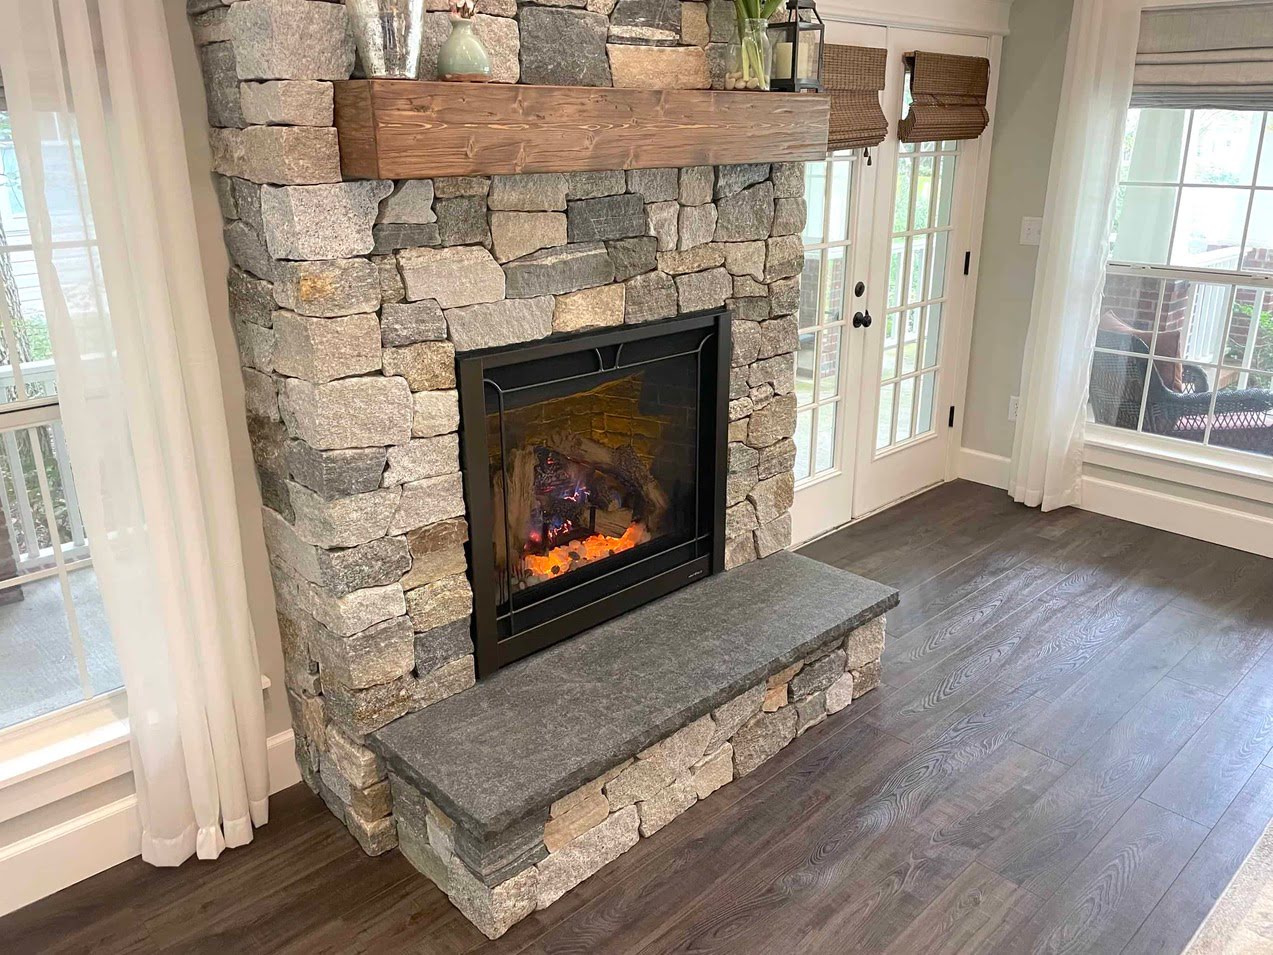
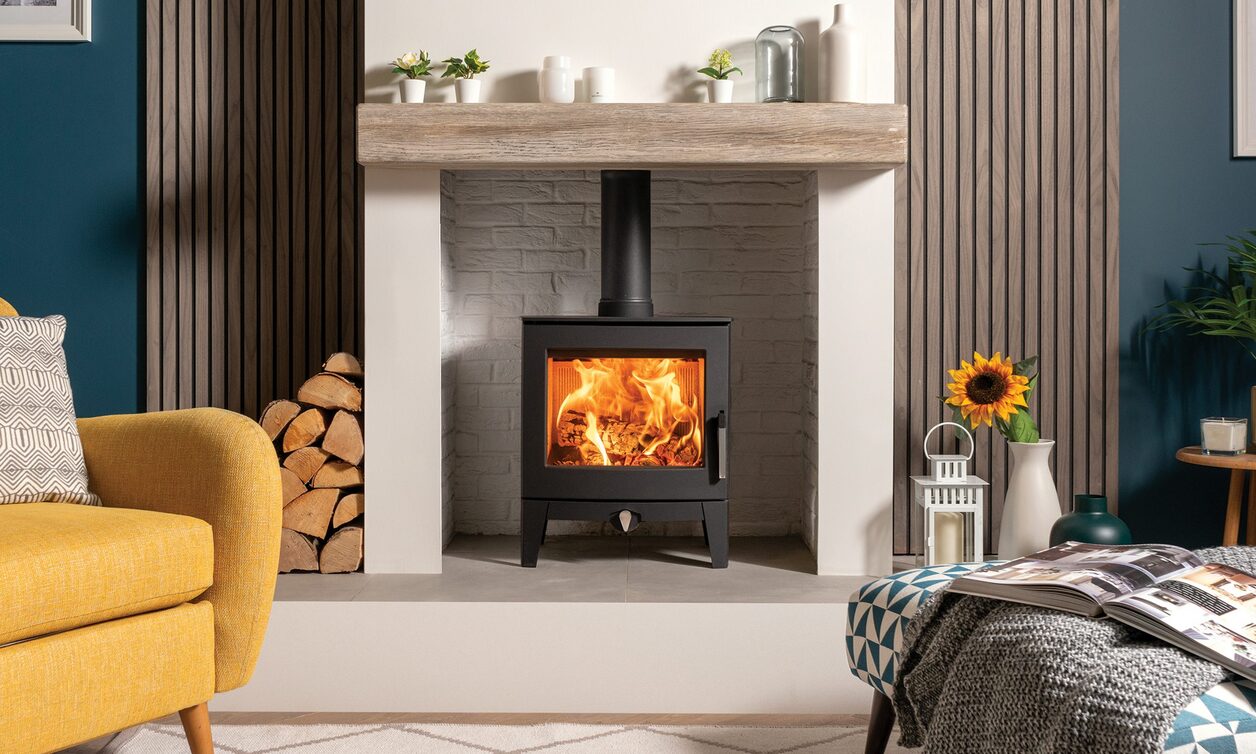
- Select the Type of Mantel: Decide on the material and style you want for your mantel. Common options include wood, stone, or a combination of both. Choose a material that complements the overall design aesthetic of your space.
- Measure and Cut the Mantel: Using the measurements of your fireplace frame, measure and cut the mantel material to the appropriate length and width. Consider adding decorative details such as trim or routing to enhance the visual appeal of the mantel.
- Attach the Mantel: Position the mantel onto the top of the fireplace frame. Use screws or nails to secure it firmly in place. Make sure it is level and centered for a balanced look. If necessary, use a level to double-check the alignment.
The mantel serves not only as a decorative element but also as a functional space. Feel free to personalize it by adding family photos, artwork, or other items that enhance the overall aesthetic of your space. Just remember to keep the mantel clutter-free and balanced in terms of visual weight.
With the addition of the mantel, your fake fireplace is taking on the appearance of a real one. The final steps involve installing the faux fire insert and adding the finishing touches to complete the illusion.
Step 7: Install the Faux Fire Insert
Installing the faux fire insert is the step that will bring your fake fireplace to life with the illusion of dancing flames. Depending on the type of insert you choose, whether electric or gel fuel, follow these general steps to install it:
- Prepare the Area: Ensure that the area around the insert is clear and free of any flammable materials. Follow the manufacturer’s guidelines for proper clearance and ventilation requirements.
- Position the Insert: Carefully place the faux fire insert into the opening of the fireplace frame, making sure it fits snugly and securely. Adjust the placement as needed to achieve the desired position.
- Connect to Power: If you are using an electric faux fire insert, plug it into a nearby electrical outlet. If needed, you may need to hire an electrician to install an additional outlet or provide the necessary wiring.
- Add Faux Logs or Flames: Depending on the style of your faux fire insert, arrange the faux logs or flames according to the manufacturer’s instructions. This step will enhance the realistic appearance of the fire.
- Test and Adjust: Turn on the faux fire insert and adjust the settings to your preferred flame intensity and heat output, if applicable. Take a step back and ensure that the flames look natural and captivating.
Take some time to familiarize yourself with the features and functionalities of your faux fire insert. Some models may offer additional options such as adjustable flames, remote control operation, or built-in heating elements for added comfort.
With the faux fire insert installed, your fake fireplace is now ready to create the warm and inviting ambiance you desire. The final step involves adding finishing touches to complete the overall look and feel.
Step 8: Add Finishing Touches
Adding the finishing touches to your fake fireplace will elevate its overall appearance and make it blend seamlessly with your existing decor. Here are some ideas to consider:
- Decorate the Mantel: Arrange decorative items such as candles, vases, or artwork on the mantel to add a personal touch. Consider incorporating seasonal decor or elements that reflect your style and taste.
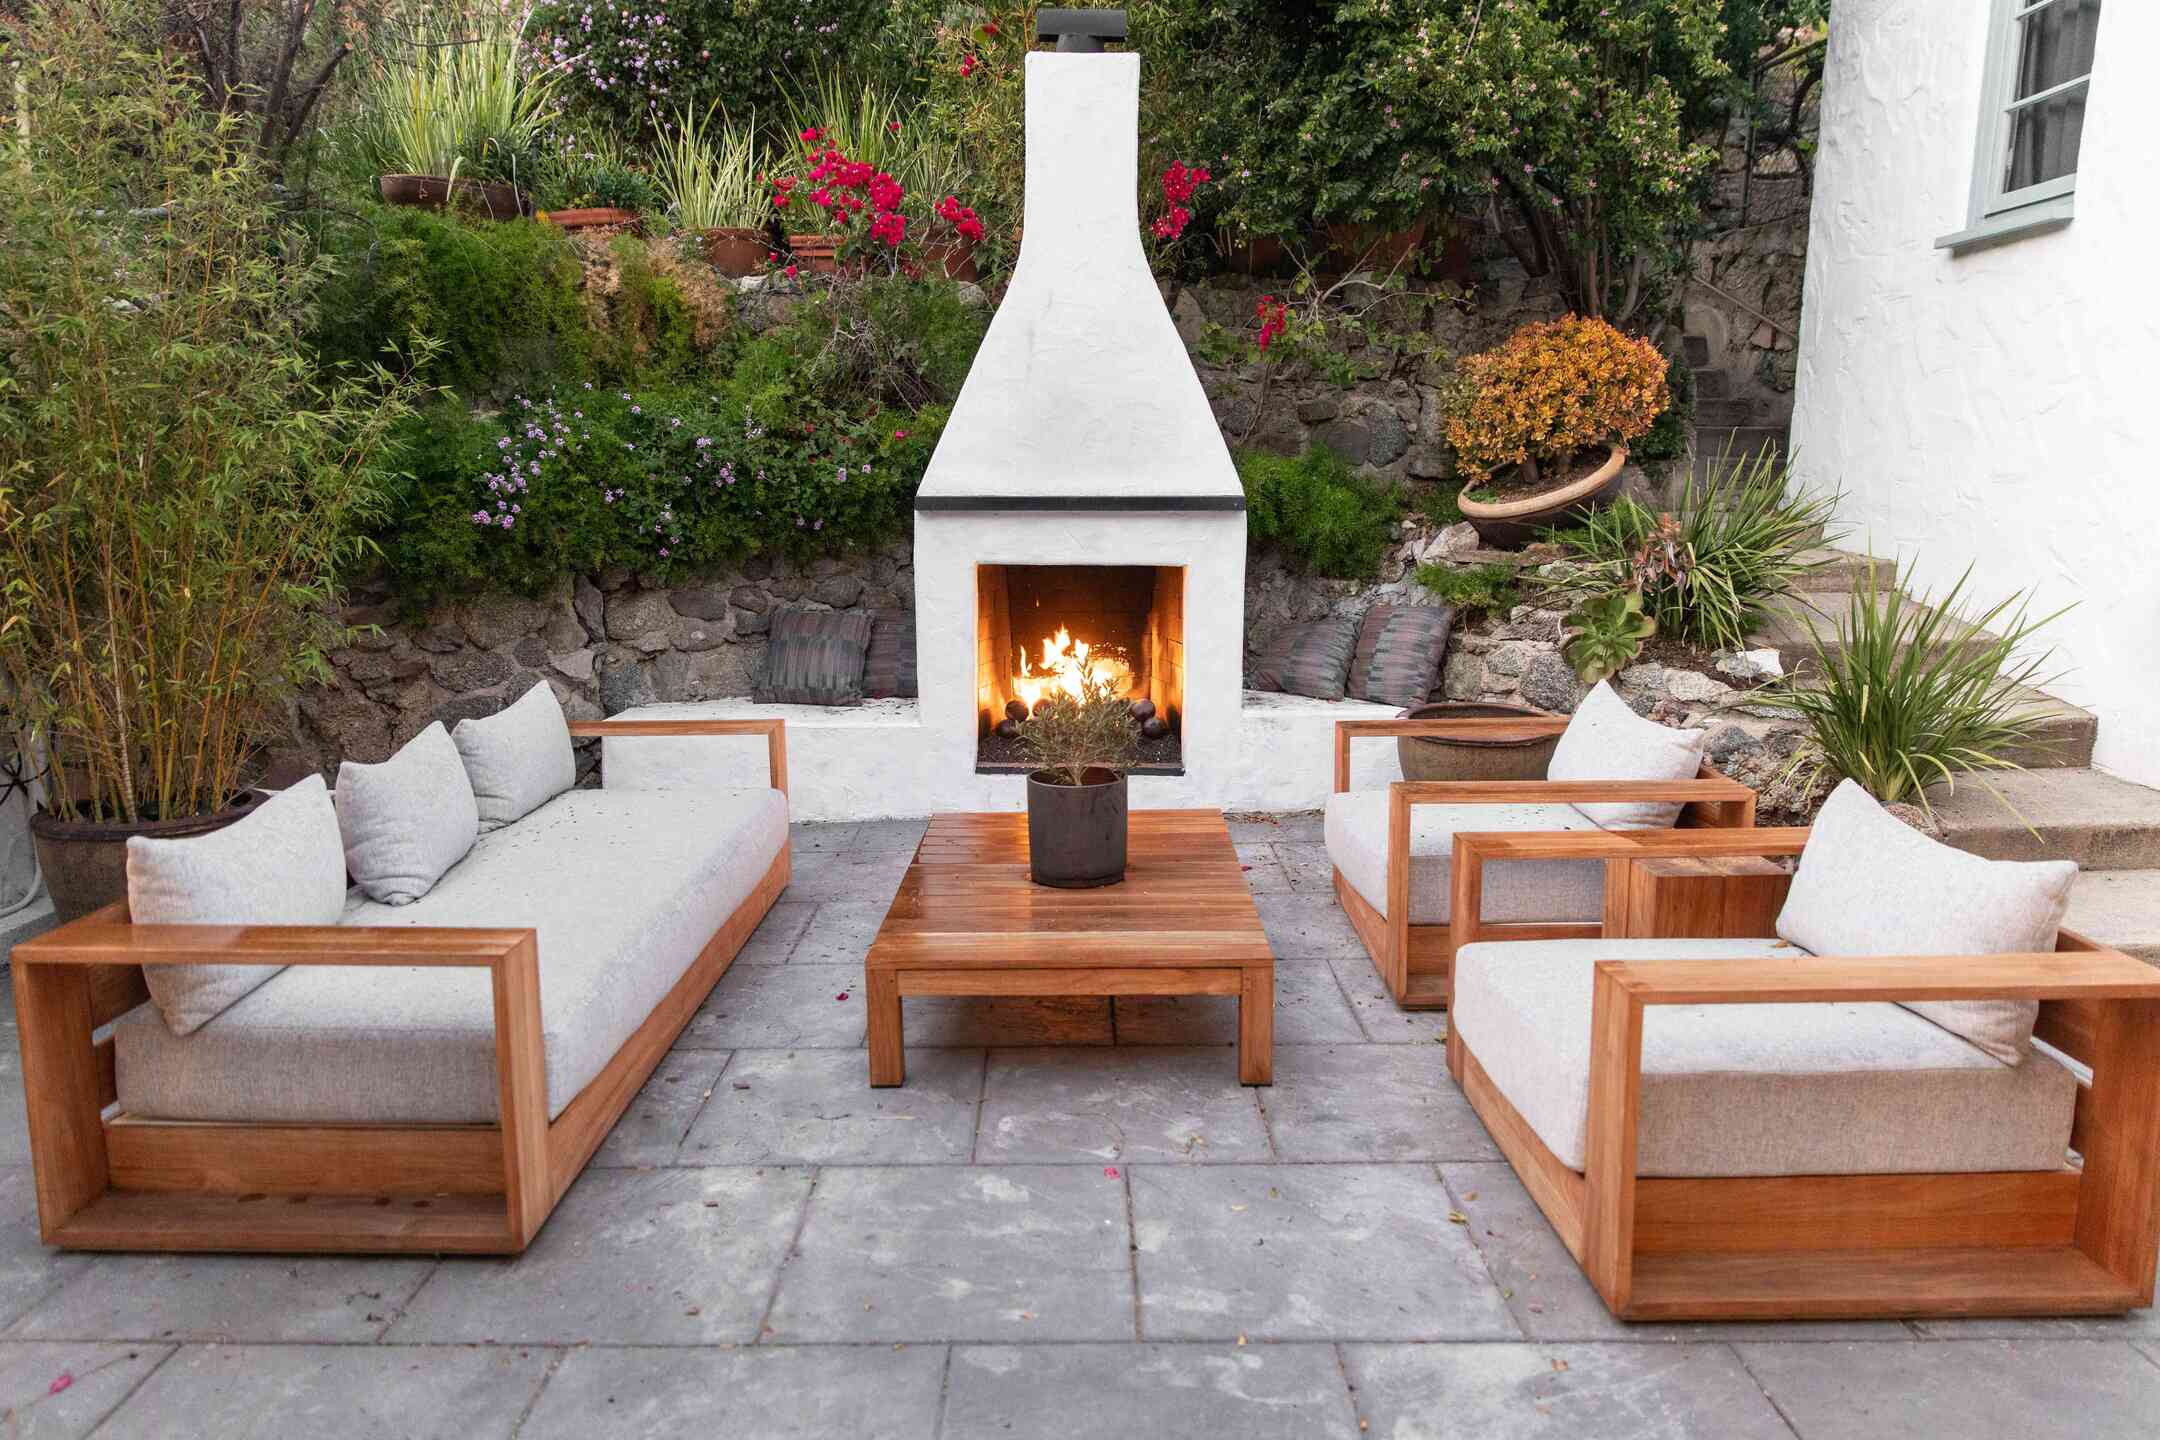
- Accessorize the Surrounding Area: Enhance the ambiance of the fireplace by incorporating complementary decor elements in the surrounding area. This could include cozy seating, accent pillows, or a rug to create a cozy and inviting atmosphere.
- Install Lighting: Consider installing accent lighting around the fireplace to highlight its presence and create an intimate glow. This could be achieved through wall sconces, string lights, or recessed lighting.
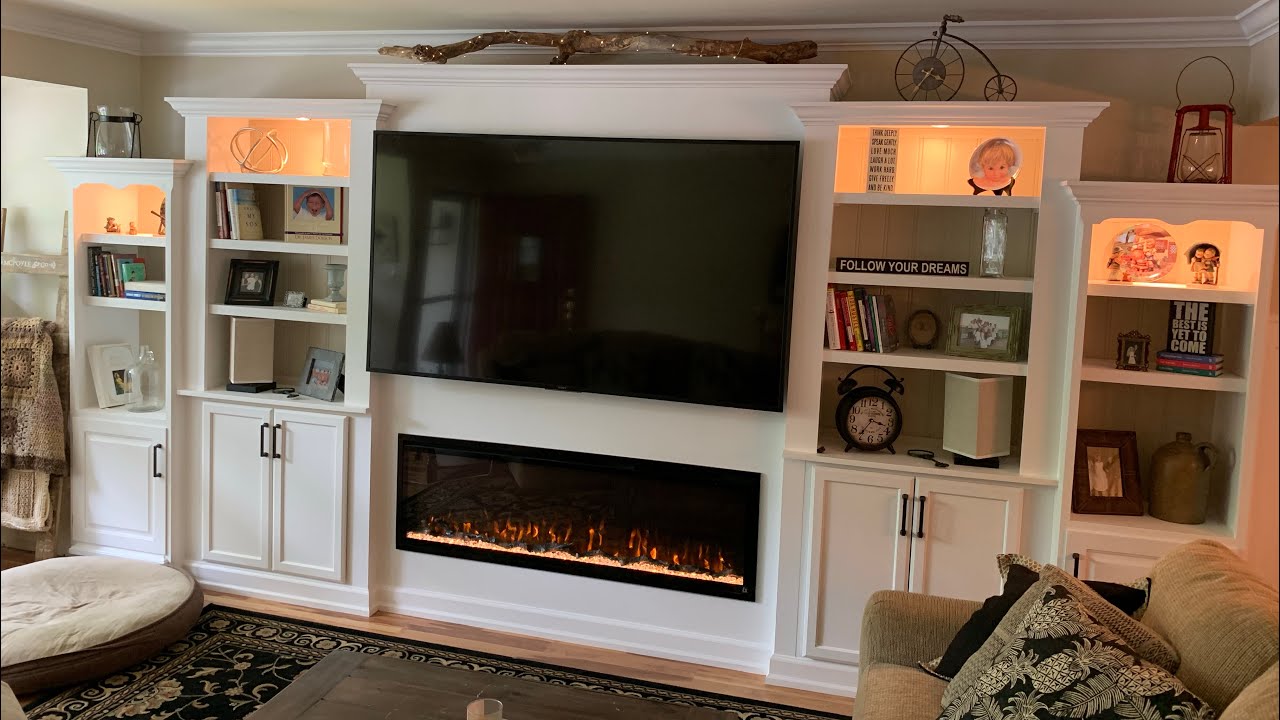
- Apply a Backdrop: Enhance the visual appeal by adding a backdrop behind the faux fire insert. This could be a painted or wallpapered accent wall, a decorative panel, or even a framed mirror to create the illusion of depth and space.
- Incorporate Storage: If space permits, consider adding built-in shelving or cabinets on either side of the fireplace to provide storage for books, media devices, or other decorative items.
- Maintain and Clean: Regularly clean and maintain your fake fireplace to keep it looking its best. Dust the faux bricks or stones, clean the mantel, and periodically check the faux fire insert for any maintenance or servicing requirements.
Remember to personalize your fake fireplace according to your taste and preferences. Experiment with different decor items and arrangements until you achieve the desired look and feel.
With the addition of these finishing touches, your fake fireplace will become the focal point of the room, adding warmth and charm to your living space.
Congratulations! You have successfully built a fake fireplace that not only brings the ambiance of a real fireplace but also adds a touch of elegance and coziness to your home. Enjoy the inviting glow and the cozy atmosphere it creates all year round.
By following these steps and infusing your creativity, you can create a stunning fake fireplace that will be the envy of your friends and family. So gather your materials, choose a location, measure and mark the area, build the frame, add the faux bricks or stones, create the mantel, install the faux fire insert, and add the finishing touches. Sit back, relax, and enjoy the warmth and charm of your beautiful fake fireplace.
Read more: What Are Fake Fireplace Logs Made Of
Conclusion
Building a fake fireplace is a rewarding DIY project that can elevate the ambiance and aesthetics of your space. It allows you to enjoy the cozy and inviting atmosphere of a traditional fireplace without the need for costly renovations or an existing chimney. By following the steps outlined in this article, you can create a beautiful and realistic fake fireplace that will be the focal point of any room.
From gathering the necessary materials and choosing the perfect location to measuring and marking the area, building the frame, and adding the faux bricks or stones, each step plays a crucial role in bringing your fake fireplace to life. The installation of the faux fire insert and the addition of the mantel and finishing touches complete the illusion of a real fireplace.
Remember to personalize your fake fireplace with decorative items, lighting, and storage solutions that suit your style and taste. Regular maintenance and cleaning will ensure that your fake fireplace remains in top-notch condition, continuing to enhance the ambiance of your home for years to come.
Whether it’s a cozy living room, a relaxing bedroom, or a charming reading nook, a well-crafted fake fireplace can transform any space into a welcoming and delightful haven. So, grab your tools and get started on building your own fake fireplace today!
Frequently Asked Questions about How To Build A Fake Fireplace
Was this page helpful?
At Storables.com, we guarantee accurate and reliable information. Our content, validated by Expert Board Contributors, is crafted following stringent Editorial Policies. We're committed to providing you with well-researched, expert-backed insights for all your informational needs.
0 thoughts on “How To Build A Fake Fireplace”