Articles
How To Build Fireplace Wall
Modified: October 21, 2024
Learn how to build a stunning fireplace wall with our informative articles. Discover expert tips and techniques to create a cozy and stylish focal point in your home.
(Many of the links in this article redirect to a specific reviewed product. Your purchase of these products through affiliate links helps to generate commission for Storables.com, at no extra cost. Learn more)
Introduction
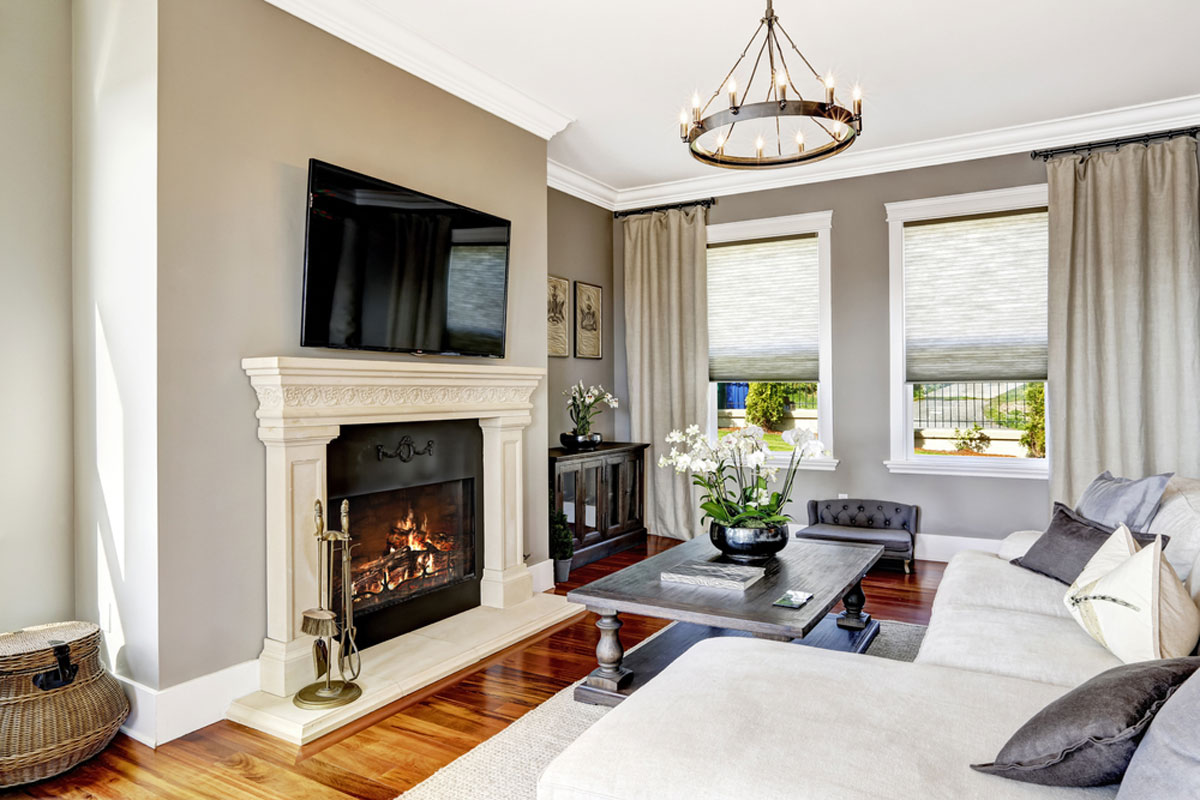
Having a fireplace in your home not only adds warmth and comfort, but it also creates a focal point and enhances the overall aesthetics of the space. If you’ve been dreaming about creating a cozy fireplace wall in your home, you’re in the right place. In this article, we will guide you through the step-by-step process of building a fireplace wall that will become the centerpiece of your living room or any other desired area.
Before we dive into the nitty-gritty details, it’s important to note that building a fireplace wall requires careful planning, basic construction knowledge, and the right tools. If you feel uncertain or uncomfortable with any aspect of the process, it’s always a good idea to consult a professional or seek assistance from a reliable contractor.
Now, let’s get started on transforming your space with a stunning fireplace wall!
Key Takeaways:
- Building a fireplace wall involves careful planning, precise construction, and attention to detail. From choosing the right location to adding the finishing touches, each step contributes to creating a stunning centerpiece for your home.
- Safety is paramount when working with fireplaces. Always follow local building codes, manufacturer’s instructions, and consult professionals when necessary to ensure proper installation and use of your fireplace unit.
Read more: How To Build Wall For TV And Fireplace
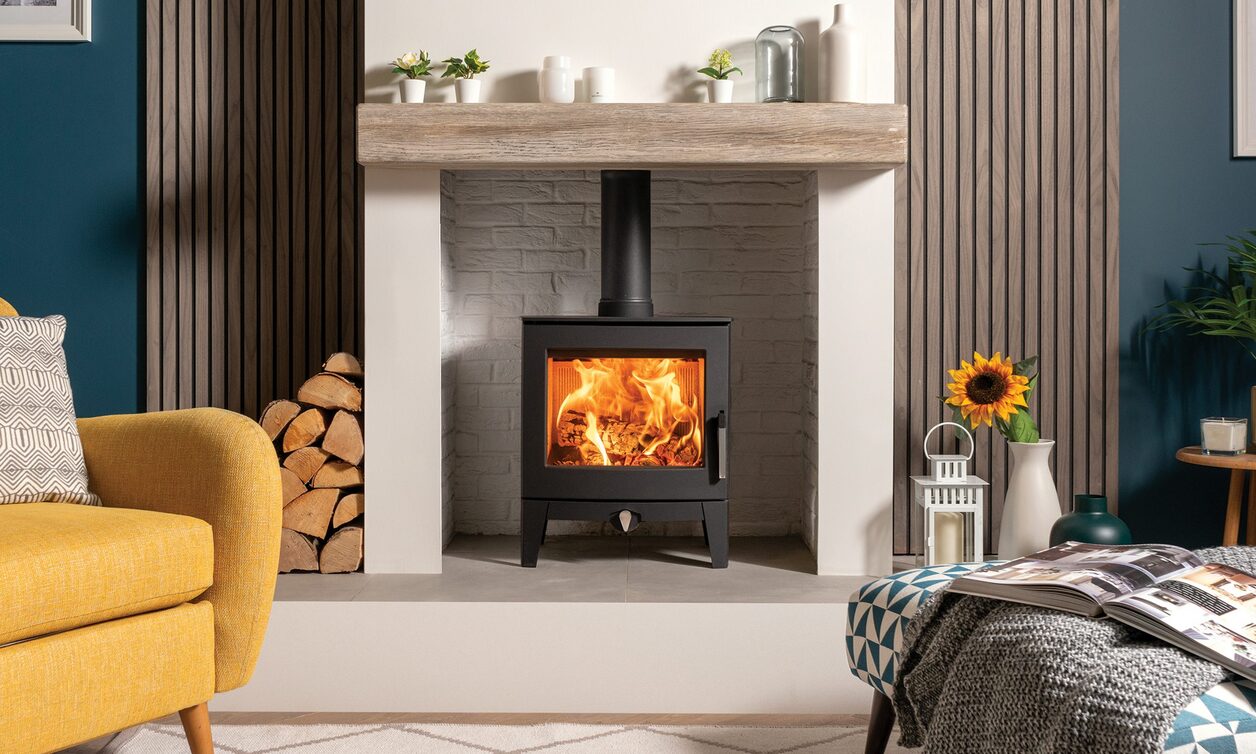
Step 1: Choosing the Right Location
The first step in building a fireplace wall is determining the ideal location for it in your home. Consider the layout of the room, existing furniture placement, and the overall design aesthetic you want to achieve. A well-placed fireplace can become the focal point of the room and create a cozy atmosphere.
Here are a few things to consider when choosing the location:
- Structural Considerations: Ensure that the chosen location can accommodate the weight and size of the fireplace unit. Consult with a structural engineer if needed to ensure the wall can support the fireplace.
- Ventilation: Determine whether the location allows for proper ventilation and chimney installation. If you plan to install a gas fireplace, you will need to have access to a gas line.
- Clearance: Ensure that the fireplace is installed with proper clearance from combustible materials, such as furniture, curtains, or wooden walls. Refer to the manufacturer’s guidelines for specific clearance requirements.
- Aesthetics: Consider the overall design and style of the room. The fireplace should complement the existing decor and architectural features.
Once you have chosen the ideal location, mark the area on the wall to visualize how it will look. This will help you determine the size and dimensions of the fireplace wall and plan the surrounding space accordingly.
Remember, the location of the fireplace is a crucial decision as it will determine the overall layout and design of the room. Take your time to carefully consider all factors before proceeding to the next step.
Step 2: Gathering Materials and Tools
Before you begin the construction of your fireplace wall, it’s essential to gather all the necessary materials and tools. Having everything ready in advance will save you time and ensure a smoother construction process. Here’s a list of materials and tools you’ll likely need:
Materials:
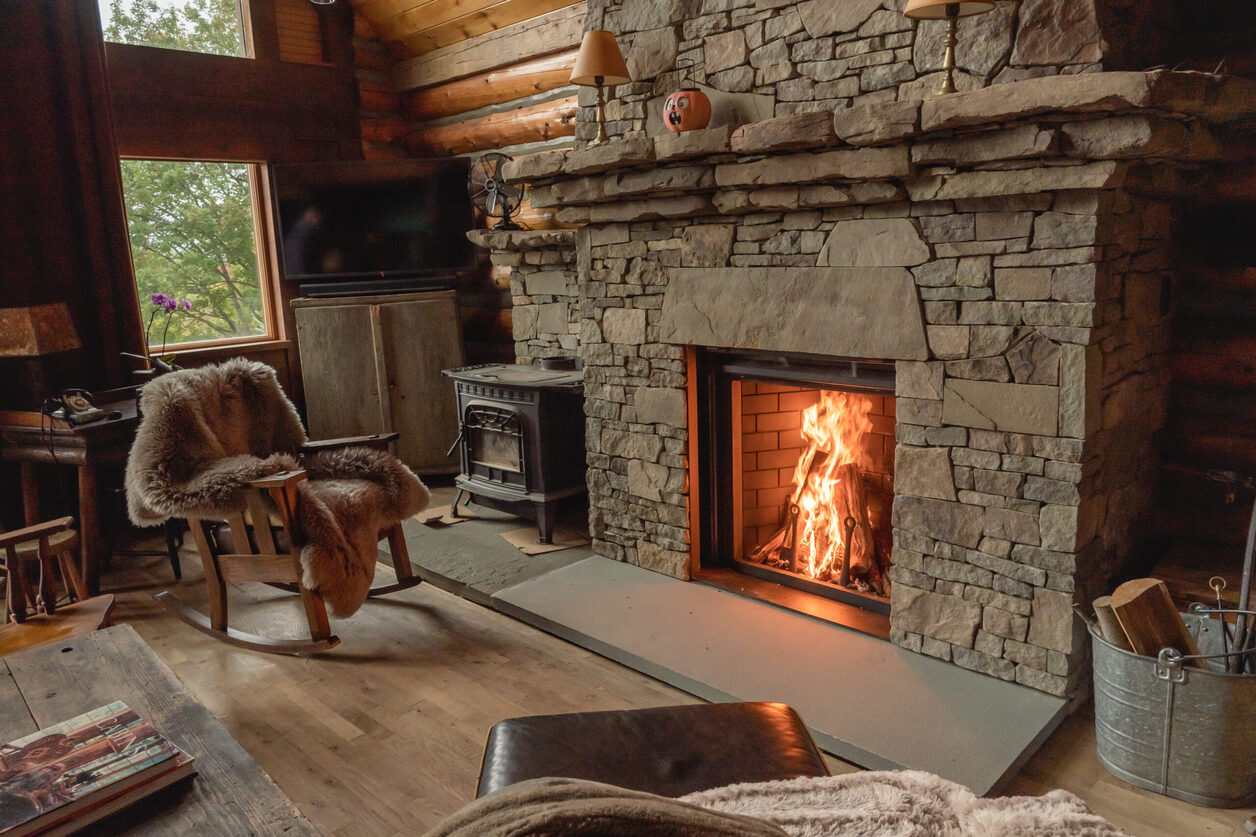
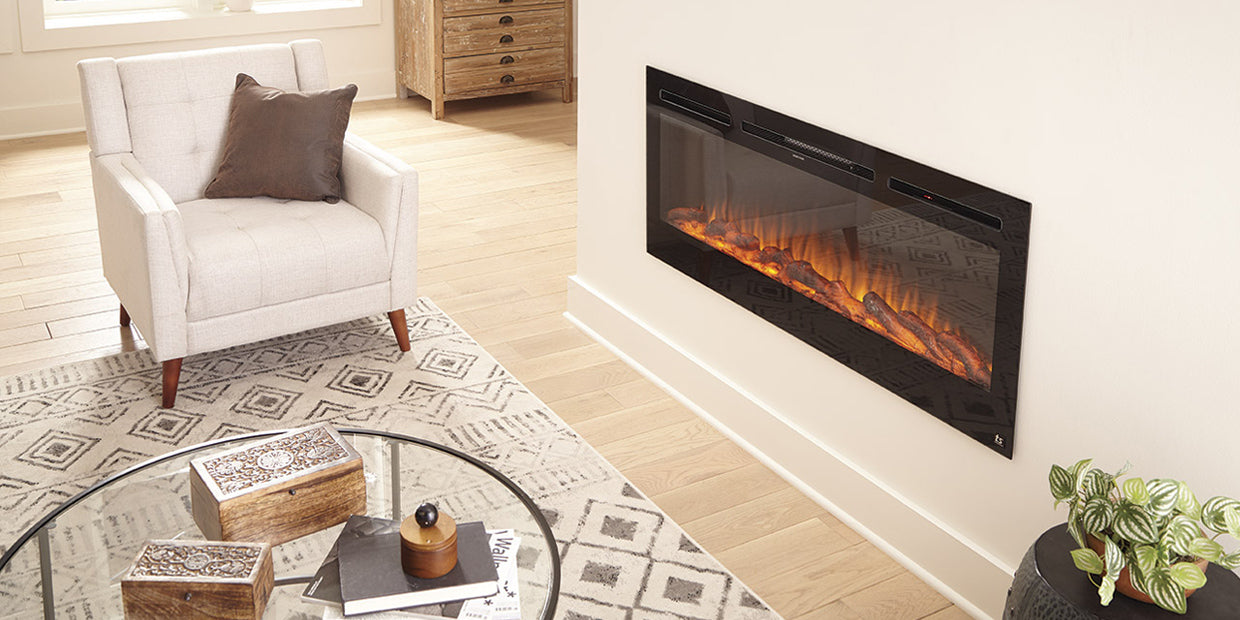
- Fireplace unit: Choose a fireplace unit that suits your style and fits the dimensions of the wall. Options include traditional wood-burning fireplaces, gas fireplaces, or electric fireplaces.
- Fireproof materials: These are essential for constructing the fireplace surround and hearth. Examples include fireproof bricks, stone veneer, or heat-resistant tiles.
- Wall studs and framing materials: Depending on your specific wall construction, you may need wall studs, plywood, drywall, and insulation materials.
- Fireplace accessories: Consider accessories such as a mantel, fireplace screen, and tools for added functionality and style.
- Finishing materials: These include paint, stain, or sealant to add the final touches to your fireplace wall.
Tools:
- Tape measure: For accurate measurements.
- Level: To ensure everything is straight and aligned.
- Power drill: Necessary for attaching materials and creating holes.
- Saw: To cut the materials to the desired dimensions.
- Hammer: For nailing or securing materials.
- Screwdriver: For tightening screws and assembling parts.
- Trowel: Used for applying mortar or adhesive for the fireplace surround.
- Safety equipment: Wear safety goggles, gloves, and a dust mask for protection.
Make a checklist of the required materials and ensure that you have all the necessary tools readily available. If any items are missing, purchase them ahead of time to avoid delays during the construction process.
Now that you have everything you need, you’re ready to move on to the next step: preparing the wall for the fireplace installation.
Step 3: Preparing the Wall
Preparing the wall is a crucial step in building a fireplace wall. This involves making sure the wall is sturdy, properly insulated, and ready to support the weight of the fireplace unit. Here’s what you need to do:
1. Check the Wall:
Inspect the wall to ensure it is in good condition and does not have any structural issues. Repair any cracks, holes, or damage before proceeding. If you are unsure about the wall’s stability, consult a professional for assistance.
2. Remove Existing Wall Coverings:
If there are any existing wall coverings, such as wallpaper or paint, remove them completely. This will provide a clean surface for the fireplace wall construction.
3. Install Insulation:
Proper insulation is essential for energy efficiency and fire safety. Install insulation between the studs to prevent heat transfer to surrounding walls. This will help to maintain a consistent temperature and protect the surrounding materials.
4. Frame the Wall:
If necessary, frame the wall to create a designated space for the fireplace unit. This may involve adding additional studs or creating a recessed area for the fireplace to sit within. Follow the manufacturer’s guidelines for the specific dimensions and spacing required.
5. Apply a Moisture Barrier:
To further protect the wall, apply a moisture barrier, such as a vapor barrier or waterproof membrane, to prevent water penetration and potential damage.
6. Install Sheathing:
Attach sheathing, such as plywood or cement board, to the framing of the prepared wall. This provides a solid surface for the fireplace surround materials to adhere to.
By properly preparing the wall, you will ensure a secure and stable foundation for your fireplace wall. Once the wall is ready, you can move on to the next step: framing the fireplace.
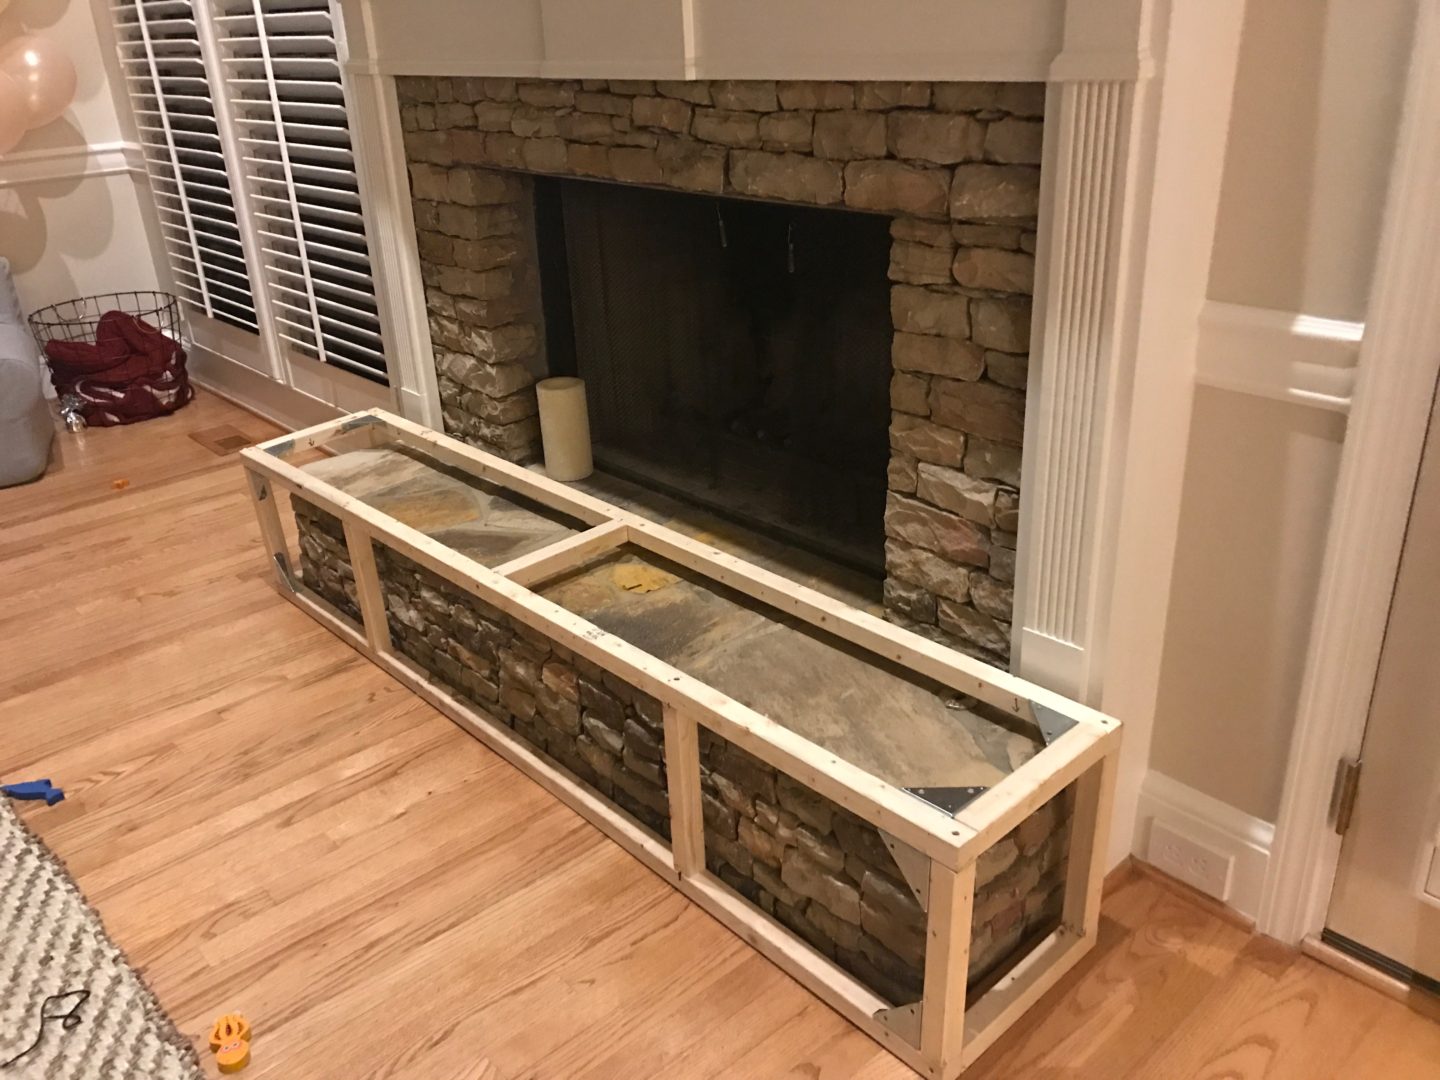
Step 4: Framing the Fireplace
Now that you have prepared the wall, it’s time to move on to framing the fireplace. This step involves creating a structure within the designated space to support the fireplace unit and provide a sturdy frame for the surrounding materials. Follow these steps to frame the fireplace:
1. Measure and Mark:
Measure and mark the precise dimensions of the fireplace unit on the prepared wall. Use a level and tape measure to ensure accuracy.
2. Build the Frame:
Using the measurements as a guide, construct a frame within the marked area. Use lumber or metal studs to create the frame, ensuring it is securely attached to the wall. The frame should be able to support the weight of the fireplace unit and any additional materials.
3. Install Support Brackets:
If necessary, install support brackets or mounting hardware for the specific fireplace unit you have chosen. Follow the manufacturer’s instructions for proper installation.
4. Add Ventilation:
If your fireplace requires ventilation, install the necessary vents or ductwork according to the manufacturer’s specifications. Ensure proper clearance and ventilation requirements are met for safe operation.
5. Check for Level and Plumb:
Use a level to ensure that the frame is perfectly level and plumb. Adjust as needed to achieve a straight and aligned structure.
By framing the fireplace accurately, you will create a solid foundation for the fireplace unit and ensure that it is securely integrated into the wall. Once the framing is complete, you can move on to the next step: installing the fireplace unit.
When building a fireplace wall, be sure to use fire-resistant materials such as stone, brick, or concrete. These materials will help protect the wall from heat and potential fire hazards.
Read more: How To Build A Fireplace
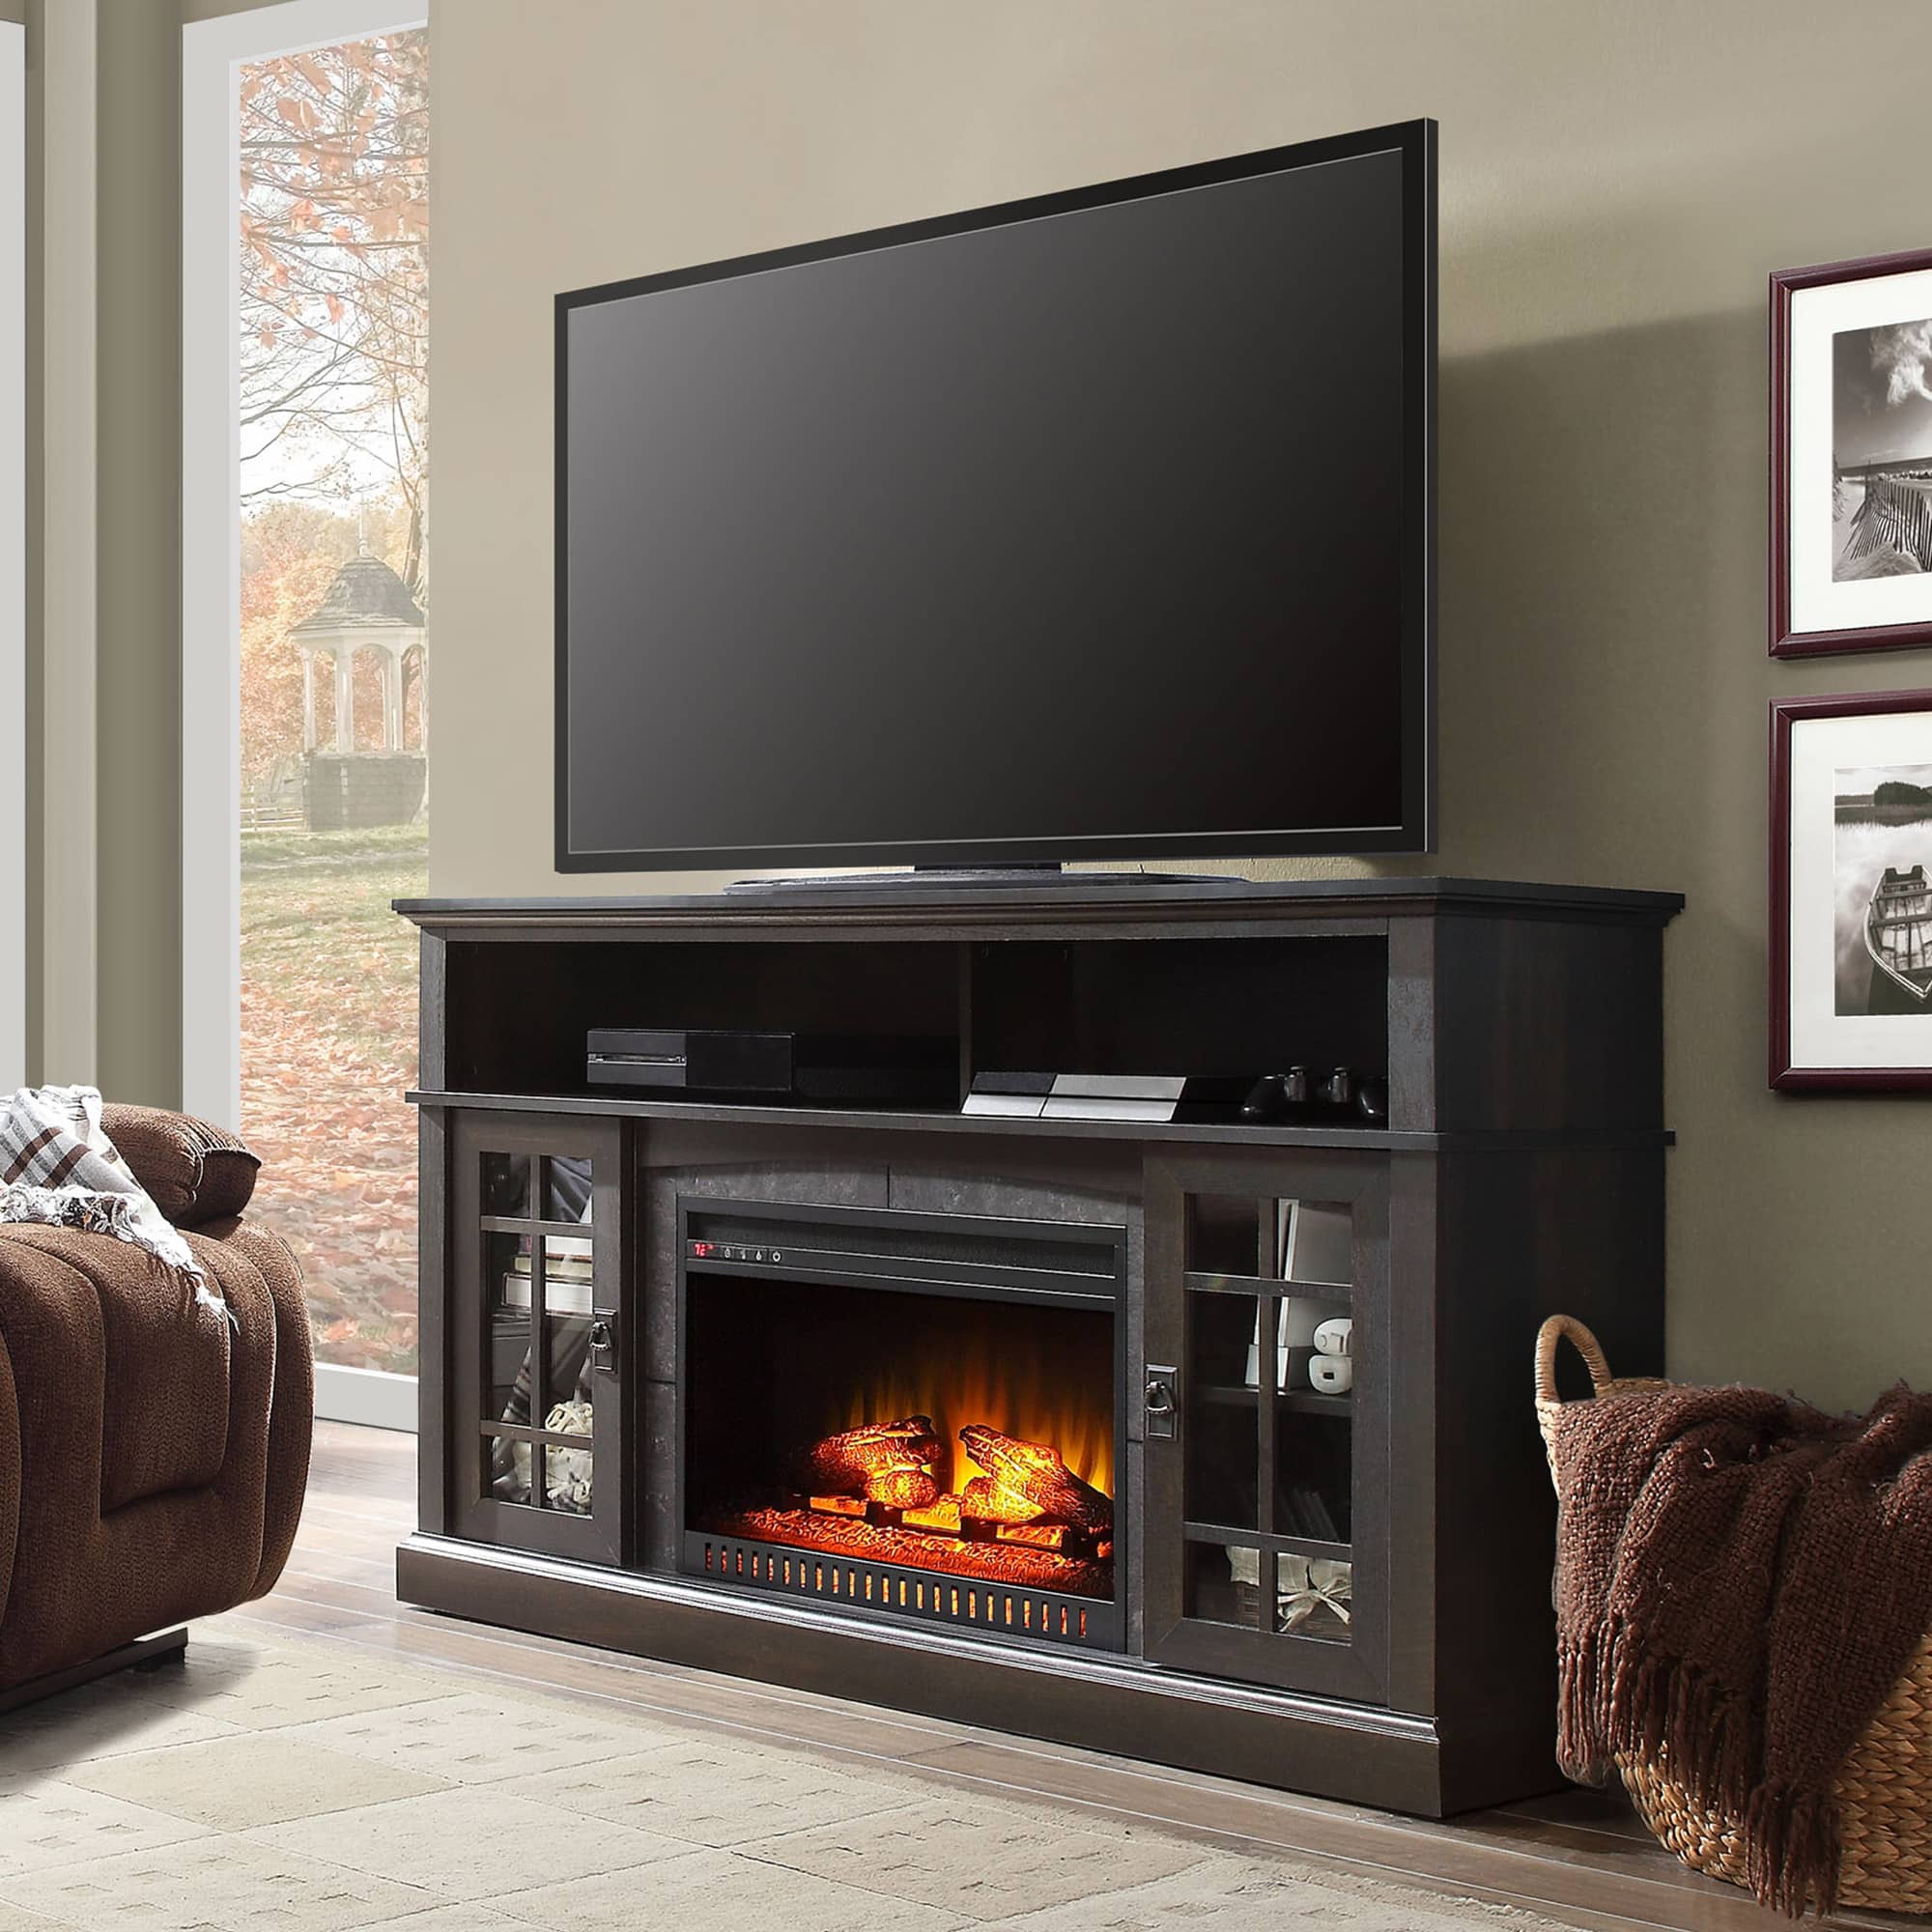
Step 5: Installing the Fireplace Unit
With the framing of the fireplace complete, it’s time to move on to the exciting step of installing the actual fireplace unit. Whether you’ve chosen a wood-burning fireplace, gas fireplace, or electric fireplace, follow these general steps for installation:
1. Review the Manufacturer’s Instructions:
Before beginning the installation, thoroughly review the manufacturer’s instructions specific to your fireplace unit. This will provide guidance on any unique installation requirements or considerations.
2. Connect the Fireplace:
For gas or electric fireplaces, carefully connect the unit to the appropriate fuel or power source. Follow the provided instructions and consult a professional if necessary to ensure safe installation.
3. Place the Fireplace:
With the assistance of others if needed, carefully place the fireplace unit into the framed area. Ensure that it fits securely within the frame and is aligned properly.
4. Secure the Fireplace:
Once the fireplace is in place, use the recommended mounting hardware or brackets to secure it within the frame. This will ensure stability and safety.
5. Connect Ventilation:
If your fireplace requires ventilation, connect the necessary ductwork or vents to ensure proper airflow and exhaust. Follow the manufacturer’s recommendations and ensure compliance with local safety regulations.
6. Test the Fireplace:
Before proceeding to the next step, test the fireplace to ensure it is functioning properly. Follow the manufacturer’s instructions for any required ignitions or initial setup.
By following these steps, you will install the fireplace unit securely and ensure that it is ready for use. Now, let’s move on to the next step: building the surrounding wall to complete the fireplace wall.
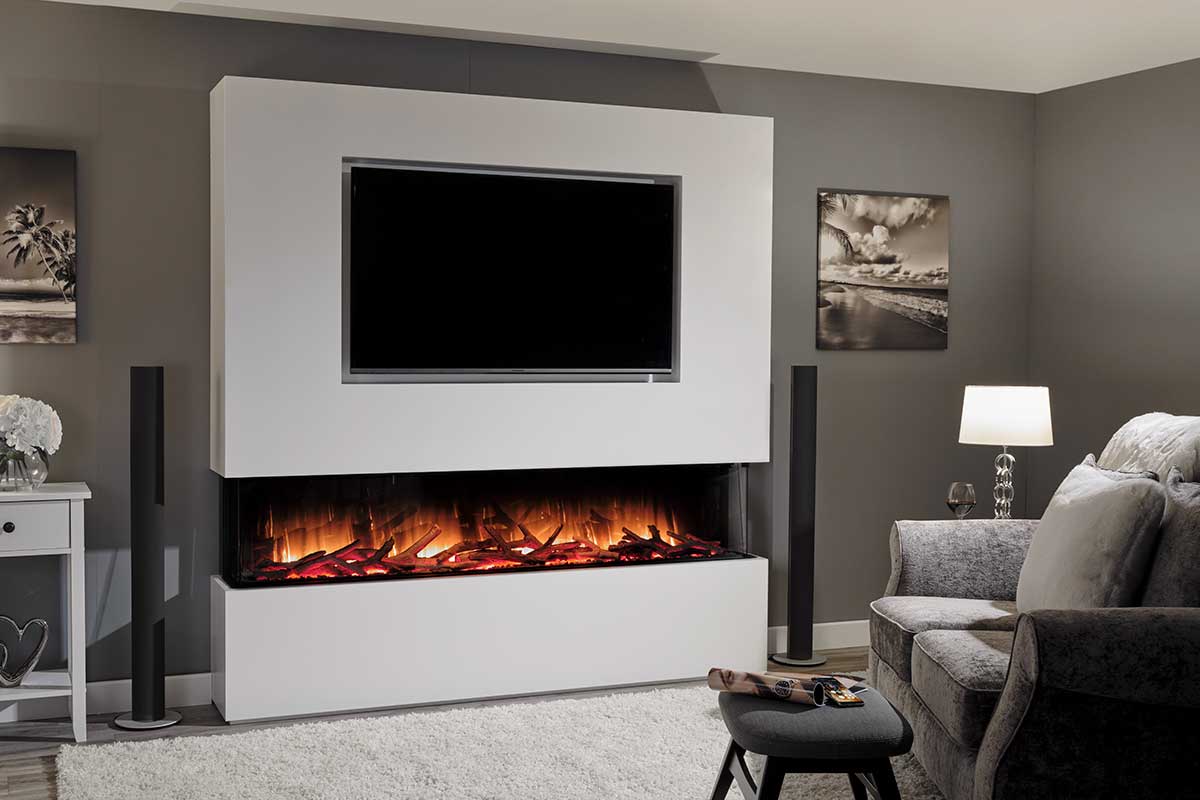
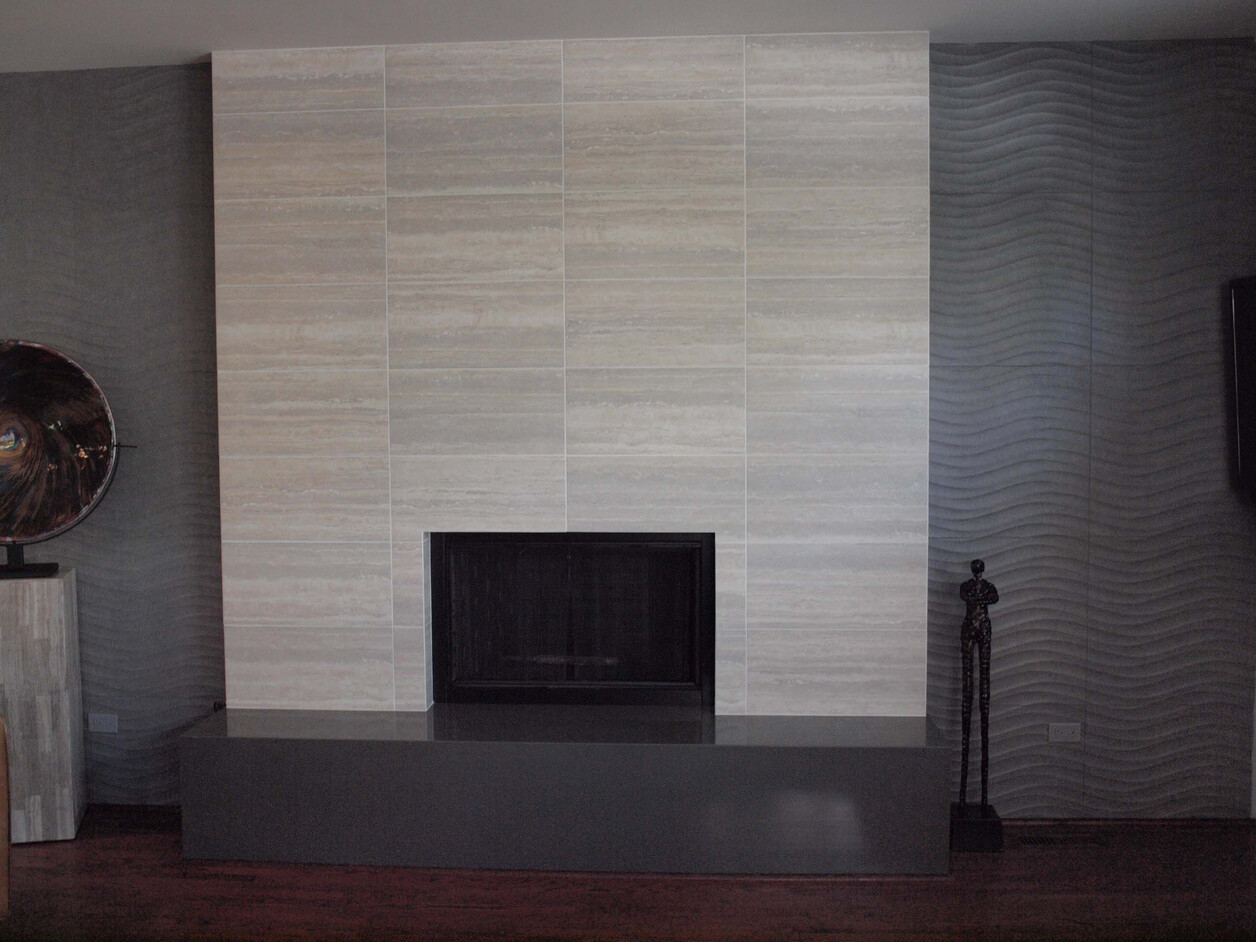
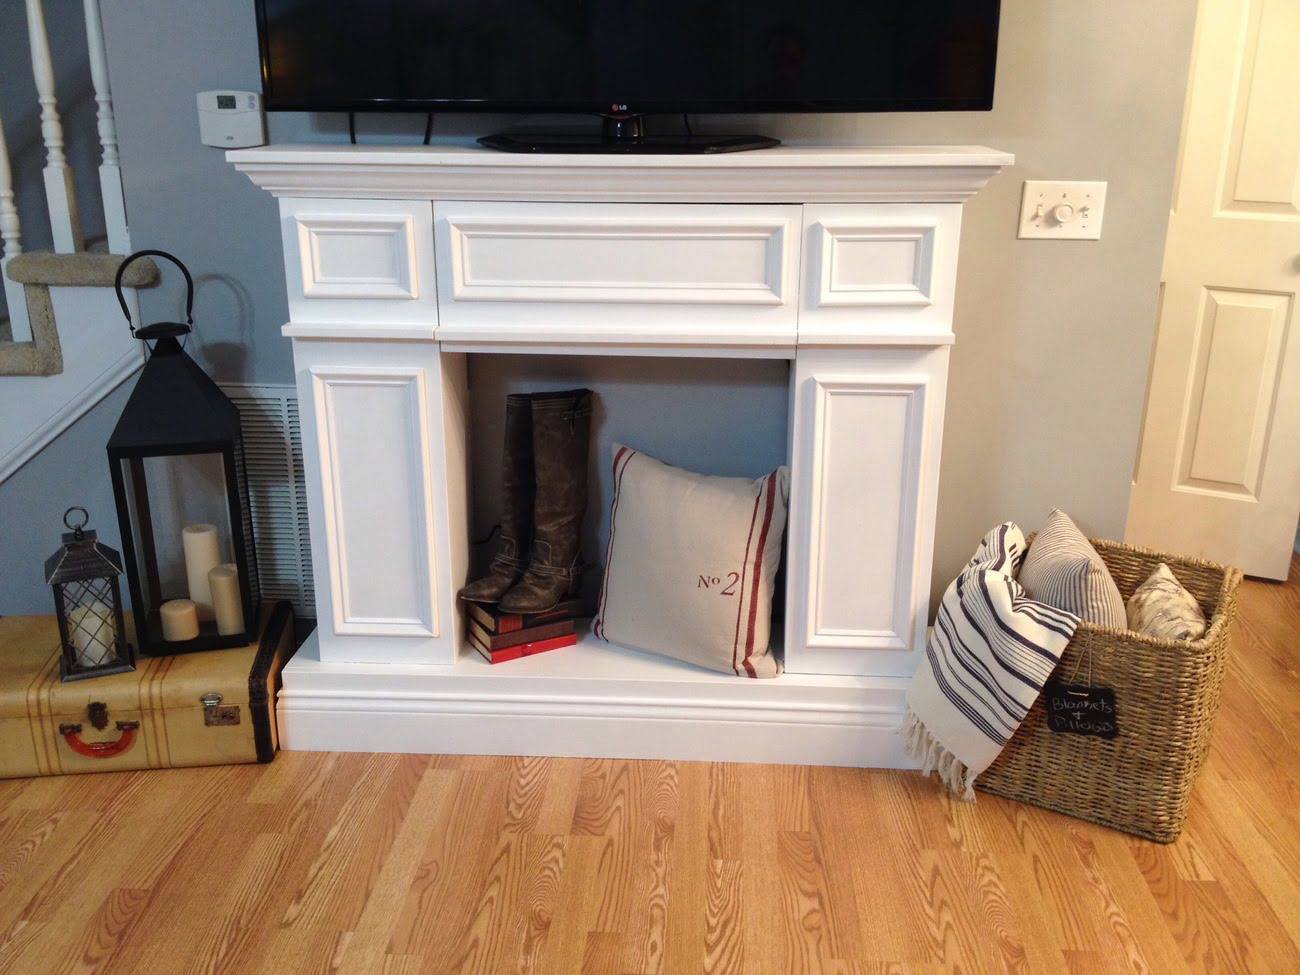
Step 6: Building the Surrounding Wall
Now that the fireplace unit is installed, it’s time to focus on building the surrounding wall to complete the fireplace wall. This step will add the finishing touches and create a seamless integration between the fireplace and the rest of the room. Here’s how to construct the surrounding wall:
1. Plan the Wall Design:
Before you begin construction, take some time to decide on the design and layout of the surrounding wall. Consider factors such as the materials, color, texture, and any additional features such as a mantel or shelving.
2. Measure and Mark:
Measure and mark the desired dimensions of the surrounding wall on the existing wall. Use a level and tape measure to ensure accuracy and straight lines.
3. Install the Support Studs:
Using the marked dimensions as a guide, install the support studs for the surrounding wall. These studs will provide the structure for attaching the wall materials and creating the desired shape and design.
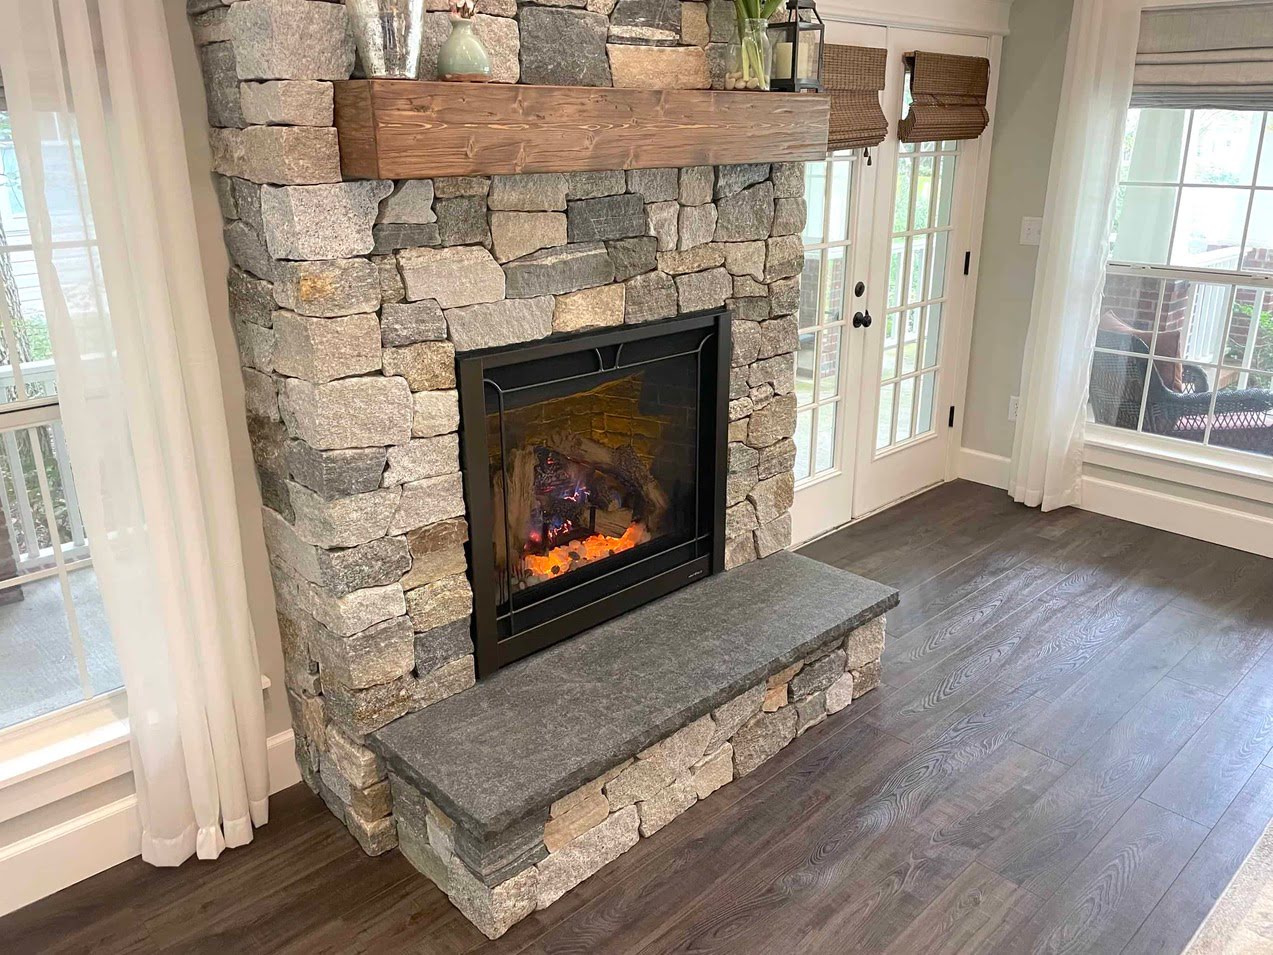
4. Attach the Wall Materials:
Depending on your chosen design, attach the selected materials to the support studs. This can include drywall, plywood, stone veneer, or any other desired materials. Follow proper installation techniques and guidelines specific to the chosen materials.
5. Finish the Wall:
Once the wall materials are attached, finish the surrounding wall by applying any necessary finishes, such as paint or stain. This will give the wall a polished look and tie it into the overall design of the room.
6. Add Additional Features:
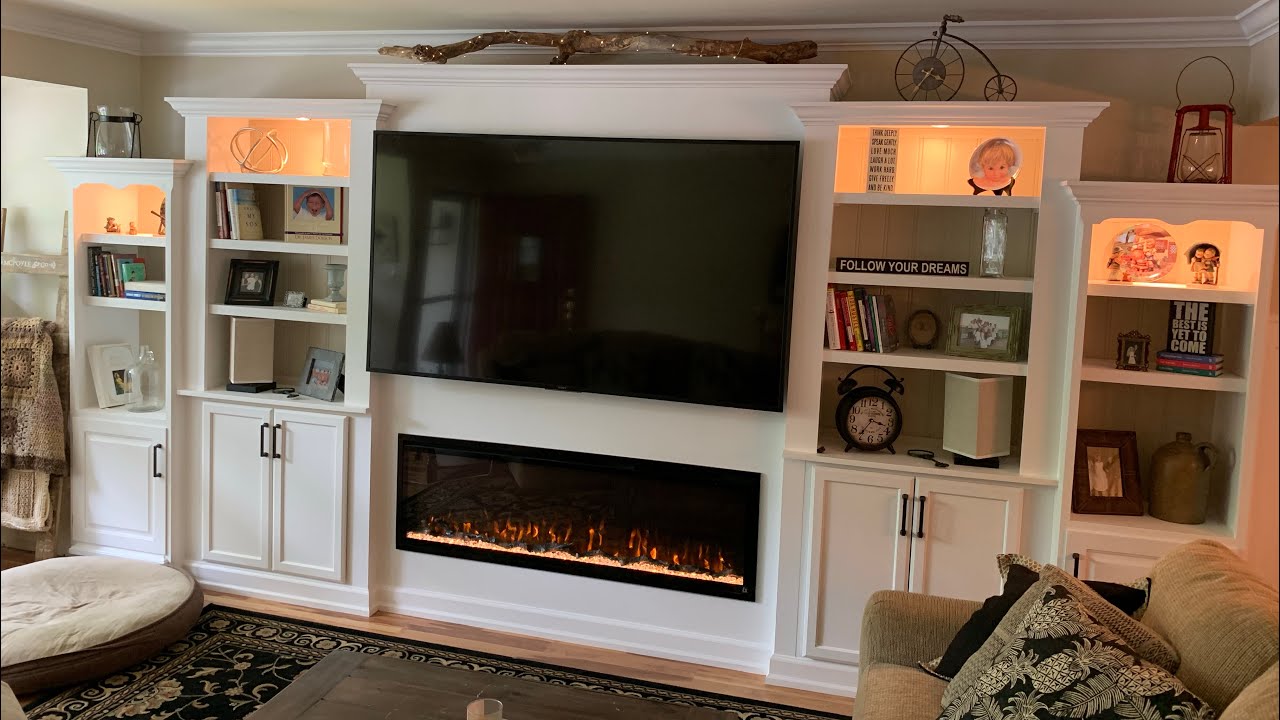
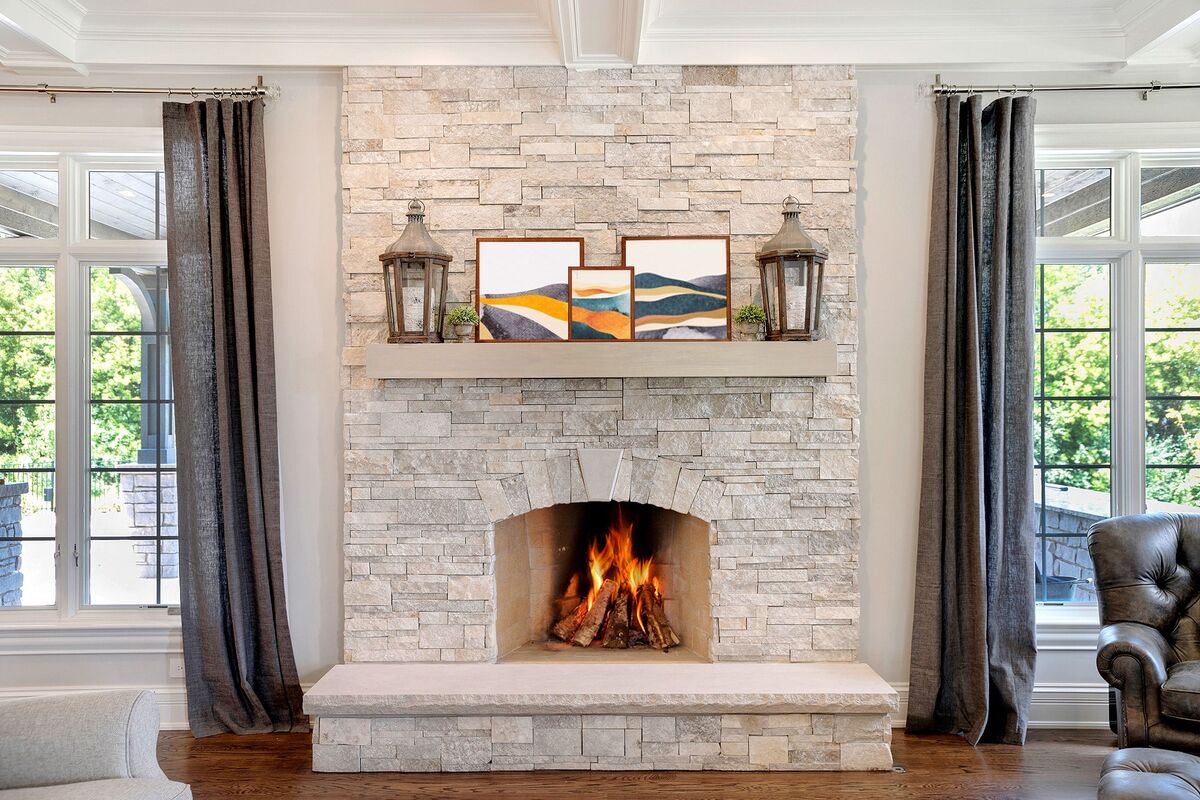
If desired, add any additional features to enhance the functionality or aesthetic appeal of the fireplace wall. This can include a mantel, shelving, artwork, or decorative accents. Ensure that these features are properly secured and complement the overall design.
By following these steps, you will be able to build the surrounding wall and create a visually appealing fireplace wall that seamlessly integrates into your space. Now, let’s move on to the final step: adding the finishing touches.
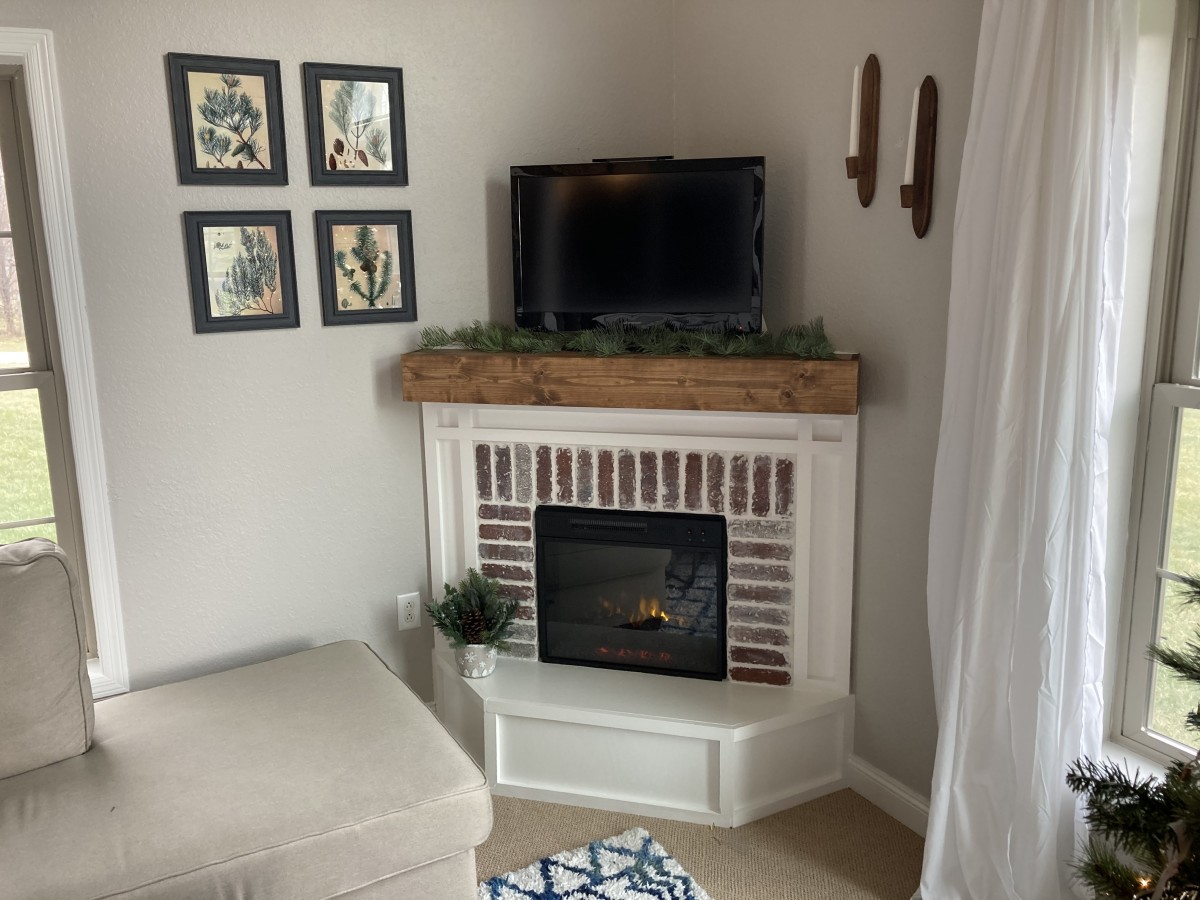
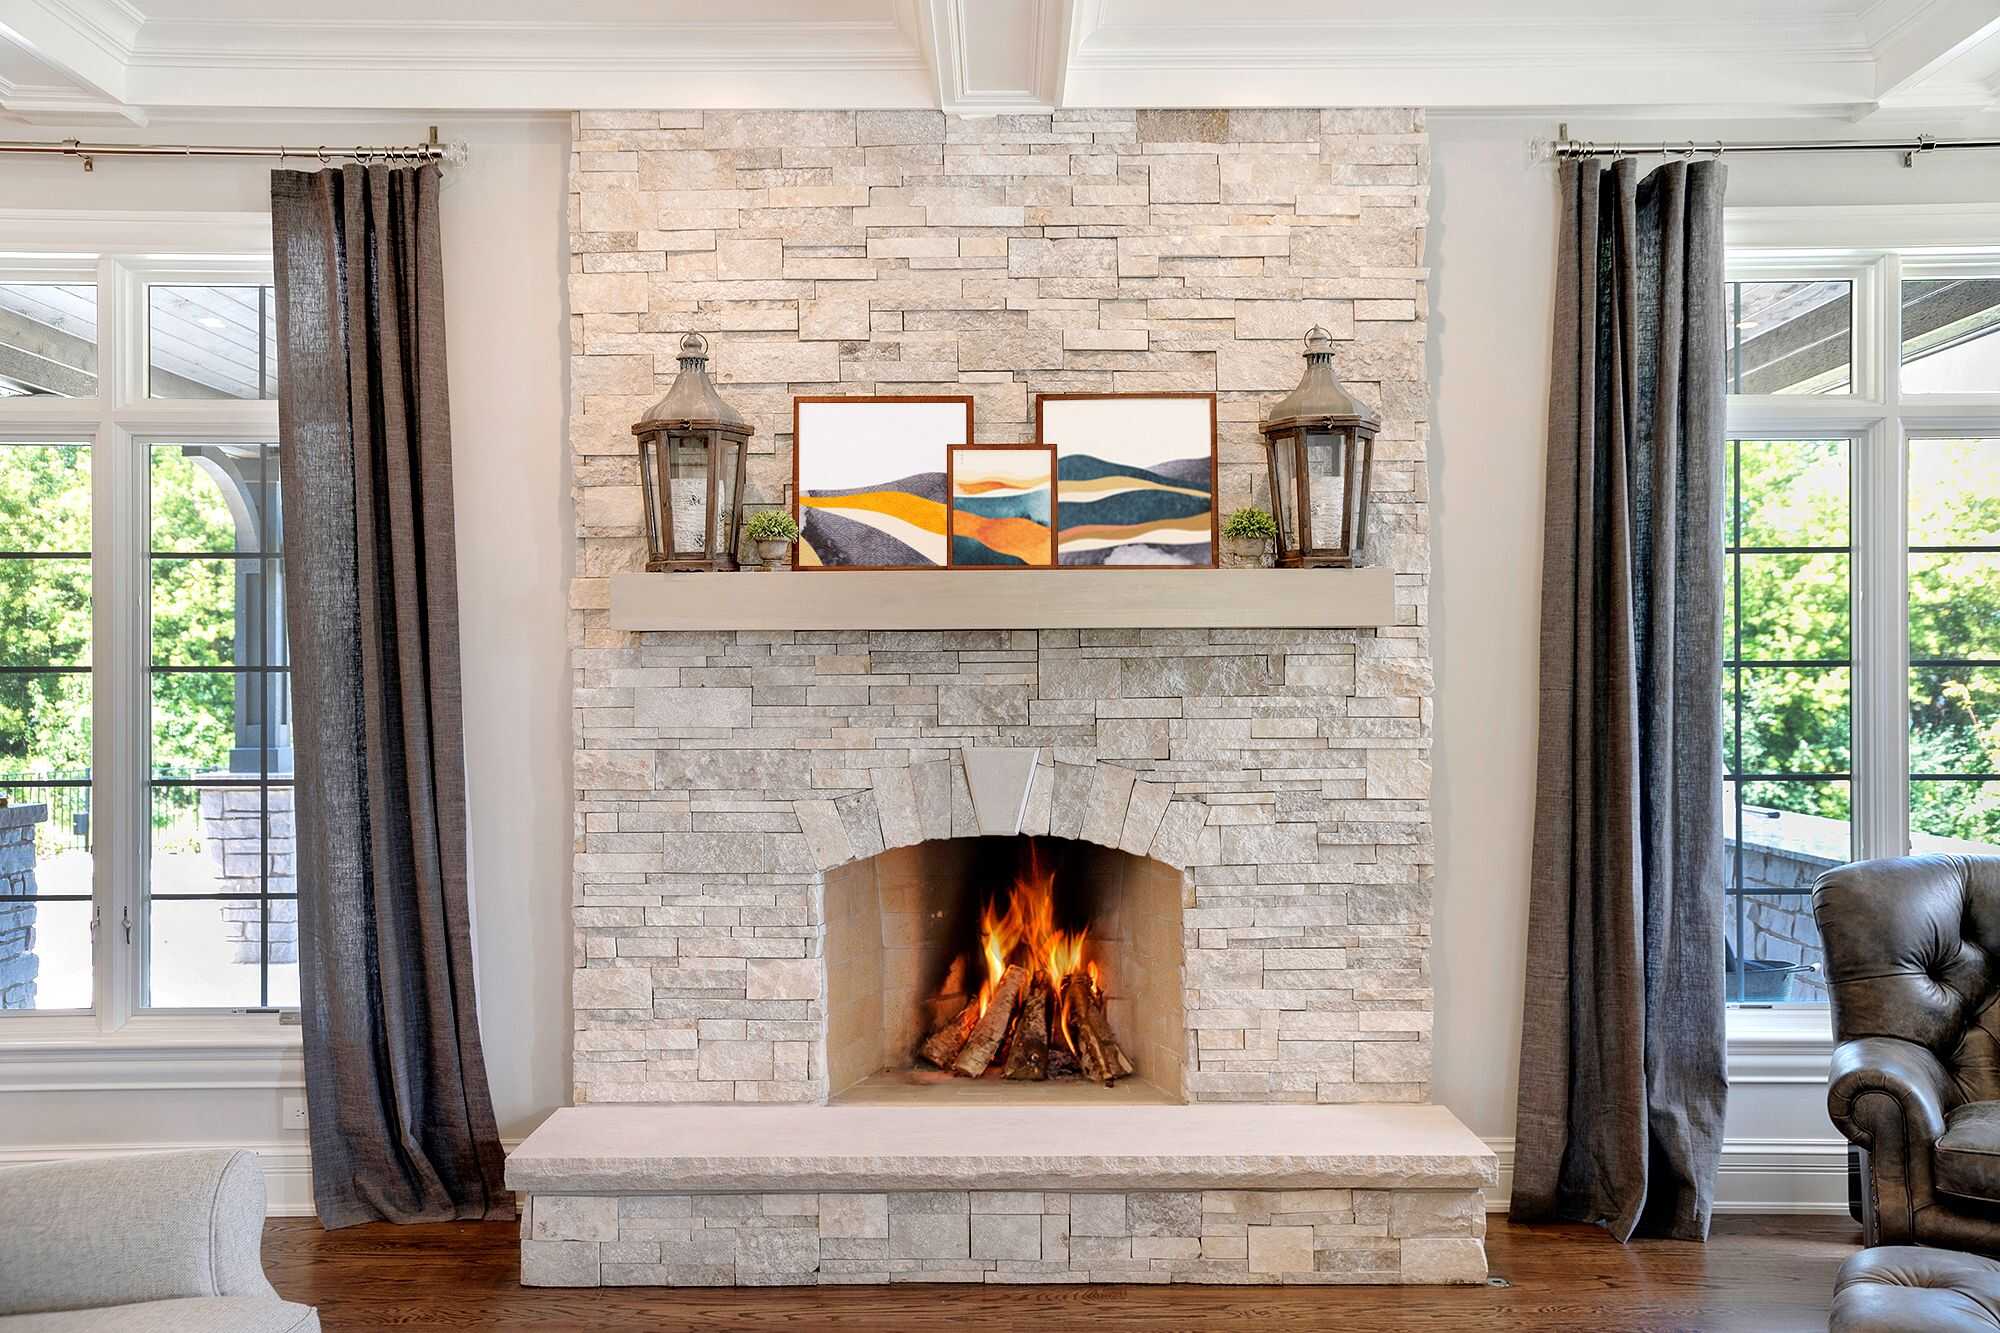
Step 7: Adding Finishing Touches
Congratulations! You’ve reached the final step in building your fireplace wall. Now it’s time to add the finishing touches that will bring your vision to life and make your fireplace wall a stunning centerpiece in your home. Here are some finishing touches you can consider:
1. Decorative Elements:
Add decorative elements to enhance the visual appeal of your fireplace wall. This can include artwork, mirrors, or decorative tiles. Choose pieces that complement the overall style and design of the room.
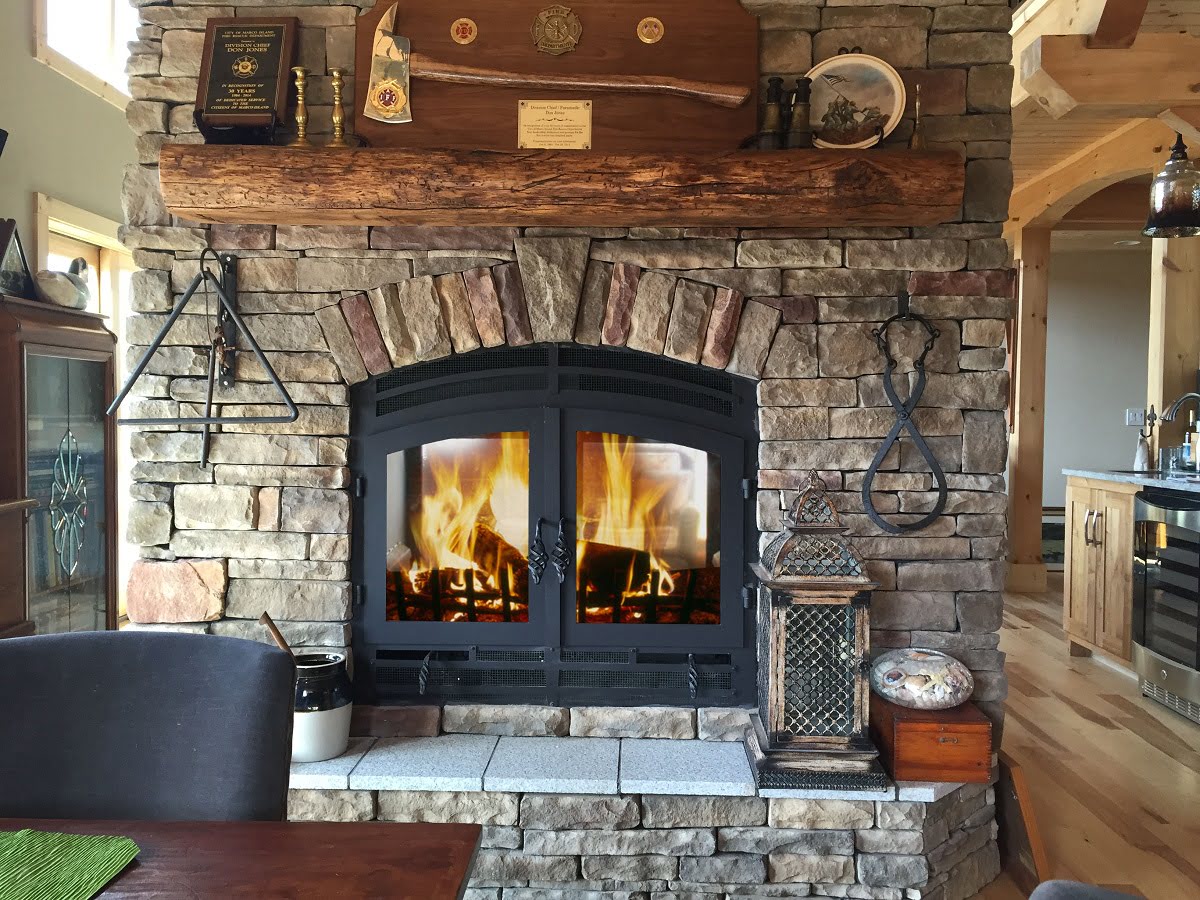
2. Mantel:
If you haven’t already done so, install a mantel above your fireplace. A mantel adds warmth and character to the wall, providing a space to display decor items, family photos, or seasonal decorations.
3. Lighting:
Install appropriate lighting fixtures to highlight the fireplace wall and create a cozy ambiance. Consider wall sconces, recessed lighting, or even adding a dimmer switch to control the brightness.
4. Hearth:
Add a hearth at the base of your fireplace to create a visually appealing and functional area. Choose a material that complements your overall design, such as stone, tile, or a solid surface countertop.
5. Accessories:
Complete the look by adding accessories such as fireplace tools, a screen, or log storage. These functional elements not only enhance the aesthetic appeal but also contribute to the overall functionality of your fireplace.
6. Paint or Finish:
If necessary, paint or finish the surrounding wall and mantel to achieve the desired look. Choose colors and finishes that harmonize with your decor and create a cohesive design theme.
Remember to take your time when adding the finishing touches. It’s these details that will make your fireplace wall truly unique and personalized.
Once you’ve added the finishing touches, step back and admire your masterpiece. A well-constructed fireplace wall can transform any space into a warm and inviting gathering place for your family and friends to enjoy.
With these steps complete, you can now proudly sit back and enjoy the beauty of your newly built fireplace wall. Congratulations on your hard work and successful fireplace wall construction!
Conclusion
Building a fireplace wall is a rewarding project that adds both functionality and beauty to your home. By following the step-by-step process outlined in this article, you have learned the essential steps to create a stunning fireplace wall that becomes the centerpiece of your living space.
From choosing the right location and gathering materials to framing the fireplace, installing the unit, and adding the finishing touches, each step contributes to the overall success of your fireplace wall construction.
Through careful planning, attention to detail, and the use of appropriate materials and tools, you can create a fireplace wall that not only offers warmth and comfort but also enhances the aesthetic appeal of your home.
Remember, safety is paramount when working with fireplaces. Follow all local building codes, manufacturer’s instructions, and consult professionals when necessary to ensure proper installation and use of your fireplace unit.
Whether you prefer the crackling of wood, the convenience of gas, or the versatility of electric, the choice of the fireplace unit is crucial in capturing the desired ambiance for your space. Choose a style and fuel source that aligns with your preferences and fits seamlessly within the overall design of your home.
With the completion of your fireplace wall, you have created a cozy and inviting space that will be the heart of your home. Gather around with loved ones, enjoy the warmth of the fire, and create lasting memories in front of your beautiful fireplace wall.
So go ahead, ignite the spark of creativity and embark on this exciting journey of building your fireplace wall. Let the warmth and charm of your fireplace wall envelop your home and enrich your everyday life.
Frequently Asked Questions about How To Build Fireplace Wall
Was this page helpful?
At Storables.com, we guarantee accurate and reliable information. Our content, validated by Expert Board Contributors, is crafted following stringent Editorial Policies. We're committed to providing you with well-researched, expert-backed insights for all your informational needs.
0 thoughts on “How To Build Fireplace Wall”