Articles
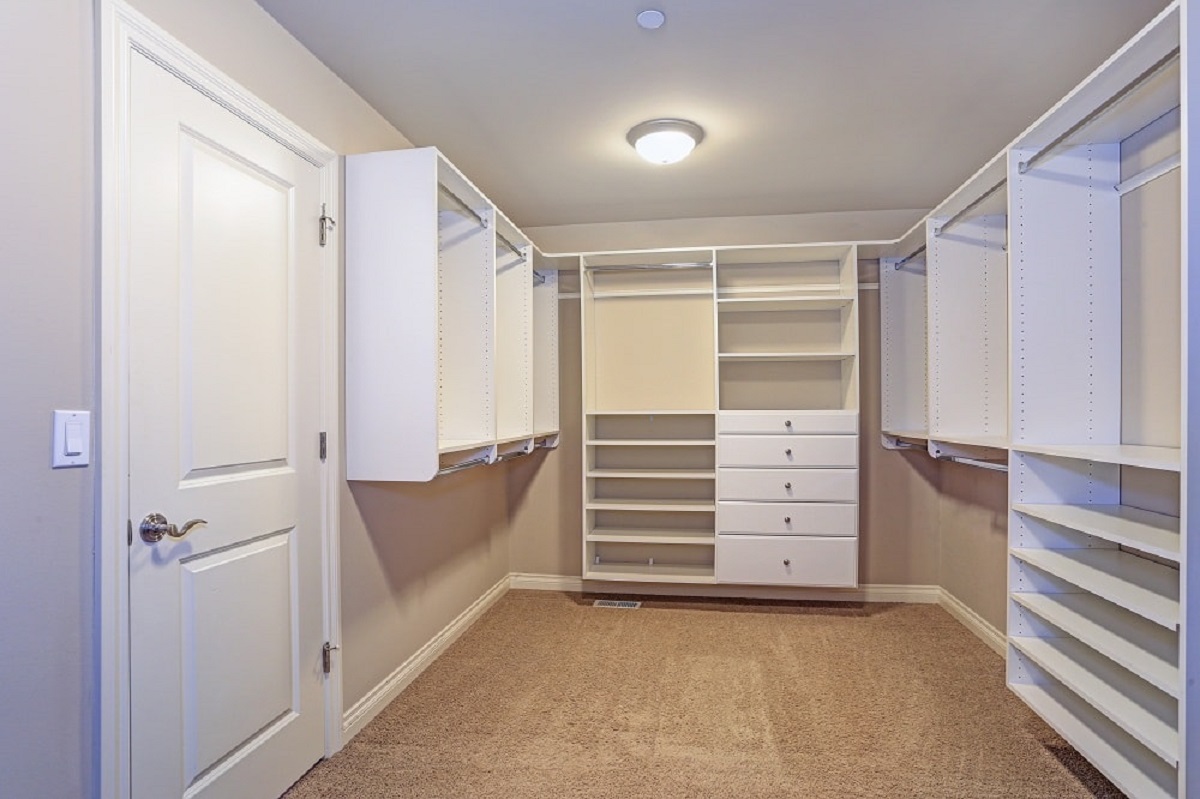
How To Paint A Closet
Modified: September 1, 2024
Learn how to paint your closet with these interior design tips. Transform your space with a fresh coat of paint and create a stylish and organized look.
(Many of the links in this article redirect to a specific reviewed product. Your purchase of these products through affiliate links helps to generate commission for Storables.com, at no extra cost. Learn more)
Introduction
Welcome to our comprehensive guide on how to paint a closet. Whether you’re looking to spruce up your closet’s appearance or simply give it a fresh new look, painting is a great way to achieve a stylish and personalized space. With the right preparation and techniques, you can transform your closet into a beautiful and functional area that complements the overall aesthetic of your home.
In this step-by-step tutorial, we will walk you through the entire process of painting a closet. From preparing the surfaces to choosing the right paint and applying it evenly, we’ll cover everything you need to know to achieve professional-looking results. So, let’s dive in and get started on your closet transformation!
Please keep in mind that the specific steps and materials required may vary depending on the type and condition of your closet. Prior to beginning the painting process, assess your closet’s condition and make sure you have all the necessary tools and supplies on hand. Safety should be a priority, so remember to wear appropriate protective gear, such as gloves and goggles, when working with paint and other chemicals.
Now, let’s embark on this exciting journey of transforming your closet with a fresh coat of paint!
Key Takeaways:
- Transform your closet into a stylish and personalized space by following our comprehensive guide on painting. From preparation to final touches, achieve professional results and enjoy a fresh, vibrant storage area.
- Elevate your home’s aesthetic with a freshly painted closet. Learn the importance of proper preparation, priming, and choosing the right paint to create a polished and functional space that reflects your personal style.
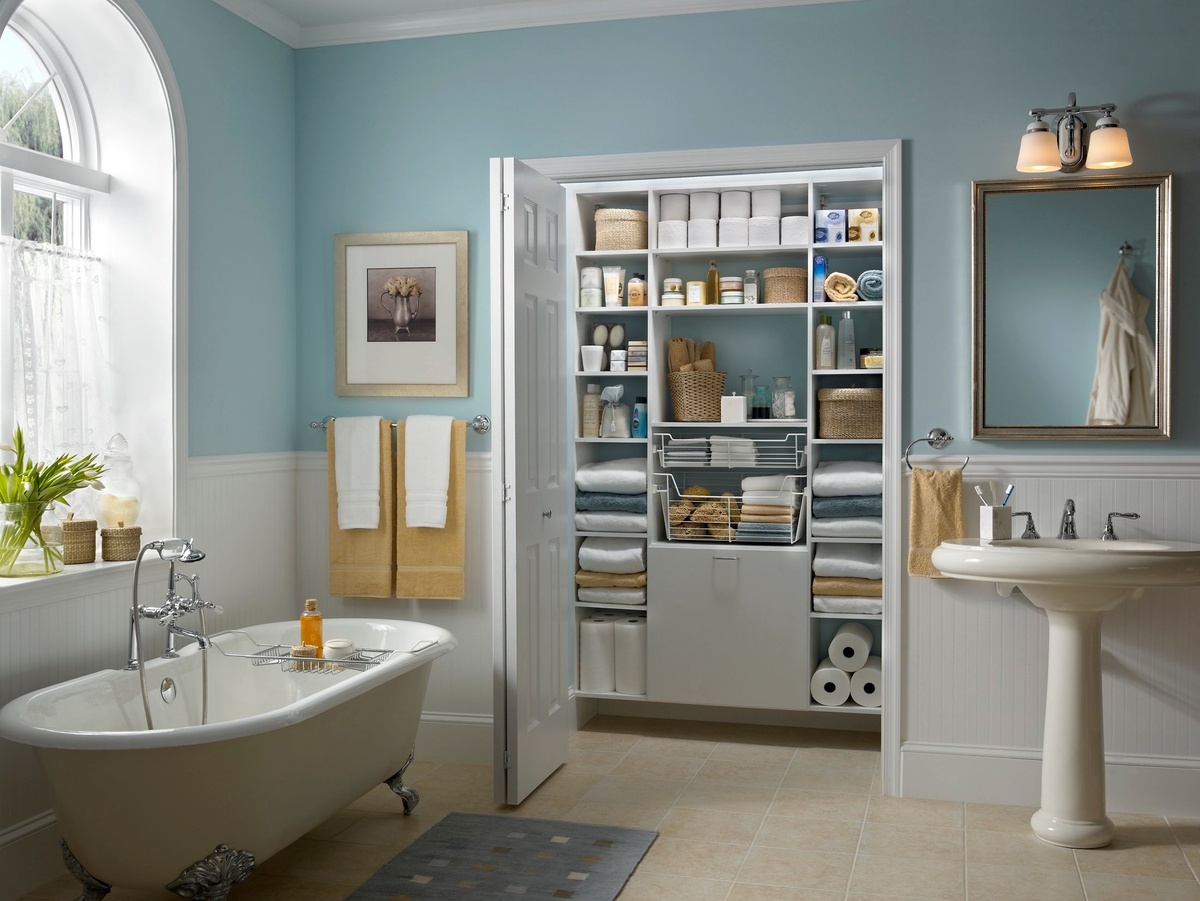
Read more: How To Make A Closet
Step 1: Preparing the closet
Before you start painting, it’s crucial to properly prepare the closet to ensure a smooth and long-lasting finish. Follow these steps to get your closet ready for the paint:
- Clear out the contents: Empty the closet of all clothing, shoes, and accessories. This will give you ample space to work and prevent any potential damage to your belongings.
- Remove any obstructions: Take out any hanging rods, hooks, or other hardware from the closet. This will allow you to paint the walls and surfaces without any hindrances.
- Protect the surrounding areas: Cover the floor with drop cloths or plastic sheets to catch any drips or spills. Use painter’s tape to protect baseboards, trim, and adjacent walls from accidental paint splatters.
- Repair any damage: Inspect the closet for any cracks, holes, or other imperfections. Fill them with a spackle or wood filler, and sand them smooth once dry. This will help create a flawless surface for the paint to adhere to.
- Clean the surfaces: Use a mild detergent solution or a household cleaner to remove dust, dirt, and grease from the closet surfaces. Wipe them down with a clean cloth or sponge, and let them dry completely.
By taking the time to properly prepare the closet, you’ll ensure that the paint adheres smoothly and uniformly, resulting in a professional-looking finish. Now that the closet is ready, we can move on to the next step: removing shelves and hardware.
Step 2: Removing shelves and hardware
Now that your closet is prepared, it’s time to remove any shelves, rods, or hardware that may obstruct the painting process. Follow these steps to safely remove them:
- Empty the shelves: Take all the items off the shelves and set them aside. This will prevent any damage to your belongings during the removal process.
- Unscrew the hardware: Using a screwdriver or appropriate tool, carefully remove any screws or bolts that hold the shelves, rods, or hardware in place. Keep the screws and hardware in a safe place so that they are not misplaced or lost.
- Label the parts: If you plan to reassemble the closet with the same configuration, it’s helpful to label each shelf or rod and its corresponding location. This will make it easier to reinstall them correctly later.
- Store the hardware: Place the screws, bolts, and other small hardware in a plastic bag or container and label it accordingly. This will keep everything organized and prevent any items from getting lost.
By removing shelves and hardware, you create a clear canvas for painting without any obstacles. It also allows you to paint those areas more easily and achieve a more polished final result. Next, we will move on to step 3: cleaning the surfaces.
Step 3: Cleaning the surfaces
After removing shelves and hardware, it’s essential to clean the closet surfaces thoroughly to ensure proper adhesion of the paint. Follow these steps to clean the surfaces effectively:
- Dust the walls: Use a duster, soft brush, or microfiber cloth to gently remove any dust or loose particles from the closet walls. Pay special attention to corners and crevices where dirt tends to accumulate.
- Remove stains: Inspect the walls for any stains or marks. Use a mild detergent solution and a sponge or cloth to gently scrub away the stains. Rinse the area with clean water and wipe it dry.
- Check for grease: Closets located in the kitchen or near cooking areas may have grease buildup. Use a grease-cutting cleaner or a solution of warm water and dish soap to remove grease stains. Rinse thoroughly and let the walls dry.
- Treat mold or mildew: If there is any presence of mold or mildew on the walls, it’s crucial to address it before painting. Use a bleach solution or a fungicidal cleaner as recommended by the manufacturer to kill and remove mold or mildew. Let the walls dry completely.
- Rinse the surfaces: Once you have cleaned the closet surfaces, use a damp cloth or sponge to rinse away any remaining cleaning solution. Make sure all the soap residue is removed to prevent it from affecting the paint’s adhesion.
By cleaning the surfaces thoroughly, you ensure that the paint adheres properly and provides a smooth and flawless finish. Removing dust, stains, grease, and mold not only improves the appearance of the closet but also helps the paint last longer. With the surfaces cleaned, we can now proceed to step 4: sanding the closet.
Step 4: Sanding the closet
Once you have cleaned the surfaces of your closet, the next step is to sand it. Sanding helps to smooth out any rough areas, removes imperfections, and provides a better surface for paint adhesion. Follow these steps to sand your closet:
- Gather the necessary tools: You will need sandpaper of medium to fine grit (between 120-220) and a sanding block or sanding sponge. Choose sandpaper appropriate for the material of your closet.
- Sand the closet surfaces: Start by sanding the walls, shelves, and other surfaces of the closet in a circular or back-and-forth motion. Focus on areas that have blemishes, rough spots, or old paint flakes. Sand in one direction to achieve a uniform finish.
- Pay attention to corners and edges: Use the sanding block or sponge to sand hard-to-reach areas, corners, and edges carefully. This will ensure a smooth transition between surfaces and improve the overall appearance.
- Remove sanding dust: After sanding, use a clean, damp cloth or sponge to wipe away the sanding dust from the closet surfaces. Make sure to remove all the dust particles that could affect the paint application.
- Inspect the surfaces: Take a close look at the sanded surfaces to ensure they are smooth and free of imperfections. If necessary, lightly sand any remaining rough spots or uneven areas until they are smooth and consistent.
Sanding the closet helps to create a clean and smooth surface for paint application. It allows the paint to adhere better and results in a more professional-looking finish. Once you have completed the sanding process, you are ready for the next step: priming the closet.
Read more: How To Frame Closet
Step 5: Priming the closet
Priming is an essential step in the painting process as it creates a smooth and uniform surface, enhances paint adhesion, and helps the topcoat to adhere better. Follow these steps to prime your closet:
- Gather the necessary supplies: You will need a high-quality primer suitable for the material of your closet, a roller or brush for application, and a paint tray.
- Prepare the primer: Refer to the manufacturer’s instructions for the specific primer you are using. Stir the primer thoroughly to ensure it is well mixed and ready for application.
- Start with the corners and edges: Using a brush, begin by priming the corners, edges, and hard-to-reach areas of the closet. Apply a thin and even coat of primer, taking care not to apply too much at once.
- Prime the larger surfaces: Once you have completed the corners and edges, use a roller or brush to apply the primer to the larger surfaces of the closet. Work in small sections, applying the primer in smooth, overlapping strokes.
- Allow the primer to dry: Follow the drying time mentioned on the primer container. It is crucial to let the primer dry completely before moving on to the next step.
- Inspect for any missed spots: After the primer has dried, check the closet surfaces for any areas that may have been missed. If necessary, apply additional primer to ensure complete coverage.
Priming your closet creates a solid foundation for the paint and helps to achieve a more professional and durable finish. It helps to seal the surfaces, prevent stains, and ensures that the paint color shows accurately. Once you have primed the closet, you are ready to choose the right paint in the next step.
When painting a closet, be sure to remove all items and clean the surfaces thoroughly. Use a high-quality primer to ensure good adhesion and finish with a durable, washable paint for long-lasting results.
Step 6: Choosing the right paint
When it comes to painting your closet, selecting the right paint is crucial for achieving the desired results. Here are some factors to consider when choosing the right paint:
- Type of paint: Choose a paint specifically designed for the surface of your closet. For example, latex or water-based paints work well for most closet surfaces. However, if your closet has a glossy or oil-based paint, you may need to use a primer specifically formulated for bonding with oil-based paint.
- Finish: Consider the type of finish that suits your closet. Flat or matte finishes can hide imperfections but are less durable and may be more difficult to clean. Satin or semi-gloss finishes are more resistant to stains and easier to clean, making them suitable for high-traffic areas like closets.
- Color: Choose a color that matches your aesthetic preferences and complements the overall design of your space. Take into account the lighting in your closet as well.
- Quality: Invest in a high-quality paint that offers good coverage, durability, and longevity. This will ensure that your closet looks great and withstands wear and tear over time.
- Environmental considerations: Opt for paints that are low in volatile organic compounds (VOCs) to minimize exposure to harmful chemicals and reduce the odor during and after painting.
Consider visiting a paint store or consulting with professionals for guidance on selecting the best paint for your specific closet needs. They can provide recommendations based on your preferences, budget, and the surface you are working with. It’s important to remember that the right paint can significantly enhance the overall appearance and durability of your newly painted closet.
Once you have chosen the perfect paint, you’re ready to move on to the exciting step of actually painting your closet in the next step: Step 7 – Painting the closet.
Step 7: Painting the closet
The time has finally come to apply a fresh coat of paint to your closet! Follow these steps to ensure a smooth and professional-looking paint job:
- Gather the necessary supplies: You will need your chosen paint, a paint roller or brush, a paint tray, drop cloths or plastic sheets to protect the surrounding areas, and painter’s tape if needed.
- Start with the edges and corners: Use a brush to carefully paint along the edges, corners, and other areas that are difficult to reach with a roller. Take your time and apply the paint evenly.
- Paint the larger surfaces: Pour the paint into the paint tray and load your roller. Begin painting the larger surfaces of the closet in smooth, overlapping strokes. Keep the roller evenly coated with paint and maintain a consistent pressure for an even application.
- Work in sections: Divide the closet into manageable sections to ensure you maintain a wet edge while painting. This will prevent visible seams or lines between sections.
- Apply additional coats: Allow the first coat to dry completely before applying additional coats. Depending on the color and coverage desired, you may need two or more coats of paint. Follow the drying time specified on the paint can between each coat.
- Remove painter’s tape: If you have used painter’s tape to protect the surrounding areas, remove it carefully while the final coat of paint is still slightly wet. This will prevent any peeling or damage to the paint.
Remember to maintain a consistent painting technique throughout the process for a seamless and professional finish. Take breaks as needed to prevent fatigue and ensure your strokes remain steady and precise.
Once you have applied the final coat of paint and allowed it to dry, you can move on to the next step: Step 8 – Applying additional coats.
Step 8: Applying additional coats
Applying additional coats of paint is often necessary to achieve full coverage, depth of color, and a professional finish. Follow these steps to ensure the best results when applying additional coats:
- Inspect the first coat: Once the first coat of paint has dried, carefully examine the closet surfaces for any thin or uneven areas. Note any spots that need additional coverage or touch-ups.
- Prepare the paint: Stir the paint thoroughly to ensure even distribution of pigments. If needed, strain the paint to remove any clumps or debris that may have formed.
- Touch up any imperfections: Use a brush to touch up any areas that require additional coverage, such as visible brush strokes, thin spots, or missed spots. Apply the paint evenly and blend it with the surrounding areas.
- Apply the second coat: Using the same techniques as in Step 7, apply a second coat of paint to the entire closet surfaces, including the areas that have been touched up. Ensure consistent coverage and maintain a wet edge while painting.
- Allow proper drying time: Depending on the type of paint and environmental conditions, allow each additional coat to dry fully before applying the next one. Follow the drying time guidelines provided by the paint manufacturer.
- Assess the need for more coats: Evaluate the appearance of the closet after the second coat has dried. If you still see any unevenness or translucency, you may need to apply a third coat or more until you achieve the desired coverage and depth of color.
Applying additional coats of paint enhances the overall finish and ensures a more professional look. It also increases the durability and longevity of the painted surfaces. Remember to take your time and maintain a consistent painting technique throughout the process. Once you are satisfied with the coverage and appearance, you are ready to move on to the next step: Step 9 – Reinstalling shelves and hardware.
Read more: How To Design A Closet
Step 9: Reinstalling shelves and hardware
Now that you have successfully painted your closet, it’s time to reinstall the shelves and hardware to complete the transformation. Follow these steps to ensure a smooth reinstallation:
- Organize the shelves and hardware: Lay out all the shelves, rods, hooks, and other hardware in an organized manner. This will make it easier to locate and reinstall each item.
- Refer to your labeled parts: If you had labeled the shelves and hardware during the removal process, use those labels as a reference to reinstall them in the same configuration. This will ensure that everything fits correctly.
- Affix the shelves: Depending on the type of shelving system you have, use screws or brackets to secure the shelves in their designated locations. Make sure they are level and securely attached to the closet walls or supports.
- Hang the rods and hooks: Install the rods and hooks according to your preferred arrangement. Use the necessary hardware, such as brackets or screws, to secure them firmly in place.
- Check for stability: After reinstalling all the shelves and hardware, check for stability and ensure that everything is securely fastened. Give each item a gentle tug to ensure it can support the weight it is intended for.
By reinstalling the shelves and hardware, you restore functionality to your closet while maintaining the fresh new look created by the paint. Take your time during this step to ensure everything is properly aligned and secure. Once you have completed the reinstallation process, you’re almost done!
In the final step, Step 10 – Cleaning up and final touches, we’ll cover how to clean up the painting tools and add some final touches to complete your newly painted closet.
Step 10: Cleaning up and final touches
Congratulations, you’re almost finished with your closet painting project! In this final step, we’ll cover how to clean up your painting tools and add some final touches to complete the transformation:
- Clean your painting tools: Rinse your paint brushes, rollers, and any other tools you used for painting. Use soap and warm water for latex paint or the appropriate solvent for oil-based paint. Make sure to remove all paint residue and allow the tools to dry completely before storing them.
- Remove drop cloths and protective coverings: Carefully remove the drop cloths or plastic sheets that were used to protect the surrounding areas. Fold them up and dispose of any paint debris in a proper manner.
- Inspect and touch up: Take a close look at your newly painted closet and inspect for any missed spots, drips, or imperfections. Touch up these areas by using a small brush and the same paint color as needed.
- Replace lighting fixtures and accessories: If you had removed any lighting fixtures or accessories before painting, now is the time to reinstall them. Follow the manufacturer’s instructions for proper installation.
- Organize and enjoy your newly painted closet: Now that your closet is fresh, clean, and beautifully painted, take the opportunity to organize your belongings and arrange them in an aesthetically pleasing way. Enjoy the transformed space and the satisfaction of a job well done!
Remember, proper maintenance and care will help your newly painted closet withstand daily use and maintain its appearance. Avoid harsh cleaning chemicals that may damage the paint, and address any spills or stains promptly.
With the cleaning and final touches complete, you have successfully painted and rejuvenated your closet. Take a step back, admire your hard work, and enjoy your beautifully transformed space!
Thank you for following this step-by-step guide on how to paint a closet. We hope it has been helpful and that you have achieved the desired results. Happy organizing!
Conclusion
Congratulations on successfully completing the process of painting your closet! By following the step-by-step guide outlined in this article, you have transformed a dull and outdated space into a fresh and vibrant storage area. Not only does a freshly painted closet enhance the overall aesthetic appeal of your home, but it also adds a personal touch to reflect your style and personality.
Throughout the journey of painting your closet, you have learned the importance of proper preparation, including clearing out the contents, removing shelves and hardware, cleaning the surfaces, and sanding to achieve a smooth finish. Additionally, you have gained insights into the significance of priming the closet to create an ideal surface for paint adhesion and the careful selection of the right paint type, finish, color, and quality.
Applying multiple coats of paint and reinstalling shelves and hardware have added depth and functionality to your closet, while the final touches and cleaning process have given your newly painted space a polished and professional look.
Remember, maintaining your newly painted closet is key to its longevity and beauty. Regularly clean the surfaces with gentle, non-abrasive cleaning solutions, and promptly address any spills or stains to preserve the paint’s integrity.
Let this closet painting project inspire you to explore further creative endeavors within your home. Whether it’s refreshing other rooms, experimenting with different color schemes, or even taking on more ambitious home improvement projects, the possibilities are endless.
Thank you for joining us on this journey of transforming your closet. We hope this guide has provided you with the knowledge and confidence to undertake future painting projects and make your home a space that truly reflects your personal style and taste.
Happy painting and organizing!
Frequently Asked Questions about How To Paint A Closet
Was this page helpful?
At Storables.com, we guarantee accurate and reliable information. Our content, validated by Expert Board Contributors, is crafted following stringent Editorial Policies. We're committed to providing you with well-researched, expert-backed insights for all your informational needs.


0 thoughts on “How To Paint A Closet”