Articles
How To Build A Ships Ladder
Modified: August 28, 2024
Learn how to build a ships ladder with our comprehensive articles. Start your DIY project today and create a functional and stylish addition to your home.
(Many of the links in this article redirect to a specific reviewed product. Your purchase of these products through affiliate links helps to generate commission for Storables.com, at no extra cost. Learn more)
Introduction
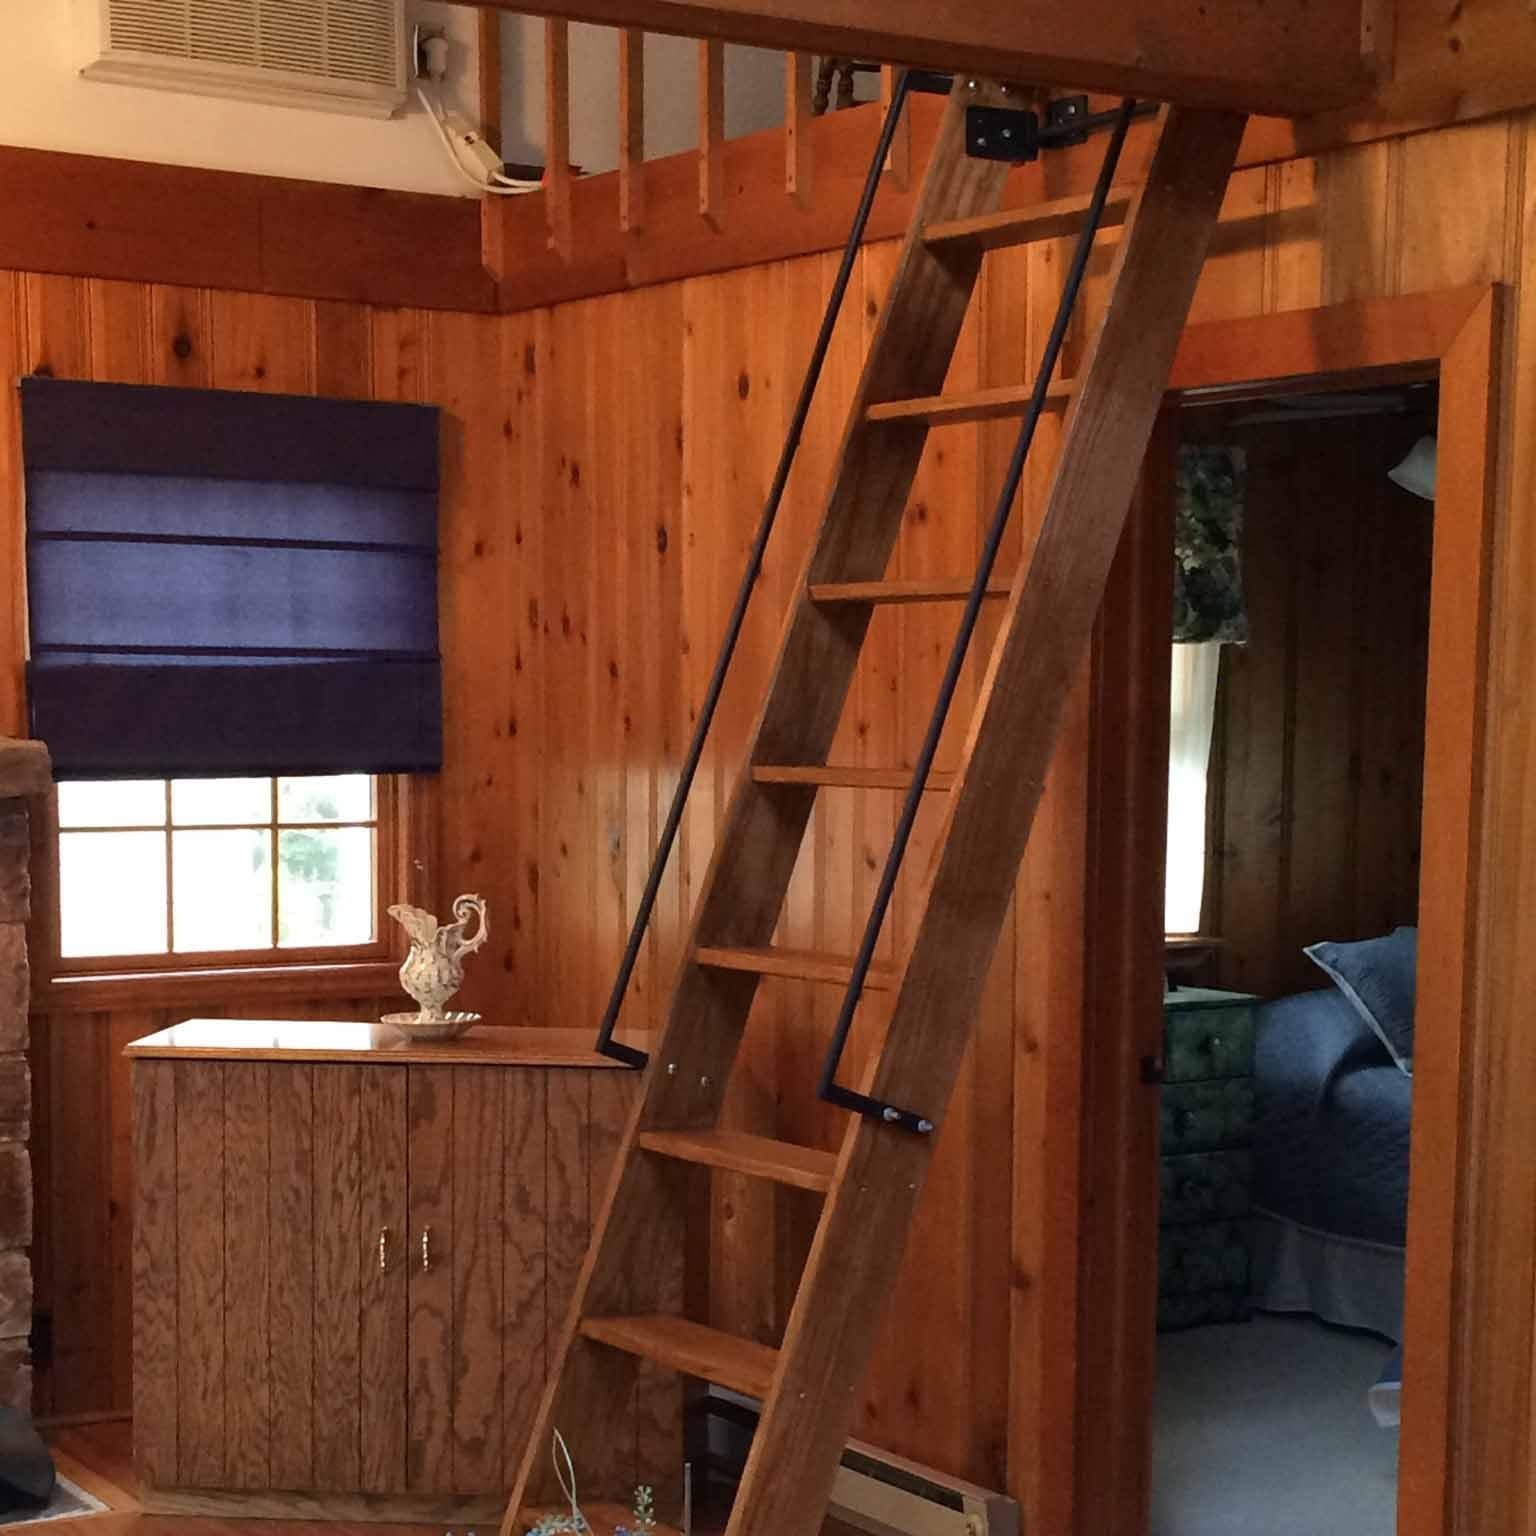
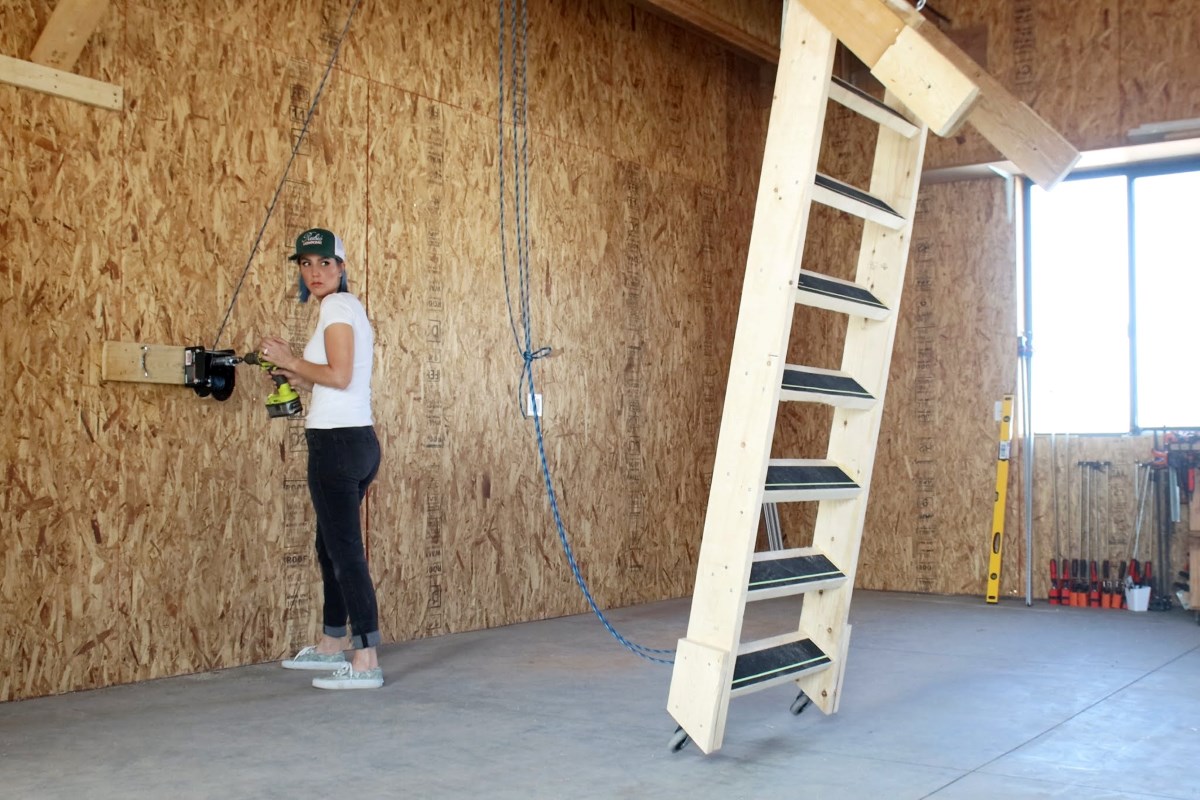
Building a ship’s ladder can be a rewarding and practical project. Whether you need to access a loft, attic, or upper deck, a ship’s ladder provides a safe and convenient way to climb up and down. In this article, we will guide you through the step-by-step process of building your own ship’s ladder.
Before we get started, it’s important to note that building a ship’s ladder requires some basic woodworking skills and knowledge of tools. If you’re new to woodworking or DIY projects, we recommend doing some research and familiarizing yourself with the tools and techniques involved before diving in.
Now that we’ve covered the basics, let’s move on to the first step in building a ship’s ladder – gathering the necessary materials and tools.
Key Takeaways:
- Building a ship’s ladder requires careful planning, precise measurements, and attention to safety. By following the step-by-step process and considering finishing touches, you can create a sturdy and secure ladder for accessing higher spaces.
- Prioritizing safety is crucial when constructing and using a ship’s ladder. From securing the ladder in place to adding non-slip surfaces and regular maintenance, taking proper safety measures ensures a reliable and safe climbing environment.
Read more: How To Build Wooden Ladder
Step 1: Gather Materials and Tools
Before you begin building your ship’s ladder, you’ll need to gather all the necessary materials and tools. Here’s a list of what you’ll need:
- Wood: Choose a strong and durable wood that can withstand weight and frequent use. Popular options include oak, pine, or maple.
- Ladder Rails: You’ll need two long pieces of wood to serve as the ladder rails. The length will depend on the height of your ladder.
- Ladder Rungs: Measure the desired distance between each rung and determine how many rungs you’ll need. Cut them to length from the same wood as the ladder rails.
- Screws or Nails: Use screws or nails to secure the ladder rungs to the rails.
- Saw: A saw will be necessary for cutting the wood to the desired lengths.
- Drill: You’ll need a drill to create pilot holes for the screws or nails.
- Sandpaper: Sand the wood to smooth any rough edges.
- Tape Measure: Use a tape measure to accurately measure the lengths of the ladder rails and rungs.
- Safety Equipment: Don’t forget to wear safety goggles, gloves, and a dust mask when working with wood and power tools.
Once you have all the necessary materials and tools, you’re ready to move on to the next step – measuring and cutting the ladder rails.
Step 2: Measure and Cut the Ladder Rails
Now that you have gathered all the materials and tools, it’s time to measure and cut the ladder rails. The ladder rails are the two long pieces of wood that will form the sides of the ladder.
Start by determining the desired height of your ladder. Measure from the floor to the desired top of the ladder, taking into account any additional height for the ladder to rest securely at the top.
Once you’ve determined the height, transfer those measurements onto your wood. Use a tape measure to mark the length of the ladder rails, ensuring they are equal in size.
Next, use a saw to cut the ladder rails to the desired length. Ensure your cuts are straight and clean to ensure a secure and stable ladder.
After cutting the ladder rails, use sandpaper to smooth any rough edges and create a smooth surface. This will prevent splinters and provide a finished look.
Once you have measured and cut the ladder rails, it’s time to move on to the next step – creating the rungs.
Step 3: Create the Rungs
With the ladder rails ready, it’s time to move on to creating the rungs. The rungs are the horizontal pieces of wood that provide a surface to step on when using the ladder.
Start by measuring and marking the desired distance between each rung. This will depend on your preference and the intended use of the ladder. Ensure the spacing is consistent throughout for a uniform look.
Using the same wood as the ladder rails, cut the rungs to the appropriate length. Make sure the width of the rungs matches the width of the ladder rails to ensure a snug fit.
Once you have cut the rungs, use sandpaper to smooth any rough edges. This will provide a comfortable and safe climbing surface.
At this point, you may also want to consider adding a decorative element to the rungs. You can use a router or chisel to create grooves or patterns on the surface of the rungs. This will add visual interest and personalize your ladder.
With the rungs created, it’s time to move on to the next step – attaching the rungs to the ladder rails.
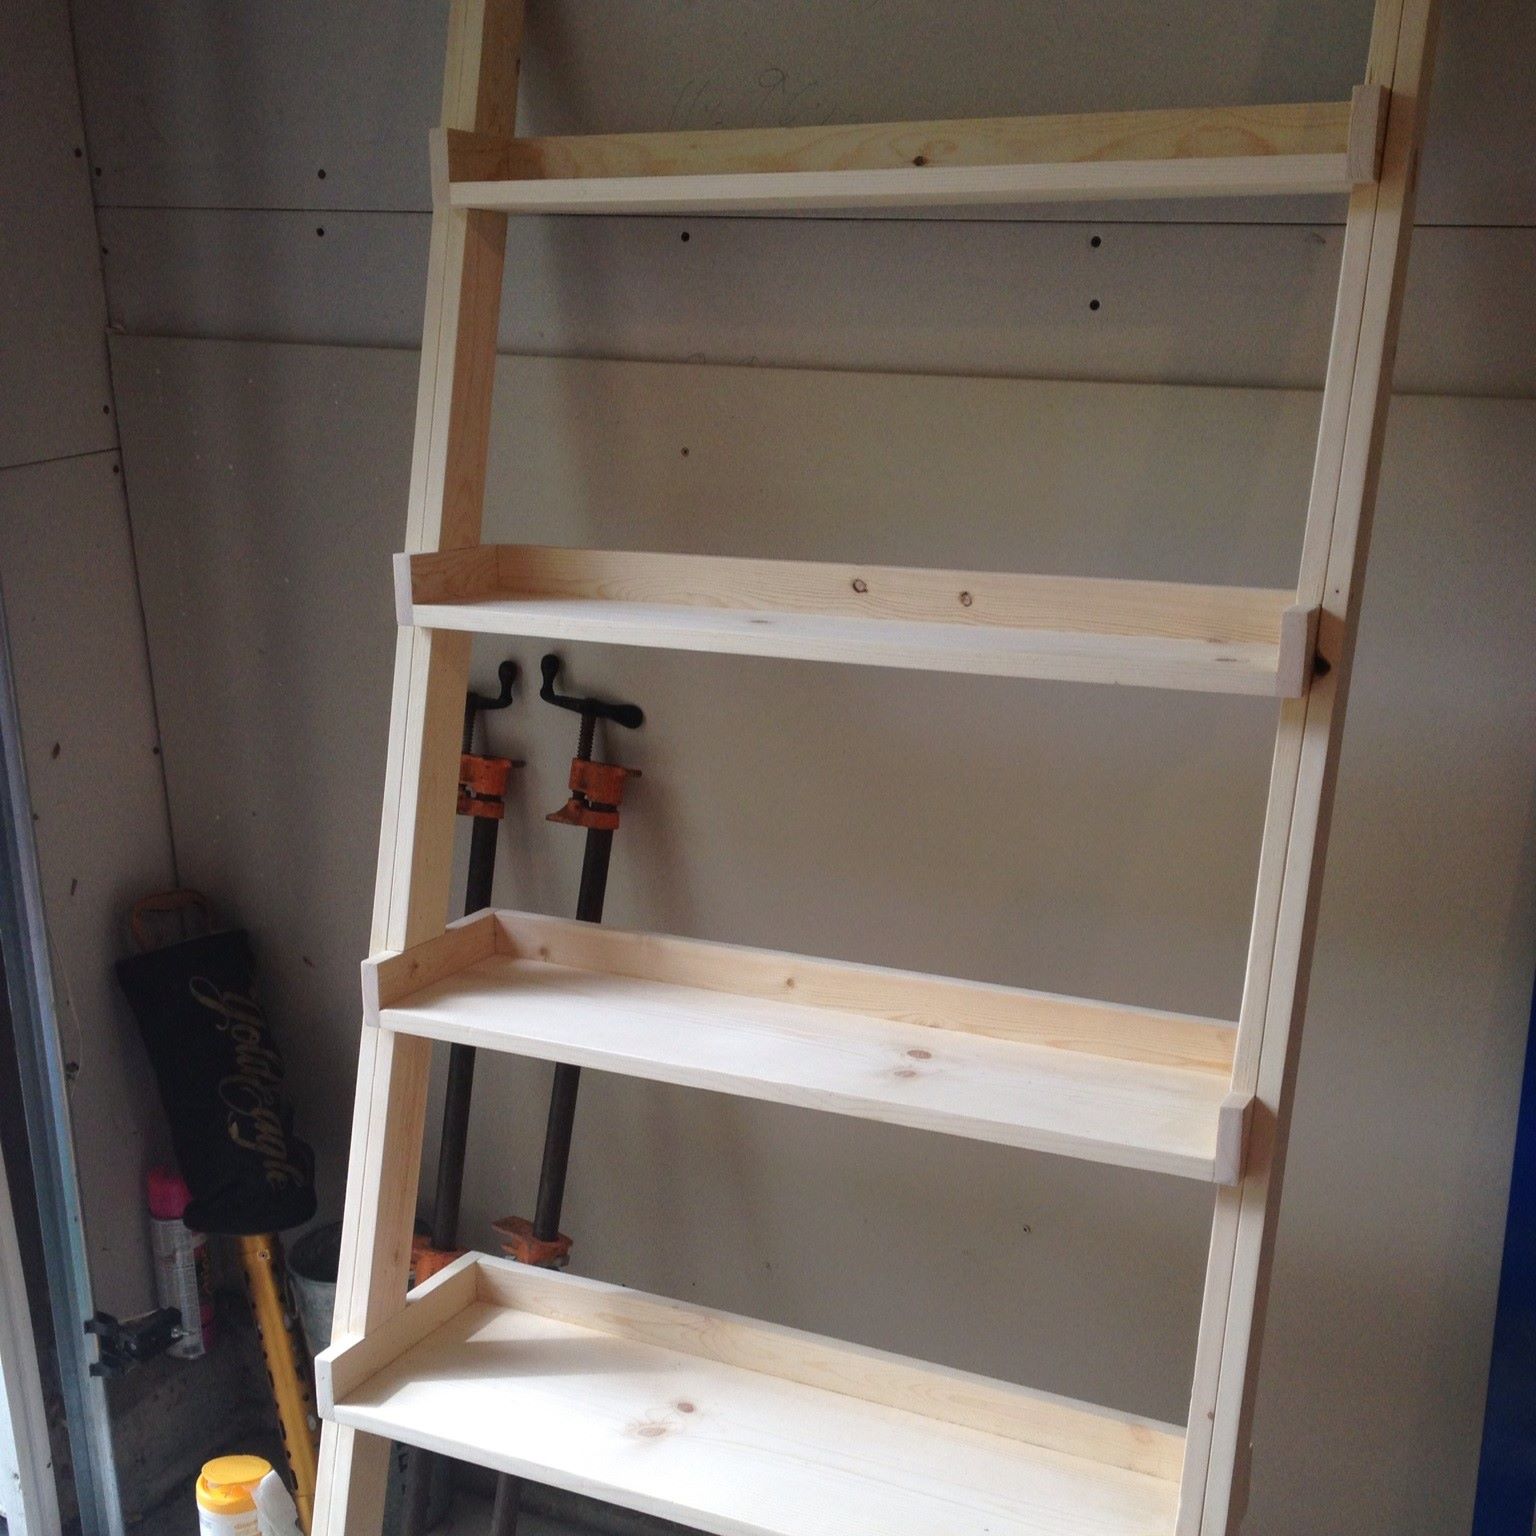
When building a ships ladder, ensure that the rungs are evenly spaced and securely attached to the side rails to provide stability and safety for anyone using the ladder.
Step 4: Attach Rungs to Ladder Rails
Now that you have the ladder rails and rungs ready, it’s time to attach the rungs to the ladder rails to create the structure of the ship’s ladder.
Start by positioning one ladder rail vertically on a flat surface, making sure it is stable and secure. Use clamps or a helper to keep it in place while you work.
Take one of the rungs and position it horizontally against the ladder rail at the desired height. Ensure it is aligned with the markings you made earlier. Use a tape measure or level to double-check your alignment.
Once the rung is in position, use a drill to create pilot holes through the rung and into the ladder rail. This will prevent the wood from splitting when you insert the screws or nails.
Next, use screws or nails to securely attach the rung to the ladder rail. Make sure they are long enough to penetrate both pieces of wood, providing a strong and stable connection.
Repeat this process for each rung, spacing them evenly along the ladder rail. Ensure the ladder rail remains upright and secure throughout the process.
Once you have attached all the rungs to one ladder rail, repeat the process for the second ladder rail. Make sure to align the rungs with the markings and maintain consistent spacing.
After attaching all the rungs to both ladder rails, give the ladder a thorough inspection. Check for any loose connections or weak spots. If necessary, tighten screws or nails and make any adjustments to ensure the ladder is sturdy and secure.
With the rungs securely attached to the ladder rails, it’s time to move on to the next step – securing the ladder in place.
Read more: How To Build An Attic Ladder
Step 5: Secure the Ladder
Once you have constructed the ship’s ladder, it is essential to ensure its stability and security. Properly securing the ladder will prevent any accidents or injuries during use. Here’s how you can do it:
1. Placement: Decide where you want to install the ladder. Make sure the surface is sturdy and can support the weight of the ladder and the individual using it. Avoid placing the ladder on uneven or slippery surfaces.
2. Wall Mounting: If you are attaching the ladder to a wall, use brackets to secure it in place. Measure and mark the position on the wall where you want to mount the ladder. Use a level to ensure it is straight. Secure the brackets to the wall using screws or bolts, and then place the ladder onto the brackets.
3. Floor Securing: If you are using the ladder on the floor, consider using non-slip rubber pads or adhesive strips on the bottom of the ladder rails. This will provide added grip and stability.
4. Weight Distribution: When climbing the ladder, distribute your weight evenly and avoid making sudden movements. Always face the ladder and maintain three points of contact (two feet and one hand or two hands and one foot) for stability.
5. Inspections: Regularly inspect the ladder for any signs of wear or damage. Check for loose or broken rungs, cracks in the ladder rails, or any other structural issues. Address any problems immediately to maintain the ladder’s safety and functionality.
Remember, securing the ladder is crucial for the safety of anyone using it. Take the necessary precautions and follow these steps to ensure a stable and reliable ladder.
With the ladder securely in place, we can move on to the final step – adding finishing touches and considering safety measures.
Step 6: Finishing Touches and Safety Considerations
Now that the ship’s ladder is installed and secure, it’s time to add some finishing touches and consider important safety measures. These final steps will enhance the ladder’s appearance and ensure the safety of everyone who uses it.
1. Sanding and Finishing: Give the entire ladder a final sanding to smooth any rough spots or edges. This will prevent splinters and provide a polished look. Apply a protective coat of varnish or paint to seal the wood and protect it from the elements.
2. Non-Slip Surface: To improve traction and reduce the risk of slipping, consider applying a non-slip surface to the ladder rungs. You can use adhesive grip tape or rubbery paint for this purpose. This will provide added safety, especially in damp or slippery conditions.
3. Lighting: If the area around the ladder is poorly lit, consider adding additional lighting to ensure visibility and safe navigation. Install LED lights or small spotlights near the ladder to illuminate the steps and surrounding area.
4. Warning Signs: If the ladder is used in a commercial or public setting, it’s important to prominently display warning signs to remind users of proper ladder safety. These signs can provide instructions on weight restrictions, proper climbing techniques, and any other relevant safety guidelines.
5. Regular Maintenance: Regularly inspect the ladder for any wear and tear. Check for loose screws or nails, cracked rungs, or any other signs of deterioration. Tighten any loose connections and replace any damaged components as necessary.
6. User Education: If the ladder is accessible to multiple individuals, provide proper education and training on ladder safety. Clearly communicate the proper use, weight restrictions, and precautionary measures to ensure everyone knows how to use the ladder safely.
Remember, safety should always be a top priority when using a ship’s ladder. By implementing these finishing touches and safety considerations, you can enhance the overall experience and provide a safe climbing environment for all users.
Congratulations! You have successfully completed the steps to build and secure a ship’s ladder. Now you can enjoy the convenience and functionality of your custom-made ladder.
By following these instructions and taking the necessary safety precautions, you can have confidence in the stability and security of your ship’s ladder for years to come.
Happy climbing!
Conclusion
Building a ship’s ladder is a rewarding DIY project that can provide you with a practical and efficient way to access loft spaces, attics, or upper decks. By following the step-by-step process outlined in this article, you can create a sturdy and secure ladder that meets your specific needs.
Throughout the construction process, we emphasized the importance of safety. From gathering the right materials and tools to securing the ladder in place, taking proper safety measures ensures that the ladder is reliable and minimizes the risk of accidents.
Remember to always prioritize safety when using the ship’s ladder. Distribute your weight evenly and maintain a firm grip while climbing. Regularly inspect the ladder for any signs of wear and tear, and address any issues promptly to prevent accidents.
By adding finishing touches such as sanding and applying a protective finish, you can enhance the ladder’s appearance and durability. Consider adding non-slip surfaces, lighting, and warning signs for added safety and convenience. Regular maintenance and user education on ladder safety are also crucial for long-term functionality.
Now that you have completed the construction of your ship’s ladder, enjoy the benefits of easy access to those higher spaces. Whether it’s storage, extra living areas, or recreational spaces, your ship’s ladder will make accessing them a breeze.
We hope this article has served as a helpful guide in building your ship’s ladder. By following these steps and considering safety at every stage, you can create a ladder that is not only functional but also offers peace of mind. Happy climbing!
Frequently Asked Questions about How To Build A Ships Ladder
Was this page helpful?
At Storables.com, we guarantee accurate and reliable information. Our content, validated by Expert Board Contributors, is crafted following stringent Editorial Policies. We're committed to providing you with well-researched, expert-backed insights for all your informational needs.


0 thoughts on “How To Build A Ships Ladder”