Articles
How To Build A Library Ladder
Modified: October 18, 2024
Learn how to build a functional and stylish library ladder with our step-by-step articles. Enhance your home library experience with this DIY project.
(Many of the links in this article redirect to a specific reviewed product. Your purchase of these products through affiliate links helps to generate commission for Storables.com, at no extra cost. Learn more)
Introduction
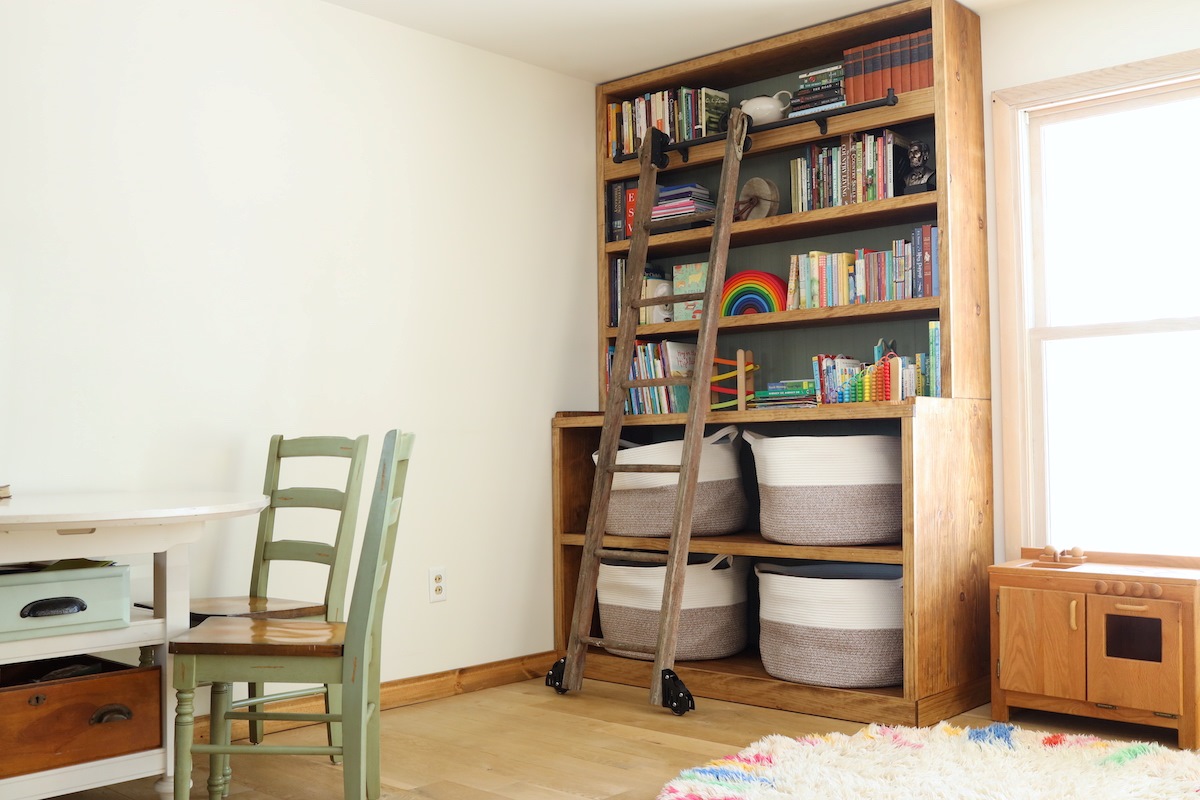
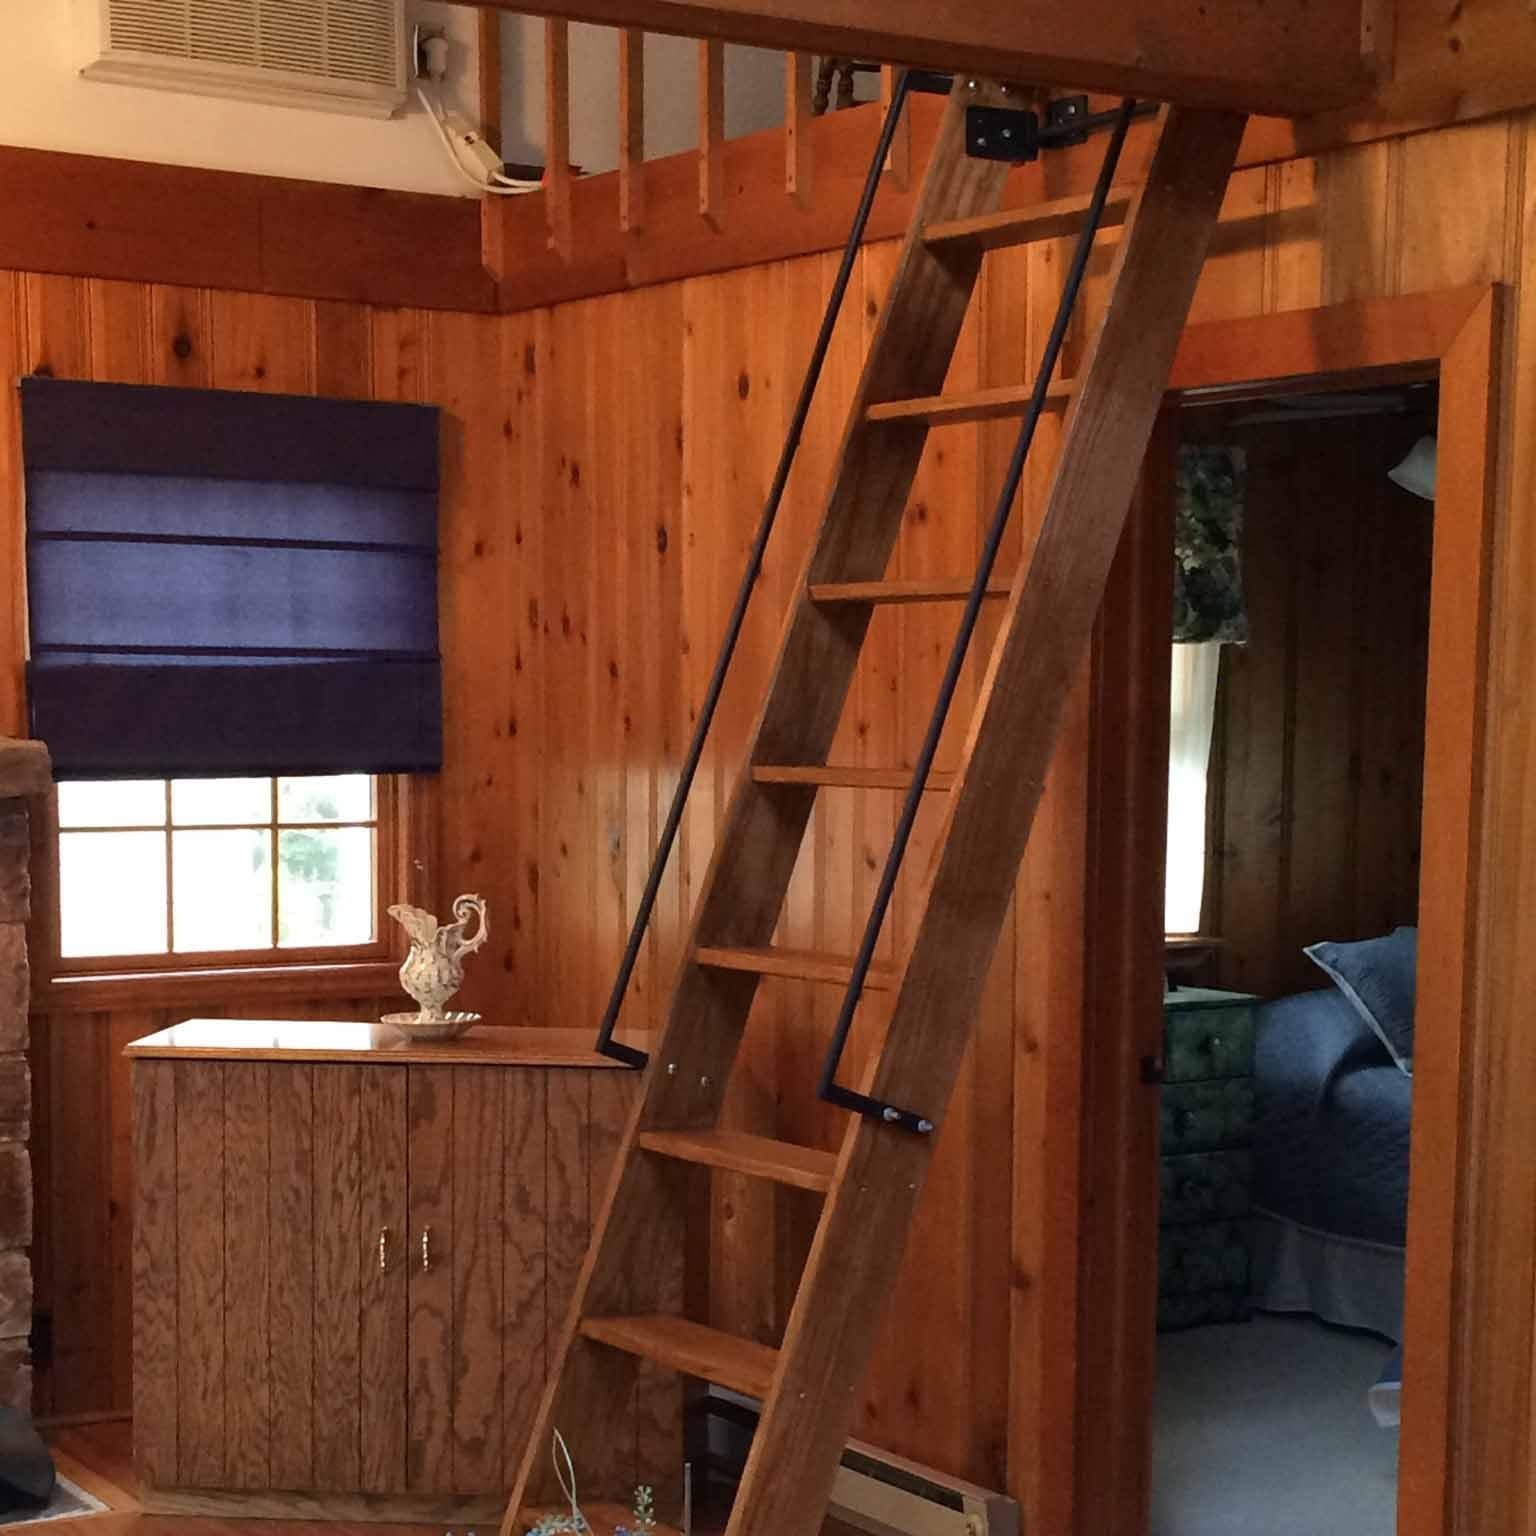
Welcome to our comprehensive guide on how to build a library ladder! If you’ve always dreamed of having a beautiful and functional library in your home, complete with a classic rolling ladder, then you’re in the right place. A library ladder not only adds a touch of elegance to your space but also provides easy access to those hard-to-reach books on the top shelves.
In this article, we will walk you through the step-by-step process of building your very own library ladder. From gathering the necessary materials to attaching the ladder to the bookcase, we’ve got you covered. Whether you’re a seasoned DIY enthusiast or a beginner looking for your next project, we’ll provide you with the guidance and instructions you need to create a stunning and functional addition to your home library.
Before we dive into the details, let’s talk about safety. Whenever you undertake a DIY project, it’s essential to prioritize safety and take the necessary precautions. Make sure to wear appropriate safety gear, such as safety glasses and gloves, and use tools correctly. If you’re not comfortable using certain equipment or techniques, consider consulting a professional or seeking assistance.
Now that we’ve covered the importance of safety, let’s get started on building your library ladder. The first step is gathering all the materials you’ll need for the project.
Key Takeaways:
- Create a stunning and functional library ladder using hardwood, precise measurements, and secure assembly. Prioritize safety and enjoy easy access to your favorite books with this elegant addition to your home.
- Customize your library ladder to fit your space and design preferences, from the type of wood to the finishing touches. Prioritize safety, follow the step-by-step process, and revel in the convenience and sophistication of your new library ladder.
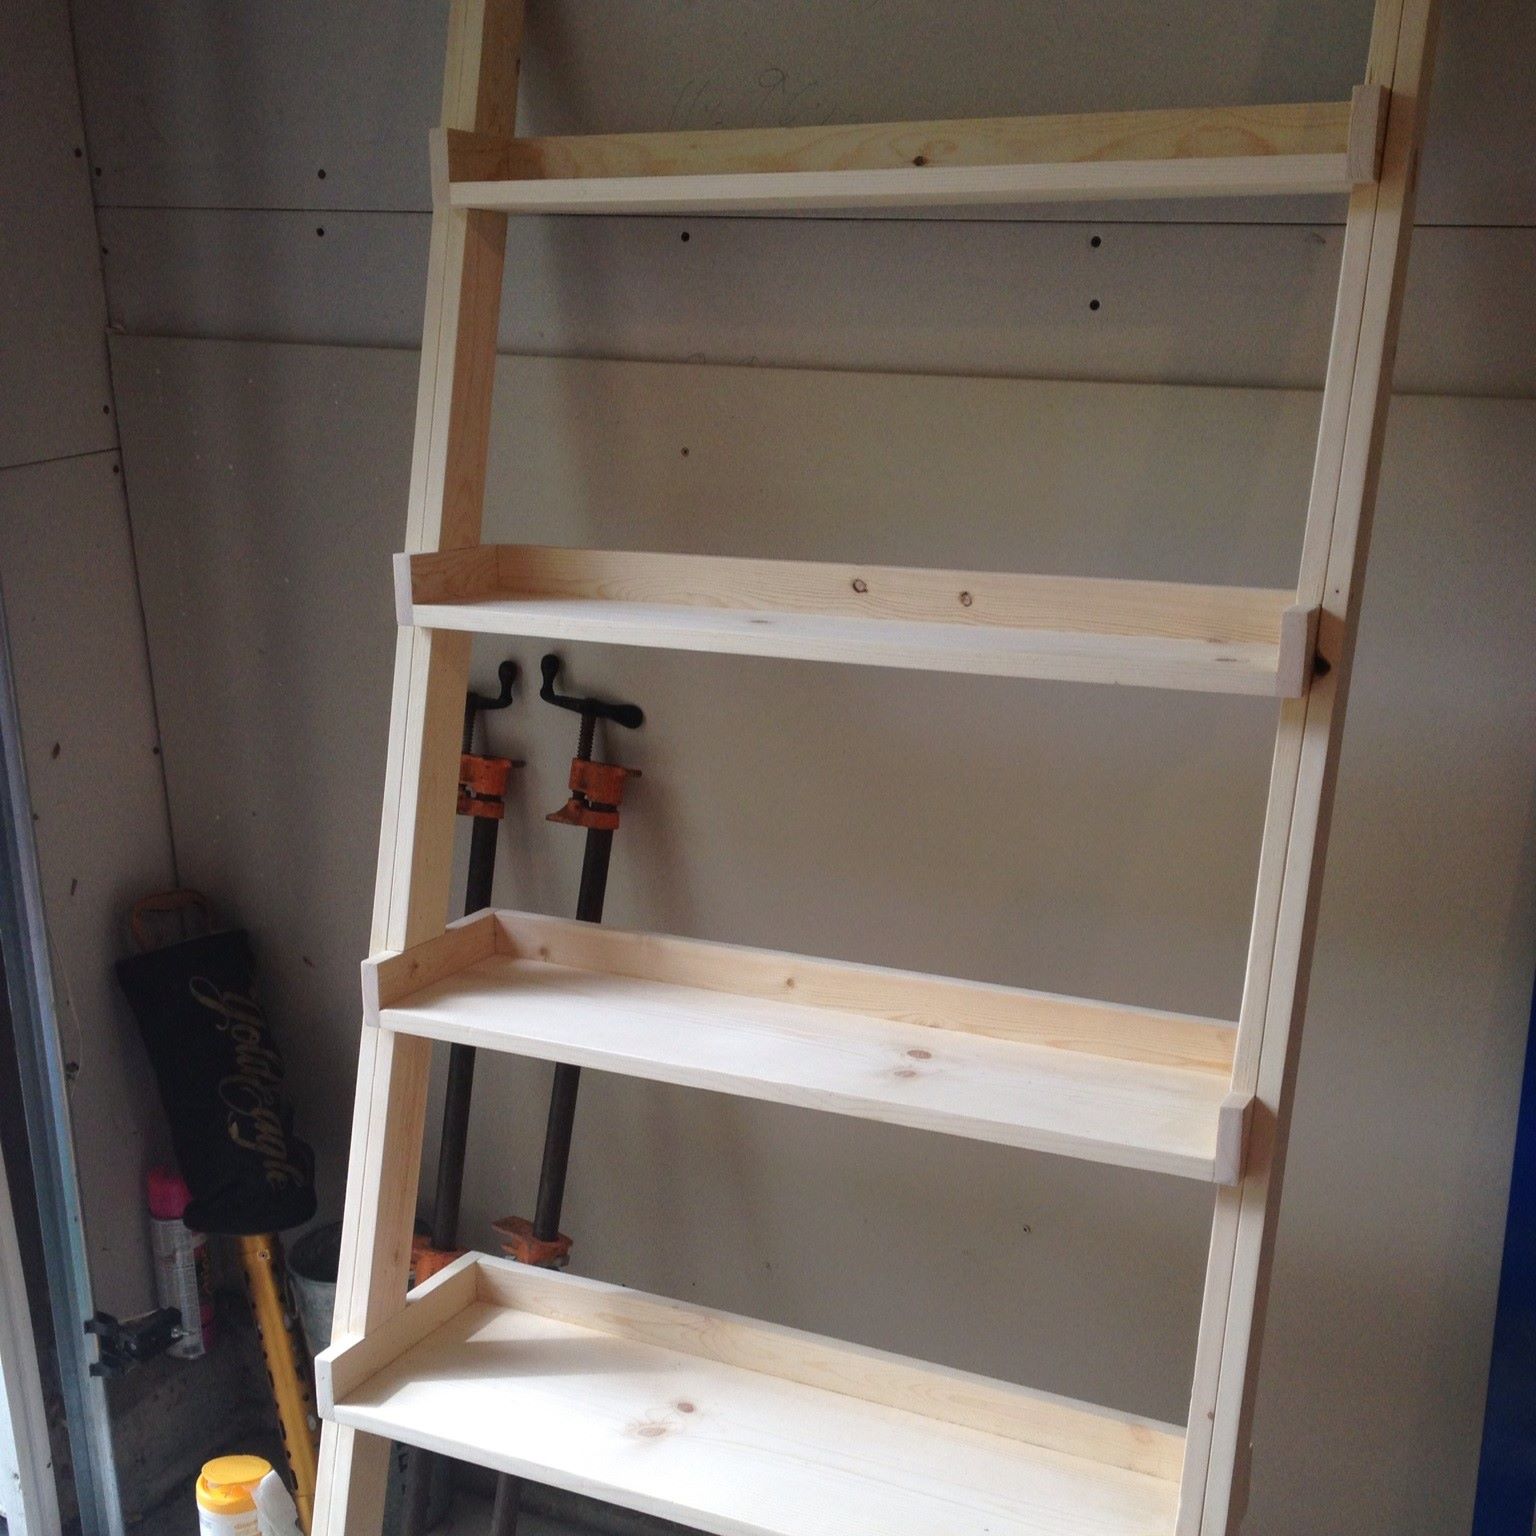
Read more: How To Build Wooden Ladder
Step 1: Gather Materials
Before you can begin building your library ladder, you’ll need to gather all the necessary materials. Here’s a list of what you’ll need:
- Wood: Choose a hardwood, such as oak or maple, for the ladder itself. You’ll also need plywood for additional support.
- Measuring tape: You’ll be taking precise measurements throughout the process, so a good-quality measuring tape is essential.
- Saw: Whether it’s a circular saw, miter saw, or hand saw, you’ll need a reliable saw to cut the wood to the desired lengths.
- Wood glue: Opt for a high-quality wood glue that provides a strong bond.
- Screws: Choose screws that are appropriate for the thickness of the wood you’re using.
- Screwdriver or drill: Depending on the type of screws you’re using, you’ll need either a screwdriver or a drill to secure them in place.
- Sandpaper: Smooth out any rough edges and surfaces with sandpaper for a polished finish.
- Paint or stain: Consider the aesthetic you want for your ladder and choose a paint or stain that complements the overall look of your library.
- Ladder hardware: This includes rolling wheels, brackets, and other necessary hardware to attach the ladder to the bookcase securely.
Once you’ve gathered all the materials, you’ll be ready to move on to the next step: measuring and planning.
Step 2: Measure and Plan
Now that you have all the materials in hand, it’s time to start measuring and planning your library ladder. This step is crucial to ensure that your ladder fits perfectly in your space and functions smoothly. Here’s what you need to do:
- Measure the height: Determine the height of your bookcase or shelves where the ladder will be used. This will help you determine the ideal height for your ladder.
- Measure the width: Measure the width of the bookcase or shelves to determine the appropriate width for your ladder. Keep in mind that the ladder should be slightly narrower than the width of the bookcase to ensure easy movement.
- Measure the angle: Decide on the angle at which you want your ladder to lean against the bookcase. A common angle is around 10-15 degrees.
- Plan the number of rungs: Determine how many rungs you’ll need for your ladder. Typically, spacing them around 10-12 inches apart works well.
Once you have the measurements and angles determined, create a detailed plan or sketch of your ladder, including the dimensions and placement of the rungs. This will serve as a visual guide throughout the building process.
It’s also a good idea to double-check your measurements and plan before proceeding to the next step to ensure accuracy. Making adjustments at this stage will save you time and frustration later on.
Now that you have your measurements and a solid plan in place, let’s move on to the next step: preparing the ladder supports.
Step 3: Preparing the Ladder Supports
In this step, we will focus on preparing the ladder supports, which are essential for the stability and functionality of your library ladder. Follow these steps to get started:
- Cut the wood: Using your saw, cut the hardwood into two long pieces that will serve as the vertical supports of your ladder. The length will depend on the measurements you took in step 2.
- Shape the supports: To give the ladder supports a decorative touch, consider adding a rounded or tapered shape to the top ends. Use sandpaper to smooth out any rough edges.
- Mark the rung placement: Measure and mark the placement of the rungs on both ladder supports. Make sure to space them evenly and align them according to your plan.
- Drill pilot holes: Using a drill and an appropriately sized drill bit, create pilot holes at the marked rung placements. This will prevent the wood from splitting when you attach the rungs.
- Attach the rungs: Align the rungs with the pilot holes and apply wood glue to the ends of each rung. Secure them in place by drilling screws through the ladder supports and into the rungs. Repeat this process for each rung.
Once you’ve attached all the rungs, double-check that everything is level and secure. Use a level to ensure that the ladder supports are straight and not leaning to one side.
With the ladder supports prepared, it’s time to move on to the next step: building the ladder rungs.
Step 4: Building the Ladder Rungs
In this step, we’ll focus on building the ladder rungs, which provide the steps for climbing up and down your library ladder. Follow these steps to build the rungs:
- Cut the wood: Using your saw, cut the hardwood into pieces that will serve as the ladder rungs. The length will depend on your desired ladder height and the spacing you planned in step 2.
- Smooth the edges: Use sandpaper to smooth out any rough edges on the rungs. This will prevent any splinters when using the ladder.
- Mark the ladder supports: Align one ladder support on a flat surface and mark the corresponding positions for the rungs. Repeat this process for the other ladder support.
- Drill pilot holes: Using a drill and an appropriately sized drill bit, create pilot holes at the marked positions on the ladder supports. These pilot holes will help secure the rungs in place.
- Attach the rungs: Apply wood glue to the ends of each rung and insert them into the pilot holes on the ladder supports. Make sure they are evenly spaced and level. Secure the rungs in place by drilling screws through the ladder supports and into the rungs.
As you attach the rungs, double-check that they are securely fastened and level. Adjust if necessary to ensure a stable and safe ladder.
With the ladder rungs built, it’s time to move on to the next step: assembling the ladder.
When building a library ladder, make sure to measure the height of your bookshelves accurately to ensure the ladder reaches all the necessary shelves.
Read more: How To Build An Attic Ladder
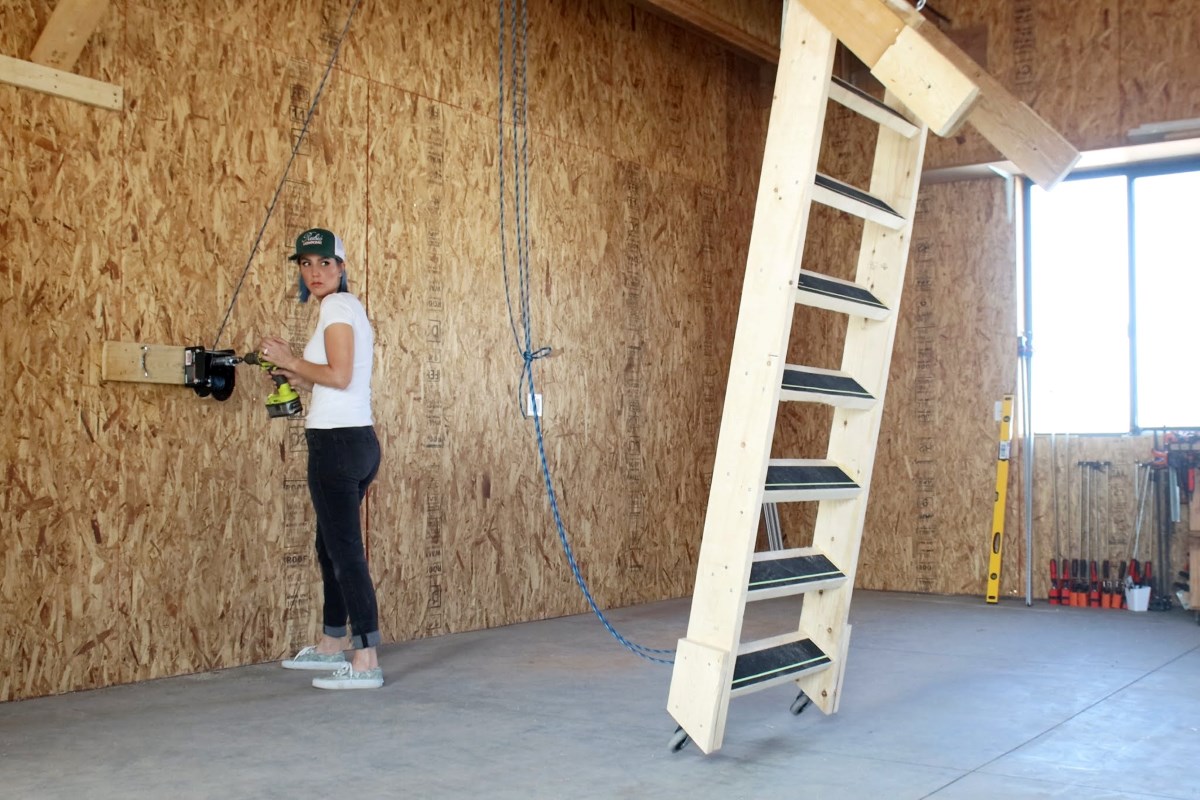
Step 5: Assembling the Ladder
In this step, we’ll focus on assembling the different components of your library ladder. Follow these steps to assemble the ladder:
- Place the ladder supports: Find a flat and sturdy surface to assemble your ladder. Position the ladder supports parallel to each other, ensuring that the rungs are facing the desired direction.
- Attach the ladder steps: Start from one end and lift the ladder rungs, one by one, and secure them to the ladder supports. Use wood glue and screws to ensure a strong connection. Repeat this process until all the rungs are attached.
- Double-check the stability: Once all the ladder steps are securely attached, double-check the stability of the ladder. Ensure that the ladder supports are level and the rungs are evenly spaced. Make any necessary adjustments to ensure stability and balance.
During the assembly process, it can be helpful to have someone assist you in holding the ladder supports steady while you attach the rungs. This will ensure that the ladder remains level and aligned.
With the ladder fully assembled, let’s move on to the next step: attaching the ladder to the bookcase.
Step 6: Attaching the Ladder to the Bookcase
In this step, we will focus on securely attaching your library ladder to the bookcase or shelves. Follow these steps to attach the ladder:
- Locate the attachment points: Determine the areas on the bookcase or shelves where you will attach the ladder hardware. These points should be strong and able to support the weight of the ladder and the person using it.
- Install the brackets: Use a drill, screws, and brackets to attach the ladder brackets to the selected points on the bookcase or shelves. Make sure to follow the manufacturer’s instructions for secure installation.
- Attach the rolling wheels: Depending on the design of your ladder, you may have rolling wheels that allow for smooth movement. Attach the wheels to the bottom of the ladder, ensuring that they are securely in place.
- Fit the ladder onto the brackets: Carefully lift and position the ladder onto the brackets attached to the bookcase or shelves. Make sure that the ladder is properly aligned and securely connected to the brackets.
- Test the ladder: Before fully utilizing the ladder, test its stability and ensure that it moves smoothly along the brackets. Make any necessary adjustments to ensure a safe and functional ladder.
Once the ladder is securely attached to the bookcase, test its stability by applying gentle pressure and ensuring that it remains in place. It’s important to double-check all connections and hardware to ensure they are secure before using the ladder.
With the ladder successfully attached to the bookcase, it’s time for the final step: the finishing touches.
Step 7: Finishing Touches
Congratulations! You’re almost done with building your library ladder. In this final step, we’ll focus on adding the finishing touches to make your ladder not only functional but visually appealing as well. Follow these steps to complete your library ladder:
- Sand and smooth: Use sandpaper to smooth out any rough edges or imperfections on the ladder. This will ensure a polished final look and prevent any splinters while using the ladder.
- Apply paint or stain: Choose a paint or stain that complements the aesthetic of your library and apply it to the ladder. Use a brush or roller to evenly coat the entire ladder, allowing it to dry according to the manufacturer’s instructions.
- Apply a protective finish: To further protect the ladder and enhance its durability, consider applying a protective finish, such as polyurethane or varnish. This will help to prevent scratches and wear from frequent use.
- Clean and organize: Once the ladder is fully dry and the protective finish has cured, give it a thorough cleaning to remove any dust or debris. Then, organize your books and other items on the shelves, making sure everything is in its proper place.
With these finishing touches, your library ladder is now complete! Take a step back and admire your craftsmanship and the beautiful addition to your home library. Now, you can enjoy the convenience and elegance of having easy access to your favorite books on those high shelves.
Remember, safety is paramount. Always exercise caution when using the ladder and follow proper ladder safety practices. Inspect the ladder periodically for any signs of wear and tear and make necessary repairs if needed.
Thank you for following our guide on how to build a library ladder. We hope this step-by-step process has been helpful and that you enjoy your new library ladder for years to come.
Happy reading!
Conclusion
Building a library ladder is a rewarding project that combines both functionality and aesthetics. By following the step-by-step guide outlined in this article, you’ve gained the knowledge and skills to create your own custom library ladder. From gathering materials to attaching the ladder to the bookcase, each step was essential in bringing your vision to life.
Throughout the process, it’s important to prioritize safety and take the necessary precautions. Always wear appropriate safety gear and use tools correctly. If you’re unsure about any aspect of the project, don’t hesitate to seek professional advice or assistance.
Building your own library ladder allows you to customize it to your specific needs and design preferences. You can choose the type of wood, the finish, and even the hardware that complements your home library. The end result will not only facilitate easy access to your books but will also enhance the overall aesthetic appeal of your space.
Remember, a library ladder is more than just a functional piece of furniture; it’s a statement of sophistication and style. Take your time, measure accurately, and follow the steps diligently to ensure a sturdy and reliable ladder that will serve you for years to come.
Thank you for joining us on this journey of building a library ladder. We hope you have found this guide helpful and inspiring. Now, it’s time to step up, reach for those top shelves, and immerse yourself in the world of books!
Frequently Asked Questions about How To Build A Library Ladder
Was this page helpful?
At Storables.com, we guarantee accurate and reliable information. Our content, validated by Expert Board Contributors, is crafted following stringent Editorial Policies. We're committed to providing you with well-researched, expert-backed insights for all your informational needs.


0 thoughts on “How To Build A Library Ladder”