Home>Construction & Tools>Building Materials>How To Apply Stucco To Cinder Block Wall
Building Materials
How To Apply Stucco To Cinder Block Wall
Modified: August 28, 2024
Learn how to apply stucco to a cinder block wall using the right building materials. Follow our step-by-step guide for a professional finish.
(Many of the links in this article redirect to a specific reviewed product. Your purchase of these products through affiliate links helps to generate commission for Storables.com, at no extra cost. Learn more)
Introduction
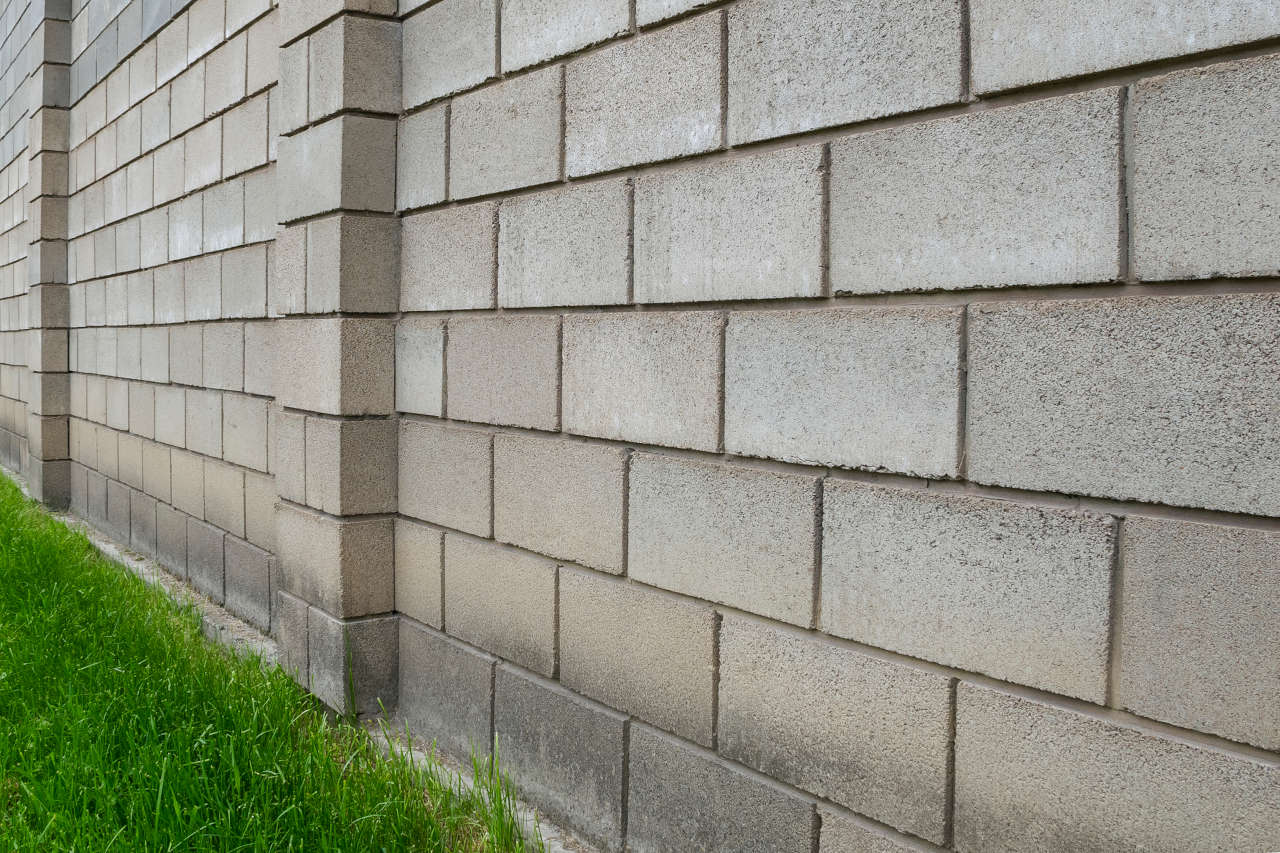
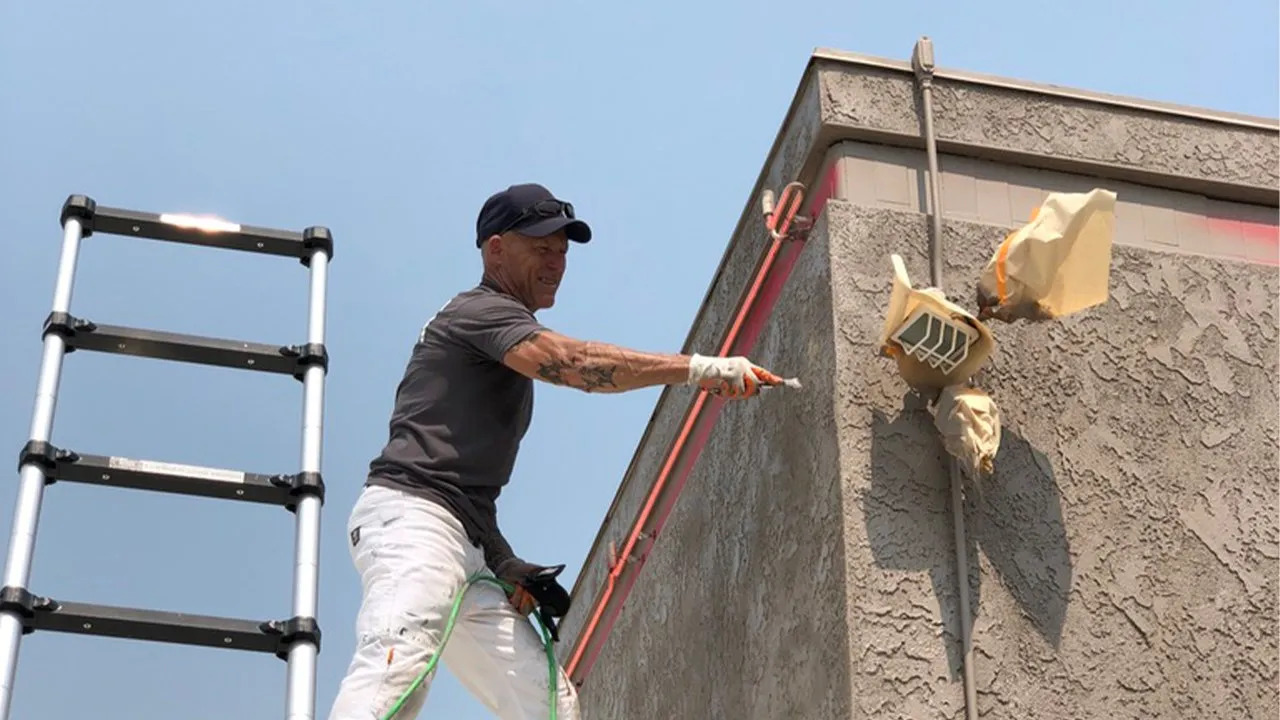
If you're looking to enhance the aesthetic appeal and durability of your cinder block wall, applying stucco can be a transformative and practical solution. Stucco, a centuries-old building material, not only adds a touch of timeless elegance to the surface but also reinforces the structural integrity of the wall, making it more resistant to weathering and wear.
Stucco application is a craft that requires attention to detail and a methodical approach. By following the right steps and using the appropriate materials and tools, you can achieve a professional-looking finish that will stand the test of time. Whether you're aiming to revitalize an existing cinder block wall or add a stucco finish to a new wall, this guide will walk you through the process, from preparation to the final touches.
In the following sections, we'll delve into the essential materials and tools needed for the job, the meticulous steps involved in preparing the cinder block wall, the art of mixing the stucco to the perfect consistency, and the sequential application of the scratch coat, brown coat, and finish coat. Additionally, we'll explore the crucial aspects of curing the stucco and adding the finishing touches that will elevate the overall look and longevity of the wall.
By the end of this comprehensive guide, you'll be equipped with the knowledge and confidence to embark on your stucco application project, whether it's a small wall in your backyard or a larger-scale architectural endeavor. Let's dive in and discover the art and science of applying stucco to a cinder block wall!
Key Takeaways:
- Transform your cinder block wall with stucco for timeless elegance and enhanced durability. Follow meticulous steps and use the right materials and tools for a professional finish that stands the test of time.
- Prepare your cinder block wall thoroughly, mix stucco with precision, and apply scratch, brown, and finish coats methodically for a stunning and resilient stucco finish. Don’t forget to cure and add finishing touches for long-lasting beauty and strength.
Read more: How To Cover Cinder Block Interior Walls
Materials and Tools Needed
Before embarking on your stucco application journey, it's essential to gather the necessary materials and tools to ensure a smooth and efficient process. Here's a comprehensive list to guide you:
Materials:
- Portland Cement: The primary ingredient in stucco, Portland cement is essential for creating a strong and durable bond with the cinder block wall.
- Lime: Hydrated lime is often added to the stucco mix to improve workability and enhance the finished surface's resilience.
- Sand: High-quality, clean sand is crucial for achieving the desired texture and strength in the stucco mix.
- Fiber Mesh Reinforcement: This reinforcing material helps minimize cracking and improves the overall resilience of the stucco system.
- Bonding Agent: A bonding agent or primer is used to promote adhesion between the cinder block surface and the stucco layers.
- Water: Clean water is required for mixing the stucco to the appropriate consistency.
- Plastic Sheet or Tarp: To protect the surrounding area from splatter and overspray during the application process.
- Stucco Colorant (optional): If you desire a colored stucco finish, consider adding a pigment to the mix to achieve the desired hue.
- Sealer: A high-quality sealer can be applied to the cured stucco to enhance its water resistance and protect it from the elements.
Tools:
- Wheelbarrow or Mixing Tub: For combining and blending the stucco materials.
- Stucco Hoe or Mixing Paddle: Essential for thoroughly mixing the stucco components to achieve a uniform consistency.
- Masonry Trowels: Including a variety of trowel sizes for applying and shaping the stucco layers.
- Floats: A float is used to create a smooth and even surface during the stucco application process.
- Wire Brush: For cleaning and roughening the cinder block wall before applying the stucco.
- Sprayer or Roller: Depending on the application method, a sprayer or roller can be used to apply the bonding agent and sealer.
- Protective Gear: This includes gloves, safety goggles, and a dust mask to ensure personal safety during the stucco application.
By ensuring that you have all the necessary materials and tools at your disposal, you'll be well-prepared to tackle each phase of the stucco application process with confidence and precision.
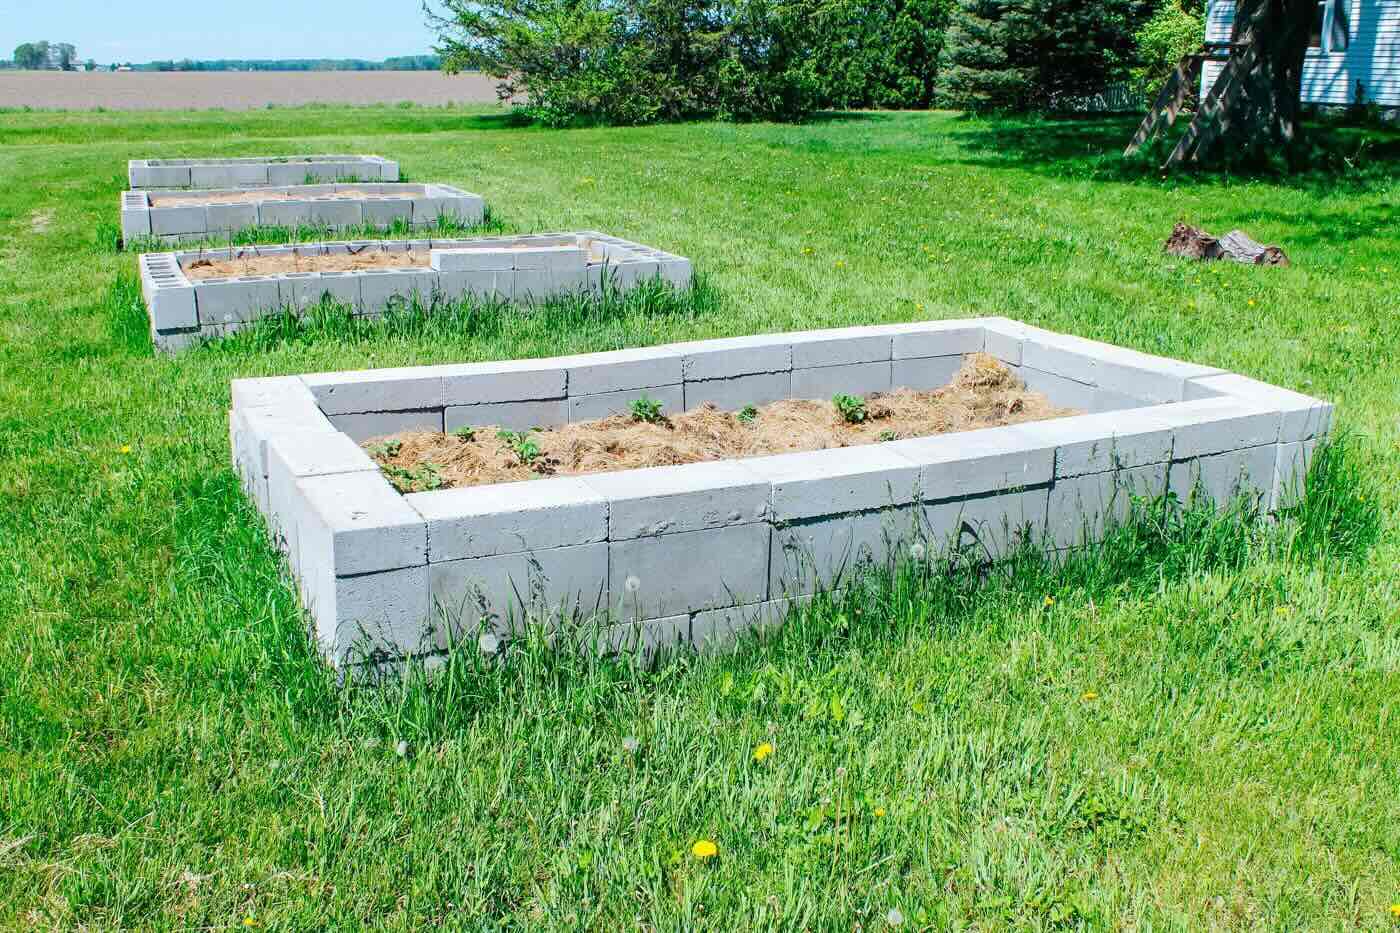
Preparing the Cinder Block Wall
Proper preparation of the cinder block wall is crucial to ensure a strong bond and a flawless stucco finish. Here are the essential steps to prepare the wall:
1. Cleaning the Surface: Begin by thoroughly cleaning the cinder block wall to remove any dirt, dust, and debris. Use a stiff-bristled brush or a pressure washer to eliminate any loose particles and ensure a clean, solid foundation for the stucco application.
2. Repairing Cracks and Imperfections: Inspect the wall for any cracks, gaps, or damaged areas. Use a suitable masonry repair compound to fill in these imperfections and create a smooth, even surface. Allow the repair compound to cure completely before proceeding to the next step.
3. Applying the Bonding Agent: Once the wall is clean and any necessary repairs have been made, apply a high-quality bonding agent to the surface. The bonding agent promotes adhesion between the cinder block and the stucco, ensuring a strong and lasting bond. Follow the manufacturer’s instructions for the proper application of the bonding agent, allowing it to dry to the specified tackiness before proceeding.
4. Roughening the Surface: Using a wire brush or a scarifying tool, roughen the surface of the cinder block wall to create a textured profile. This roughening process enhances the mechanical bond between the wall and the stucco, allowing for better adhesion and long-term durability.
By diligently following these preparatory steps, you’ll set the stage for a successful stucco application, ensuring that the finished result not only looks impeccable but also withstands the test of time. The attention to detail in preparing the cinder block wall lays the foundation for a strong and resilient stucco finish that will enhance the overall aesthetics and integrity of the structure.
Read more: How To Remove Stucco From Block Walls
Mixing the Stucco
Creating the stucco mixture is a critical step that demands precision and attention to detail. The proper blending of stucco materials is essential for achieving the ideal consistency and workability. Here’s a step-by-step guide to mixing the stucco:
1. Gather the Materials: Ensure that you have all the necessary stucco components, including Portland cement, lime, sand, fiber mesh reinforcement, and water, as well as a wheelbarrow or mixing tub and a stucco hoe or mixing paddle.
2. Proportioning the Ingredients: Follow the recommended proportions for the stucco mix, typically consisting of one part Portland cement, one part lime, and three to four parts sand. The precise ratio may vary based on the specific requirements of your project and the desired stucco consistency.
3. Mixing the Dry Ingredients: In the wheelbarrow or mixing tub, combine the dry components – Portland cement, lime, and sand – using the stucco hoe or mixing paddle. Thoroughly blend the materials to achieve a uniform mixture, ensuring that there are no pockets of unmixed dry ingredients.
4. Adding Water: Gradually add clean water to the dry mixture while continuously blending the materials. It’s crucial to add the water incrementally to achieve the desired stucco consistency – not too wet, not too dry. The stucco should have a workable texture that allows for easy application and shaping without being overly runny or stiff.
5. Incorporating Fiber Mesh Reinforcement: Once the stucco mix reaches the appropriate consistency, add the fiber mesh reinforcement and continue mixing to ensure even distribution throughout the mixture. The fiber mesh enhances the stucco’s tensile strength and helps minimize cracking, contributing to the long-term resilience of the stucco system.
By meticulously following these steps, you’ll create a well-balanced stucco mix that is primed for application. The proper blending of stucco materials is fundamental to the success of the project, setting the stage for the subsequent application of the scratch coat, brown coat, and finish coat with confidence and precision.
Applying the Scratch Coat
The scratch coat serves as the foundational layer of the stucco application, providing a key bonding surface for the subsequent coats. This initial layer requires careful application and preparation to ensure optimal adhesion and structural integrity. Here’s a detailed guide to applying the scratch coat:
1. Preparing the Stucco Mix: Begin by mixing the stucco to the appropriate consistency as outlined in the previous section. The scratch coat should have a slightly wetter consistency to facilitate better bonding with the cinder block wall.
2. Dampening the Wall: Before applying the scratch coat, lightly dampen the cinder block wall with clean water. This moisture helps prevent rapid absorption of water from the stucco mix, promoting better adhesion and curing of the scratch coat.
3. Applying the Scratch Coat: Using a masonry trowel, apply the stucco mix to the dampened wall in a uniform layer, typically ranging from 3/8 to 1/2 inch in thickness. Work systematically, covering the entire surface with the scratch coat while ensuring an even and consistent application.
4. Texturing the Surface: Once the scratch coat is applied, use a scarifying tool or a comb-like texture rake to create horizontal furrows or a crosshatch pattern on the surface. This texturing process provides a roughened profile that facilitates the mechanical bonding of the subsequent coats.
5. Curing the Scratch Coat: Allow the scratch coat to cure to the point where it is firm to the touch but still slightly damp. This initial curing period is crucial for the scratch coat to achieve the necessary strength and adhesion before the application of the subsequent layers.
By diligently following these steps, you’ll establish a robust foundation for the stucco system, ensuring that the scratch coat effectively adheres to the cinder block wall and sets the stage for the application of the brown coat, followed by the final finish coat. The meticulous execution of the scratch coat lays the groundwork for a durable and visually appealing stucco finish.
Before applying stucco to a cinder block wall, make sure to clean the surface thoroughly and apply a bonding agent to help the stucco adhere better. This will ensure a more durable and long-lasting finish.
Applying the Brown Coat
The brown coat, also known as the leveling coat, plays a pivotal role in refining the surface and preparing it for the final stucco finish. This intermediate layer contributes to the overall strength and uniformity of the stucco system. Here’s a comprehensive guide to applying the brown coat:
1. Mixing the Brown Coat: Prepare the stucco mixture for the brown coat, aiming for a slightly stiffer consistency compared to the scratch coat. The brown coat should be workable but firm enough to support the application of the finish coat.
2. Applying the Brown Coat: Using a masonry trowel, apply the brown coat evenly over the cured scratch coat. The layer thickness for the brown coat typically ranges from 3/8 to 1/4 inch, allowing for sufficient material to level and refine the surface while maintaining structural integrity.
3. Smoothing and Leveling: Work methodically to smooth and level the brown coat, ensuring a consistent thickness across the entire surface. Pay attention to achieving a uniform and even surface, addressing any irregularities or imperfections from the scratch coat application.
4. Creating a Uniform Texture: While the brown coat is still workable, use a float or a darby to create a uniform texture and further refine the surface. This step contributes to the overall aesthetic appeal and structural integrity of the stucco finish, setting the stage for the application of the final coat.
5. Curing the Brown Coat: Allow the brown coat to cure properly, ensuring that it achieves the necessary strength and stability before proceeding to the application of the finish coat. The curing period is vital for the brown coat to set and prepare the surface for the subsequent finishing touches.
By meticulously following these steps, you’ll advance toward achieving a well-prepared surface that is primed for the final stucco finish. The careful execution of the brown coat contributes to the overall durability and visual appeal of the stucco application, setting the stage for the application of the finish coat to complete the transformative process.
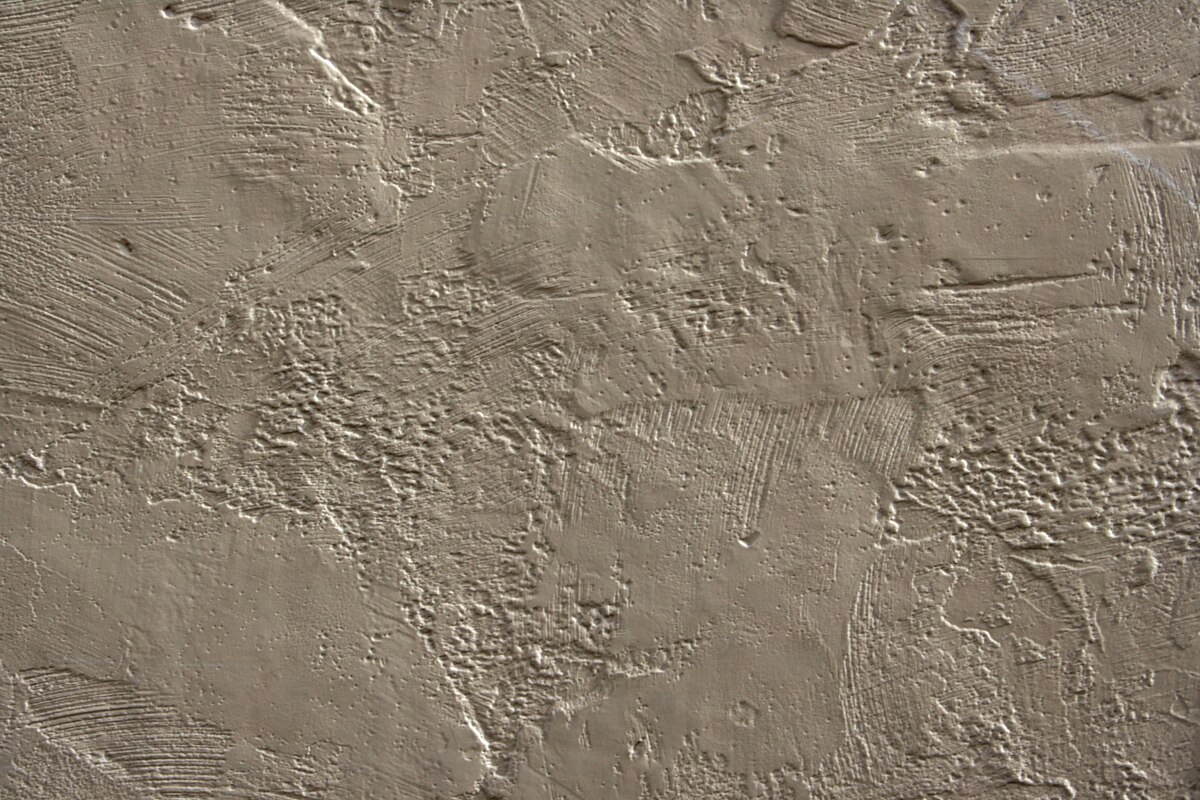
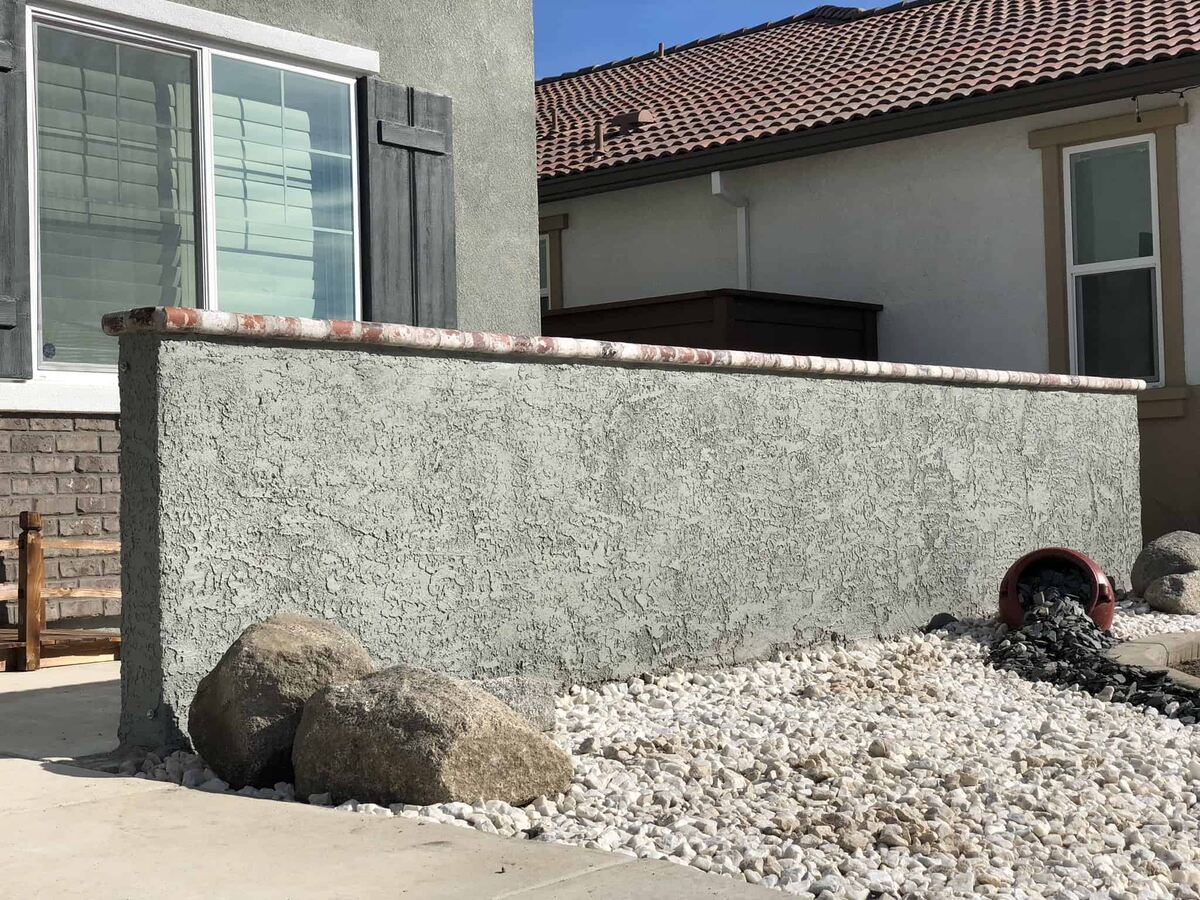
Applying the Finish Coat
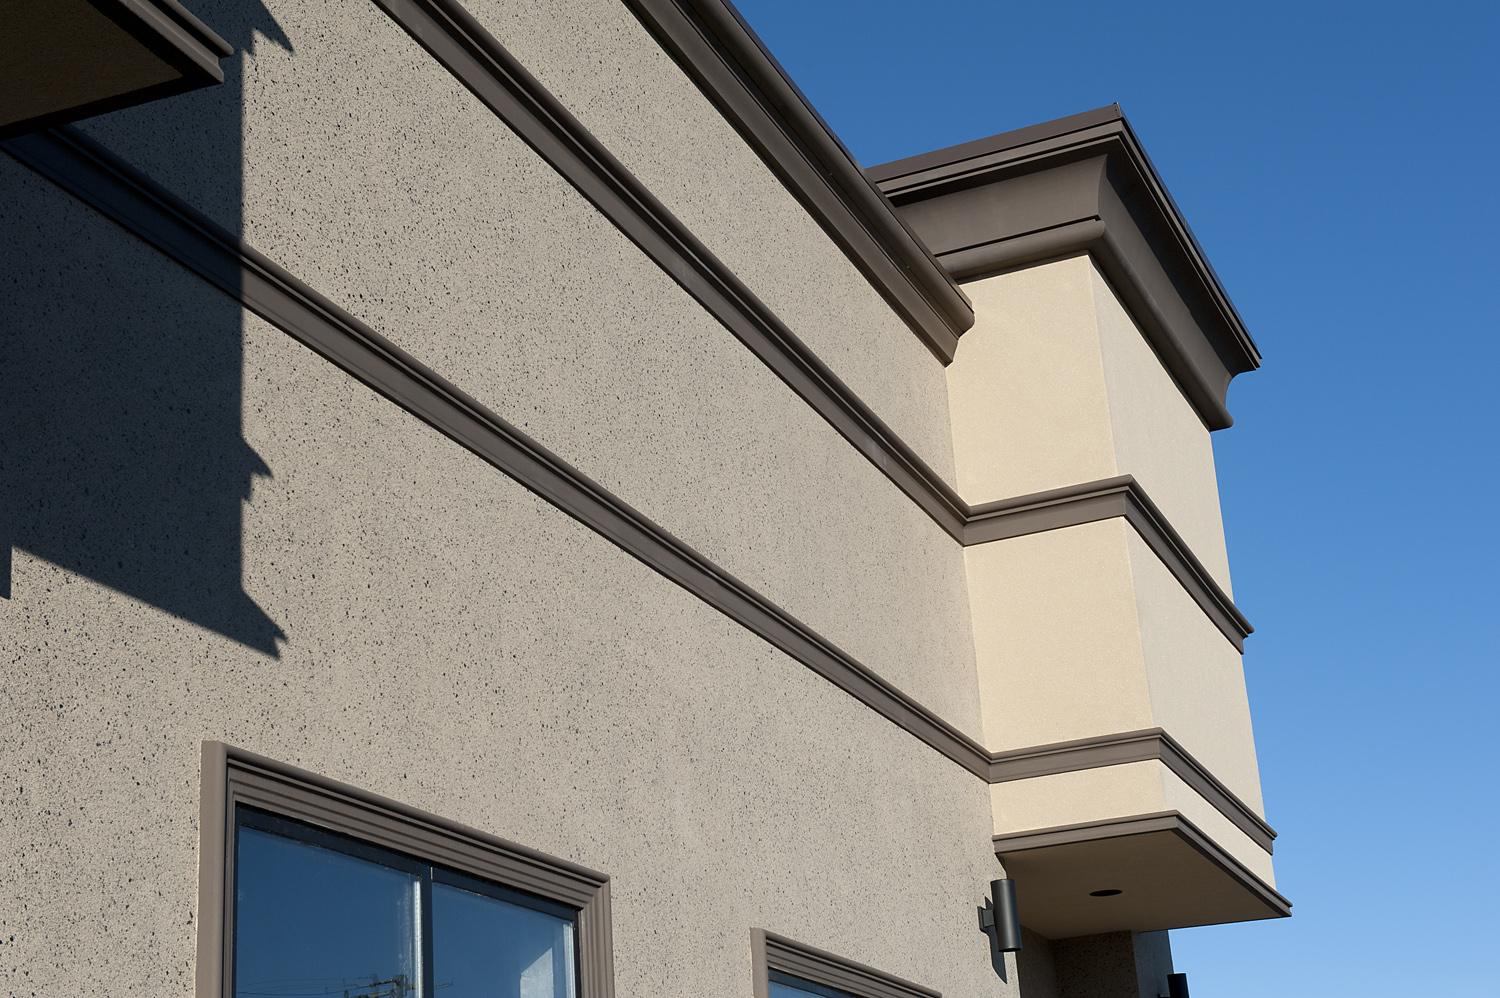
The finish coat is the crowning touch of the stucco application, imparting the desired texture, color, and visual appeal to the surface. This final layer not only enhances the aesthetic charm of the wall but also contributes to its durability and weather resistance. Here’s a detailed guide to applying the finish coat:
1. Preparing the Finish Coat Mix: Mix the stucco components to achieve the desired consistency for the finish coat. The mix should be slightly wetter than the brown coat, allowing for ease of application and manipulation to create the desired texture.
2. Applying the Finish Coat: Using a masonry trowel, carefully apply the finish coat to the cured brown coat in a uniform and consistent manner. Work systematically to cover the entire surface, ensuring an even distribution of the finish coat material.
3. Creating the Desired Texture: Depending on the desired finish, use various techniques such as swirling, stippling, or troweling to create the preferred texture on the surface. This step allows for artistic expression and customization, adding a personal touch to the stucco finish.
4. Refining the Surface: As you apply the finish coat, pay close attention to refining the surface to achieve a smooth and uniform appearance. Take care to address any imperfections or irregularities, ensuring that the finish coat contributes to a visually appealing and structurally sound stucco finish.
5. Curing and Protecting the Finish Coat: Allow the finish coat to cure thoroughly, protecting it from excessive moisture and environmental factors during the curing process. Once cured, consider applying a high-quality sealer to enhance the finish coat’s water resistance and protect it from the elements.
By meticulously following these steps, you’ll bring the stucco application process to its culmination, infusing the cinder block wall with a stunning and resilient finish. The finish coat not only elevates the aesthetic allure of the wall but also fortifies it against the rigors of the environment, ensuring that the stucco application stands the test of time with enduring beauty and strength.
Read more: How To Repair Cinder Block Foundation
Curing and Finishing Touches
Once the stucco application is complete, proper curing and thoughtful finishing touches are essential to ensure the longevity and visual appeal of the newly transformed cinder block wall. Here’s a comprehensive guide to the final phases of the stucco application process:
1. Allowing for Proper Curing: After the application of the finish coat, it’s crucial to allow the stucco to cure thoroughly. Depending on the environmental conditions, the curing period may vary, but it typically ranges from 48 to 72 hours. During this time, it’s essential to protect the stucco from excessive moisture and physical disturbances to facilitate optimal curing.
2. Inspecting and Touching Up: Once the stucco has cured, carefully inspect the surface for any imperfections or areas that may require touch-ups. Address any minor flaws or irregularities with additional stucco material, ensuring that the surface is uniform and visually appealing.
3. Applying a Protective Sealer: Consider applying a high-quality sealer to the cured stucco surface to enhance its water resistance and protect it from the elements. The sealer helps safeguard the stucco finish, prolonging its lifespan and maintaining its pristine appearance over time.
4. Adding Decorative Elements (Optional): If desired, you can incorporate decorative elements into the stucco finish, such as architectural details or embedded designs. These embellishments add a personalized and artistic touch to the stucco surface, further enhancing its visual appeal.
5. Maintaining the Stucco Finish: To ensure the long-term beauty and resilience of the stucco finish, periodic maintenance is essential. Inspect the stucco surface regularly and address any signs of wear or damage promptly. Routine cleaning and upkeep will help preserve the stucco’s integrity and aesthetic charm for years to come.
By conscientiously attending to the curing process and adding thoughtful finishing touches, you’ll complete the stucco application journey with a meticulously crafted and enduringly beautiful cinder block wall. The culmination of the curing and finishing phases ensures that the stucco finish not only captivates with its visual allure but also stands as a testament to the meticulous craftsmanship and enduring quality of the application process.
Frequently Asked Questions about How To Apply Stucco To Cinder Block Wall
Was this page helpful?
At Storables.com, we guarantee accurate and reliable information. Our content, validated by Expert Board Contributors, is crafted following stringent Editorial Policies. We're committed to providing you with well-researched, expert-backed insights for all your informational needs.


0 thoughts on “How To Apply Stucco To Cinder Block Wall”