
Articles
How To Cover Cinder Block Interior Walls
Modified: October 20, 2024
Learn how to cover cinder block interior walls with these informative articles. Discover tips, techniques, and step-by-step instructions for a flawless finish.
(Many of the links in this article redirect to a specific reviewed product. Your purchase of these products through affiliate links helps to generate commission for Storables.com, at no extra cost. Learn more)
Introduction
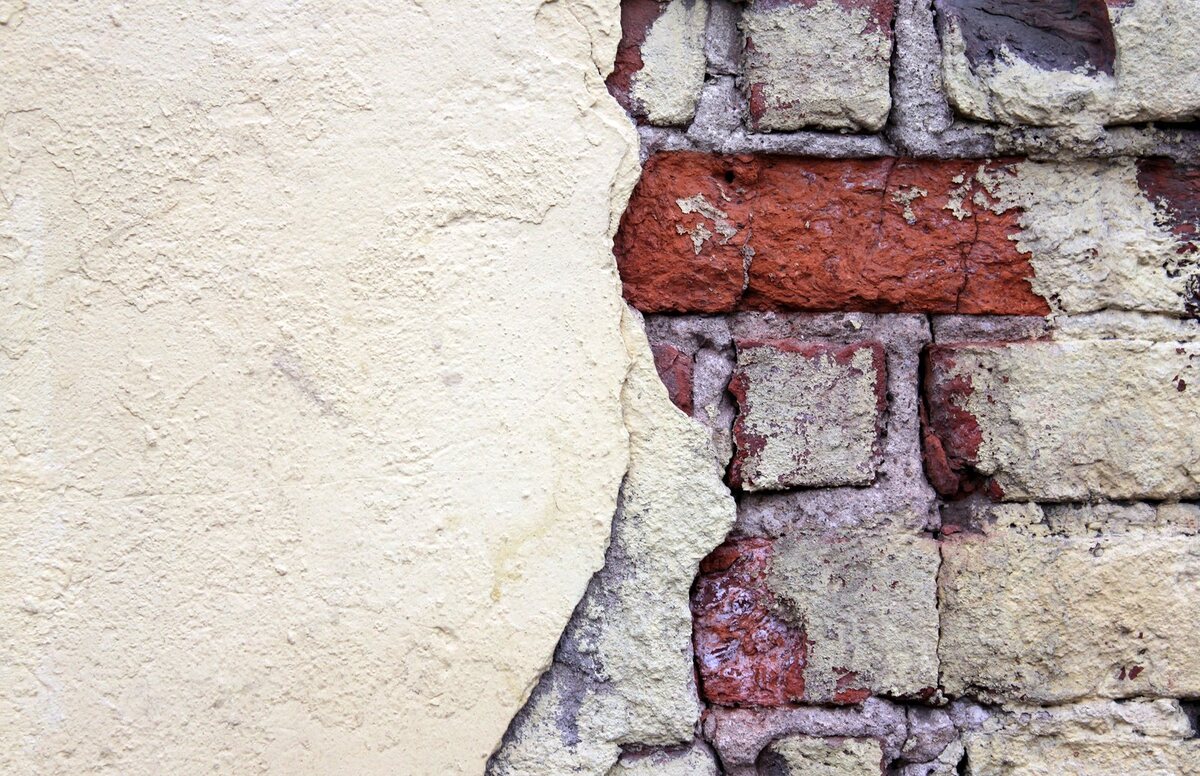
Cinder block walls are a common sight in many homes and buildings. While they may be structurally sound, the bare concrete appearance can be unappealing and give off a cold, industrial vibe. Luckily, there are several ways to cover cinder block interior walls and transform them into visually pleasing spaces.
In this article, we will explore different methods and techniques to enhance the look of cinder block walls. Whether you’re looking to add a fresh coat of paint, texture, wallpaper, or even install paneling or drywall, we’ve got you covered. Let’s dive in and learn how to give those cinder block walls a facelift!
Before we get started, let’s round up the materials you’ll need:
Key Takeaways:
- Transforming cinder block walls is achievable with the right materials and techniques. Whether painting, adding texture, or installing paneling, the options are endless for creating a visually appealing and personalized space.
- Proper preparation, including cleaning, patching, and priming, is essential for successful cinder block wall coverings. Choosing the right paint, adding texture, applying wallpaper, or installing paneling can completely transform the look and feel of a space.
Read more: How To Apply Stucco To Cinder Block Wall
Materials Needed
- Drop cloths or plastic sheets
- Cleaner or degreaser
- Scraper or wire brush
- Filling compound or spackle
- Putty knife
- Sanding block or sandpaper
- Primer
- Paint roller and brushes
- Paint in your desired color
- Texture compound or wallpaper
- Paneling or drywall (if applicable)
- Nails, screws, or adhesive (if applicable)
Now that we have our materials ready, let’s move on to preparing the walls.
Key Takeaways:
- Transforming cinder block walls is achievable with the right materials and techniques. Whether painting, adding texture, or installing paneling, the options are endless for creating a visually appealing and personalized space.
- Proper preparation, including cleaning, patching, and priming, is essential for successful cinder block wall coverings. Choosing the right paint, adding texture, applying wallpaper, or installing paneling can completely transform the look and feel of a space.
Read more: How To Apply Stucco To Cinder Block Wall
Materials Needed
To cover cinder block interior walls, you will need several materials to ensure a successful transformation. Here’s a list of the essential materials you’ll need:
- Drop cloths or plastic sheets: These will protect your floors and furniture from any mess or spills during the process.
- Cleaner or degreaser: It is important to clean the cinder block walls thoroughly before applying any coverings. A mild cleaner or degreaser will help remove any dirt, dust, or grease that may have accumulated over time.
- Scraper or wire brush: Use these tools to remove any loose paint, debris, or imperfections from the walls. This step will ensure a smooth surface for the covering materials.
- Filling compound or spackle: If there are any cracks, holes, or uneven areas on the cinder block walls, filling compound or spackle is essential to patch them up. Make sure to choose a product specifically designed for masonry surfaces.
- Putty knife: A putty knife will be handy for applying the filling compound or spackle to the walls. You can also use it for smoothing out the surface and removing any excess filler.
- Sanding block or sandpaper: After the filling compound or spackle has dried, use a sanding block or sandpaper to gently sand down any rough spots or ridges. This step will ensure a seamless and even surface.
- Primer: Applying a primer before painting or adding any coverings is crucial. It helps seal the cinder block walls, provides better adhesion for the paint, and enhances the durability of the final finish.
- Paint roller and brushes: Depending on the size of the walls and your preference, use a paint roller and suitable brushes for the application of the paint or texture compound.
- Paint in your desired color: Choose a paint color that suits your style and complements the overall aesthetics of the space. Opt for a paint specifically designed for use on masonry surfaces.
- Texture compound or wallpaper: If you want to add texture or patterns to the cinder block walls, a texture compound or wallpaper can be used. Texture compound can be applied directly to the walls, while wallpaper requires adhesive for installation.
- Paneling or drywall (if applicable): For a more substantial transformation, you have the option to install paneling or drywall over the cinder block walls. This will require additional materials such as nails, screws, or adhesive.
Make sure to gather all of these materials before you begin covering your cinder block interior walls. Having everything on hand will make the process smoother and more efficient. Now that we have our materials ready, let’s move on to preparing the walls.
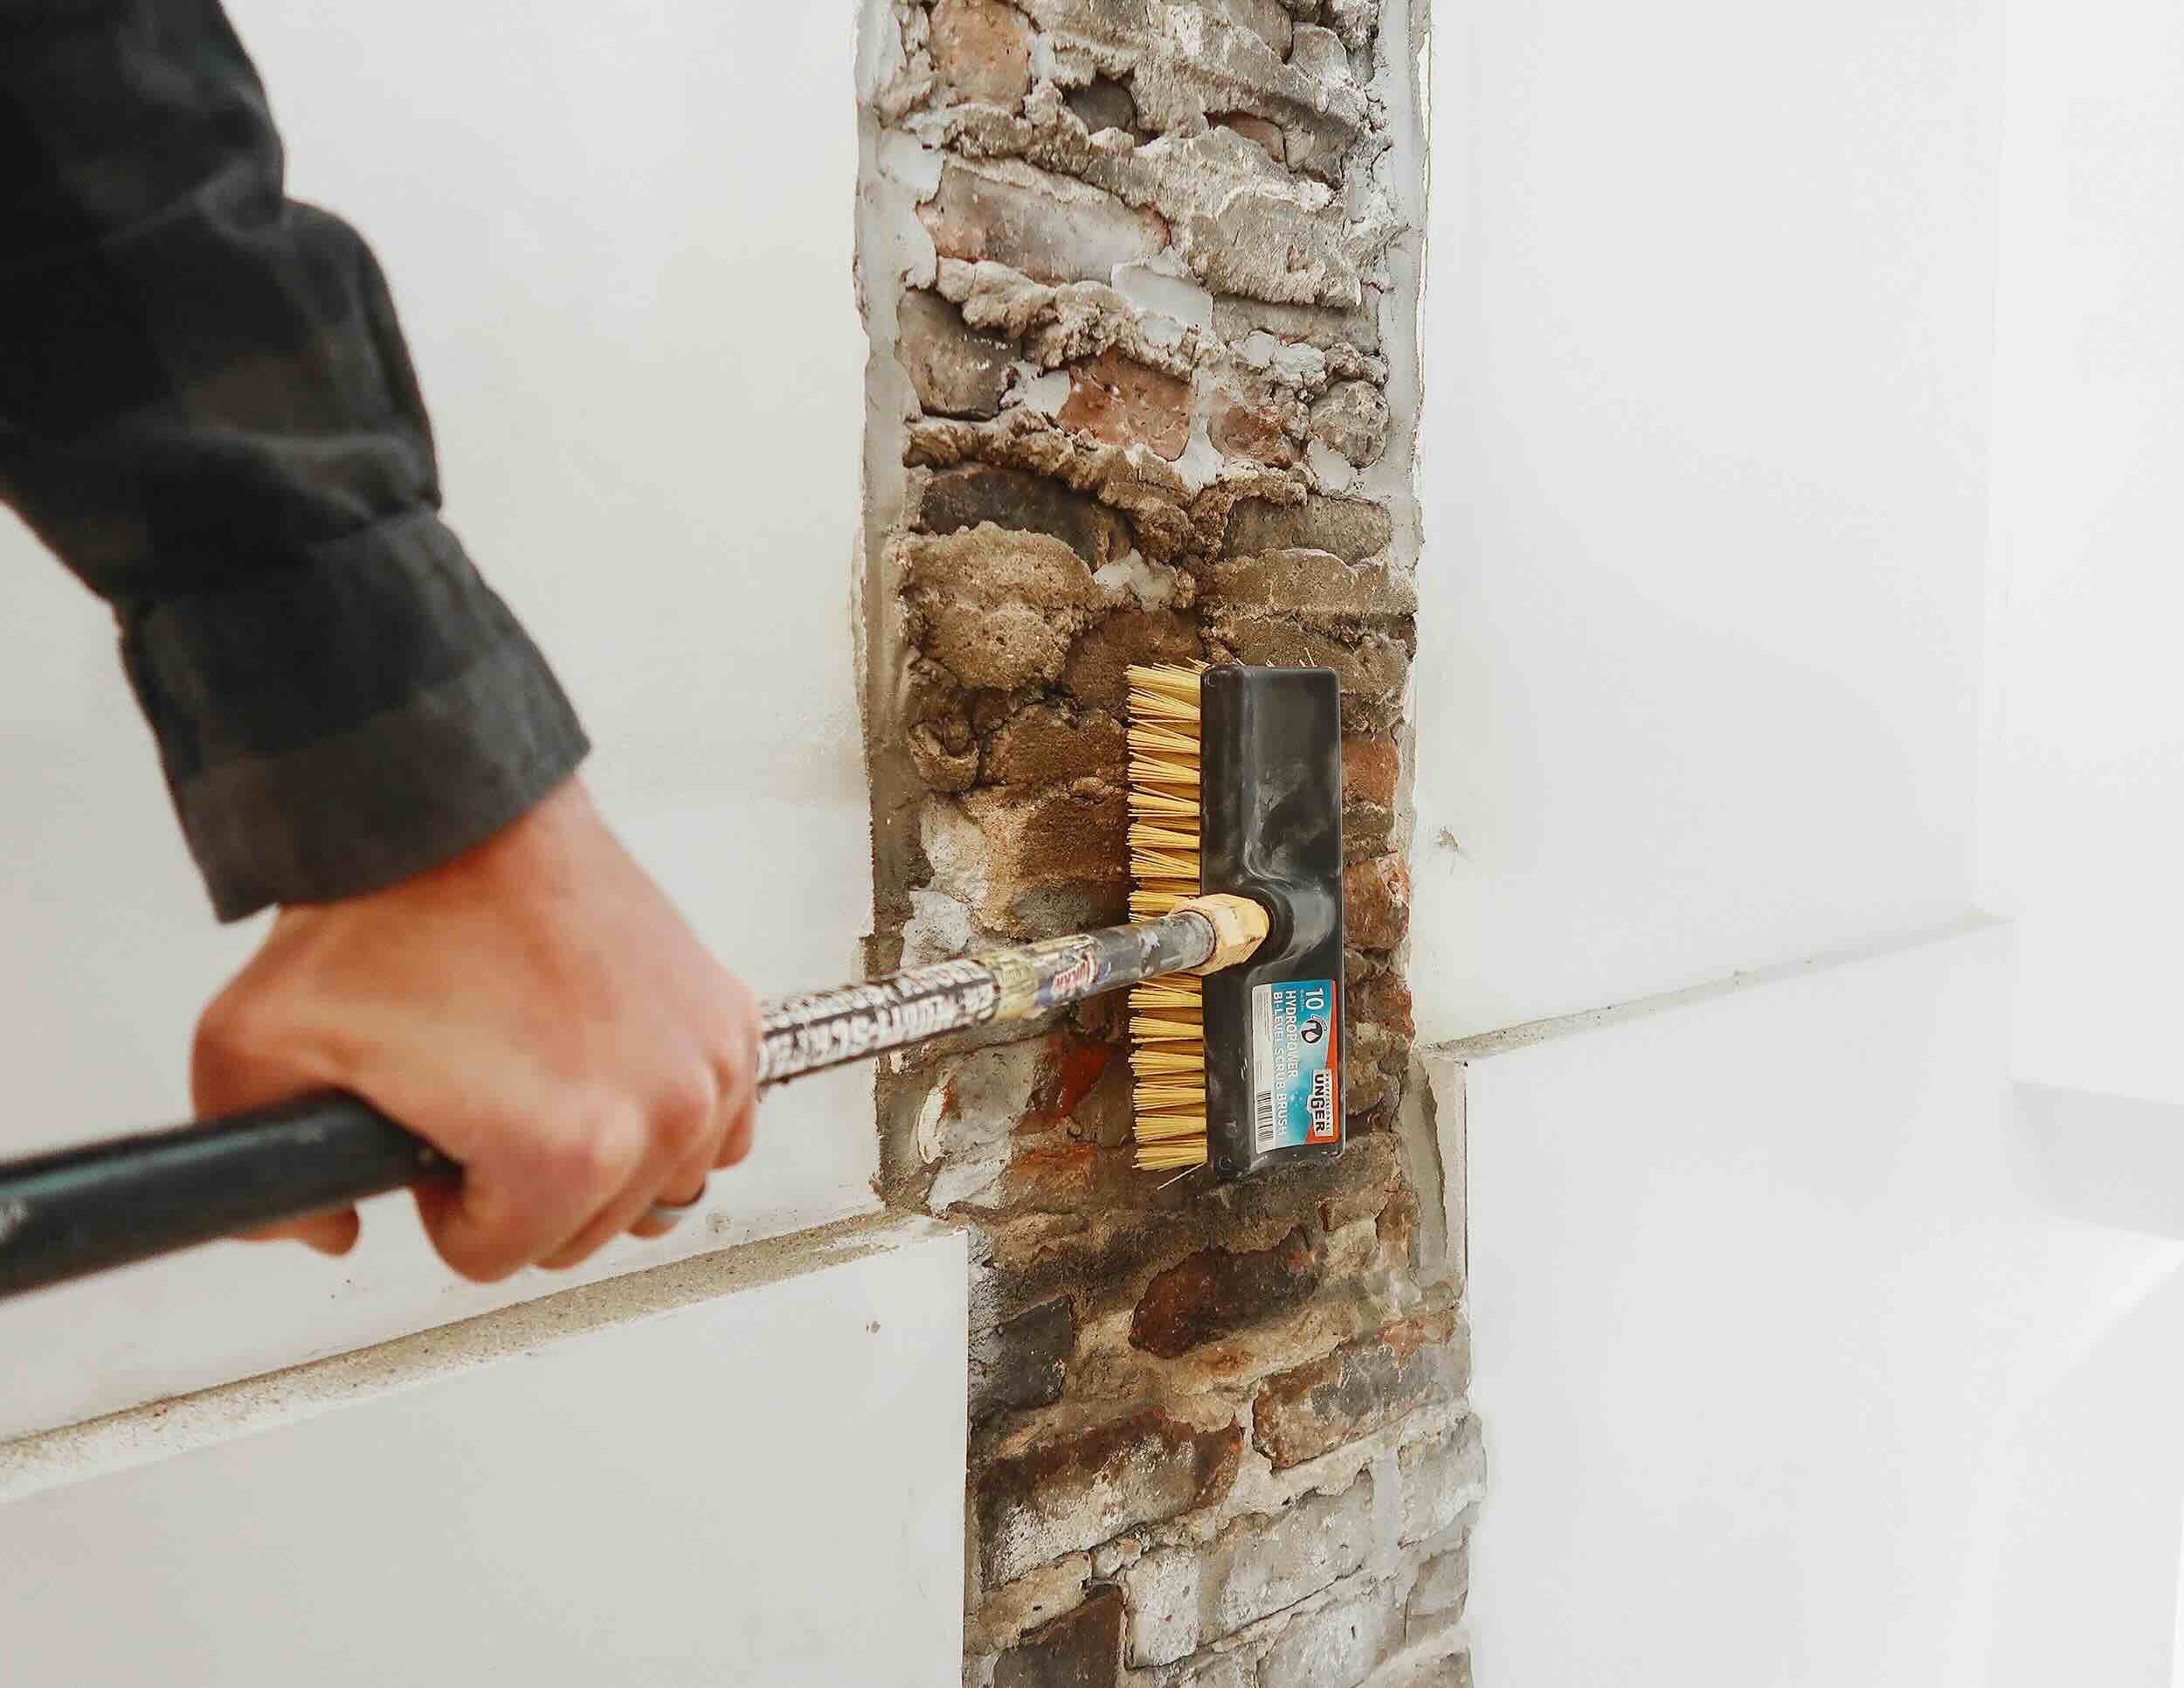
Preparing the Walls
Before you start covering your cinder block interior walls, it’s essential to properly prepare them. Preparing the walls will ensure better adhesion, a smoother surface, and a longer-lasting finish. Here are the steps to follow:
- Clean the walls: Begin by cleaning the cinder block walls to remove any dirt, dust, or grease. Use a cleaner or degreaser specifically designed for masonry surfaces. Follow the instructions on the cleaning product and thoroughly wipe down the walls.
- Remove loose paint and debris: If there are any loose paint chips, flaking or peeling paint, or debris on the walls, scrape them off using a scraper or wire brush. This step will ensure a smooth and even surface for your coverings.
- Repair and fill any imperfections: Inspect the walls for cracks, holes, or uneven areas. Use filling compound or spackle to patch up these imperfections. Apply the compound or spackle with a putty knife, and then smooth it out. Allow it to dry as per the manufacturer’s instructions.
- Sand the filled areas: Once the filling compound or spackle has dried, sand down the patched areas with a sanding block or sandpaper. This will create a level surface and ensure that the repairs blend seamlessly with the rest of the wall.
By thoroughly cleaning the walls and addressing any imperfections, you are setting the foundation for a successful covering. The next step is to apply a primer to the prepared walls.
Continue reading to the next section to learn about the importance of using primer and how to choose the right one for your cinder block walls.
Filling and Patching
When covering cinder block interior walls, filling and patching any cracks, holes, or uneven areas is crucial for achieving a smooth and polished finish. Here are the steps to follow:
- Inspect the walls: Begin by thoroughly examining the cinder block walls for any visible cracks, holes, or other imperfections. Pay close attention to corners, edges, and areas where the blocks meet.
- Clean the walls: Before applying any filling compound or patching material, make sure the walls are clean and free from dirt, dust, or grease. You can use a damp cloth or mild cleaner to wipe down the surface.
- Choose the right filling compound: There are different types of filling compounds available for masonry surfaces, such as concrete patching compound or spackle. Select a product that is suitable for your specific needs and follows the manufacturer’s instructions regarding application and drying time.
- Apply the filling compound: Using a putty knife, apply the filling compound to the cracks, holes, or uneven areas on the cinder block walls. Make sure to fill the gaps completely and level the surface for a seamless finish.
- Smooth out the surface: After applying the filling compound, use the putty knife or a smoothing tool to ensure the surface is level and smooth. Remove any excess compound, and feather the edges to blend it with the surrounding wall.
- Allow for drying time: Follow the recommended drying time provided by the product manufacturer. It is important not to rush this step, as proper drying ensures a solid and durable patch.
- Sand the patched areas: Once the filling compound has dried, use a sanding block or sandpaper to gently sand down any rough spots and create a smooth surface. This step will help the patches blend seamlessly with the rest of the wall.
- Clean the walls again: After sanding, clean the walls once more to remove any dust or debris resulting from the patching process. This will ensure a clean surface for the next steps.
Filling and patching the cinder block walls is a crucial step in preparing them for covering materials. By addressing any imperfections and creating a smooth surface, you are setting the stage for a successful and visually appealing transformation.
Next, we will explore the importance of applying a primer and how to choose the right one for your cinder block walls.
Read more: How To Cover Stucco Interior Walls
Primer
When covering cinder block interior walls, applying a primer is an essential step for several reasons. A primer acts as a preparatory coating that helps create a better surface for the final finish, improves adhesion, and enhances the durability of the coverings. Here’s why using a primer is important:
Sealing: Cinder block walls are porous, meaning they have small, interconnected air pockets and can absorb moisture. A primer helps seal the surface, preventing moisture from penetrating the walls and causing damage over time. It forms a barrier between the cinder block and the coverings, protecting them from potential moisture-related issues such as mold or mildew.
Adhesion: Primer enhances the adhesion of the coverings to the cinder block walls. It provides a better surface for the paint, texture compound, or wallpaper to adhere to, ensuring a long-lasting finish. Without a primer, the coverings may not bond as effectively to the surface, leading to peeling or flaking over time.
Smoother finish: Applying a primer helps create a smooth and uniform surface, especially when dealing with a porous material like cinder block. It fills in the small imperfections, evens out the texture, and gives a consistent base for the final finish. This results in a more polished and professional-looking outcome.
Enhanced durability: A primer adds an extra layer of protection to the cinder block walls, making them more resistant to wear and tear. It can help prevent stains, fading, and damage from everyday use. Additionally, the primer acts as a barrier that prevents the coverings from directly contacting the cinder block, which can extend their lifespan.
When choosing a primer for your cinder block walls, opt for a product specifically designed for masonry surfaces. Look for a primer that offers good adhesion, moisture resistance, and compatibility with the type of covering you plan to apply.
Before applying the primer, make sure the walls are clean, dry, and free from any dust or debris. Use a brush or roller to apply an even coat of primer onto the surface, following the manufacturer’s instructions for drying time and additional coats, if necessary.
By applying a primer, you are ensuring a solid foundation for the coverings and enhancing their performance and longevity. Now that we have primed the walls, it’s time to move on to choosing the right paint for your cinder block interior walls.
Consider using a combination of paint and stucco to cover cinder block interior walls. Apply a coat of primer, followed by a textured stucco finish for a more polished look.
Choosing the Right Paint
When it comes to covering cinder block interior walls, choosing the right paint is crucial for achieving the desired finish and durability. Here are some factors to consider when selecting paint for your cinder block walls:
Type of Paint: Opt for a paint that is specifically formulated for use on masonry surfaces. This type of paint is designed to adhere well to the porous surface of cinder blocks and provide long-lasting coverage. Look for labels that indicate suitability for concrete or masonry materials.
Finish: Consider the finish you want to achieve. Common options include flat, matte, eggshell, satin, semi-gloss, and high-gloss. A flat or matte finish can help to conceal imperfections, while a glossier finish can provide a more reflective and easy-to-clean surface. Keep in mind that a glossier finish may also highlight any flaws in the cinder block walls.
Color: Choose a color that suits your aesthetic preferences and complements the overall design of the space. Lighter colors can make a room feel more spacious and airy, while darker colors can add depth and drama. Consider the lighting in the room as well, as it can affect how the paint color appears.
Texture: Some paints offer textured finishes that can help mask the inherent roughness of cinder block walls. These textured paints can create a more interesting and visually appealing look while providing additional depth and dimension to the surface.
Durability: It’s important to select a paint that is durable and resistant to wear and tear, especially if the walls will be subject to high traffic or potential moisture exposure. Look for paints labeled as “scrubbable,” “stain-resistant,” or “moisture-resistant.”
Environmentally-friendly options: If you prefer an eco-friendly approach, there are paints available that have low VOC (volatile organic compound) content. These paints emit fewer harmful chemicals and are a more environmentally-conscious choice.
When purchasing paint, consult with a knowledgeable staff member at your local paint store or read product labels and specifications to ensure you select the right paint for your specific needs. It’s also a good idea to purchase a small sample to test on a small area of the wall before committing to the entire project.
Now that you have chosen the right paint for your cinder block walls, it’s time to move on to the next step – painting!
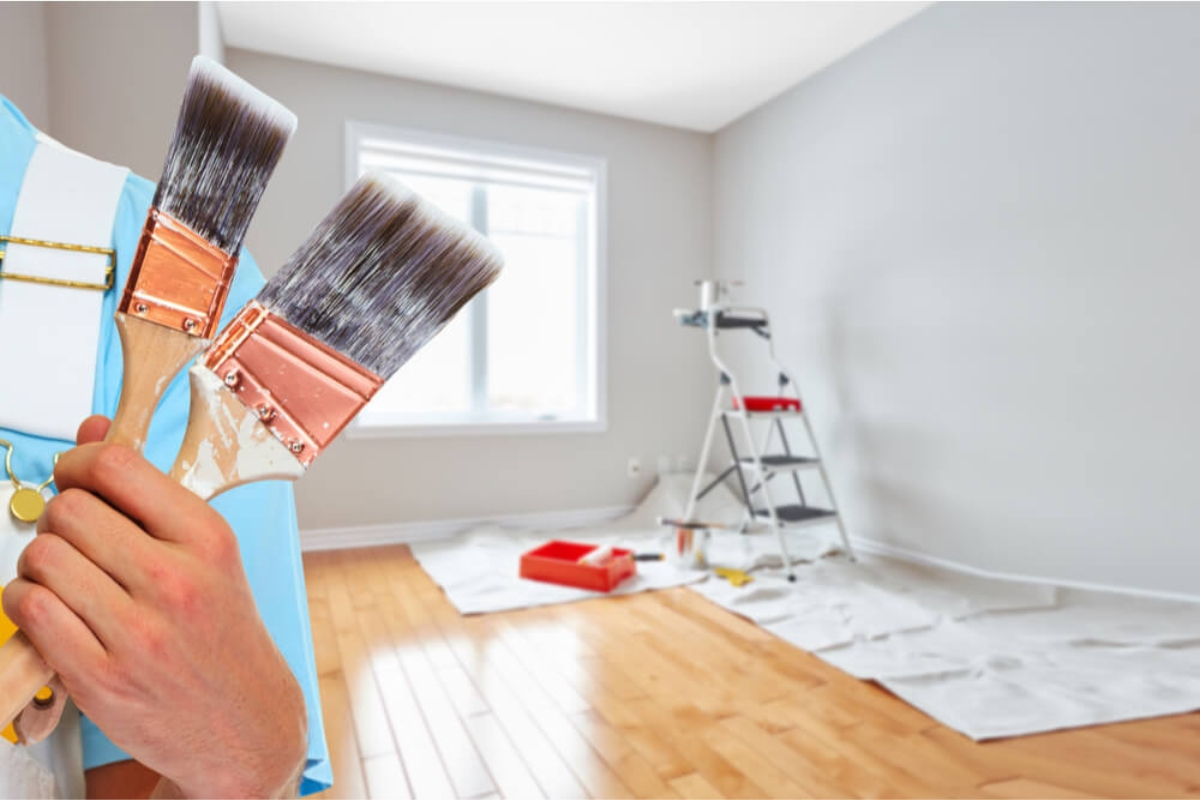
Painting the Cinder Block Walls
Now that you have prepared the cinder block walls, applied primer, and selected the right paint, it’s time to start painting! Follow these steps to ensure a successful and professional-looking paint finish:
- Prepare the area: Clear the room and cover any furniture, flooring, or fixtures with drop cloths or plastic sheets to protect them from paint splatters.
- Start with a cut in: Use a paintbrush to cut in around the edges of the wall, making sure to reach into corners and near the ceiling, baseboards, and trim. This will create a clean and precise line for the subsequent roller application.
- Apply paint with a roller: Use a paint roller to apply the paint to the main area of the wall. Dip the roller into the paint tray, making sure to evenly distribute the paint on the roller. Start rolling from the top of the wall and work your way down in vertical sections. Apply steady pressure and use long, even strokes for an even finish.
- Overlap each pass: To avoid leaving visible lines or streaks, slightly overlap each roller pass with the previous one. This technique helps to blend the paint and create a seamless appearance.
- Work in manageable sections: It’s important to work in manageable sections to maintain a wet edge and avoid visible lines between drying areas. Paint one section at a time, moving across the wall systematically.
- Allow for drying time: Follow the paint manufacturer’s instructions regarding drying time between coats. Typically, it is recommended to wait for the first coat to dry completely before applying a second coat for optimal coverage and durability.
- Apply additional coats if necessary: Depending on the color and coverage desired, you may need to apply multiple coats of paint. Allow each coat to dry before applying additional layers, ensuring a smooth and consistent finish.
- Clean up properly: After you have finished painting, clean your brushes, rollers, and other tools with soap and water or according to the manufacturer’s instructions. Proper cleaning and storage of your painting tools will help extend their lifespan.
Once the paint is dry and you are satisfied with the coverage, your cinder block walls will have a fresh and vibrant new look. Take a step back and admire your transformed space!
However, if you’re looking for something beyond a simple paint finish, such as adding texture or wallpaper, installing paneling or drywall, or applying other creative coverings, continue reading to explore those options in the upcoming sections.
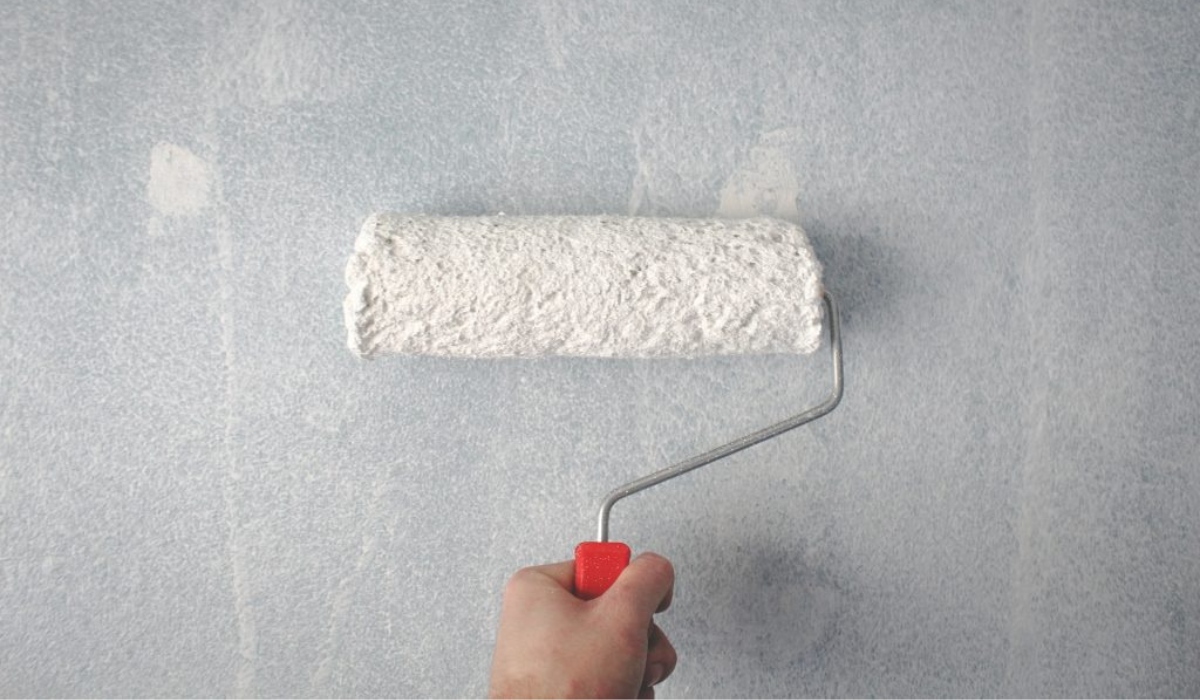
Adding Texture or Wallpaper
If you want to go beyond a simple paint finish and add more visual interest to your cinder block walls, consider adding texture or applying wallpaper. These options can bring depth, character, and a unique touch to your space. Here’s how you can accomplish it:
Texture: Adding texture to your cinder block walls can help to disguise their rough and industrial appearance. There are various texture options you can choose from, such as using a texture compound or applying a textured paint. Here’s a step-by-step guide:
- Prepare the walls: Ensure that the cinder block walls are clean, free from dust and debris, and properly patched if necessary.
- Choose a texture compound: There are different texture compounds available, such as sand-based or premixed products. Follow the manufacturer’s instructions on mixing and preparing the texture compound.
- Apply the texture compound: Use a trowel or large putty knife to apply the texture compound onto the walls. Experiment with different techniques and patterns to achieve your desired textured effect, such as swirls, stippling, or combing.
- Allow for drying time: Follow the manufacturer’s instructions regarding drying time for the texture compound. It is essential to allow enough time for the compound to dry and set properly.
- Prime and paint: Apply a primer to the textured walls before painting. This will help seal the texture and provide a better surface for the paint to adhere to. Once the primer is dry, you can proceed with your desired paint color and finish.
Wallpaper: Wallpaper can instantly transform the look of your cinder block walls, adding patterns, textures, or even a faux finish. Here’s how to apply wallpaper to your cinder block walls:
- Prepare the walls: Clean the cinder block walls thoroughly and ensure they are smooth and free from any imperfections or loose debris.
- Measure and cut the wallpaper: Measure the height and width of the walls and cut the wallpaper accordingly, leaving a bit of extra length to accommodate for adjustments.
- Apply wallpaper adhesive: Use a roller or brush to apply adhesive to the back of the wallpaper evenly. Follow the manufacturer’s instructions on the type of adhesive to use.
- Hang the wallpaper: Starting from one corner, carefully position the wallpaper on the wall, ensuring it is aligned and straight. Smooth out any air bubbles or wrinkles using a wallpaper smoothing tool as you go along.
- Trim and match the seams: Use a sharp utility knife to trim excess wallpaper from the edges and corners. Match the seams carefully, ensuring a seamless and cohesive look.
- Allow for drying time: Give the wallpaper sufficient drying time as recommended by the manufacturer. This will ensure proper adhesion and longevity.
By adding texture or applying wallpaper to your cinder block walls, you can create a unique and personalized space that reflects your style and preferences.
If you prefer a more substantial transformation, such as installing paneling or drywall over the cinder block walls, continue reading to explore those options in the upcoming sections.
Read more: How To Repair Cinder Block Foundation
Installing Paneling or Drywall
If you’re looking to completely transform your cinder block walls and create a more finished and polished look, installing paneling or drywall can be an excellent option. Here’s a step-by-step guide on how to install paneling or drywall over your cinder block walls:
Paneling:
- Measure and plan: Start by measuring the dimensions of your cinder block walls and determining the amount of paneling required. Plan the layout and decide on the type of paneling you want to install.
- Prepare the walls: Clean the cinder block walls thoroughly and ensure they are dry. Remove any loose paint, debris, or imperfections from the surface.
- Apply adhesive or furring strips: Depending on the type of paneling, you may need to apply adhesive directly to the cinder block walls or install furring strips to create a level surface for the paneling.
- Install the paneling: Follow the manufacturer’s instructions for your specific type of paneling. Use the appropriate tools, such as a saw or utility knife, to cut the panels to fit the dimensions of the walls. Secure the panels in place, either by nailing or screwing them into the adhesive or furring strips.
- Fill any gaps: Once the paneling is installed, use filler or caulk to fill any gaps or seams between the panels. Smooth out the filler for a seamless appearance.
- Finishing touches: If desired, you can paint or stain the paneling to match your desired aesthetic. Follow the appropriate instructions for painting or staining the type of paneling you’ve installed.
Drywall:
- Measure and plan: Measure the dimensions of your cinder block walls and determine the amount of drywall needed. Plan the layout and determine the location of electrical outlets and switches.
- Prepare the walls: Clean the cinder block walls thoroughly and ensure they are dry. Remove any loose paint, debris, or imperfections from the surface.
- Install furring strips: To create a level surface for the drywall, install furring strips vertically along the walls. Use a level to ensure the strips are straight and secured tightly to the cinder block walls.
- Measure and cut the drywall: Measure and mark the drywall pieces according to the dimensions of the walls. Use a utility knife or drywall saw to cut the drywall sheets to size.
- Attach the drywall: Secure the drywall sheets to the furring strips using drywall screws. Make sure to space the screws properly and sink them slightly below the surface of the drywall without breaking the paper face.
- Tape and mud the seams: Apply drywall joint tape over the seams between the drywall sheets. Use joint compound or mud to fill the seams and create a smooth surface. Allow the compound to dry and sand down any rough areas.
- Finish and paint: Apply additional coats of joint compound as needed to achieve a smooth and seamless finish. Sand the dried compound until it’s smooth, prime the surface, and then paint the drywall to your desired color.
By installing paneling or drywall over your cinder block walls, you can create a completely transformed and polished space. Take your time during the installation process to ensure accuracy and quality results.
With the completion of the installation, your cinder block walls have undergone a significant transformation. Whether you chose to paint, add texture, apply wallpaper, or install paneling or drywall, your cinder block interior walls now exude a fresh, appealing look that enhances the overall aesthetics of your space.
Congratulations on completing this project! Enjoy your newly covered cinder block walls!
Conclusion
Transforming cinder block interior walls doesn’t have to be a daunting task. With the right materials, techniques, and a bit of creativity, you can completely revamp the look and feel of your space. Whether you choose to paint, add texture, apply wallpaper, or install paneling or drywall, there are plenty of options to suit your style and preferences.
Start by preparing the walls, cleaning them thoroughly, and patching any imperfections. Applying a primer will create a solid base for your coverings, enhancing their adhesion and durability. When choosing paint, consider the type, finish, color, and texture that will best suit your desired aesthetic.
If you want to go beyond a simple paint finish, consider adding texture or applying wallpaper to create visual interest and depth. Alternatively, installing paneling or drywall can completely transform the look and provide a polished, finished appearance.
Remember to take your time during each step of the process, allowing for proper drying and following manufacturer’s recommendations. Take pride in the meticulous preparations and attention to detail, as it will ensure a successful outcome.
By covering your cinder block interior walls, you not only improve the visual appeal of your space but also create a more comfortable and inviting atmosphere. Whether it’s a cozy living room, a stylish bedroom, or a creative workspace, the transformed cinder block walls will serve as a backdrop for your personal style and reflect the ambiance you wish to create.
So get started and unleash your creativity. With the right techniques and materials, your cinder block interior walls can become a striking feature that brings life and beauty to your space. Enjoy the process and the rewarding feeling of having accomplished a project that truly transforms your environment.
Ready to tackle more projects around your home? If stepping up your game with some DIY home improvement sounds exciting, our detailed guide will walk you through it all. On another note, for those pondering a more significant undertaking, our insights on basement renovation timelines will clarify expectations and help plan effectively. Dive into these resources for valuable advice and practical steps to enhance your living space efficiently.
Frequently Asked Questions about How To Cover Cinder Block Interior Walls
Was this page helpful?
At Storables.com, we guarantee accurate and reliable information. Our content, validated by Expert Board Contributors, is crafted following stringent Editorial Policies. We're committed to providing you with well-researched, expert-backed insights for all your informational needs.


0 thoughts on “How To Cover Cinder Block Interior Walls”