
Articles
How To Build Garden Beds
Modified: September 2, 2024
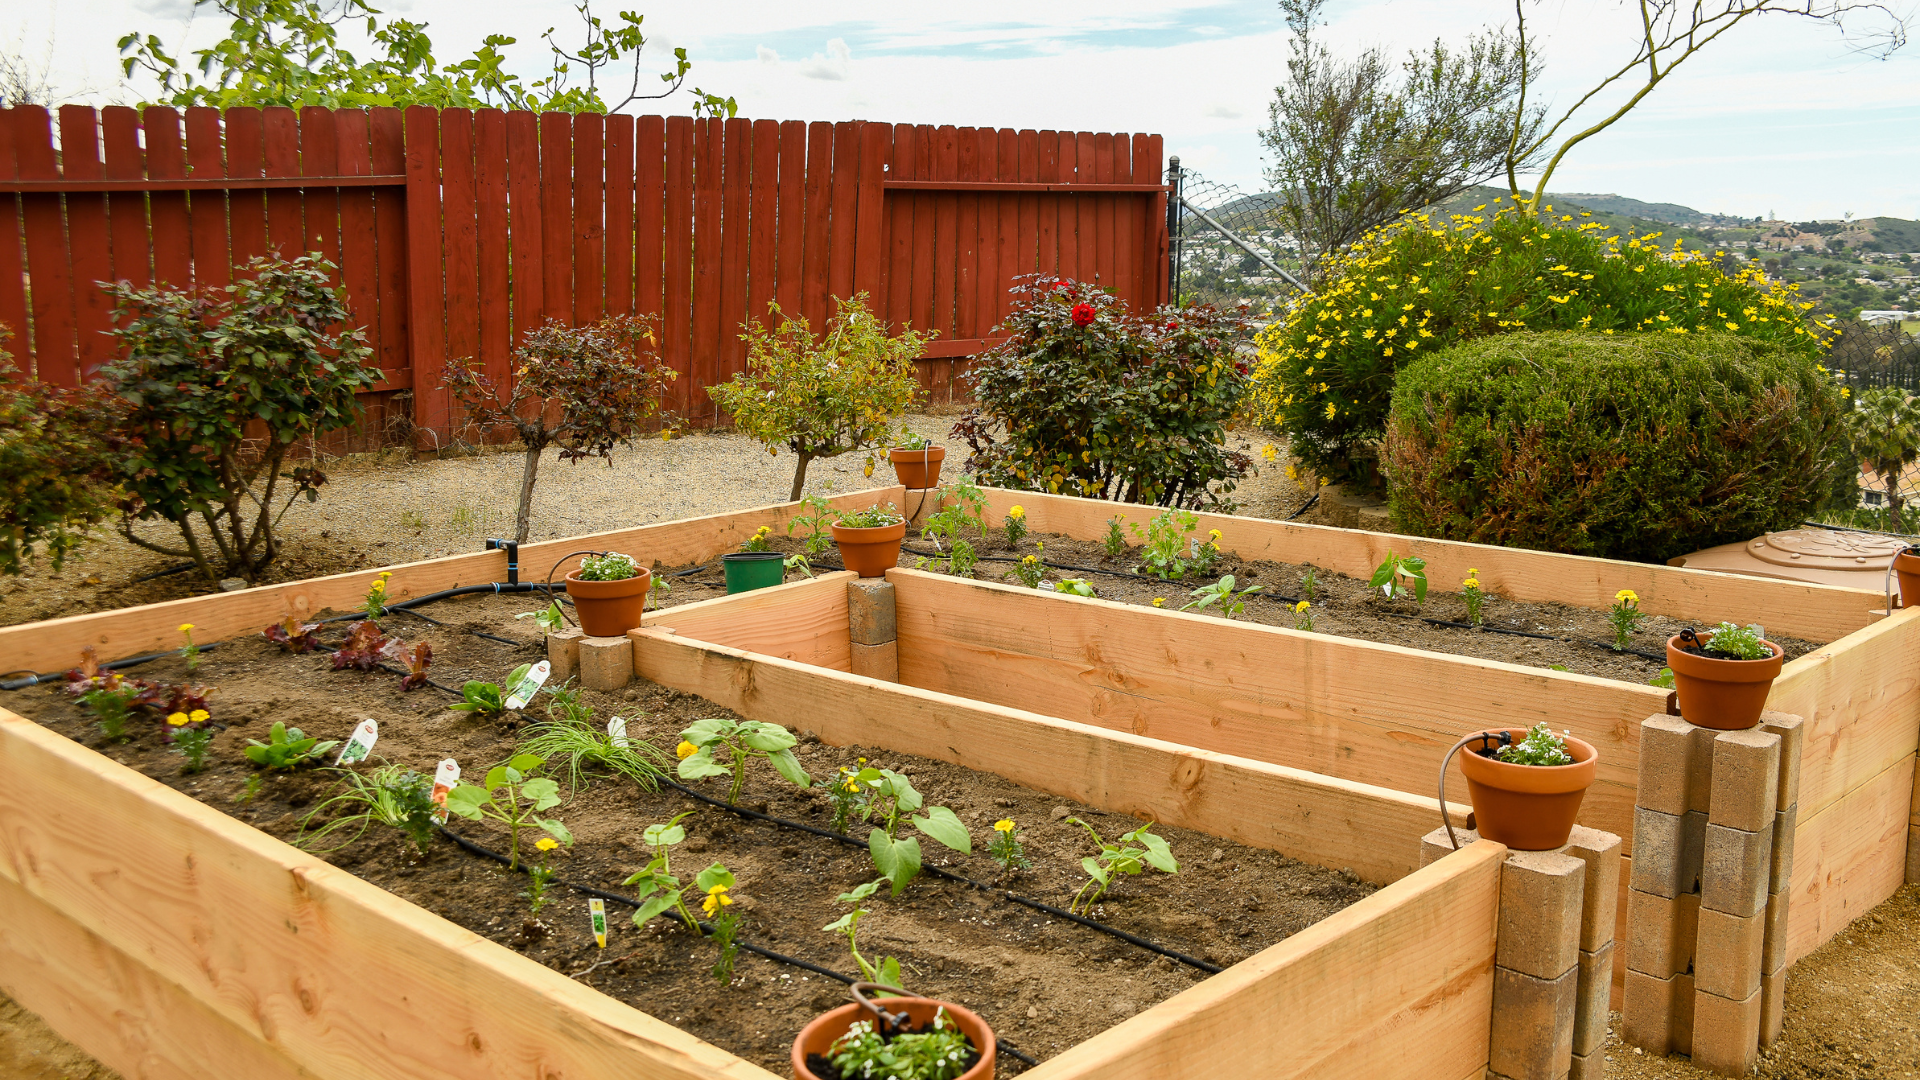
Learn how to build garden beds and improve your gardening skills with our step-by-step guide. Create the perfect environment for your plants and enjoy a thriving garden.
(Many of the links in this article redirect to a specific reviewed product. Your purchase of these products through affiliate links helps to generate commission for Storables.com, at no extra cost. Learn more)
Introduction
Welcome to the world of gardening! If you have a green thumb or simply enjoy being outdoors, creating and tending to a garden can be a rewarding and fulfilling experience. One of the key aspects of successful gardening is creating garden beds. Garden beds provide a defined and organized space for your plants to thrive, allowing for better soil drainage, weed control, and overall plant health.
In this article, we will guide you through the process of building garden beds, from choosing the right location to preparing the soil and planting. Whether you’re a beginner or have some gardening experience, this comprehensive guide will equip you with the knowledge to create beautiful and productive garden beds.
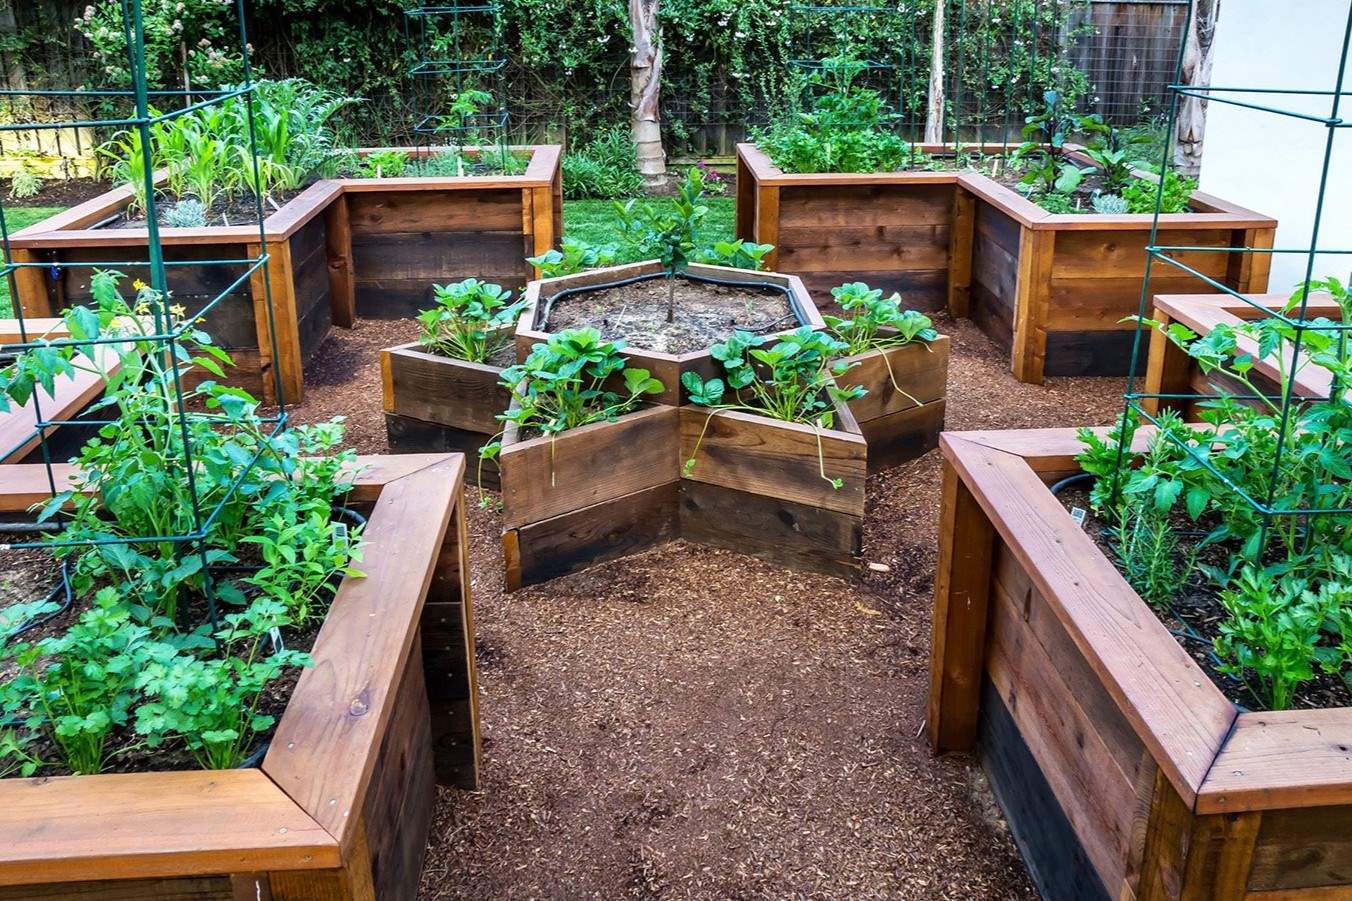
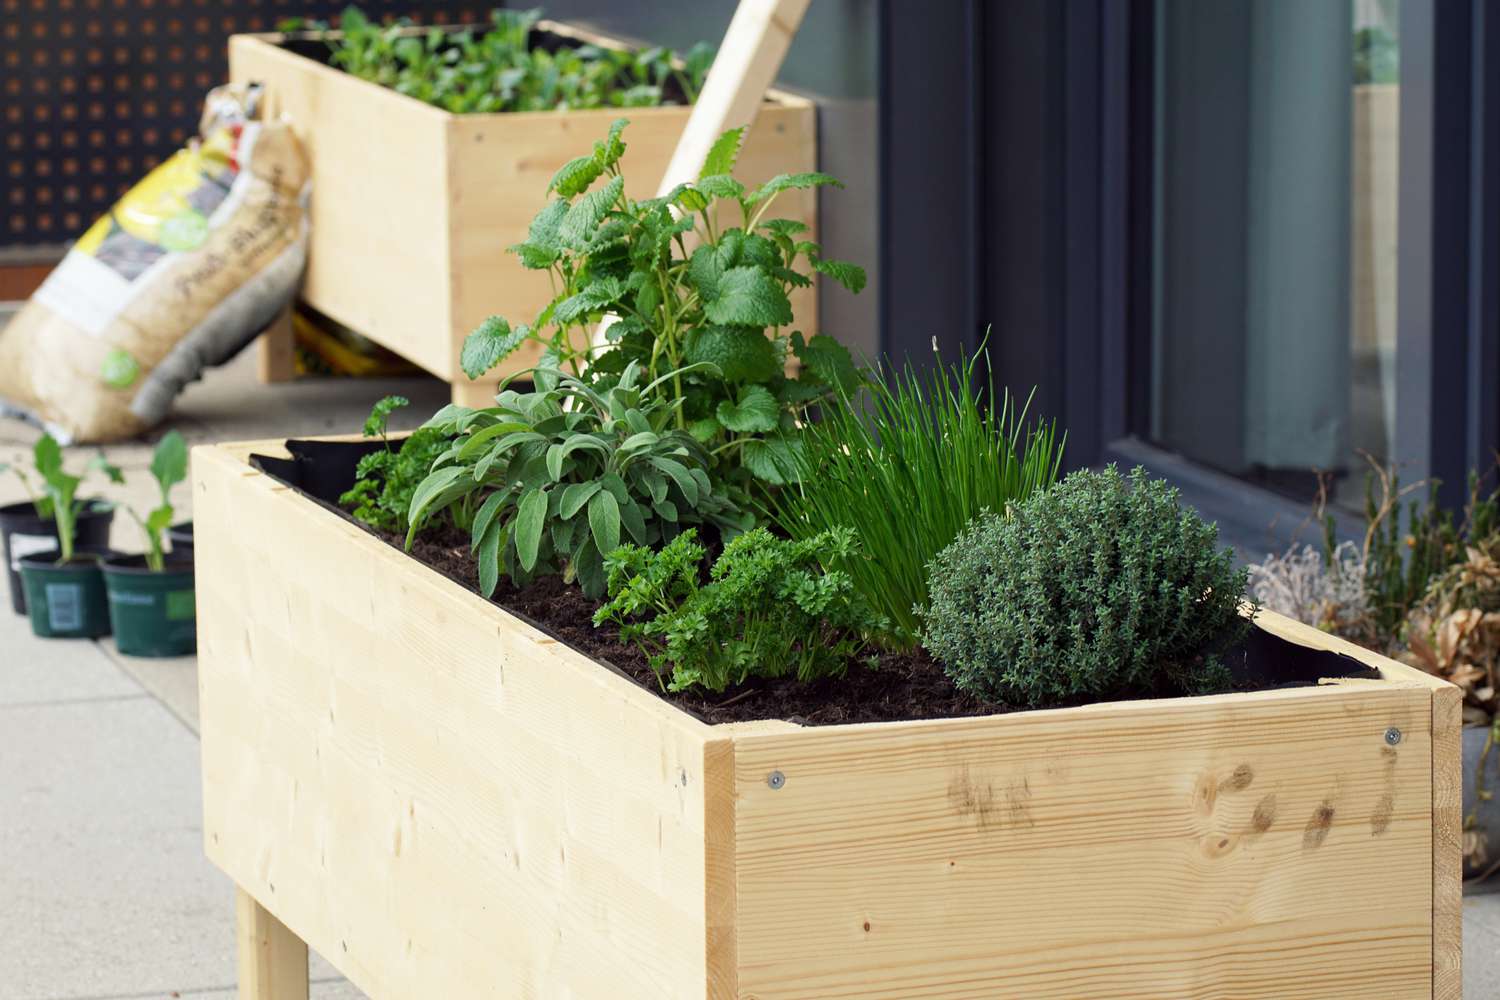
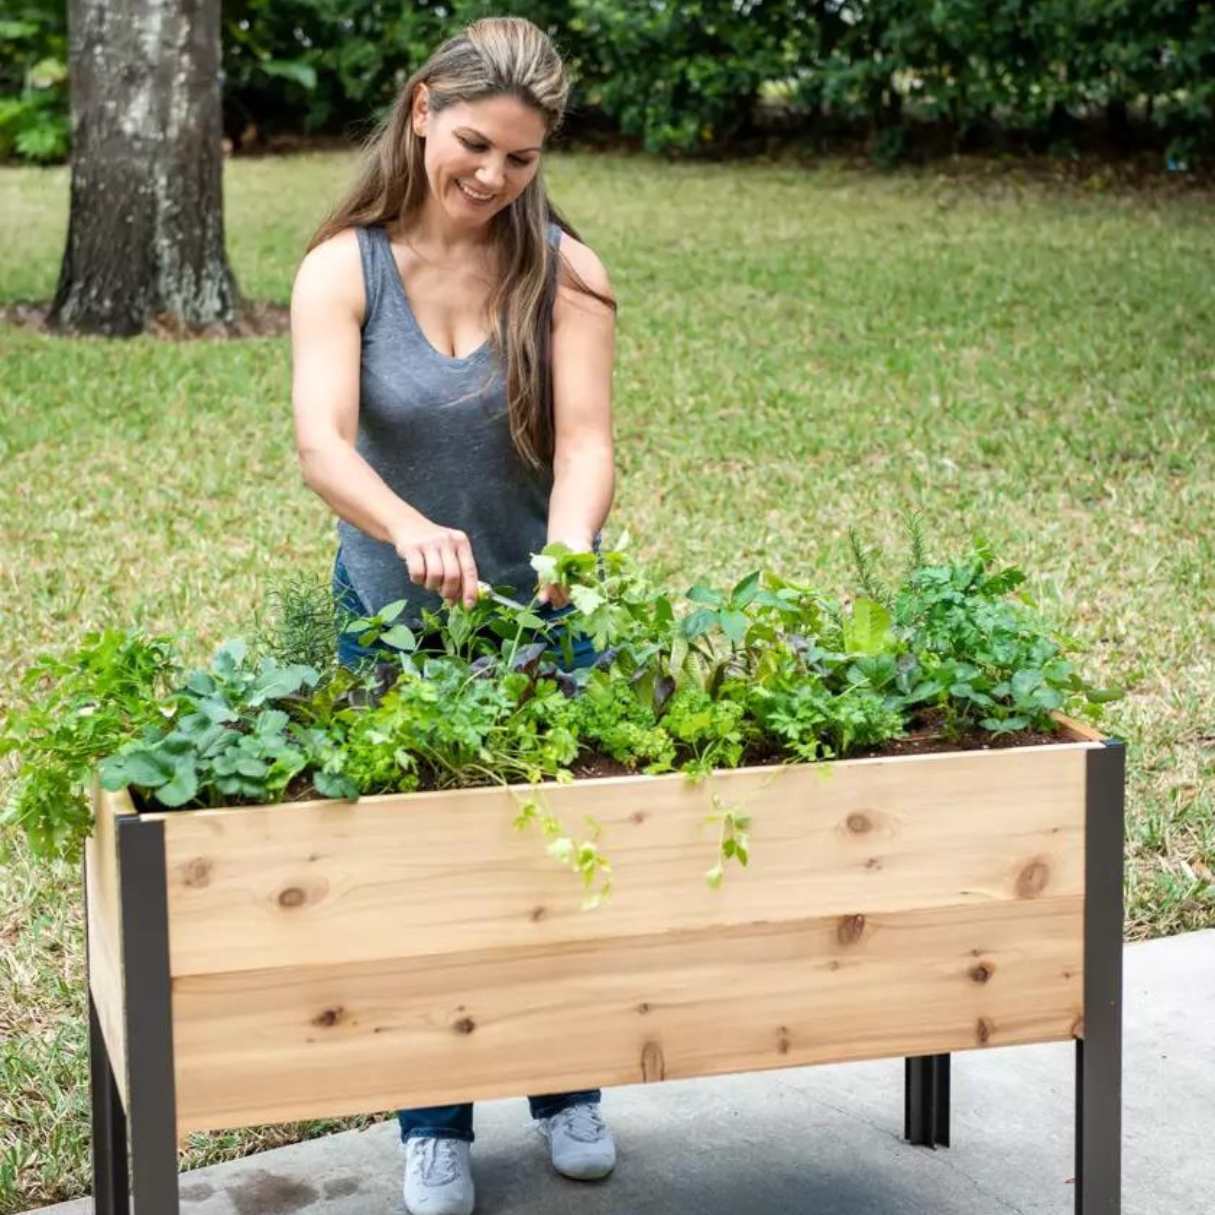
Before we dive into the specifics, it’s important to note that garden beds can be built in a variety of shapes and sizes, depending on your available space and personal preferences. Whether you opt for raised beds, container beds, or in-ground beds, the fundamental principles we will discuss apply to all types.
So, let’s roll up our sleeves and get started on building your garden beds!
Key Takeaways:
- Choose the perfect location for your garden beds to ensure ample sunlight, easy access to water, good soil drainage, and proximity to trees. A well-selected spot is crucial for the success of your plants.
- Building a sturdy garden bed frame and preparing nutrient-rich soil are essential for the health and productivity of your plants. Proper care and maintenance, including watering, weeding, and fertilizing, will ensure a bountiful harvest and thriving garden bed.
Read more: How To Build A Garden Bed On A Slope
Choosing the Right Location
Choosing the right location for your garden beds is crucial for the success of your plants. Before you start building, take some time to assess your available space and consider the following factors:
- Sunlight: Most plants require at least 6 hours of sunlight each day. Observe your yard throughout the day to identify areas that receive ample sunlight. Choose a location that offers the most sunlight for optimal plant growth.
- Access to Water: Ensure that your garden beds are conveniently located near a water source. This will make it easier to water your plants regularly and ensure they stay hydrated.
- Soil Drainage: Avoid areas with poor drainage as it can lead to waterlogged soil, which is detrimental to plant health. Look for a location with well-drained soil or consider building raised beds to control drainage.
- Proximity to Trees: Avoid placing garden beds too close to large trees with extensive root systems. Tree roots can compete with your plants for nutrients and water, hindering their growth. Consider the shade cast by trees and whether it will affect the sunlight requirements of your plants.
- Accessibility: Choose a location that is easily accessible for maintenance and harvesting. Ensure there is enough space around the beds to comfortably work and move around.
Once you have identified the ideal location for your garden beds, mark the boundaries using stakes and string. This will help you visualize the area and plan the size and shape of the beds accordingly.
Remember, the location you choose for your garden beds will have a significant impact on the growth and productivity of your plants. Take the time to select an appropriate spot that meets the needs of your plants and suits your gardening style.
Selecting the Materials
Now that you have chosen the perfect location for your garden beds, it’s time to select the materials that will be used to construct them. Here are some key considerations when choosing materials:
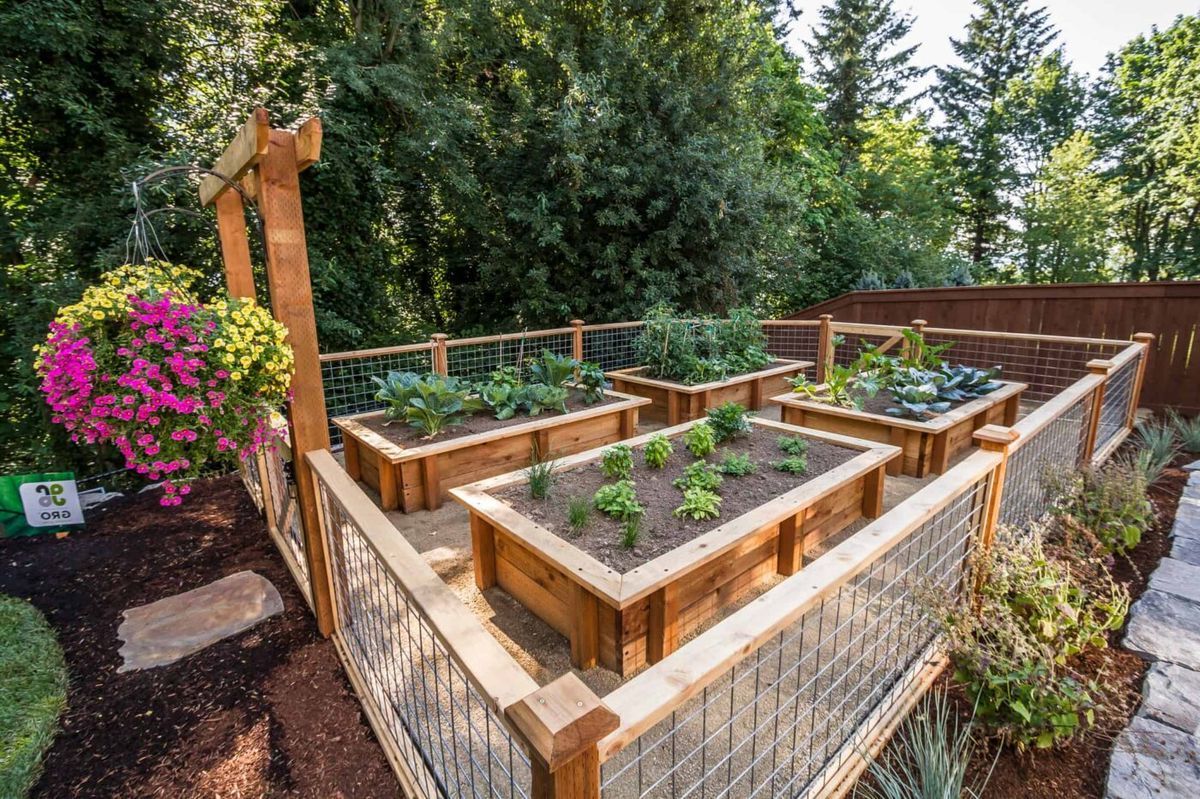
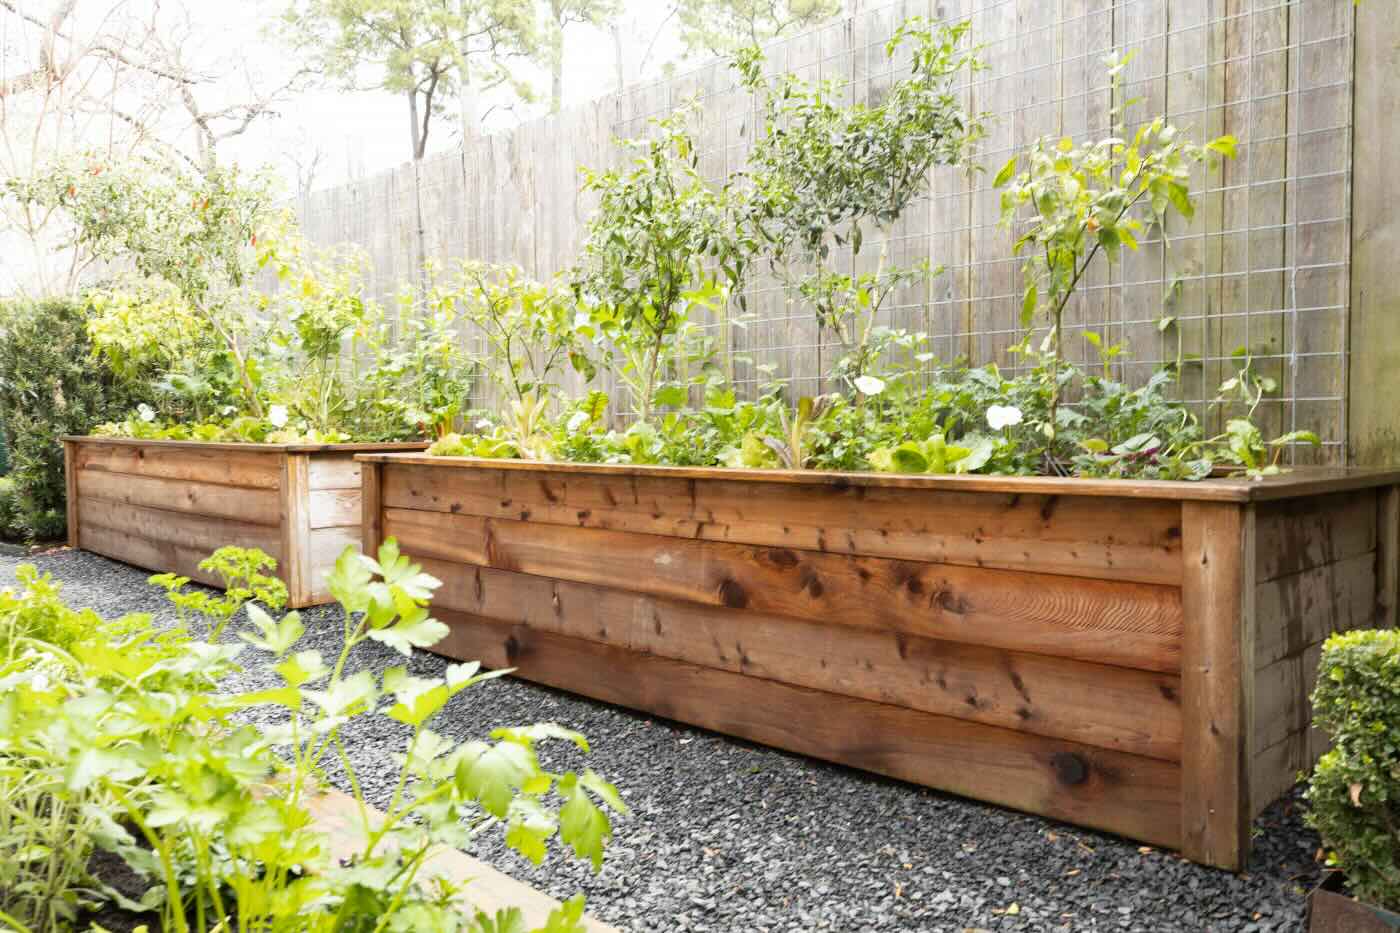
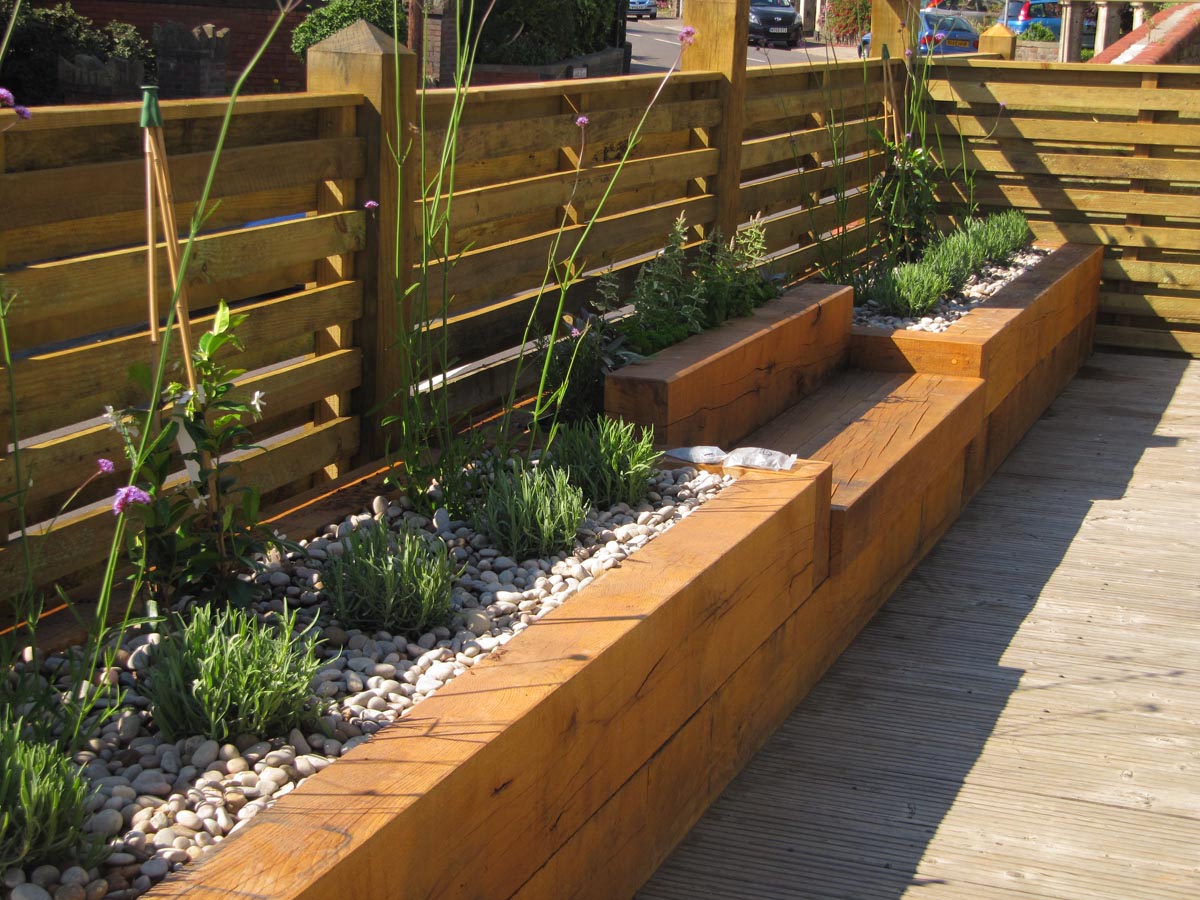
- Wood: Wood is a popular and versatile choice for building garden bed frames. Cedar and redwood are excellent options as they are naturally resistant to rot and insects. Avoid using treated wood, as it may contain harmful chemicals that can seep into the soil.
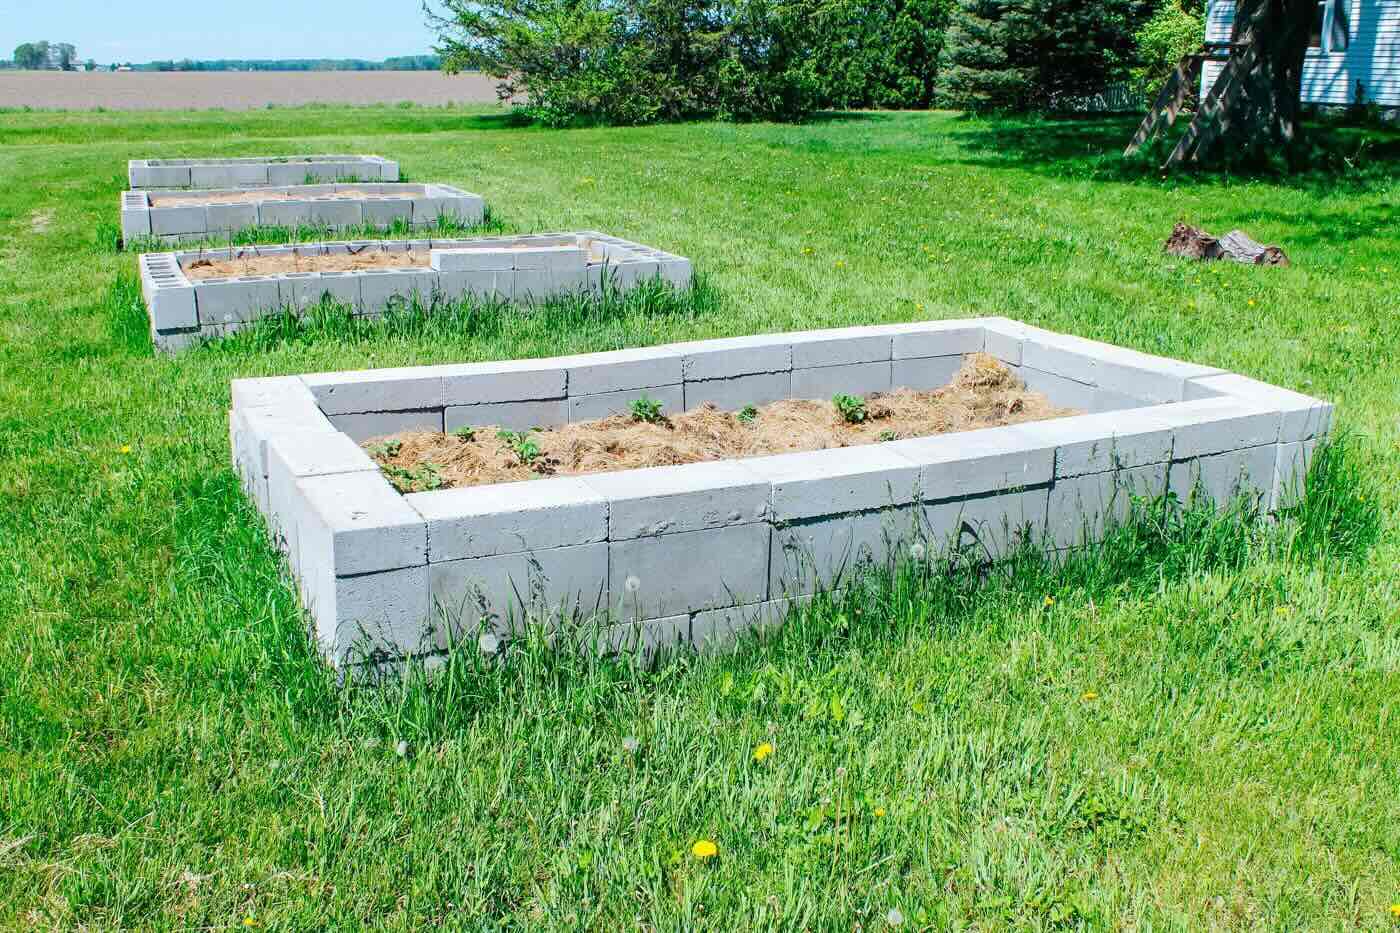
- Concrete Blocks: Concrete blocks are durable and easy to assemble, making them an ideal choice for raised garden beds. Their hollow structure also provides additional insulation for the plants during colder months.
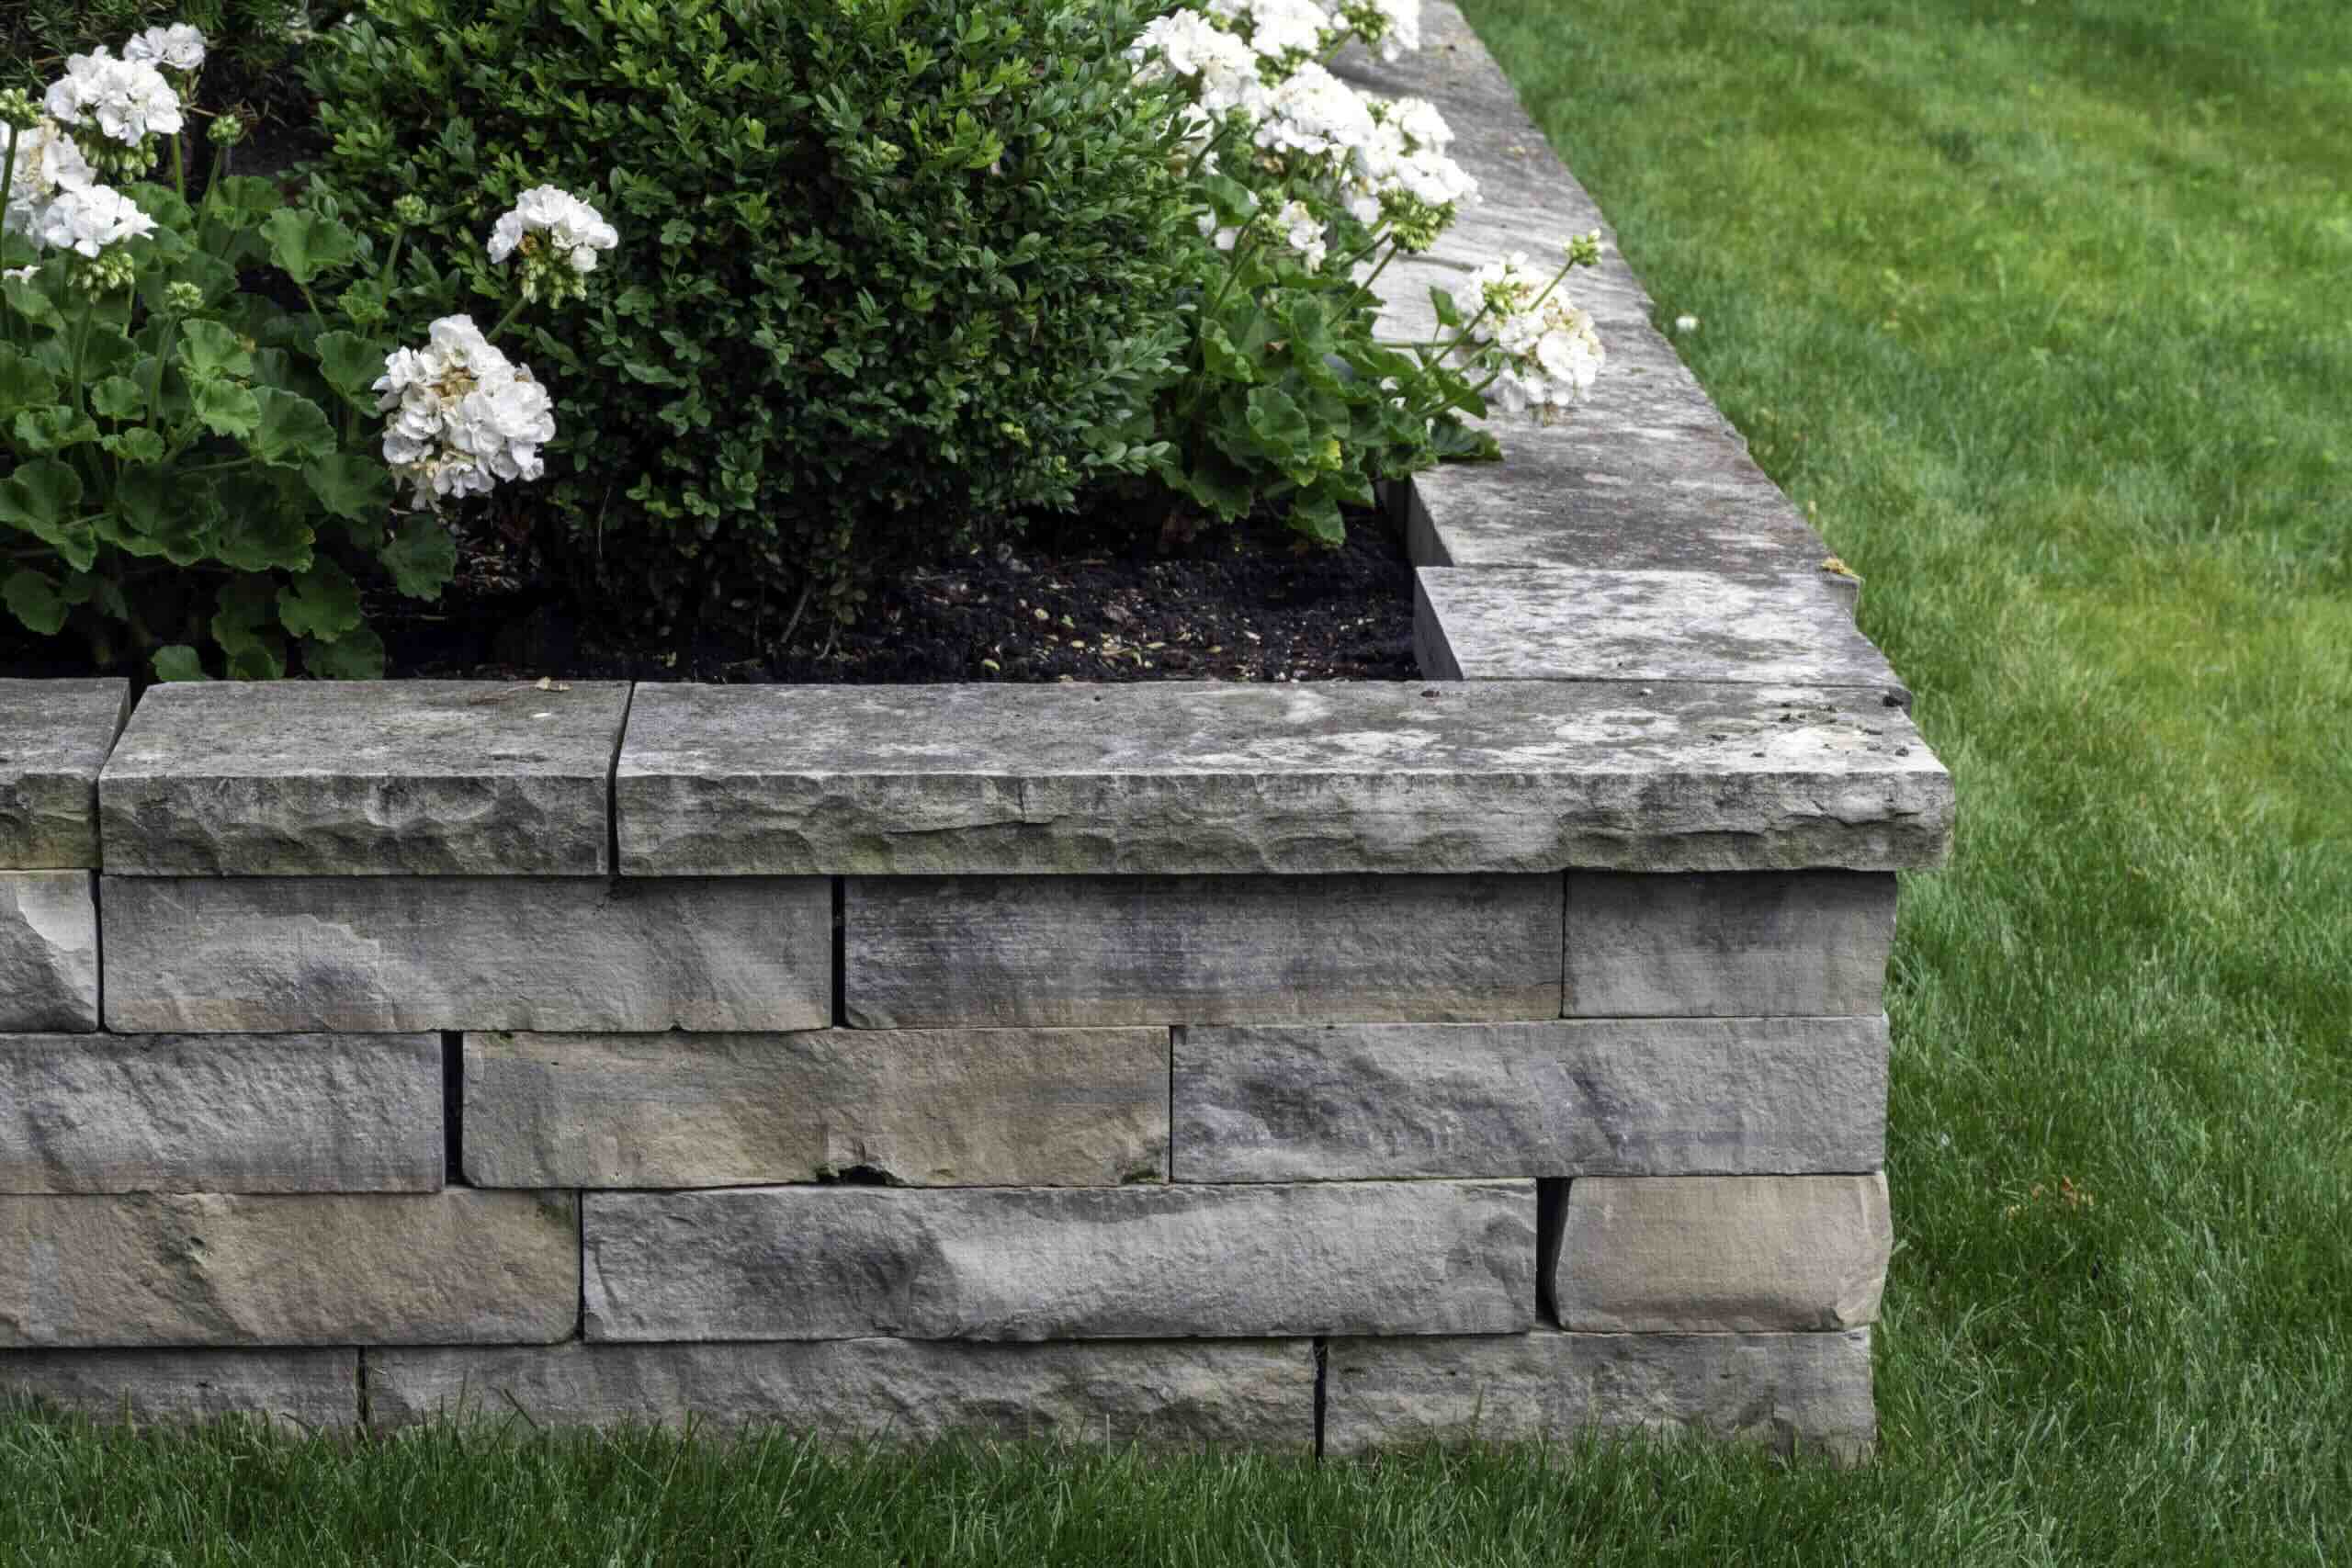
- Stone: Natural stone or bricks can create visually appealing and long-lasting garden bed borders. They can be stacked or arranged in various patterns to add a touch of elegance to your garden.
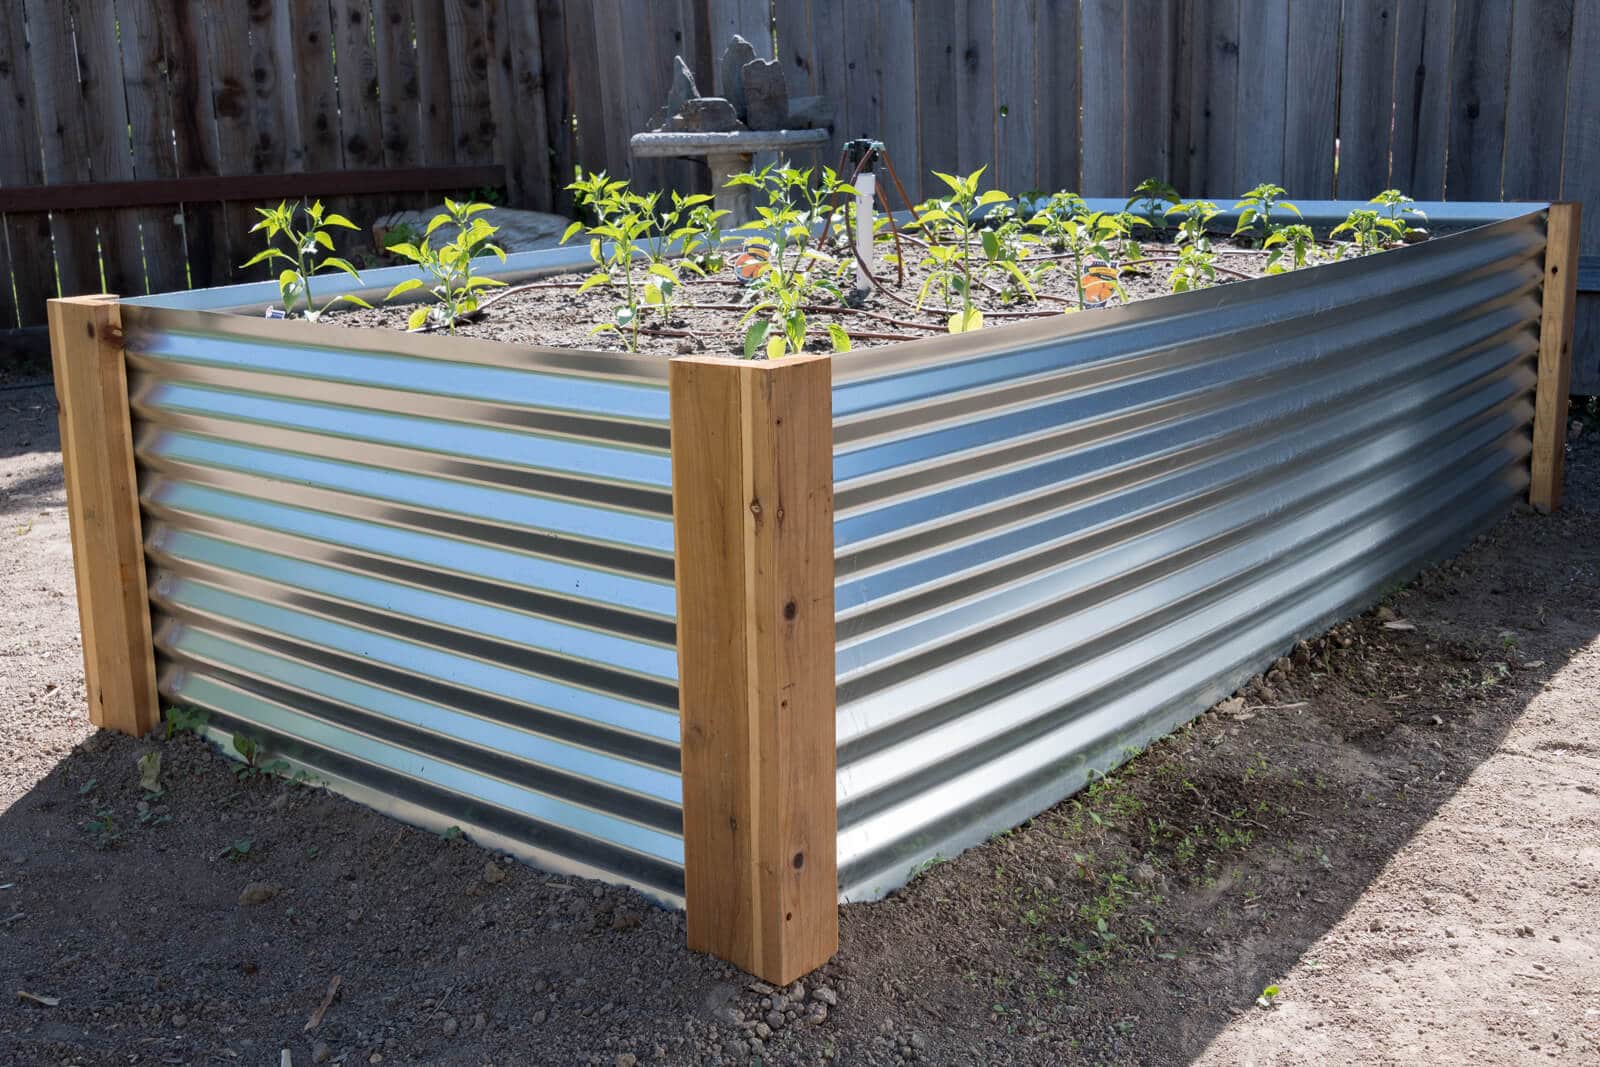
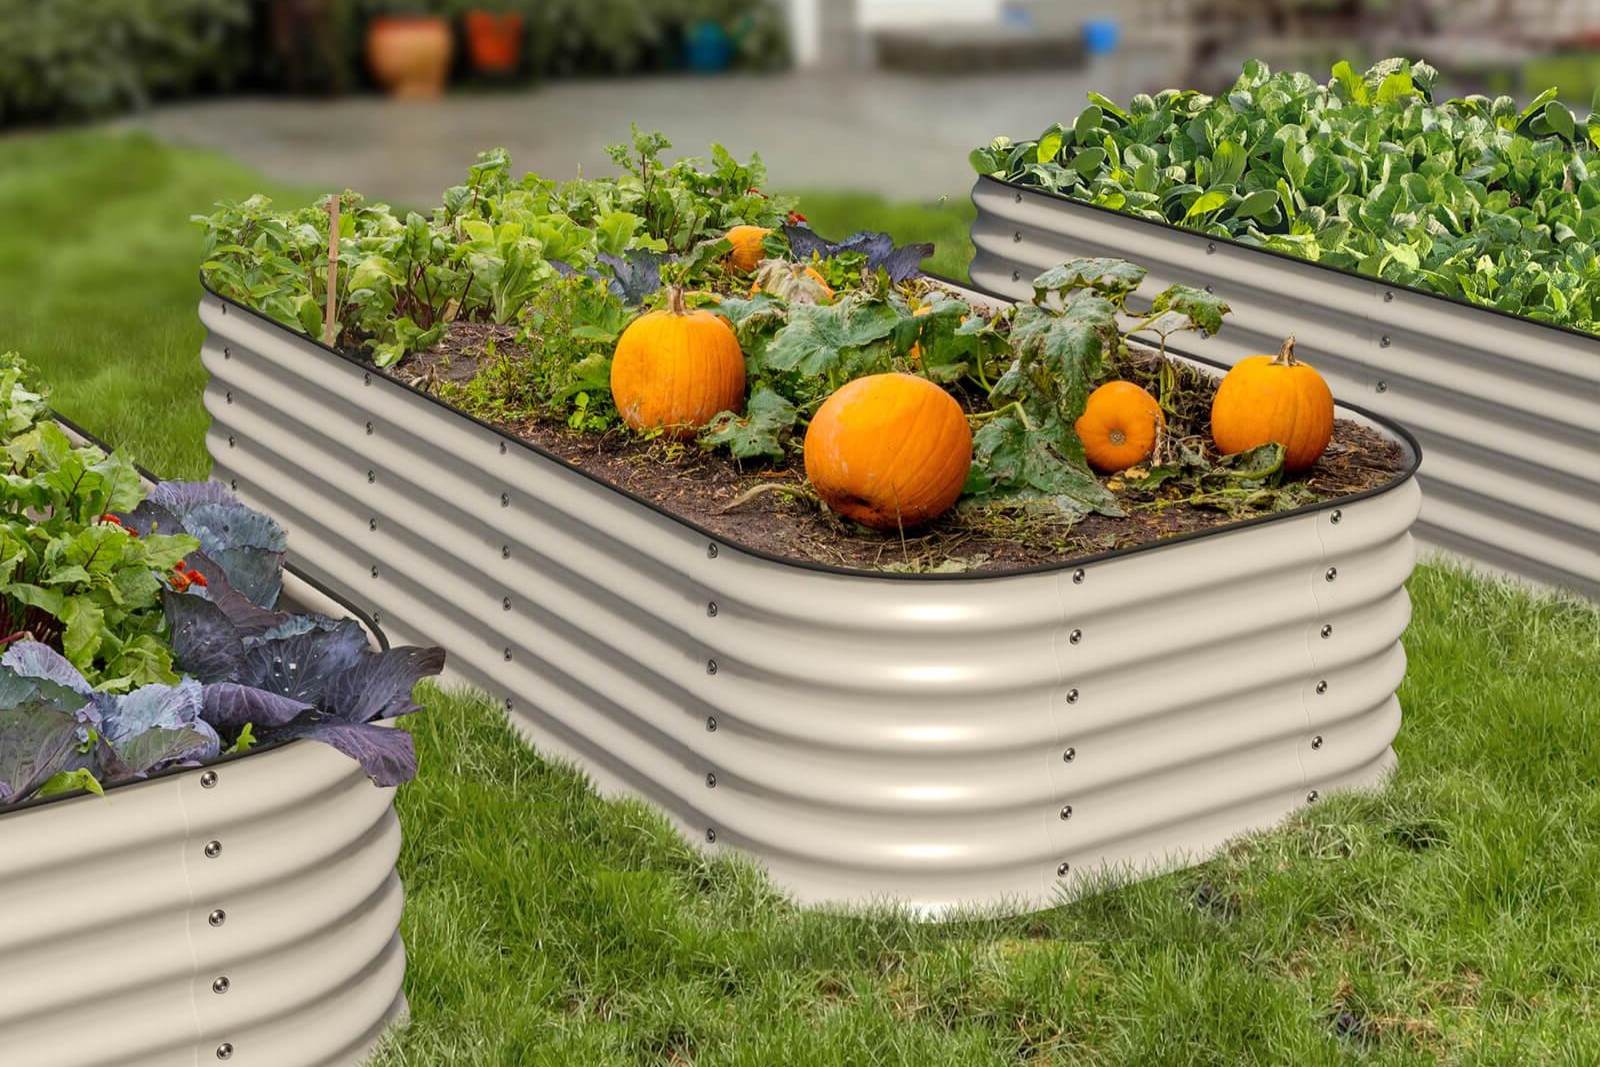
- Metal: Metal garden bed frames are becoming increasingly popular due to their modern look and durability. Options include galvanized steel or aluminum, both of which are resistant to rust and corrosion.
- Recycled Materials: Consider using recycled materials like old pallets, tires, or even repurposed cabinets to build your garden beds. Not only is this eco-friendly, but it can also add a unique and creative touch to your garden.
In addition to the primary material for the bed frame, you will also need garden soil or a mixture of compost and topsoil to fill the beds. Depending on the depth of your beds, you may need a significant amount of soil, so plan accordingly and calculate the volume required.
Before you proceed with building the garden bed frames, gather all the necessary materials and ensure you have everything on-hand. This will make the construction process smoother and more efficient.
Remember, the materials you choose should be durable, safe for your plants, and aligned with your personal preferences and aesthetics. Selecting high-quality materials will contribute to the longevity and functionality of your garden beds.
Building the Garden Bed Frame
Now that you have selected the materials, it’s time to start building the garden bed frame. Follow these steps to construct a sturdy and functional bed frame:
- Measure and Mark: Begin by measuring and marking the desired dimensions of your garden bed. Use a measuring tape and stakes to mark the corners of the bed area.
- Level the Ground: Ensure the ground is level within the marked area. Use a shovel or a rake to remove any rocks, debris, or grass from the designated space.
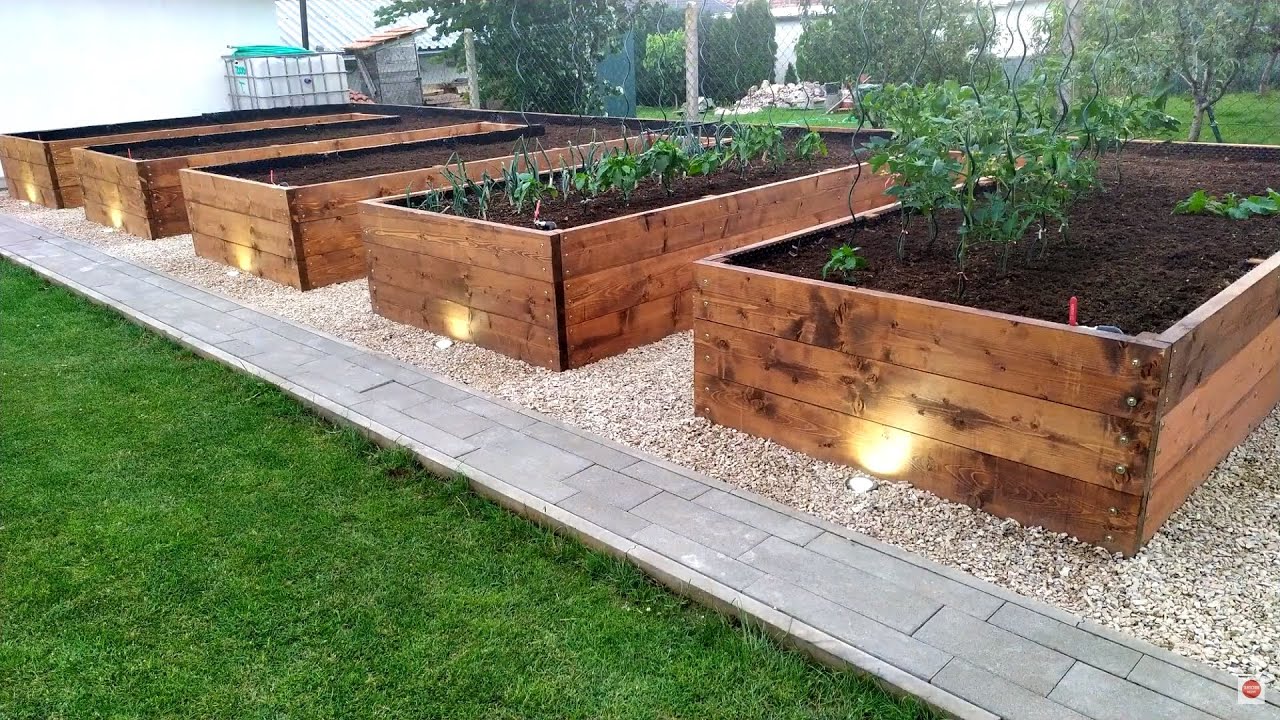
- Assemble the Frame: If you are using wood, cut the planks to the desired lengths according to your measurements. Arrange the planks to form a rectangular or square frame. Use screws or nails to securely attach the planks at the corners.
- Secure the Corners: Reinforce the corners of the frame by installing corner brackets or L-shaped brackets. This will provide added stability and prevent the frame from coming apart over time.
- Add Support: Depending on the length of your bed, it may be necessary to add support beams or stakes along the length of the frame. This will prevent the sides from bowing out and ensure the structural integrity of the bed.
- Line the Bottom: To prevent weeds or grass from infiltrating the bed, line the bottom with landscape fabric or cardboard before filling it with soil.
- Level the Frame: Use a level to ensure that the frame is evenly aligned and not slanted. Adjust the ground or the height of the frame if necessary to achieve a level surface.
- Check for Stability: Give the frame a gentle shake to check its stability. If it feels wobbly, reinforce the connections or add diagonal bracing to improve stability.
Once you have completed these steps, your garden bed frame is ready to be filled with soil and prepared for planting. Remember to consider the depth of your bed and adjust the frame height accordingly to accommodate the root depth requirements of your plants.
Building a solid and well-constructed garden bed frame will provide a solid foundation for your plants to thrive. Take your time during this step to ensure the longevity and stability of your garden beds.
When building garden beds, make sure to choose a location with good sunlight and well-draining soil. Avoid areas with tree roots or underground utilities.
Preparing the Soil
Now that your garden bed frame is built, it’s time to prepare the soil. The quality and condition of the soil are crucial for the growth and success of your plants. Here are the steps to prepare the soil in your garden bed:
- Remove Debris: Before adding any amendments or fertilizers, remove any rocks, weeds, or other debris from the bed. This will ensure a clean and weed-free environment for your plants.
- Aerate the Soil: Use a garden fork or a tiller to loosen and aerate the soil in the garden bed. This will improve the soil’s structure, allowing better root penetration and water drainage.
- Add Organic Matter: Incorporate organic matter such as compost, well-rotted manure, or leaf mold into the soil. This will enrich the soil with nutrients, improve its texture, and enhance its ability to retain moisture.
- Test the Soil: Conduct a soil test to determine the pH level and nutrient content of your soil. This will help you identify any deficiencies or imbalances that need to be corrected. Soil testing kits are available at garden centers or you can send a sample to a laboratory for analysis.
- Adjust the pH: Based on the results of the soil test, adjust the pH level if necessary. Most plants thrive in soil with a slightly acidic to neutral pH range. Adding lime can raise the pH, while sulfur or peat moss can lower it.
- Add Nutrients: If your soil lacks essential nutrients, apply a balanced fertilizer or organic amendments specifically formulated for the needs of your plants. Follow the instructions on the packaging for proper application rates.
- Mix and Incorporate: Mix the organic matter, fertilizer, and amendments thoroughly into the soil using a garden fork or a tiller. Ensure that they are evenly distributed throughout the bed. This will provide a nutrient-rich and well-balanced growing medium for your plants.
- Water the Soil: After incorporating the organic matter and amendments, thoroughly water the soil to help settle it and ensure that the nutrients are distributed evenly. Allow the bed to rest for a few days before planting.
By properly preparing the soil, you provide your plants with a healthy and nourishing environment. This will promote strong root development, nutrient uptake, and overall plant growth. Take the time to prepare your soil before planting, and you’ll reap the benefits throughout the gardening season.
Read more: How To Build An Elevated Garden Bed
Planting in the Garden Bed
Now that you have prepared the soil, it’s time to start planting in your garden bed. Here are some key steps to follow for successful planting:
- Plan Your Layout: Before you start planting, plan out the layout of your garden bed. Consider the spacing requirements, sun exposure, and companion planting guidelines for each plant. This will help maximize your garden’s productivity and aesthetics.
- Start with Transplants or Seeds: Decide whether you want to start with transplants or seeds. Transplants are more mature plants that you can purchase from nurseries, while seeds require germination and more time to grow. Follow the instructions on seed packets or plant labels for proper planting depth and spacing.
- Dig Properly-Sized Holes: Dig holes that are slightly larger than the root ball of your transplants or the recommended seeding depth for your seeds. This will provide enough space for the roots to establish and grow.
- Place Plants at the Right Depth: When planting transplants, ensure that the top of the root ball is level with or slightly above the soil surface. For seeds, plant them at the recommended depth specified on the seed packet.
- Backfill and Firm the Soil: Gently backfill the holes with soil, making sure to eliminate any air pockets around the roots. Firm the soil gently around the base of the plants to provide stability.
- Water Thoroughly: After planting, water your garden bed deeply and thoroughly. This will help settle the soil and provide the plants with the moisture they need for root establishment.
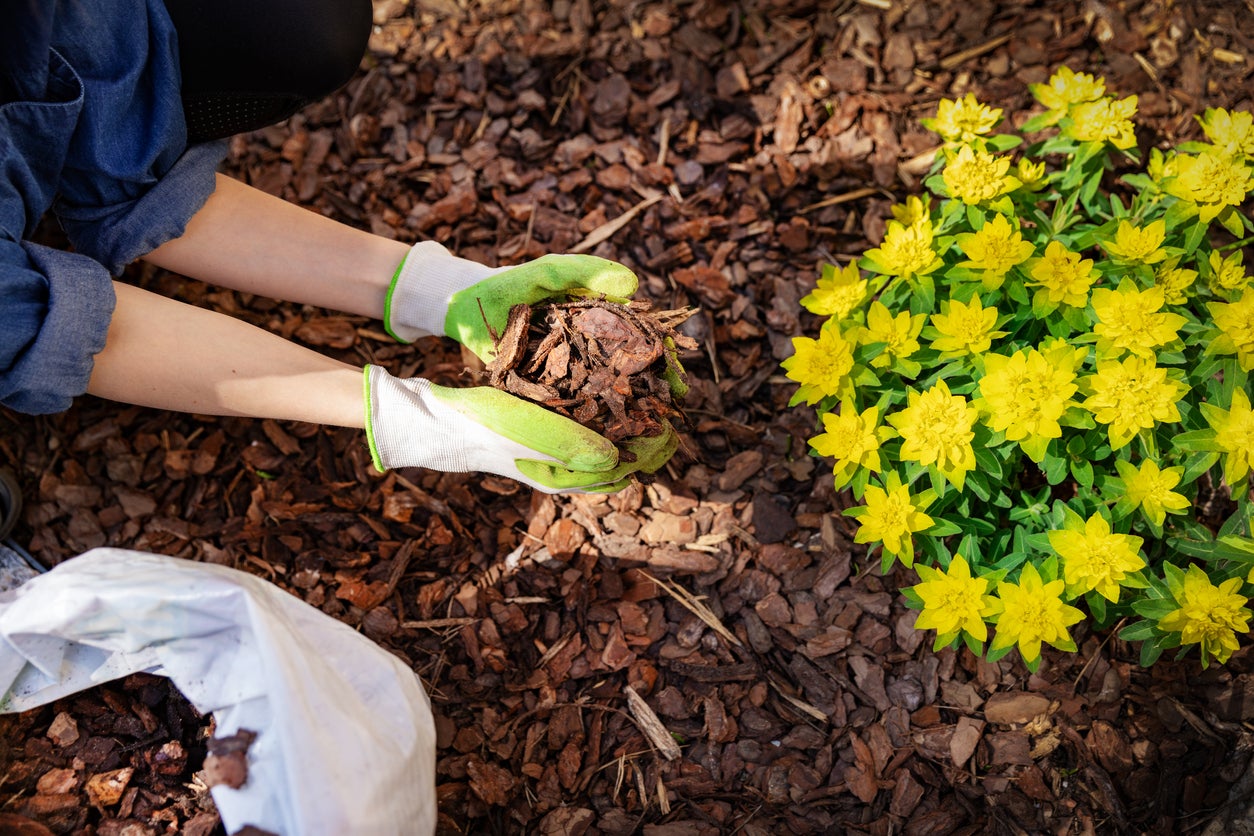
- Apply Mulch: To suppress weeds and conserve moisture, apply a layer of mulch around the plants. Organic mulches like straw, wood chips, or compost can improve soil health as they break down over time.
- Provide Support: If you’re growing plants that require support, such as tomatoes or climbing vines, install trellises, cages, or stakes to help them grow upright and prevent damage.
- Maintain Regular Care: Once your plants are in the ground, maintain regular care by watering, fertilizing, and pruning as needed. Monitor for pests and diseases, and take appropriate steps to protect your plants.
Remember to follow the specific care instructions for each plant, as different varieties may have unique requirements. Regular monitoring and attentive care will promote healthy growth and maximize the productivity of your garden bed.
Maintaining and Caring for the Garden Bed
Once your garden bed is planted, it’s important to maintain and care for it to ensure the health and productivity of your plants. Here are some essential tips for maintaining and caring for your garden bed:
- Watering: Monitor the moisture levels in your garden bed and water consistently. The frequency and amount of water will depend on factors such as plant type, weather conditions, and soil drainage. Water deeply and at the base of the plants to encourage deep root growth.
- Weeding: Regularly weed your garden bed to prevent unwanted plants from competing with your crops for nutrients and water. Pull weeds by hand or use mulch to smother them and minimize weed growth.
- Fertilizing: Provide regular fertilization to replenish the nutrients in the soil. Choose an organic or slow-release fertilizer that is suitable for your plants and follow the recommended application rates. Avoid over-fertilizing, as it can lead to nutrient imbalances and plant stress.
- Pest Control: Keep an eye out for pests that may damage your plants. Use organic pest control methods whenever possible, such as hand-picking or using biological controls. If necessary, apply environmentally-friendly insecticides or consult a professional for guidance.
- Pruning: Prune your plants as needed to encourage better airflow, shape the plant, and remove dead or diseased foliage. Pruning can also help redirect the plant’s energy into producing more fruits or flowers.
- Harvesting: Regularly harvest ripe fruits, vegetables, or herbs from your garden bed. This not only provides you with fresh produce but also encourages the plants to continue producing. Harvesting on time also prevents over-ripening and reduces the risk of pest infestations.
- Succession Planting: Make the most of your garden bed by practicing succession planting. As you harvest crops, promptly replant new ones to maximize your growing season and yield.
- Monitor and Assess: Regularly observe your plants for any signs of nutrient deficiencies, diseases, or other problems. Catching issues early allows for prompt intervention and prevents further damage.
- Clean Up: At the end of the growing season, clean up your garden bed by removing spent plants, weeds, and debris. Properly dispose of any diseased plants to prevent the spread of diseases to future crops.
By following these maintenance and care practices, you will ensure the longevity and productivity of your garden bed. Regular attention and care will help your plants thrive and provide you with a bountiful harvest year after year.
Conclusion
Congratulations on successfully building and caring for your garden bed! By following the steps and tips outlined in this guide, you have created a space where your plants can flourish and provide you with fresh produce and beautiful blooms.
Remember that gardening is a continuous learning process, and each season brings new opportunities and challenges. Take note of what works well in your garden bed and make adjustments as needed. Experiment with different plants, techniques, and designs to find what suits your personal preferences and gardening goals.
Continue to observe and connect with your garden bed, noticing the changes in growth, the interactions between plants, and the joy that comes from nurturing your own green space. Gardening can be as much a therapeutic activity as it is a source of fresh food and beauty.
Lastly, don’t be afraid to seek advice from fellow gardeners, join local gardening communities, or consult gardening resources. Sharing knowledge and experiences can enhance your gardening journey and provide valuable insights.
So, go ahead and put your newfound knowledge into practice. Enjoy the process, embrace the joy of growing your own plants, and relish in the fruits of your labor. Happy gardening!
Frequently Asked Questions about How To Build Garden Beds
Was this page helpful?
At Storables.com, we guarantee accurate and reliable information. Our content, validated by Expert Board Contributors, is crafted following stringent Editorial Policies. We're committed to providing you with well-researched, expert-backed insights for all your informational needs.

0 thoughts on “How To Build Garden Beds”