
Articles
How To Build Garden Wall
Modified: January 19, 2024
Learn how to build a stunning garden wall with our comprehensive gardening guide. Transform your outdoor space and enhance its beauty with these expert tips.
(Many of the links in this article redirect to a specific reviewed product. Your purchase of these products through affiliate links helps to generate commission for Storables.com, at no extra cost. Learn more)
Introduction
Welcome to the world of gardening! If you’re looking to enhance your outdoor space and create a stylish and functional garden wall, you’ve come to the right place. Building a garden wall is an excellent way to define your garden boundaries, add decorative elements, and create privacy. Whether you’re a seasoned gardener or just starting, this article will guide you through the process of building a garden wall step by step.
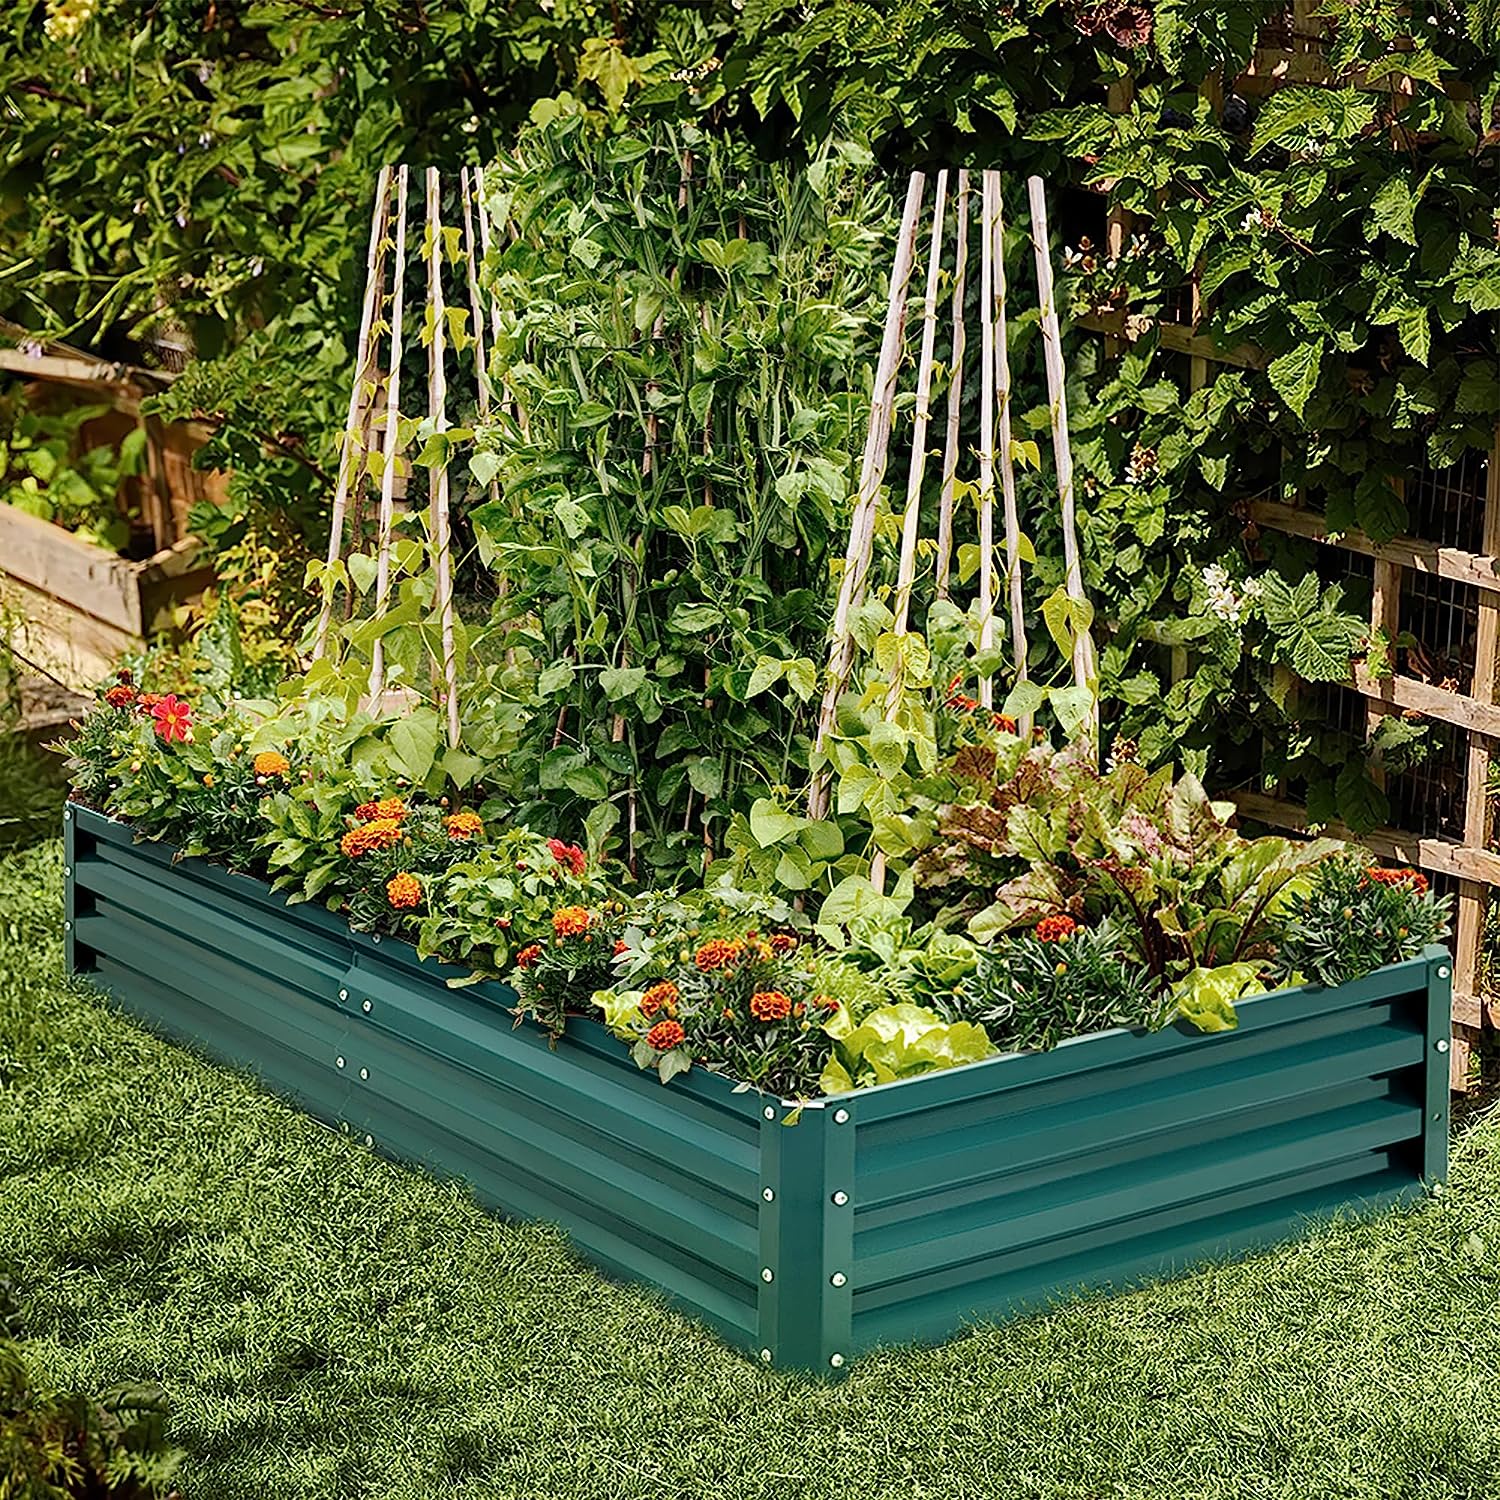
Before we dive into the details, let’s talk about the importance of a garden wall. A well-designed and properly constructed garden wall not only adds structure and beauty to your outdoor space but also serves various practical purposes. It can help prevent soil erosion, contain flower beds or vegetable gardens, and provide a barrier for privacy and security.
Building a garden wall may seem like a daunting task, but with the right materials, tools, and guidance, it can be a rewarding and enjoyable project. In this article, we will walk you through the process, starting from the planning and design stage all the way to the finishing touches.
So, grab your gardening gloves, roll up your sleeves, and let’s get started on creating a stunning garden wall that will transform your outdoor space!
Key Takeaways:
- Building a garden wall is a rewarding project that adds beauty and functionality to your outdoor space. From careful planning to adding finishing touches, each step contributes to a stunning and durable garden wall.
- Attention to detail is key in building a garden wall. From marking the area to laying the first course and adding drainage holes, each step ensures a structurally sound and visually appealing result.
Read more: How To Build An Indoor Garden
Materials Needed
Before you start building your garden wall, it’s important to gather all the necessary materials. Here’s a list of what you’ll need:
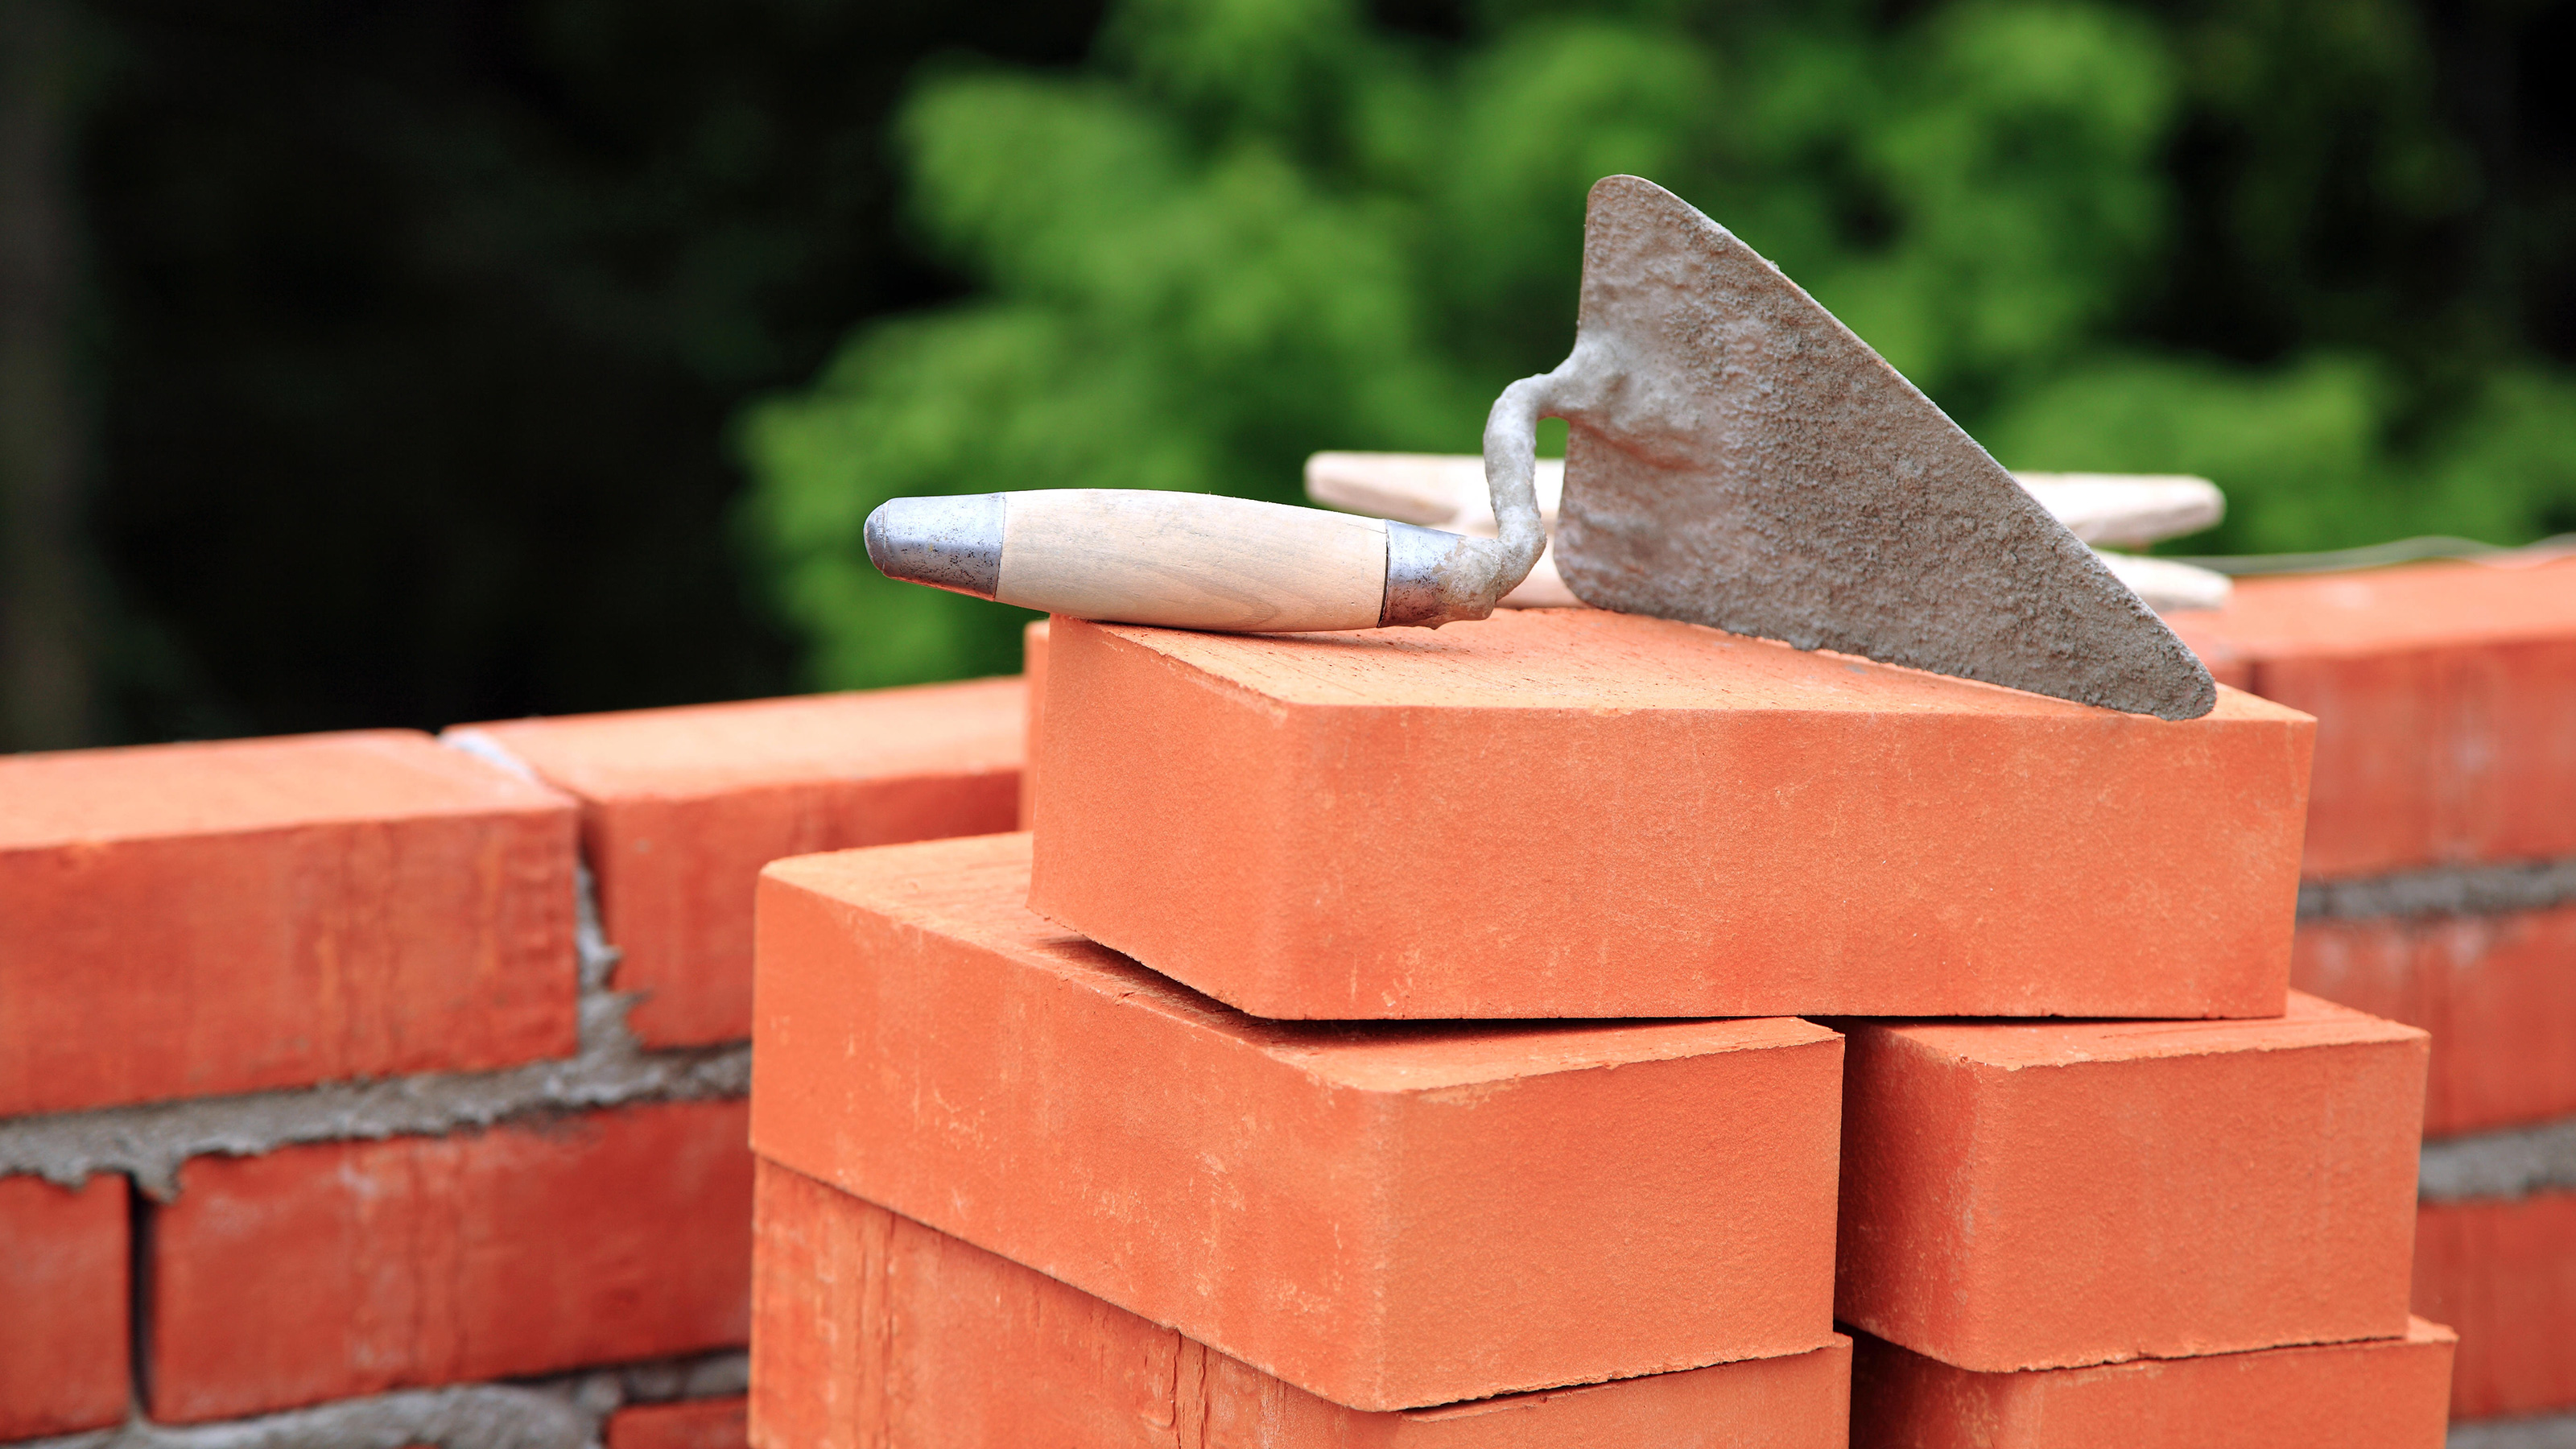
- Bricks or stones: Choose high-quality bricks or stones that are suitable for outdoor use. They should be durable and able to withstand the elements.
- Mortar mix: You’ll need mortar mix to bond the bricks or stones together. Opt for a mortar mix that is suitable for outdoor construction.
- Foundation materials: Depending on the size and height of your garden wall, you may need gravel, sand, or concrete for the foundation.
- Level: A level tool will ensure that your wall is straight and level throughout the construction process.
- Trowel: A trowel is essential for applying mortar to the bricks or stones.
- Bucket and water: You’ll need a bucket of water for mixing the mortar and for cleaning your tools.
- Masonry brush: A masonry brush will help you brush off excess mortar and clean the bricks or stones.
- Protective gear: Don’t forget to wear safety goggles, gloves, and a dust mask to protect yourself during construction.
It’s important to note that the quantity of materials will vary depending on the size and design of your garden wall. It’s always a good idea to buy a little extra to account for potential breakages or mistakes.
Before purchasing the materials, take some time to plan and measure your garden wall. This will give you a better idea of the quantities required and help you estimate the overall cost of the project. It’s also a good idea to check with local building codes or regulations to ensure compliance.
Now that you have all the necessary materials, it’s time to move on to the next step: planning and designing your garden wall.
Step 1: Planning and Design
Proper planning and design are crucial when it comes to building a garden wall. Taking the time to carefully plan and visualize your wall will ensure that you achieve the desired outcome and avoid potential issues along the way. Follow these steps to effectively plan and design your garden wall:
- Define the purpose: Consider why you want to build a garden wall. Is it to create privacy, enclose a specific area, or simply add aesthetic appeal? Understanding the purpose will guide your design choices.
- Determine the location: Identify the area where you want to build the wall. Take note of any existing structures, trees, or obstacles that may affect the wall’s placement.
- Measure and mark: Measure the length and height of the wall and mark the boundaries using stakes and string. This will help you visualize the size and shape of the wall.
- Choose a design: Consider different design options that complement your garden’s style and architecture. Whether you prefer a traditional brick wall or a more modern stone wall, choose a design that suits your taste and blends well with the surroundings.
- Consider drainage: Ensure that your design incorporates proper drainage to prevent water buildup behind the wall. This can be achieved by adding weep holes or creating a sloped foundation.
- Seek inspiration: Look for inspiration in garden magazines, books, or online resources. Take note of design elements, color combinations, and materials that catch your eye and incorporate them into your own design.
Once you’ve completed the planning and design stage, you’ll have a clear vision of what your garden wall will look like. This will make the construction process much smoother and more enjoyable.
Now that you have a solid plan in place, it’s time to gather the necessary tools for the project. In the next step, we’ll discuss the tools you’ll need to build your garden wall.
Step 2: Gathering Tools
Now that you have a well-thought-out plan and design for your garden wall, it’s time to gather the essential tools that will make the construction process easier and more efficient. Here’s a list of the tools you’ll need:
- Tape measure: This tool is essential for accurately measuring the dimensions of your garden wall.
- Level: A level will help you ensure that your wall is straight and properly aligned.
- Mason’s line: This strong, durable string is used to create level reference lines for the wall construction.
- Trowel: A trowel is necessary for applying mortar to the bricks or stones.
- Masonry brush: This brush is used to clean excess mortar off the bricks or stones.
- Brick chisel: A brick chisel is handy for cutting bricks to the desired size and shape.
- Masonry saw: If you’re using stone for your garden wall, a masonry saw will help you cut the stones to fit.
- Bucket and water: You’ll need a bucket for mixing the mortar and water for cleaning your tools.
- Safety gear: Don’t forget to wear safety goggles, gloves, and a dust mask to protect yourself during construction.
Having the right tools at hand will save you time and ensure a smoother construction process. Before you start, double-check that all your tools are in good working condition and easily accessible.
It’s also a good idea to set up a comfortable and well-organized work area. Arrange your tools within reach and create a space for mixing mortar and storing materials. This will streamline the construction process and make it more enjoyable.
Now that you have all your tools ready, it’s time to move on to the next step: marking and preparing the area where your garden wall will be built.
Step 3: Marking the Area
Once you have gathered all the necessary tools, it’s time to mark the area where your garden wall will be built. Properly marking the boundaries ensures that your wall will be straight and well-aligned. Follow these steps to accurately mark the area:
- Clean the area: Clear away any debris, plants, or objects that may obstruct the construction process.
- Measure and mark: Use a tape measure to measure the length and height of your garden wall. Mark the boundaries by inserting stakes into the ground at each corner of the wall and tying string tightly between them. Ensure that the string is level and aligned with your desired wall height.
- Create reference lines: Place masonry lines along the top and bottom of the wall location, securing them to the stakes. The lines should be level and aligned with the marked string. These reference lines will serve as a guide when laying bricks or stones.
- Double-check measurements: Take a final look at the measurements and ensure that you are satisfied with the overall size and positioning of your garden wall.
By marking the area accurately, you will have a clear guide to follow during the construction process. It helps to eliminate mistakes and ensures that your wall will have a straight and professional appearance.
Keep in mind any specific design elements or features you have planned for your garden wall, such as curves or angles. Adjust the markings accordingly to accommodate these design choices.
Now that you have accurately marked the area, it’s time to prepare the ground for the construction process. In the next step, we will discuss the excavation stage of building your garden wall.
Read more: How To Build A Garden Bed On A Slope
Step 4: Excavation
With the area properly marked, it’s time to prepare the ground for the construction of your garden wall. Excavation is an essential step to ensure a stable foundation and proper drainage for your wall. Here’s how to proceed with the excavation:
- Clear the area: Remove any vegetation, rocks, or debris from the marked area. This will provide a clean and level surface for excavation.
- Mark the excavation depth: Determine the desired depth of the excavation for the foundation. Typically, a depth of around 6 to 8 inches is sufficient. Use stakes and string to mark the depth along the perimeter of the wall. This will serve as a guide during excavation.
- Excavate the area: Use a shovel or spade to dig out the soil within the marked boundaries. Dig to the specified depth, making sure to remove any roots or large rocks that may interfere with the foundation. Take your time and ensure that the excavation is even and level.
- Check for level: Use a level to ensure that the excavated area is even and at the desired depth. Make adjustments as necessary to achieve an even surface.
During the excavation process, it is important to pay attention to the quality of the soil. If the soil is loose or unstable, consider adding a layer of gravel or sand to create a more solid base for your wall.
Take care not to disturb the surrounding area or adjacent structures during excavation. If your garden wall is being built near existing structures like fences or buildings, ensure that the excavation does not compromise their stability.
Once the excavation is complete and the area is level, you are ready to move on to the next step: setting the foundation for your garden wall.
When building a garden wall, make sure to use a strong foundation, level each layer of bricks or stones, and use mortar to secure them in place. This will ensure a sturdy and long-lasting wall.
Step 5: Setting the Foundation
With the excavation complete, it’s time to set the foundation for your garden wall. The foundation provides stability and support, ensuring that your wall stands strong for years to come. Follow these steps to set the foundation:
- Clean the excavation area: Remove any loose soil or debris, ensuring a clean surface for the foundation.
- Add a layer of gravel: Start by adding a layer of gravel to the bottom of the excavation. This layer will help with drainage and prevent water buildup underneath the wall.
- Compact the gravel: Use a hand tamper or compacting tool to firmly compact the gravel layer. This will provide a solid base for the foundation.
- Spread a layer of sand: Once the gravel is compacted, spread a layer of sand over the top. The sand will help to level the surface and provide a smooth base for the foundation.
- Add concrete mix: Mix the concrete according to the manufacturer’s instructions. Pour the concrete mix into the excavation, filling it to the desired depth. Ensure that the concrete is level and evenly distributed.
- Smooth the surface: Use a straight board or trowel to smooth the surface of the concrete. This will create a level foundation for your garden wall.
- Allow the concrete to set: Follow the recommended drying time for the concrete mix. This typically takes around 24 to 48 hours, but it’s best to consult the product instructions for specific guidelines.
Setting a solid foundation is essential for the stability and longevity of your garden wall. It helps to distribute the weight evenly and prevents shifting or settling over time.
Once the concrete foundation has fully set, you are ready to move on to the exciting part – building the actual wall! In the next step, we will discuss the process of laying the first course.
Step 6: Laying the First Course
With the foundation set, it’s time to start building your garden wall! The first course sets the tone for the entire wall, so it’s important to take your time and ensure its accuracy. Follow these steps to lay the first course:
- Prepare the mortar: Mix the mortar according to the manufacturer’s instructions. The right consistency is key – the mortar should be firm but workable.
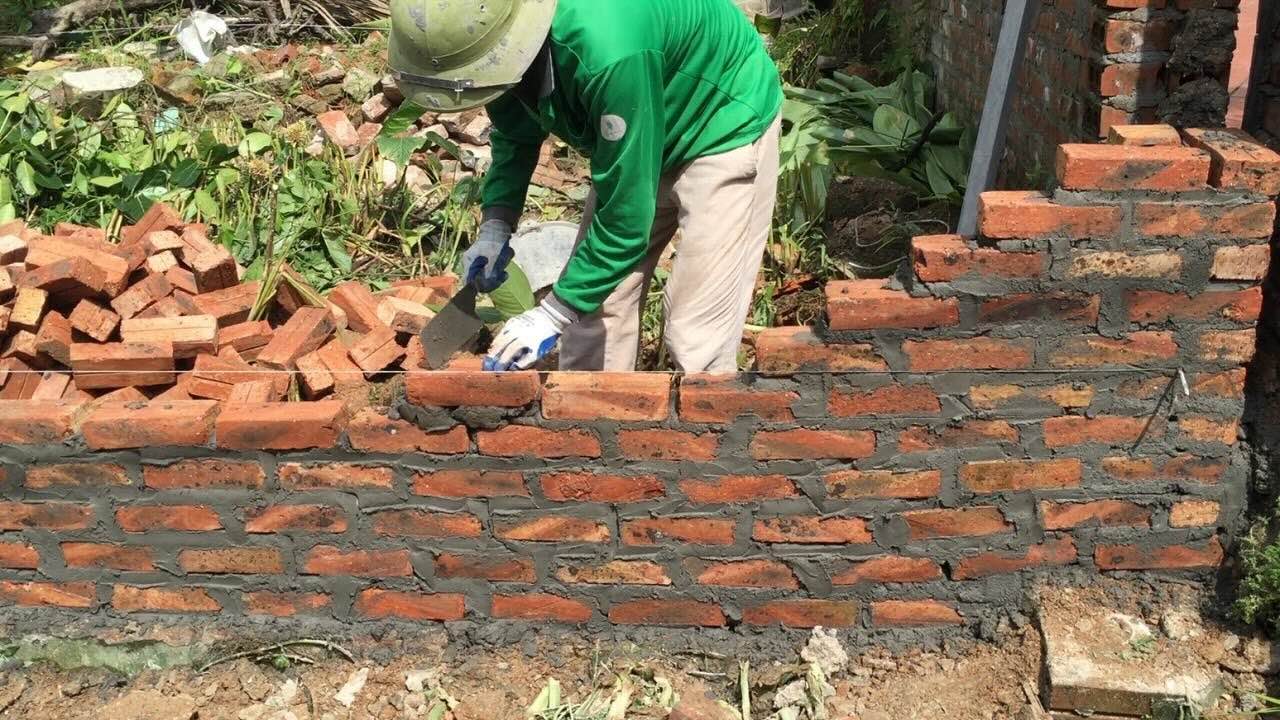
- Apply a layer of mortar: Use a trowel to apply a thin layer of mortar to the top surface of the concrete foundation. This will create a base for the bricks or stones.
- Place the first brick or stone: Start at one end of the wall and place your first brick or stone on top of the mortar layer. Position it carefully, ensuring it is level and aligned with the masonry lines.
- Check for level and alignment: Use a level to ensure that the brick or stone is level horizontally and vertically. Adjust as necessary by adding or removing mortar underneath.
- Add more bricks or stones: Continue laying bricks or stones, applying mortar between each one and ensuring they are level and aligned. Use a mallet and a wooden block to tap the bricks or stones gently into place.
- Check for uniform spacing: Use spacers or the thickness of a trowel blade to maintain uniform spacing between the bricks or stones. This will ensure a professional-looking finish.
- Brush off excess mortar: As you go, use a masonry brush to remove any excess mortar from the surface of the bricks or stones. This will give your wall a clean and neat appearance.
Take your time with this step, as the accuracy and alignment of the first course will determine the overall stability and aesthetics of your garden wall. Double-check each brick or stone for level and alignment before moving on to the next one.
Remember to work in small sections, as mortar can dry quickly. It’s also important to clean your tools and remove any dried mortar from the surface of the wall as you go. This will make the job easier and ensure a clean finish.
Once the first course is laid, you can move on to building the rest of the wall. We’ll discuss the process in the next step.
Step 7: Building the Wall
With the first course in place, it’s time to build the rest of your garden wall. Building the wall involves repeating the process of laying bricks or stones, applying mortar, and ensuring proper alignment. Here’s how to continue building your garden wall:
- Continue laying courses: Starting from the second course, apply a layer of mortar on top of the first course. Place the bricks or stones, ensuring proper alignment with the masonry lines and maintaining uniform spacing between them.
- Check for level and alignment: Use a level to ensure that each course is level horizontally and vertically. Adjust as necessary by adding or removing mortar between the bricks or stones.
- Tap bricks or stones into place: Use a mallet and a wooden block to tap the bricks or stones gently into position. This helps to ensure a secure fit and even alignment.
- Remove excess mortar: As you continue building the wall, periodically remove any excess mortar from the surface of the bricks or stones with a masonry brush. This will maintain a clean and professional appearance.
- Continue the process: Repeat the process of laying courses, checking for level and alignment, and removing excess mortar until you reach the desired height of your garden wall.
- Make adjustments as needed: Throughout the construction process, make any necessary adjustments to ensure the stability and appearance of the wall. Pay attention to any design elements or specific patterns you have planned and incorporate them accordingly.
Building the wall requires patience and attention to detail. Take your time to ensure that each course is properly aligned and level before moving on to the next. This will result in a structurally sound and visually appealing garden wall.
Remember to periodically step back and assess the overall progress of the wall. This will help you maintain consistency and make any adjustments as needed.
As you approach the top of the wall, consider using a capstone or coping stones to provide a finished look. These stones are placed on top of the wall and help protect the bricks or stones from weather damage.
Now that the wall is built, let’s move on to the next step: adding drainage holes to ensure proper water flow.
Read more: How To Build Above Ground Garden
Step 8: Adding Drainage Holes
Proper drainage is essential for the health and longevity of your garden wall. Adding drainage holes allows excess water to flow out and prevents water buildup behind the wall, which can lead to structural damage. Here’s how to add drainage holes to your garden wall:
- Choose the location: Determine where you want to place the drainage holes. Ideally, they should be evenly spaced along the base of the wall.
- Mark the spots: Use a pencil or marker to mark the positions of the drainage holes on the bottom course of your wall. Space them approximately 4 to 6 feet apart, depending on the size and height of your wall.
- Drill the holes: Use a masonry drill bit that is suitable for your wall material (brick or stone) to drill the marked spots. Drill at a slight downward angle to ensure proper water flow.
- Clean the holes: After drilling, use a brush or compressed air to remove any debris or dust from the holes. This will ensure that water can flow freely through them.
- Check for proper drainage: Pour some water onto the top of the wall and observe if water is flowing out of the drainage holes. This confirms that they are functioning effectively.
Adding drainage holes is a simple yet important step to prevent water damage and maintain the stability of your garden wall. It allows excess water to escape and prevents hydrostatic pressure from building up behind the wall.
Remember that the number of drainage holes and their spacing may vary depending on the size and design of your garden wall. Consider the local climate and rainfall patterns to determine the appropriate drainage requirements.
Now that your wall is properly drained, it’s time to move on to the final step: adding the finishing touches to complete your stunning garden wall.
Step 9: Finishing Touches
Congratulations! You’ve built your garden wall. Now it’s time to add the finishing touches that will enhance its appearance and ensure its long-term durability. Here’s how to put the final touches on your garden wall:
- Clean and inspect: Take a moment to clean the surface of the wall, removing any remaining debris or excess mortar. Inspect the entire wall for any cracks or potential issues that need to be addressed before proceeding.
- Seal the wall: Consider applying a sealer to protect the surface of your garden wall. A clear sealer can help prevent water penetration, protect against stains, and enhance the color of the bricks or stones.
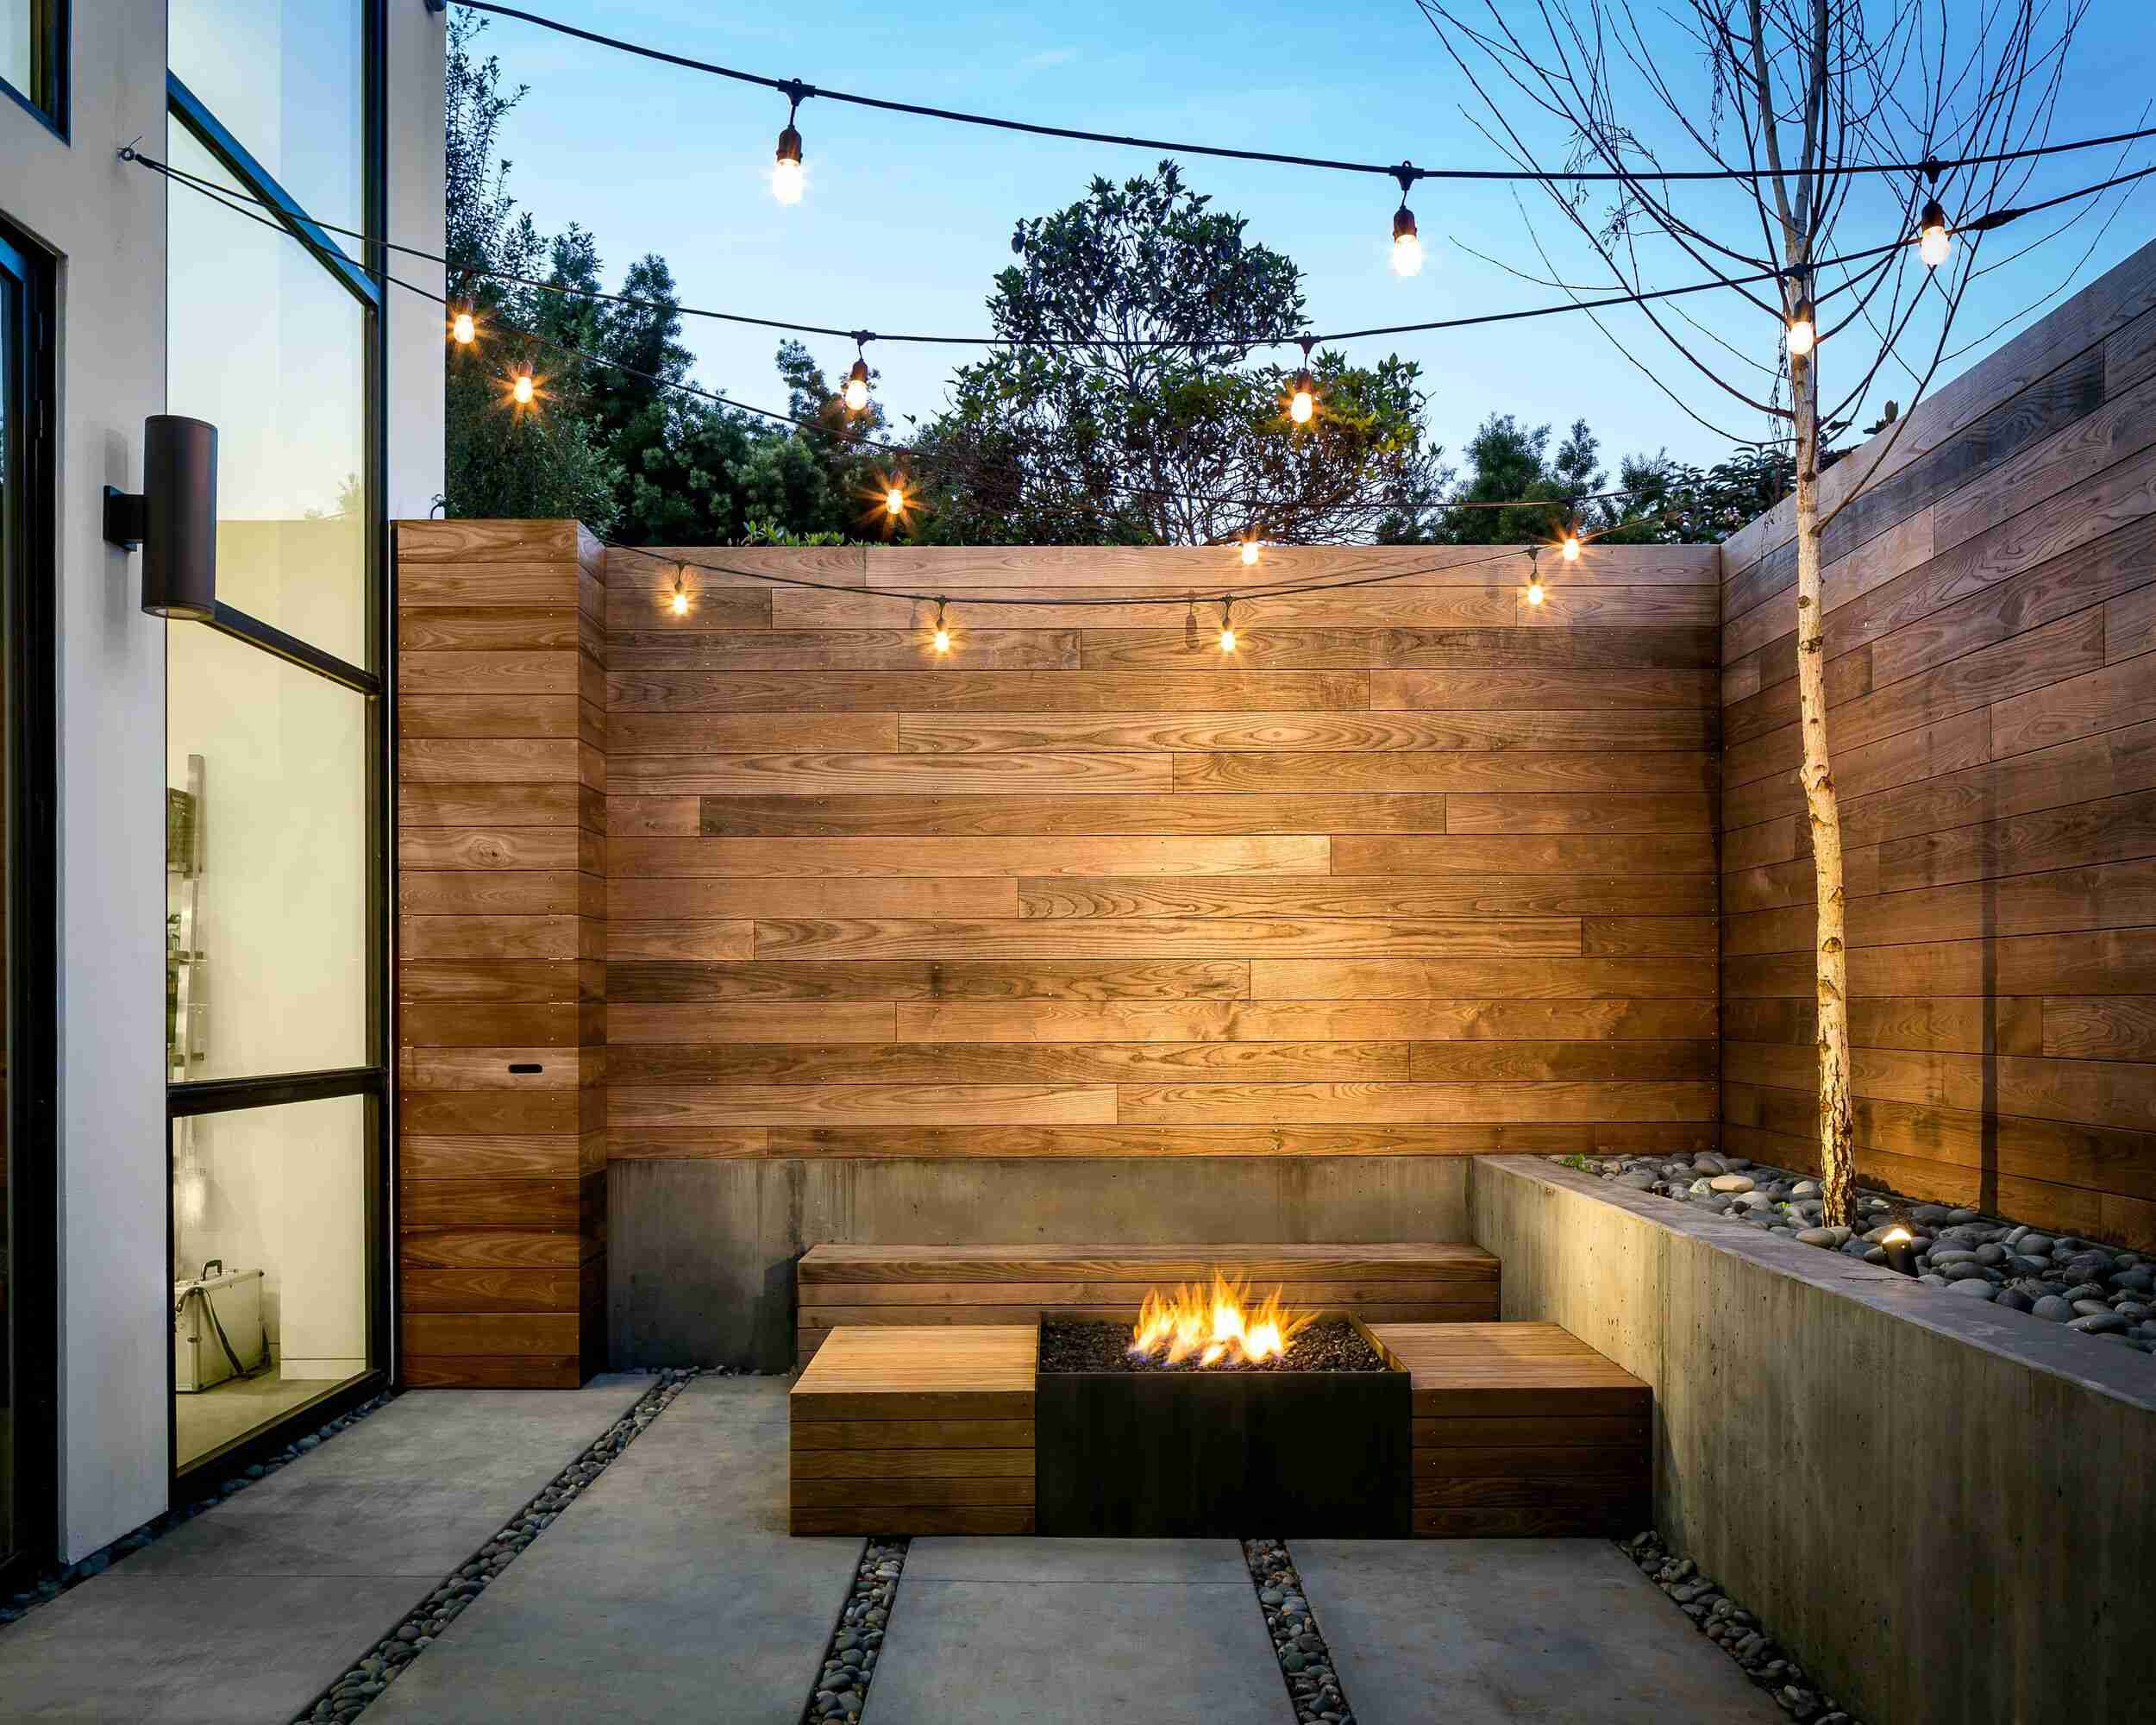
- Add decorative elements: To add a personal touch, consider incorporating decorative elements into your garden wall. This could include attaching trellises for climbing plants, installing outdoor lighting fixtures, or adding decorative tiles or accents.
- Landscaping around the wall: Complete the overall look of your garden wall by landscaping around it. Plant flowers, shrubs, or climbing vines nearby to soften the appearance of the wall and blend it seamlessly into your garden.
- Maintain the wall: Regular maintenance is essential to keep your garden wall in good condition. Clean the surface periodically to remove dirt or grime. Inspect for any cracks or damage and repair as needed. Additionally, ensure that drainage from nearby sources does not affect the stability of the wall.
Adding these finishing touches will not only enhance the visual appeal of your garden wall but also contribute to its overall durability and longevity. It’s important to regularly monitor and maintain your wall to ensure it continues to be a beautiful and functional addition to your garden.
With the completion of the finishing touches, you can now step back and admire your hard work. Your garden wall serves as a stunning centerpiece, providing structure, privacy, and beauty to your outdoor space.
Thank you for following along with this step-by-step guide on how to build a garden wall. Enjoy the fulfillment that comes with creating a beautiful and functional addition to your garden, and may it bring you years of joy and satisfaction.
Conclusion
Building a garden wall is an exciting and fulfilling project that can transform your outdoor space. It not only adds structure and beauty to your garden but also serves practical purposes like defining boundaries and providing privacy. By following the steps outlined in this guide, you can successfully build a garden wall that is both visually appealing and built to last.
Starting with careful planning and design, you laid the groundwork for a successful project. Gathering the necessary tools and materials ensured that you were well-prepared for the construction process. The steps of marking the area, excavating, setting the foundation, and laying the first course provided a solid base for your wall.
With each course laid, you took the time to check for level and alignment, ensuring a sturdy and professional-looking wall. Adding drainage holes and attending to the finishing touches added the necessary functionality and personalization to your wall.
Remember, building a garden wall is not just about the final result – it’s also about the journey. Take the time to enjoy the process, learn new skills, and appreciate the satisfaction of creating something with your own hands.
As you maintain your garden wall and care for your surrounding landscape, your outdoor space will continue to flourish and evolve. The garden wall will be a lasting centerpiece that enhances the beauty of your garden and provides a sanctuary for relaxation and enjoyment.
So, grab your tools and let your creativity flow. Building a garden wall is an opportunity to express your personal style and create a space that reflects your love for gardening. Embrace the process, take pride in your work, and enjoy the countless hours of satisfaction that come with having a beautiful and functional garden wall.
Frequently Asked Questions about How To Build Garden Wall
Was this page helpful?
At Storables.com, we guarantee accurate and reliable information. Our content, validated by Expert Board Contributors, is crafted following stringent Editorial Policies. We're committed to providing you with well-researched, expert-backed insights for all your informational needs.



0 thoughts on “How To Build Garden Wall”