Home>Gardening & Outdoor>Landscaping Ideas>How To Clear A Garden Bed
Landscaping Ideas
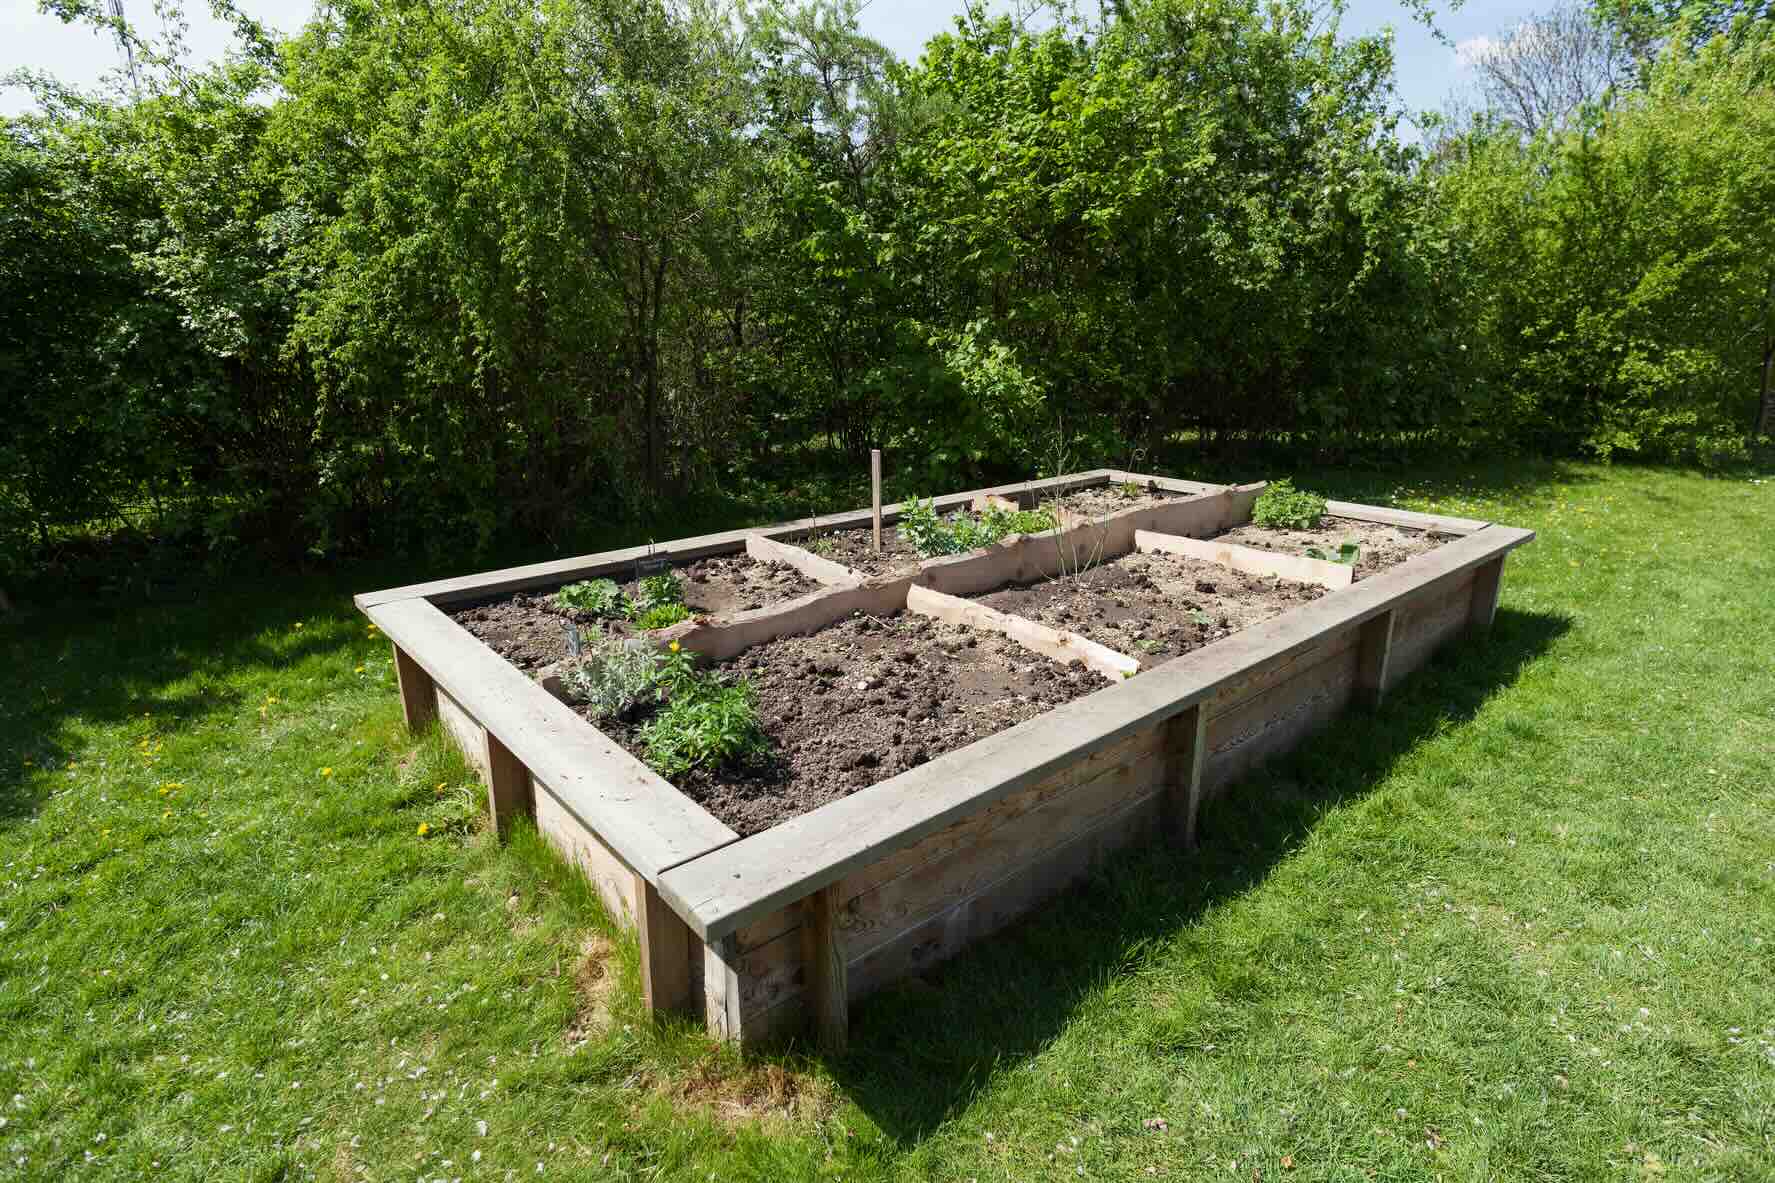
How To Clear A Garden Bed
Published: February 1, 2024
Learn effective landscaping ideas for clearing garden beds and creating a beautiful outdoor space. Discover step-by-step tips for a well-maintained garden.
(Many of the links in this article redirect to a specific reviewed product. Your purchase of these products through affiliate links helps to generate commission for Storables.com, at no extra cost. Learn more)
Introduction
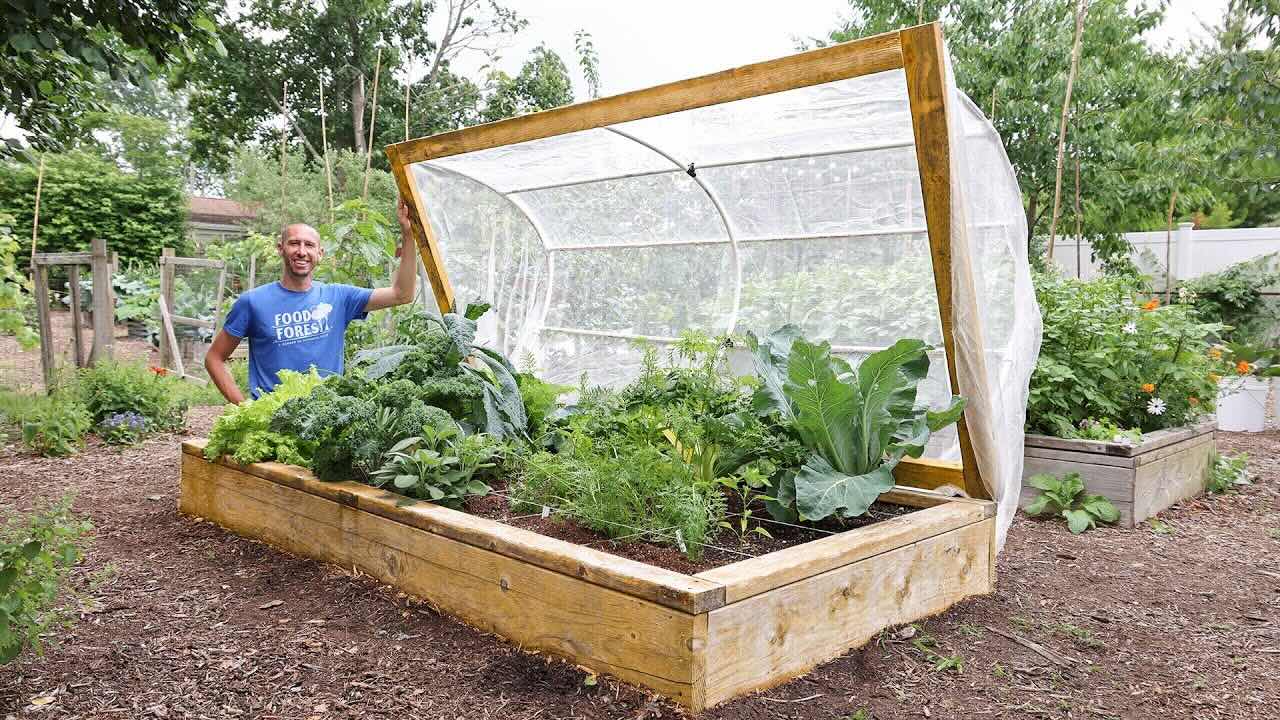
Clearing a garden bed is a crucial step in preparing the soil for new plantings. Whether you're revamping an existing garden bed or creating a new one from scratch, the process of clearing the bed sets the stage for healthy and thriving plants. By removing debris, weeds, and unwanted vegetation, you create a clean canvas for your gardening endeavors. This initial step not only enhances the aesthetic appeal of your garden but also promotes optimal growing conditions for your plants.
In this comprehensive guide, we will walk through the essential steps to clear a garden bed effectively. From removing existing plants and weeds to enriching the soil with organic matter, each step plays a vital role in revitalizing the garden bed. By following these steps, you can ensure that your garden bed is primed for successful plant growth and bountiful harvests.
Let's delve into the detailed process of clearing a garden bed, equipping you with the knowledge and techniques needed to transform your outdoor space into a flourishing oasis of greenery and beauty.
Key Takeaways:
- Clearing a garden bed involves removing weeds, loosening the soil, adding compost, leveling the bed, and mulching. This sets the stage for healthy plant growth and a beautiful garden.
- By diligently following the steps to clear a garden bed, you create a nurturing environment for plants. This process not only enhances the garden’s beauty but also supports long-term plant vitality.
Read more: How To Create A Garden Bed
Step 1: Remove existing plants and weeds
The first step in clearing a garden bed is to remove any existing plants and weeds. This process is essential for creating a clean and fertile environment for new plantings. Begin by carefully uprooting any unwanted vegetation, including weeds, grass, and old plants. Use a garden fork or shovel to loosen the soil around the roots, making it easier to extract the entire plant.
As you clear the bed, be mindful of any perennial plants or desirable vegetation that you intend to keep. Take care to avoid disturbing their root systems while removing the surrounding unwanted growth. By selectively clearing the bed, you can preserve the plants you wish to retain and prepare the space for new additions.
For stubborn weeds with deep roots, such as dandelions or thistles, consider using a weeding tool to ensure complete removal. It's important to eliminate the entire root system to prevent regrowth. By meticulously clearing the bed of existing plants and weeds, you create a blank canvas for your gardening vision.
Once the unwanted vegetation has been removed, it's beneficial to inspect the soil for any lingering roots or debris. Clearing the bed of these remnants helps prevent future weed growth and promotes a healthier growing environment for new plants. Take the time to thoroughly clear the soil, ensuring that it is free from any remnants of the previous vegetation.
By diligently removing existing plants and weeds, you set the stage for a successful garden bed transformation. This initial step paves the way for the subsequent stages of soil preparation and planting, laying the foundation for a vibrant and thriving garden space. With the bed cleared of unwanted growth, you are now ready to proceed to the next step in revitalizing the soil and preparing it for new plantings.
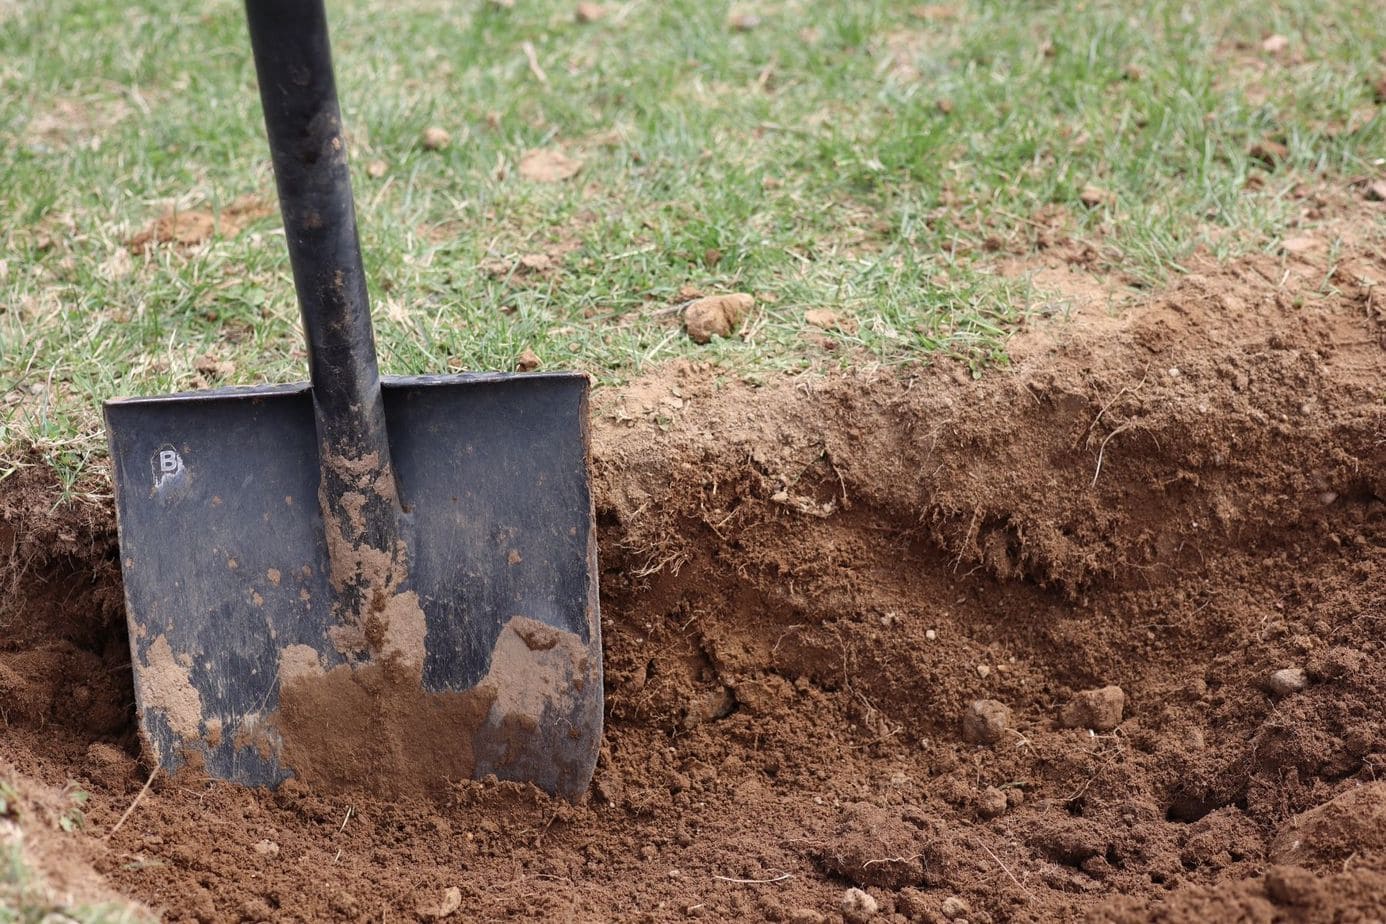
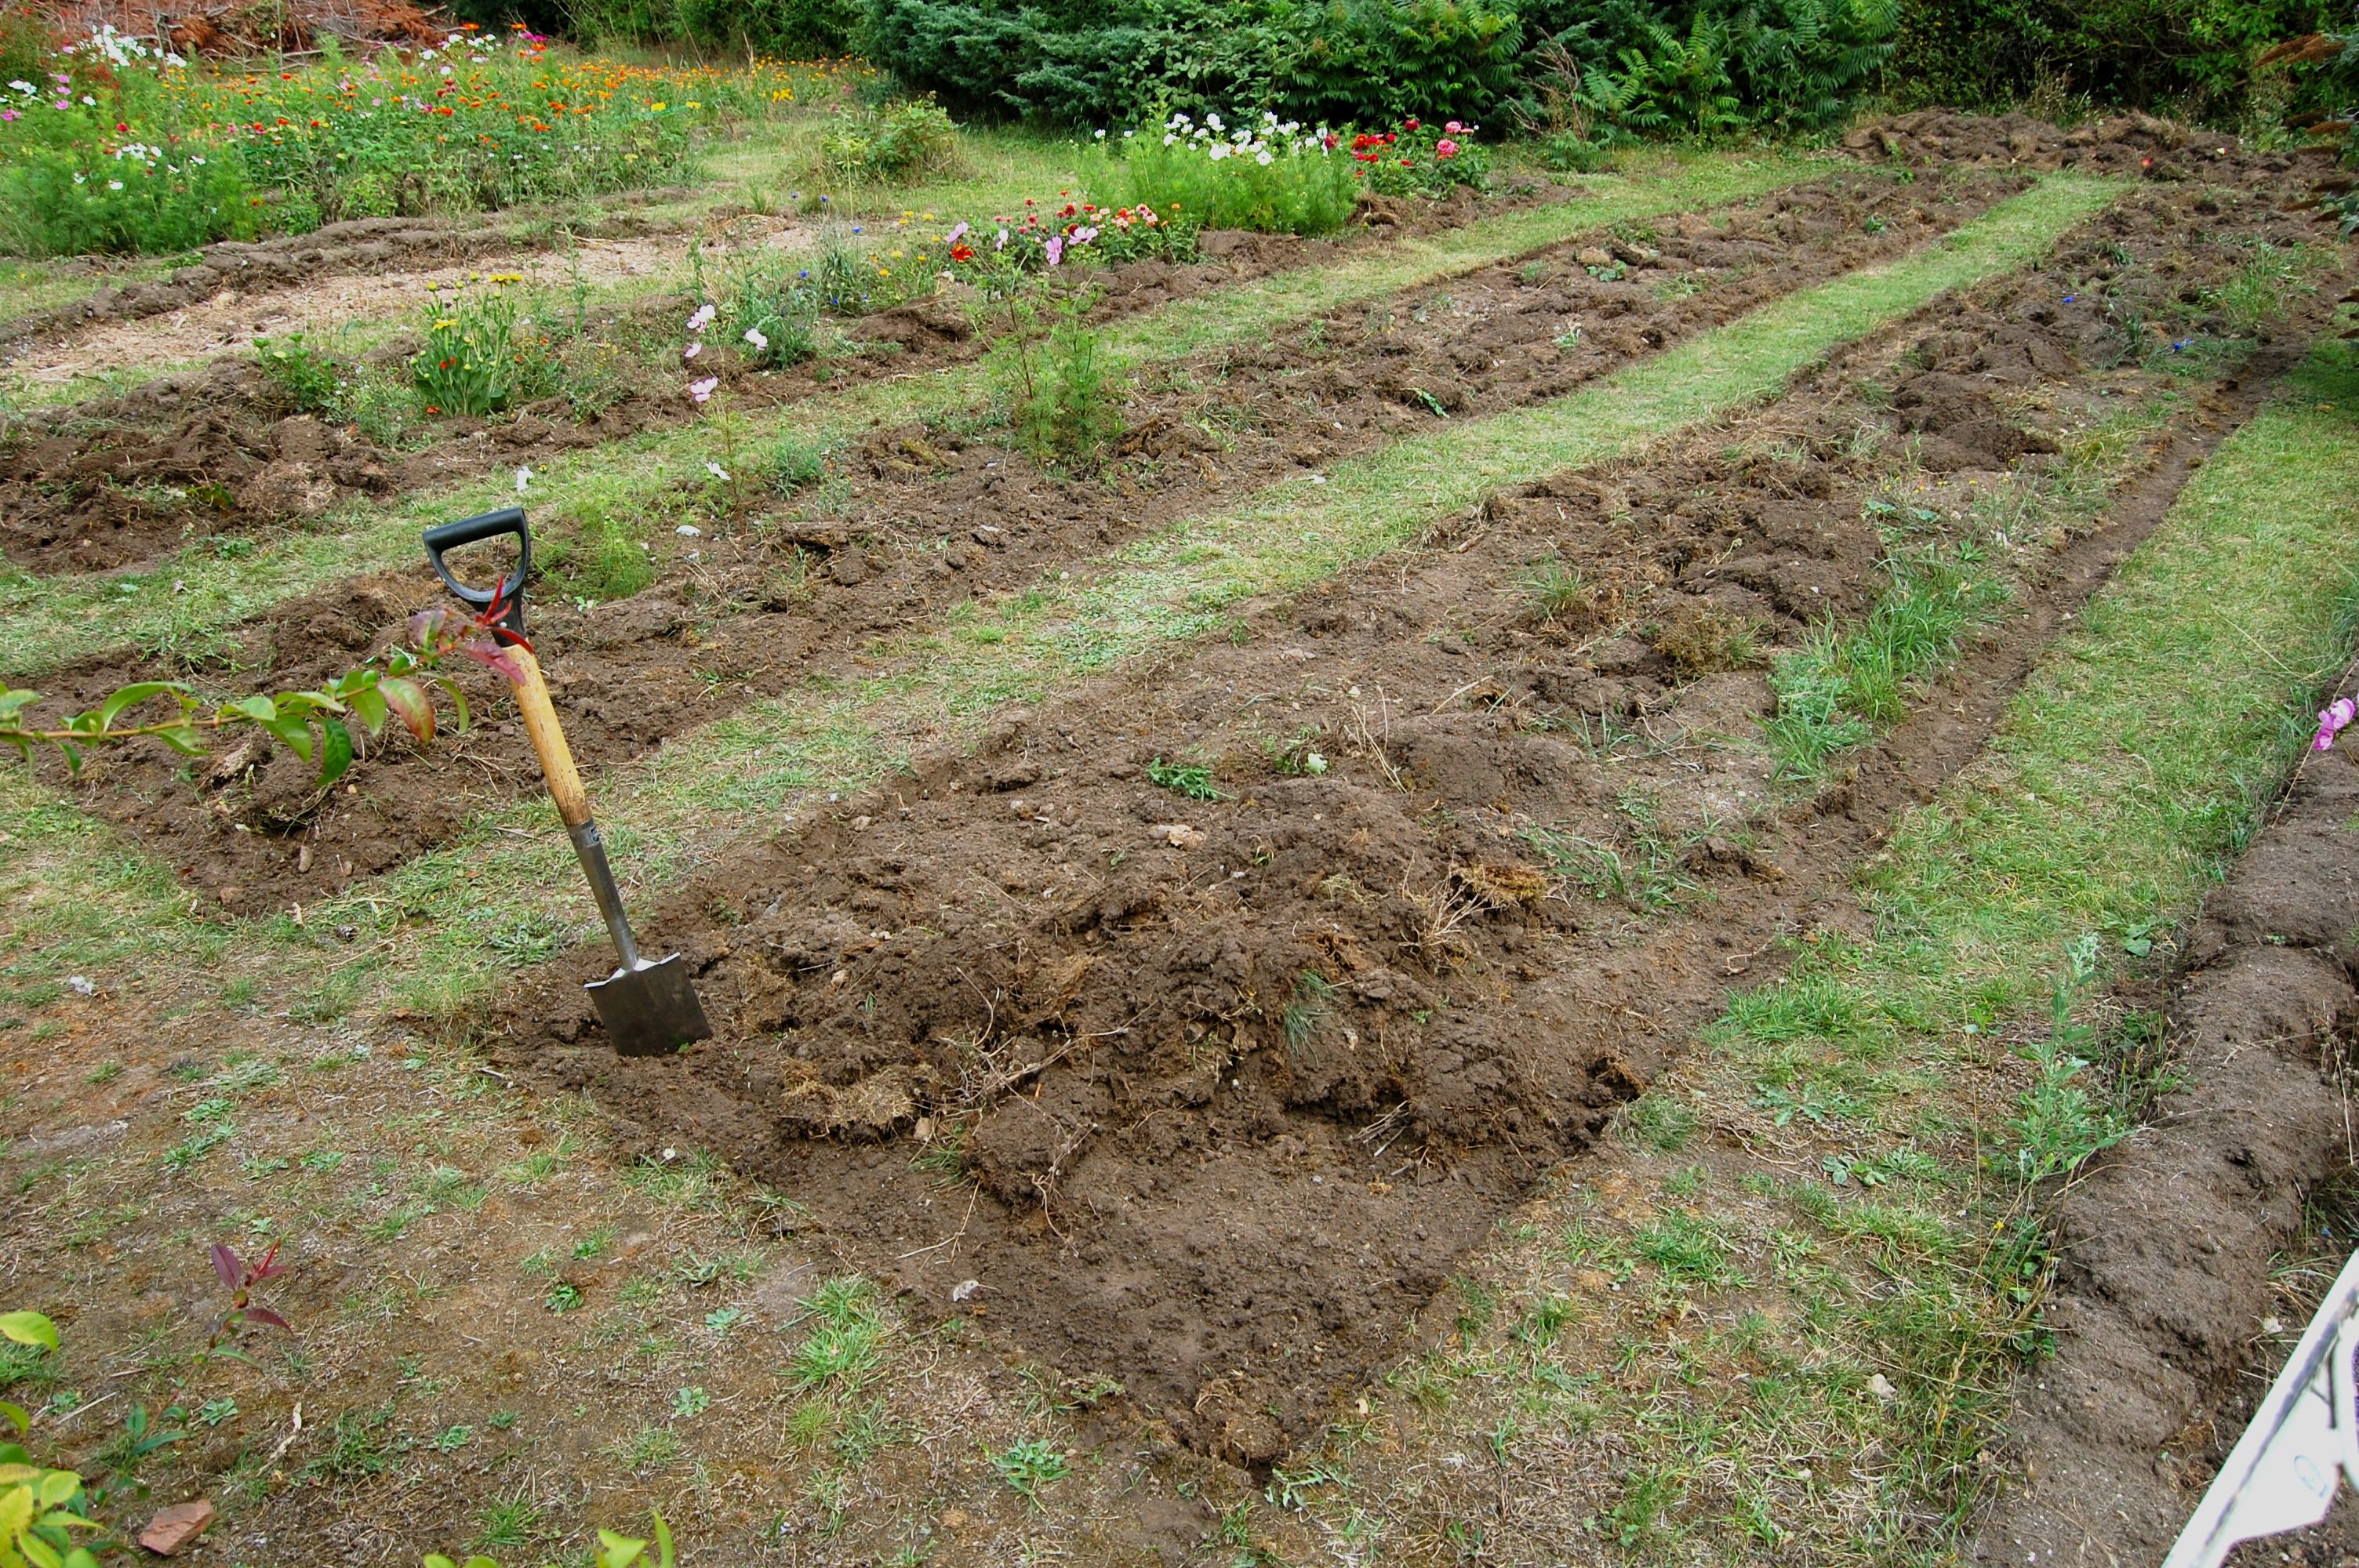
Step 2: Loosen the soil
After removing existing plants and weeds, the next crucial step in clearing a garden bed is to loosen the soil. This process is essential for promoting healthy root growth and improving the overall structure of the soil. By loosening the soil, you create an optimal environment for plant roots to penetrate deeply, access nutrients, and thrive.
To begin, use a garden fork or a tiller to gently break up the compacted soil. Work the tool into the soil, loosening it to a depth of at least 8 to 12 inches. This depth allows for better aeration and drainage, fostering an ideal habitat for plant roots. As you loosen the soil, take care to work around any existing plants or desired vegetation, ensuring that their root systems remain undisturbed.
In areas with particularly dense or clay-heavy soil, the process of loosening may require additional effort. Consider incorporating organic matter, such as compost or well-rotted manure, into the soil as you work to improve its texture and structure. The addition of organic matter not only aids in loosening the soil but also enriches it with valuable nutrients, setting the stage for robust plant growth.
As you work through the bed, pay attention to any large clumps or compacted areas. Break up these clumps and smooth out the soil to create a uniform and friable texture. This uniformity ensures that water, air, and nutrients can permeate the soil evenly, supporting the health and vitality of the plants.
Loosening the soil is a fundamental step in preparing the garden bed for new plantings. By creating a loose, well-aerated soil structure, you establish an environment that is conducive to healthy root development and overall plant growth. With the soil properly loosened and enriched, the stage is set for the subsequent step of adding compost or organic matter to further enhance the soil's fertility and vitality.
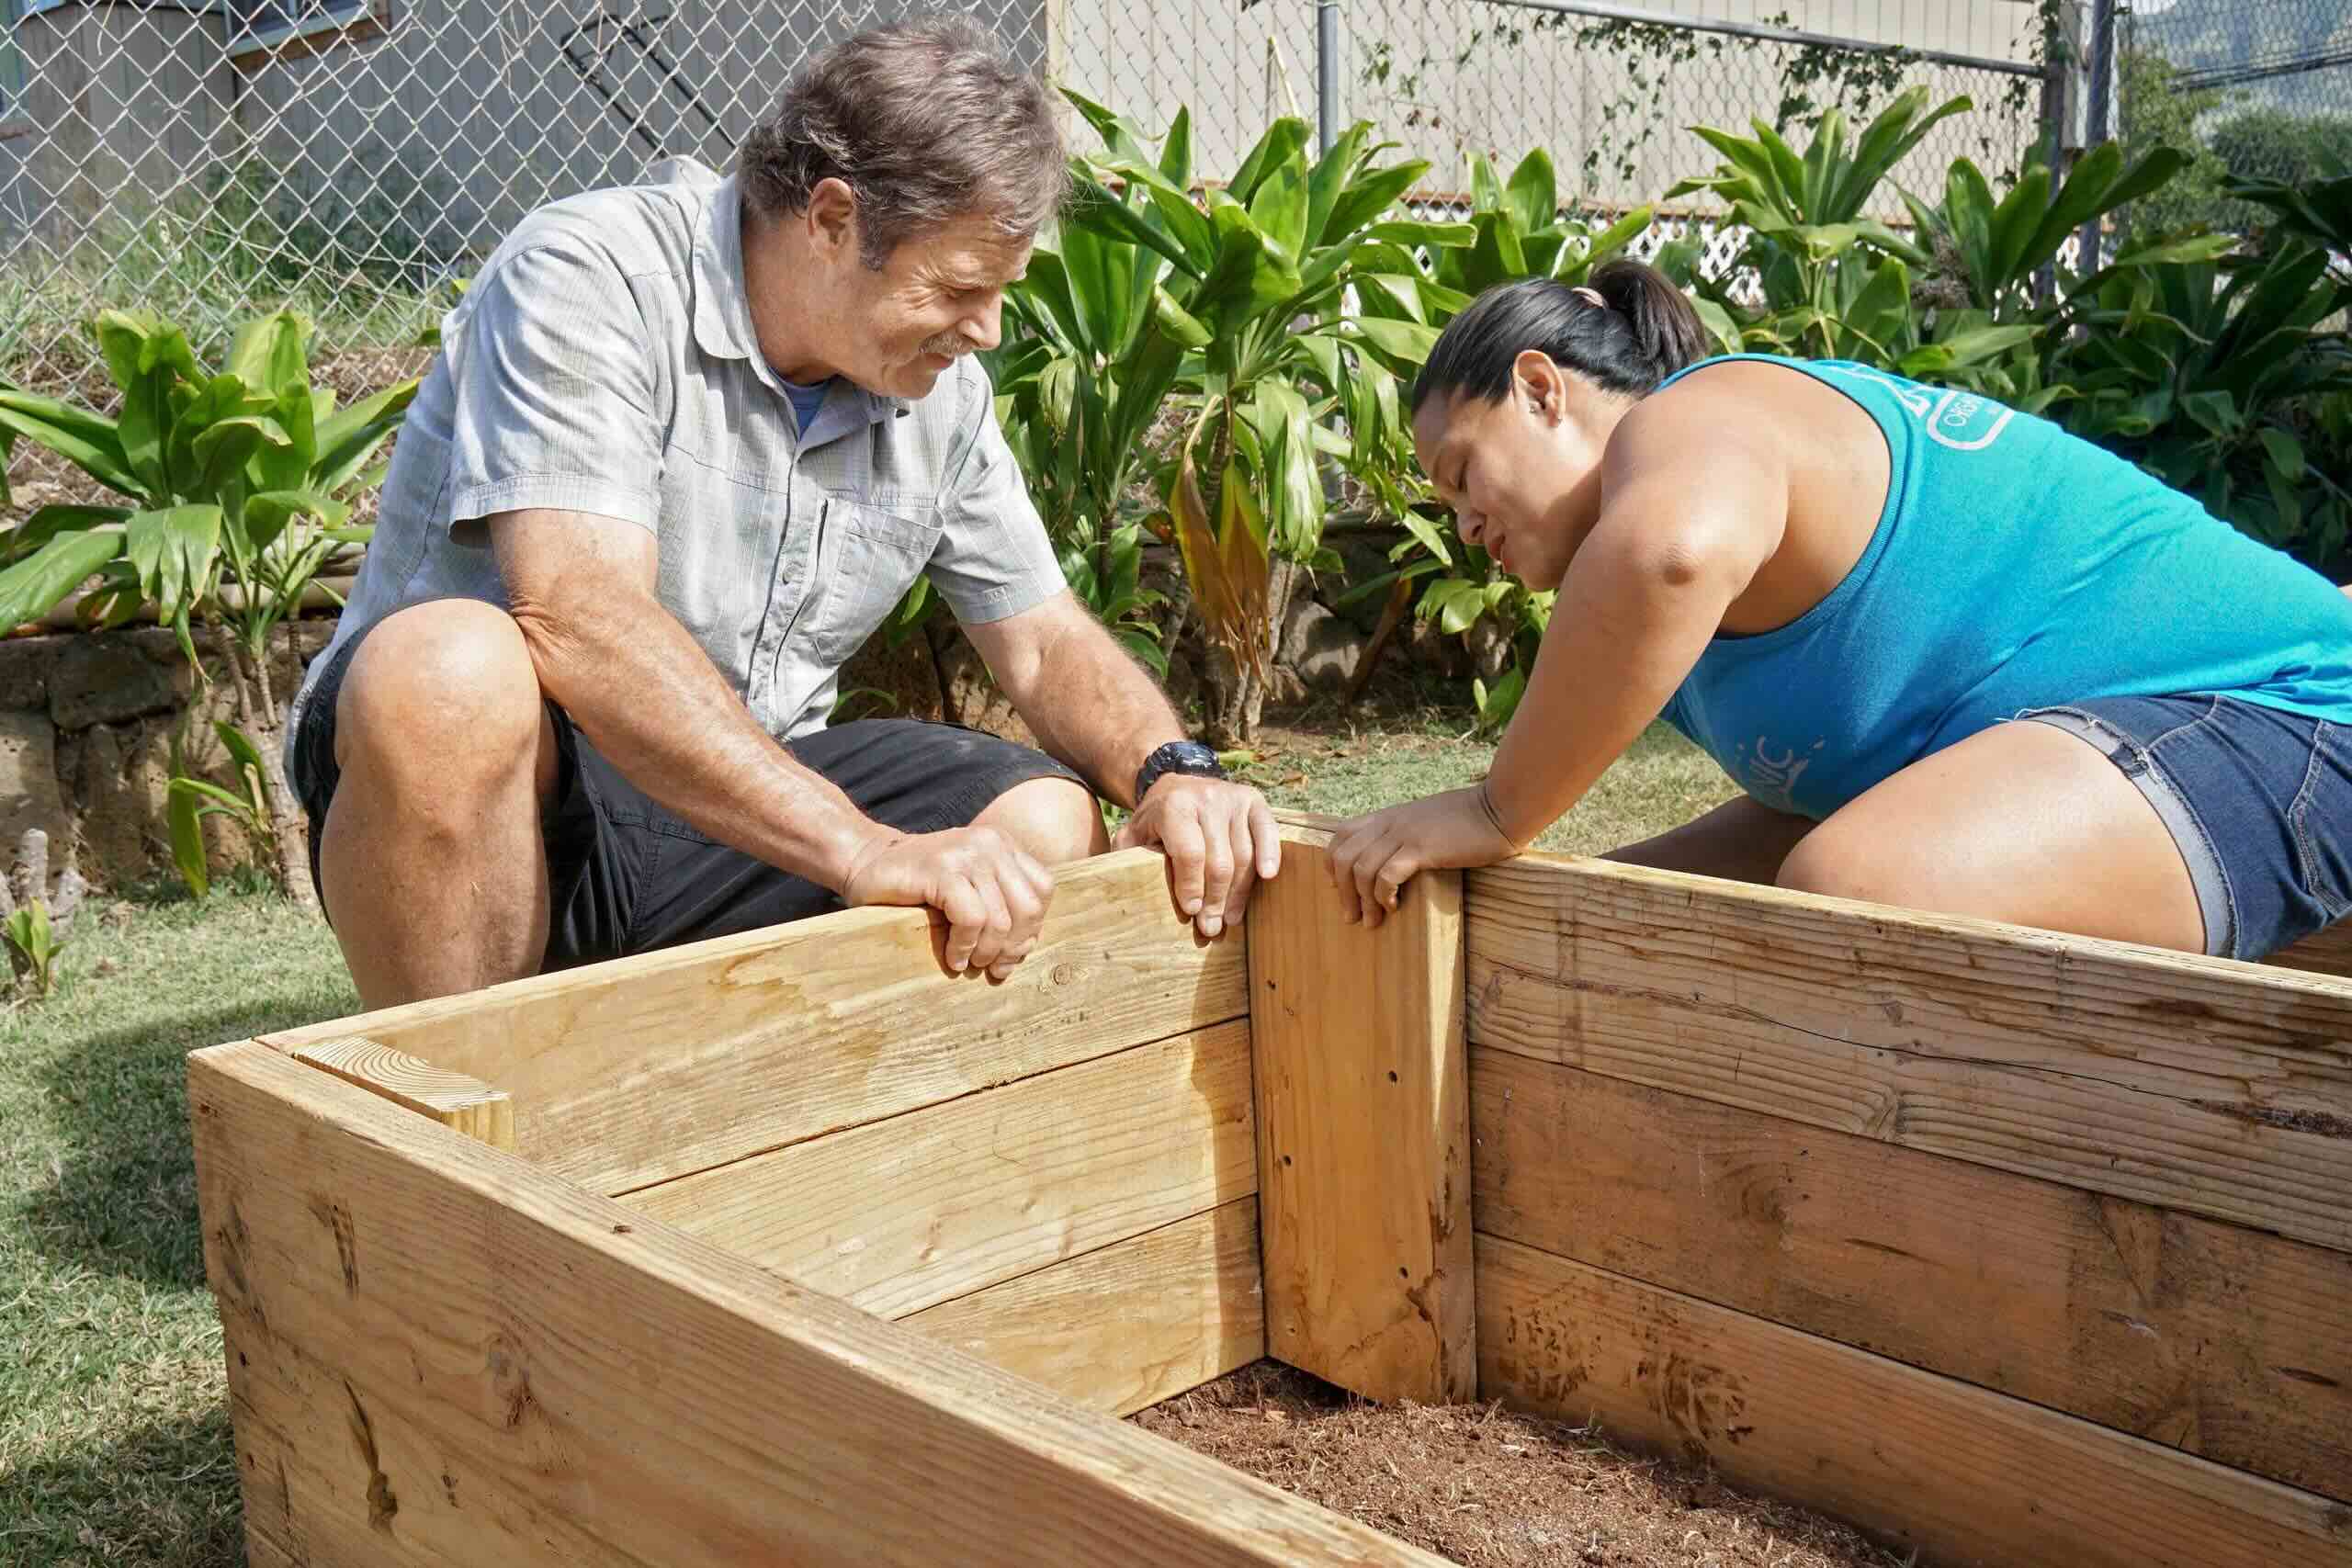
Step 3: Add compost or organic matter
Adding compost or organic matter is a pivotal step in the process of clearing a garden bed. This essential practice enriches the soil with valuable nutrients, improves its structure, and fosters a thriving ecosystem for plant growth. Compost, often referred to as "black gold" by gardeners, is a nutrient-rich soil amendment that offers a multitude of benefits for the garden bed.
To begin, spread a layer of compost or well-rotted organic matter over the loosened soil. Aim for a thickness of approximately 2 to 3 inches, ensuring that the entire bed receives an even application. As you distribute the compost, use a rake or garden fork to gently incorporate it into the soil, allowing the rich organic matter to integrate seamlessly with the existing earth.
The addition of compost introduces a wealth of essential nutrients, including nitrogen, phosphorus, potassium, and various micronutrients, which are vital for plant growth and vitality. Furthermore, compost enhances the soil's ability to retain moisture, promotes beneficial microbial activity, and improves overall soil structure. These combined benefits create an optimal environment for plant roots to thrive and access the resources they need for robust growth.
In addition to compost, other forms of organic matter, such as well-rotted manure, leaf mold, or grass clippings, can also be incorporated into the soil to bolster its fertility. These organic materials contribute to the soil's organic content, enhancing its capacity to support a diverse community of beneficial organisms and microorganisms.
By adding compost or organic matter to the garden bed, you are nurturing the soil and laying the groundwork for a flourishing garden. This step not only enriches the soil with essential nutrients but also promotes a balanced and sustainable ecosystem within the garden bed. With the soil now infused with the nourishing benefits of compost and organic matter, the stage is set for the subsequent step of leveling the bed to create a smooth and uniform surface for planting.
Before clearing a garden bed, make sure to remove any weeds, rocks, and debris. Use a garden fork to loosen the soil and then add compost to improve the soil quality. Finally, mulch the bed to suppress weeds and retain moisture.
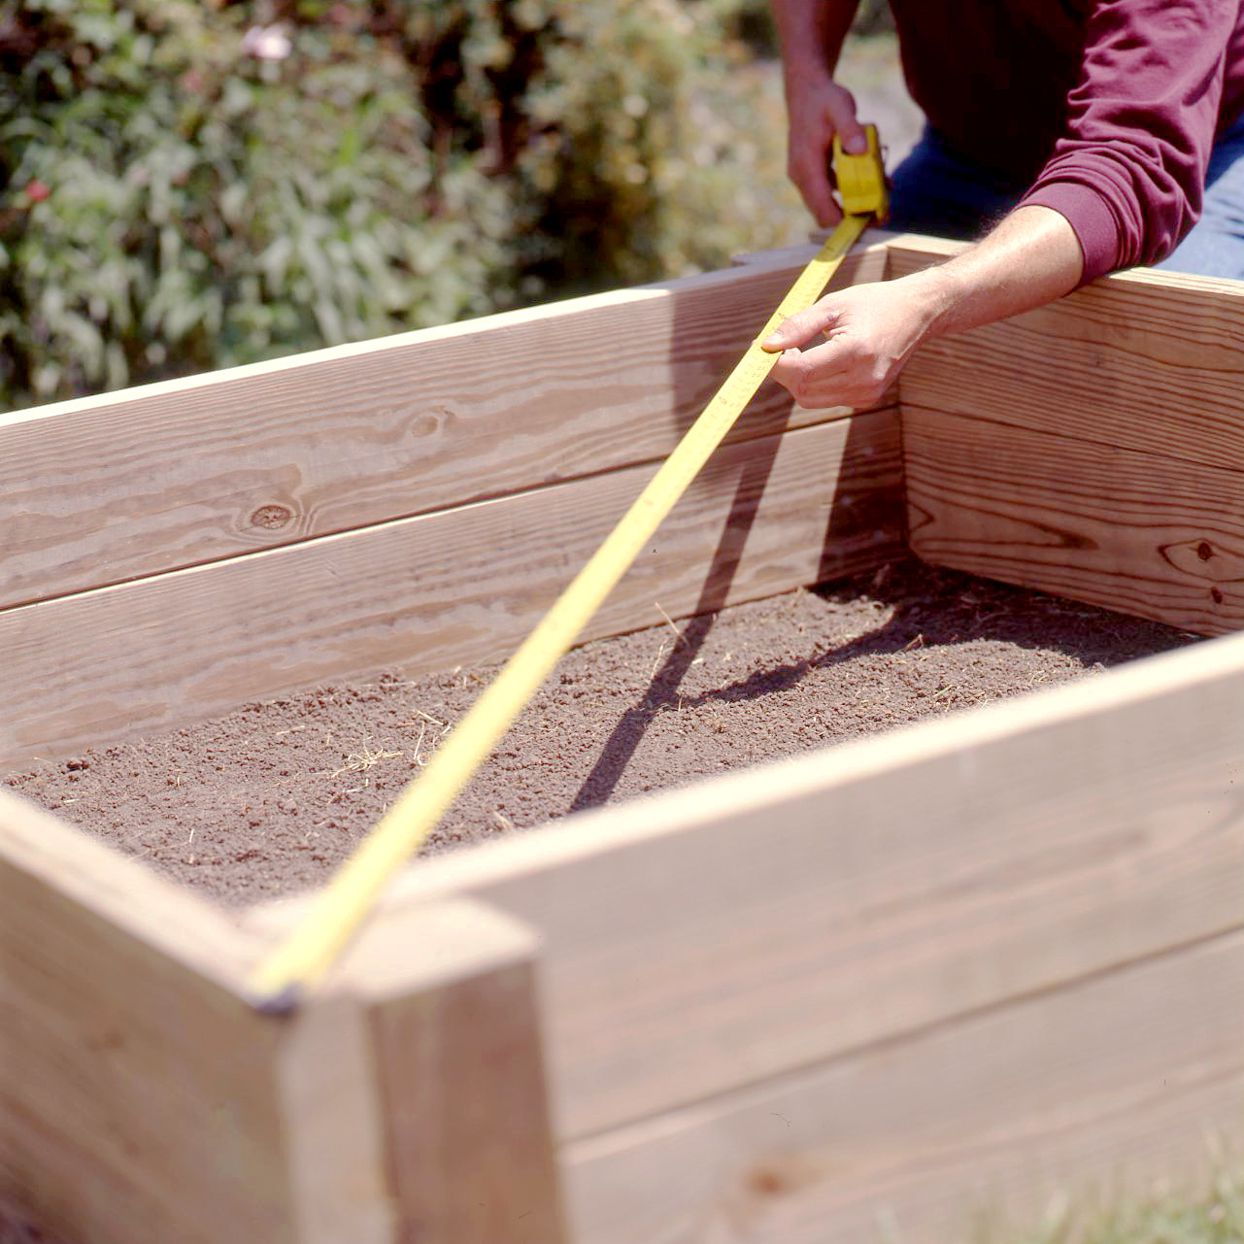
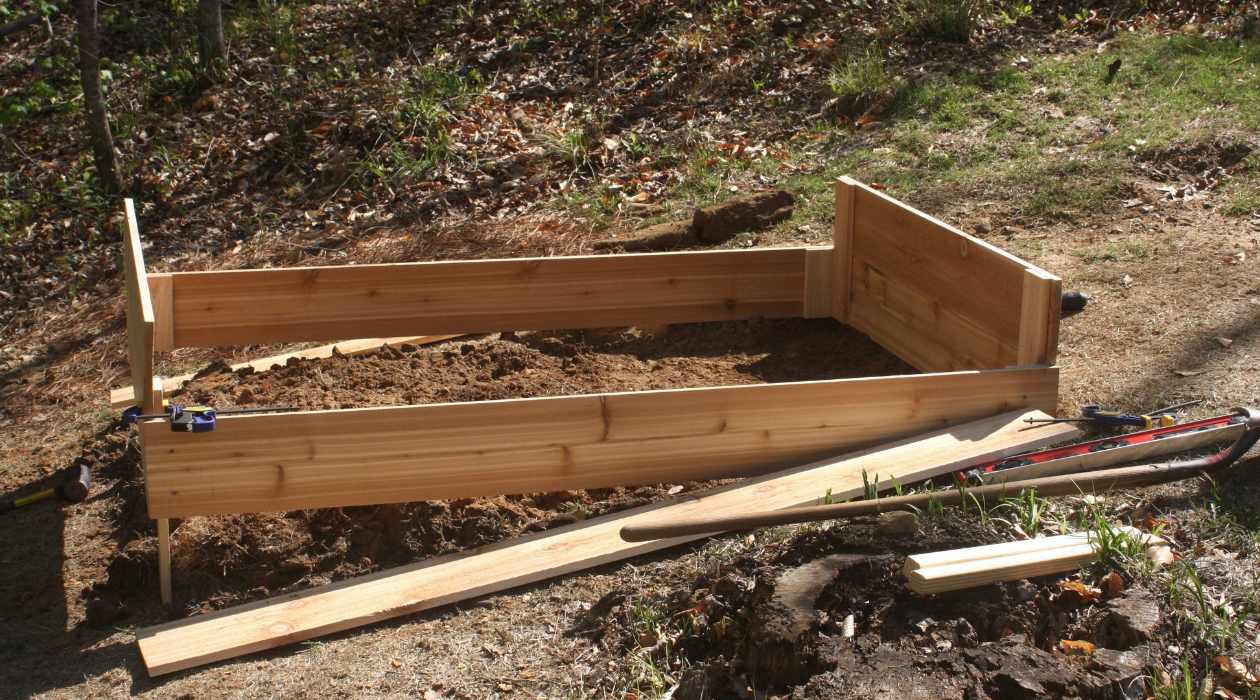
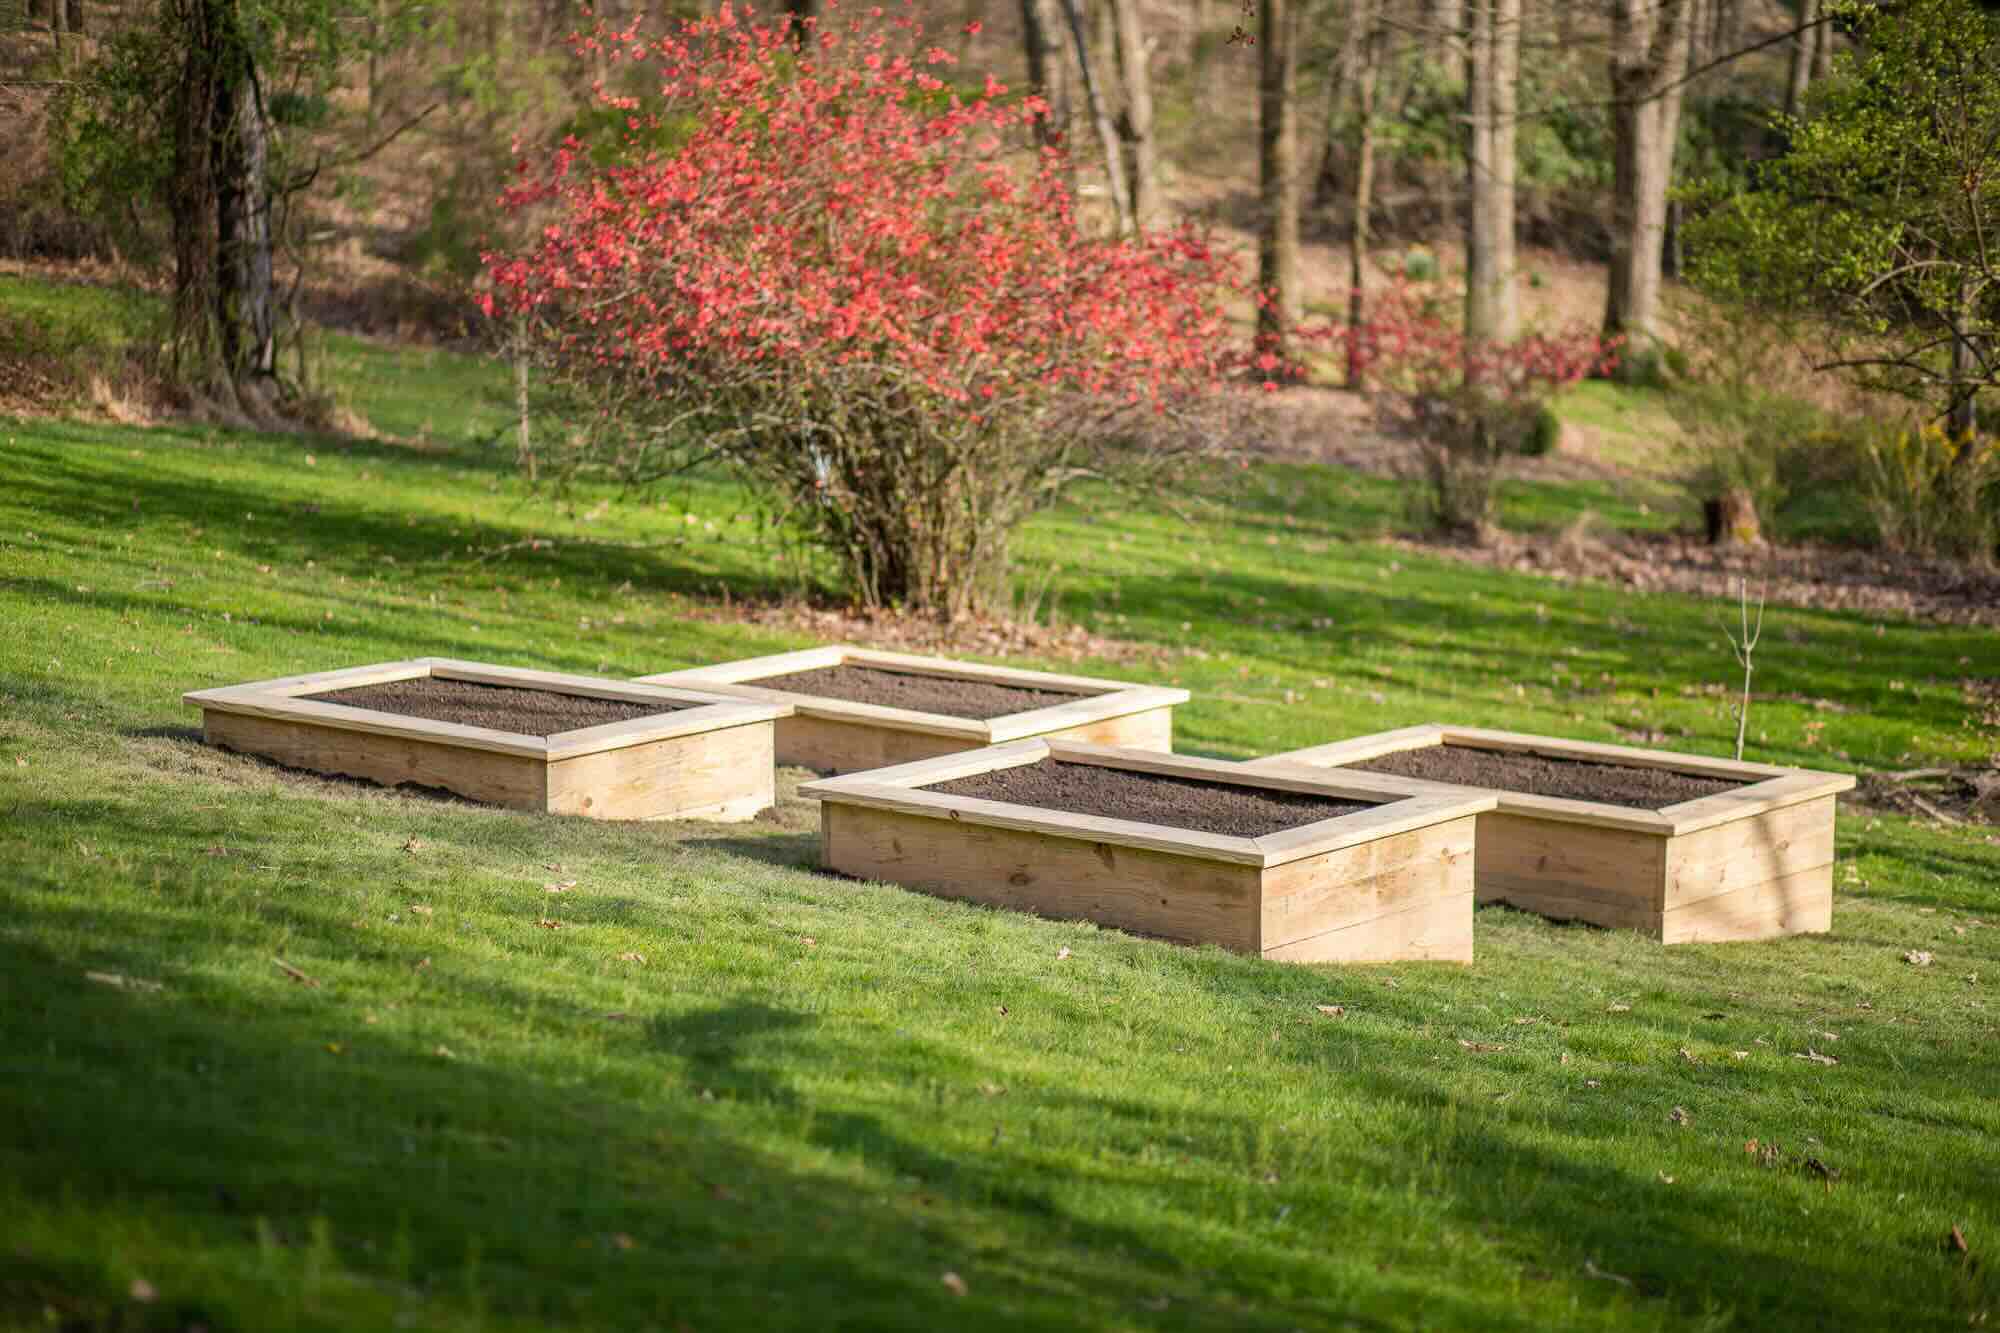
Step 4: Level the bed
Once the soil has been enriched with compost or organic matter, the next critical step in clearing a garden bed is to level the surface. Leveling the bed creates a uniform and smooth terrain, providing an ideal foundation for planting and ensuring consistent water distribution across the entire area.
To begin, use a garden rake or a leveling tool to gently smooth out the soil, removing any uneven patches or mounds. Work methodically across the bed, paying close attention to achieve a consistent level throughout. By creating a uniform surface, you establish an optimal environment for planting and promote even water distribution, preventing water pooling in specific areas.
As you level the bed, take the time to assess the overall slope and contour of the terrain. Ideally, the bed should have a slight slope to facilitate proper drainage, ensuring that excess water flows away from the planting area. However, it's essential to strike a balance, avoiding excessive slopes that could lead to rapid water runoff and potential soil erosion.
In areas where the slope is uneven or requires adjustment, carefully redistribute the soil to achieve a gentle and uniform incline. By addressing the slope during the leveling process, you contribute to the overall health and vitality of the garden bed, creating an environment that promotes optimal plant growth and root development.
Furthermore, leveling the bed provides a visually appealing and organized foundation for your garden. A smooth and even surface not only enhances the aesthetic appeal of the bed but also facilitates maintenance tasks such as watering, mulching, and plant care. This attention to detail sets the stage for a well-maintained and thriving garden space.
With the bed leveled and the terrain carefully contoured, you have successfully prepared the soil for the final step of mulching. The leveled bed serves as a canvas for your gardening aspirations, ready to receive new plantings and flourish under your care and attention.
Read more: How To Design A Garden Bed
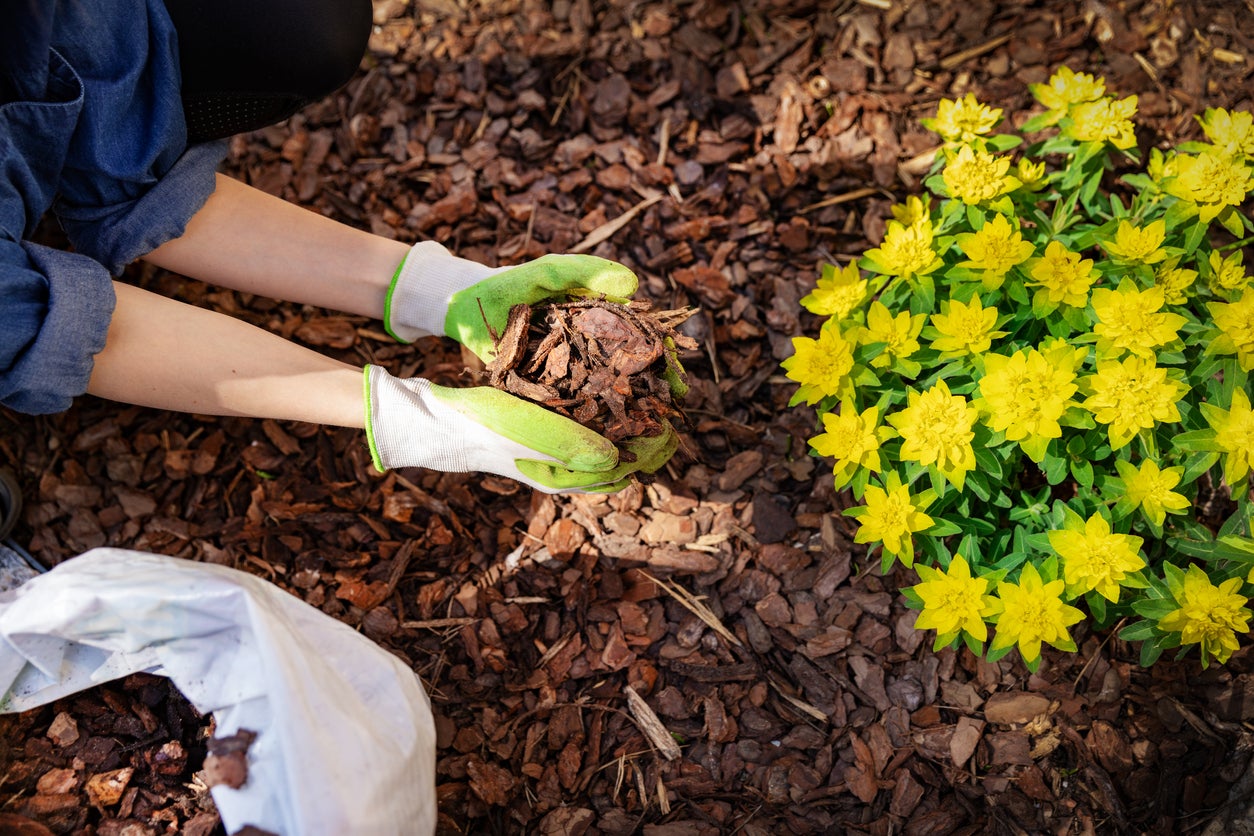
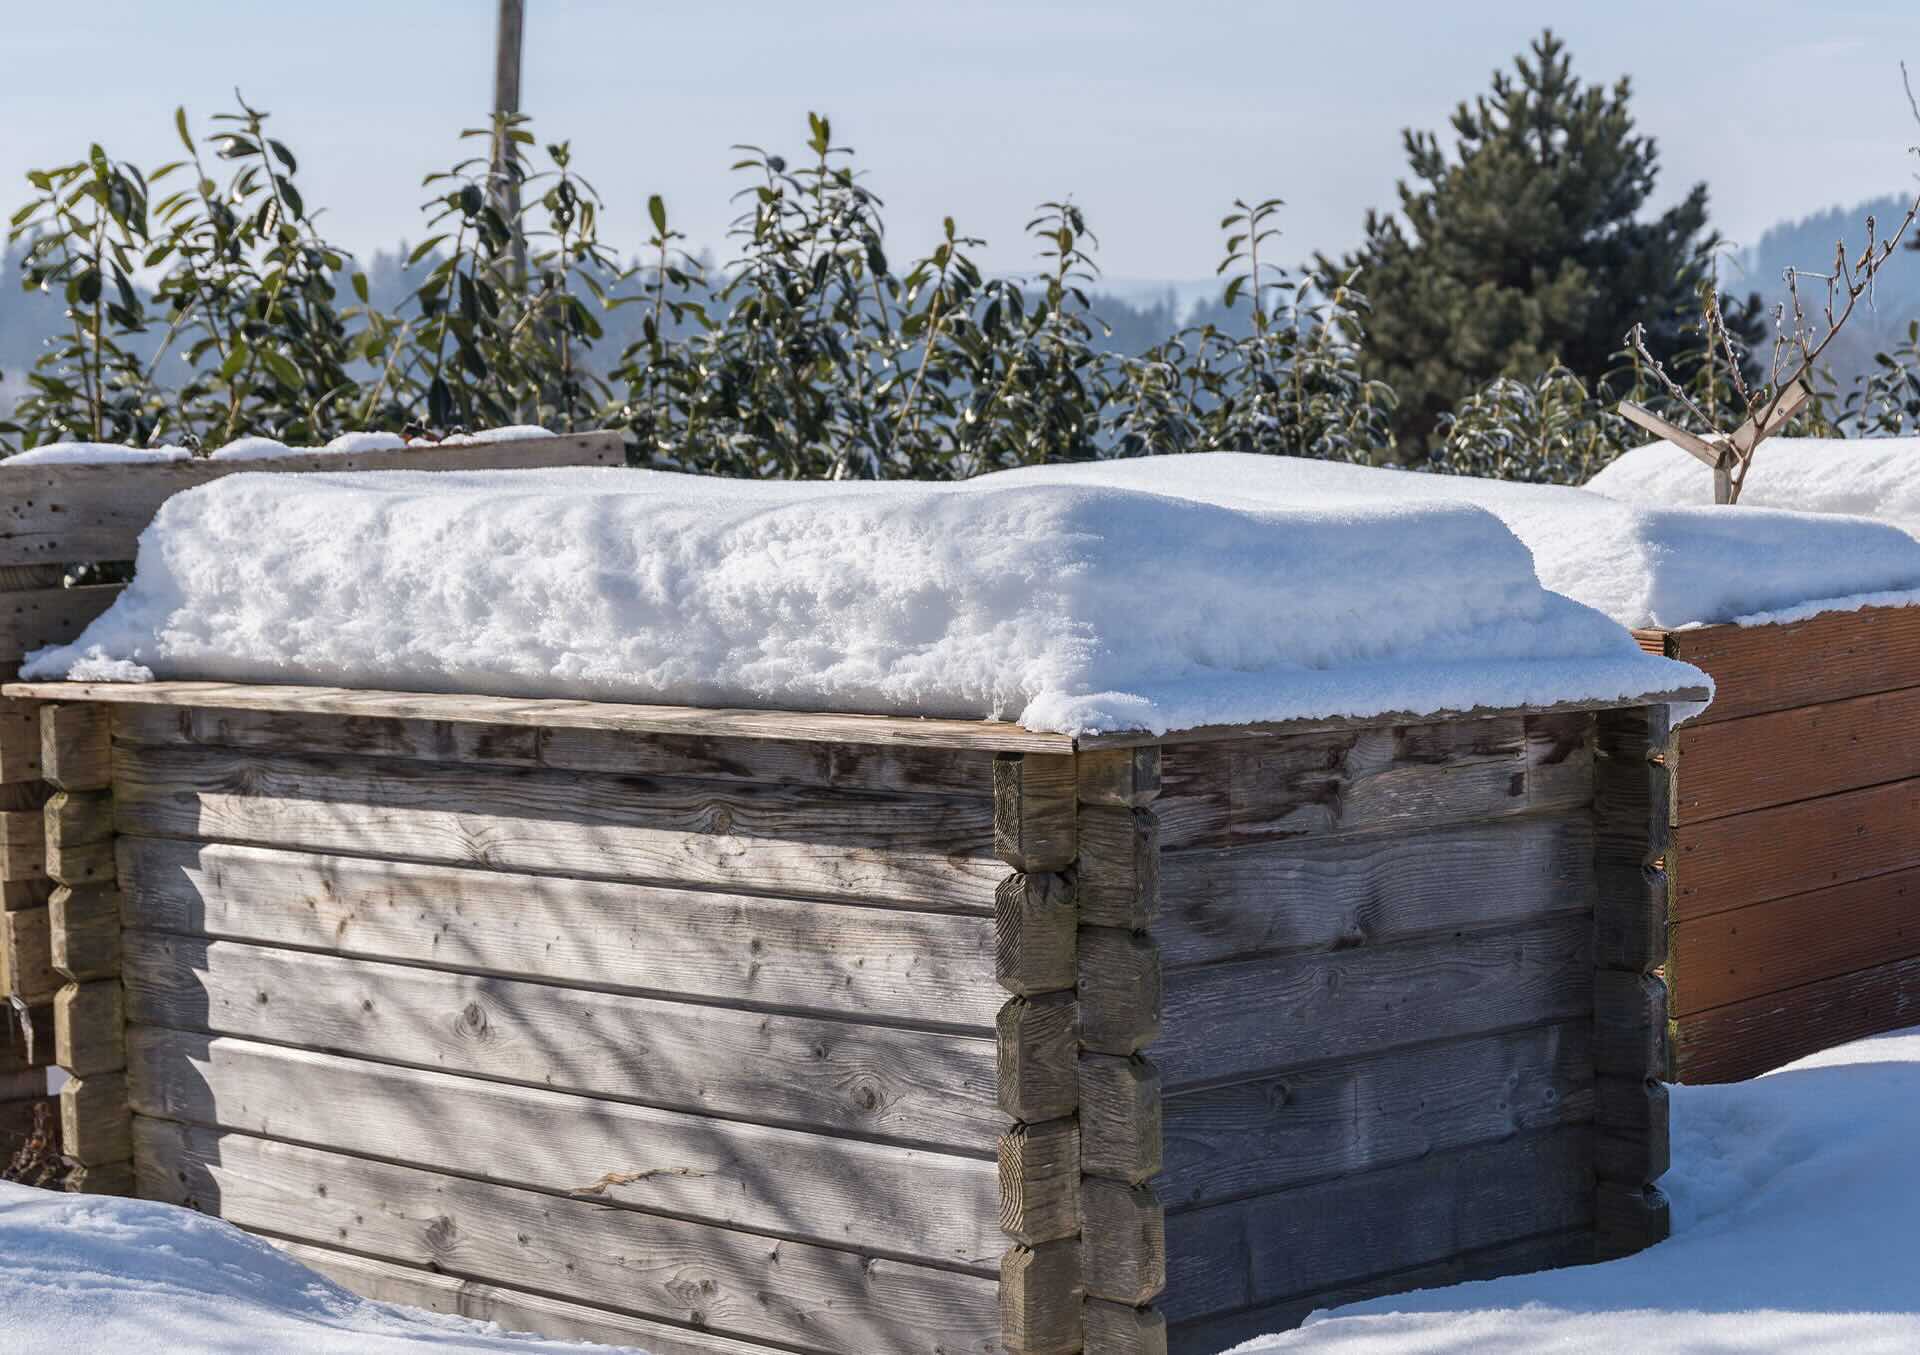
Step 5: Mulch the bed
Mulching the garden bed is the final step in the process of clearing and preparing the soil for new plantings. Mulch serves as a protective layer that offers a multitude of benefits for the garden bed and the plants it nurtures. By applying mulch, you create a nurturing environment that supports plant growth, conserves moisture, suppresses weed growth, and enhances the overall health of the garden bed.
To begin, select a suitable mulching material based on the specific needs of your garden. Organic mulches, such as shredded bark, wood chips, straw, or compost, provide valuable nutrients to the soil as they decompose. In contrast, inorganic mulches, such as gravel or landscape fabric, offer long-lasting weed suppression and moisture retention. Consider the unique requirements of your garden bed and the plants you intend to cultivate when choosing the most appropriate mulching material.
Once you have selected the mulch, apply a layer of approximately 2 to 4 inches thick across the entire garden bed. Take care to leave a small gap around the base of perennial plants and shrubs to prevent moisture accumulation against their stems, which could lead to rot or disease. As you distribute the mulch, ensure that it forms a consistent layer that covers the soil evenly, providing a protective barrier that supports the health and vitality of the plants.
The application of mulch offers numerous advantages for the garden bed. By forming a protective barrier over the soil, mulch helps regulate soil temperature, keeping it cooler in the summer and warmer in the winter. This temperature moderation creates a favorable environment for plant roots and beneficial soil organisms. Additionally, mulch aids in moisture retention, reducing water evaporation and the need for frequent irrigation, particularly during hot and dry periods.
Furthermore, mulch serves as a natural weed suppressant, inhibiting the germination and growth of unwanted plants. This weed control not only reduces the competition for resources but also minimizes the need for manual weeding, allowing you to devote more time to enjoying and tending to your garden. Additionally, as organic mulches decompose, they contribute valuable organic matter to the soil, enriching its fertility and promoting a healthy soil ecosystem.
By mulching the garden bed, you create a nurturing environment that supports the growth and well-being of your plants. The protective benefits of mulch extend beyond the surface, fostering a thriving ecosystem within the soil and promoting the long-term health of the garden bed. With the bed mulched and the soil enriched, you have successfully completed the essential steps to clear a garden bed, setting the stage for a vibrant and flourishing garden space.
Conclusion
In conclusion, the process of clearing a garden bed is a foundational step in creating a thriving and vibrant outdoor space. By diligently following the essential steps of removing existing plants and weeds, loosening the soil, adding compost or organic matter, leveling the bed, and mulching the soil, you set the stage for successful plant growth and a flourishing garden.
Clearing the garden bed not only enhances the aesthetic appeal of the outdoor space but also promotes optimal growing conditions for plants. The meticulous removal of existing plants and weeds creates a clean canvas for new plantings, while the subsequent steps of soil enrichment and leveling establish an environment that supports healthy root development and overall plant vitality.
The addition of compost or organic matter enriches the soil with essential nutrients and fosters a balanced and sustainable ecosystem within the garden bed. This organic enrichment promotes robust plant growth and contributes to the long-term health of the soil. Furthermore, leveling the bed creates a uniform and smooth surface, providing an ideal foundation for planting and ensuring consistent water distribution across the entire area.
The final step of mulching offers a protective layer that supports plant growth, conserves moisture, suppresses weed growth, and enhances the overall health of the garden bed. Mulch serves as a natural insulator, regulating soil temperature and reducing water evaporation, while also contributing valuable organic matter to the soil as it decomposes.
By diligently following these steps, you have not only cleared the garden bed but also nurtured the soil, creating an environment that is conducive to healthy plant growth and long-term vitality. The attention to detail and care invested in clearing the garden bed sets the stage for a well-maintained and flourishing outdoor space, ready to be adorned with a diverse array of plants and flowers.
As you embark on your gardening journey, remember that the process of clearing a garden bed is not merely a preparatory task but an essential foundation for the beauty and vitality of your garden. With the bed cleared and the soil enriched, you are now poised to bring your gardening vision to life, cultivating a space that blooms with color, fragrance, and the joy of nature's abundance.
Frequently Asked Questions about How To Clear A Garden Bed
Was this page helpful?
At Storables.com, we guarantee accurate and reliable information. Our content, validated by Expert Board Contributors, is crafted following stringent Editorial Policies. We're committed to providing you with well-researched, expert-backed insights for all your informational needs.


0 thoughts on “How To Clear A Garden Bed”