
Articles
How To Build Garden Shed
Modified: October 18, 2024
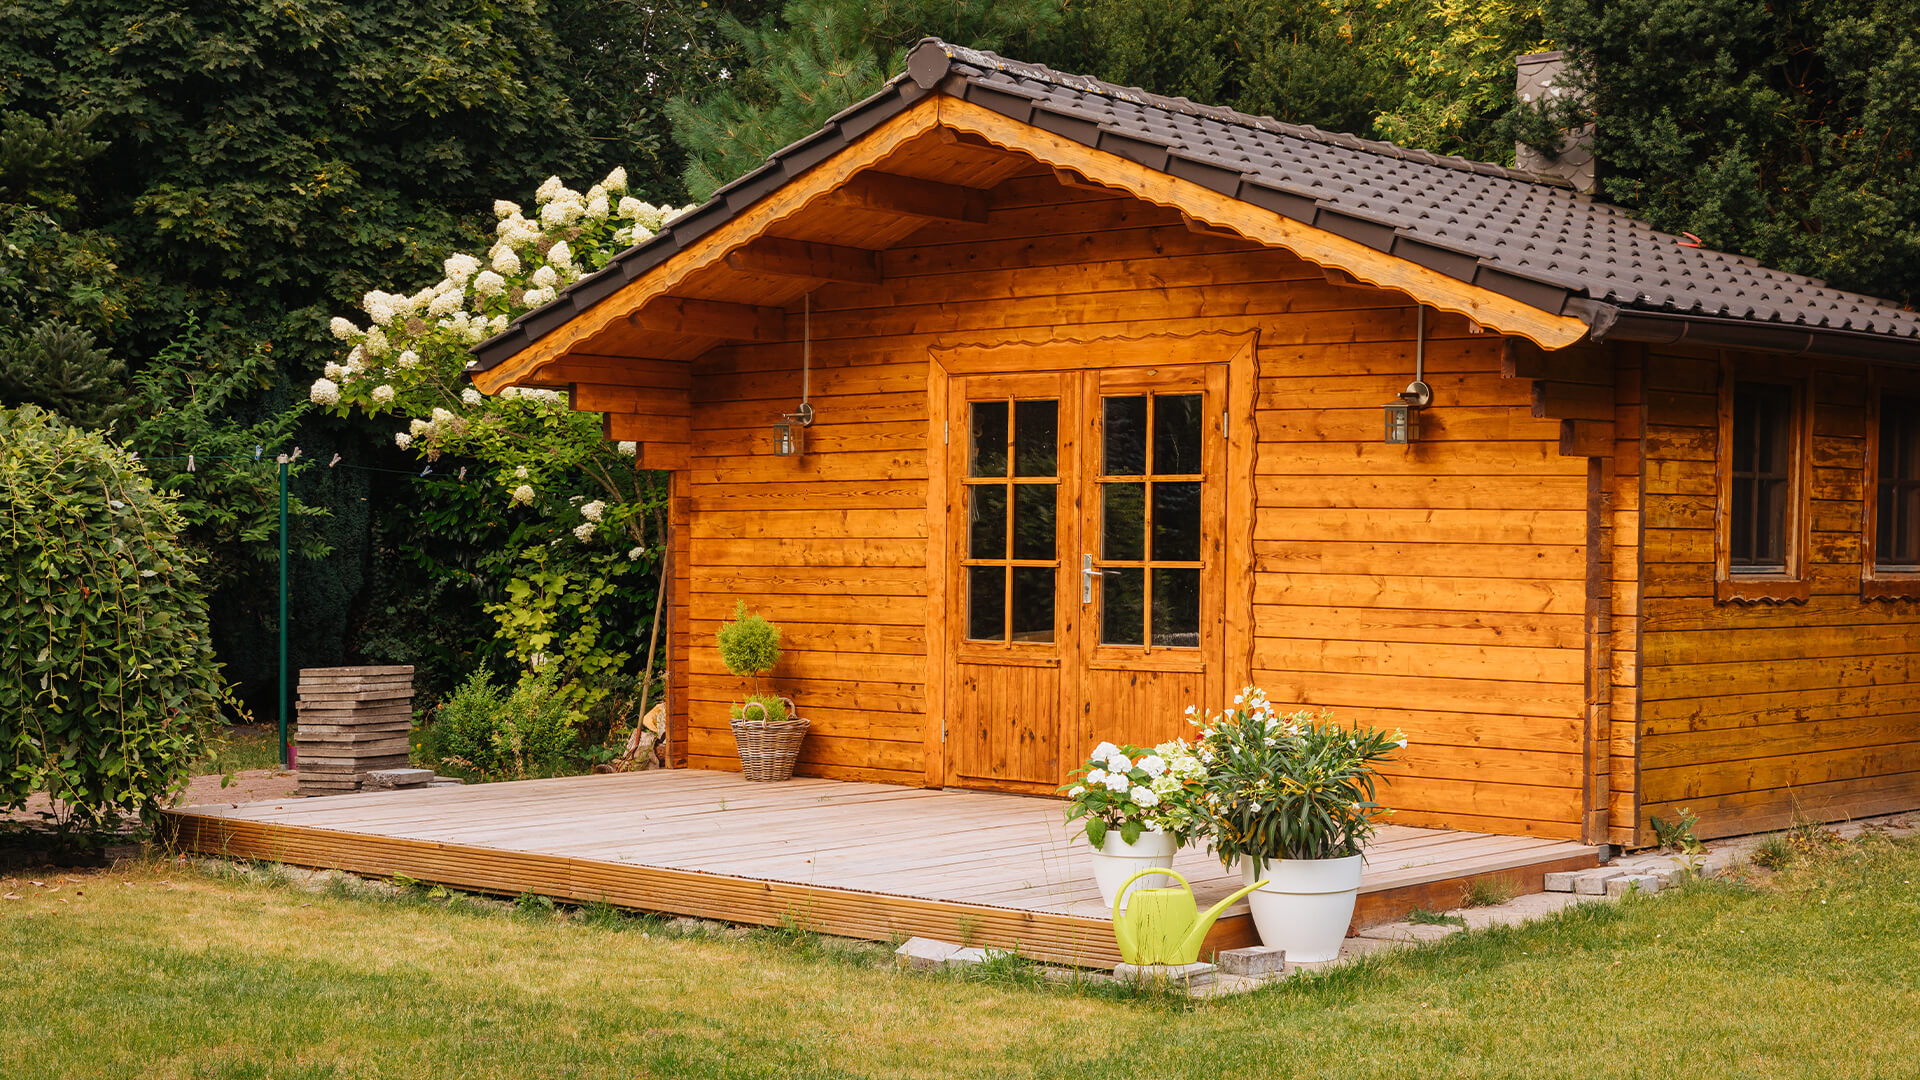
Learn how to build your own garden shed with expert gardening tips and step-by-step instructions. Create the perfect storage space for your gardening tools and supplies.
(Many of the links in this article redirect to a specific reviewed product. Your purchase of these products through affiliate links helps to generate commission for Storables.com, at no extra cost. Learn more)
Introduction
Building a garden shed is a rewarding project that can enhance the functionality and beauty of your outdoor space. Whether you need a storage space for garden tools, a workshop to pursue your DIY projects, or a cozy retreat to unwind in, a well-built garden shed can serve as the perfect solution.
In this comprehensive guide, we will walk you through the step-by-step process of building your own garden shed. From planning and design to the finishing touches, we will provide you with all the information you need to successfully complete this project.
Before you embark on this journey, it’s important to understand that building a garden shed requires careful planning, a range of tools, and basic carpentry skills. However, with the right mindset and a willingness to put in the effort, you can create a functional and aesthetically pleasing structure that will serve you for years to come.
Throughout this guide, we will emphasize the importance of safety precautions. It is crucial to wear appropriate protective gear and follow safety guidelines while working with tools and materials. If you are unsure about any aspect of the construction process, consult with professionals or seek advice from experienced DIY enthusiasts.
So, let’s get started on this exciting journey of building your very own garden shed. By the end of this guide, you will have all the knowledge and confidence to tackle this project and create a space that meets your needs and reflects your personal style.
Key Takeaways:
- Building a garden shed involves careful planning, precise construction, and personalized finishing touches. From selecting the location to adding trim and accessories, each step contributes to creating a functional and visually appealing outdoor space.
- Safety, creativity, and attention to detail are essential throughout the shed-building process. By following the comprehensive guide and infusing personal style, DIY enthusiasts can construct a durable and aesthetically pleasing structure to enhance their outdoor environment.
Read more: How Build A Shed
Step 1: Planning and Design
Before you start building your garden shed, it’s important to plan and design the structure. This step will help you make informed decisions about the shed’s location, size, and the materials you’ll need. Here are the key factors to consider:
Choosing the Location
The location of your garden shed is crucial as it will impact functionality, accessibility, and even the visual appeal of your outdoor space. Consider the following when choosing the location:
- Accessibility: Ensure that the shed is easily accessible from your house or garden, making it convenient for storing and retrieving items.
- Orientation: Position the shed in a way that minimizes exposure to direct sunlight or strong winds, as this can impact the shed’s overall durability.
- Landscaping: Evaluate the surrounding landscape to ensure the shed complements the overall design of your garden.
- Local Regulations: Check with local authorities for any restrictions or permits required for building a shed in your area.
Determining Shed Size
The size of your garden shed will depend on your needs and available space. Consider the following factors when determining the shed size:
- Functionality: Determine the purpose of your shed and the items you plan to store or activities you’ll be conducting inside. This will help you estimate the required floor area.
- Available Space: Measure the available space in your garden and consider any restrictions based on local regulations or neighboring structures.
- Future Needs: Anticipate any potential future needs and ensure that the shed size can accommodate them.
Gathering Tools and Materials
Once you have planned the shed’s location and size, it’s time to gather the necessary tools and materials to start construction. Here are some essential tools you’ll need:
- Tape Measure and Level: These tools are essential for accurate measurements and ensuring a level base.
- Hammer and Screwdriver: These basic tools will be used for assembling the frame, attaching siding, and installing accessories.
- Saw: A saw is needed for cutting lumber, plywood, and other materials to the desired size and shape.
- Drill: A power drill with various drill bits is essential for drilling holes and driving screws.
In addition to these tools, you will need a range of materials, including lumber, plywood, nails, screws, roofing materials, and siding. Make a list of the required materials based on your shed design and gather them before you start construction.
By carefully planning and designing your garden shed, choosing the right location, determining the appropriate size, and gathering the necessary tools and materials, you are setting a solid foundation for a successful construction project. In the next step, we will guide you through the process of preparing the shed’s foundation.
Read more: How To Build A Shed
Step 2: Foundation Preparation
Before you can start building the frame of your garden shed, it’s crucial to prepare a solid foundation. A proper foundation ensures stability and longevity for your shed. Below are the key steps involved in foundation preparation:
Clearing the Area
The first step in preparing the foundation is to clear the area where the shed will be built. Remove any vegetation, rocks, or debris that may interfere with the construction process. Clearing the area will provide a clean and level space for your shed.
Leveling the Ground
Once the area is cleared, the next step is to level the ground. Use a shovel, rake, or a level to even out any bumps or high spots in the soil. It’s important to have a level foundation to ensure proper stability and prevent any potential issues in the future.
Installing Concrete or Gravel Foundation
There are two common types of foundations for garden sheds: concrete and gravel. Here’s an overview of each:
Concrete Foundation:
A concrete foundation provides a durable and solid base for your garden shed. To install a concrete foundation, follow these steps:
- Mark the area for the foundation using stakes and string.
- Excavate the marked area to a depth of about 4-6 inches. Ensure the excavation is level.
- Prepare a formwork by placing wooden boards around the edges of the excavation.
- Compact the soil in the excavation and add a layer of gravel for drainage.
- Pour the concrete into the formwork and use a trowel to level and smooth the surface.
- Allow the concrete to cure according to the manufacturer’s instructions before proceeding with the construction of your shed.
Gravel Foundation:
A gravel foundation is a cost-effective and relatively easier alternative to a concrete foundation. To install a gravel foundation, follow these steps:
- Mark the area for the foundation using stakes and string.
- Excavate the marked area to a depth of about 4-6 inches. Ensure the excavation is level.
- Add a layer of landscape fabric to prevent weed growth.
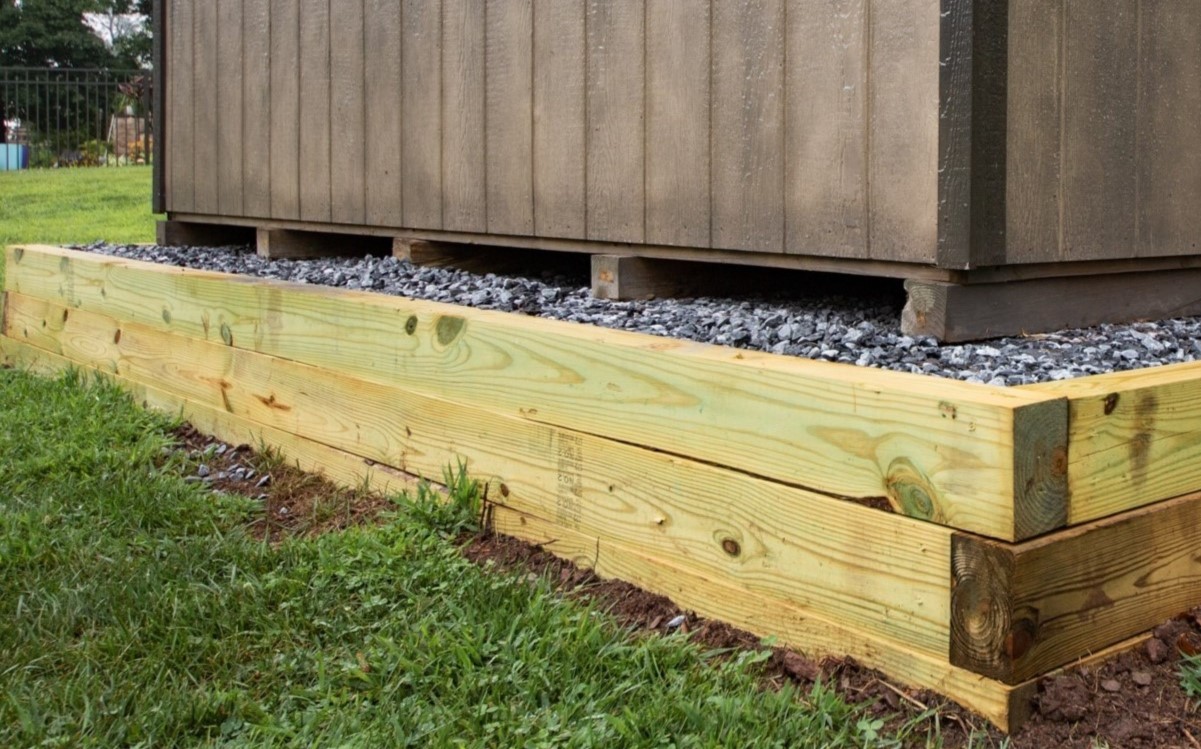
- Add a layer of compacted gravel into the excavation. Level and tamp down the gravel to create a firm and stable base.
Both concrete and gravel foundations offer excellent support for your garden shed. Consider factors such as budget, soil type, and personal preference to determine which option is best for your project.
With the foundation properly prepared, you are now ready to move on to the next step: building the frame of your garden shed. Stay tuned for the upcoming section!
Read more: How To Build A Bar Shed
Step 3: Building the Frame
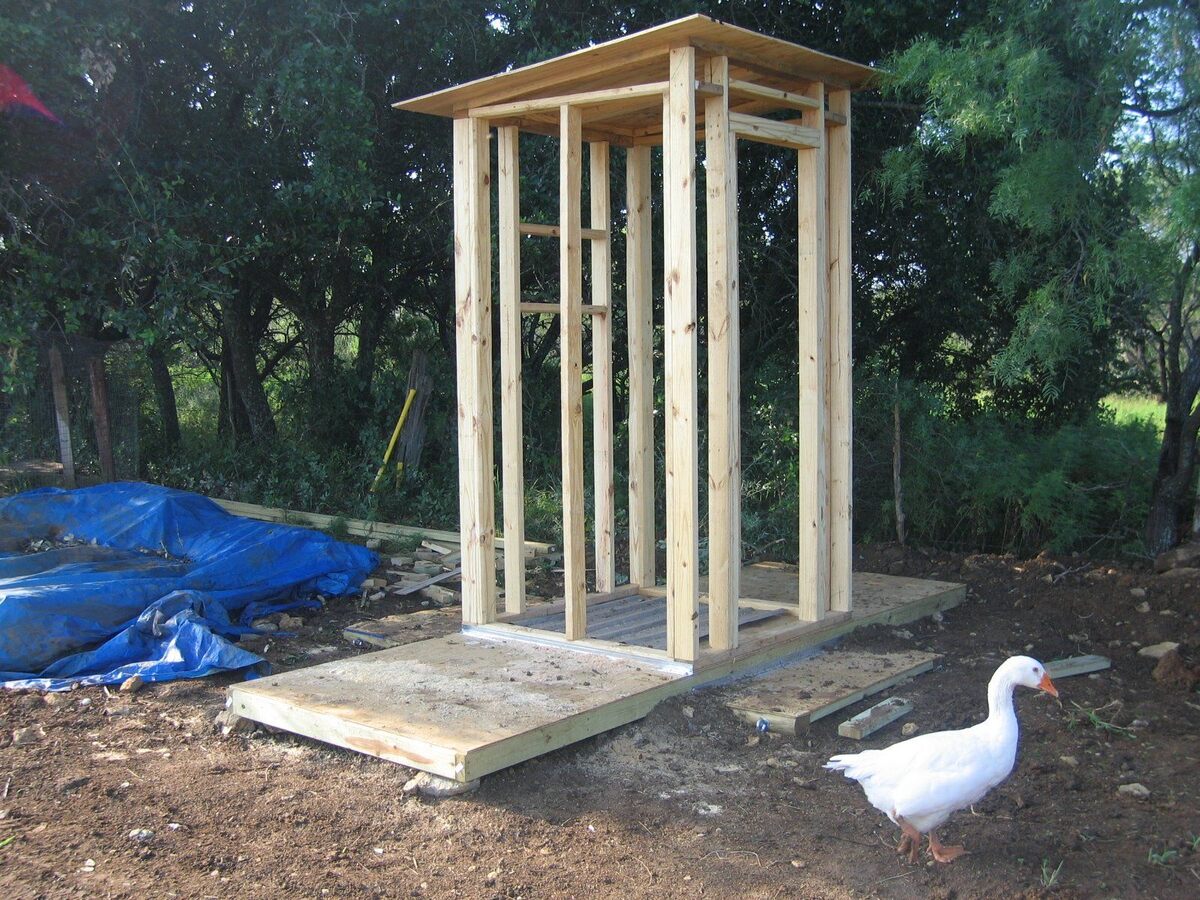
Building the frame is an important step in constructing your garden shed. The frame provides the structure and support for the walls, roof, and flooring. Here are the key components involved in building the frame:
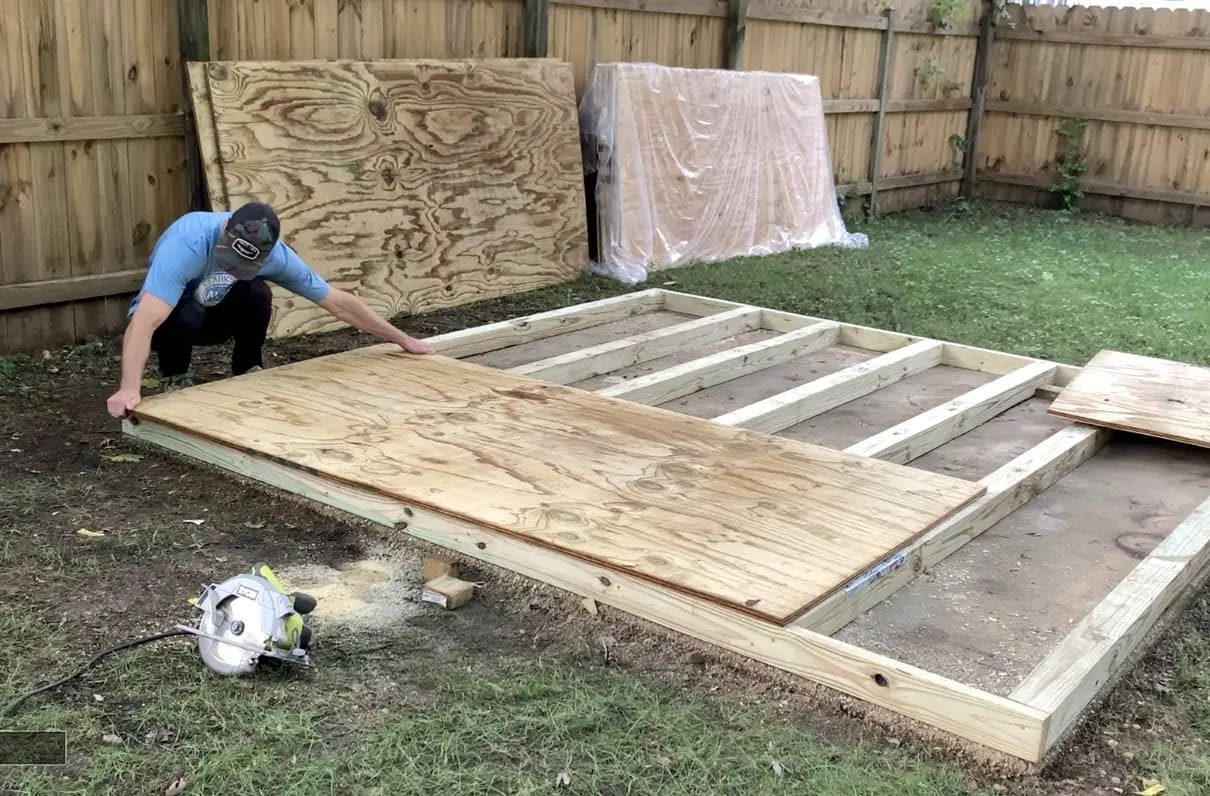
Constructing the Floor Frame
The first part of the frame to build is the floor. The floor frame provides a stable base for the shed and should be constructed with sturdy materials. Follow these steps to construct the floor frame:
- Measure and cut the floor joists according to the shed’s dimensions.
- Arrange the joists on a level surface, spaced evenly apart.
- Attach the joists together using joist hangers or nails.
- Add additional supports, such as a center beam, if necessary.
- Ensure the floor frame is square and level before proceeding.
Assembling the Wall Frames
With the floor frame in place, it’s time to assemble the wall frames. These frames provide the vertical structure of the shed. Follow these steps to assemble the wall frames:
- Measure and cut the wall studs according to the shed’s wall height.
- Mark the stud placement on the top and bottom plates.
- Attach the studs to the plates using nails or screws.
- Install additional framing members, such as headers and cripple studs, as required.
- Repeat these steps for each wall section of the shed.
Making the Roof Trusses
The roof trusses provide the structural support for the roof and are essential to maintaining a strong and stable shed. Follow these steps to make the roof trusses:
- Measure and cut the truss components, including the top and bottom chords, and the internal braces.
- Assemble the truss components using nails or screws.
- Ensure the trusses are properly aligned and square before installing them on the shed.
- Install the roof trusses on top of the wall frames, following the shed’s design and spacing requirements.
Building the frame of your garden shed can be a complex process, but it is a critical step that sets the foundation for the rest of the construction. Take your time to ensure the measurements are accurate, the frame is sturdy, and all components are securely fastened. Once the frame is complete, you’re ready to move on to the next step: installing siding and roofing materials. Stay tuned for the upcoming section!
Read more: How To Build A Tuff Shed
Step 4: Installing Siding and Roofing
Once the frame of your garden shed is complete, it’s time to move on to the next step: installing the siding and roofing materials. This step will give your shed its protective outer layer and help create a visually pleasing and weather-resistant structure. Here’s what you need to know:
Adding Plywood Sheathing
The first step in installing the siding and roofing is to add plywood sheathing to the walls and roof. This layer provides additional strength and stability to the structure. Follow these steps to add plywood sheathing:
- Measure and cut the plywood sheets to fit the wall and roof sections.
- Position the plywood sheets against the frame, starting from the bottom and working your way up.
- Secure the plywood to the frame using nails or screws, ensuring they are spaced evenly and properly aligned.
- Repeat this process for all the wall and roof sections of the shed.
Attaching Siding Panels
Once the plywood sheathing is in place, it’s time to install the siding panels. The siding not only enhances the appearance of your shed but also protects it from the elements. Follow these steps to attach the siding panels:
- Measure and cut the siding panels according to the dimensions of your shed.
- Starting from one corner, position the first siding panel against the sheathing and align it vertically and horizontally.
- Secure the panel to the sheathing using nails or screws, placing them at the top and bottom edges.
- Repeat this process for the remaining siding panels, ensuring they overlap slightly and are properly aligned.
- Trim the excess siding if necessary, using a saw or utility knife.
Installing Roofing Materials
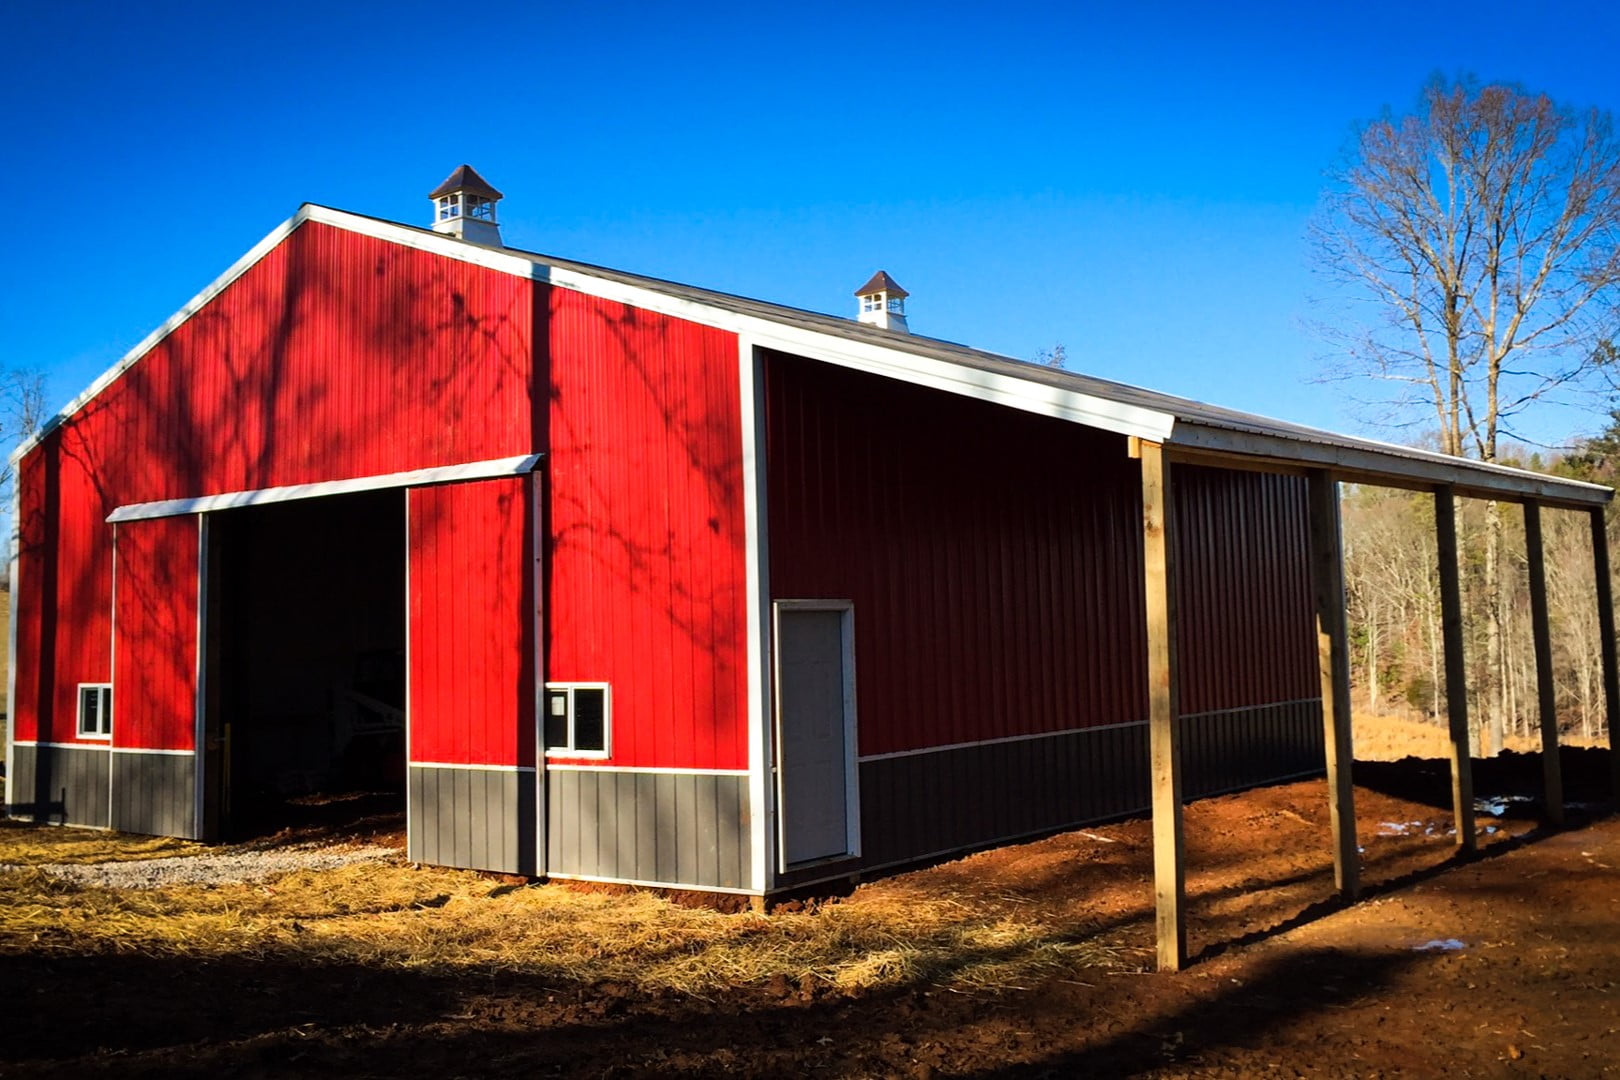
With the siding in place, it’s time to install the roofing materials. The type of roofing material you choose will depend on your preference and local climate. Here are some common roofing options:
- Asphalt Shingles: These are the most popular choice for garden sheds, offering durability and affordability.
- Metal Roofing: Metal roofing provides excellent protection against the elements and has a longer lifespan.
- Corrugated Sheets: Corrugated sheets are lightweight and easy to install, making them a convenient option.
Regardless of the roofing material you choose, follow the manufacturer’s instructions for installation. Ensure that the roofing materials are properly secured to the roof frame and overlapping correctly to prevent leaks.
By installing the plywood sheathing, attaching the siding panels, and installing the roofing materials, you’re adding the final protective layers to your garden shed. In the next step, we will guide you through building the doors and windows. Stay tuned for more!
Read more: How To Build Rafters For A Shed
Step 5: Building Doors and Windows
As you near the completion of your garden shed, it’s time to focus on the doors and windows. These elements not only provide access and natural light but also contribute to the overall functionality and aesthetics of the shed. Let’s dive into the process of building doors and installing windows:
Crafting and Hanging the Doors
The first step is to craft and hang the doors for your shed. The doors should be sturdy, weather-resistant, and properly fitted to ensure smooth operation. Follow these steps to build and hang the doors:
- Measure the opening for your shed’s doors and cut the door panels accordingly.
- Construct the door frame using lumber, ensuring it is square and level.
- Attach the door panels to the frame, using hinges for the desired swinging direction.
- Add additional door hardware, such as doorknobs, locks, and weather stripping, as needed.
- Hang the doors in the doorway, ensuring they open and close smoothly and align properly with the frame.
Installing Windows for Natural Light
Incorporating windows into your garden shed not only allows natural light to enter but also enhances ventilation and the overall ambiance of the space. Follow these steps to install windows:
- Choose the desired window size and style that suits your shed’s design and needs.
- Measure the window opening and cut the necessary framing members to fit.
- Install the window frame into the opening, using screws or nails to secure it in place.
- Place the window glass or the pre-made window unit into the frame, ensuring it fits securely.
- Seal any gaps or openings around the window frame with weatherstripping to prevent drafts.
By crafting and hanging the doors and installing windows, you’re adding the final touches to your garden shed. These elements not only contribute to the shed’s functionality but also provide an aesthetic appeal. In the next step, we will cover the painting process and finishing touches. Keep reading to learn more!
Step 6: Painting and Finishing Touches
As you approach the final stages of building your garden shed, it’s time to add the finishing touches that will truly bring your project to life. This step involves painting the shed and adding trim and accessories. Let’s explore the process:
Read more: How To Build A Roof For A Shed
Priming and Painting the Shed
Before applying paint to your garden shed, it’s important to properly prepare the surfaces. Follow these steps to prime and paint your shed:
- Clean the surfaces of the shed to remove any dirt, dust, or debris.
- Apply a primer to the shed, which will help the paint adhere better and provide a smooth surface.
- Select an exterior-grade paint that suits your desired color and finish.
- Using a brush, roller, or sprayer, apply the paint evenly to the shed’s surfaces, following the manufacturer’s instructions.
- Allow the paint to dry completely between coats, and apply additional coats as needed for full coverage.
Painting your shed not only enhances its appearance but also adds a layer of protection against the elements. Choose colors that complement the surroundings and fit your personal style.
Adding Trim and Accessories
To give your garden shed a polished look, consider adding trim and accessories. These elements can enhance the visual appeal and functionality of the shed. Here are some ideas:
- Trim: Install trim boards around the corners, roof edges, and door and window frames to add a decorative touch.
- Shelving and Storage: Add shelves, hooks, or storage solutions inside your shed to maximize organization and usability.
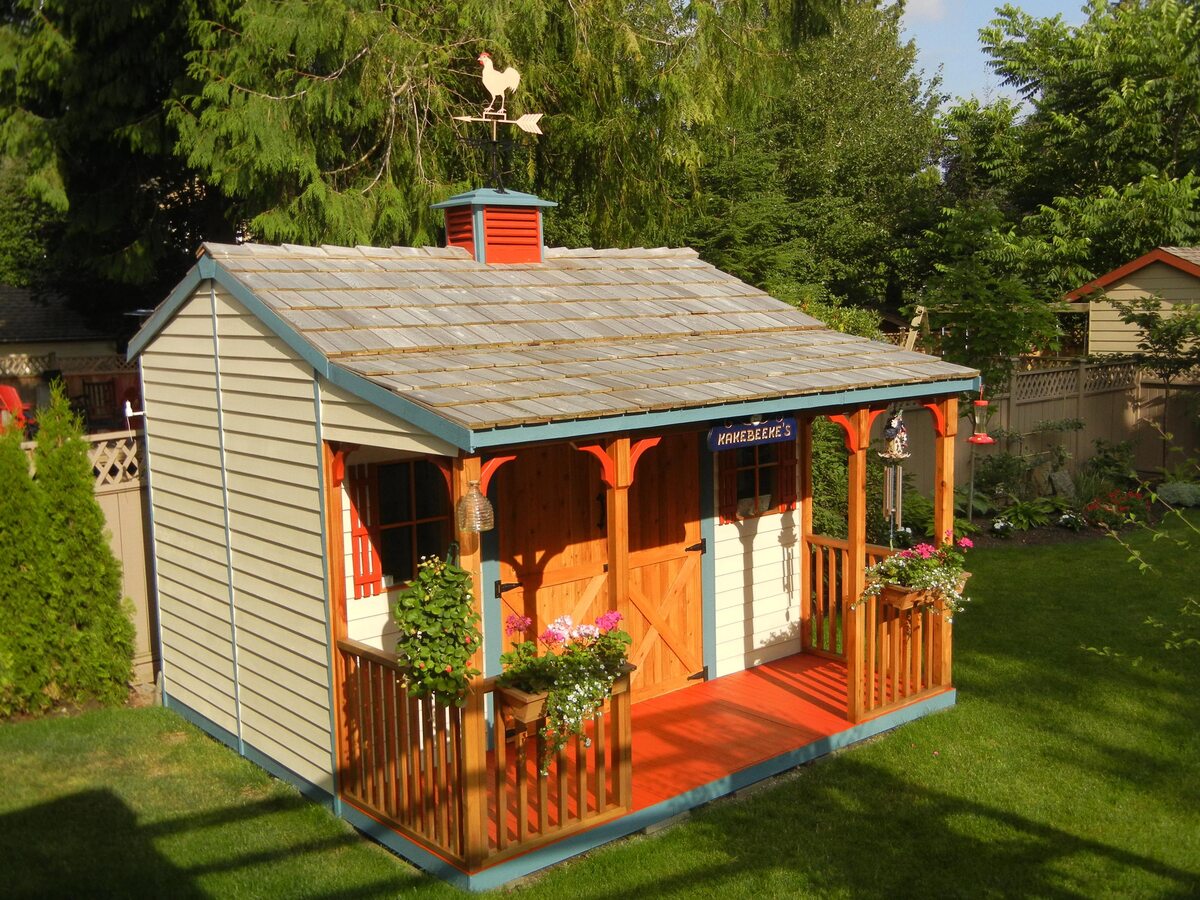
- Weather Vane: Install a weather vane on top of your shed to add a charming and functional feature.
- Window Boxes: Attach window boxes filled with flowers or herbs to add natural beauty to the shed’s exterior.
- Lighting: Consider adding outdoor lighting fixtures to illuminate the shed’s surroundings and provide additional security.
Adding trim and accessories allows you to personalize your garden shed and make it a true reflection of your style and needs. Be creative, and consider the functionality and aesthetics of each element you incorporate.
With the painting completed and the finishing touches in place, your garden shed is ready to be used and enjoyed. Take pride in your hard work and enjoy the functional and visually appealing space you have created.
Congratulations on successfully completing all the steps of building your garden shed! May it serve you well for years to come.
Conclusion
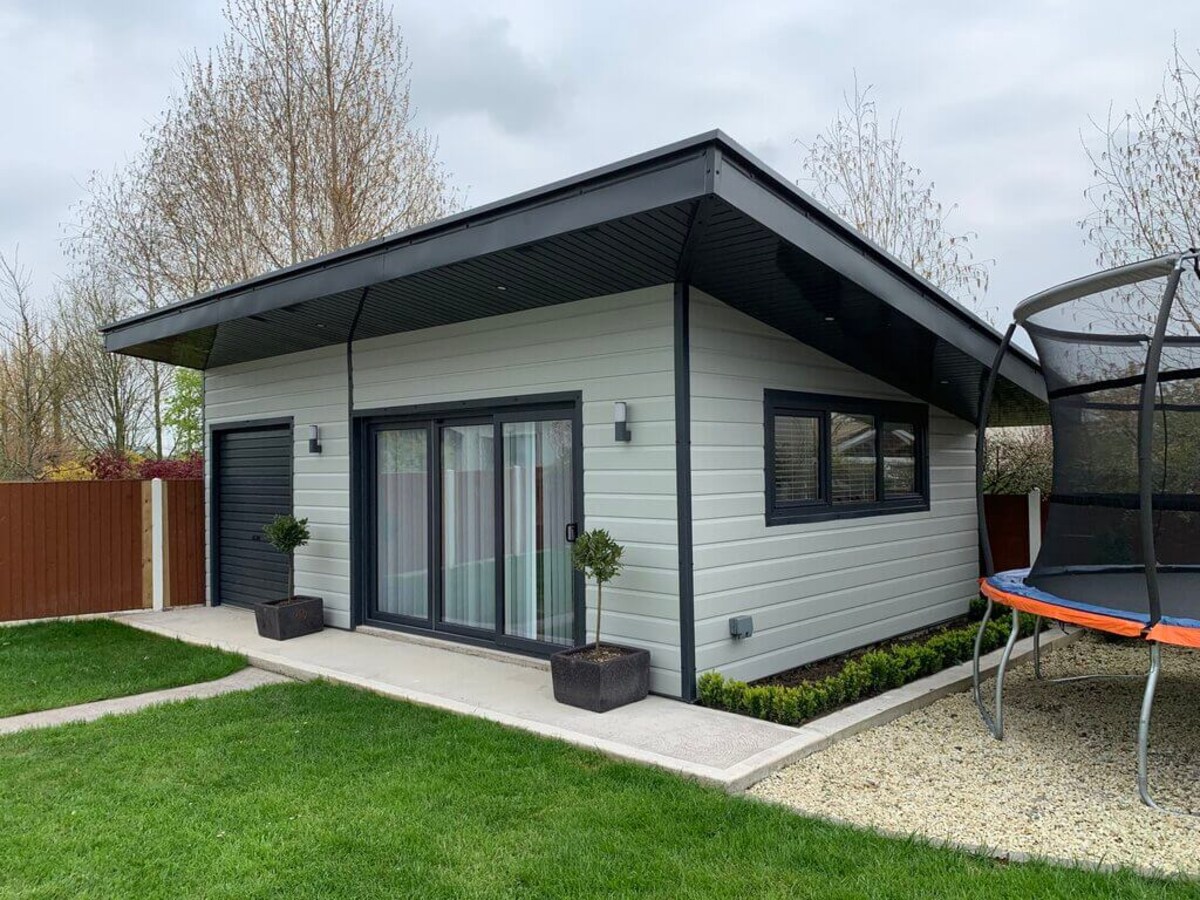
Building a garden shed is a rewarding and fulfilling project that not only adds value to your property but also provides a practical space for storage, hobbies, or relaxation. Throughout this guide, we have covered the essential steps involved in constructing your own garden shed, from planning and design to the finishing touches. By following these steps and employing your creativity, you can create a functional and visually appealing structure that meets your needs and complements your outdoor space.
During the planning and design phase, careful consideration of the shed’s location, size, and materials sets the foundation for a successful construction process. Preparing a solid foundation ensures stability and durability for your shed.
Constructing the frame of the shed requires precision and attention to detail. Building the floor frame, assembling the wall frames, and making the roof trusses provide the structural framework for your shed.
Installing the siding, roofing materials, doors, and windows adds the protective layers and functional components to your shed. The choice of materials, colors, and finishes allows you to customize the shed to your preferences and surrounding landscape.
Finishing touches such as painting, adding trim, and incorporating accessories give your garden shed its unique character and personality. Consider your own style and needs as you put the final details in place.
Remember, safety is paramount throughout the entire construction process. Always wear protective gear, follow safety guidelines, and consult professionals or experienced DIY enthusiasts if you’re uncertain about any aspect of the project.
With careful attention to each step, your dedication, and a bit of creativity, your garden shed will become a functional and beautiful addition to your outdoor space. Enjoy the satisfaction of completing this project and make the most of your new space for years to come.
Frequently Asked Questions about How To Build Garden Shed
Was this page helpful?
At Storables.com, we guarantee accurate and reliable information. Our content, validated by Expert Board Contributors, is crafted following stringent Editorial Policies. We're committed to providing you with well-researched, expert-backed insights for all your informational needs.


0 thoughts on “How To Build Garden Shed”