Articles
How To Calibrate Laser Level
Modified: March 1, 2024
Learn how to calibrate laser levels with our comprehensive articles. Gain accuracy and precision with our step-by-step guides and tips.
(Many of the links in this article redirect to a specific reviewed product. Your purchase of these products through affiliate links helps to generate commission for Storables.com, at no extra cost. Learn more)
Introduction
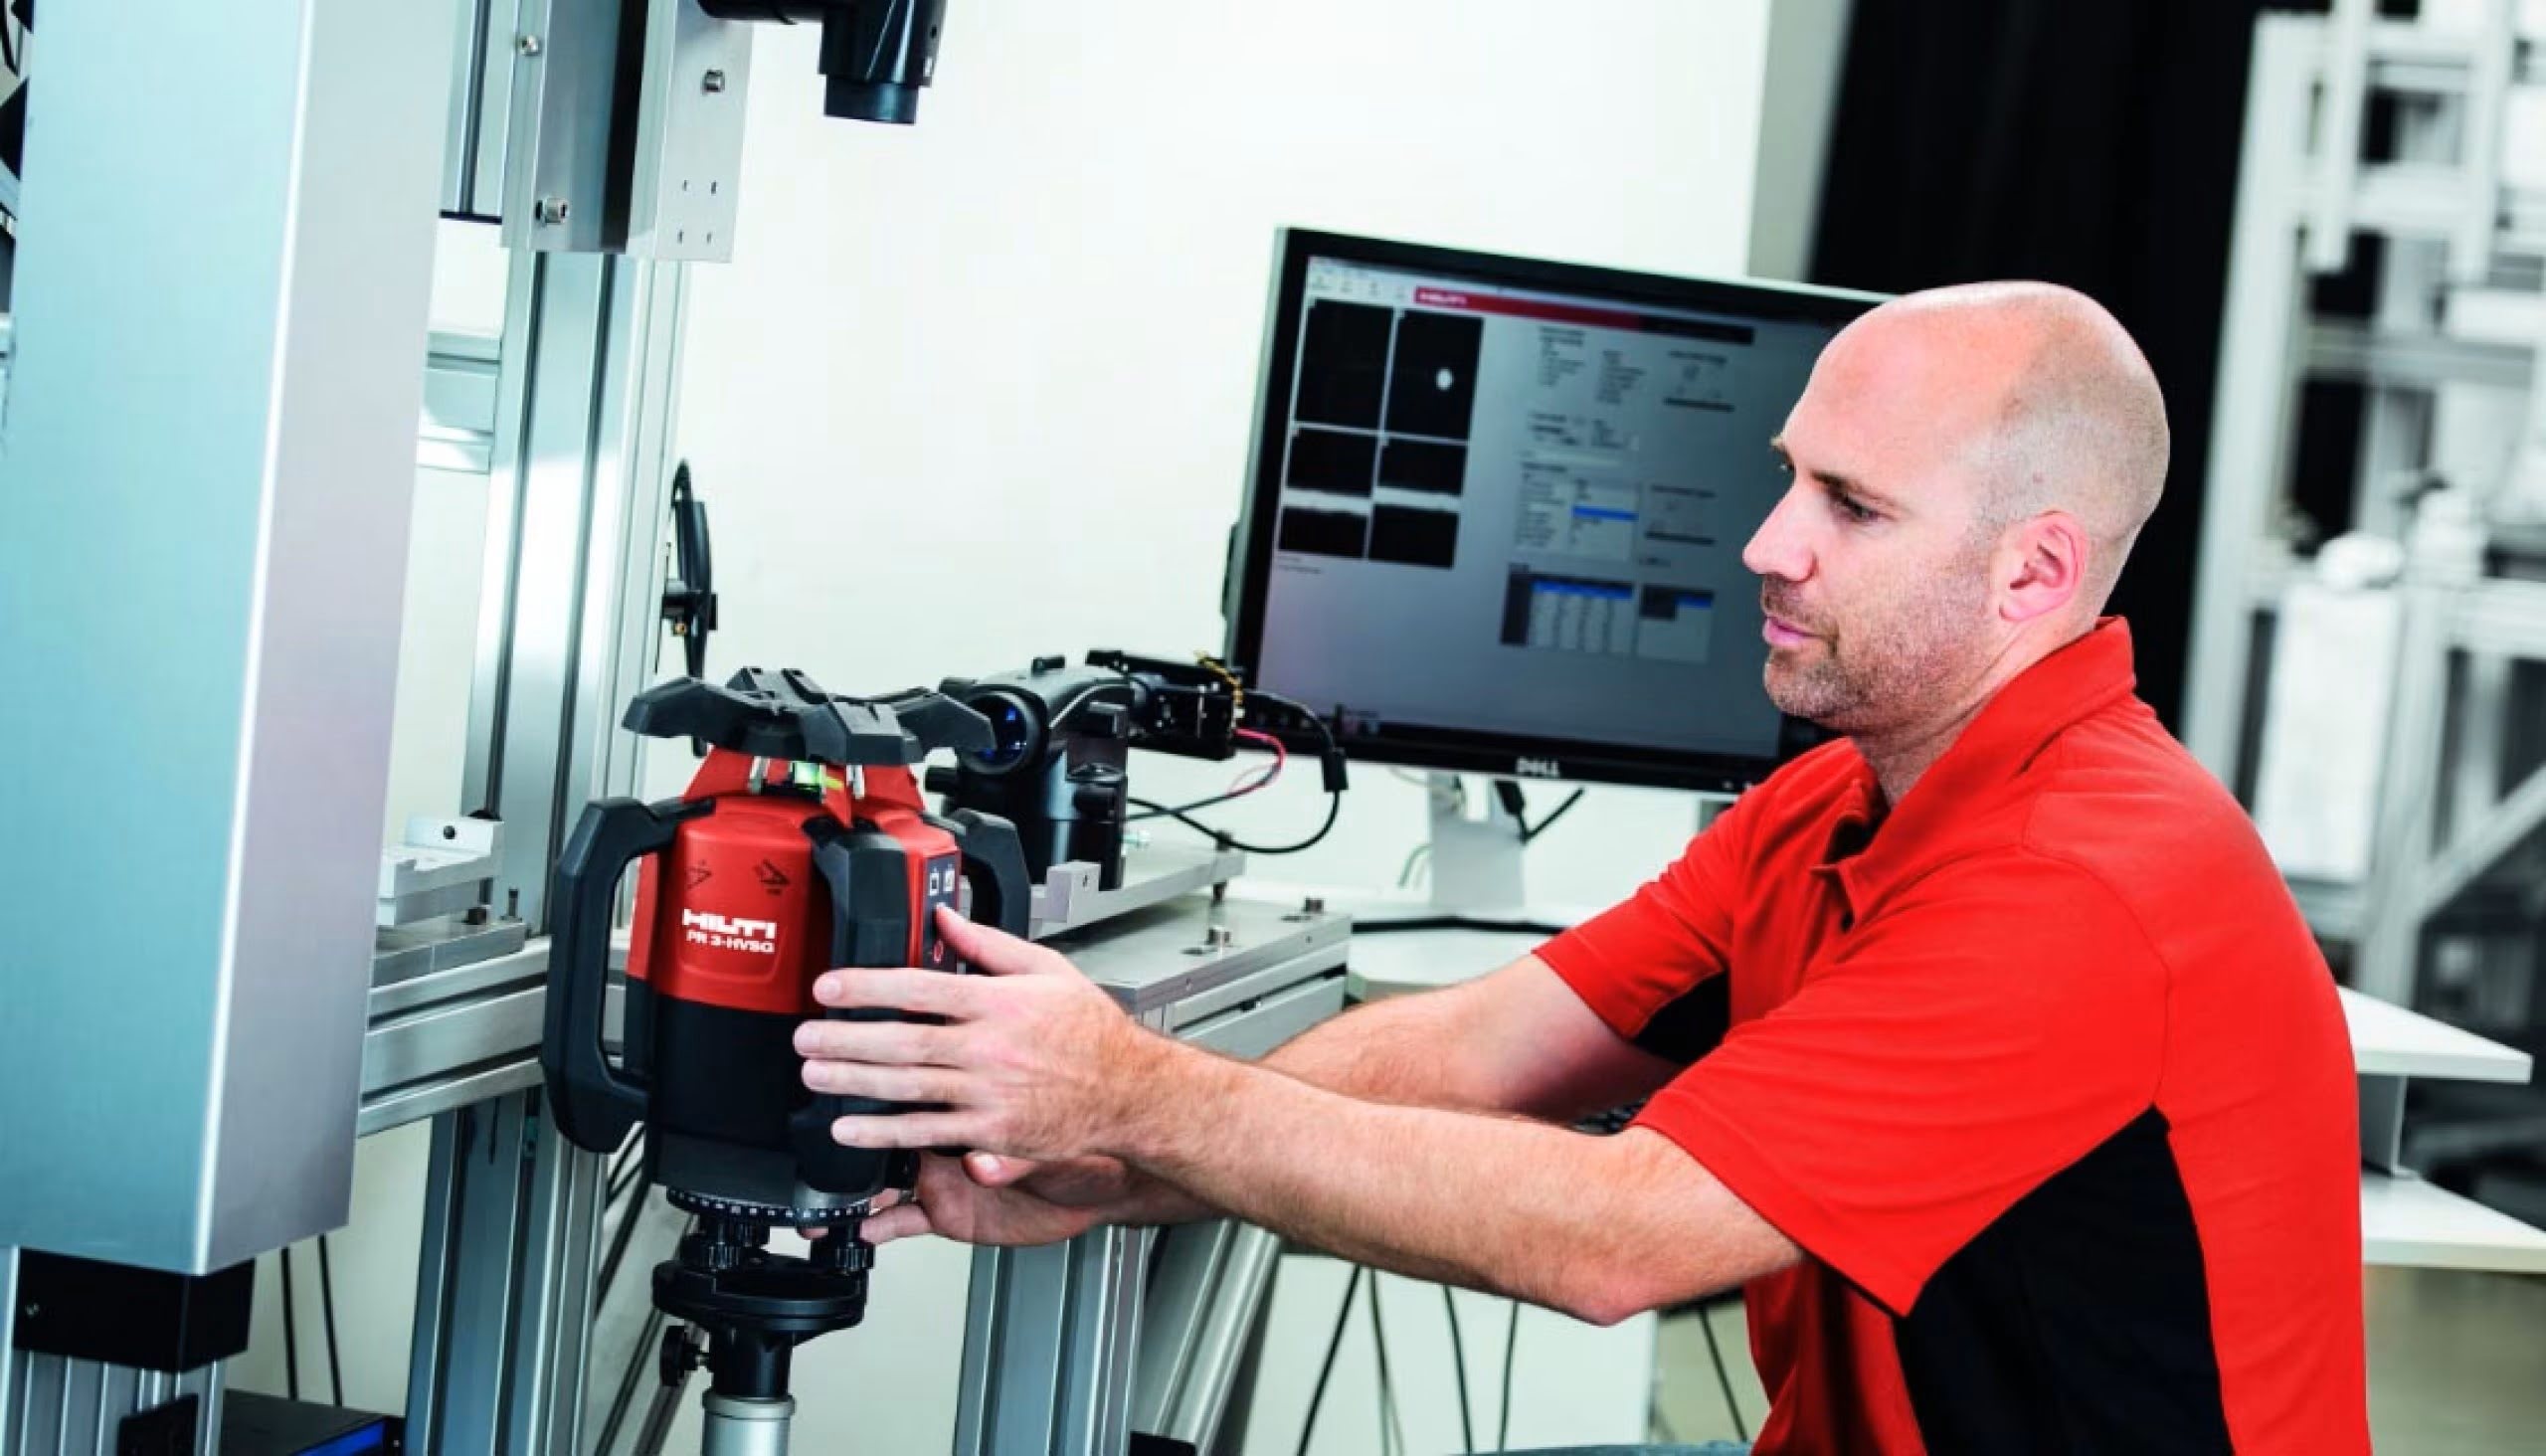
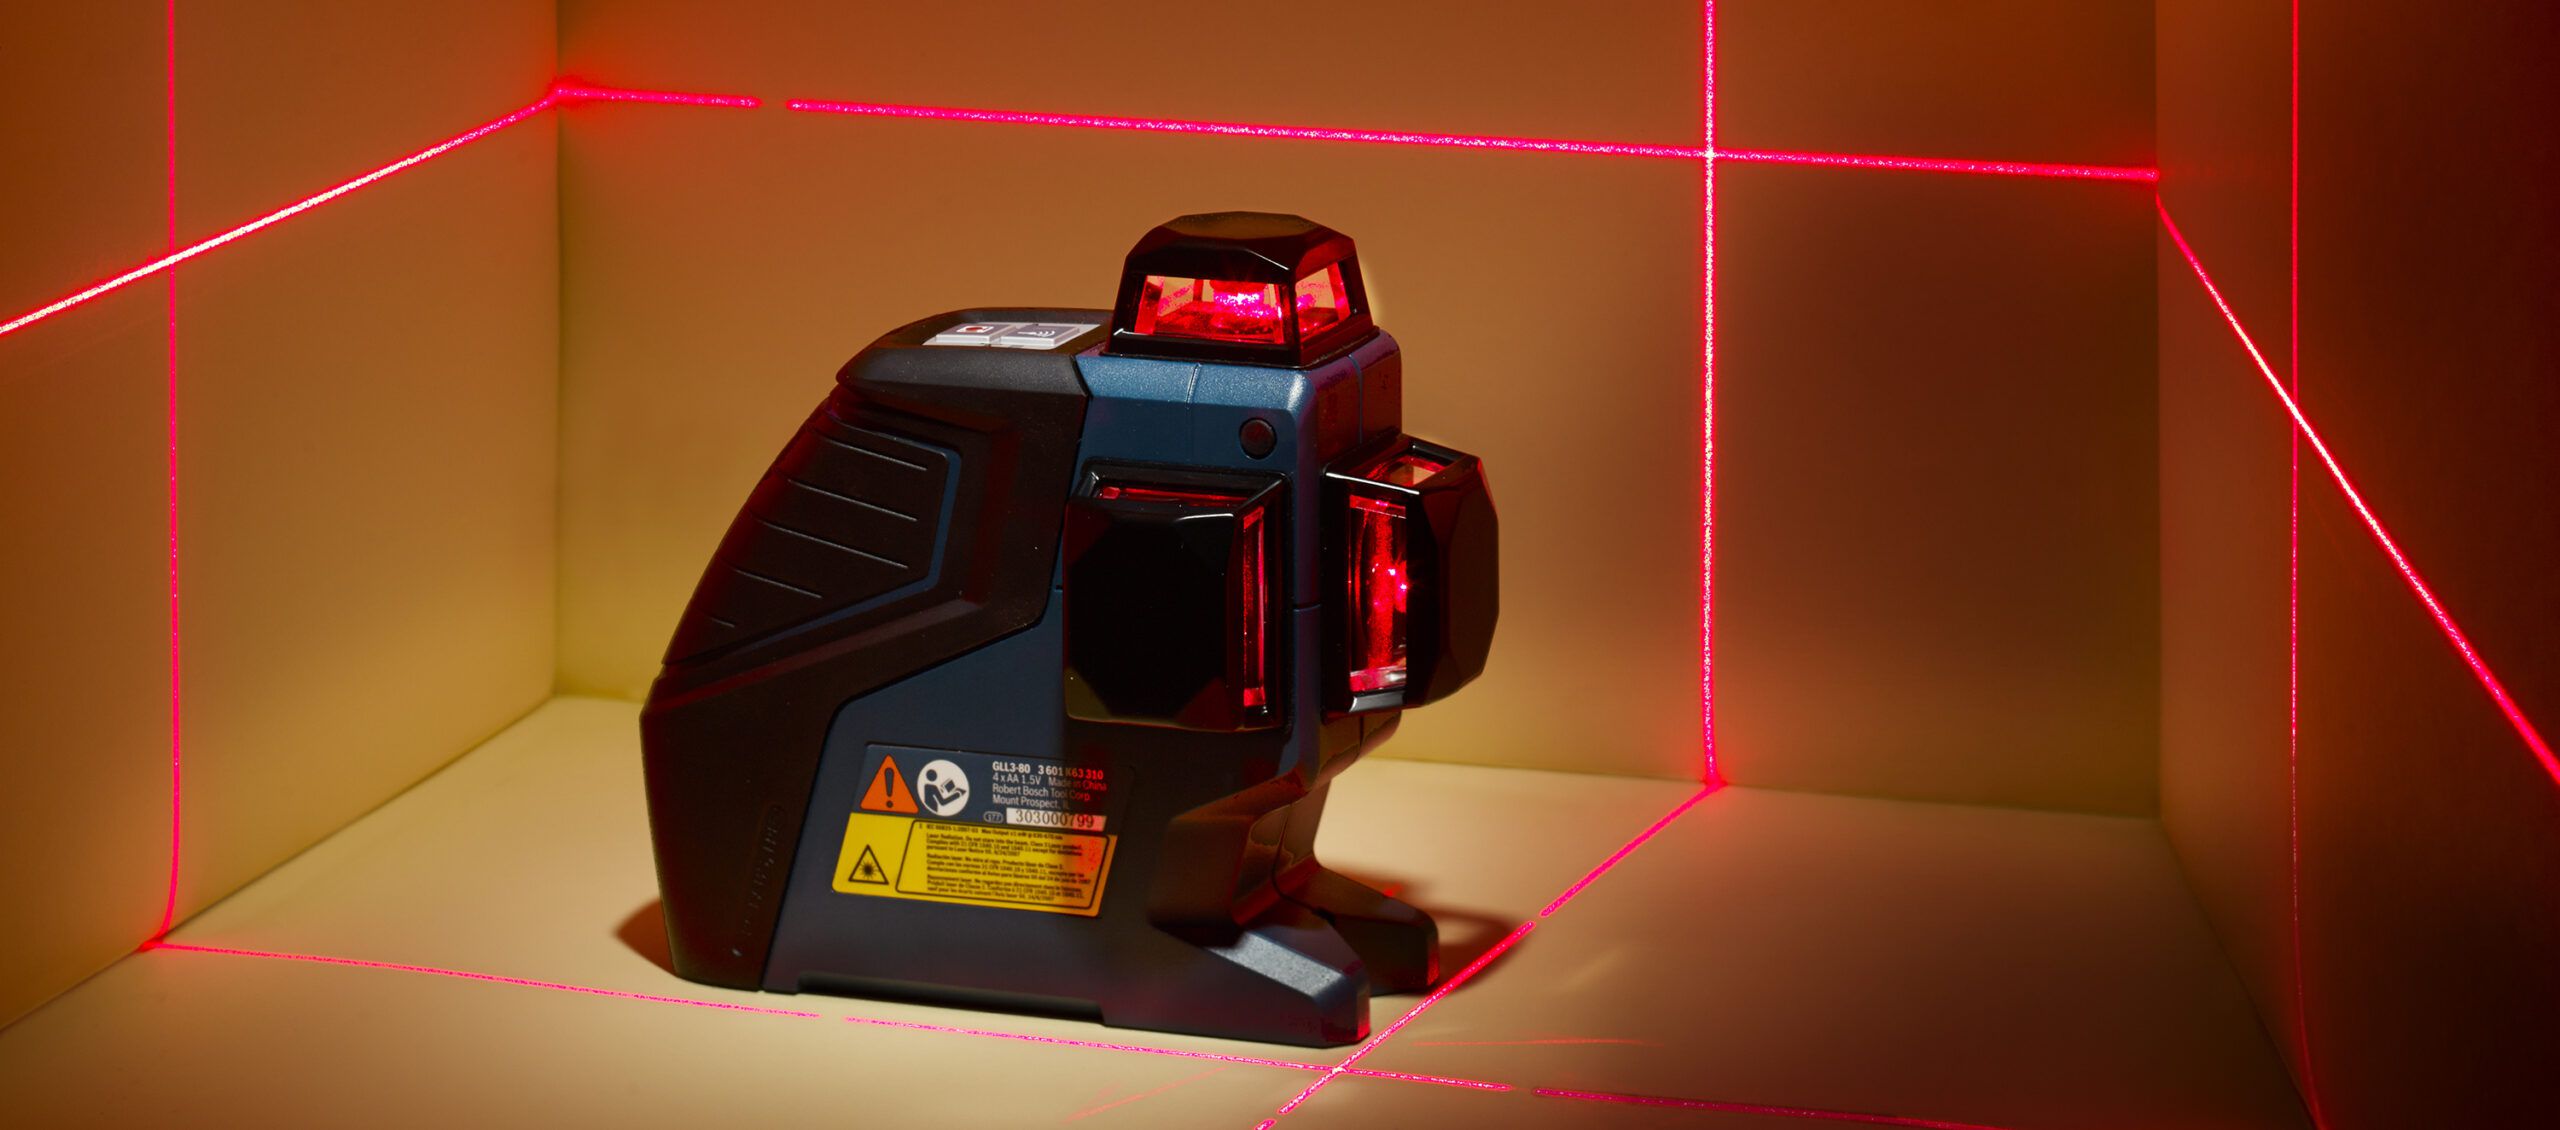
Welcome to our comprehensive guide on how to calibrate a laser level. Laser levels are valuable tools in the construction and surveying industries, providing accurate and reliable measurements for a wide range of projects. However, like any precision instrument, laser levels need to be properly calibrated to ensure optimal performance.
Calibration is the process of adjusting and aligning the internal components of a laser level to ensure its accuracy and consistency. By calibrating your laser level regularly, you can be confident that the measurements you obtain are reliable, leading to more accurate results and improved efficiency in your work.
In this article, we will explore the importance of calibration, explain the process of laser level calibration, highlight the equipment needed, and provide a step-by-step guide to help you calibrate your laser level effectively. We will also discuss how to test the accuracy of the calibrated laser level and troubleshoot common calibration issues.
Whether you are a professional in the construction industry or a DIY enthusiast working on home improvement projects, understanding and implementing proper laser level calibration techniques is essential for achieving precise and consistent results.
So, let’s dive in and learn how to calibrate your laser level and optimize its performance!
Key Takeaways:
- Regularly calibrating your laser level ensures accurate, consistent, and safe measurements, improving efficiency and project success in construction and surveying.
- Properly calibrated laser levels provide precise measurements, reliability, and efficiency, essential for successful construction and surveying projects.
Read more: How To Calibrate Dewalt Laser Level
Importance of Calibration
Calibration is a crucial aspect of using a laser level effectively. It ensures that the laser beam emitted by the device is accurate and aligned, allowing for precise measurements and reliable results. Here are some key reasons why calibration is important:
- Accuracy: The primary reason for calibrating your laser level is to ensure accuracy. A calibrated laser level will provide precise measurements, allowing you to achieve the desired level of precision in your projects. Whether you’re working on installing shelves, laying tiles, or framing walls, having accurate measurements is essential for a successful outcome.
- Consistency: Consistency is vital in any construction or surveying project. By calibrating your laser level regularly, you can ensure that it delivers consistent measurements across different tasks and over time. This consistency is essential when you need to reference measurements from different points in a project or compare readings across multiple devices.
- Safety: Calibration also plays a role in ensuring safety on the job site. A misaligned laser level may produce inaccurate readings, leading to errors in the project. This can result in costly mistakes or even potential safety hazards. By calibrating your laser level, you can minimize the risks associated with incorrect measurements and maintain a safe working environment.
- Efficiency: Time is valuable in the construction industry, and using a calibrated laser level can significantly improve efficiency. Accurate measurements eliminate the need for rework and help complete projects faster. Additionally, a properly calibrated laser level reduces the chances of errors or discrepancies that could cause setbacks or delays in the project timeline.
Remember that even brand-new laser levels may require calibration before their first use. Transportation and handling can affect the internal components of the device, leading to misalignment. Therefore, it is essential to calibrate your laser level regularly, especially if you rely on its accuracy for critical projects or tasks that demand a high level of precision.
Now that we understand the importance of calibration, let’s delve into the process of calibrating a laser level and the tools you’ll need for a successful calibration.
Understanding Laser Level Calibration
Laser level calibration refers to the process of adjusting the internal components of the device to ensure accurate and consistent measurements. While each laser level may have slightly different calibration methods, the general concept remains the same. Here’s a breakdown of the key components involved in laser level calibration:
- Laser Diode: The laser diode is the main component responsible for emitting the laser beam. It needs to be aligned properly to ensure the accuracy of the beam. During calibration, adjustments are made to the diode’s position to achieve the desired alignment.
- Leveling Mechanism: Laser levels often come with a built-in leveling mechanism to ensure the device is perfectly level. Calibration involves fine-tuning this leveling mechanism to guarantee the laser level remains plumb and accurate.
- Internal Sensors: Laser levels feature internal sensors that detect the position of the laser beam. These sensors provide feedback to the device, allowing it to self-level and maintain accuracy. Calibration ensures that these sensors are correctly calibrated to provide precise readings.
- Internal Software: Many modern laser levels come with advanced internal software that allows for additional features and customization. Through calibration, the internal software is adjusted to optimize performance and accuracy, ensuring that the laser level meets the manufacturer’s specifications.
Calibrating your laser level involves making precise adjustments to these components to achieve the desired accuracy and alignment. It’s important to note that the calibration process may vary depending on the specific model and manufacturer instructions. Therefore, it’s essential to consult the user manual provided with your laser level to ensure you are following the correct procedure.
In the next section, we will discuss the equipment you’ll need for laser level calibration, including any specialized tools or accessories.
Equipment Needed for Calibration
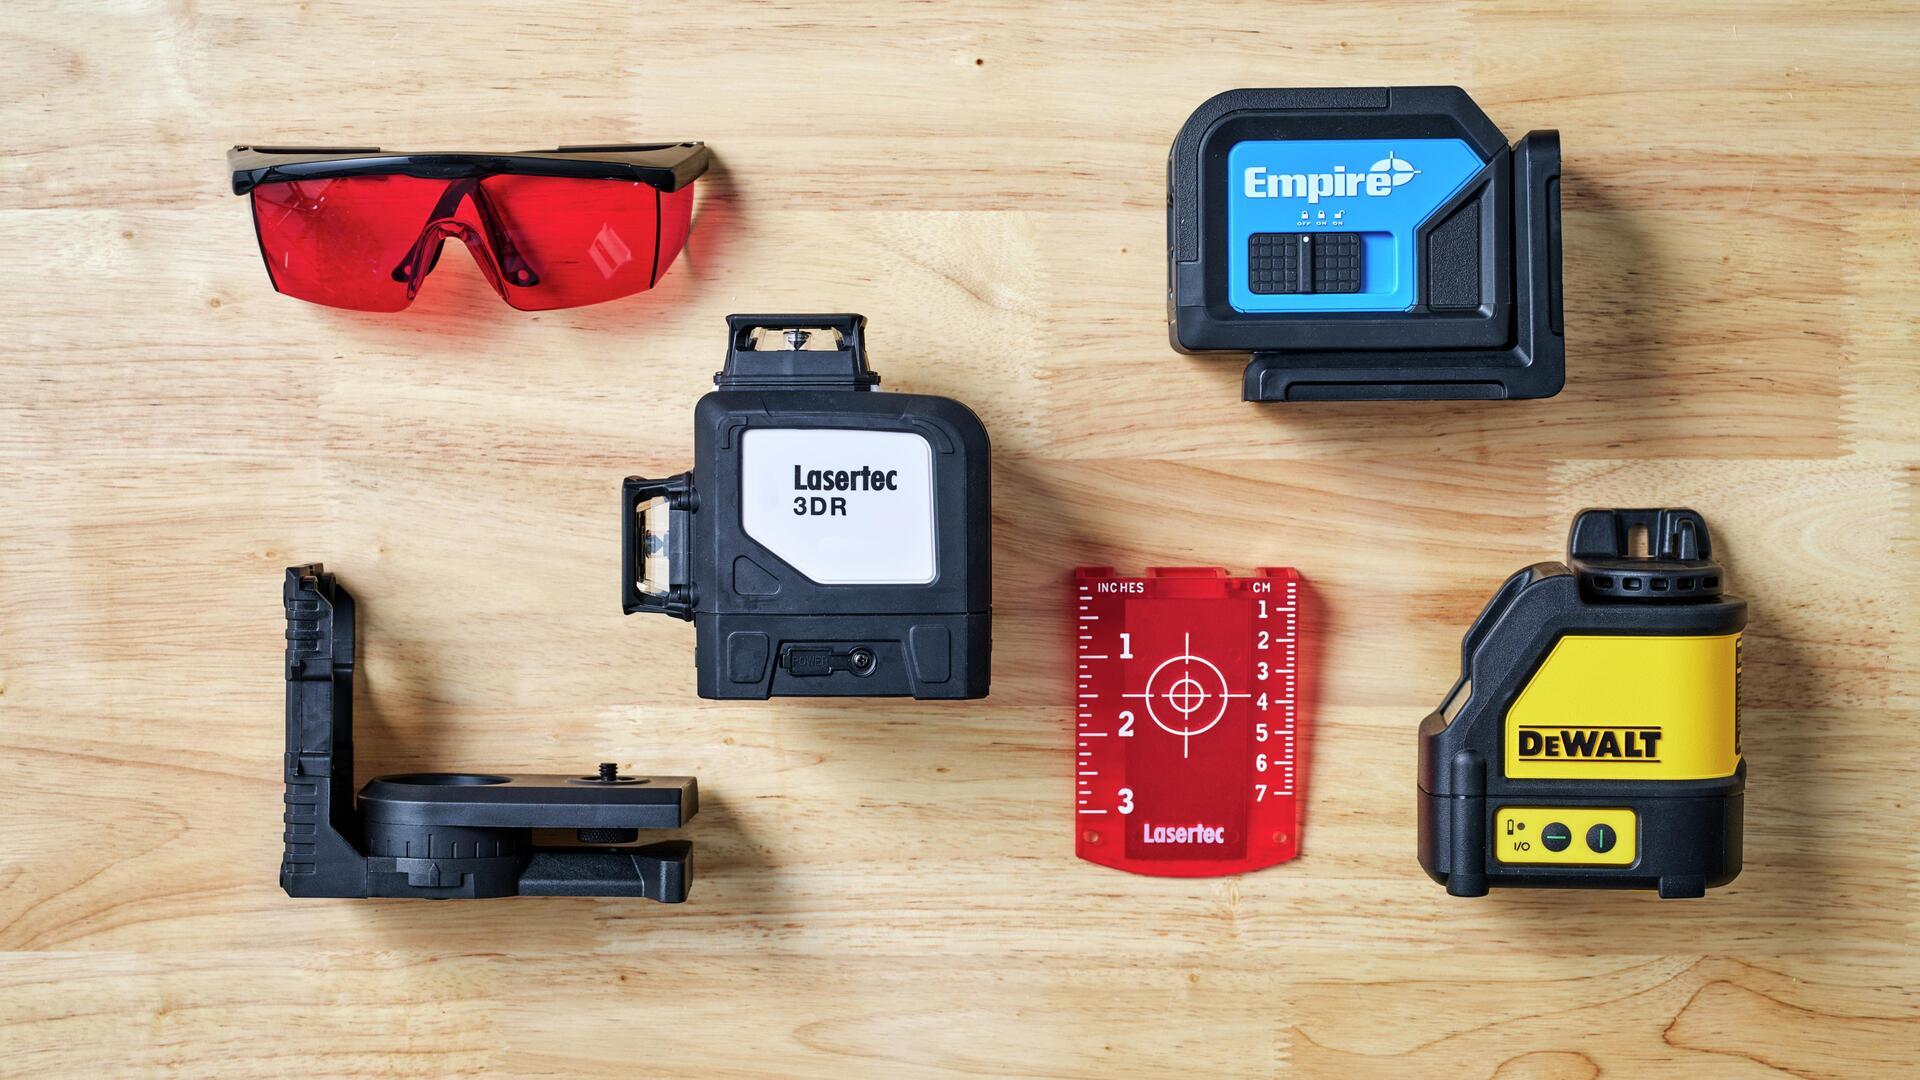
When it comes to calibrating your laser level, having the right equipment is essential. Here are some of the key tools and accessories you’ll need for a successful calibration:
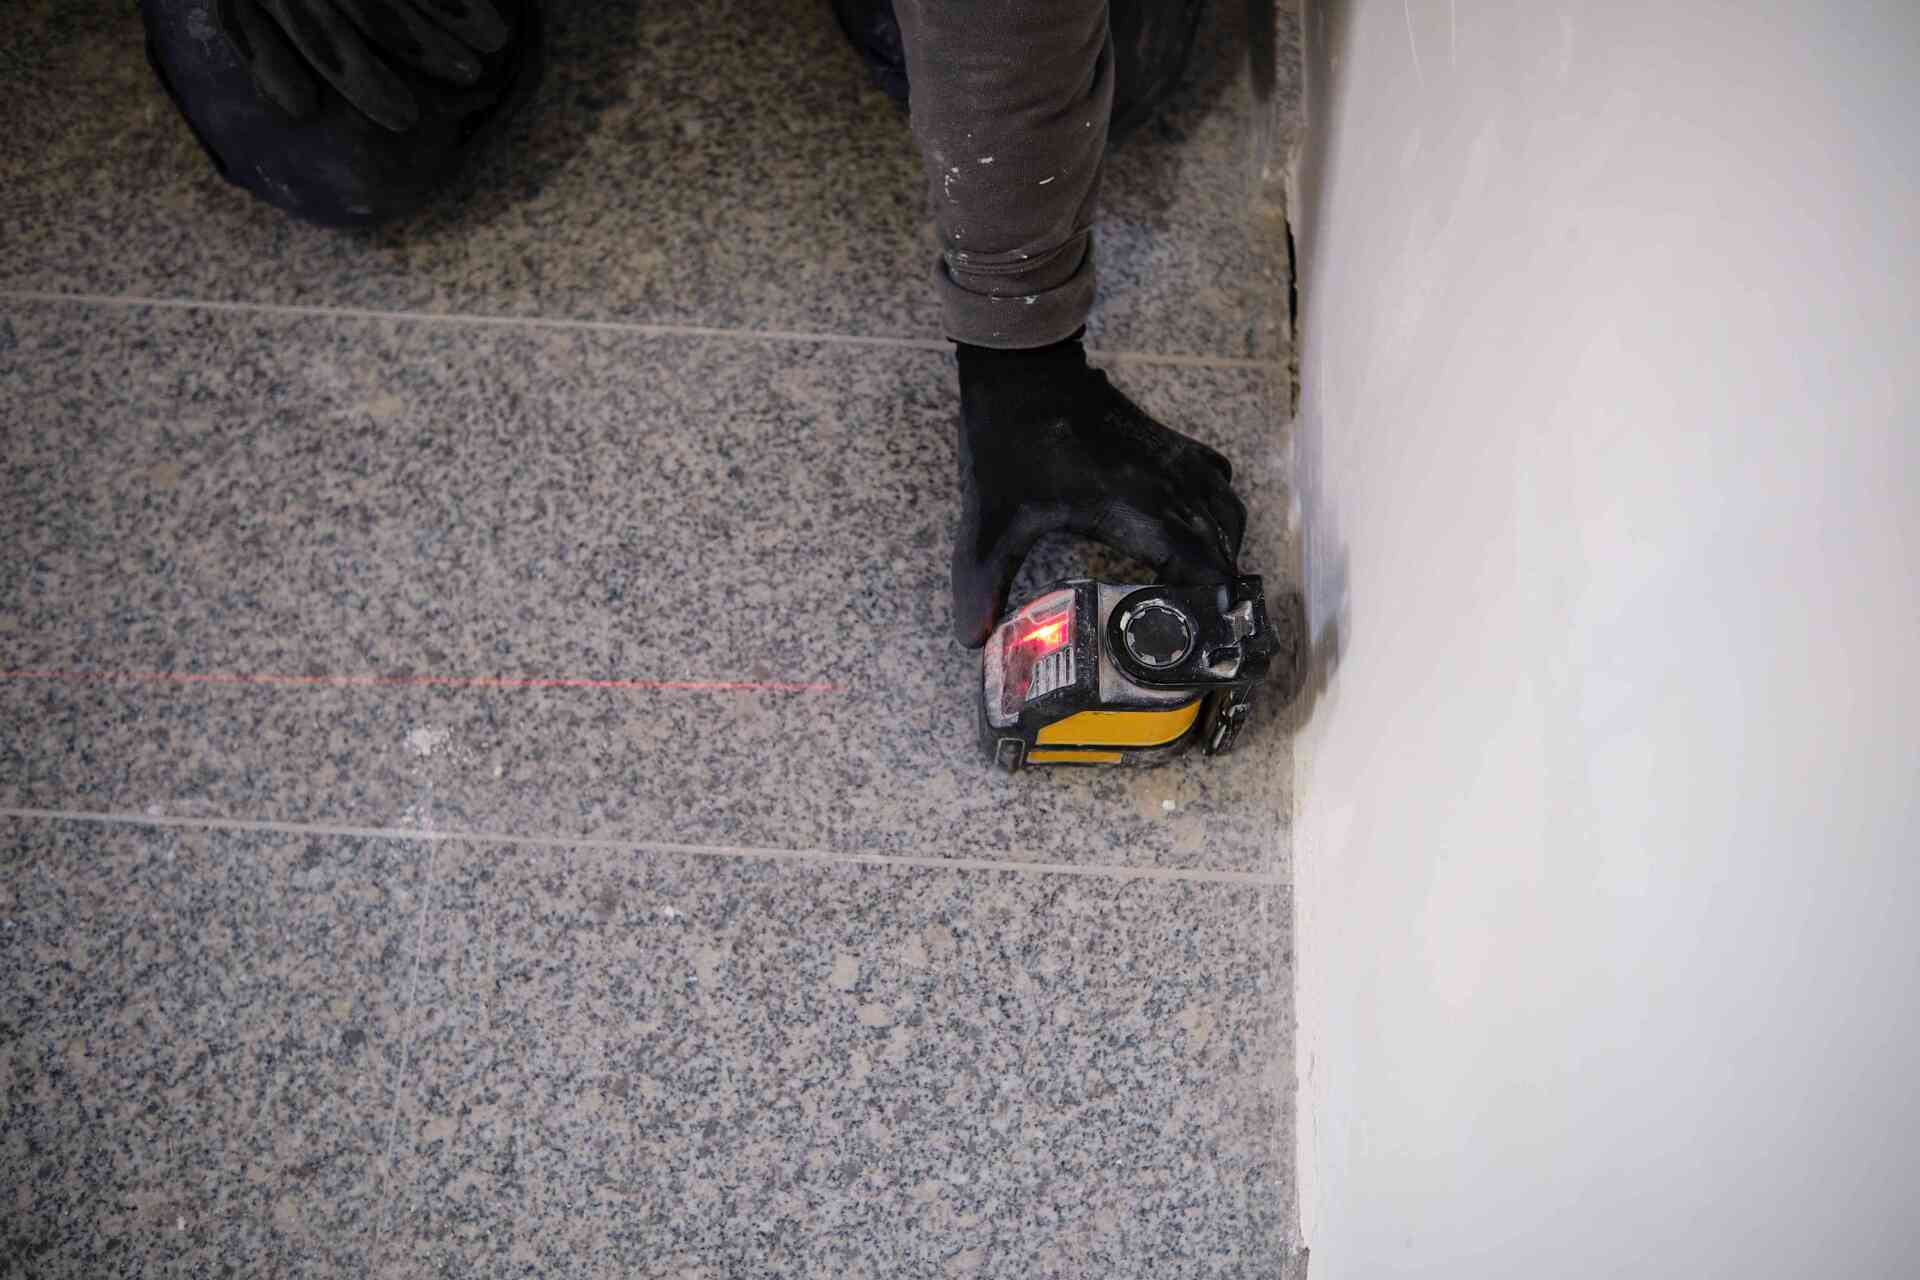
- Calibration Target: A calibration target is a specific surface or object that you will use to align and adjust the laser beam. It can be a tripod-mounted target, a wall with reference lines, or a special target designed for laser level calibration. The calibration target provides a point of reference for making accurate adjustments to the laser level.
- Bubble Level: A bubble level, also known as a spirit level, is a useful tool for ensuring your laser level is perfectly level. It can help you verify the accuracy of the built-in leveling mechanism during calibration. Place the bubble level on the laser level’s surface and adjust it until the bubble is centered within the marked lines. This indicates that the laser level is level and ready for calibration.
- Screwdriver or Allen wrench: Most laser levels have small screws or adjustment knobs that allow for fine-tuning during calibration. Depending on your laser level model, you may need a screwdriver or an Allen wrench to make these adjustments. Refer to the user manual to determine the specific tool required for your laser level.
- Protective Eyewear: Laser levels emit powerful laser beams that can be harmful to the eyes. It is crucial to wear proper protective eyewear during calibration to protect your vision. Choose eyewear that is designed to block the specific wavelength of the laser emitted by your laser level. Safety should always be a top priority when working with laser equipment.
These are the basic tools and accessories needed for laser level calibration. It is important to note that the specific requirements may vary depending on your laser level model and manufacturer guidelines. Always refer to the user manual for accurate information on the necessary equipment and procedures for calibrating your laser level.
In the next section, we will walk you through a step-by-step guide on how to calibrate your laser level effectively.
Before calibrating your laser level, make sure it is placed on a stable surface and the batteries are fully charged. Follow the manufacturer’s instructions for calibration to ensure accurate leveling.
Step-by-Step Guide to Calibrate a Laser Level
Calibrating your laser level may seem intimidating at first, but with the right instructions and a little patience, it can be a straightforward process. Follow these steps to calibrate your laser level effectively:
- Read the User Manual: Before you begin, familiarize yourself with the user manual that came with your laser level. Different models may have specific calibration procedures that you need to follow. Understand the instructions and gather all the necessary tools and equipment.
- Set up the Calibration Target: Set up the calibration target according to the manufacturer’s instructions. This can involve mounting the target on a tripod, attaching it to a wall, or placing it in a specific position. Make sure the target is stable and aligned properly.
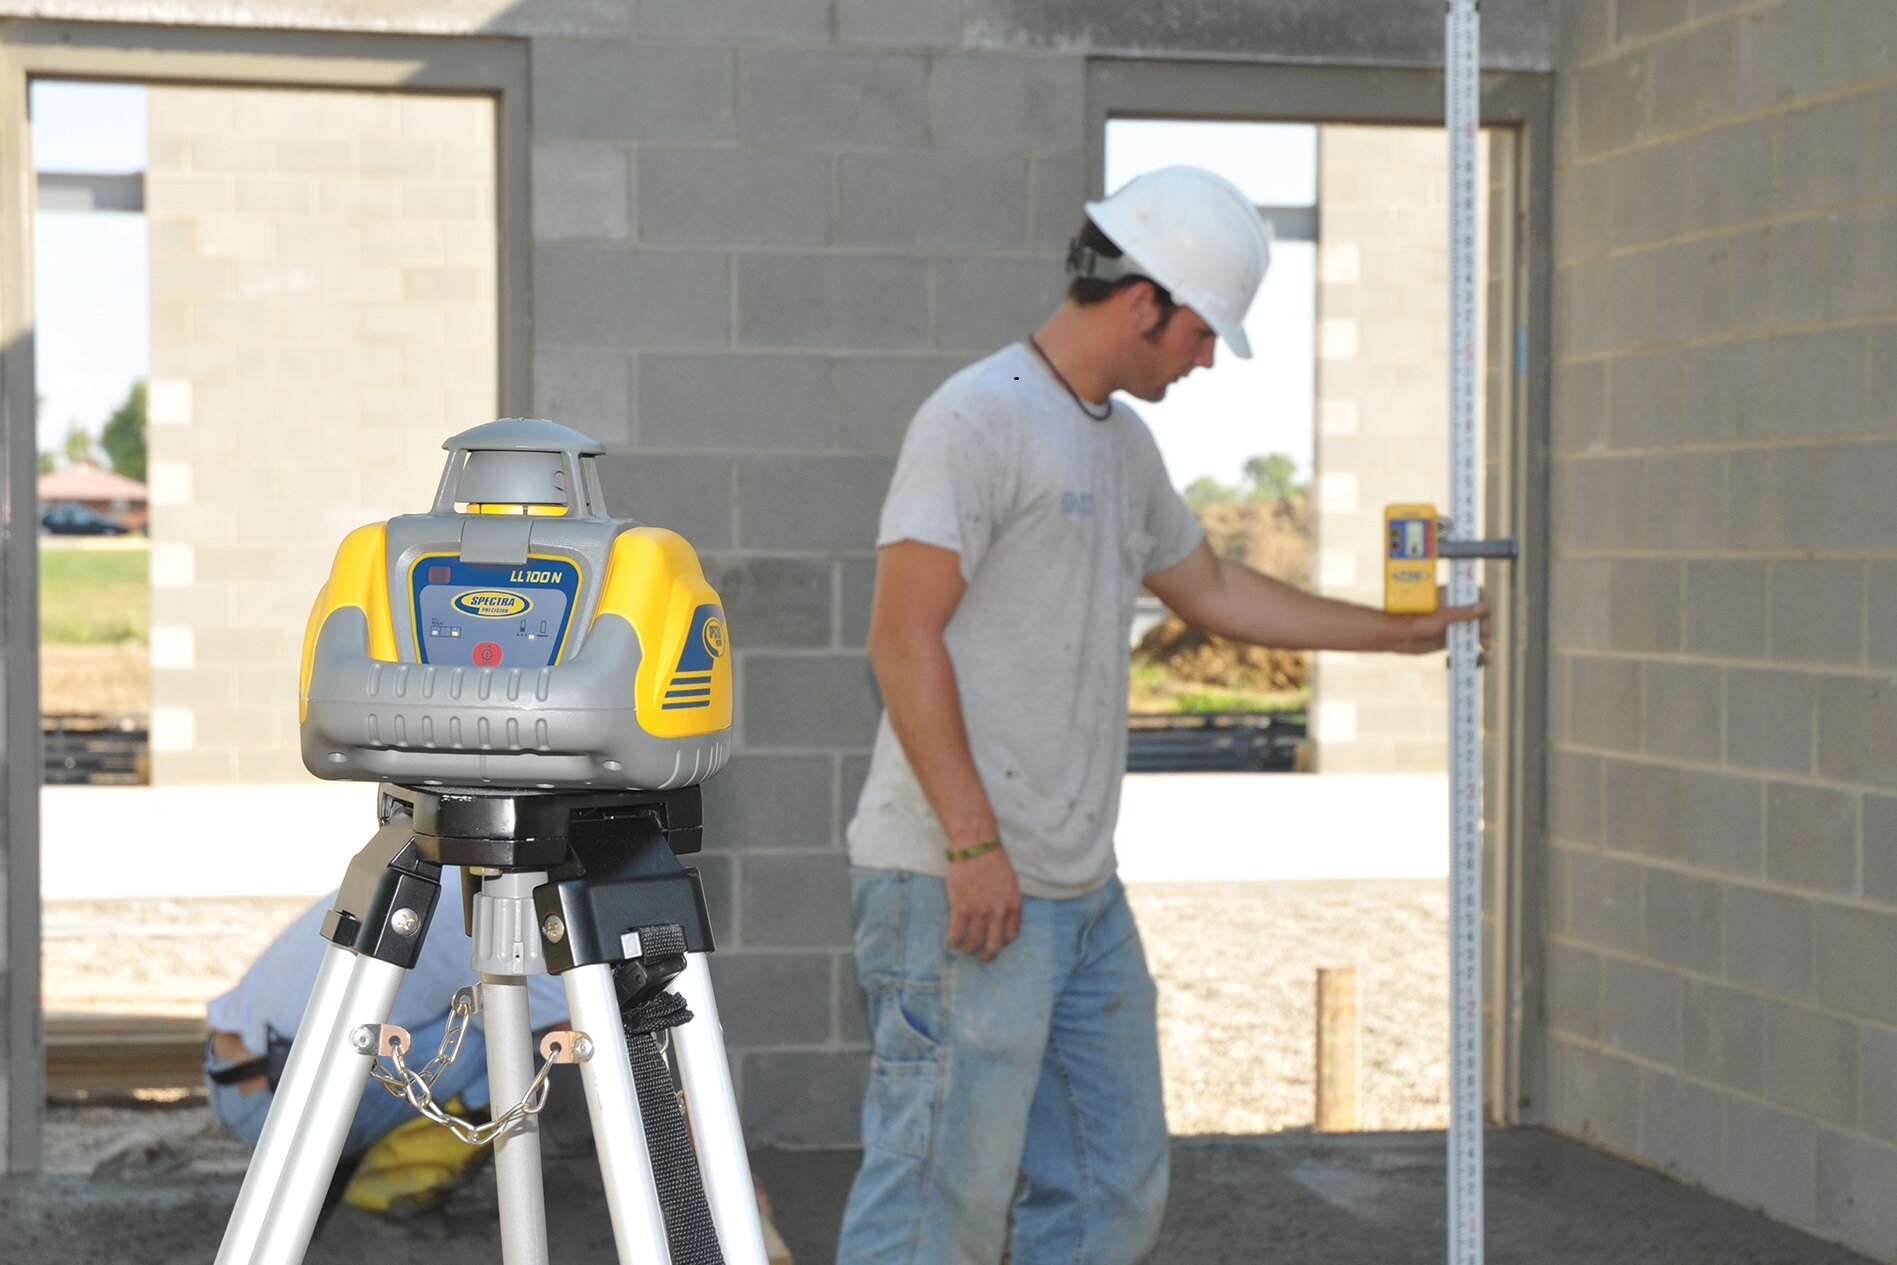
- Place the Laser Level on a Stable Surface: Position your laser level on a stable, flat surface. Make sure it is secure and level. Use a bubble level to ensure its accuracy. Adjust its position until the bubble is centered within the marked lines on the level. This ensures that the laser level is level before calibration.
- Turn on the Laser Level: Once the laser level is properly positioned, turn it on and allow it to self-level if it has that capability. Wait until the laser beam stabilizes and aligns with the calibration target or reference lines on the wall.
- Adjust the Laser Direction: Use the screws or adjustment knobs on your laser level to fine-tune the laser beam’s direction. Follow the manufacturer’s instructions to make precise adjustments. The goal is to align the laser beam with the specific markings or target on the calibration target.
- Check Alignment from Different Positions: Move around the laser level and observe the alignment of the laser beam from different angles and positions. Ensure that the beam remains aligned with the calibration target or reference lines. If any adjustments are necessary, repeat step 5 until the laser beam remains accurately aligned.
- Double-check the Level: After aligning the laser beam, recheck the level of the laser level itself using the bubble level. If any adjustments are needed, make the necessary changes and verify the level again.
- Finalize and Store: Once you have achieved the desired alignment and level, finalize the calibration process and securely store your laser level in its appropriate case or storage area. This will protect it from damage and ensure its accuracy for future use.
Following these steps should help you calibrate your laser level effectively. Remember, each laser level may have specific calibration procedures, so always consult the user manual for accurate instructions.
In the next section, we will discuss how to test the accuracy of your calibrated laser level.
Read more: How To Calibrate Bosch Laser Level
Testing the Accuracy of the Calibrated Laser Level
Once you have successfully calibrated your laser level, it is essential to test its accuracy to ensure reliable and precise measurements. Here are some methods to verify the accuracy of your calibrated laser level:
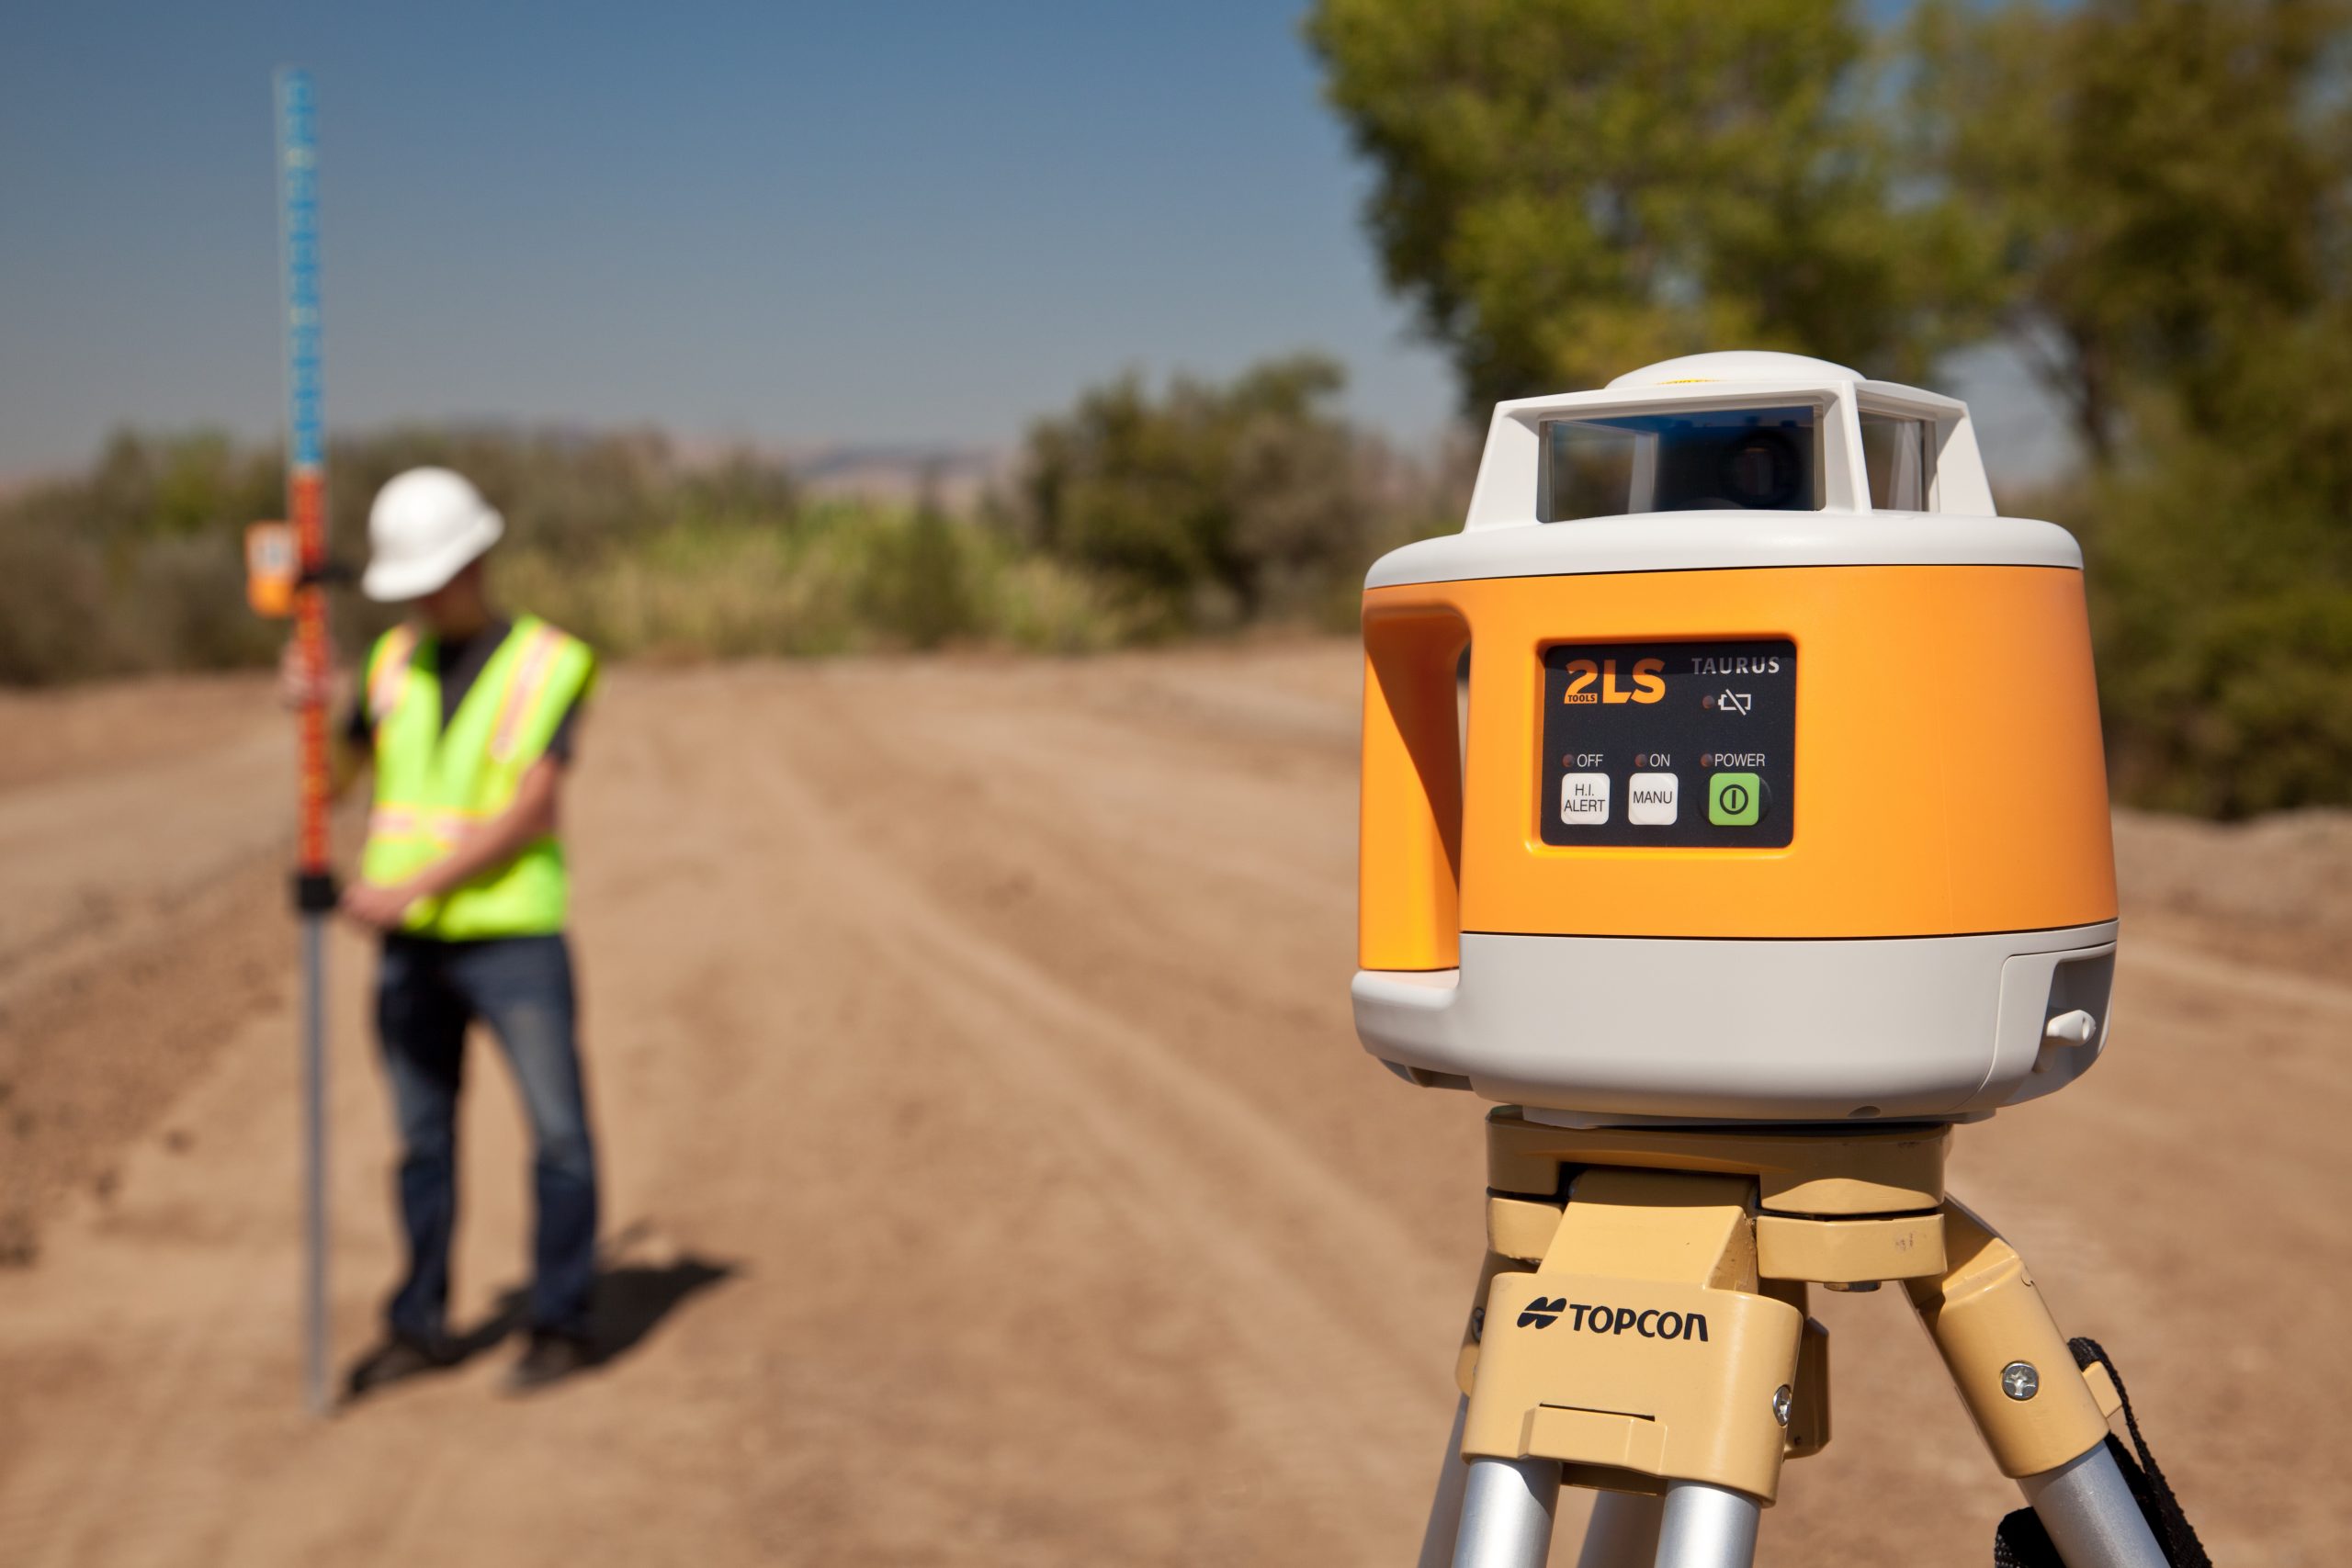
- Reference Measurement: Use a measuring tape or ruler to take a reference measurement. Place the laser level at a known distance from the marked reference point and compare the laser line to the measured distance. If the laser line aligns accurately with the reference point, it indicates that your laser level is calibrated correctly.
- Multiple Point Measurements: Set up your laser level and mark several points on a wall or surface. Measure the distance between each point using a ruler or measuring tape. Ensure that the distance between each point is consistent and matches the reading on the laser level. This confirms the accuracy and precision of your calibrated laser level.
- Plumb Line Test: Position your laser level against a vertical surface and create a plumb line. Use a plumb bob or another vertical reference tool to check the alignment of the laser line. The laser line should align perfectly with the plumb line, indicating that your calibrated laser level is accurate and properly aligned.
- Check Over Multiple Distances: Test the accuracy of your laser level by checking its performance over various distances. Set up the laser level at different distances and compare the laser line to the marks or reference points. If the laser line remains consistent and aligned accurately across different distances, it demonstrates the reliability of your calibrated laser level.
It’s important to perform these accuracy tests in different lighting conditions and environments to account for any potential factors that may affect the laser level’s performance. If you identify any discrepancies or inconsistencies during these tests, recalibrate your laser level and repeat the accuracy tests until you achieve the desired results.
By regularly testing the accuracy of your calibrated laser level, you can ensure that it continues to provide precise measurements and reliable performance. This is vital for achieving accurate results in construction, surveying, and other precision-based projects.
In the final section, we will discuss troubleshooting common calibration issues and provide some tips for resolving them.
Troubleshooting Common Calibration Issues
While calibrating your laser level, you may encounter some common issues that could affect the accuracy of your measurements. Understanding these problems and knowing how to troubleshoot them can help ensure a successful calibration. Here are some common calibration issues and tips for resolving them:
- Inconsistent Beam Alignment: If you notice that the laser beam consistently deviates from the desired alignment, check for any obstructions, dirt, or debris that may be obstructing the laser diode or sensors. Clean the relevant components carefully to ensure proper alignment.
- Unstable Self-Leveling: If your laser level has a self-leveling feature but is not stabilizing correctly, ensure that it is set up on a stable surface. Check that the bubble level indicates the laser level is level before starting the calibration process. If the issue persists, consult the user manual for specific troubleshooting instructions for your model.
- Drifting Laser Beam: A drifting laser beam can be the result of an unsteady or uneven surface or vibrations in the surrounding area. Ensure that the laser level is set up on a stable and level surface to minimize any movement. Avoid placing the laser level near sources of vibration or movement during calibration.
- Inaccurate Readings: If your laser level consistently provides inaccurate measurements even after calibration, double-check that you are following the proper calibration procedure outlined in the user manual. Ensure that you are using the proper calibration target and that the target is positioned correctly. If the issue persists, contact the manufacturer’s customer support for further troubleshooting assistance.
- Battery Issues: If you experience intermittent power or functionality issues during calibration, the battery may be nearing depletion. Replace the battery with a fresh one, following the manufacturer’s instructions for battery replacement, and reattempt the calibration process.
Remember to consult the user manual provided with your laser level for specific troubleshooting instructions and recommendations from the manufacturer. If you encounter persistent issues that you are unable to resolve, it is best to reach out to the manufacturer’s customer support for further assistance.
By addressing these common calibration issues promptly, you can ensure that your laser level performs optimally, providing accurate and reliable measurements for your construction or surveying projects.
Now that you have a better understanding of troubleshooting common calibration issues, let’s conclude our guide.
Conclusion
Congratulations! You have now learned how to calibrate a laser level effectively. Calibration is a critical process that ensures the accuracy, consistency, and safety of your laser level. By following the step-by-step guide and utilizing the necessary equipment, you can achieve precise measurements and reliable performance in your construction and surveying projects.
Remember, proper calibration is essential for maintaining accuracy and consistency. Regularly calibrating your laser level will help you avoid costly mistakes, improve efficiency, and ensure the success of your projects.
Throughout this guide, we discussed the importance of calibration, the components involved in laser level calibration, the equipment needed, and how to test the accuracy of your calibrated laser level. We also covered troubleshooting common calibration issues, providing you with the knowledge and tools to address any problems that may arise.
As always, it is crucial to refer to the user manual provided with your laser level for specific instructions and guidelines. Each model may have unique calibration procedures and specifications that you need to follow for optimal results.
Now, armed with the knowledge and understanding of laser level calibration, you can confidently embark on your construction projects, knowing that your laser level is properly calibrated and ready to deliver accurate measurements.
So, go ahead and take your calibrated laser level out into the field, and let it guide you to precision and success in your projects!
Frequently Asked Questions about How To Calibrate Laser Level
Was this page helpful?
At Storables.com, we guarantee accurate and reliable information. Our content, validated by Expert Board Contributors, is crafted following stringent Editorial Policies. We're committed to providing you with well-researched, expert-backed insights for all your informational needs.


0 thoughts on “How To Calibrate Laser Level”