
Articles
How To Change Light Bulb Flush Mount
Modified: August 17, 2024
Learn how to change a light bulb in a flush mount fixture with our easy-to-follow articles. Upgrade your lighting knowledge today!
(Many of the links in this article redirect to a specific reviewed product. Your purchase of these products through affiliate links helps to generate commission for Storables.com, at no extra cost. Learn more)
Introduction
Changing a flush mount light bulb may seem like a simple task, but it is important to approach it with caution and follow the right steps to ensure safety and efficiency. Whether you are replacing a burnt-out bulb or upgrading to a more energy-efficient option, this comprehensive guide will walk you through the process step by step. By following these instructions, you can confidently change a light bulb in a flush mount fixture without any hassle.
Before diving into the process, it’s essential to understand the importance of safety precautions. Remember to always prioritize your well-being and follow safety guidelines to prevent accidents or damage to the fixture. This guide will provide you with the necessary knowledge and tips to carry out the task smoothly and securely.
So, grab your tools, put on your safety gear, and let’s get started on changing that light bulb in your flush mount fixture!
Key Takeaways:
- Safety is paramount when changing a flush mount light bulb. Always turn off the power, use protective gear, and handle the bulb with care to ensure a secure and accident-free process.
- From gathering tools to testing the new bulb, each step is crucial. Follow the guide to confidently change a light bulb in a flush mount fixture, ensuring safety and a well-illuminated space.
Safety Precautions
When working with electricity, it is crucial to prioritize safety to avoid any potential risks. Before you begin changing the light bulb in a flush mount fixture, make sure to follow these safety precautions:
- Turn off the power: Always turn off the power at the circuit breaker or fuse box before starting any work on electrical fixtures. This will eliminate the risk of electric shock and ensure your safety.
- Use protective gear: Wear protective gloves and goggles to shield your hands and eyes from potential hazards. This will prevent any injuries or accidents that may occur during the process.
- Allow the bulb to cool: Before attempting to change the bulb, give it enough time to cool down. Some light bulbs can become hot during operation, and touching them while they are still hot can lead to burns or injuries.
- Ensure the fixture is stable: Before starting, make sure that the flush mount fixture is securely attached to the ceiling. If it feels loose or unstable, refrain from changing the bulb until you can properly secure the fixture.
- Choose the right replacement bulb: Check the wattage and type of the existing bulb before purchasing a replacement. Using a bulb with higher wattage than recommended can overload the fixture and may result in damage or a fire hazard.
- Handle the bulb with care: When removing the old bulb and installing the new one, gently hold it by the base. Avoid twisting or exerting excessive force, as this can cause the bulb to break, leading to potential injury from shattered glass.
By adhering to these safety precautions, you can minimize the risk of accidents and ensure a safe environment while replacing the light bulb in your flush mount fixture. Remember, it’s always better to be cautious and prioritize your well-being during any electrical work.
Step 1: Turn off the Power
Before you begin changing the light bulb in a flush mount fixture, it is crucial to turn off the power to the fixture. This step will ensure your safety and prevent any potential electrical hazards. Follow these instructions to turn off the power:
- Locate the circuit breaker: Depending on your home’s electrical setup, you will find the circuit breaker panel in the basement, garage, or utility room. Open the panel door to access the circuit breakers.
- Identify the corresponding breaker: Look for the breaker labeled with the area or room where the flush mount fixture is located. Most circuit breaker panels have labels that indicate which breaker controls each area of the house.
- Switch off the breaker: Carefully flip the switch to the “off” position that corresponds to the specific area or room of the flush mount fixture. This action will cut off the power supply to the fixture.
- Double-check the power: To ensure that the power is indeed turned off, you can use a non-contact voltage tester. This device will detect the presence of electricity in a wire or outlet. Hold the tester near the flush mount fixture to confirm that the power has been successfully shut off.
By following these steps, you can prevent any potential electric shocks or accidents while working on the flush mount fixture. Once you have confirmed that the power is off, you can proceed safely to the next step of changing the light bulb without any concerns.
Step 2: Gather Necessary Tools and Equipment
Before you begin changing the light bulb in a flush mount fixture, it’s important to gather all the necessary tools and equipment. Having everything on hand will help make the process smoother and more efficient. Here’s a list of items you’ll need:
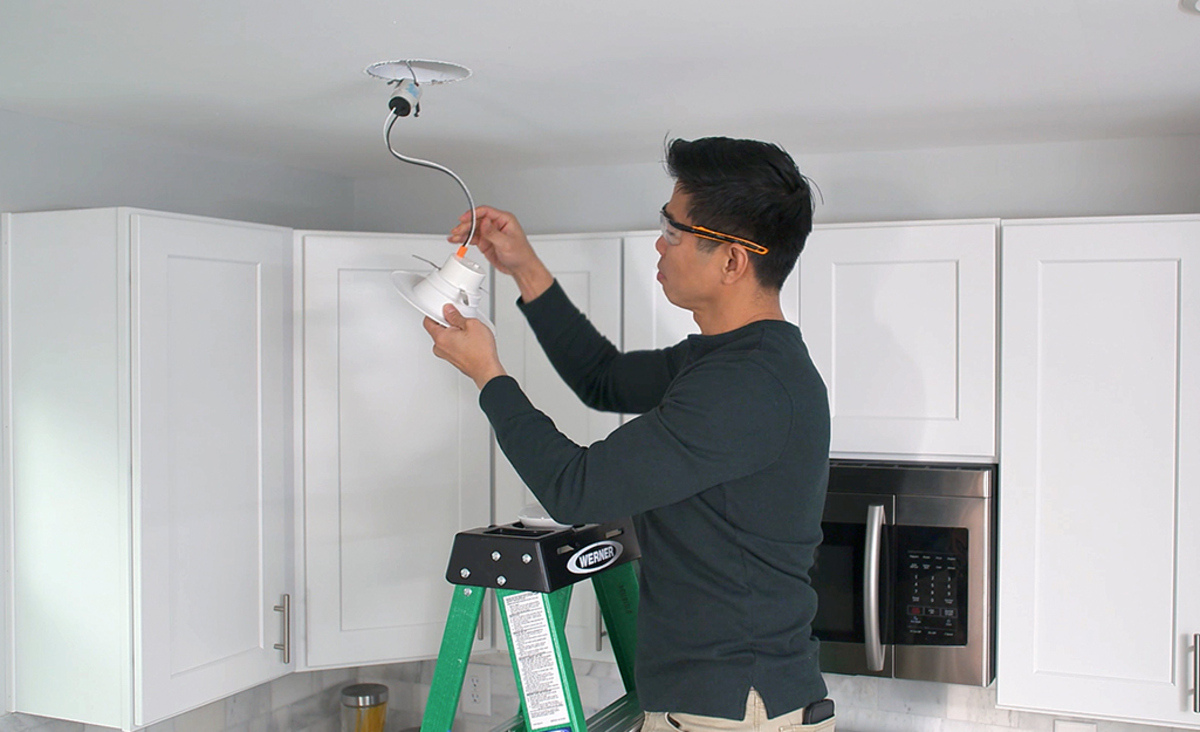
- Step ladder or stool: Depending on the height of the fixture, you may need a step ladder or stool to reach the flush mount fixture safely.
- Replacement bulb: Make sure you have the right type and wattage of the bulb that needs to be replaced. Check the existing bulb or consult the fixture’s manual for the correct specifications.
- Gloves and safety goggles: Wear protective gloves and safety goggles to protect your hands and eyes from potential hazards while working on the fixture.
- Non-contact voltage tester: Although not required, a non-contact voltage tester can help you double-check that the power to the fixture is turned off before handling it.
- Clean cloth or tissue: Have a clean cloth or tissue handy to handle the light bulb. This will prevent any oils from your hands from coming into contact with the bulb, which can reduce its lifespan.
By gathering these tools and equipment before starting the task, you will save time and avoid any interruptions during the process. Make sure to have a clear and clutter-free workspace to work comfortably and safely. Having everything prepared will ensure that you have a smooth and successful experience in changing the light bulb in your flush mount fixture.
Step 3: Remove the Old Light Bulb
Now that you have turned off the power and gathered all the necessary tools, it’s time to remove the old light bulb from the flush mount fixture. Follow these steps to safely remove the old bulb:
- Ensure the fixture has cooled down: Before proceeding, make sure the flush mount fixture has had enough time to cool down. This will prevent any burns or injuries while handling the bulb.
- Locate and identify the bulb: Take a close look at the fixture to locate the old bulb. It is usually positioned in the center of the fixture, underneath a protective cover or lens.
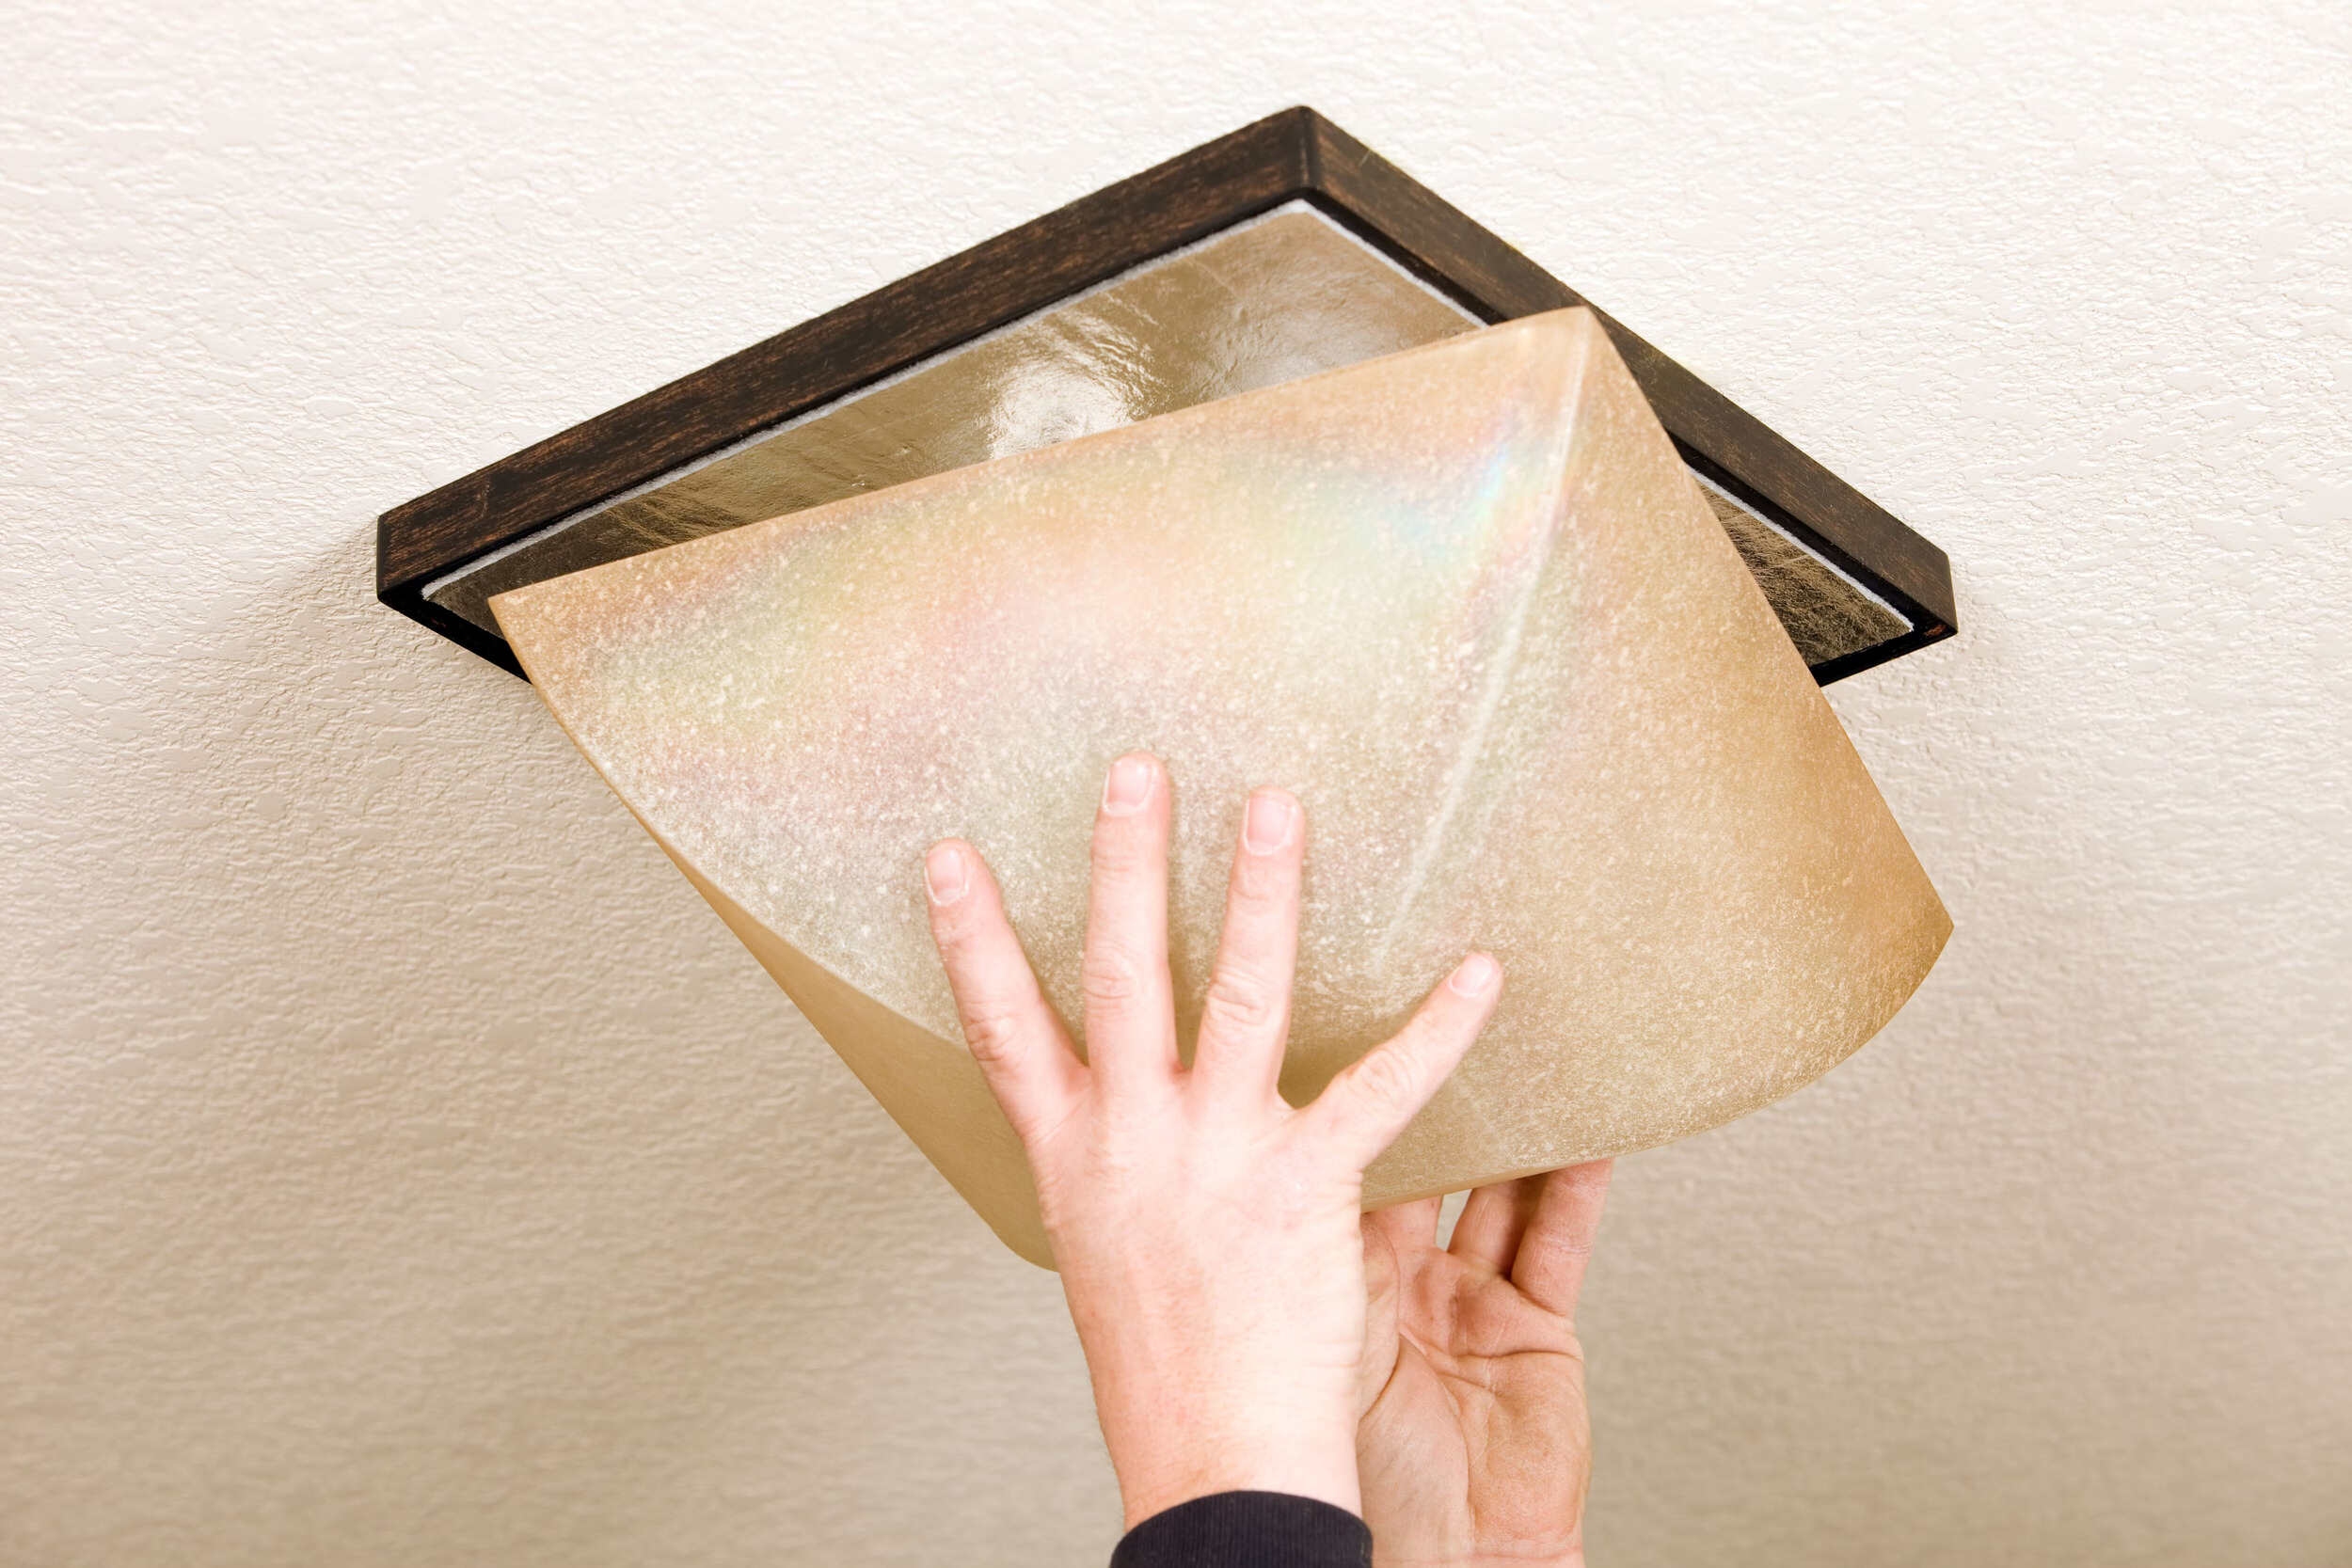
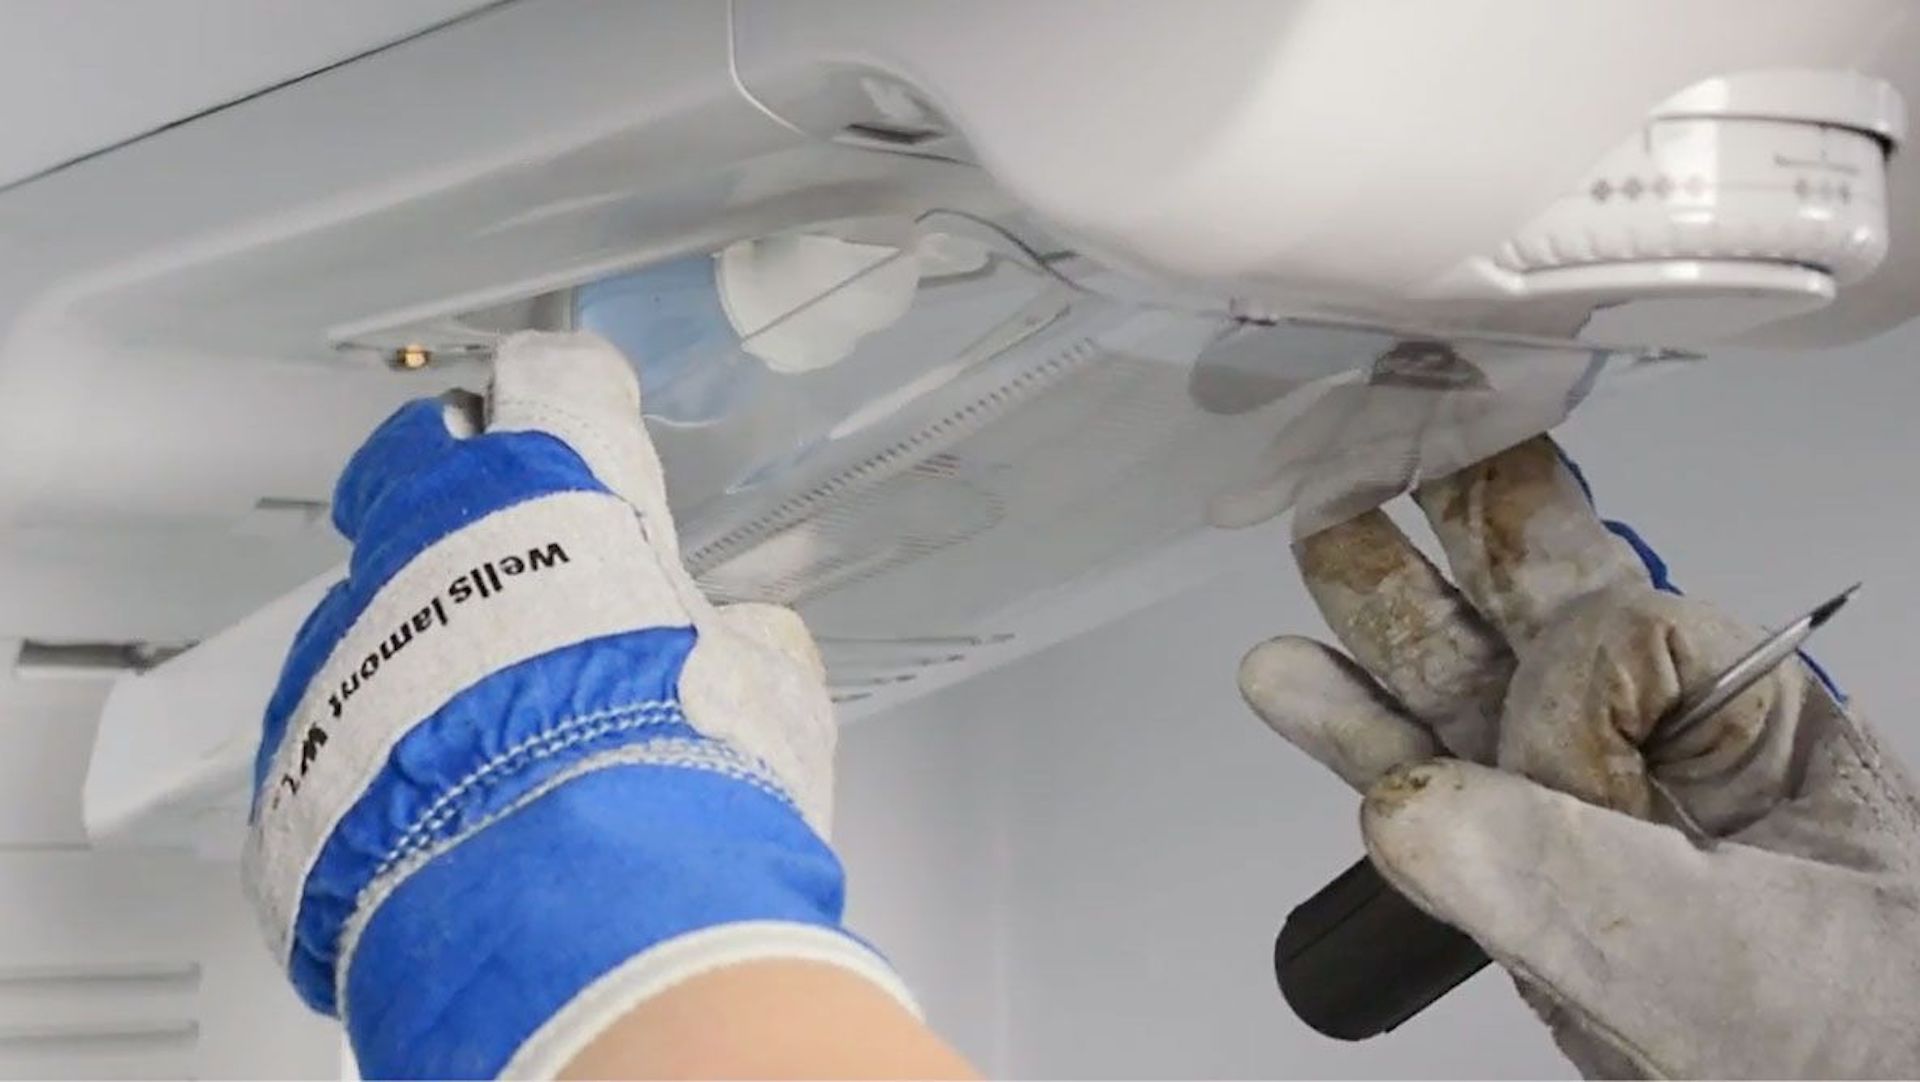
- Remove the protective cover/lens: If applicable, carefully remove the protective cover or lens that is covering the bulb. This may require unscrewing or unclipping it, depending on the design of the flush mount fixture.
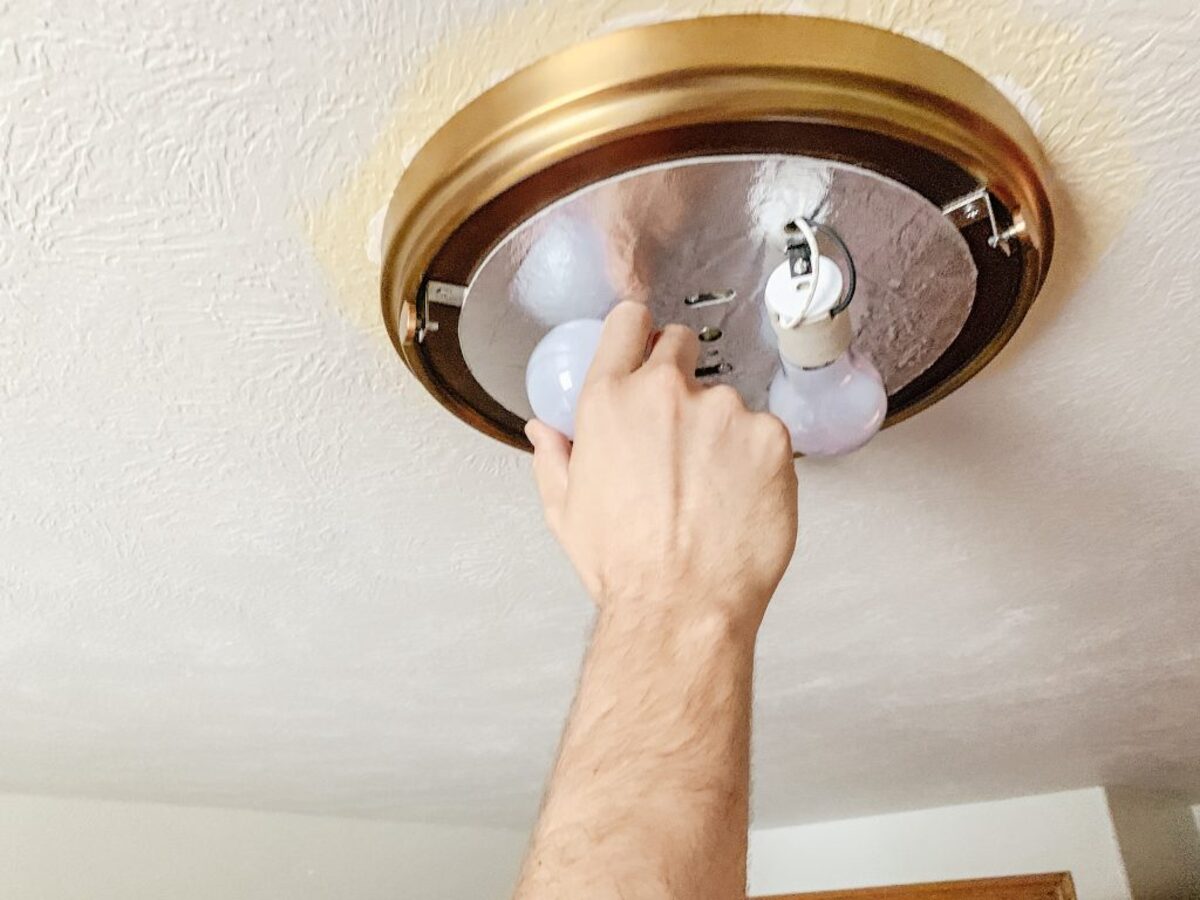
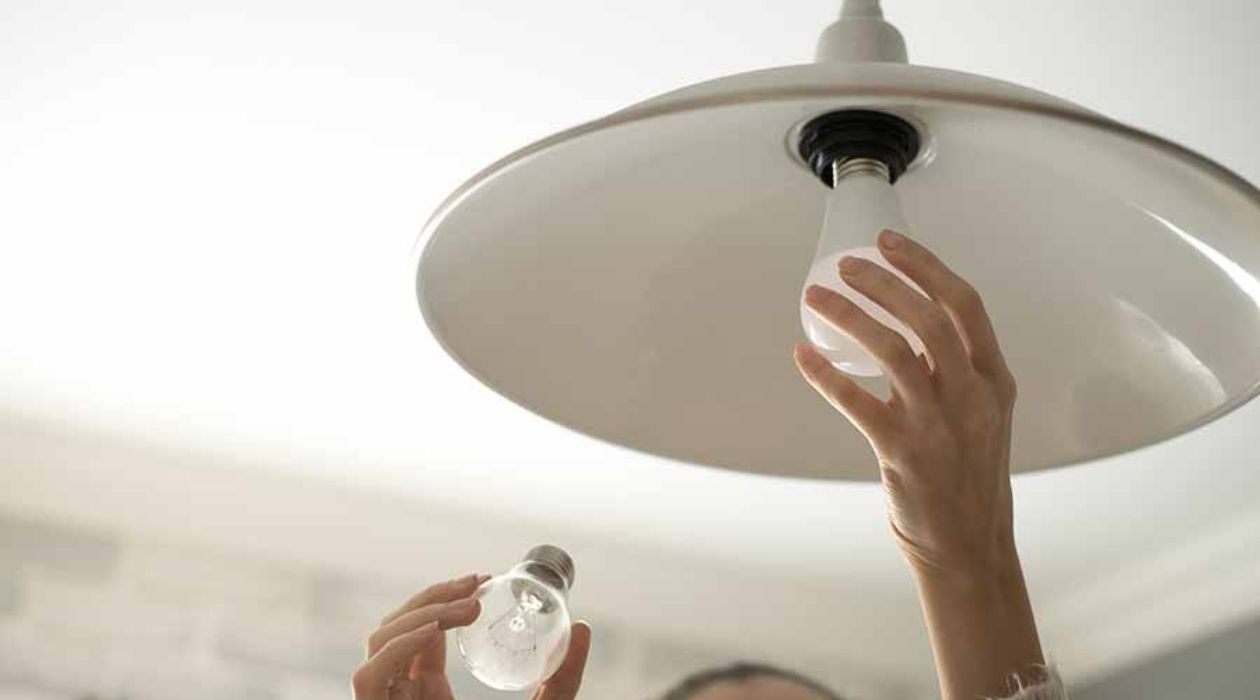
- Unscrew or unclip the bulb: Once the cover or lens is removed, gently twist the old bulb counterclockwise to unscrew it from its socket. If the bulb is held in place with clips, carefully release the clips and remove the bulb.
- Inspect the socket and electrical connections: While the bulb is removed, take a moment to inspect the socket and electrical connections for any signs of damage or corrosion. If you notice any issues, such as bent prongs or blackened areas, it may be necessary to consult an electrician for repairs.
With these steps, you have successfully removed the old light bulb from the flush mount fixture. Handle the old bulb with care and set it aside for proper disposal. Now you are ready to proceed to the next step: installing the new light bulb.
When changing a flush mount light bulb, make sure to turn off the power to the fixture before attempting to remove the old bulb. Use a stable ladder or step stool to reach the fixture safely. If the bulb is stuck, use a rubber jar opener to get a better grip and twist it out carefully. Be sure to replace the bulb with the correct wattage and type recommended for the fixture.
Read more: How To Change Flush Mount Light
Step 4: Install the New Light Bulb
With the old light bulb safely removed, it’s time to install the new bulb in your flush mount fixture. Follow these steps to ensure a proper installation:
- Choose the right replacement bulb: Before installing the new bulb, make sure it is the correct type and wattage for your fixture. Check the label or manual of the fixture for the recommended specifications.
- Handle the new bulb with care: When handling the new bulb, avoid touching the glass surface with your bare hands. The oils from your skin can create hot spots on the bulb, which can reduce its lifespan. Instead, use a clean cloth or tissue to hold the bulb.
- Insert the new bulb into the socket: Align the prongs or base of the new bulb with the socket and gently push it in. If the bulb is a screw-in type, twist it clockwise until it is snugly secured in place. For a push-in or bayonet-style bulb, press it in and give it a slight twist to lock it in position.
- Double-check for proper alignment: Ensure that the bulb is properly aligned and seated in the socket. It should be straight and not loose. If necessary, give it a gentle twist to lock it firmly in place.
By following these steps, you have successfully installed the new light bulb in your flush mount fixture. Take a moment to appreciate your work, but remember that there are still a few more steps to complete before your task is finished.
Step 5: Test the New Light Bulb
After installing the new light bulb in your flush mount fixture, it’s important to test it before securing the fixture in place. Follow these steps to ensure that the new bulb is functioning properly:
- Turn on the power: Go back to the circuit breaker panel and switch the breaker back to the “on” position that corresponds to the area or room where the flush mount fixture is located. This will restore power to the fixture.
- Flip the light switch: Locate the light switch that controls the flush mount fixture and flip it on. The new bulb should illuminate, indicating that it is properly installed and functioning.
- Observe the light: Take a moment to inspect the new bulb’s brightness and color. It should match the previous bulb or the desired lighting for the room. If the light appears dim, flickering, or inconsistent, it may indicate a loose connection or a faulty bulb. In such cases, turn off the power again and recheck the installation.
- Test the switch: Flip the light switch off and on a few times to ensure that it consistently turns the light on and off without any issues. This will help verify the functionality of both the bulb and the switch.
By following these steps, you can confirm that the new light bulb is working as expected. If any issues arise during this testing phase, it may be necessary to troubleshoot further or consult an electrician for assistance. Assuming the test is successful, proceed to the final step of securing the flush mount fixture in place.
Step 6: Secure the Flush Mount in Place
Once you have tested the new light bulb and ensured that it is functioning properly, it’s time to secure the flush mount fixture in its final position. Follow these steps to properly secure the fixture:
- Turn off the power: Before proceeding, turn off the power to the flush mount fixture by flipping the corresponding breaker to the “off” position in the circuit breaker panel. This ensures your safety while working on the fixture.
- Replace the protective cover/lens: If you removed a protective cover or lens earlier, now is the time to reattach it. Align the cover/lens with the fixture and secure it in place by screwing it back on or clipping it back into position.
- Tighten any loose screws or fittings: Inspect the fixture for any loose screws or fittings. Use a screwdriver or the appropriate tool to tighten them securely. This ensures that the flush mount fixture is stable and properly aligned.
- Check for proper alignment: Step back and visually inspect the flush mount fixture to ensure it is level and aligned correctly. Adjust it if necessary to achieve the desired position.
- Restore power and test again: Return to the circuit breaker panel and switch the breaker back to the “on” position for the flush mount fixture. Flip the light switch to test the light bulb once more to verify that it is still functioning correctly after securing the fixture.
By following these steps, you have successfully secured the flush mount fixture in its final position. Take a moment to appreciate your work and enjoy the fully functional and aesthetically pleasing light in your space. Remember to keep the area around the fixture clean and free of any obstructions to prevent damage or accidents in the future.
Now that you have completed all the necessary steps, you can feel accomplished knowing that you have successfully changed the light bulb in your flush mount fixture. With these newfound skills, you can confidently tackle similar tasks in the future and maintain a well-lit and comfortable living space.
Conclusion
Changing the light bulb in a flush mount fixture is a task that may seem simple, but it is important to approach it with caution and follow proper steps to ensure safety and efficiency. By following the step-by-step guide provided in this article, you have learned how to change a light bulb in a flush mount fixture with ease.
Throughout the process, we emphasized the importance of safety precautions, such as turning off the power, using protective gear, and inspecting the fixture for stability. These measures are crucial to prevent accidents and ensure a safe working environment.
From gathering the necessary tools to removing the old light bulb, installing the new bulb, testing it, and securing the flush mount in place, each step plays a significant role in successfully completing the task. It is important to handle the bulbs with care, choose the right replacement, and ensure proper alignment to achieve the desired lighting effect.
By testing the new light bulb and securing the fixture, you can ensure that everything is working effectively and is safely positioned. So, turn on the power, flip the light switch, and enjoy the fully functional and well-illuminated space!
Remember, if you encounter any difficulties during the process or notice any issues with the fixture or electrical connections, it is always recommended to seek professional assistance. Safety should be a top priority when working with electricity.
Now that you have successfully changed the light bulb in your flush mount fixture, you can confidently tackle similar tasks in the future. Maintain a well-lit and comfortable living space by regularly checking and replacing light bulbs as needed.
Thank you for following this comprehensive guide, and we hope it has been helpful in your endeavor to change a light bulb in a flush mount fixture. Stay safe and let there be light!
Frequently Asked Questions about How To Change Light Bulb Flush Mount
Was this page helpful?
At Storables.com, we guarantee accurate and reliable information. Our content, validated by Expert Board Contributors, is crafted following stringent Editorial Policies. We're committed to providing you with well-researched, expert-backed insights for all your informational needs.


0 thoughts on “How To Change Light Bulb Flush Mount”