
Articles
How To Change Nipple Light Bulb
Modified: March 1, 2024
Discover helpful articles on how to easily change a nipple light bulb and brighten up your space. Avoid the hassle with step-by-step instructions and expert tips.
(Many of the links in this article redirect to a specific reviewed product. Your purchase of these products through affiliate links helps to generate commission for Storables.com, at no extra cost. Learn more)
Introduction
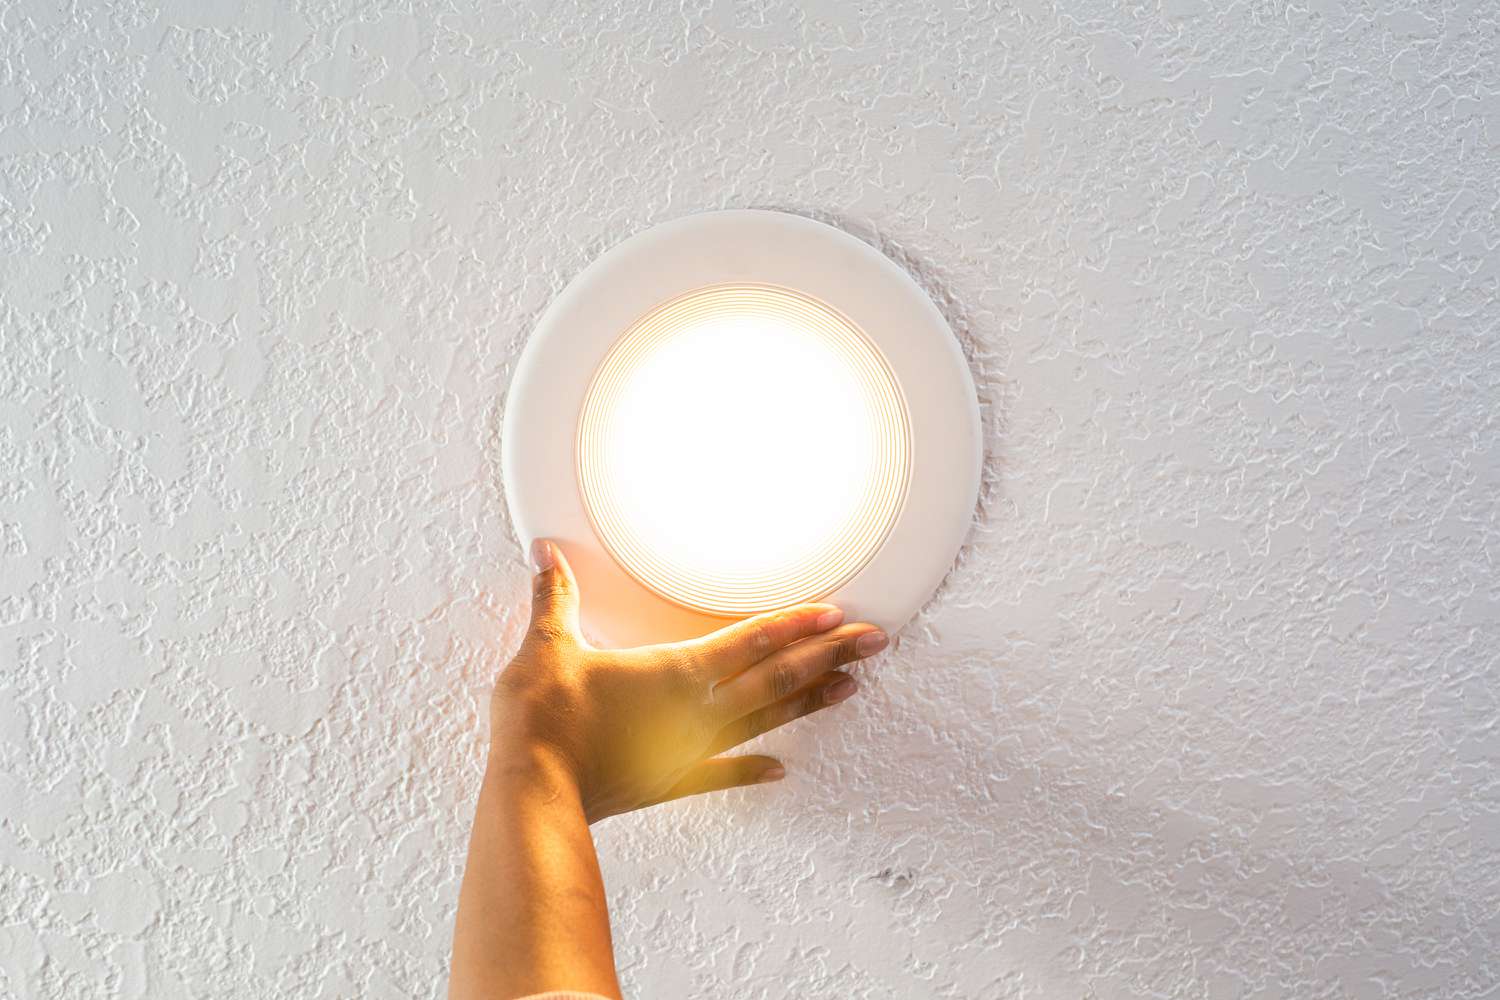
Changing a nipple light bulb may seem like a simple task, but it can sometimes be a bit challenging if you’re not familiar with the process. Nipple light bulbs are commonly used in a variety of fixtures, such as ceiling fans, chandeliers, and pendant lights. These small, bulbous-shaped bulbs can provide a warm and soft glow to enhance the ambiance of any room.
In this article, we will guide you through the step-by-step process of changing a nipple light bulb. Whether you’re a seasoned DIY enthusiast or a novice homeowner, our instructions will help you successfully replace a burnt-out bulb and bring light back to your space.
Before we dive into the details, it’s important to note that safety should be your top priority when handling any electrical component. Always make sure to turn off the power to the fixture before attempting to change the bulb. Additionally, if you encounter any difficulties or feel uncomfortable during the process, it’s advisable to consult a licensed electrician.
Now, let’s get started on our journey to bring light back into your home by learning how to change a nipple light bulb.
Key Takeaways:
- Safety First
When changing a nipple light bulb, prioritize safety by turning off the power, allowing the bulb to cool, and using gloves. Always consult a professional if unsure. - Proper Preparation
Gather necessary tools, check wattage, and inspect the fixture before changing the bulb. Thorough preparation ensures a smooth and hassle-free experience.
Read more: How To Change A Light Bulb
Preparing for the Task
Before you begin changing the nipple light bulb, it’s important to take a few moments to prepare for the task. This will ensure that you have a safe and efficient experience throughout the process. Here are some steps to follow:
- Turn off the power: Locate the circuit breaker or switch that controls the power to the light fixture. Flip the switch to the “off” position to cut off the electricity supply. This step is crucial to prevent any accidental electrical shocks.
- Allow the bulb to cool: If the light has been turned on recently, give the bulb enough time to cool down. Changing a hot bulb can be dangerous, as it may cause burns or shattering of the glass.
- Gather necessary tools: Ensure you have all the tools you need before beginning the task. You may need a step ladder or a sturdy stool to reach the light fixture, as well as a pair of gloves to protect your hands. It’s also a good idea to have a soft cloth or tissue nearby to handle the bulb, as direct contact with your skin can reduce its lifespan.
- Check the wattage: Take a moment to check the wattage requirements for the replacement bulb. This information is usually printed on the base or in the user manual of the fixture. Using a bulb with a higher wattage than recommended can potentially damage the fixture, while using a lower wattage may result in insufficient lighting.
- Inspect the fixture: Before changing the bulb, inspect the fixture for any signs of damage or corrosion. If you notice any issues, it’s best to contact a professional electrician to assess and repair the fixture, if needed.
By thoroughly preparing for the task, you’ll be setting yourself up for a smooth and hassle-free experience. Taking these steps will not only ensure your safety but also help prevent any potential damage to the fixture or the new bulb.
Gathering the Necessary Tools
Before you start changing the nipple light bulb, it’s important to gather the necessary tools to ensure a successful and efficient process. Here are the essential tools you’ll need:
- Step ladder or sturdy stool: Depending on the height of the light fixture, you may need a step ladder or a sturdy stool to safely reach and access the bulb. Make sure the ladder or stool is stable and secure before stepping on it.
- Gloves: It’s always a good idea to wear gloves when handling light bulbs, especially if they’re fragile or if there’s a risk of the bulb getting hot. Gloves provide protection against potential cuts and burns and can also prevent fingerprints from getting on the bulb’s surface.
- Soft cloth or tissue: Use a soft cloth or tissue to handle the new bulb. Direct contact with your skin can transfer oils and moisture onto the bulb’s surface, which can shorten its lifespan or even cause it to fail prematurely.
- Replacement bulb: Make sure you have the correct type and size of replacement bulb for your specific fixture. Check the user manual of the fixture or the base of the old bulb for any specifications such as wattage, base type (e.g., E26, E12), and bulb shape (e.g., candelabra, globe).
- Pen and paper: Having a pen and paper handy can be helpful for jotting down any important information, such as the wattage of the old bulb or any specific instructions or measurements you may need to reference throughout the process.
By gathering these tools before you start, you’ll be well-equipped to handle the task of changing the nipple light bulb. Having everything you need within reach will save you time and prevent any unnecessary interruptions or delays during the process.
Removing the Old Nipple Light Bulb
Now that you have prepared for the task and gathered the necessary tools, it’s time to remove the old nipple light bulb. Follow these steps to safely and effectively remove the bulb:
- Make sure the power is off: Double-check that the power to the light fixture is turned off at the circuit breaker. This is a crucial safety precaution to prevent any electrical accidents.
- Allow the bulb to cool down: If the light has been recently turned on, give the bulb a few minutes to cool down. Touching a hot bulb can be dangerous and may result in burns or broken glass.
- Locate the bulb: Take a close look at the fixture and identify the location of the bulb. In most cases, the nipple light bulb is located within a socket or housing that can be easily accessed.
- Hold the socket: Carefully hold the socket or housing of the bulb with one hand. In some fixtures, you may need to twist or unscrew the housing counterclockwise to loosen it.
- Remove the old bulb: Once the housing is loosened, gently grasp the old bulb with your other hand and slowly twist it counterclockwise to remove it from the socket. Avoid using excessive force, as this may cause the bulb to break.
- Dispose of the old bulb: Place the removed bulb in a safe and appropriate container for disposal. Nipple light bulbs are typically not recyclable and should be disposed of in accordance with local regulations.
With the old nipple light bulb successfully removed, you’re now ready to move on to the next step: installing the new bulb. Handle the old bulb with care to avoid any injuries and always remember to follow proper disposal guidelines.
Installing the New Nipple Light Bulb
With the old nipple light bulb removed, it’s time to install the new bulb and bring light back into your space. Follow these steps to ensure a successful installation:
- Select the correct replacement bulb: Refer to the user manual or the base of the old bulb to determine the correct type and size of the replacement bulb. Ensure that the wattage, base type, and bulb shape match the specifications for your fixture.
- Hold the new bulb: Take the new nipple light bulb and handle it gently, avoiding direct contact with your skin. If necessary, use a soft cloth or tissue to hold and securely grip the bulb.
- Position the bulb: Align the base of the new bulb with the socket or housing in the fixture. Slowly and carefully insert the bulb into the socket while applying gentle pressure. Be cautious not to force the bulb or cross-thread it.
- Twist the bulb clockwise: Once the bulb is inserted, turn it clockwise to secure it in place. Ensure that the bulb is securely tightened but be careful not to overtighten, as this may damage the bulb or the fixture.
- Test the new bulb: Before turning the power back on, it’s essential to test the new bulb. If there’s a switch on the fixture, turn it on briefly to ensure that the bulb is working properly. If not, double-check that the bulb is securely installed and that the power supply is turned on.
By following these steps, you’ll successfully install the new nipple light bulb and restore the functionality of your light fixture. Take your time and handle the bulb with care to prevent any damage and ensure a proper connection.
Once the new light bulb is securely installed and tested, you can proceed to the next step: testing the functionality of the new bulb and making any necessary adjustments.
When changing a nipple light bulb, make sure to turn off the power to the fixture before attempting to remove the old bulb. Use a ladder or step stool to reach the fixture safely and avoid over-tightening the new bulb when installing it.
Read more: How To Change A Brake Light Bulb
Testing the New Nipple Light Bulb
After installing the new nipple light bulb, it’s important to test its functionality to ensure that it’s working properly. Follow these steps to test the new bulb:
- Turn on the power: Once the new bulb is installed, turn the power back on at the circuit breaker or switch. This will restore electricity to the light fixture.
- Switch on the light: Locate the light switch for the fixture and turn it on. If the fixture doesn’t have a separate switch, it may turn on automatically once the power is restored.
- Observe the light: Pay attention to the newly installed nipple light bulb and observe its brightness and color. Ensure that the bulb emits a steady glow without flickering or dimming.
- Check for any issues: If the light is not functioning correctly, check for any loose connections or problems with the bulb’s installation. Remove the bulb, inspect the socket or housing, and try re-installing the bulb carefully to see if that resolves the issue.
- Make necessary adjustments: If the new bulb still doesn’t work properly, there may be an underlying issue with the fixture. In such cases, it’s best to consult a licensed electrician to troubleshoot and fix any electrical problems.
By following these steps, you can verify that the new nipple light bulb is functioning as expected. If everything looks good and the light is working properly, congratulations! You have successfully replaced the bulb and restored light to your fixture.
However, if any issues persist, remember that it’s always better to seek professional help rather than risking further damage or danger. A licensed electrician will have the expertise to identify and resolve any electrical issues.
Now that you have tested the new nipple light bulb, let’s move on to the next section, where we will discuss some common troubleshooting tips for any issues that may arise during the bulb replacement process.
Troubleshooting Common Issues
While changing a nipple light bulb is generally a straightforward process, there may be some common issues that can arise. Here are a few troubleshooting tips to help you address these problems:
- Bulb flickering: If the new nipple light bulb is flickering, it could be due to a loose connection. Try removing the bulb and re-installing it, making sure it is securely tightened. If the problem persists, there may be an issue with the fixture’s wiring, and it’s recommended to seek professional assistance.
- Dim light: If the new bulb is not providing sufficient brightness, check if it has the correct wattage for the fixture. Using a lower wattage bulb may result in a dim light output. If the wattage is correct and the light is still dim, the issue may be with the fixture itself, and a professional electrician should be consulted.
- Bulb not working: If the new bulb is not working at all, double-check that it is securely installed and that the power to the fixture is turned on. If both of these are in order and the bulb still doesn’t work, it may be a faulty bulb. Try replacing it with another one to see if the issue is resolved.
- Multiple bulbs not working: If multiple nipple light bulbs in the same fixture are not working, it may indicate a larger issue with the fixture or its wiring. In this case, it’s best to consult a professional electrician to identify and rectify the problem.
- Bulb lifespan: If your nipple light bulbs frequently burn out or have a shorter lifespan than expected, it’s worth checking if the fixture is compatible with LED bulbs. LED bulbs typically have a longer lifespan and consume less energy compared to traditional incandescent bulbs.
Remember, if you encounter any difficulties or are unsure about how to resolve an issue, it’s always best to consult a licensed electrician. They have the expertise and knowledge to troubleshoot and fix any electrical problems safely.
Now, armed with these troubleshooting tips, you can confidently address common issues that may arise during the nipple light bulb replacement process.
Safety Precautions
When it comes to handling electrical components like nipple light bulbs, it’s crucial to prioritize safety. Here are some important safety precautions to keep in mind:
- Turn off the power: Before attempting to change a nipple light bulb or perform any electrical work, always turn off the power supply to the fixture at the circuit breaker. This will prevent the risk of electric shock or other accidents.
- Allow the bulb to cool: If the light has been recently turned on, give the bulb enough time to cool down before changing it. Hot bulbs can cause burns or shatter when touched.
- Use gloves: When handling light bulbs, it’s advisable to wear gloves to protect your hands from potential cuts and to prevent oils or moisture from your skin from contacting the bulb’s surface.
- Secure the ladder or stool: If you need to use a step ladder or stool to reach the light fixture, ensure that it is stable and secure before stepping on it. While on the ladder or stool, maintain your balance and avoid overreaching.
- Properly dispose of old bulbs: Dispose of old nipple light bulbs safely and according to local regulations. They are typically not recyclable and should be placed in a container that prevents them from breaking. Do not throw them in regular trash bins.
- Avoid overloading the fixture: Pay attention to the wattage limit of the fixture and avoid using bulbs with a higher wattage than recommended. Overloading the fixture can lead to overheating and potentially cause damage or fires.
- Call a professional electrician if needed: If you encounter any electrical issues or feel unsure about performing the task, do not hesitate to contact a licensed electrician. They have the experience and expertise to handle electrical work safely.
By following these safety precautions, you can minimize the risk of accidents and ensure a safe environment when changing a nipple light bulb. Prioritizing safety is essential to protect yourself, your property, and maintain electrical system integrity.
Now that you’re well-informed about the safety measures, you’re ready to confidently proceed with the task of changing a nipple light bulb.
Conclusion
Changing a nipple light bulb may seem like a small task, but it can make a significant difference in the lighting and ambiance of your space. By following the step-by-step process outlined in this article, you can successfully and safely replace a burnt-out bulb and restore light to your fixture.
Remember to take the necessary precautions, such as turning off the power, allowing the bulb to cool, and using gloves to handle the bulb. Gather the required tools and ensure you have the correct replacement bulb before starting the task. Remove the old bulb carefully and insert the new bulb securely, making sure to test its functionality before proceeding.
If you encounter any issues or need further assistance, it’s always wise to consult a professional electrician. They have the expertise to troubleshoot and resolve any electrical problems that may arise during the process.
Lastly, safety should always be your top priority when dealing with any electrical component. Follow the recommended safety precautions, dispose of old bulbs responsibly, and be mindful of the wattage limits of your fixtures to avoid overloading them.
By taking these steps and carrying out the task with care, you can change a nipple light bulb successfully and enjoy well-lit and inviting spaces in your home or office.
Happy bulb changing!
Frequently Asked Questions about How To Change Nipple Light Bulb
Was this page helpful?
At Storables.com, we guarantee accurate and reliable information. Our content, validated by Expert Board Contributors, is crafted following stringent Editorial Policies. We're committed to providing you with well-researched, expert-backed insights for all your informational needs.


0 thoughts on “How To Change Nipple Light Bulb”