
Articles
How To Change A Shower Light Bulb
Modified: October 20, 2024
Learn how to change a shower light bulb with our informative articles. Find step-by-step instructions and expert tips to make the process easy and hassle-free.
(Many of the links in this article redirect to a specific reviewed product. Your purchase of these products through affiliate links helps to generate commission for Storables.com, at no extra cost. Learn more)
Introduction
Welcome to our comprehensive guide on how to change a shower light bulb. A well-lit shower not only enhances the functionality of your bathroom but also creates a soothing and inviting atmosphere. However, over time, the light bulb in your shower may burn out, leaving you in need of a replacement. While the task may seem intimidating, changing a shower light bulb is a relatively simple process that you can easily accomplish on your own.
In this guide, we will take you through each step of the process, providing detailed instructions and tips to ensure a successful bulb replacement. Whether you’re a DIY enthusiast or a first-time homeowner, we’ve got you covered.
Before we begin, it’s important to note that shower light fixtures are typically designed to be moisture-resistant, as they are exposed to high levels of humidity. However, it is essential to take the necessary precautions to prevent electrical accidents. Ensure that the power is switched off before starting the bulb replacement process. Additionally, if you have any doubts or concerns about your electrical abilities, it’s always best to consult a professional electrician.
Now, let’s dive into the step-by-step process of changing a shower light bulb, shall we?
Key Takeaways:
- Easily change your shower light bulb with simple steps and essential materials. Ensure safety by switching off power and following the detailed process for a well-lit and inviting shower experience.
- Save time and money by confidently replacing your shower light bulb. Follow the comprehensive guide, prioritize safety, and enjoy a bright and renewed shower environment.
Read more: How To Change A Light Bulb
Step 1: Gather necessary materials
Before you begin the process of changing a shower light bulb, it’s important to gather all the necessary materials. Having everything on hand will make the task much easier and ensure a smooth bulb replacement process. Here’s a list of the materials you will need:
- Replacement light bulb:
- Step ladder or stool:
- Protective gloves:
- Safety goggles:
- Electrical tape:
- Screwdriver or pliers:
- Flashlight:
First and foremost, you will need a replacement light bulb suitable for your shower fixture. Check the wattage and type (incandescent, LED, etc.) recommended for your specific fixture. It’s always a good idea to have a spare bulb on hand as well.
Depending on the height of your shower fixture, you may need a step ladder or stool to comfortably reach the light bulb. Make sure the ladder or stool is stable and secure before use.
It’s always a good idea to wear protective gloves when handling light bulbs. This will protect your hands from cuts and prevent any oils from transferring to the bulb, which can reduce its lifespan.
While not always necessary, safety goggles can provide an extra layer of protection for your eyes while working with light bulbs. It’s better to be safe than sorry.
Electrical tape can come in handy if you need to secure any wires or connections during the bulb replacement process. It’s a small but versatile tool to have on hand.
Depending on the type of fixture, you may need a screwdriver or pliers to remove the light bulb cover or secure any screws. Make sure you have the appropriate tools for the job.
A flashlight is useful in case the shower area is poorly lit. It will help you see what you’re doing and ensure precision during the bulb replacement process.
Once you have gathered all the necessary materials, you’re ready to proceed to the next step: preparing the work area.
Step 2: Prepare the work area
Before you begin changing the shower light bulb, it’s important to prepare the work area to ensure safety and convenience. Follow these steps to prepare the work area:
- Clear the shower area:
- Switch off the shower:
- Switch off the power:
- Allow the light fixture to cool down:
- Have a stable work surface:
Remove any personal items or shower accessories from the shower area. This will give you ample space to work and reduce the risk of accidentally knocking something over.
Turn off the water supply to the shower to prevent any unexpected splashes or leaks while working on the light bulb replacement. This will help keep the work area dry and minimize the risk of electrical accidents.
Locate the circuit breaker for the shower light fixture and switch off the power. This step is crucial to ensure your safety while working with electrical components. If you’re unsure which circuit breaker controls the shower light, it’s recommended to turn off the power to the entire bathroom for added safety.
If you have recently used the shower or the light has been on, give the fixture some time to cool down before proceeding. Hot light bulbs can be dangerous to handle and may cause burns.
If your fixture allows for it, place a small towel or cloth on the shower floor or on a nearby surface. This will provide a soft and stable surface to place the light bulb and necessary tools during the replacement process.
By preparing the work area properly, you ensure a safe and efficient bulb replacement process. Now that you have prepared the work area, it’s time to switch off the power and move on to the next step.
Step 3: Switch off the power
Before you begin working on the shower light bulb replacement, it is crucial to switch off the power to the fixture. This step is essential for your safety and to prevent any electrical accidents. Follow these instructions to switch off the power:
- Locate the circuit breaker or fuse box:
- Flip the circuit breaker or remove the fuse:
- Double-check the power is off:
Go to your main electrical panel or fuse box and locate the circuit breaker or fuse that controls the power to the shower light. It is often labeled or marked for easy identification. If possible, turn off the power to the specific circuit that controls the shower light rather than cutting power to the entire bathroom.
If you’re using a circuit breaker, flip it to the “off” position. If you’re using a fuse, remove it from the fuse box. This will cut off the power supply to the shower light fixture.
As an extra precaution, you can use a non-contact voltage tester to confirm that the power is completely off. This device will indicate whether there is electricity running through the wires, helping you ensure your safety.
It’s important to note that shower light fixtures may have multiple circuit breakers or fuses that control different components, such as the fan and the light. Ensure that you have switched off the correct one specific to the light bulb you are replacing.
With the power switched off, you have successfully created a safe working environment to proceed with the next steps. Now, it’s time to remove the old light bulb cover in preparation for the replacement.
Step 4: Remove the old light bulb cover
Now that you have switched off the power, it’s time to remove the old light bulb cover. This cover is usually a protective casing that houses the light bulb and provides a barrier between the bulb and the shower area. Follow these steps to safely remove the old light bulb cover:
- Locate the light bulb cover:
- Check for any screws or clips:
- Remove the screws or unclip the cover:
- Carefully remove the cover:
- Set the cover aside:
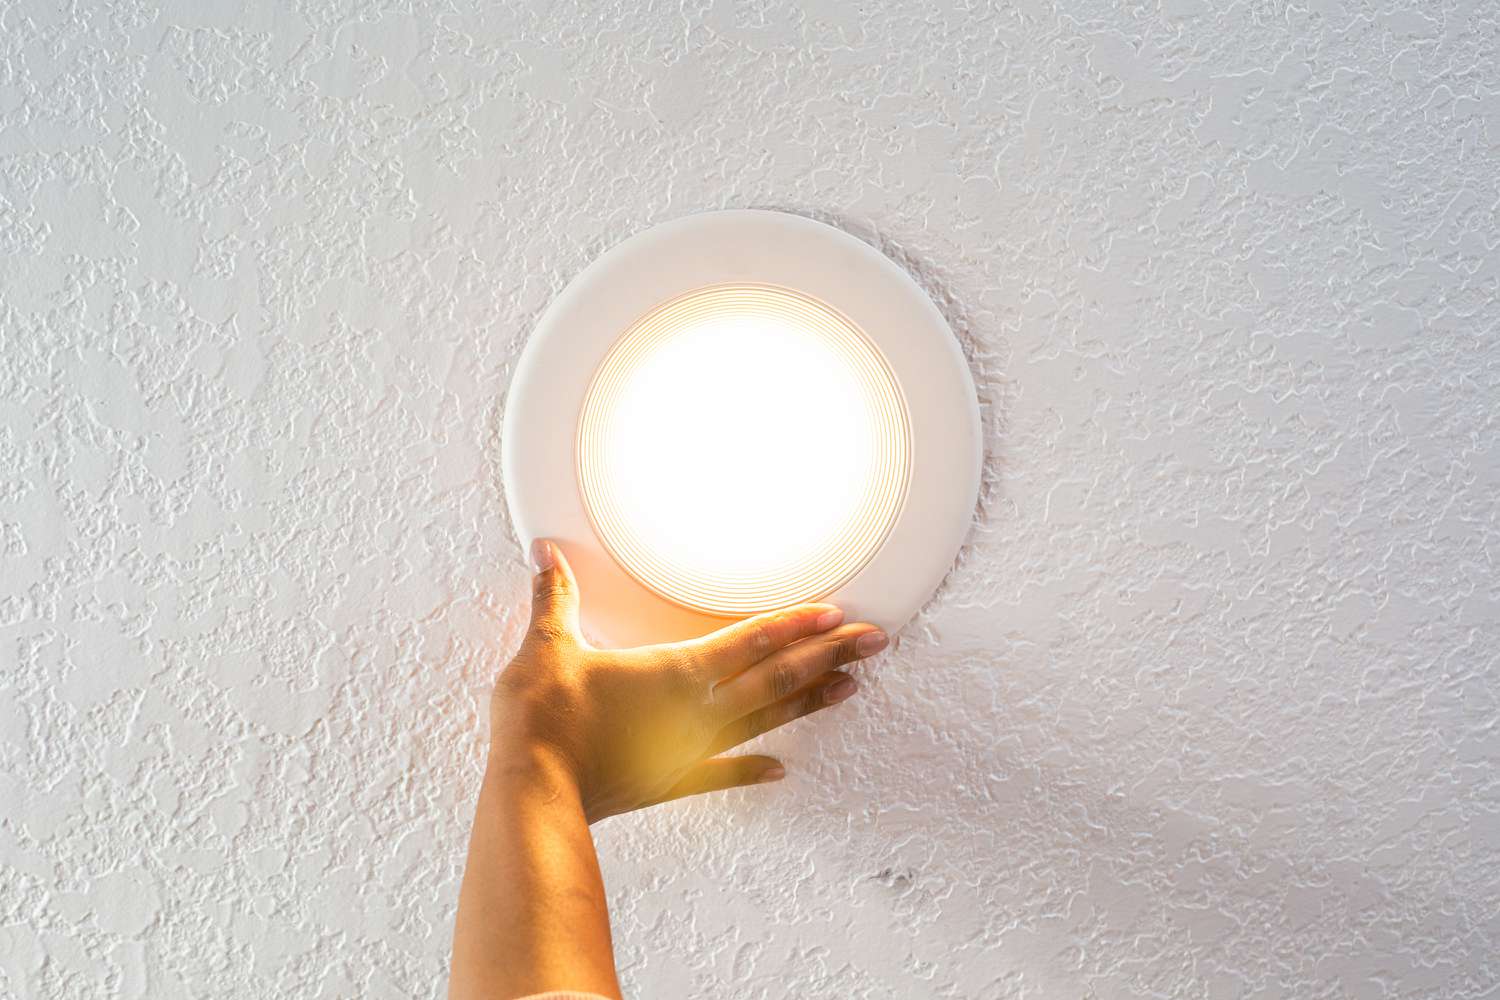
The light bulb cover is typically located on the ceiling or wall of the shower area. It may be a plastic or glass cover that is secured in place.
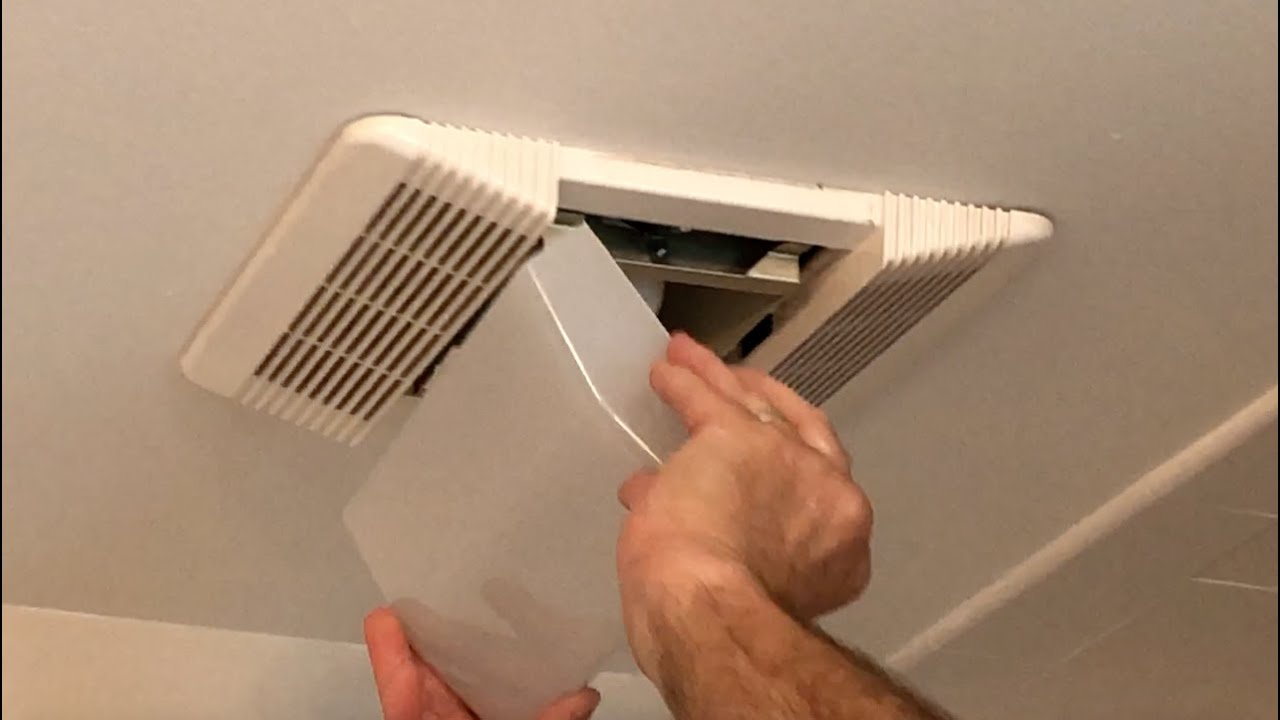
Inspect the cover for any screws or clips that are holding it in place. Depending on the design of the fixture, you may need to use a screwdriver or pliers to remove any screws or gently unclip the cover.
If there are any screws, use the appropriate screwdriver to unscrew them in a counterclockwise direction until they are fully removed. If the cover is held in place by clips, gently press or squeeze the clips to release the cover.
Once the screws or clips are removed, gently pull or slide the light bulb cover outwards. Be cautious not to apply too much force to avoid damaging the cover or the fixture.
Place the removed light bulb cover in a safe location where it won’t accidentally get knocked over or damaged. You will need to put it back in place once the new bulb is installed.
With the old light bulb cover removed, you have cleared the way to access the old light bulb. The next step is to unscrew the old light bulb from its socket. We will guide you through this process in the next step.
Make sure to turn off the power to the light fixture before attempting to change the bulb. Use a ladder or step stool to reach the light safely, and always use the correct type of bulb for your fixture.
Read more: How To Change A Brake Light Bulb
Step 5: Unscrew the old light bulb
Now that the light bulb cover has been removed, it’s time to unscrew the old light bulb from its socket. Follow these instructions to safely remove the old light bulb:
- Inspect the old light bulb:
- Gently grip the old light bulb:
- Unscrew the old light bulb:
- Remove the old light bulb:
- Set aside the old light bulb:
Before unscrewing the old light bulb, take a moment to inspect it. Look for any signs of damage, such as cracks or discoloration. If the old bulb appears damaged, handle it with caution to avoid injury.
Using a firm but gentle grip, carefully hold the base of the old light bulb. Make sure your hands are dry to ensure a secure grip.
Turn the old light bulb counterclockwise (to the left) while maintaining a steady grip. Keep turning until the old bulb is completely loosened from the socket. Be cautious not to apply excessive force or twist too forcefully, as this can cause the bulb to break.
Once the old light bulb is fully unscrewed, gently pull it straight out from the socket. Avoid touching the metal contacts or any other electrical components inside the socket.
Place the removed old light bulb in a safe location away from the work area to prevent any accidental breakage or injury. You will need to dispose of it properly later.
With the old light bulb successfully unscrewed and removed, you are now ready to replace it with a new one. In the next step, we will guide you through the process of replacing the old light bulb with a new one.
Step 6: Replace with a new light bulb
Now that you have removed the old light bulb, it’s time to replace it with a new one. Follow these steps to ensure a successful light bulb replacement:
- Select the right replacement light bulb:
- Check the condition of the socket:
- Hold the new light bulb:
- Align the new light bulb:
- Insert and screw in the new light bulb:
- Test the new light bulb:
Refer to the specifications provided by the manufacturer or the information on the old bulb to select the appropriate replacement. Consider factors such as the wattage, bulb type (incandescent, LED, etc.), and any specific recommendations for your shower fixture.
Before inserting the new light bulb, inspect the socket to ensure it is clean and free of any debris or corrosion. If necessary, clean the socket with a dry cloth or a small brush to ensure a proper connection.
Gently grasp the base of the new light bulb. Avoid touching the surface of the bulb itself, as the oils from your fingers can shorten the bulb’s lifespan.
Position the new light bulb at the opening of the socket, aligning the base of the bulb with the socket’s contacts. Ensure the bulb is level and straight before proceeding.
Gently push the new light bulb into the socket and begin turning it clockwise (to the right). Continue to screw the bulb in until it is securely seated. Do not overtighten, as this can damage the bulb or the socket.
Once the new light bulb is installed, you can turn on the power briefly to test it. Flip the circuit breaker or switch back on and observe if the new bulb illuminates. If it does not light up, double-check the connection and ensure the power is switched on before continuing.
With the new light bulb successfully installed and tested, you are one step closer to completing the shower light bulb replacement. In the next step, we will guide you through the process of turning on the power and testing the new light bulb more extensively.
Step 7: Turn on the power and test the new light bulb
Now that you have replaced the old light bulb with a new one, it’s time to turn on the power and test the functionality of the new bulb. Follow these steps to ensure everything is in working order:
- Double-check the power switch:
- Turn on the power:
- Observe the new light bulb:
- Test the light bulb function:
- Check for any issues:
Before turning on the power, make sure the circuit breaker or switch for the shower light is in the “on” position.
Flip the circuit breaker or switch back to the “on” position to restore power to the shower light fixture.
Take a moment to observe the new light bulb to see if it illuminates properly. Check for any flickering or irregularities in the light output. If the bulb does not light up, make sure it is securely screwed into the socket and that the power is on.
Turn the light switch or pull the cord to activate the shower light. Observe if the light bulb functions as intended, providing sufficient illumination in the shower area. If the light bulb does not turn on, there may be an issue with the wiring or the fixture itself. In such cases, it’s best to consult a professional electrician.
While the new light bulb is illuminated, check for any signs of overheating, unusual buzzing noises, or any other abnormalities. These could indicate a problem and should be addressed promptly.
If the new light bulb is functioning properly and there are no issues, congratulations! You have successfully replaced the shower light bulb. In the next step, we will guide you through the process of reattaching the light bulb cover.
Step 8: Replace the light bulb cover
With the new light bulb in place and tested, it’s time to reattach the light bulb cover. Follow these steps to secure the cover back onto the shower light fixture:
- Retrieve the light bulb cover:
- Align the cover with the fixture:
- Secure the light bulb cover:
- Double-check the placement:
- Turn off the power if necessary:
Take the light bulb cover that you set aside earlier and ensure it is clean and free from any dust or debris. Inspect it for any damage before proceeding.
Hold the light bulb cover up to the fixture and align it with the opening where the light bulb is installed. Make sure the cover is oriented correctly and fits snugly over the fixture.
If the cover is held in place by screws, start by inserting and tightening each screw in a clockwise direction. Ensure the cover is properly aligned as you tighten the screws. If the cover uses clips, gently press or snap them into place until the cover is secured.
Once the screws are tightened or the clips are secured, double-check to ensure that the light bulb cover is properly positioned and evenly seated on the fixture. It should fit securely in place without any loose parts.
If you turned on the power to test the new light bulb in the previous step, turn it off again before proceeding. This ensures your safety as you complete the final step of the process.
With the light bulb cover successfully reattached, you have completed the process of changing a shower light bulb. Take a moment to appreciate the restored illumination in your shower area.
Remember, it’s always a good idea to keep track of the bulb replacement date and regularly inspect the light bulb for any signs of wear or damage. This will help ensure a consistently well-functioning light source in your shower for years to come.
If you encounter any difficulties or have concerns about the process, it’s always best to consult a professional electrician for assistance. They have the expertise and knowledge to address any electrical issues and ensure the safety of your shower lighting system.
Thank you for following this comprehensive guide on how to change a shower light bulb. Enjoy your renewed shower experience with a bright and inviting light!
Read more: How To Change Oven Light Bulb
Conclusion
Changing a shower light bulb may initially seem like a daunting task, but with the right tools and proper guidance, it can be a straightforward process. By following the step-by-step instructions outlined in this guide, you can confidently replace a shower light bulb on your own, saving both time and money.
Remember, safety should always be your top priority when working with electrical components. Before beginning the process, make sure to switch off the power to the shower light and take the necessary precautions. If you’re unsure about any step or encounter any difficulties, it’s best to seek the assistance of a professional electrician.
Gathering the necessary materials, preparing the work area, switching off the power, removing the old light bulb cover, unscrewing the old light bulb, replacing it with a new one, testing the new bulb, and securing the light bulb cover are the key steps involved in changing a shower light bulb.
By following these steps, you can create a well-lit and inviting shower environment, enhancing both the functionality and aesthetics of your bathroom. Regularly inspecting and replacing light bulbs when necessary will ensure you always have a bright and enjoyable shower experience.
Now that you have the knowledge and confidence to change a shower light bulb, it’s time to put it into practice. Enjoy the process and the satisfaction of a job well done. Happy showering!
Frequently Asked Questions about How To Change A Shower Light Bulb
Was this page helpful?
At Storables.com, we guarantee accurate and reliable information. Our content, validated by Expert Board Contributors, is crafted following stringent Editorial Policies. We're committed to providing you with well-researched, expert-backed insights for all your informational needs.


0 thoughts on “How To Change A Shower Light Bulb”