
Articles
How To Change A Flood Light Bulb
Modified: December 7, 2023
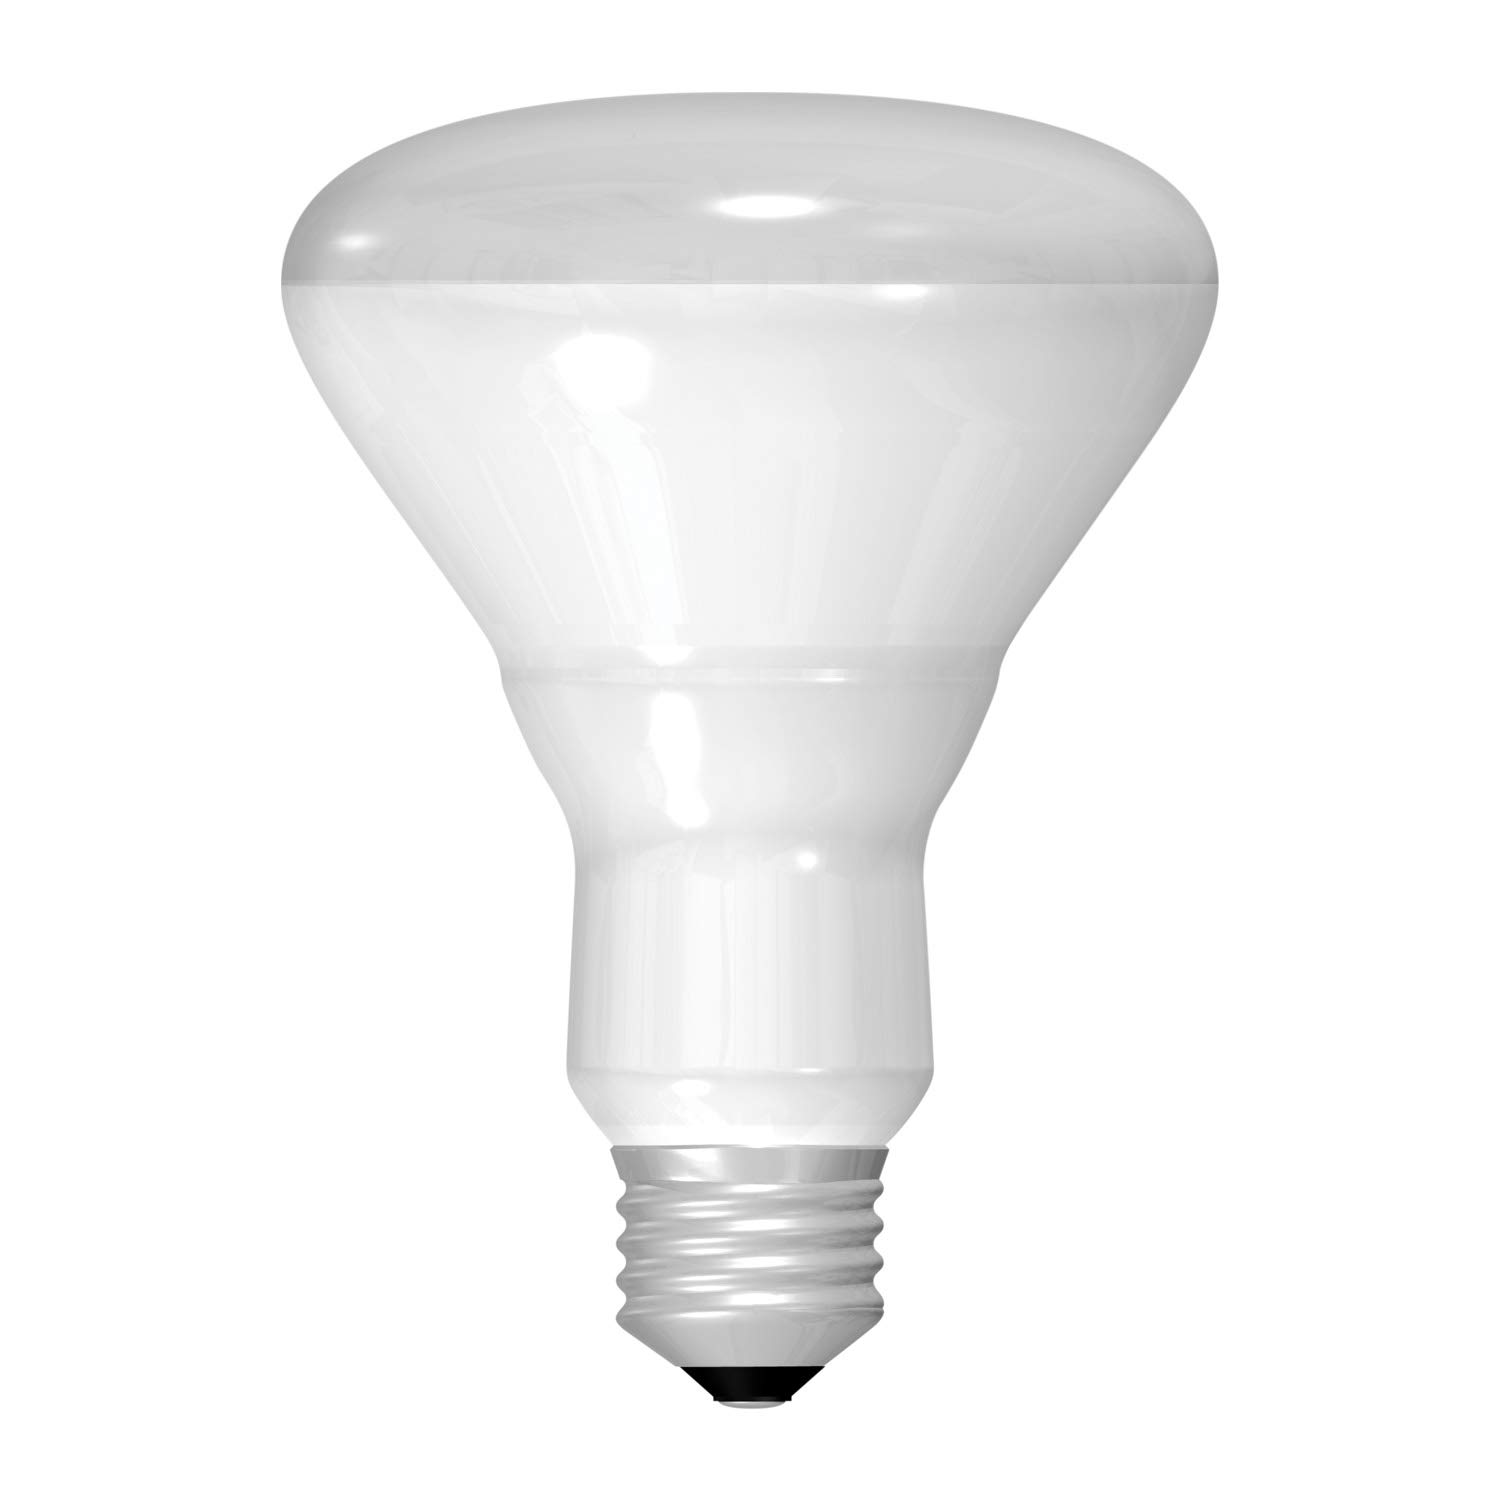
Learn how to change a flood light bulb with our informative articles. Find step-by-step instructions and helpful tips to complete the task easily.
(Many of the links in this article redirect to a specific reviewed product. Your purchase of these products through affiliate links helps to generate commission for Storables.com, at no extra cost. Learn more)
Introduction
Welcome to this comprehensive guide on how to change a flood light bulb. Whether you’re a seasoned DIY enthusiast or a newbie in the world of home maintenance, this step-by-step article will provide you with the necessary knowledge and expertise to successfully replace a flood light bulb.
A flood light is an essential component of any outdoor lighting setup. It provides bright and wide-ranging illumination, making it perfect for illuminating large areas such as driveways, yards, and parking lots.
Over time, bulbs in flood lights can burn out, reducing the effectiveness of the lighting and leaving your property in the dark. Knowing how to change a flood light bulb will not only ensure that your outdoor area remains well-lit but also help you save money by avoiding the need to hire a professional.
Before we dive into the step-by-step process of changing a flood light bulb, let’s address some common questions and concerns you may have.
Key Takeaways:
- Safety first! Always turn off the power supply, wear protective gloves, and secure your footing when changing a flood light bulb. Prioritize safety to avoid accidents and ensure a smooth process.
- Choose the right replacement bulb by considering type, wattage, brightness, color temperature, and durability. Opt for LED bulbs for energy efficiency and long-term savings. Proper installation and testing are crucial for optimal performance.
Read more: How To Change Bulb In Outdoor Flood Light
FAQs
Q: How often do flood light bulbs need to be changed?
A: The lifespan of a flood light bulb depends on various factors, such as the type of bulb, the brand, and the number of hours it is used. On average, most flood light bulbs last between 2,000 to 15,000 hours. If you notice a significant decrease in brightness or if the bulb is completely burned out, it’s time to replace it.
Q: What type of bulb should I use for my flood light?
A: Flood lights typically use either halogen, LED, or CFL bulbs. LED bulbs are the most energy-efficient and long-lasting option. They are more expensive upfront but can save you money in the long run due to their lower energy consumption and longer lifespan. Halogen bulbs are commonly used but have shorter lifespans and are less energy-efficient. CFL bulbs are a cost-effective option but are less common for flood lights.
Q: How can I ensure my safety while changing a flood light bulb?
A: Safety is of utmost importance when working with electricity. Before changing a flood light bulb, make sure to turn off the power supply to the fixture at the main breaker. Use a sturdy ladder or step stool to access the light fixture, and wear gloves to protect your hands from any glass shards. If you’re unsure or uncomfortable with the process, it’s best to consult a professional electrician.
Now that we’ve addressed some common concerns, let’s move on to the necessary tools and materials you’ll need for the task.
Necessary Tools and Materials
Before you begin the process of changing a flood light bulb, it’s essential to gather all the necessary tools and materials. Having everything ready beforehand will help make the process smoother and more efficient. Here’s a list of what you’ll need:
- Safety gloves: Disposable or heavy-duty gloves will protect your hands from broken glass and potential electrical shocks.
- Ladder or step stool: Depending on the height of your flood light, you’ll need a secure and stable ladder or step stool to reach the light fixture.
- Replacement bulb: Make sure to have a suitable replacement bulb on hand before you start. Refer to the old bulb or check the fixture’s specifications for the correct bulb type and wattage.
- Screwdriver: Depending on the type of fixture, you may need a screwdriver to remove any screws or fasteners holding the light housing in place.
- Electrical tape: Electrical tape can be useful for securing wire connections or providing an extra layer of insulation.
- Rags or paper towels: Keep some rags or paper towels nearby to clean any dirt or debris from the fixture or your hands.
Having these tools and materials readily available will save you time and ensure that you’re able to complete the task without any interruptions or delays.
Now that you have everything you need, it’s time to move on to the first step: taking safety precautions. Safety should always be your top priority when dealing with electrical components, so let’s ensure that you’re well-prepared.
Step 1: Safety Precautions
Prioritizing safety is crucial when working with electrical components. Before you start changing a flood light bulb, make sure to follow these safety precautions:
- Turn off the power supply: Locate the circuit breaker that controls the power to the flood light. Flip the corresponding switch to the “Off” position to ensure that no electricity is flowing to the fixture.
- Allow the bulb to cool down: If the flood light has been on recently, give the bulb ample time to cool down completely. Hot bulbs can cause burns or shatter when touched.
- Wear safety gloves: Put on a pair of safety gloves to protect your hands from broken glass and potential electrical shocks. Ensure that the gloves fit well and provide a good grip.
- Secure your footing: If you’re using a ladder or step stool to reach the flood light, make sure it is placed on a stable and level surface. Position the ladder or step stool securely to prevent any accidents or falls.
- Inspect the fixture: Before touching anything, visually inspect the flood light fixture for any signs of damage, such as frayed wires or loose connections. If you notice any issues, it’s best to consult a professional electrician.
By following these safety precautions, you’ll reduce the risk of accidents and ensure a safe working environment. Remember, if you feel uncertain or uncomfortable at any point during the process, it’s always advisable to seek professional assistance.
Now that you’ve taken the necessary safety measures, you’re ready to move on to the next step: preparing the area around the flood light.
Step 2: Preparing the Area
Before replacing the flood light bulb, it’s important to properly prepare the area to ensure a smooth and hassle-free process. Follow these steps to prepare the area:
- Clean the surrounding area: Remove any debris or dirt from the area around the flood light fixture. Use a broom or a brush to sweep away leaves, cobwebs, or any other obstructions that may hinder your work.
- Clear the workspace: Make sure your workspace is clear of any objects or obstacles that could impede your movements. This includes furniture, gardening tools, or other items that may be in close proximity to the flood light.
- Secure any loose connections: Check the fixture for any loose wires or connections. Tighten them carefully, ensuring that all connections are secure and properly insulated. This will minimize the risk of electrical shocks or malfunctions.
- Ensure proper lighting: If necessary, use a portable lighting source, such as a flashlight or a headlamp, to provide additional illumination while working on the flood light. This will make it easier to see what you’re doing, especially if the area is poorly lit.
Preparing the area will create a safe and organized workspace, allowing you to focus on the task at hand without any unnecessary disruptions. Once you’ve completed these preparations, you’re ready to move on to the next step: removing the old bulb.
When changing a flood light bulb, make sure to turn off the power to the fixture before attempting to remove the old bulb and install the new one. This will help prevent any electrical accidents.
Read more: What Is A Flood Light Bulb?
Step 3: Removing the Old Bulb
Now that you have prepared the area, it’s time to remove the old bulb from the flood light fixture. Follow these steps to safely remove the old bulb:
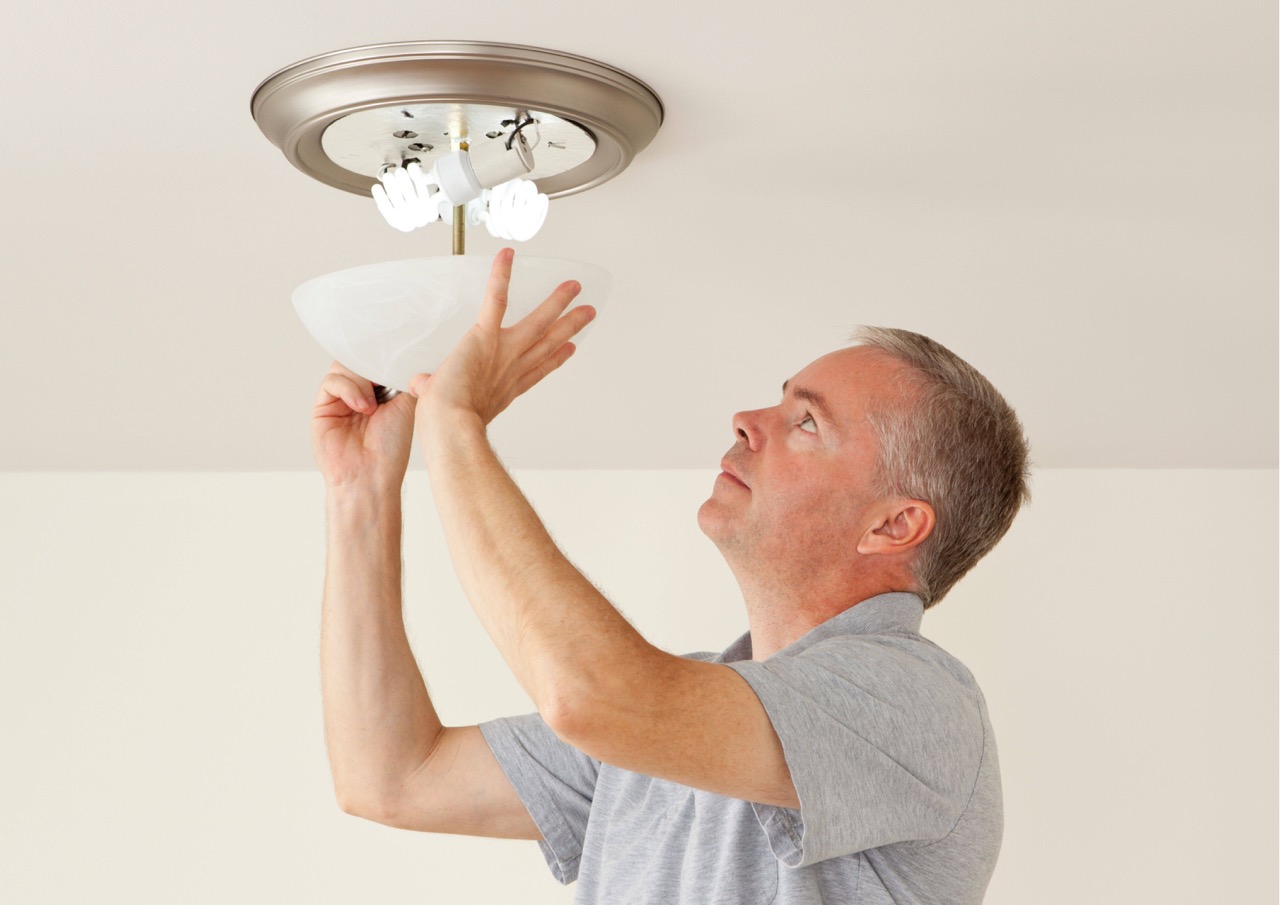
- Inspect the fixture: Carefully examine the flood light fixture to identify how the bulb is secured. Some fixtures may have a screw-in base, while others may have a twist-lock or push-and-release mechanism.
- Turn the bulb counterclockwise: If your flood light bulb is a screw-in type, grip the bulb firmly and turn it counterclockwise to loosen it from the socket. Be cautious not to apply excessive force that could damage the fixture.
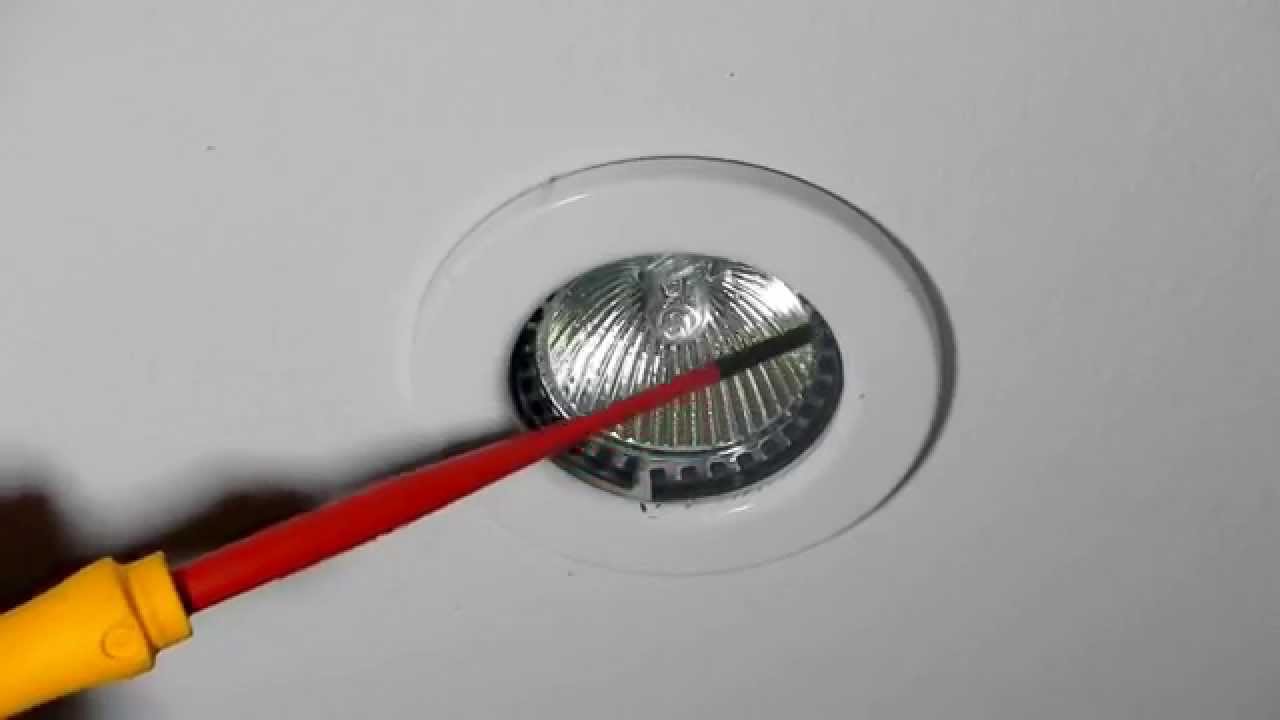
- Release the bulb: For twist-lock or push-and-release mechanisms, carefully follow the manufacturer’s instructions to release and remove the old bulb from the socket. This may involve rotating the bulb or gently pulling it out of the socket.
- Dispose of the old bulb: Once you have successfully removed the old bulb, place it in a safe and appropriate container for disposal. You can check with your local recycling or waste disposal guidelines for the proper method of disposing of the bulb.
Remember to handle the old bulb with care, as it may be fragile or contain delicate components. If the bulb has shattered or broken, ensure that you handle the pieces safely using gloves and avoid direct contact with your skin.
With the old bulb successfully removed, you’re now ready to move on to the next step: choosing a suitable replacement bulb for your flood light.
Step 4: Choosing a Replacement Bulb
When it comes to selecting a replacement bulb for your flood light, it’s important to choose the right type and size to ensure optimal performance. Here’s what you need to consider when choosing a replacement bulb:
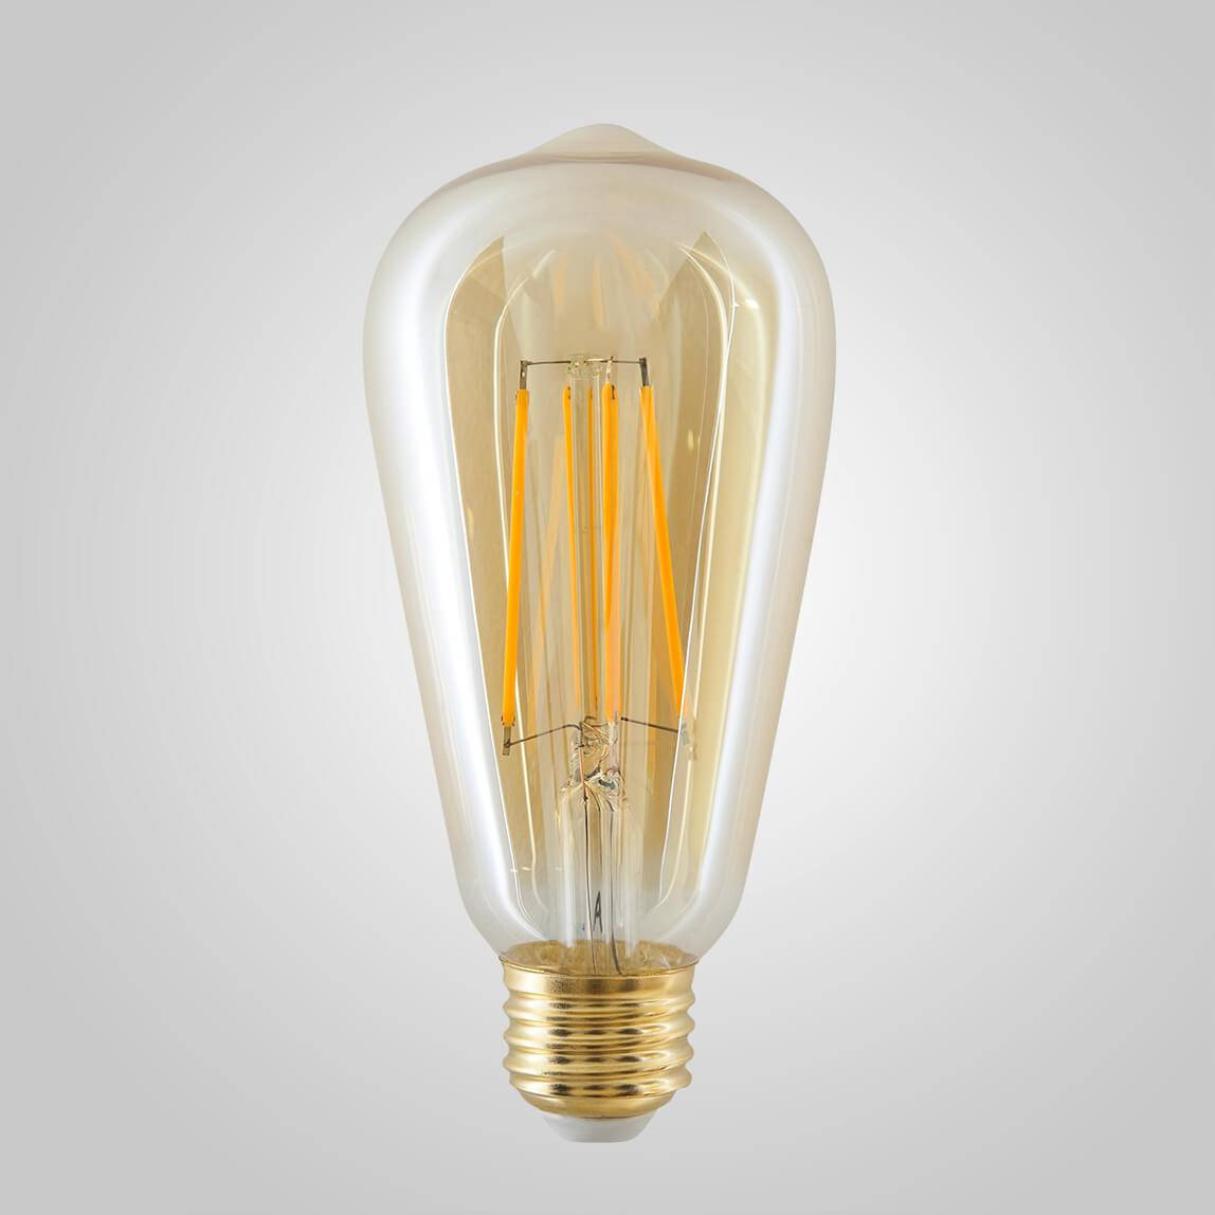
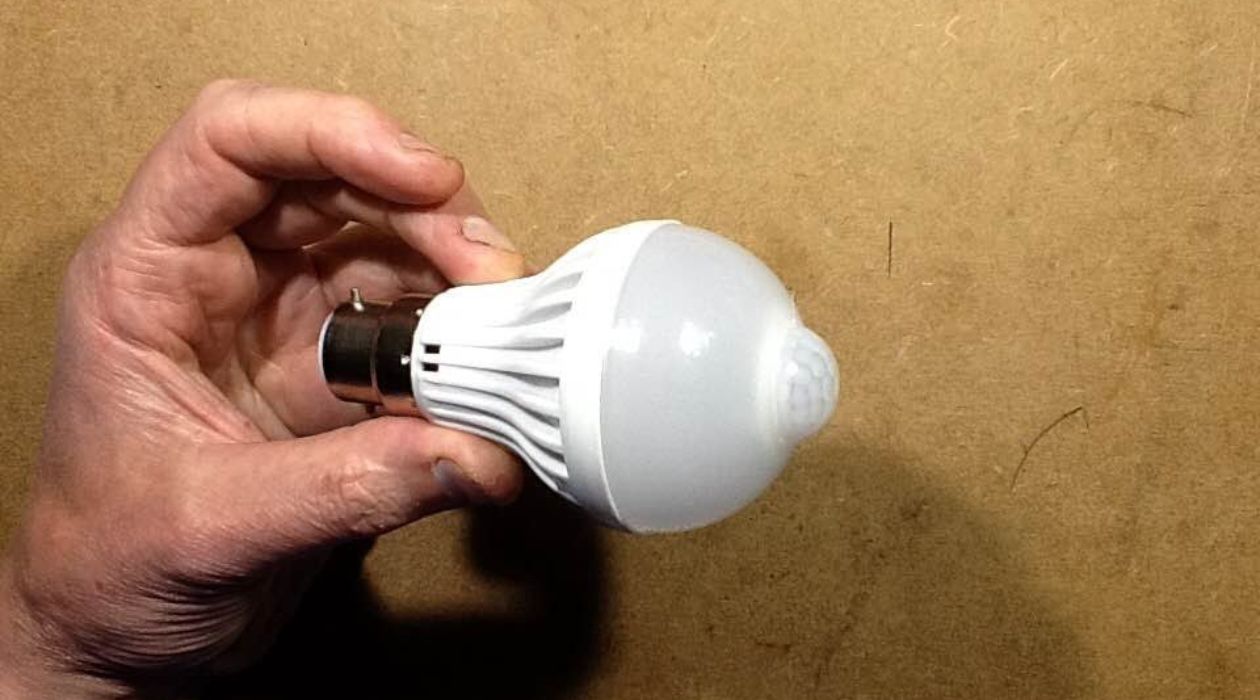
- Bulb Type: Determine the type of bulb that is compatible with your flood light fixture. Common options include halogen, LED, and CFL bulbs. LEDs are highly recommended due to their energy efficiency, long lifespan, and brighter output.
- Bulb Wattage: Check the fixture specifications or the old bulb to identify the recommended wattage. It’s crucial to use a bulb with the correct wattage to prevent electrical issues or damage to the fixture.
- Bulb Brightness: Consider the desired brightness level of your flood light. Different bulbs have varying brightness levels, measured in lumens. Choose a bulb that provides the desired level of illumination for your outdoor space.
- Bulb Color Temperature: LED bulbs offer various color temperatures, ranging from warm white to cool white. Consider the desired ambiance and functionality when selecting the color temperature of the replacement bulb.
- Bulb Durability: Consider the durability and lifespan of the bulb. LED bulbs tend to have longer lifespans compared to halogen or CFL bulbs, making them a cost-effective and low-maintenance option.
Once you have determined the specifications for your replacement bulb, head to your local hardware store or shop online to find the perfect match. Consult with an expert if you’re unsure or have any specific requirements for your flood light.
With the replacement bulb in hand, you’re one step closer to restoring proper illumination to your outdoor space. The next step is to install the new bulb, which we will cover in detail in the following section.
Step 5: Installing the New Bulb
Now that you have chosen the perfect replacement bulb for your flood light, it’s time to install it. Follow these steps to safely and properly install the new bulb:
- Ensure the power supply is still turned off: Double-check that the power supply to the flood light fixture is still turned off at the circuit breaker. This is a crucial safety measure to prevent any electrical shocks or mishaps while installing the new bulb.
- Prepare the new bulb: Carefully remove the new bulb from its packaging and inspect it for any damage. Do not touch the bulb’s glass with your bare hands as it can reduce its lifespan or decrease its efficiency. If you do accidentally touch it, clean the bulb with a soft cloth or tissue before proceeding.
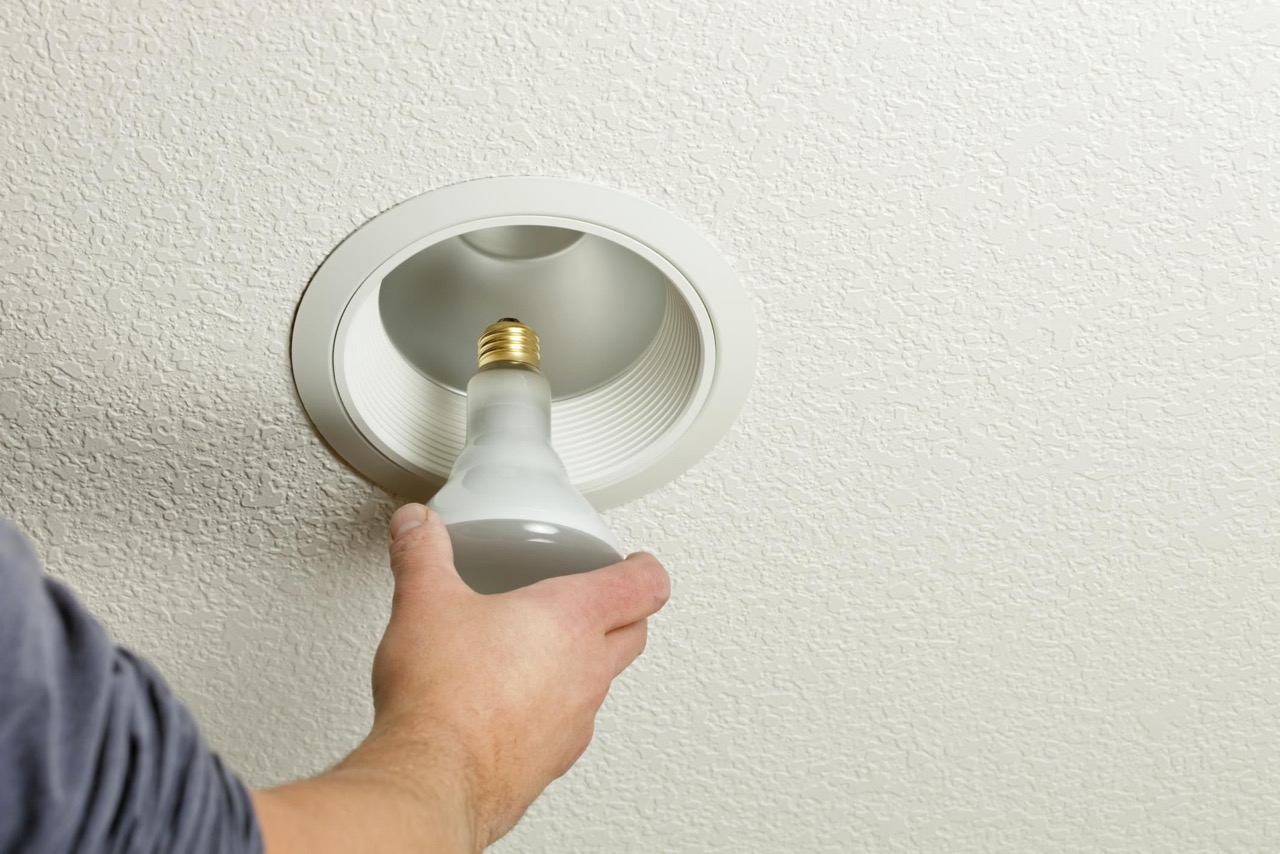
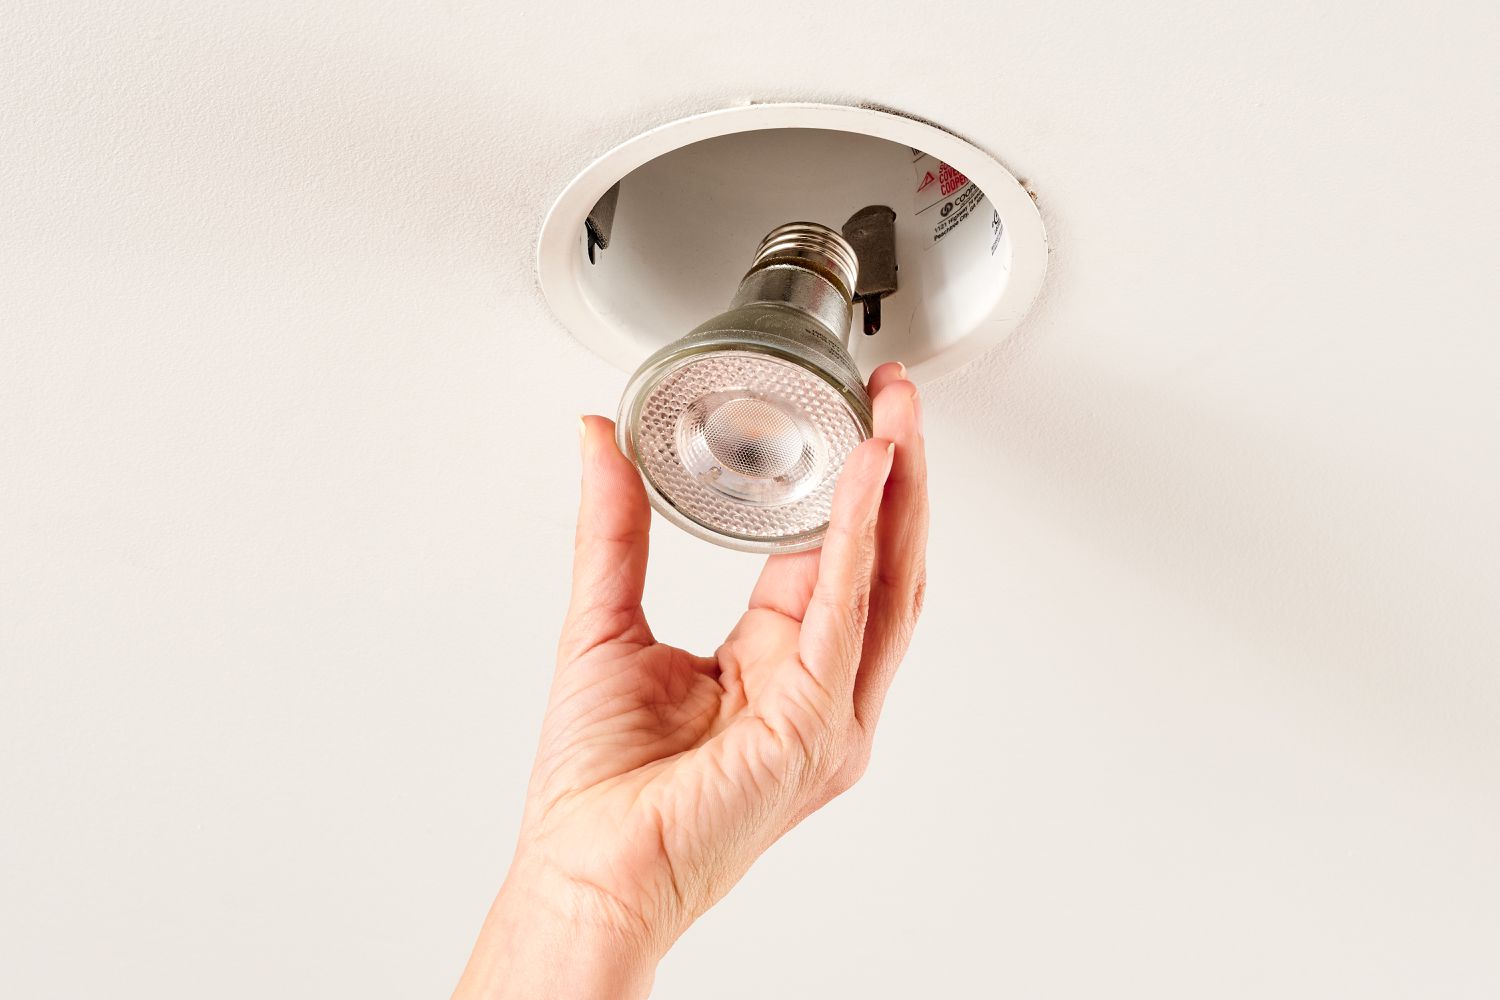
- Align the bulb: Orient the new bulb in the correct position to match the socket. If it’s a screw-in type, align the base of the bulb with the socket and gently twist it clockwise to secure it. For twist-lock or push-and-release mechanisms, follow the manufacturer’s instructions to align and insert the bulb into the socket.
- Secure the bulb: Once the bulb is properly aligned, gently press or twist it to secure it in place. Ensure that it is firmly seated in the socket to avoid vibrations or accidental dislodging when the light is turned on.
- Test the bulb: Before closing up the fixture, it’s wise to test the new bulb to ensure it is functioning correctly. Turn on the power supply at the circuit breaker and switch on the flood light from the appropriate switch. If the bulb lights up as expected, you have successfully installed the new bulb.
It’s important to note that different flood light fixtures may have variations in the installation process. Always refer to the manufacturer’s instructions or consult a professional if you encounter any difficulties or uncertainties during the installation.
Now that the new bulb is securely installed, it’s time to move on to the final step: testing the new bulb to ensure proper functionality and performance.
Step 6: Testing the New Bulb
Now that you have successfully installed the new bulb in your flood light fixture, it’s crucial to test it to ensure it is working properly. Follow these steps to test the new bulb:
- Verify the power supply: Ensure that the power supply to the flood light fixture is turned on. Double-check the circuit breaker to verify that the power is flowing to the fixture.
- Switch on the flood light: Use the designated switch or control to turn on the flood light. Allow a few moments for the bulb to reach its full brightness.
- Observe the illumination: Watch carefully to ensure that the new bulb emits a bright and consistent light. Check for any flickering, dimming, or abnormalities in the light output. If you notice any issues, it may indicate a problem with the bulb or the fixture itself.
- Check for proper positioning: While the light is on, visually inspect the new bulb to ensure it is securely positioned within the fixture. Verify that there are no loose connections or signs of instability.
- Monitor the bulb’s performance: Leave the flood light on for a few minutes and monitor the new bulb’s performance. Look for any signs of overheating, unusual noises, or other indicators of malfunction.
If the new bulb functions properly, emits a steady light, and meets your desired brightness level, congratulations! You have successfully replaced the flood light bulb. However, if you encounter any issues during the testing phase, it may be necessary to troubleshoot the problem or seek professional assistance.
Remember, proper maintenance and periodic checks of your flood light bulbs can help ensure their longevity and efficiency. If you notice any decrease in brightness or signs of wear and tear, it’s a good idea to proactively replace the bulbs to maintain optimal lighting in your outdoor space.
Now that you have completed the process of changing the flood light bulb and tested the new bulb, it’s time to conclude this guide and admire your well-lit and functional outdoor lighting setup.
Read more: How To Change A Light Bulb
Conclusion
Congratulations on successfully completing the process of changing a flood light bulb! By following the steps outlined in this guide, you have demonstrated your ability to handle basic electrical tasks and maintain the functionality of your outdoor lighting.
Remember, safety should always be your top priority when working with electricity. Always ensure that the power supply is turned off before starting any electrical work, and wear protective gloves to prevent any accidents or injuries.
Choosing the right replacement bulb is crucial for optimal performance and energy efficiency. Consider factors such as bulb type, wattage, brightness, color temperature, and durability to select the most suitable option for your flood light fixture.
When installing the new bulb, make sure to align it correctly with the socket and secure it firmly in place. Test the bulb to ensure it is functioning properly and emits a consistent and bright light. If any issues arise during the testing phase, troubleshoot the problem or consult a professional to ensure a safe and efficient lighting solution.
Regular maintenance and periodic checks of your flood light bulbs will help improve their lifespan and maintain consistent illumination in your outdoor space. Replace any bulbs that show signs of wear and tear to avoid diminishing their performance.
With your newfound knowledge and skills in changing flood light bulbs, you can save both time and money by handling this simple task on your own. Enjoy the benefits of a well-lit outdoor area and the peace of mind that comes from maintaining your own home.
Thank you for reading this comprehensive guide. We hope it has empowered you to confidently tackle the process of changing a flood light bulb. Shine bright!
Now that you've mastered changing a flood light bulb, why not broaden your home care knowledge? For those curious about regular upkeep, our guide on home maintenance tasks offers practical advice. If modern decor is your interest, check out our recommendations on stylish LED mirrors, perfect for enhancing any room. Outdoor enthusiasts will appreciate our creative patio lighting solutions, designed to illuminate and transform your exterior spaces into welcoming retreats for evening relaxation.
Frequently Asked Questions about How To Change A Flood Light Bulb
Was this page helpful?
At Storables.com, we guarantee accurate and reliable information. Our content, validated by Expert Board Contributors, is crafted following stringent Editorial Policies. We're committed to providing you with well-researched, expert-backed insights for all your informational needs.


0 thoughts on “How To Change A Flood Light Bulb”