
Articles
How To Fix Wood Stairs
Modified: October 20, 2024
Learn how to fix and repair wood stairs with our informative articles. Find step-by-step instructions and expert tips to ensure a safe and sturdy staircase.
(Many of the links in this article redirect to a specific reviewed product. Your purchase of these products through affiliate links helps to generate commission for Storables.com, at no extra cost. Learn more)
Introduction
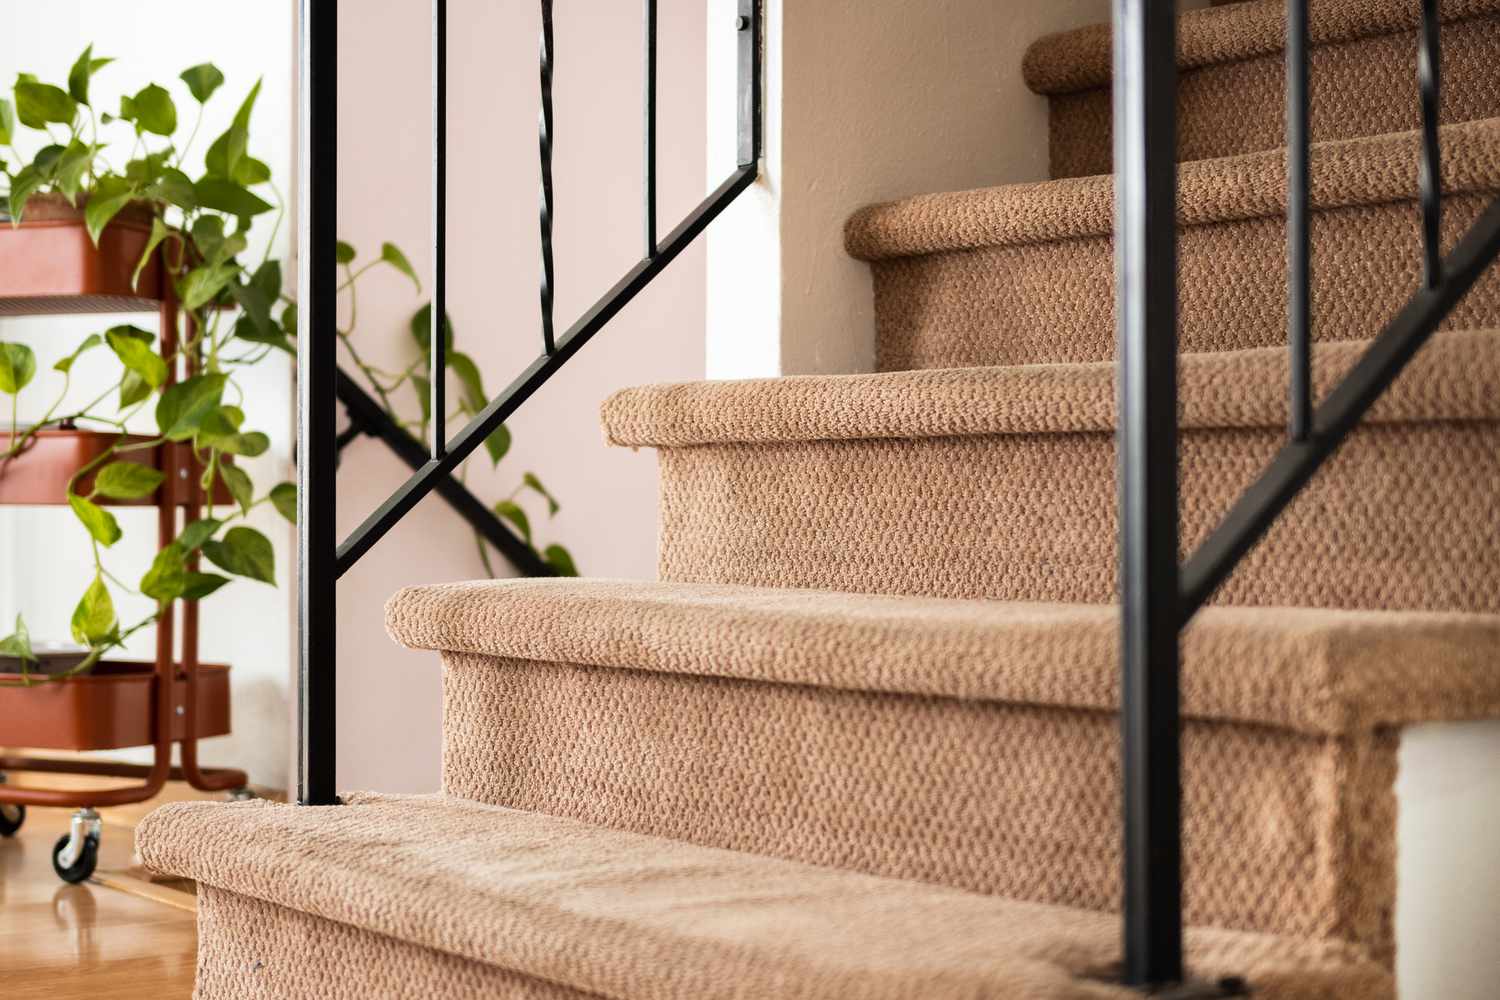
Wood stairs add warmth and elegance to any home. Over time, however, they can become worn, creaky, or damaged due to regular use and exposure to environmental factors. Fortunately, you don’t have to live with squeaky stairs or unsightly damage. With some basic knowledge and a little DIY effort, you can fix wood stairs and restore them to their former glory. In this article, we’ll provide you with a step-by-step guide on how to fix wood stairs.
Before we dive into the repair process, it’s essential to note that the extent and nature of the repairs required will depend on the specific issues your wood stairs are facing. It’s crucial to assess the damage and determine the scope of repair before proceeding.
In the following sections, we’ll guide you through the necessary steps and provide helpful tips to ensure a successful wood stair repair project. From identifying the problem to applying a protective finish, you’ll gain the knowledge and confidence to tackle this project with ease.
So, let’s roll up our sleeves and get started on fixing those wood stairs!
Key Takeaways:
- Regular maintenance and DIY repairs can restore wood stairs to their former glory. From identifying issues to applying protective finish, this comprehensive guide empowers homeowners to tackle stair repairs with confidence.
- Thorough assessment, proper tools, and attention to detail are essential for successful wood stair repairs. With patience and the right approach, anyone can rejuvenate their stairs and enhance their home’s ambiance.
Read more: Why Is There Stairs In The Woods
Step 1: Identify the Problem
The first step in fixing wood stairs is to identify the specific issues that need to be addressed. Common problems with wood stairs include loose or creaky steps, damaged or broken treads or risers, or worn-out finishes. By closely inspecting your stairs, you can determine the exact nature of the problem and plan the appropriate repairs.
To identify the problem, start by carefully walking up and down the stairs, paying attention to any unusual sounds, movements, or visible damage. Check for loose steps by applying pressure with your foot or hand to see if they move or make noise. Look for cracks, splits, or chips in the treads and risers. Examine the condition of the finish, checking for signs of wear, scratches, or discoloration.
If you’re dealing with creaky stairs, have a helper walk up and down while you try to pinpoint the source of the noise. This will help you determine if the problem is with the tread, riser, or the connection between the stair and the subfloor.
Once you have identified the specific problems, make a list and prioritize the repairs based on their severity. This will help you plan your project effectively and ensure that you address the most critical issues first.
It’s important to note that if you’re unsure about the extent of the damage or the best course of action, consulting a professional contractor or woodworker can provide valuable guidance and expertise.
Now that you’ve identified the problems, it’s time to move on to the next step, gathering the necessary tools and materials.
Step 2: Gather the Necessary Tools and Materials
Before you begin repairing your wood stairs, it’s essential to gather all the necessary tools and materials. Having everything you need on hand will save you time and ensure a smoother repair process. Here’s a list of tools and materials you may need:
- Screwdriver or drill: For tightening loose screws or removing damaged treads.
- Hammer: To fix loose nails or secure loose parts.
- Pry bar: Useful for removing damaged treads or risers.
- Wood glue: For reattaching loose parts or fixing cracked wood.
- Sanding block or orbital sander: To smooth out any rough surfaces.
- Wood filler: For filling in cracks, chips, or gaps in the wood.
- Paint or stain: If you plan on refinishing the stairs.
- Paintbrush or foam brush: To apply the paint or stain.
- Protective finish: Such as polyurethane, to protect the wood.
- Safety goggles and dust mask: To protect your eyes and lungs during the sanding process.
Additionally, you may need specific tools or materials depending on the extent of the repairs and the type of wood used for your stairs. For example, if you have carpeted stairs, you may need a carpet knife or adhesive remover to remove the carpet before starting the repair process.
Make sure to check the manufacturer’s instructions or consult with a professional for any specialized tools or materials required for your specific situation.
Once you have all the necessary tools and materials ready, you’re one step closer to fixing your wood stairs. In the next step, we’ll discuss how to assess the damage and determine the scope of repair.
Step 3: Assess the Damage and Determine the Scope of Repair
After identifying the problems with your wood stairs and gathering the necessary tools and materials, it’s time to assess the damage and determine the scope of repair. Assessing the damage will help you understand the level of repair required and plan for the necessary steps to restore your wood stairs.
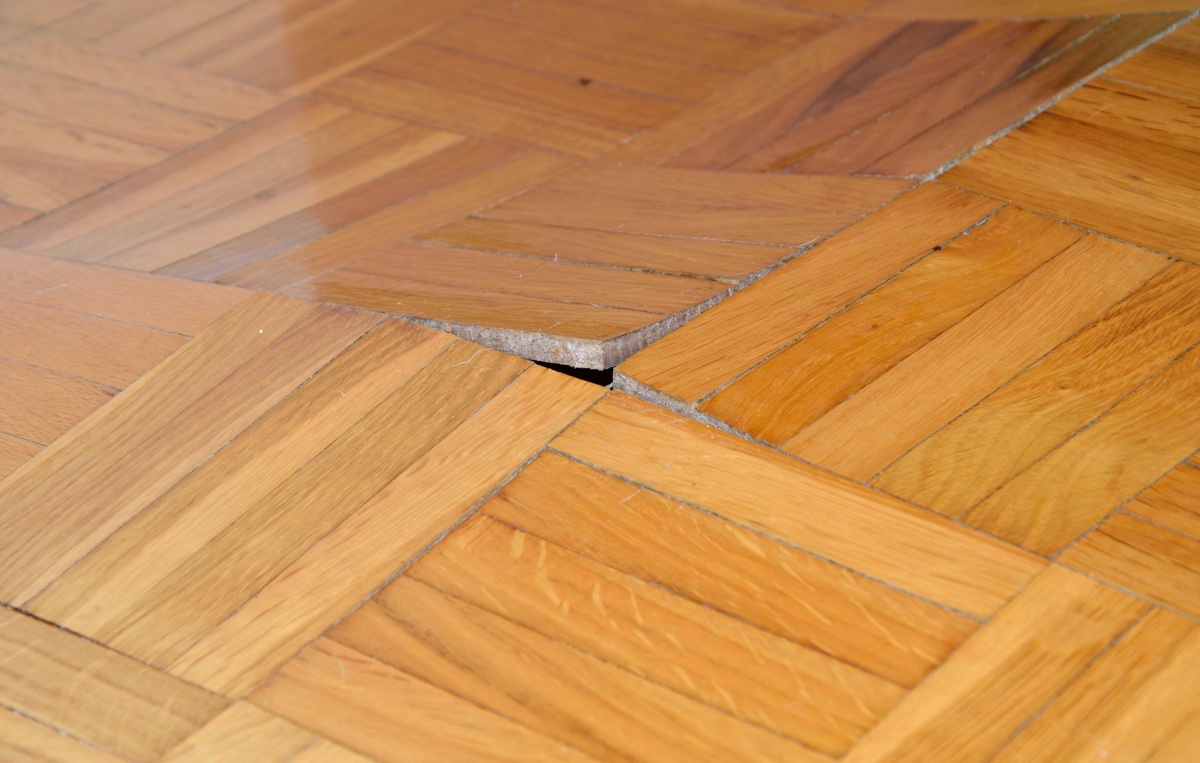
Start by examining each step individually and assessing its condition. Look for cracks, splits, or chips in the wood, which may require repairs or replacements. If you have carpeted stairs, remove the carpet to get a better look at the underlying wood.
Check for loose or creaky steps by applying pressure and wiggling them gently. This will help you identify steps that need tightening or reinforcement. Take note of any loose or damaged treads or risers that need repair or replacement.
In addition to the individual steps, inspect the overall structure of the staircase. Look for any signs of movement, such as gaps between the stairs and the wall or wobbling when pressure is applied. These issues may indicate a more significant structural problem that needs to be addressed.
Once you have assessed the damage to the steps and evaluated the overall structure, make a detailed list of the repair tasks required. Prioritize the tasks based on the severity of the damage and the importance of each repair. This will help you plan your project timeline and ensure that you address the most critical issues first.
Keep in mind that some repairs may require the expertise of a professional, such as structural issues or extensive damage beyond your DIY capabilities. Consulting with a contractor or woodworker can provide valuable insights and guidance on the scope of repair and the best course of action.
By thoroughly assessing the damage and determining the scope of repair, you’ll have a clear understanding of the work that needs to be done. In the next step, we’ll discuss how to fix loose or creaky steps, one of the most common problems with wood stairs.
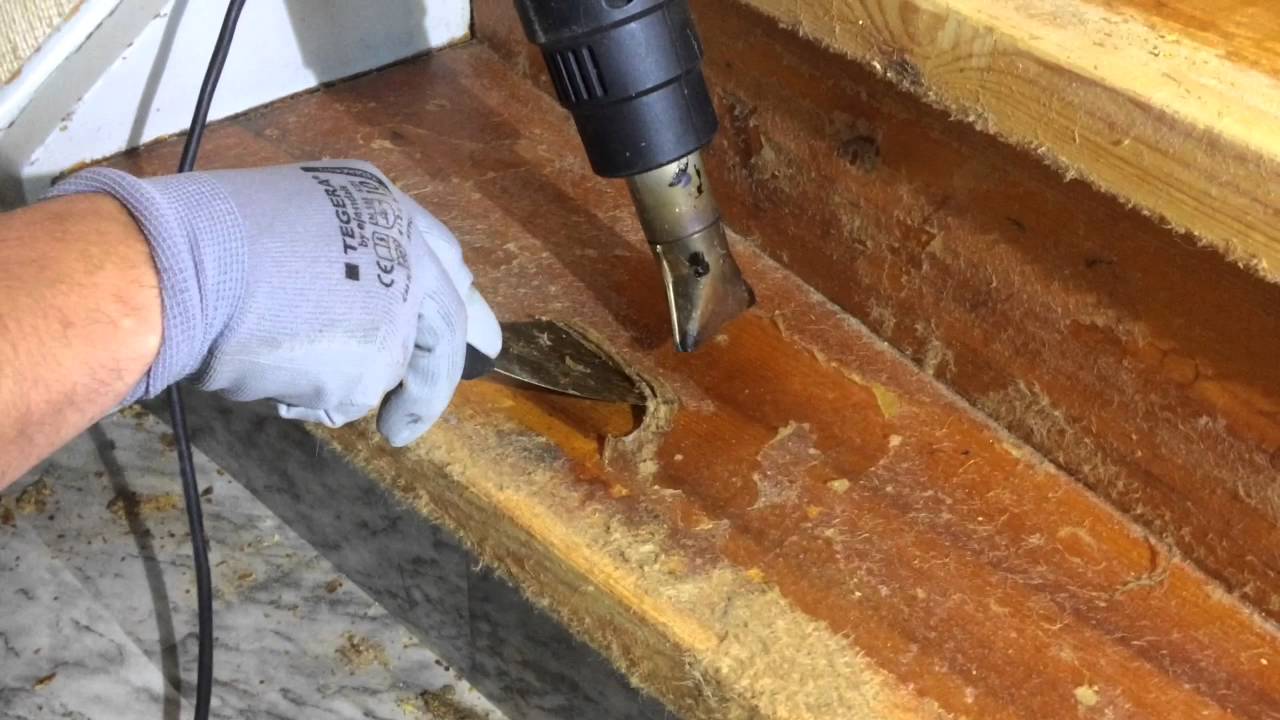
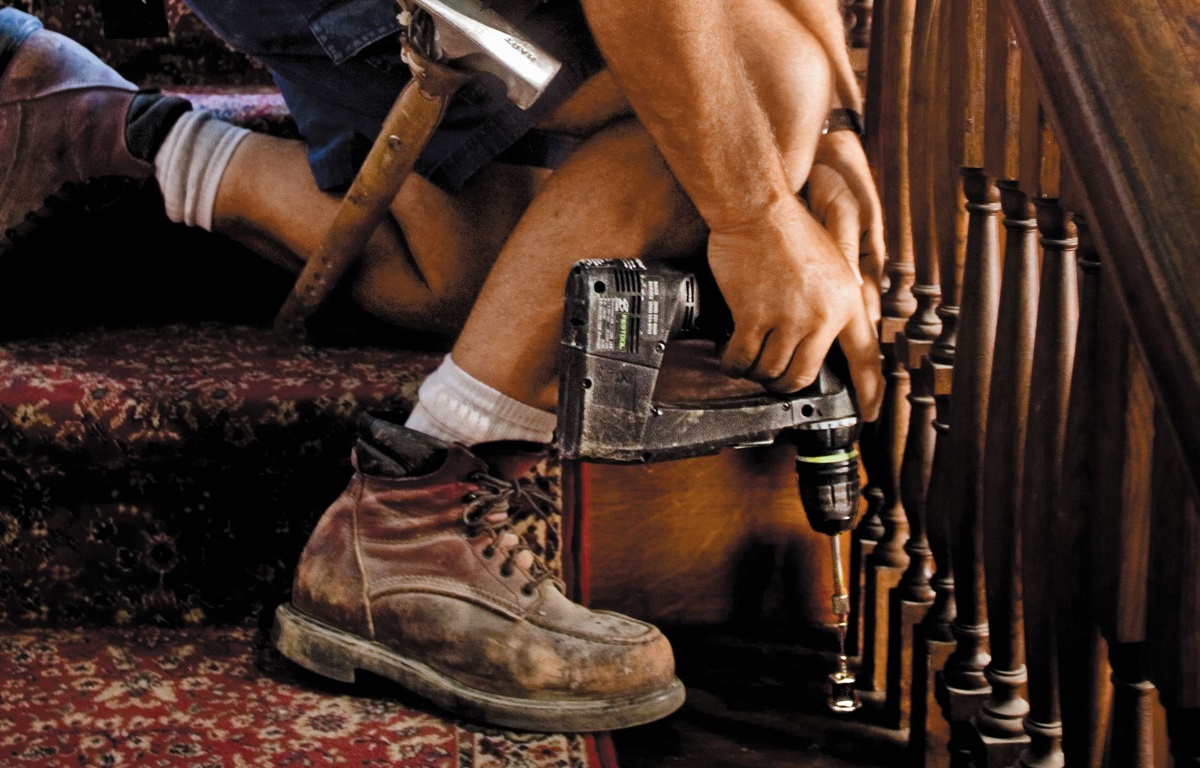
Step 4: Fix Loose or Creaky Steps
Loose or creaky steps are not only annoying but also pose a safety risk. Fortunately, fixing these issues is relatively simple and can be done using a few basic tools and materials. Here’s a step-by-step guide on how to fix loose or creaky steps:
- Start by removing any carpeting or covering on the steps to access the underlying wood.
- Using a screwdriver or drill, tighten any loose screws that connect the step to the stringer or riser. If the screws are stripped or no longer hold, replace them with longer and thicker screws to provide a more secure connection.
- If the step still feels loose, you can reinforce it by adding wood glue to the joints. Apply wood glue along the mating surfaces between the step and the stringer or riser, then use clamps to hold the step in place until the glue dries.
- If the step is still creaky after tightening the screws and adding glue, you can use shims to further secure it. Insert thin wooden shims into any gaps between the step and the stringer or riser, then tap them in gently using a hammer. This will provide additional support and eliminate the creaking.
- Allow the glue to dry completely before putting any weight on the repaired step.
Make sure to repeat these steps for any other loose or creaky steps on your wood staircase. It’s important to address all the problem areas to ensure the stability and safety of your stairs.
If you encounter any damaged wood during the repair process, such as a cracked or split step, you may need to replace the affected part. Use a pry bar to carefully remove the damaged step, then replace it with a new one. Secure the new step using screws and wood glue for optimal stability.
Remember to double-check the tightness of all screws and the stability of the repaired steps before moving on to the next step of the repair process.
Now that you’ve successfully fixed the loose or creaky steps, it’s time to address any damaged or broken steps. In the next step, we’ll discuss how to repair or replace damaged steps to restore the integrity and beauty of your wood stairs.
When fixing wood stairs, make sure to thoroughly inspect the stairs for any loose or damaged treads, risers, or handrails. Secure any loose components with screws or nails, and replace any damaged parts to ensure the stairs are safe and sturdy.
Read more: How To Clean Wood Stairs
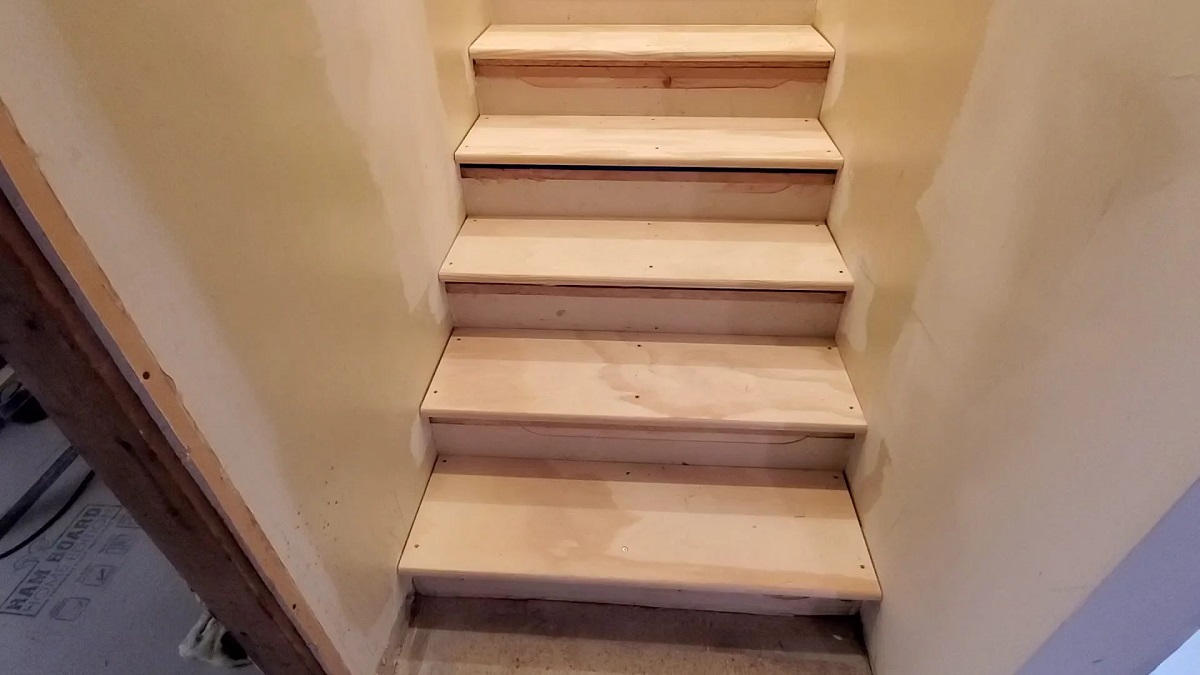
Step 5: Repair or Replace Damaged Steps
Damaged steps can be an eyesore and compromise the structural integrity of your wood stairs. In this step, we’ll guide you through the process of repairing or replacing damaged steps to restore their functionality and aesthetics. Here’s what you need to do:
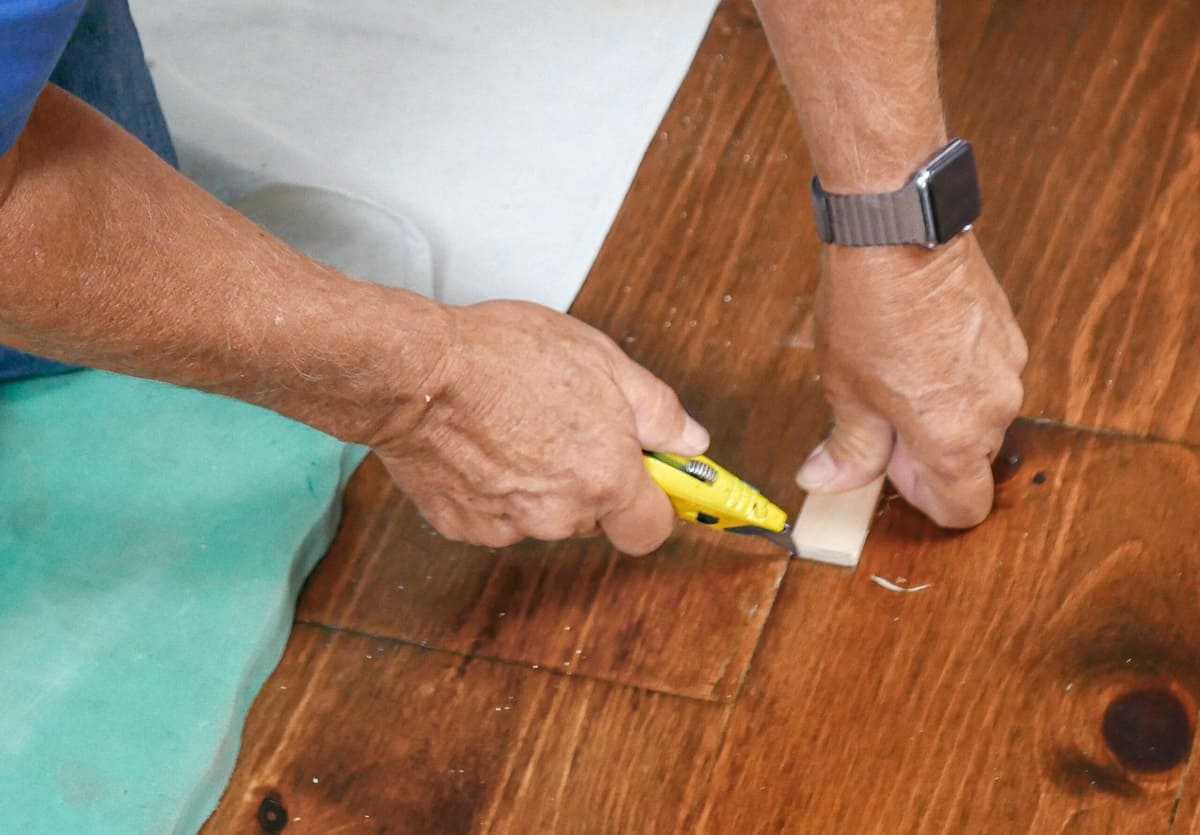
- If the step is only slightly damaged, such as having minor scratches or chips, you can repair it using wood filler. Start by cleaning the damaged area to remove any dirt or debris. Then, apply the wood filler using a putty knife, smoothing it out to match the surrounding wood. Allow the wood filler to dry completely before sanding it down and refinishing the step.
- If the damage is more severe, such as a cracked or split step, it may be necessary to replace the entire step. To do this, use a pry bar to carefully remove the damaged step from the stringer or riser. Measure and cut a replacement step to the same dimensions as the original. Install the new step by screwing it in place and securing it with wood glue to ensure a sturdy connection.
- For broken or damaged risers, follow a similar process as replacing a step. Remove the damaged riser, cut a replacement to size, and secure it in place using screws and wood glue. Make sure to align the new riser to match the surrounding stairs.
- Once you have repaired or replaced the damaged steps, sand down the repaired areas and the entire staircase to create a smooth and even surface. Start with rough-grit sandpaper and progress to finer-grit for a polished finish.
- If you want to preserve the natural wood appearance, you can apply a clear finish to protect and enhance the beauty of the stairs. Apply the finish using a paintbrush or foam brush, following the product’s instructions.
By repairing or replacing damaged steps, you can restore the structural integrity and visual appeal of your wood stairs. Make sure to take care in the repair process and pay attention to detail to achieve the best results.
With the damaged steps repaired, it’s time to move on to the next step: sanding and refinishing the stairs. We’ll discuss this in detail in the following step.
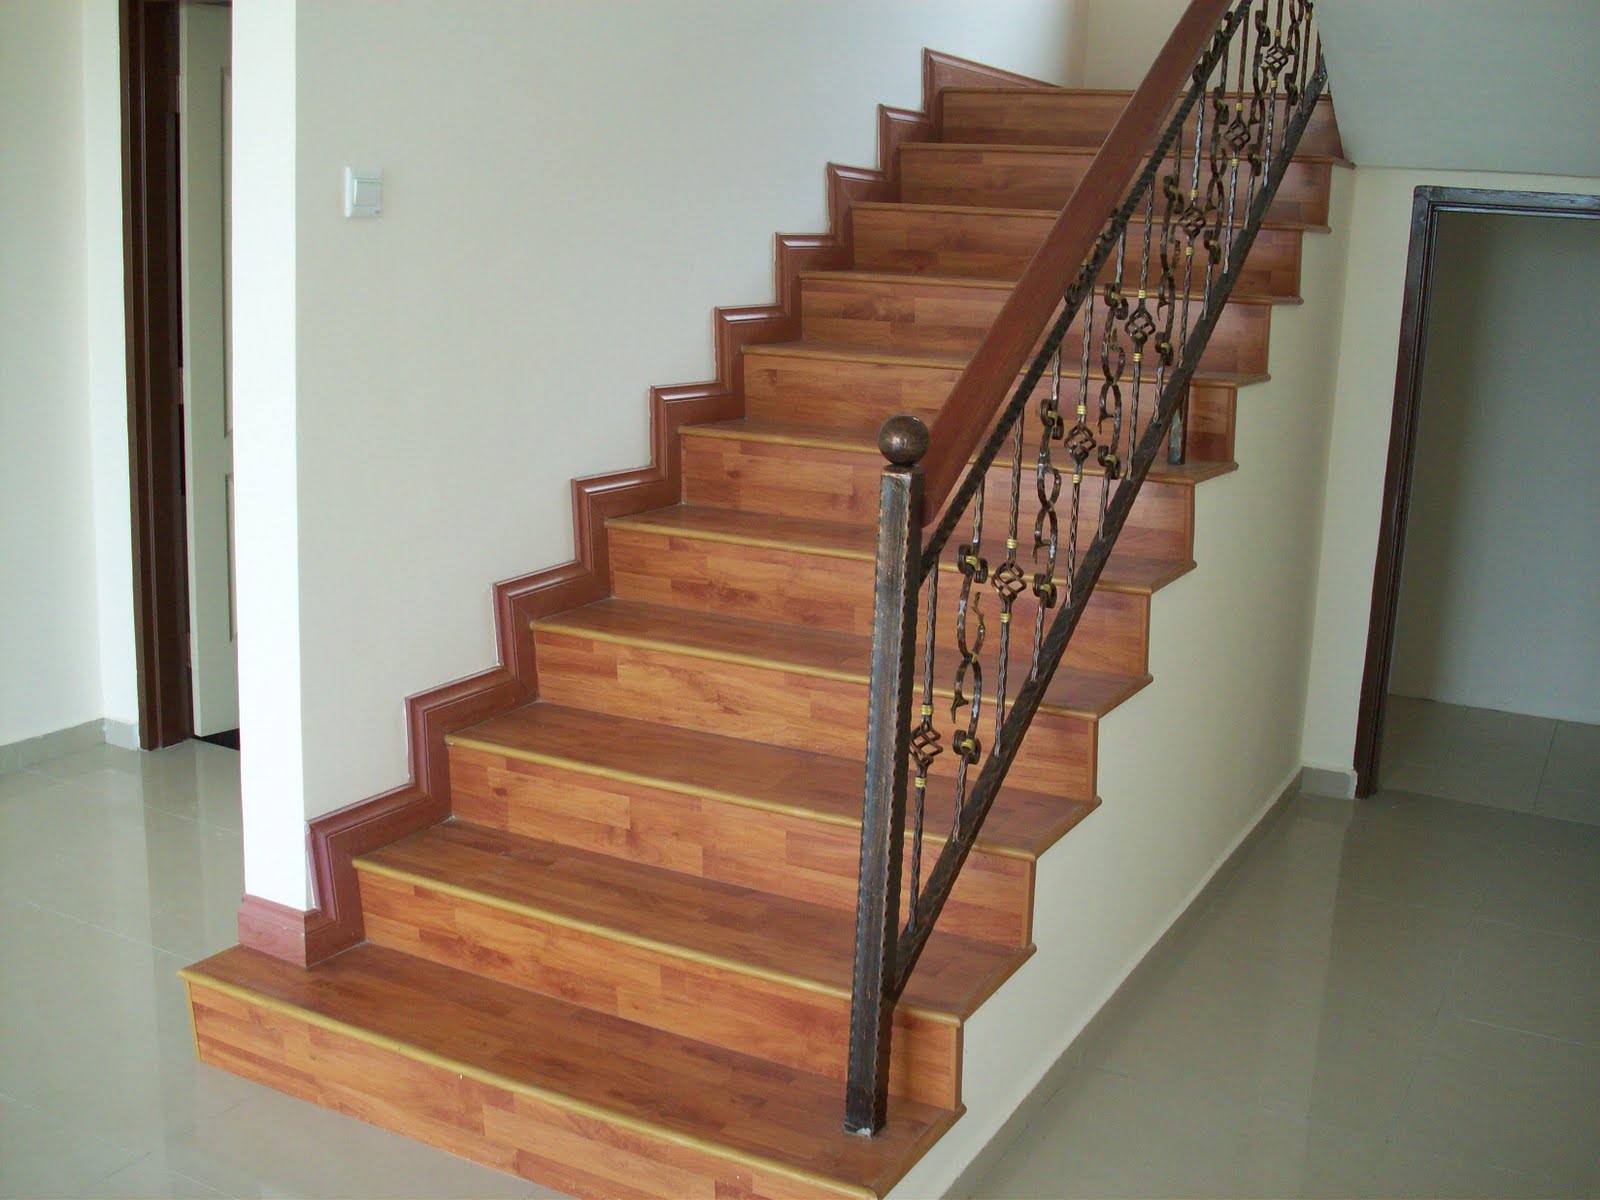
Step 6: Sand and Refinish the Stairs
After repairing or replacing damaged steps, the next step in restoring your wood stairs is to sand and refinish them. Sanding helps to create a smooth surface by removing any imperfections, while refinishing rejuvenates the appearance and protects the wood. Here’s a step-by-step guide on how to sand and refinish your stairs:
- Start by thoroughly cleaning the stairs to remove any dust, dirt, or debris. Use a broom or vacuum to remove loose particles, and then wipe down the stairs with a damp cloth.
- Choose the appropriate sandpaper grit for your stairs. Start with a coarse-grit sandpaper (around 80 to 100 grit) to remove any rough patches, scratches, or old finish. Use a sanding block or an orbital sander to sand the entire surface of the stairs, including the treads, risers, and handrails. Sand in the direction of the wood grain to avoid creating visible scratches.
- After sanding with the coarse-grit sandpaper, switch to a finer-grit sandpaper (around 120 to 150 grit) for a smoother finish. Repeat the sanding process, making sure to remove any marks left by the previous sanding. This will result in a polished and even surface.
- Once you have finished sanding, use a clean cloth or vacuum cleaner to remove any sanding dust from the stairs. It’s essential to have a clean surface before applying the finish.
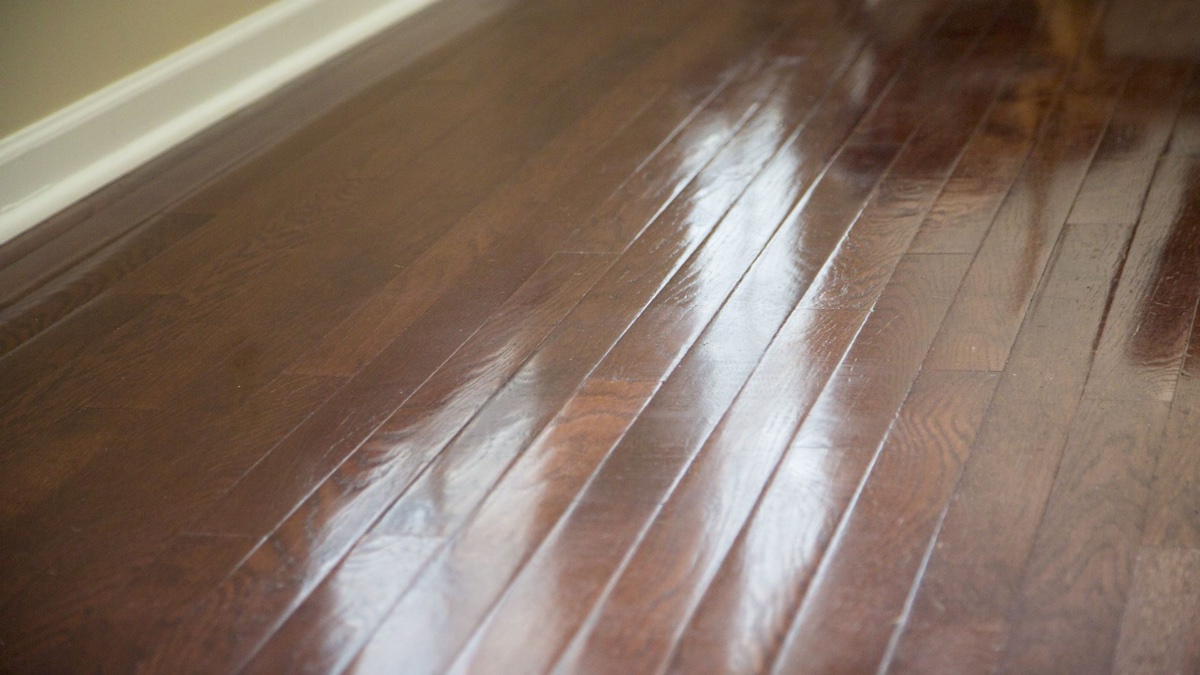
- Choose the appropriate finish for your stairs based on your preferences and the type of wood. Options include paint, stain, or a clear protective finish like polyurethane. Follow the manufacturer’s instructions for the specific finish you choose.
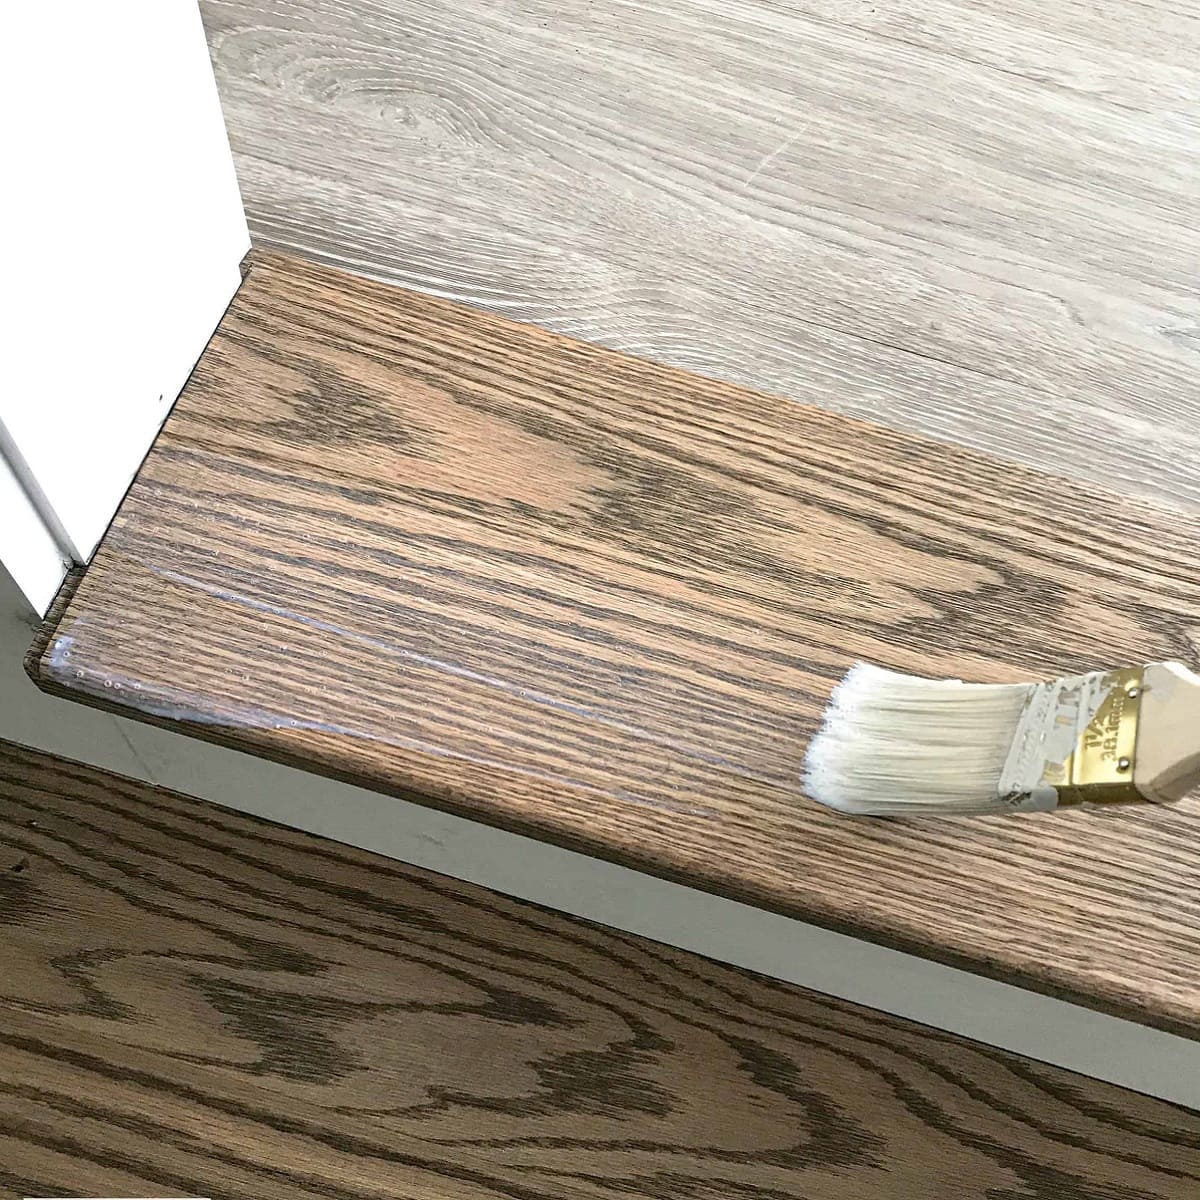
- Apply the chosen finish using a paintbrush or foam brush, starting from the top and working your way down. Make sure to apply an even and thin coat to avoid drips or pooling. Allow the first coat to dry completely, then apply additional coats as needed to achieve the desired finish.
- After applying the final coat, allow the finish to dry according to the manufacturer’s instructions before allowing foot traffic on the stairs. This drying period ensures that the finish is fully cured and provides optimal protection for your wood stairs.
By sanding and refinishing your stairs, you not only bring out the natural beauty of the wood but also provide long-lasting protection against wear and tear.
With the stairs sanded and refinished, it’s time to move on to the next step: applying a protective finish. We’ll discuss this in detail in the following step.
Step 7: Apply a Protective Finish
Applying a protective finish is an important step in maintaining the beauty and durability of your wood stairs. A protective finish creates a barrier that guards against moisture, stains, and everyday wear and tear. Here’s a step-by-step guide on how to apply a protective finish to your stairs:
- Start by ensuring that the stairs are clean and free of any dust or debris. Use a clean cloth or vacuum cleaner to remove any loose particles.
- Choose a suitable protective finish for your wood stairs. Options include polyurethane, varnish, or lacquer. Consider factors such as the desired level of sheen, durability, and compatibility with the type of wood you have.
- Read and follow the manufacturer’s instructions for the chosen protective finish, including any recommended application techniques and drying times.
- Using a high-quality brush or foam applicator, apply the protective finish to the stairs in smooth, even strokes. Start from the top of the stairs and work your way down, ensuring that you cover all exposed surfaces including the treads, risers, and handrails.
- Prioritize even application and avoid excessive buildup or puddling of the finish. If necessary, apply multiple thin coats, allowing each coat to dry according to the manufacturer’s instructions before applying the next one.
- Pay attention to any nooks, corners, or intricate details on the stairs and make sure they are adequately coated with the protective finish.
- Allow the protective finish to dry completely according to the manufacturer’s instructions before allowing foot traffic on the stairs. This drying period is crucial for the finish to cure and provide the maximum level of protection.
Applying a protective finish not only enhances the appearance of your wood stairs but also helps to protect the wood from scratches, stains, and moisture. It prolongs the lifespan of your stairs and prevents premature damage.
With the protective finish applied, it’s time to move on to the final step: reassembling the staircase. We’ll discuss this in detail in the following step.
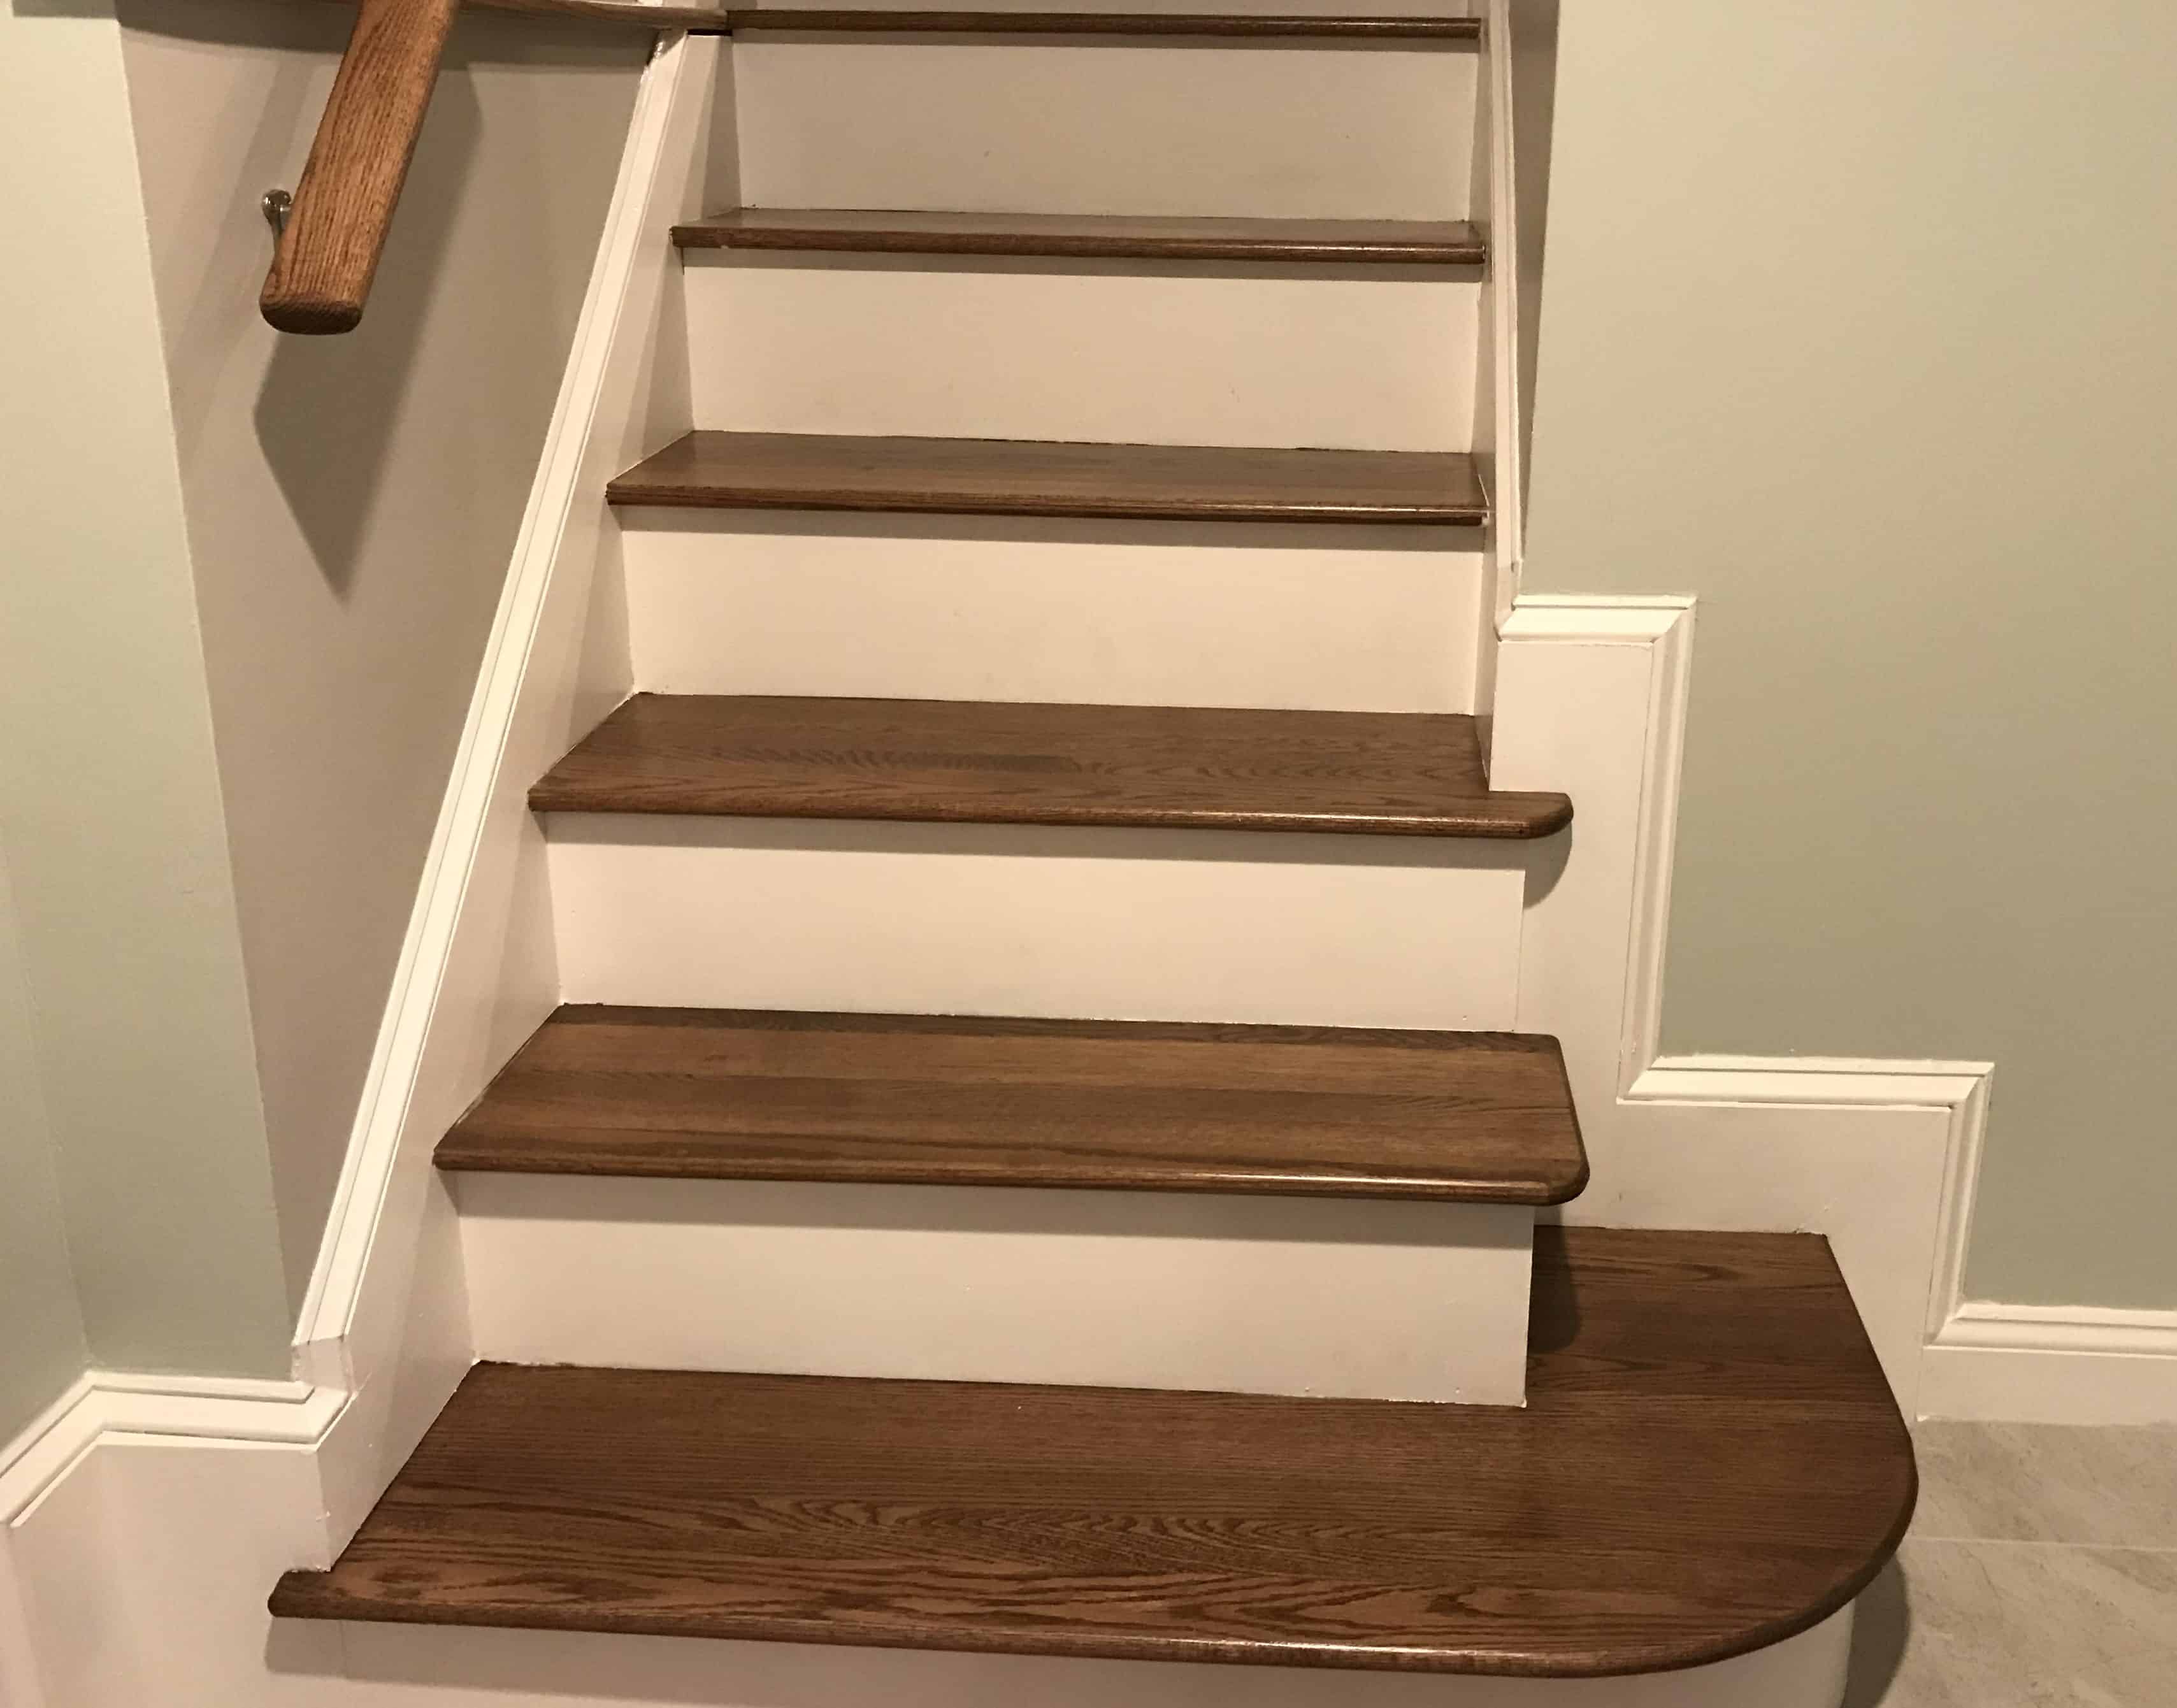
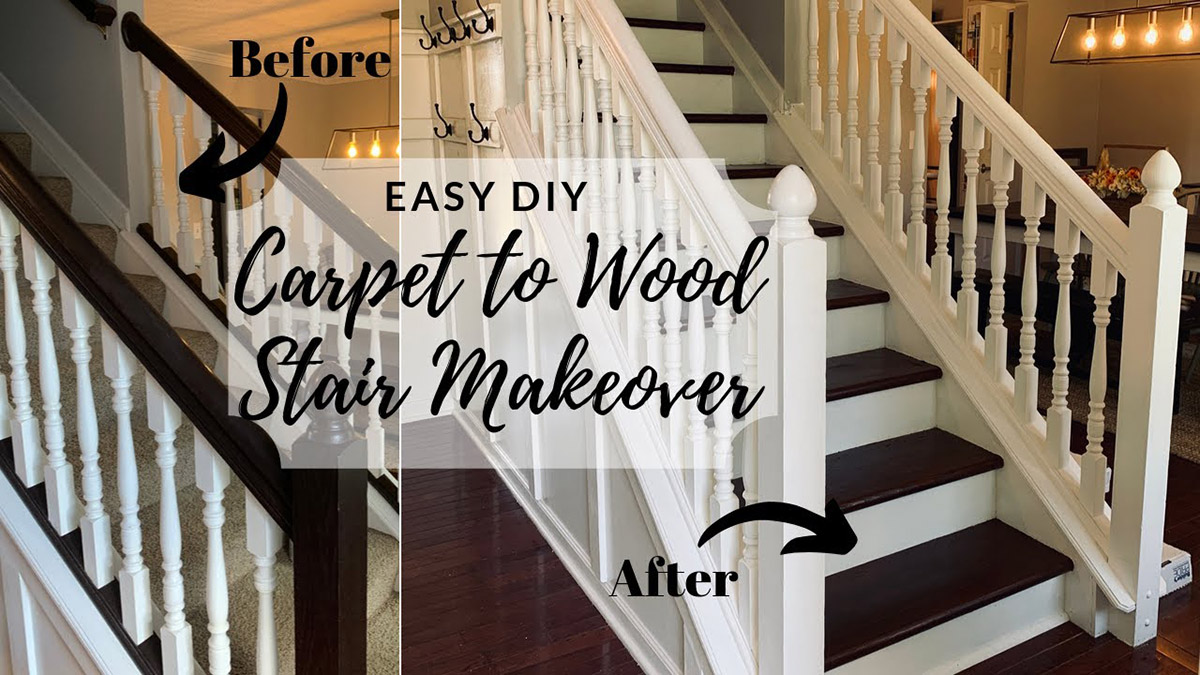
Step 8: Reassemble the Staircase
After completing the necessary repairs and refinishing your wood stairs, the final step is to reassemble the staircase. This involves putting everything back together and ensuring that all components are properly aligned and secured. Follow these steps to reassemble your staircase:
- Start by positioning each step back onto the stringers, making sure they fit snugly and are aligned correctly. Use a level to ensure that the steps are even and not tilted.
- If you removed any risers during the repair process, reattach them using screws and wood glue. Ensure that they are aligned with the rest of the stairs and securely fastened.
- If you had to remove any handrails or balusters, reattach them according to the original configuration. Make sure they are straight, level, and securely attached to the staircase.
- Check all the screws, nails, and connections throughout the staircase to ensure they are tight and secure. Replace any fasteners that appear damaged or worn.
- Clean the newly repaired and refinished staircase to remove any dust or debris that may have accumulated during the reassembly process. This will help showcase the beauty of your restored wood stairs.
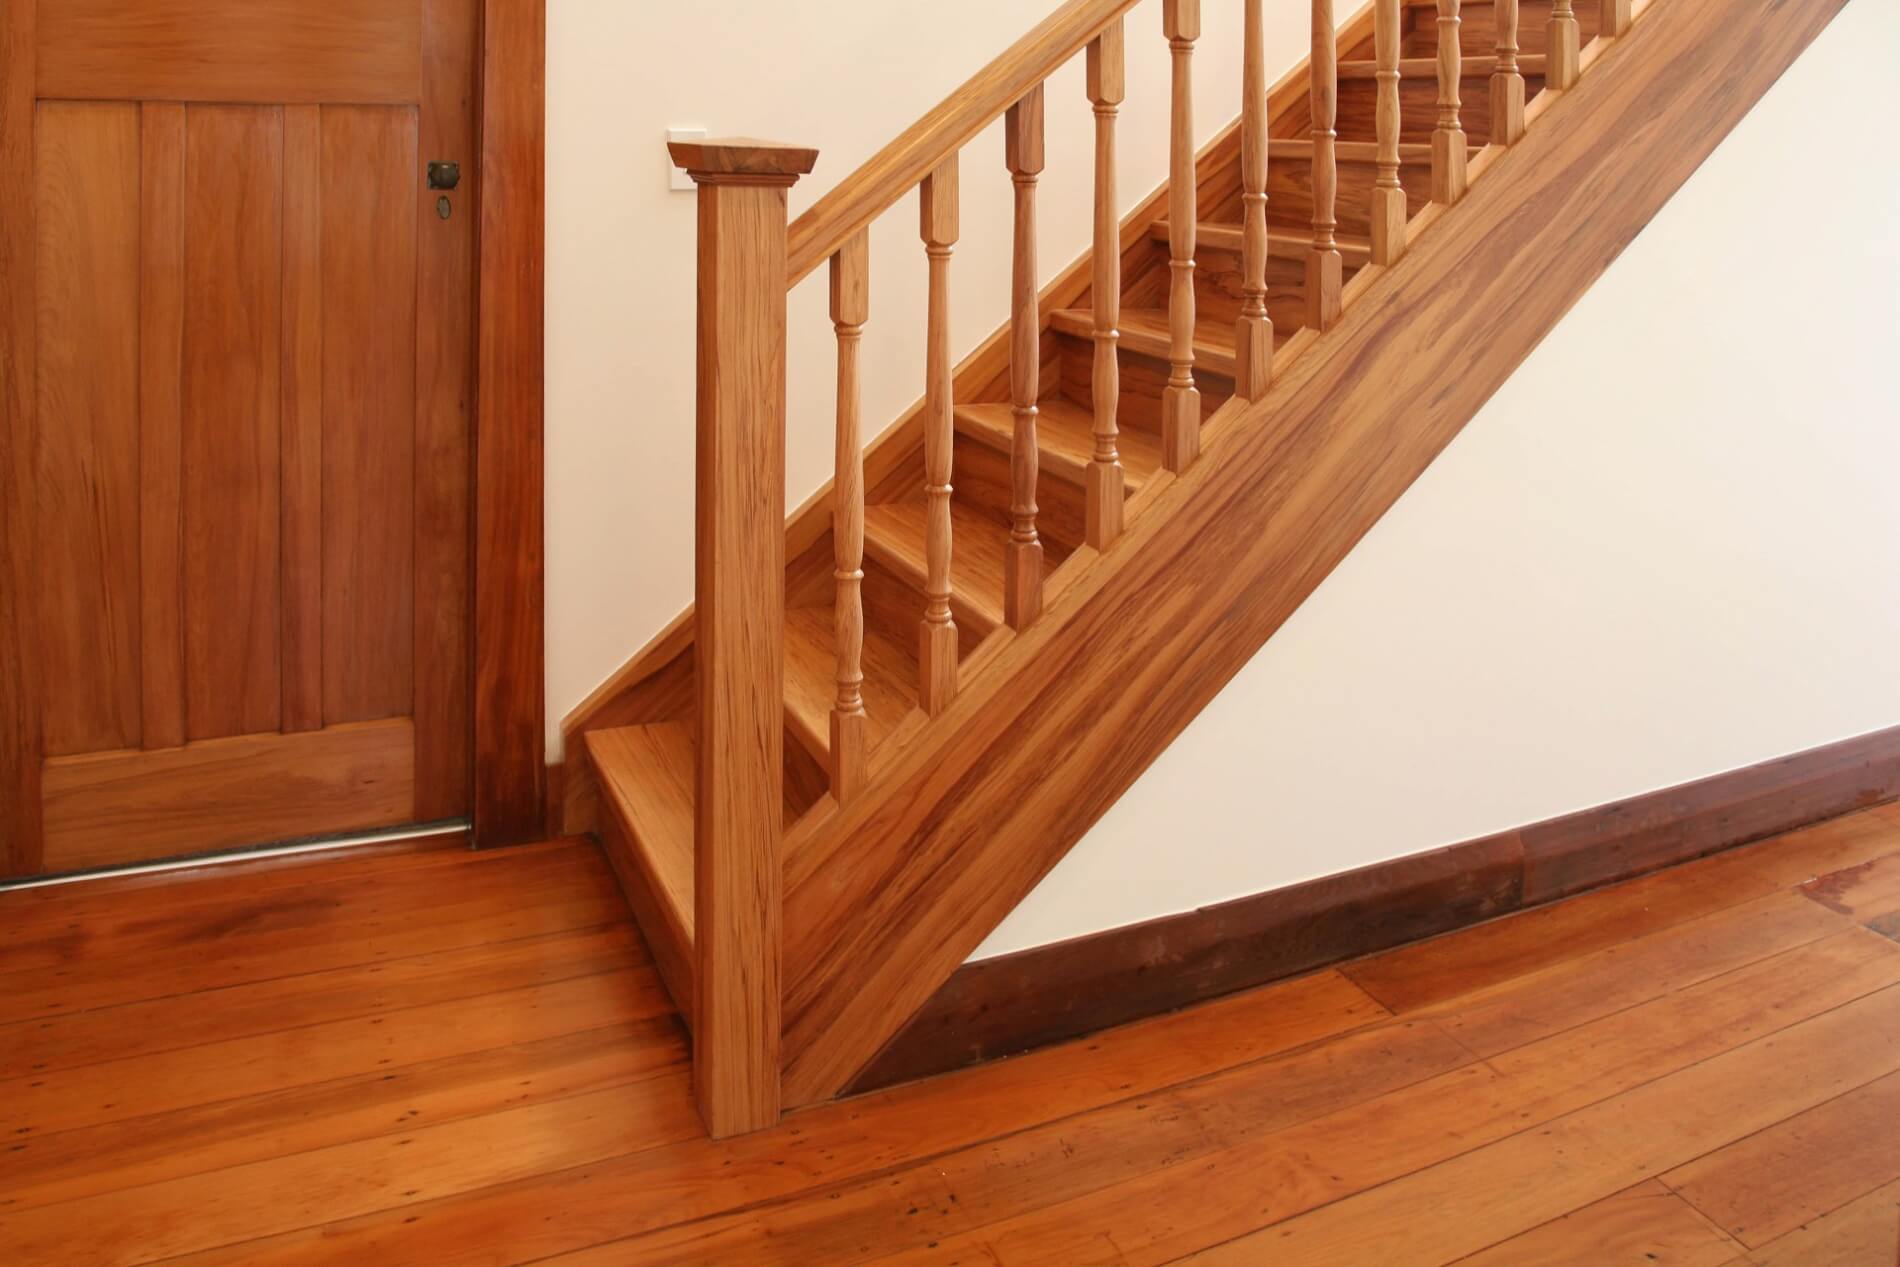
- Finally, take a step back and admire your work! Your wood staircase is now repaired, refinished, and ready to be enjoyed for years to come.
Ensure that the staircase is safe to use by conducting a thorough inspection, checking for any signs of instability or loose components. Address any issues promptly to prevent accidents or further damage.
Congratulations! You have successfully fixed your wood stairs and rejuvenated their appearance and functionality. Regular maintenance and periodic inspections will help keep your stairs in excellent condition and extend their lifespan.
With the completion of Step 8, your wood stair repair project is now complete. You can now appreciate the beauty, strength, and safety of your restored wood stairs. Happy climbing!
Read more: How To Sand Wood Stairs
Conclusion
Fixing wood stairs may seem like a daunting task, but with the right knowledge and tools, it can be a rewarding DIY project. Throughout this article, we have provided you with a comprehensive guide on how to repair and restore your wood stairs to their former glory.
By following the step-by-step instructions, you can identify the problems, gather the necessary tools and materials, assess the damage, fix loose or creaky steps, repair or replace damaged steps, sand and refinish the stairs, apply a protective finish, and reassemble the staircase. Each step is crucial in achieving long-lasting results and ensuring the safety and beauty of your wood stairs.
Remember to take the time to assess the damage thoroughly and plan accordingly. If you’re uncertain about the extent of the repairs or lack the necessary skills, it’s always a good idea to consult with a professional contractor or woodworker. Their expertise can provide valuable guidance and ensure that the repairs are done correctly.
By taking care of your wood stairs and performing regular maintenance, such as tightening screws, cleaning, and applying protective finish as needed, you can extend their lifespan and maintain their functionality and aesthetics. These simple steps can make a significant difference in the longevity of your stairs and the overall atmosphere of your home.
So, don’t let loose steps, creaky sounds, or damaged wood stairs weigh you down. Take the plunge and embark on the journey of fixing your wood stairs. With patience, effort, and the guidance provided in this article, you can restore your wood stairs to their former beauty and enjoy the results for years to come.
Happy repairing!
Once you've mastered fixing those wooden stairs, why not take your skills further into the woodshop? Our latest article on the best woodworking practices for 2024 is brimming with essential techniques and creative project ideas that will elevate any woodworker's craft. Whether you're just starting out or have years of experience, you'll find valuable insights to enhance your woodworking journey. Don't miss out on this must-read feature!
Frequently Asked Questions about How To Fix Wood Stairs
Was this page helpful?
At Storables.com, we guarantee accurate and reliable information. Our content, validated by Expert Board Contributors, is crafted following stringent Editorial Policies. We're committed to providing you with well-researched, expert-backed insights for all your informational needs.

0 thoughts on “How To Fix Wood Stairs”