
Articles
How To Change Toilet Wax Ring
Modified: May 6, 2024
Learn how to change a toilet wax ring with our helpful articles. Follow our step-by-step guide for a quick and easy DIY project.
(Many of the links in this article redirect to a specific reviewed product. Your purchase of these products through affiliate links helps to generate commission for Storables.com, at no extra cost. Learn more)
Introduction
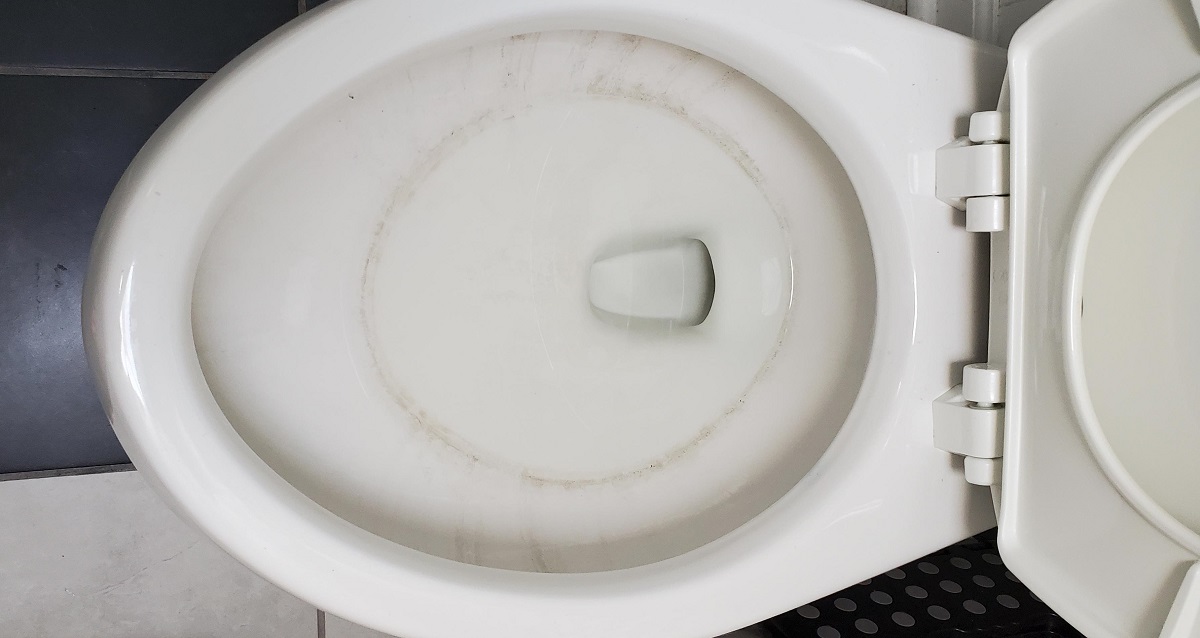
Changing the toilet wax ring is an essential maintenance task that ensures a watertight seal between the toilet bowl and the sewer pipe. Over time, the wax ring can degrade, leading to water leaks and unpleasant odors in your bathroom. Knowing how to change the toilet wax ring is a valuable skill that can save you from costly repairs and potential water damage.
While the thought of removing and reinstalling a toilet may seem daunting, rest assured that with the right tools and a step-by-step approach, the process can be relatively straightforward. In this article, we will guide you through the necessary steps to change a toilet wax ring and restore the proper functioning of your bathroom fixture.
Before we begin, it’s important to mention that safety should always be a top priority when working with plumbing fixtures. Therefore, it’s crucial to take the necessary safety precautions, such as wearing gloves and eye protection, and ensuring that the area is well-ventilated.
Now, let’s gather the tools and materials you’ll need for this project.
Key Takeaways:
- Prioritize safety by wearing protective gear, turning off the water supply, and draining the toilet bowl before changing the wax ring. This minimizes accidents and creates a safe working environment.
- Gather essential tools and materials, follow the step-by-step process to remove, clean, and install the new wax ring. Test for leaks to ensure a watertight seal and properly functioning toilet.
Read more: How To Change A Wax Ring On A Toilet Bowl
Safety Precautions
Before embarking on any plumbing project, including changing the toilet wax ring, it’s essential to prioritize safety to prevent accidents and injuries. Here are some important safety precautions to follow:
- Wear protective gear: Always wear gloves and safety glasses to protect your hands and eyes from any potential hazards. Additionally, wearing protective clothing can prevent any contact with sewage or harmful chemicals.
- Turn off water supply: Before starting the project, shut off the water supply to the toilet. Locate the shut-off valve behind or near the toilet and turn it clockwise to stop the flow of water.
- Drain the toilet bowl: Flush the toilet a few times after shutting off the water supply to drain as much water as possible from the tank and bowl. This will make the removal process easier and prevent any unwanted spills.
- Use proper lifting techniques: To avoid strains or injuries, it’s important to use proper lifting techniques when removing and reinstalling the toilet. The toilet can be heavy, so it is advisable to have someone assist you or use a lifting tool if needed.
- Work in a well-ventilated area: Ensure that the bathroom is properly ventilated by opening windows or using fans. This will help prevent the buildup of strong odors or fumes from sewage.
- Dispose of waste materials properly: When handling the old wax ring and any other waste materials, dispose of them in accordance with local regulations. Seal them in a bag and dispose of them in a sanitary waste bin or contact your local waste management authorities for guidance.
By following these safety precautions, you can minimize the risk of accidents or injuries and work on changing the toilet wax ring confidently.
Tools and Materials Needed
Before you begin the process of changing the toilet wax ring, gather the following tools and materials:
- Adjustable wrench: This tool will be used to disconnect the water supply line from the bottom of the toilet tank.
- Bucket and sponge: These items will come in handy for collecting water and cleaning up any spills during the removal and installation process.
- Plunger: Having a plunger on hand can be useful in case of any blockages or backups that may occur during the project.
- Putty knife: A putty knife or scraper will be helpful in removing the old wax ring and any residual wax from the toilet flange.
- New wax ring: It is essential to have a new wax ring ready for installation. Choose a high-quality wax ring that is compatible with your toilet model.
- Bowl wax ring alternative (optional): In some cases, you may opt for a bowl wax ring alternative, such as a rubber ring with a funnel. This alternative can provide a more durable and easier-to-install option.
- Protective gloves and safety glasses: These will ensure your safety while handling the toilet and working with any chemicals or waste materials.
- Cleaning supplies: It’s a good idea to have disinfectant wipes or a mild cleaning solution available to clean the toilet bowl and surrounding area before reinstalling the toilet.
With these tools and materials at hand, you are ready to proceed with changing the toilet wax ring. Ensure that you have everything readily accessible before you begin to avoid unnecessary interruptions during the project.
Step 1: Turn Off Water Supply
The first step in changing the toilet wax ring is to turn off the water supply to the toilet. This is necessary to prevent any water from flowing while you work on removing and reinstalling the toilet. Follow these steps:
- Locate the shut-off valve: The shut-off valve is usually located behind or near the toilet. It may be a round valve or a lever-style valve. Turn the valve clockwise to shut off the water supply.
- Check for any leaks: Once you’ve turned off the water supply, check for any leaks or dripping water from the shut-off valve or the supply line. If you notice any leaks, you may need to tighten the valve or replace the supply line as necessary.
- Flush the toilet: After shutting off the water supply, flush the toilet a few times to drain any water remaining in the tank and bowl. This will reduce the amount of water that may spill during the removal process.
- Inspect for residual water: Check inside the toilet tank and bowl to ensure that there is no remaining water. If there is any water left, use a sponge or towel to soak it up and wring it out into a bucket.
By turning off the water supply and draining the toilet, you create a safe working environment and minimize the risk of water damage or spills during the wax ring replacement process. With this step completed, you can move on to the next step: draining the toilet bowl.
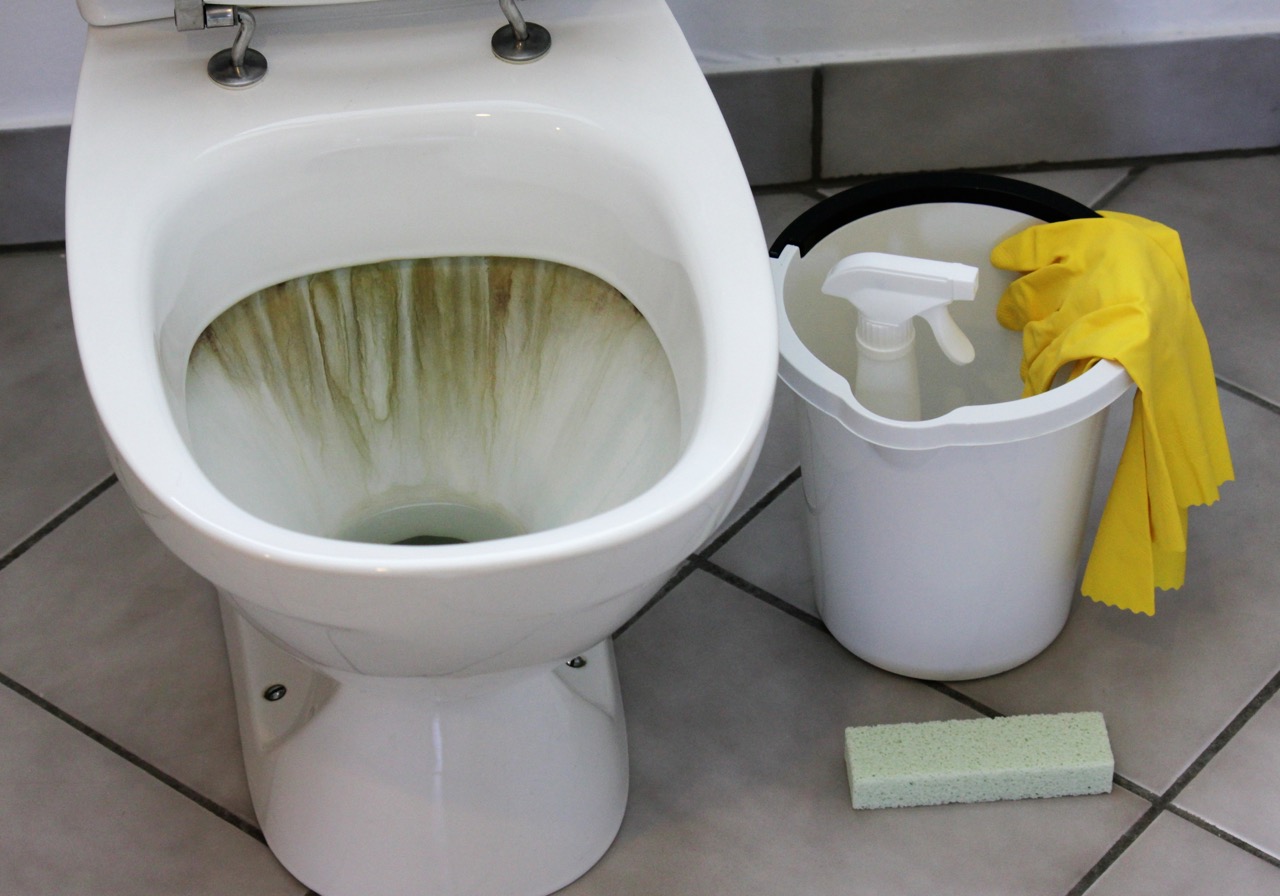
Step 2: Drain the Toilet Bowl
After turning off the water supply, the next step in changing the toilet wax ring is to drain the toilet bowl. This will make it easier to remove the toilet without spilling water or creating a mess. Follow these steps:
- Flush the toilet: Begin by flushing the toilet to remove as much water as possible from the bowl. This will help reduce the amount of water that needs to be drained manually.
- Use a sponge or towel: Next, use a sponge, towel, or absorbent cloth to soak up any remaining water in the bowl. Start by placing the sponge at the bottom of the bowl and soak up as much water as you can. Wring out the sponge into a bucket or sink as needed.
- Remove excess water: Use a small cup or container to scoop out any remaining water in the bowl. Pour the water into a bucket or sink to keep the work area dry.
- Inspect for moisture: Once you have removed most of the water, use a towel or paper towel to wipe down the interior of the bowl and ensure that it is dry. This will prevent any water from spilling out during the removal process.
By draining the toilet bowl, you minimize the risk of water spills and make it easier to remove the toilet without causing any damage. With the toilet bowl drained, you are ready to move on to the next step: removing the toilet.
Read more: How To Put A Wax Ring On A Toilet
Step 3: Remove the Toilet
Now that the water has been turned off and the toilet bowl has been drained, it’s time to remove the toilet from its base. Follow these steps to safely remove the toilet:
- Disconnect the water supply line: Start by using an adjustable wrench to loosen and disconnect the water supply line from the bottom of the toilet tank. Place a bucket or towel beneath the disconnected line to catch any residual water.
- Remove the nuts from the floor bolts: Locate the nuts on each side of the toilet base that secure it to the floor bolts. Loosen and remove these nuts using the appropriate wrench or pliers.
- Rock the toilet gently: Once the nuts are removed, gently rock the toilet from side to side to break the seal between the wax ring and the flange. If the toilet feels stuck, use a putty knife to help pry it away from the flange. Be careful not to apply too much force, as this can damage the toilet or the flange.
- Lift the toilet: With the seal broken, carefully lift the toilet straight up and off the floor bolts. Make sure to lift with your legs and not your back to avoid strain or injury. Have someone assist you if necessary, as toilets can be heavy.
- Place the toilet on a towel or old newspaper: Once the toilet is removed, place it on a towel or old newspaper in a secure location. This will prevent any water or debris from spreading and keep the area clean.
By following these steps, you can safely remove the toilet from its base without causing damage or making a mess. Proceed to the next step to learn how to remove the old wax ring.
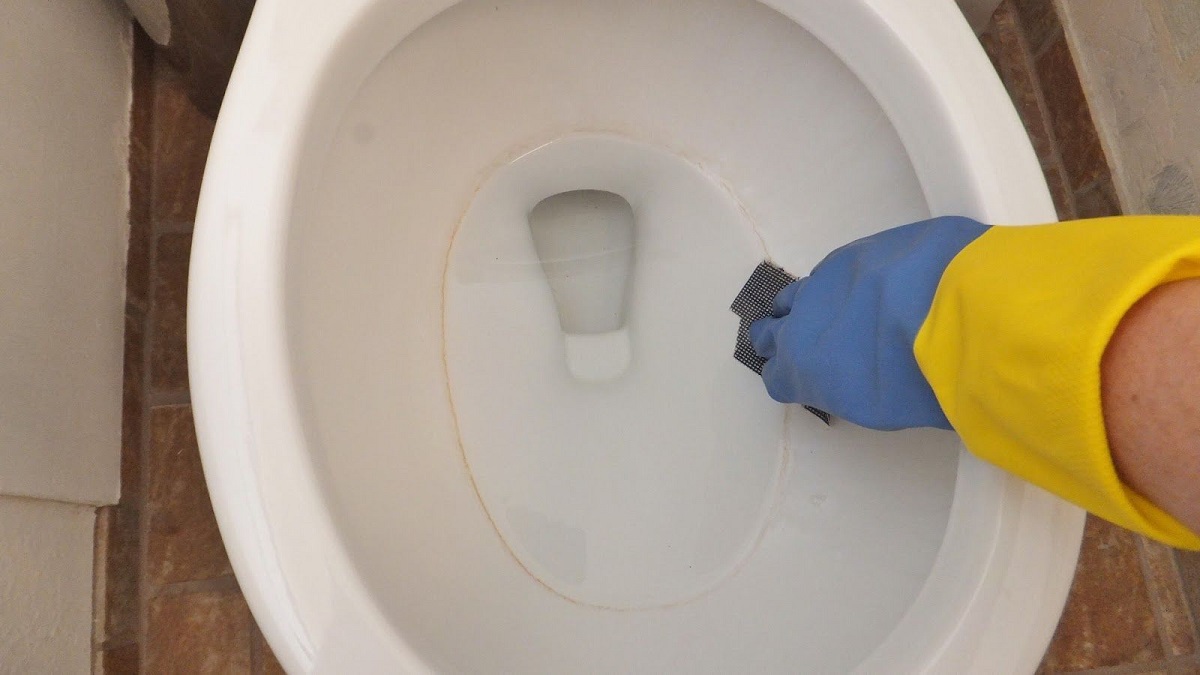
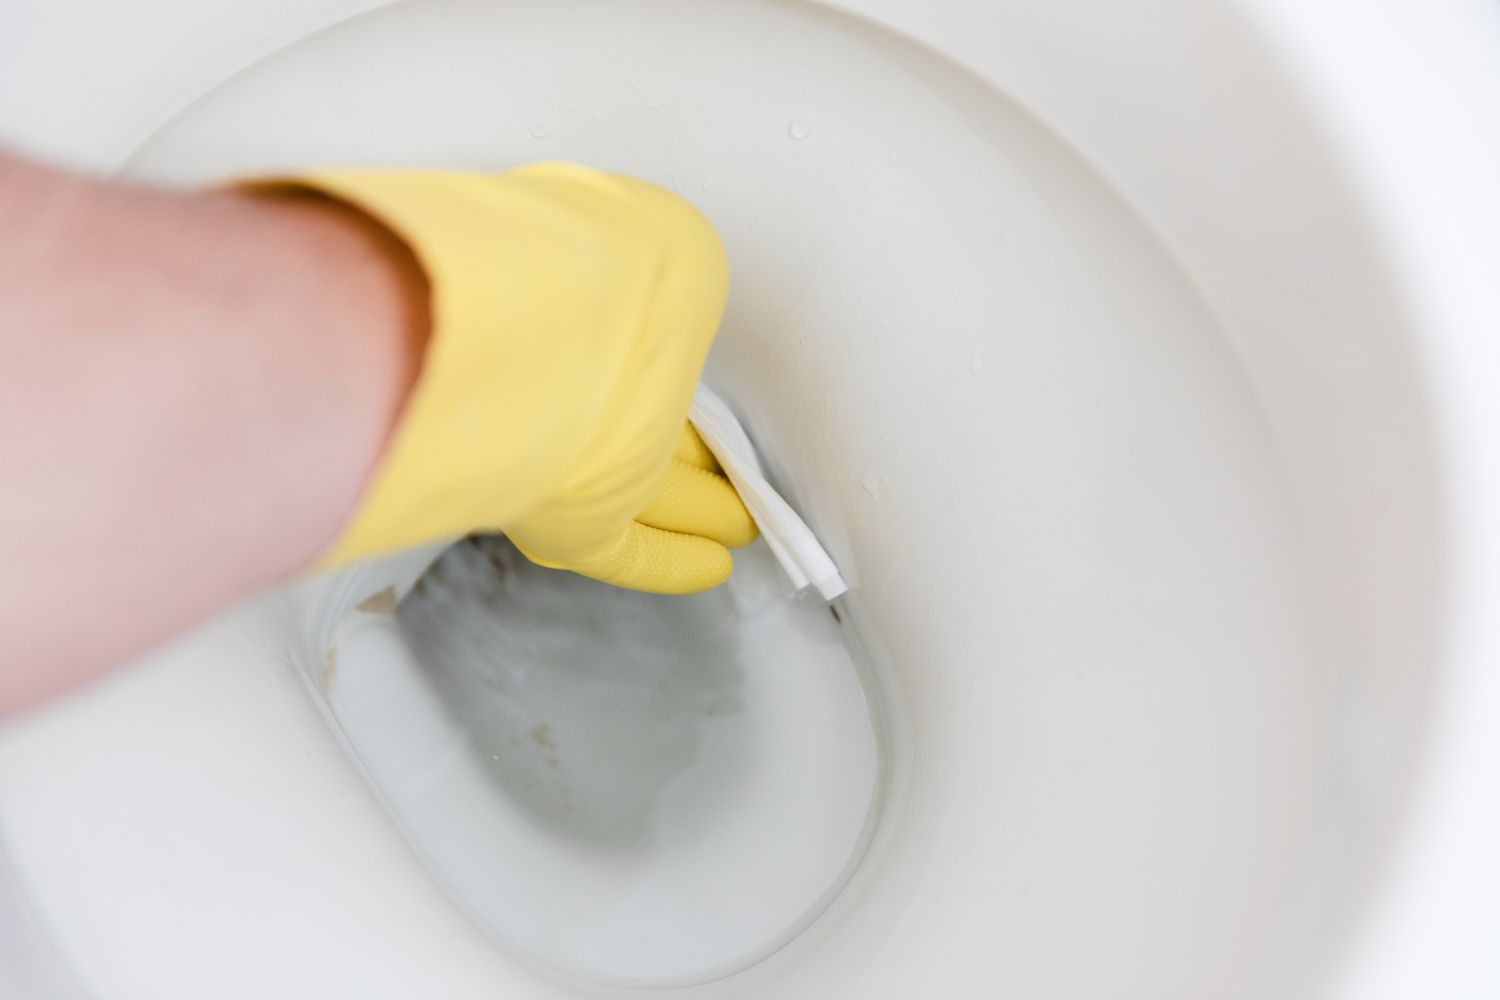
When changing a toilet wax ring, be sure to turn off the water supply and flush the toilet to remove any remaining water. Use a putty knife to carefully remove the old wax ring, and clean the area thoroughly before installing the new wax ring.
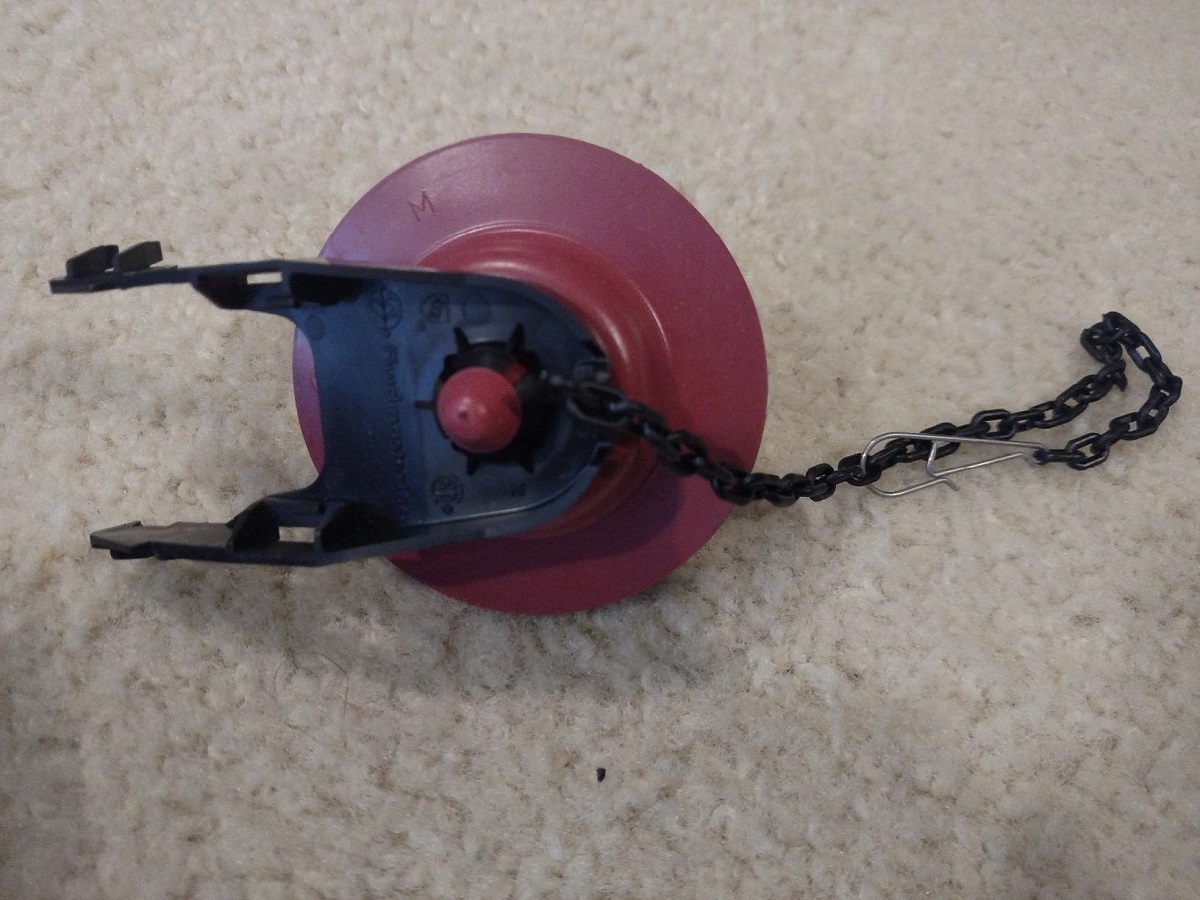
Step 4: Remove the Old Wax Ring
After removing the toilet, the next step is to remove the old wax ring from the toilet flange. Follow these steps carefully:
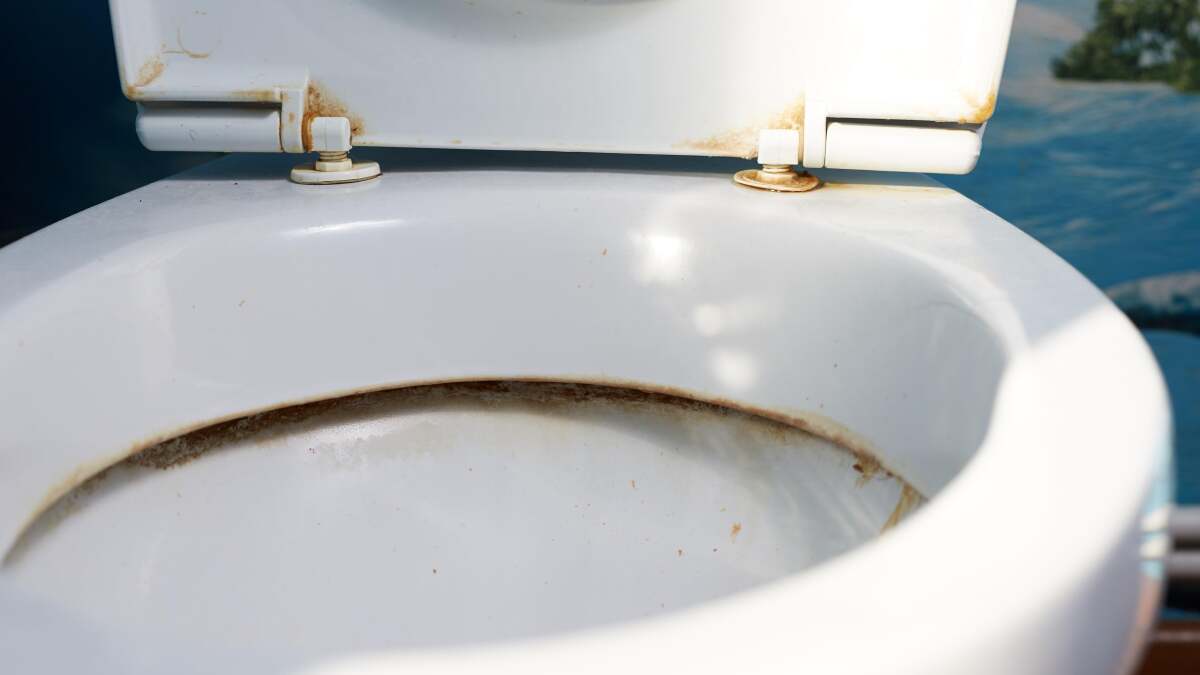
- Inspect the wax ring: Take a close look at the old wax ring to assess its condition. Look for any signs of wear, damage, or deformities. It’s best to replace the wax ring even if it appears to be in good condition to ensure a proper seal.
- Scrape off the residual wax: Use a putty knife or scraper to carefully remove any residual wax from both the toilet flange and the bottom of the toilet. Be gentle to avoid scratching or damaging the surfaces.
- Clean the flange: After removing the old wax ring, clean the toilet flange thoroughly. Wipe away any dirt, debris, or remaining wax with a damp cloth. Ensure that the flange is clean and free from any obstructions.
- Dispose of the old wax ring: Dispose of the old wax ring safely and hygienically. Wrap it in a plastic bag, seal it, and place it in a garbage bag. Follow proper waste disposal guidelines according to your local regulations.
Removing the old wax ring is crucial to ensure a proper and secure installation of the new wax ring. By following these steps, you will have a clean and prepared flange, ready for the installation of the new wax ring in the next step.
Step 5: Clean the Toilet Flange
Once the old wax ring has been removed, it’s important to thoroughly clean the toilet flange before installing the new wax ring. Follow these steps to clean the flange effectively:
- Inspect the flange: Take a close look at the toilet flange to check for any signs of damage, corrosion, or buildup. If you notice any issues, it may be necessary to repair or replace the flange before proceeding.
- Remove any debris: Use a putty knife or scraper to gently scrape away any debris or residue from the flange. This can include wax remnants, dirt, or mineral deposits. Be careful not to damage the flange while cleaning.
- Clean with a mild cleaning solution: Dampen a cloth or sponge with a mild cleaning solution or soapy water. Gently wipe down the flange, paying attention to the edges and corners. This will help remove any remaining dirt or grime and ensure a clean and smooth surface.
- Dry the flange: After cleaning, use a dry cloth or paper towel to thoroughly dry the flange. This step is essential to prevent any moisture or water from interfering with the installation of the new wax ring.
By cleaning the toilet flange, you ensure a clean and secure base for the new wax ring installation. A clean flange will provide a proper seal and help prevent any future leaks or issues. Proceed to the next step to learn how to install the new wax ring.
Step 6: Install the New Wax Ring
With the toilet flange cleaned and prepared, it’s time to install the new wax ring. Follow these steps to ensure a proper installation:
- Position the wax ring: Take the new wax ring and position it on the toilet flange. The tapered side of the wax ring should be facing upward, while the flat side should be in contact with the flange. Align the ring with the center of the flange to ensure a proper fit.
- Press the wax ring into place: Gently press down on the toilet bowl and apply even pressure to compress the wax ring. Make sure to align the bolt holes on the toilet base with the corresponding holes on the flange. The wax ring should create a tight seal between the toilet and the flange.
- Ensure proper alignment: Carefully lower the toilet bowl onto the wax ring, making sure the bolts protrude through the holes in the base. Align the toilet properly over the flange by carefully rocking it back and forth. Ensure that the toilet is level and centered before proceeding.
- Secure the toilet: Place the wax ring stabilizers or spacer washers over the bolts, followed by the washers and nuts. Tighten the nuts gradually and evenly, alternating from side to side, until the toilet is secure. Avoid overtightening, as this can crack the toilet base.
- Reconnect the water supply line: Once the toilet is securely in place, reconnect the water supply line to the bottom of the toilet tank. Use an adjustable wrench to tighten the connection, being careful not to overtighten.
By following these steps, you can ensure a proper installation of the new wax ring. This will create a watertight seal between the toilet bowl and the sewer pipe, preventing any leaks or odors. Proceed to the next step to learn how to replace the toilet.
Read more: How Long Does Toilet Wax Ring Last
Step 7: Replace the Toilet
With the new wax ring installed, it’s time to reattach and secure the toilet in its original position. Follow these steps to replace the toilet:
- Lift the toilet bowl: Carefully lift the toilet bowl and position it directly over the flange and wax ring. Ensure that the bolts on the toilet base align with the corresponding holes on the flange.
- Lower the toilet bowl: Slowly lower the toilet bowl onto the wax ring and flange. Apply downward pressure evenly to help the wax ring create a tight seal between the toilet and the plumbing system.
- Align the toilet: Once the toilet is in place, wiggle it slightly to help it settle into the wax ring. Make sure the toilet is properly aligned with the wall and floor markings. Check that the toilet sits evenly and level on the floor.
- Secure the toilet: Place the washers and nuts over the bolts, then tighten them evenly on both sides of the toilet. Alternate between sides to ensure even pressure and avoid cracking the toilet base. Do not over-tighten the nuts.
- Trim the excess bolt length: Use a hacksaw or a bolt cutter to trim any excess length from the bolts protruding from the nuts. Be cautious not to damage the toilet or the flange during this process.
- Reattach the toilet seat: If you removed the toilet seat during the wax ring replacement, reattach it securely according to the manufacturer’s instructions.
By following these steps, you can securely replace the toilet on the new wax ring. Ensure that the toilet is properly aligned and tightly secured to prevent any leaks or movement. Proceed to the next step to learn how to test for leaks.
Step 8: Test for Leaks
After replacing the toilet, it’s important to test for leaks to ensure that the installation was successful. Follow these steps to check for any potential leaks:
- Turn on the water supply: Carefully turn on the water supply by turning the shut-off valve counterclockwise. This will allow water to flow into the toilet tank and refill it.
- Observe the toilet: Watch the area around the base of the toilet and the connections for any signs of water leakage. Check for any water pooling, dripping, or wetness. Pay attention to both the front and back of the toilet, as well as the water supply line connection.
- Check the connections: Inspect the water supply line connection at the bottom of the toilet tank for any signs of water leakage. Ensure that the connection is tight and secure without any visible drips or water seepage.
- Flush the toilet: Flush the toilet once or twice to check if there are any leaks during the flushing process. Observe if there is any water escaping from the base or if the water flow is continuous and smooth.
- Listen for unusual sounds: While the toilet is filling up with water, listen for any unusual sounds such as hissing, gurgling, or dripping. These sounds can indicate a potential leak or water flow issue that needs to be addressed.
- Perform a tissue test: Take a few sheets of toilet paper or tissues and gently place them around the base of the toilet. Leave them there for a few minutes and check if they become damp or wet. This can help identify any hidden leaks that may not be immediately visible.
By performing these leak tests, you can ensure that the toilet installation has been successful and there are no water leaks. If you notice any signs of leaks, it may be necessary to tighten connections or seek professional assistance to address the issue.
With the leak test completed and any necessary adjustments made, congratulations! You have successfully changed the toilet wax ring and ensured a watertight seal. Enjoy your properly functioning bathroom fixtures and the peace of mind that comes with knowing you have taken care of an important maintenance task.
Conclusion
Changing the toilet wax ring is a vital maintenance task that can prevent water leaks, unpleasant odors, and potential damage to your bathroom. By following the step-by-step guide outlined in this article, you can successfully change the wax ring and restore the proper functioning of your toilet.
Remember to prioritize safety throughout the process by wearing protective gloves and safety glasses, and working in a well-ventilated area. By turning off the water supply, draining the toilet bowl, and disconnecting the water supply line, you create a safe working environment and minimize the risk of accidents.
Gather the necessary tools and materials before starting, including an adjustable wrench, bucket and sponge, putty knife, and a new wax ring. These will help you complete the project efficiently.
Take your time to carefully remove the toilet, clean the flange, and install the new wax ring. Ensure proper alignment of the toilet and secure the bolts evenly to prevent any leaks or wobbling. Test for leaks by turning on the water supply and observing the connections and base of the toilet for any signs of water leakage.
By completing these steps, you can successfully change the toilet wax ring and maintain a watertight seal, ensuring the proper functioning of your toilet and preventing any potential issues in the future.
Remember, if you encounter any difficulties or are unsure about any step of the process, it’s always best to consult a professional plumber for assistance. Taking care of your home’s plumbing system is an investment in its longevity and your comfort.
Now that you have the knowledge and confidence to change a toilet wax ring, you can tackle this essential maintenance task with ease, knowing that you are maintaining the integrity of your bathroom fixtures and ensuring a pleasant and functional environment.
Now that you've mastered changing a toilet wax ring, why not tackle more home projects? Our guide on DIY home improvement will equip you with skills for various upgrades around the house. If you're dealing with other toilet troubles, our article on toilet repair offers practical solutions expected in 2024. For broader issues around your dwelling, don't miss our comprehensive home repair strategies. Each guide is designed to help you refine your handyman abilities and keep your home in tip-top shape.
Frequently Asked Questions about How To Change Toilet Wax Ring
Was this page helpful?
At Storables.com, we guarantee accurate and reliable information. Our content, validated by Expert Board Contributors, is crafted following stringent Editorial Policies. We're committed to providing you with well-researched, expert-backed insights for all your informational needs.

0 thoughts on “How To Change Toilet Wax Ring”