Articles
How To Change Out A Toilet
Modified: October 18, 2024
Learn how to change out a toilet with our informative articles. Get detailed step-by-step instructions on replacing toilets easily and efficiently.
(Many of the links in this article redirect to a specific reviewed product. Your purchase of these products through affiliate links helps to generate commission for Storables.com, at no extra cost. Learn more)
Introduction
Replacing a toilet may seem like a daunting task, but with the right tools and a little know-how, it can be a straightforward process. Whether you’re upgrading your bathroom or dealing with a faulty toilet, learning how to change out a toilet can save you time and money.
In this article, we will guide you through each step of the process, from gathering the necessary tools and supplies to reassembling and adding finishing touches. We will also provide helpful tips along the way to ensure a successful toilet replacement.
Before we begin, it’s important to note that if you’re uncomfortable performing this task, it’s always best to hire a professional plumber. However, for those who are eager to tackle this DIY project, let’s get started on how to change out a toilet.
Key Takeaways:
- Replacing a toilet is a manageable DIY project with the right tools and know-how. Prioritize safety, take your time, and enjoy a fully functional and updated bathroom.
- Gathering the necessary tools, shutting off the water supply, and testing for leaks are crucial steps in successfully changing out a toilet. Prioritize safety and attention to detail for a secure and efficient installation.
Read more: How To Change A Toilet Flapper
Gathering Tools and Supplies
Before you begin the process of changing out a toilet, it’s essential to gather all the necessary tools and supplies. Having everything prepared ahead of time will make the process smoother and more efficient.
Here’s a list of the tools and supplies you’ll need:
- Adjustable wrench
- Channel-lock pliers
- Hacksaw
- Putty knife
- Sponge or towels
- New wax ring
- New toilet bolts and nuts
- Bucket or basin
- Lubricant (such as WD-40)
Having these tools on hand will ensure that you’re well-equipped to tackle any challenges that may arise during the process. It’s also a good idea to wear gloves and protective eyewear to keep yourself safe.
Once you have all the necessary tools and supplies, you’re ready to move on to the next step: shutting off the water supply.
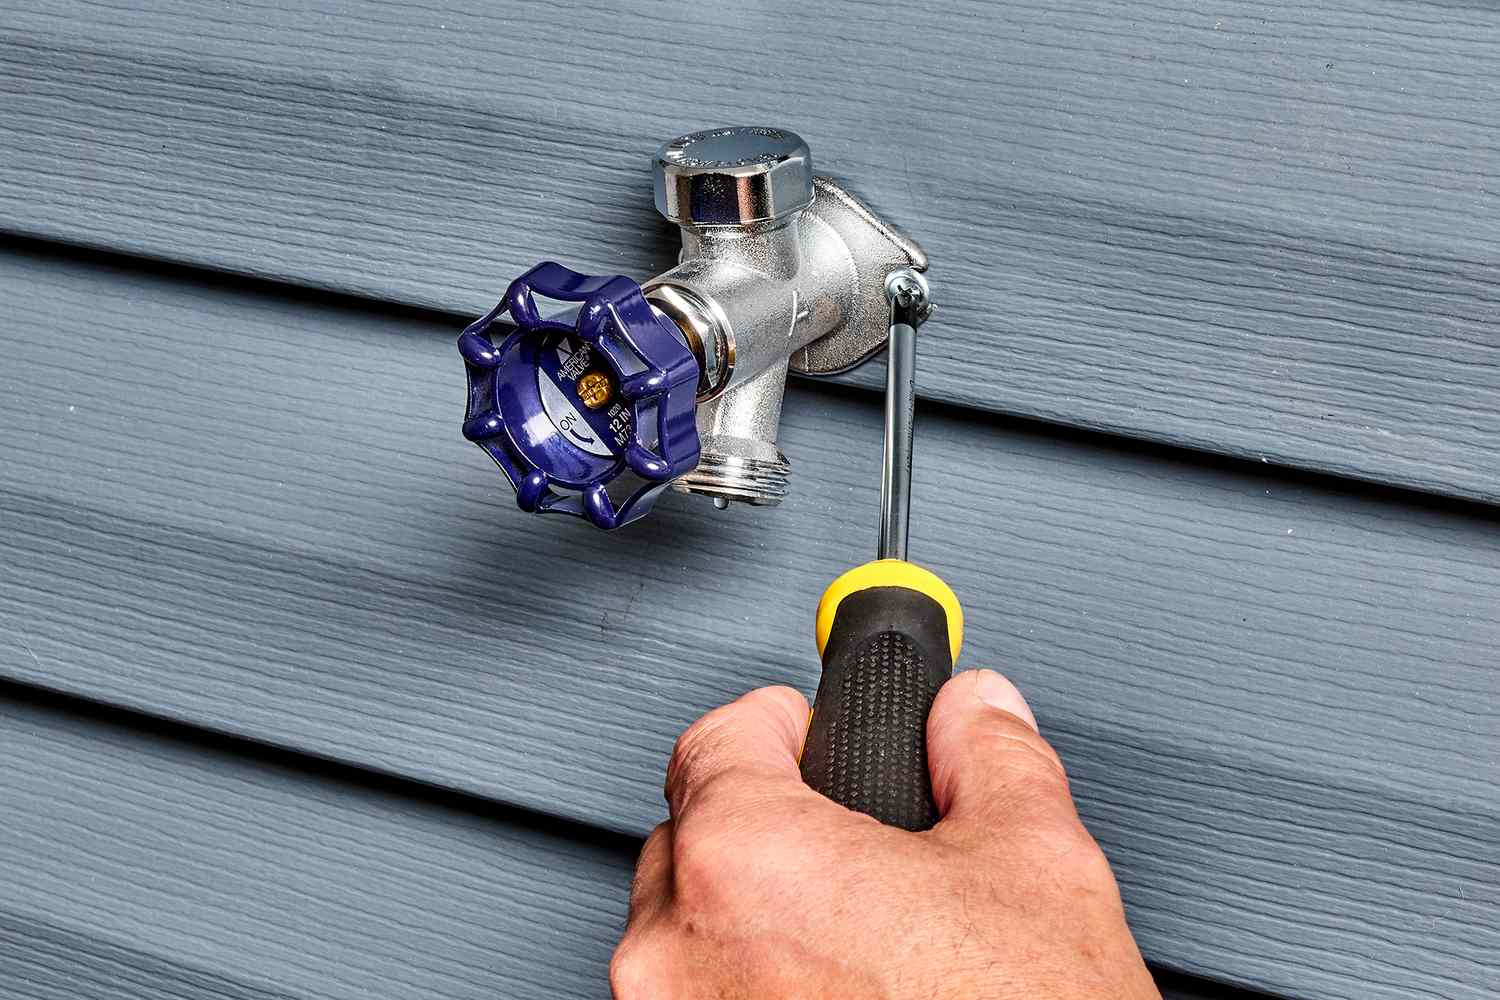
Shutting off the Water Supply
Before you can start the process of changing out a toilet, you need to shut off the water supply to the toilet. This will prevent any water from flowing into the tank and bowl, ensuring a dry and manageable workspace.
To shut off the water supply, locate the shut-off valve behind or near the toilet. It’s typically a small valve connected to a pipe coming out of the wall or the floor. Turn the valve clockwise to close it and stop the water flow.
If the shut-off valve is difficult to maneuver or doesn’t completely stop the water flow, you may need to shut off the main water supply to your home. The main shut-off valve is usually located near your water meter or where the main water line enters your home. Use caution as you turn off the main water supply, as this will stop water flow to the entire house.
Once the water supply is shut off, flush the toilet to drain as much water from the tank and bowl as possible. This will make it easier to remove and replace the toilet.
With the water supply shut off and the toilet flushed, you’re now ready to move on to the next step: draining the tank.
Draining the Tank
Before you can remove the old toilet, it’s essential to drain the tank to avoid any water spillage during the removal process. Here’s how to drain the tank:
- Turn off the water supply valve located at the base of the toilet tank. It should be a small knob or lever that you can turn clockwise to shut off the water flow.
- Remove the tank lid and carefully set it aside in a safe place.
- Locate the flush valve, which is usually a large, round opening at the bottom center of the tank.
- Place a bucket or basin below the flush valve to catch any water that will come out.
- Press and hold the toilet handle down to flush the remaining water in the tank. You may need to hold the handle down for a few seconds to ensure all the water is expelled.
- If there is still water left in the tank, use a sponge or towel to soak it up and squeeze it into the bucket or basin.
Once the tank is drained, you can proceed with removing the old toilet. Be careful when handling the tank as it may still be heavy, especially if there is residual water inside.
With the tank drained and the old toilet prepped for removal, you’re one step closer to installing your new toilet. Next, we’ll go over the process of removing the old toilet.
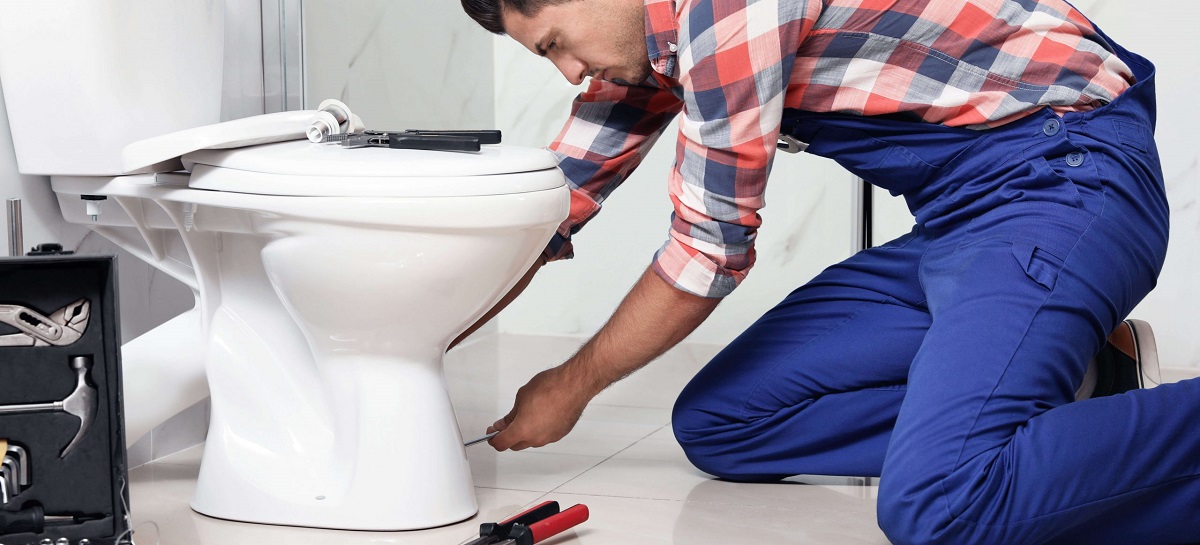
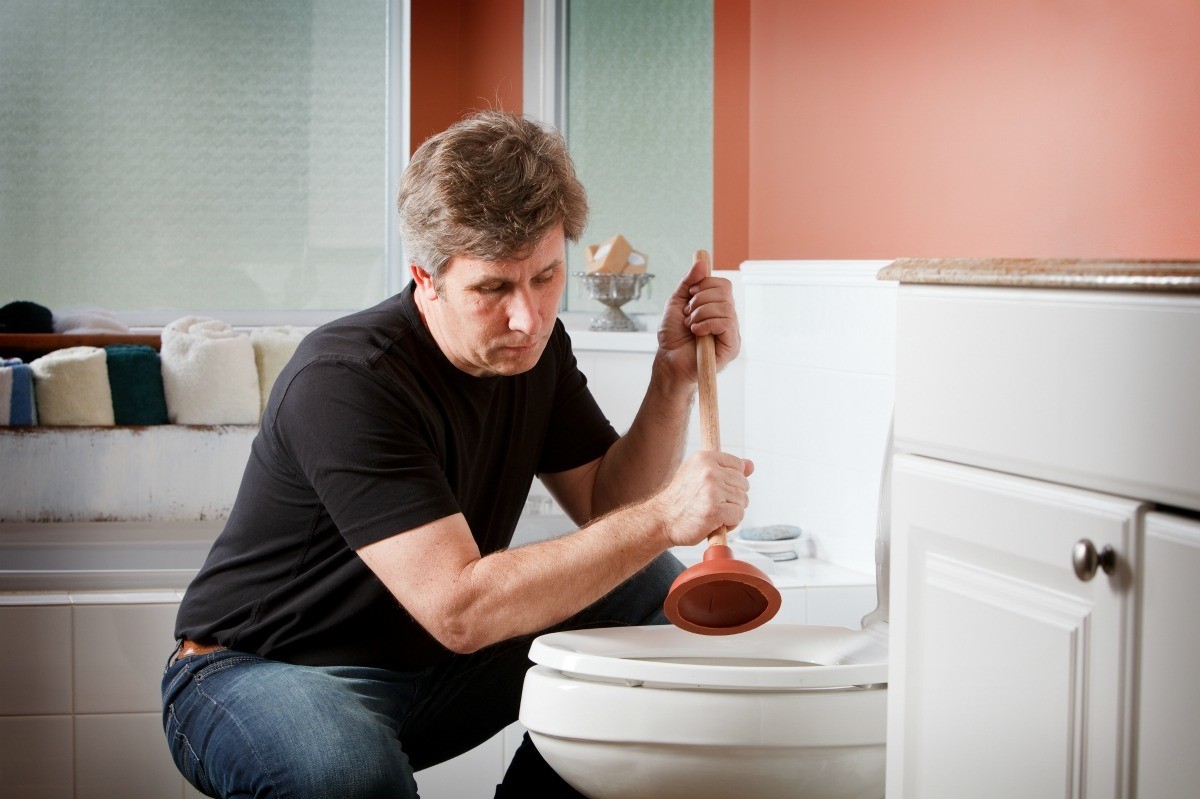
Removing the Old Toilet
Now that you’ve drained the tank, it’s time to remove the old toilet. Follow these steps to ensure a smooth removal process:
- Start by disconnecting the water supply line that connects the toilet tank to the shut-off valve. Use an adjustable wrench to loosen and disconnect the nut on the supply line.
- Next, locate the bolts or nuts that secure the toilet to the floor. These are typically covered by plastic caps at the base of the toilet. Gently pry off the caps using a putty knife.
- Once the caps are removed, use an adjustable wrench or channel-lock pliers to loosen and remove the nuts or bolts. Take care not to overtighten or damage them, as you will need to reuse them when installing the new toilet.
- With the nuts or bolts removed, carefully lift the toilet off the floor. It may still have some residual water, so be prepared to catch any drips with a towel or sponge.
- Place the old toilet on a towel or drop cloth in a safe location. You can now inspect the wax ring that seals the toilet to the floor. If it’s worn or damaged, it will need to be replaced before installing the new toilet.
Removing the old toilet can be a messy process, so make sure to have a bucket or basin nearby to dispose of any water or debris. Once the old toilet is removed, you can proceed with installing the new toilet.
Now that you’ve successfully removed the old toilet, it’s time to move on to the next phase: installing the new toilet.
When changing out a toilet, always shut off the water supply and flush the toilet to empty the tank. Use a wrench to disconnect the water supply line and remove the bolts securing the toilet to the floor before carefully lifting it out.
Read more: How To Take Out A Toilet
Installing the New Toilet
Now that you’ve removed the old toilet, it’s time to install the new one. Installing a new toilet doesn’t have to be complicated, especially if you follow these step-by-step instructions:
- Start by preparing the area where the toilet will be installed. Ensure the floor is clean and free of any debris. If the old wax ring is still in place, remove it carefully using a putty knife.
- Take the new wax ring and place it on the flange, making sure it sits securely. The wax ring creates a watertight seal between the toilet base and the floor.
- Next, carefully lift the new toilet and align the holes at the base of the toilet with the bolts or nuts on the flange. Gently lower the toilet onto the wax ring, ensuring it sits evenly and securely on the floor.
- Once the toilet is in place, press down firmly to compress the wax ring and create a proper seal. Be cautious not to rock or twist the toilet, as this can damage the wax ring.
- Take the nuts or bolts that you removed earlier and thread them back onto the flange. Use an adjustable wrench or channel-lock pliers to tighten them, but avoid overtightening, as this can crack the toilet base.
- If your toilet has a separate tank, consult the manufacturer’s instructions to securely attach the tank to the bowl. This typically involves placing a rubber gasket between the tank and bowl, then securing it with bolts and nuts.
- Once the toilet is securely in place, reattach the water supply line to the fill valve on the bottom of the tank. Use an adjustable wrench to tighten the nut, but again, be cautious not to overtighten.
With the new toilet properly installed and connected, you’re ready to move on to the next step: connecting the water supply.
Installing a new toilet requires attention to detail and proper alignment. Take your time and ensure everything is snug and secure before moving on to the next step.
Connecting the Water Supply
Now that you’ve successfully installed the new toilet, it’s time to connect the water supply to ensure proper functionality. Follow these steps to connect the water supply:
- Start by ensuring that the water supply valve is still turned off. You should have closed it earlier when you shut off the water supply.
- Take the water supply line, which is typically a flexible hose with threaded connectors on both ends, and attach one end to the fill valve on the bottom of the toilet tank.
- Hand-tighten the connector onto the fill valve until it is snug. Avoid overtightening, as it can damage the connector or the fill valve.
- Once the connector is securely attached to the toilet tank, it’s time to connect the other end to the water supply valve. Use an adjustable wrench to tighten the nut onto the valve.
- Turn on the water supply valve slowly to allow the tank to fill with water. Keep a close eye on the connections to check for any leaks.
- If you notice any leaks, turn off the water supply immediately and assess the connections. Make sure they are properly tightened and not cross-threaded.
- If the leaks persist, you may need to disconnect and reattach the connectors, ensuring that they are properly aligned and tight.
Once the tank is filled with water and there are no leaks, you’re almost done! The final step is to test for leaks and make any necessary adjustments.
Connecting the water supply is a crucial step in the toilet installation process. Take your time and double-check all connections to ensure a secure and leak-free installation.
Testing for Leaks
After connecting the water supply and filling the toilet tank, it’s important to thoroughly test for leaks before considering the installation complete. Follow these steps to ensure there are no leaks:
- Inspect all the connections, including the fill valve, water supply line, and wax ring. Look for any signs of water dripping or pooling.
- If there are visible leaks, tighten the connections slightly using an adjustable wrench. Be careful not to overtighten, as this can damage the components.
- Once the connections are tightened, turn on the water supply valve and allow the tank to fill.
- After the tank is filled, observe the toilet bowl and base. Look for any signs of water seeping out or pooling around the toilet.
- If you notice any leaks, turn off the water supply immediately and address the issue. This may require adjusting or replacing the wax ring or reseating the toilet.
- Repeat the testing process until there are no more signs of leaks. It’s crucial to ensure a watertight and leak-free installation.
Testing for leaks is an essential step to finalize the toilet installation process. Even a small leak can lead to significant water damage if left unaddressed. Take your time and be thorough in your inspection.
Once you’re confident that there are no leaks, it’s time to finish up the installation with some reassembly and finishing touches.
Reassembling and Finishing Touches
With the toilet successfully installed and tested for leaks, it’s time to reassemble and add the finishing touches. Follow these steps to complete the process:
- Start by placing the tank lid back onto the toilet tank. Ensure it is aligned properly and sits securely.
- If necessary, connect the toilet seat according to the manufacturer’s instructions. This often involves attaching it to the bowl using bolts and nuts provided with the seat.
- Once the seat is securely attached, replace any plastic caps or covers that may have been removed earlier to conceal the mounting hardware.
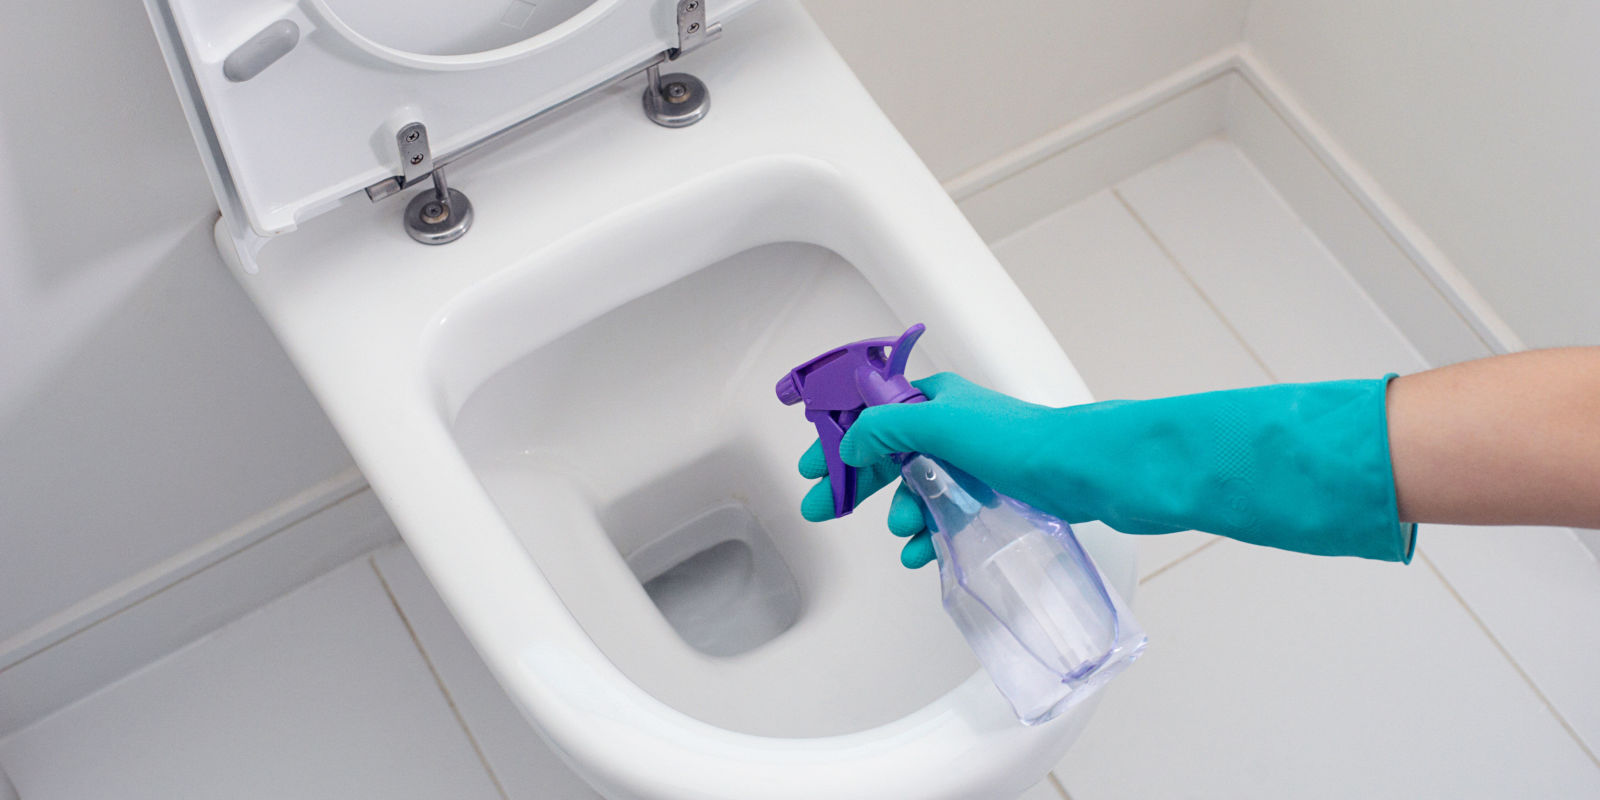
- Take a moment to clean the toilet with a mild cleaner and wipe it down to remove any dirt or residue.
- Dispose of any packaging materials and old toilet components responsibly.
- Lastly, turn on the water supply valve fully to ensure a steady flow of water into the tank.
- Flush the toilet to verify that it is functioning properly. Pay attention to the water flow, flushing mechanism, and any unusual noises.
With these final steps, your toilet installation is complete. Take a step back and admire your newly installed toilet, knowing that you successfully tackled this DIY project.
Remember, if you encounter any issues during the installation or are uncertain about any step, it’s always a good idea to consult a professional plumber. They will have the expertise to assist you and ensure a secure and efficient installation.
Congratulations on successfully changing out your toilet! You can now enjoy a fully functional and updated bathroom.
Read more: How To Change Out A Light Socket
Conclusion
Learning how to change out a toilet may seem like a challenging task, but with the right tools and knowledge, it’s a project that you can tackle yourself. By following the step-by-step instructions provided in this article, you’ve gained the necessary skills to successfully replace your old toilet with a new one.
Throughout the process, we discussed the importance of gathering the right tools and supplies, shutting off the water supply, draining the toilet tank, removing the old toilet, and installing the new one. We also covered how to connect the water supply and test for leaks to ensure a secure and functional installation.
Remember, when performing these tasks, it’s crucial to prioritize safety and take your time to do the job right. If you ever feel unsure or uncomfortable, don’t hesitate to seek the assistance of a professional plumber who can help you with the installation process.
By replacing your toilet, you’ve taken an important step in improving your bathroom’s functionality and appearance. A new toilet can not only enhance the overall aesthetic but also contribute to water efficiency and proper waste management.
We hope this article has provided you with the guidance and confidence to successfully change out a toilet. As you embark on this DIY project, remember to measure twice, stay organized, and pay attention to detail.
Thank you for reading, and we wish you the best of luck with your toilet replacement endeavor!
Frequently Asked Questions about How To Change Out A Toilet
Was this page helpful?
At Storables.com, we guarantee accurate and reliable information. Our content, validated by Expert Board Contributors, is crafted following stringent Editorial Policies. We're committed to providing you with well-researched, expert-backed insights for all your informational needs.


0 thoughts on “How To Change Out A Toilet”