
Articles
How To Check And Correct Framing
Modified: January 6, 2024
Learn how to check and correct framing in your articles with these expert tips and techniques. Ensure your content is structurally sound and visually appealing.
(Many of the links in this article redirect to a specific reviewed product. Your purchase of these products through affiliate links helps to generate commission for Storables.com, at no extra cost. Learn more)
Introduction
When it comes to construction or home renovation projects, framing plays a crucial role in providing structural support and stability. Building a strong and well-aligned frame is essential for the overall integrity of the structure. However, even the most skilled professionals can sometimes make errors during the framing process.
In this article, we will take a comprehensive look at how to check and correct framing errors. We will discuss the importance of proper framing, the tools and equipment needed for the task, and the step-by-step process to identify and rectify common framing mistakes.
Whether you are a professional contractor or a DIY enthusiast taking on a construction project, this article will provide you with valuable insights to ensure a well-framed structure. So let’s dive in and explore the world of framing!
Key Takeaways:
- Proper framing is essential for structural integrity. Thoroughly inspect, identify, and correct common framing errors using the right tools and a systematic approach to ensure a well-constructed and safe building.
- Prioritize errors, consult building plans, and recheck the frame’s integrity. Address issues such as non-plumb walls, improper stud spacing, and inadequate bracing to confidently tackle construction or renovation projects.
Understanding Framing
Framing refers to the technique of constructing the skeleton or framework of a building. It involves assembling the structural components, such as walls, floors, and roofs, to create a strong and stable structure. Framing serves as the foundation upon which the rest of the building is built.
The primary purpose of framing is to provide support and stability to the structure. Properly framed walls, floors, and roofs ensure that the weight of the building is distributed evenly, preventing sagging or collapse. Additionally, framing allows for the installation of insulation, electrical wiring, plumbing, and other building systems.
There are several key elements to consider when it comes to framing:
- Wall Framing: This involves constructing the walls of the building. The framing may consist of vertical studs, horizontal plates, and headers. The spacing and alignment of the studs are essential for the structural integrity of the wall.
- Floor Framing: Floor framing consists of beams, joists, and subflooring. It provides a sturdy base for the floors of the building. Proper floor framing ensures that the weight of the occupants and furniture is adequately supported.
- Roof Framing: The roof framing includes rafters or trusses, ridge boards, and ceiling joists. It forms the framework for the roof and supports the weight of the roof covering. A well-framed roof is essential for protection against weather elements and to prevent any structural issues.
Understanding the basic elements of framing is essential for identifying potential errors. By familiarizing yourself with the different components and their purpose, you will be able to assess the framing of a structure and make necessary corrections if needed.
Now that we have a grasp of framing fundamentals, let’s move on to the tools and equipment required for checking and correcting framing errors.
Tools and Equipment Needed
Checking and correcting framing errors requires a few essential tools and equipment. Having the right tools on hand will ensure that you can accurately assess the frame and make any necessary adjustments. Here are the essential tools and equipment you’ll need:
- Tape Measure: A tape measure is essential for taking precise measurements of wall lengths, stud spacing, and other dimensions. It allows you to ensure that the frame is aligned and in accordance with the building plans.
- Level: A level is crucial for determining if the frame is plumb and level. It helps you identify any unevenness or slopes in the structure. A spirit level or laser level can provide accurate results.
- Square: A framing square or carpenter’s square is used to check the angles and corners of the frame. It ensures that the walls and corners are square, which is vital for proper alignment.
- Hammer: A hammer is essential for the framing process. It is used to drive nails and secure the framing members together. Choose a weight and size that is comfortable for you to handle.
- Circular Saw: A circular saw is needed for cutting framing members, such as studs, beams, and plates. Make sure to use appropriate safety measures when operating the saw.
- Nail Gun: A nail gun provides a quicker and more efficient way of fastening framing members. It is a valuable tool for large framing projects. Use appropriate safety precautions and follow manufacturer guidelines when using a nail gun.
- Chalk Line: A chalk line is used to create straight and level reference lines. It helps in marking the locations for walls, studs, and other framing components.
- Safety Gear: Always prioritize safety when working with tools and equipment. Wear safety glasses, gloves, and a hard hat to protect yourself from any potential injuries.
These are the basic tools and equipment you will need to check and correct framing errors. Depending on the complexity of the project, you may require additional specialized tools. Ensure that you have a well-stocked toolbox before starting any framing work to save time and avoid unnecessary delays.
Now that we have our tools ready, let’s move on to the step-by-step process of inspecting and correcting framing errors.
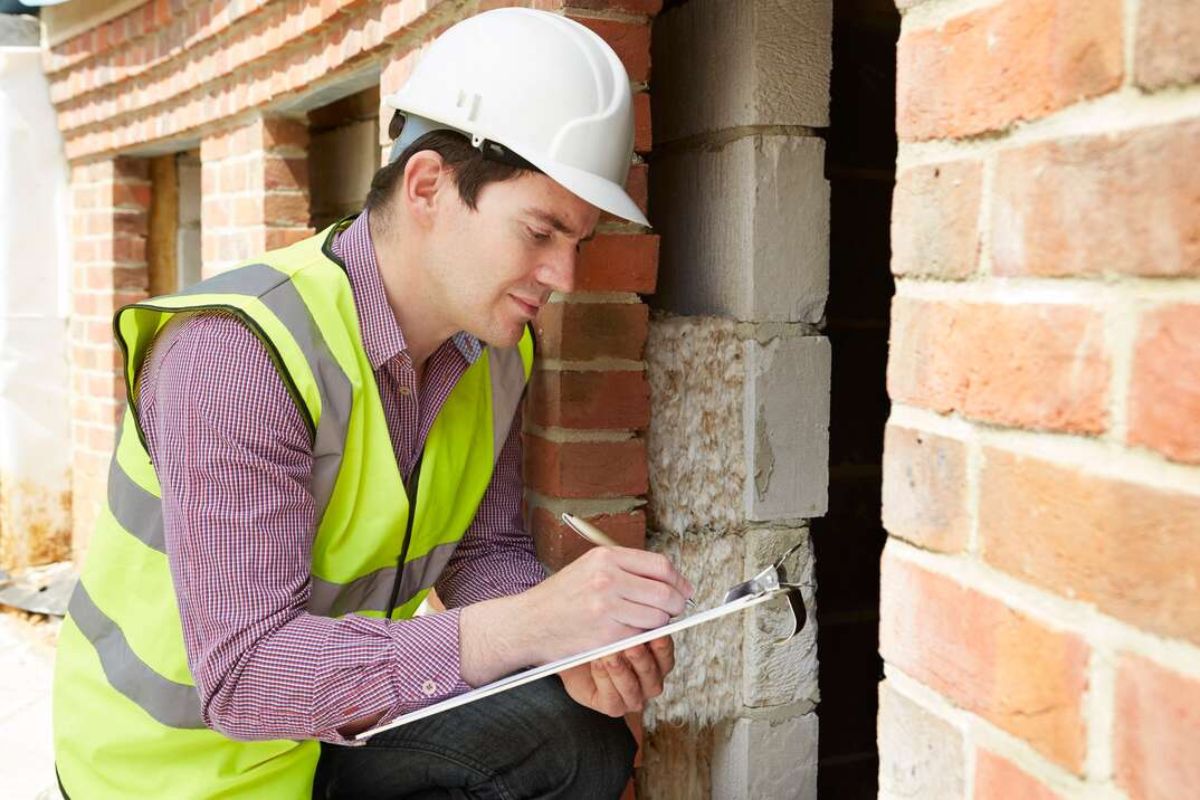
Step 1: Inspecting the Frame
Before you can begin to identify and correct framing errors, you need to thoroughly inspect the frame of the structure. This step is crucial in understanding the current state of the framing and pinpointing any areas that require attention. Here is a step-by-step process for inspecting the frame:
- Start with a Visual Examination: Begin by visually inspecting the overall frame of the structure. Look for any obvious signs of misalignment, gaps, or damage. Check for any bowing or sagging in walls, floors, or roofs. Pay attention to areas where different framing elements connect, such as corners and joints.
- Measure and Verify Dimensions: Use a tape measure to check the dimensions of walls, openings, and other crucial areas. Compare the actual measurements to the plans or specifications to ensure accuracy. Look for any discrepancies that may indicate framing errors.
- Check for Plumb and Level: Use a level to assess the verticality and horizontality of the walls, floors, and ceilings. Check for any tilting or unevenness that may affect the structural integrity. Pay attention to corners and transitions between different framing elements.
- Inspect Load-Bearing Components: Focus on the load-bearing components, such as beams, columns, and headers. Examine them for signs of damage, excessive deflection, or improper installation. Look for any cracks, splitting, or bending that may compromise their strength.
- Look for Gaps or Gaps: Inspect the joints between framing members for any gaps or separations. Properly fitted framing should have minimal gaps, ensuring a strong and secure connection. Pay attention to areas where framing members intersect or connect to the foundation or other structural elements.
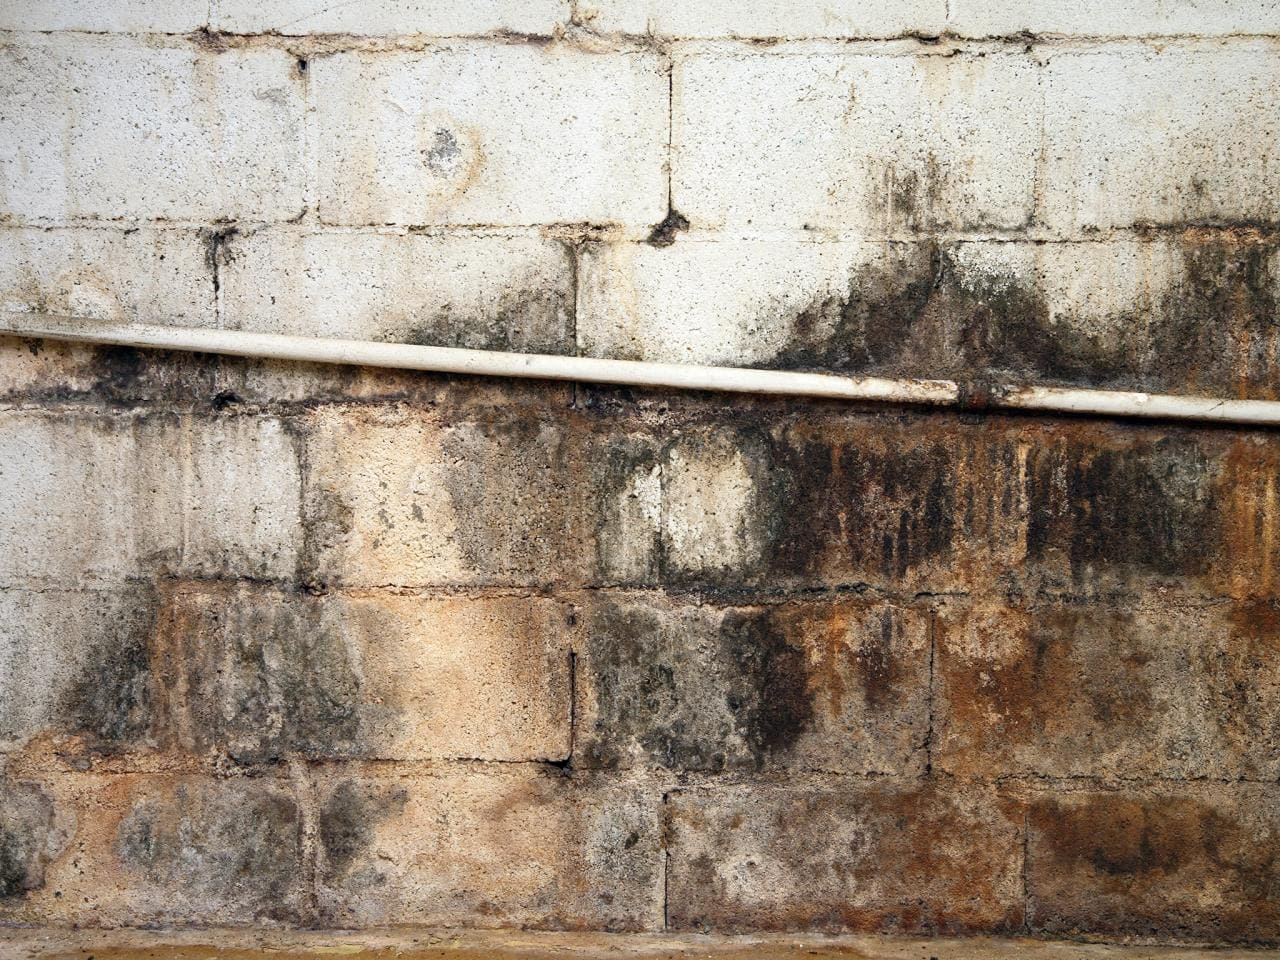
- Investigate Moisture or Water Damage: Check for any signs of moisture or water damage, such as rot, mold, or mildew. Moisture can weaken the framing and lead to further structural issues. Look for water stains, discolored wood, or a musty odor.
- Note Potential Problem Areas: As you inspect the frame, make a note of any areas that require further investigation or corrective action. These may include areas with visible errors, structural weaknesses, or indications of damage. Prioritize these areas for closer examination.
By thoroughly inspecting the frame, you will gain valuable insights into its condition and identify any potential framing errors. This step sets the foundation for the subsequent steps of the process, where we will address and correct the identified issues.
Now that we have inspected the frame, let’s move on to the next step of identifying common framing errors.
Before taking a photo, use the rule of thirds to ensure proper framing. Imagine the image divided into 9 equal parts and place the subject at the intersecting points.
Step 2: Identifying Common Framing Errors
Once you have inspected the frame of a structure, it’s time to identify common framing errors that may be present. Identifying these errors is crucial for ensuring the structural integrity and longevity of the building. Here are some common framing errors to watch out for:
- Non-Plumb or Non-Level Walls: One of the most common framing errors is walls that are not plumb (vertical) or level (horizontal). This can lead to aesthetic issues, difficulty in installing finishes, and compromised structural integrity.
- Improper Stud Spacing: Studs, vertical framing members in walls, should be evenly spaced to provide stability. Improper stud spacing can lead to weakened walls and difficulty in attaching drywall or other finishes.
- Insufficient Headers: Headers provide structural support above openings such as doors and windows. If headers are undersized or not installed correctly, it can lead to sagging and compromised load-bearing capacity.
- Inadequate Bracing: Proper bracing is essential to ensure stability during construction and to resist lateral forces, such as wind. Failure to install adequate bracing can lead to a weakened structure and potential collapse.
- Over-spanned Joists or Beams: Joists and beams that are over-spanned, meaning they are stretched over a distance beyond the recommended limit, can lead to excessive deflection and compromised load-bearing capacity.
- Misalignment of Framing Elements: Framing elements should be aligned correctly to ensure proper load distribution. Misalignment can result in uneven weight distribution, causing stress on specific areas and potential structural failure.
- Inadequate Fastening: Insufficient or improper fastening of framing members can lead to weak connections and compromised structural integrity. Nails or screws should be spaced appropriately and driven in securely.
- Improper Notching or Drilling: Notching or drilling holes in load-bearing members without proper reinforcement or within restricted areas can weaken the framing and potentially compromise the structural stability.
By recognizing these common framing errors, you will be able to pinpoint areas where corrective action is necessary. It’s crucial to address these errors promptly to avoid any further complications or safety hazards.
Now that we have identified common framing errors, let’s proceed to the next step: correcting framing errors.
Read more: How To Check Construction License
Step 3: Correcting Framing Errors
Once you have identified framing errors in the structure, it’s time to take corrective action. Correcting these errors is essential for ensuring the structural integrity and safety of the building. Here are the steps to follow when correcting framing errors:
- Prioritize the Errors: Start by prioritizing the framing errors based on their severity and impact on the structure. Address the most critical errors first to prevent any further complications.
- Consult Building Plans or Codes: Refer to the building plans or local building codes to understand the correct dimensions, spans, and other requirements for correcting the specific framing errors. Ensure that your corrective measures align with the approved guidelines.
- Prepare the Necessary Materials: Gather the required materials and tools for making the necessary corrections. This may include additional framing members, fasteners, connectors, and other components.
- Remedy Non-Plumb or Non-Level Walls: Use shims, adjustable bracing, or other techniques to adjust and align non-plumb or non-level walls. Ensure that the walls are properly squared and secured in place.
- Correct Stud Spacing: Add or remove studs as needed to achieve proper spacing. Ensure that the new studs are securely fastened and aligned with the existing framing members.
- Reinforce or Replace Headers: Strengthen or replace headers that are inadequate. Use properly sized and supported headers to ensure sufficient structural support above openings.
- Install Adequate Bracing: Add bracing to areas that require additional support. This may involve installing temporary or permanent bracing to resist lateral forces and enhance the stability of the structure.
- Address Over-spanned Joists or Beams: Reinforce or replace over-spanned joists or beams to prevent excessive deflection. Use appropriate materials and techniques to ensure proper load distribution.
- Align Framing Elements: Adjust and align framing elements that are improperly positioned. This may involve disassembling and reassembling the framing members to achieve proper alignment and load distribution.
- Ensure Proper Fastening: Securely fasten framing members with appropriate nails, screws, or connectors. Follow the recommended spacing and installation guidelines to ensure strong connections.
- Avoid Notching or Drilling Errors: Avoid notching or drilling holes in load-bearing members unless necessary, and if needed, reinforce the affected area to maintain structural integrity. Consult an engineer if unsure.
It’s important to approach each framing error systematically and meticulously to ensure the best possible outcome. Regularly assess the corrections made and make any necessary adjustments along the way.
Now that we have corrected the framing errors, let’s move on to the next step: rechecking the frame to ensure its integrity.
Step 4: Rechecking the Frame
After correcting the framing errors, it is essential to thoroughly recheck the frame to ensure that all the necessary corrections have been made and that the structure is now stable and aligned. Rechecking the frame provides a final opportunity to address any remaining issues before proceeding with further construction or finishing work. Here is the step-by-step process for rechecking the frame:
- Inspect the Corrections: Begin by visually inspecting the areas where framing errors were corrected. Check for any signs of misalignment, gaps, or new issues that may have arisen during the correction process.
- Use the Level and Plumb: Recheck the vertical and horizontal alignment of walls, floors, and ceilings using a level. Ensure that everything is plumb and level, as per the required standards or building codes.
- Verify Dimensions and Spacing: Double-check the dimensions of walls, openings, and other crucial areas to ensure that they align with the approved plans or specifications. Confirm that the stud spacing and other measurements are accurate.
- Assess Load-Bearing Components: Examine the load-bearing components, such as beams, columns, and headers, to confirm that they are properly reinforced and aligned. Check for any signs of damage, deflection, or instability.
- Test the Structural Stability: Apply gentle pressure or load to the structure to test its stability. This can involve pushing against walls, jumping on floors, or simulating external forces. Observe for any excessive movement or signs of weakness.
- Check for Proper Fastening: Ensure that all framing members are securely fastened with appropriate nails, screws, or connectors. Confirm that the spacing and installation meet the recommended guidelines.
- Look for Any Remaining Errors: Conduct a thorough examination of the entire frame, focusing on areas that were previously identified as problematic. Check for any remaining errors or issues that may have been overlooked during the correction process.
- Seek Professional Advice if Needed: If you are unsure about any aspect of the frame or have concerns regarding its integrity, it is advisable to seek professional advice from a structural engineer or contractor. They can provide expert guidance and ensure that the frame is safe and sound.
By diligently rechecking the frame, you can have confidence in the structural integrity of the building and proceed with further construction or finishing work. It is crucial not to overlook this step, as it can prevent potential complications and ensure a successful construction project.
With the frame thoroughly rechecked, we have now successfully completed the step-by-step process of checking and correcting framing errors. Let’s summarize the key points before concluding.
Conclusion
Checking and correcting framing errors is a critical step in construction or home renovation projects. Proper framing ensures the structural integrity and stability of a building, preventing issues such as sagging, misalignment, and potential collapse. By following a systematic approach and employing the right tools, you can identify and rectify common framing errors, ensuring a strong and well-aligned frame.
Throughout this article, we have explored the importance of framing, the tools and equipment needed for checking and correcting framing errors, and the step-by-step process to inspect, identify, and correct common framing mistakes. From visually examining the frame to rechecking the corrections, each step plays a vital role in ensuring a well-constructed and safe structure.
Remember to prioritize the errors, consult building plans or codes, and gather the necessary materials before making corrections. Address issues such as non-plumb or non-level walls, improper stud spacing, inadequate headers, and inadequate bracing. Additionally, be mindful of over-spanned joists or beams, misaligned framing elements, inadequate fastening, and improper notching or drilling.
By meticulously correcting the errors and rechecking the frame’s integrity, you can have confidence in the structural soundness of the building. However, if you encounter challenges or feel uncertain, it is always advisable to consult professionals for guidance and support.
Now armed with the knowledge and understanding of checking and correcting framing errors, you are well-equipped to tackle your construction or renovation projects with confidence. Remember to approach the process with patience, attention to detail, and a commitment to excellence. Happy framing!
Frequently Asked Questions about How To Check And Correct Framing
Was this page helpful?
At Storables.com, we guarantee accurate and reliable information. Our content, validated by Expert Board Contributors, is crafted following stringent Editorial Policies. We're committed to providing you with well-researched, expert-backed insights for all your informational needs.


0 thoughts on “How To Check And Correct Framing”