
Articles
How To Clean A Toilet Seat
Modified: October 19, 2024
Looking for articles on how to clean a toilet seat? Explore our informative guides and tips to keep your toilet seat clean and hygienic.
(Many of the links in this article redirect to a specific reviewed product. Your purchase of these products through affiliate links helps to generate commission for Storables.com, at no extra cost. Learn more)
Introduction
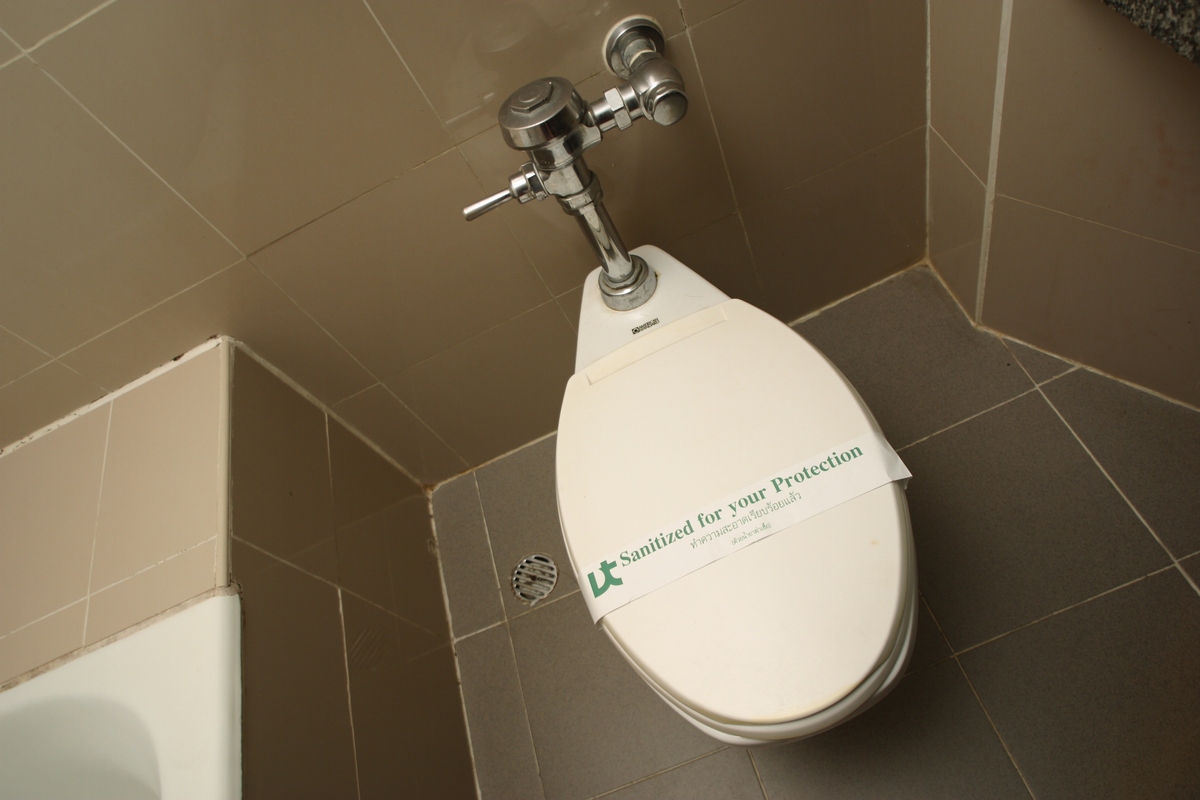
Having a clean and hygienic toilet seat is essential for a healthy and comfortable bathroom experience. Yet, with daily use, toilet seats can quickly accumulate dirt, grime, and bacteria. Regular cleaning is necessary to maintain a fresh and sanitary environment.
In this article, we will guide you through a step-by-step process to effectively clean your toilet seat. We will also provide you with tips and tricks to ensure that your toilet seat remains spotless and germ-free.
Before we begin, it’s important to note that different materials require different cleaning methods. Whether you have a plastic, wooden, or cushioned toilet seat, we will address the best practices for each type.
So, let’s roll up our sleeves and get started on giving your toilet seat the deep clean it deserves!
Key Takeaways:
- Regularly cleaning and disinfecting your toilet seat is essential for maintaining a healthy and inviting bathroom environment. Follow the step-by-step guide and maintenance tips to ensure a germ-free and pleasant experience for you and your family.
- Different types of toilet seats require specific cleaning methods and gentle handling to avoid damage. From plastic to wooden and cushioned seats, follow the recommended steps and supplies to achieve a spotless and hygienic toilet seat.
Read more: How To Disinfect Toilet Seat
Supplies Needed
Before you start cleaning your toilet seat, gather the following supplies:
- Toilet bowl cleaner
- All-purpose cleaner
- Disinfecting wipes or solution
- Mild dish soap
- Microfiber or soft cloth
- Plastic bristle brush or toothbrush
- Rubber gloves
- Bucket or basin
- Warm water
These supplies will help you effectively remove stains, disinfect the surface, and restore the cleanliness of your toilet seat.
Step 1: Gather Your Materials
The first step in cleaning your toilet seat is to gather all the necessary materials. Having everything you need ready will make the cleaning process easier and more efficient.
Here’s what you’ll need:
- Toilet bowl cleaner: Choose a cleaner specifically formulated for toilet bowls. Look for one that targets stains and eliminates bacteria.
- All-purpose cleaner: This cleaner will be used to wipe down the rest of the toilet, including the hinges and surrounding areas.
- Disinfecting wipes or solution: These will be used to kill the germs and bacteria on the toilet seat after cleaning.
- Mild dish soap: This will be used to make the cleaning solution for the toilet seat.
- Microfiber or soft cloth: Use this cloth to wipe down the seat and remove any dirt or stains.
- Plastic bristle brush or toothbrush: This will be used to scrub off any stubborn stains or build-up in hard-to-reach areas.
- Rubber gloves: Protect your hands from germs and chemicals by wearing rubber gloves.
- Bucket or basin: This will be used to fill with warm water and the cleaning solution.
- Warm water: Use warm water to dilute the cleaning solution and rinse off the seat.
By gathering all these materials beforehand, you’ll save time and avoid having to search for items during the cleaning process.
Now that you have everything ready, let’s move on to the next step: preparing the cleaning solution.
Step 2: Prepare the Cleaning Solution
Now that you have all the necessary materials, it’s time to prepare the cleaning solution for your toilet seat. The cleaning solution will help break down dirt and stains, making it easier to clean and disinfect the seat.
Here’s how to prepare the cleaning solution:
- Fill a bucket or basin with warm water.
- Add a small amount of mild dish soap to the water. Be careful not to add too much, as excessive soap can leave a residue on your toilet seat.
- Agitate the water and soap mixture gently to create a soapy solution.
When choosing a mild dish soap, opt for one that is gentle and free from harsh chemicals. This will ensure that the cleaning solution is safe for your toilet seat and will not cause any damage.
Once you have prepared the cleaning solution, it’s time to move on to the next step: pre-cleaning the toilet seat.
Step 3: Pre-Clean the Toilet Seat
Before applying the cleaning solution to your toilet seat, it’s important to pre-clean the surface to remove any loose dirt, debris, or spills. This step will make the subsequent cleaning process more effective.
Follow these steps to pre-clean your toilet seat:
- Put on your rubber gloves to protect your hands.
- Dampen a microfiber or soft cloth with warm water.
- Gently wipe down the entire toilet seat, including the top, underside, and hinges.
- Pay special attention to any visible stains or spills and try to remove them using gentle wiping motions.
- If there are stubborn stains or grime, use a plastic bristle brush or toothbrush to scrub the affected areas. Be cautious when using a brush to avoid scratching the surface.
- Dispose of any debris or dirt that may have accumulated on the cloth.
By pre-cleaning the toilet seat, you’ll remove any surface-level dirt or residue, making it easier to deep clean and sanitize the seat in the following steps.
Now that the toilet seat is pre-cleaned, we can move on to the next step: applying the cleaning solution.
Read more: How To Paint A Toilet Seat
Step 4: Apply the Cleaning Solution
With the pre-cleaning done, it’s time to apply the cleaning solution to your toilet seat. The cleaning solution will help break down stubborn stains, remove bacteria, and leave the seat looking fresh and clean.
Follow these steps to apply the cleaning solution:
- Dip a clean microfiber or soft cloth into the prepared cleaning solution.
- Wring out any excess liquid to avoid dripping.
- Start by applying the cleaning solution to the top of the toilet seat, working your way from the back to the front.
- Make sure to reach all the nooks and crannies, including the hinge area.
- Allow the cleaning solution to sit on the surface for a few minutes to loosen any stubborn stains or grime.
If you have a wooden or cushioned toilet seat, be cautious when applying the cleaning solution. These materials are more delicate and may require a gentler touch.
Now that the cleaning solution is applied, it’s time to move on to the next step: scrubbing the toilet seat.
Use a mixture of white vinegar and water to clean the toilet seat. Spray the solution onto the seat, let it sit for a few minutes, then wipe it clean with a cloth or sponge. This will help remove any stains and disinfect the surface.
Step 5: Scrub the Toilet Seat
Now that the cleaning solution has had time to work its magic, it’s time to scrub away any remaining stains and grime from the toilet seat. Scrubbing will help to ensure a thorough cleaning and leave your seat looking fresh and pristine.
Follow these steps to scrub your toilet seat:
- Take a plastic bristle brush or toothbrush and gently scrub the surface of the toilet seat.
- Pay close attention to any visible stains or discoloration.
- Use firm yet gentle pressure to avoid scratching or damaging the seat.
- If you have a wooden or cushioned toilet seat, use a soft cloth or sponge to scrub the surface instead.
- Reapply the cleaning solution as needed, especially on stubborn stains or areas requiring more attention.
Remember to scrub the underside of the toilet seat as well, as it can often accumulate dirt and grime.
Once you have thoroughly scrubbed the toilet seat, move on to the next step: rinsing and drying the seat.
Step 6: Rinse and Dry the Seat
After scrubbing the toilet seat, it’s important to rinse off any residue from the cleaning solution and dry the seat thoroughly. This will help to remove any remaining dirt or cleaning product and ensure a clean and dry surface.
Follow these steps to rinse and dry your toilet seat:
- Fill a bucket or basin with clean warm water.
- Dip a clean microfiber or soft cloth into the water and wring out any excess liquid.
- Gently wipe down the entire surface of the toilet seat to remove any remaining cleaning solution.
- Rinse the cloth frequently with clean water and continue wiping until the seat feels clean to the touch.
- Dry the toilet seat using a dry, clean microfiber or soft cloth.
- Make sure to dry all areas, including the hinges and underside of the seat.
Ensuring that the seat is thoroughly rinsed and dried will prevent any residue or moisture from remaining on the surface, which could lead to odors or the growth of bacteria or mold.
Now that the seat is rinsed and dried, it’s time to move on to the next step: disinfecting the toilet seat.
Step 7: Disinfect the Toilet Seat
Disinfecting your toilet seat is an essential step in maintaining a hygienic bathroom environment. This step will help eliminate any remaining bacteria or germs that may be present on the seat surface.
Follow these steps to disinfect your toilet seat:
- Wipe down the entire surface of the toilet seat with a disinfecting wipe or a cloth soaked in a disinfecting solution.
- Pay special attention to high-touch areas such as the top and front of the seat.
- Allow the disinfectant to remain on the seat for the recommended amount of time specified on the product label.
- If using a disinfecting solution, ensure that the seat is thoroughly covered and soaked in the solution.
- After the specified time, use a clean, damp cloth to wipe away any excess disinfectant from the seat.
Disinfecting the toilet seat will help to kill any remaining bacteria or germs, ensuring a clean and healthy surface for you and your family.
Now that the seat is disinfected, let’s move on to the final steps: adding the finishing touches and maintenance tips.
Read more: How Much Is A Toilet Seat
Step 8: Final Touches and Maintenance Tips
Now that your toilet seat is clean, disinfected, and fresh, it’s time to add the final touches and learn some maintenance tips to keep it in pristine condition. These steps will help ensure that your toilet seat remains clean and hygienic for longer.
Follow these final touches and maintenance tips:
- Wipe down the entire toilet, including the seat, lid, and surrounding areas, with an all-purpose cleaner. This will help remove any remaining residue and maintain the overall cleanliness of the toilet.
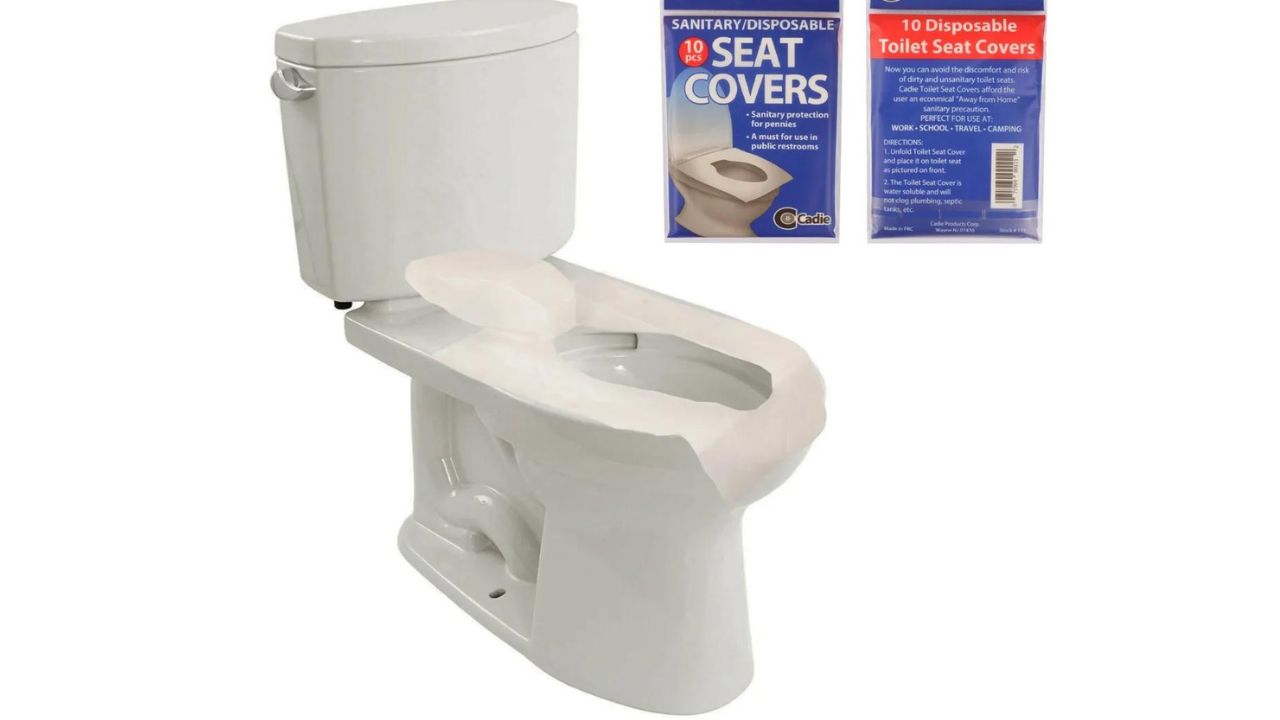
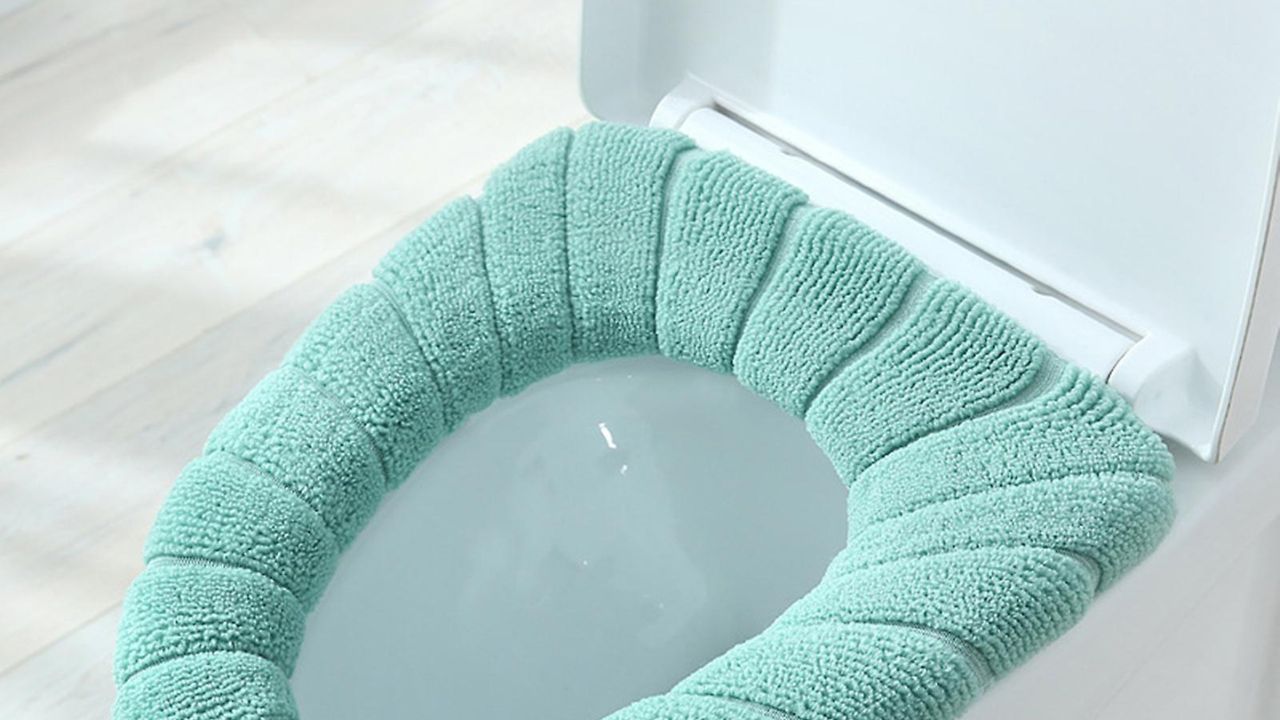
- Consider using a toilet seat cover or disposable seat covers to provide an extra layer of protection and minimize direct contact with the seat surface.
- Regularly clean your toilet seat on a weekly basis to prevent the build-up of dirt and germs. This will make the cleaning process easier and more efficient.
- Avoid using abrasive cleaners or harsh chemicals on your toilet seat, as these can damage the surface. Stick to gentle cleaning solutions and tools to protect the seat’s finish.
- Encourage proper toilet hygiene by reminding household members to flush the toilet and put down the seat after use. This will help prevent the accumulation of bacteria and odors.
- Consider placing air fresheners or deodorizing products in your bathroom to maintain a clean and fresh-smelling environment.
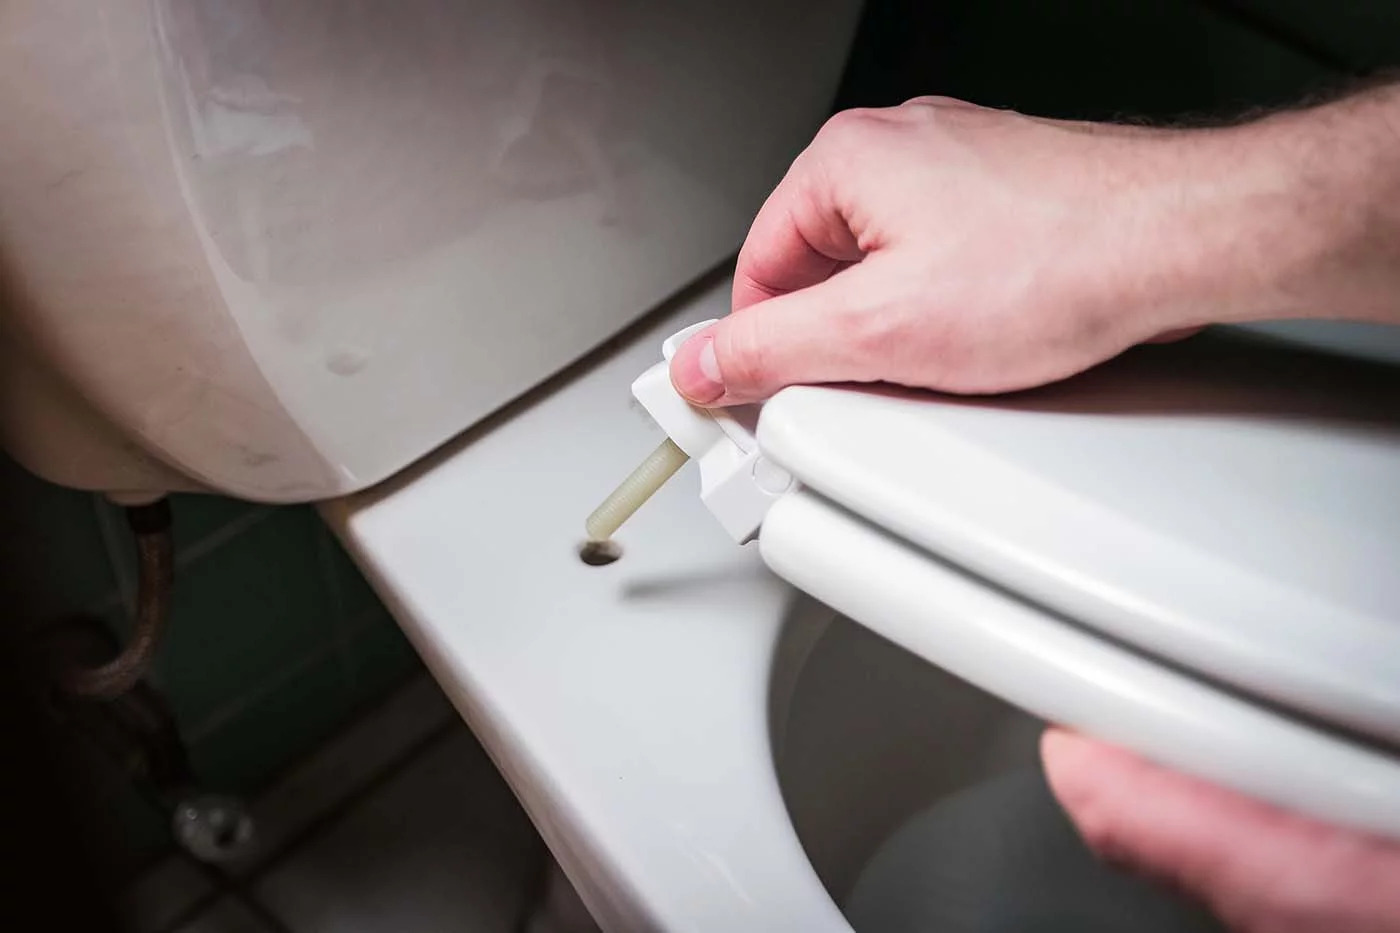
- Regularly inspect the hinges and fittings of your toilet seat for any signs of wear or damage. Replace any loose or broken parts to ensure the seat remains secure and stable.
By following these final touches and maintenance tips, you can prolong the cleanliness and hygiene of your toilet seat, promoting a healthy and comfortable bathroom experience for everyone.
Congratulations on successfully cleaning and maintaining your toilet seat! Your efforts will contribute to a clean and inviting bathroom environment. Remember to regularly repeat the cleaning process to keep your toilet seat fresh and germ-free.
Now, go ahead and enjoy your sparkling clean toilet seat!
Remember, a clean toilet seat is not only a matter of hygiene but also contributes to a pleasant and comfortable bathroom experience.
Conclusion
Maintaining a clean and hygienic toilet seat is crucial for a healthy and comfortable bathroom environment. By following the step-by-step guide outlined in this article, you can effectively clean and disinfect your toilet seat, ensuring a sanitary and inviting space for you and your family.
From gathering the necessary supplies to pre-cleaning, applying the cleaning solution, scrubbing, rinsing, and disinfecting, each step plays a vital role in achieving a clean and fresh toilet seat. Additionally, implementing the recommended maintenance tips can help prolong the cleanliness and hygiene of your seat over time.
Remember to take caution when cleaning different types of toilet seats. Plastic, wooden, and cushioned seats may require different cleaning methods and gentle handling to avoid damage.
Regularly cleaning your toilet seat and practicing proper toilet hygiene will contribute to a healthier and more pleasant bathroom experience. By incorporating these cleaning routines into your household maintenance, you can maintain a clean and hygienic toilet seat for years to come.
So, take charge of your bathroom cleanliness and keep your toilet seat in pristine condition. Your efforts will not only create a more inviting environment but also promote the well-being of everyone who uses your bathroom.
Now, it’s time to get started and give your toilet seat the deep clean it deserves!
Frequently Asked Questions about How To Clean A Toilet Seat
Was this page helpful?
At Storables.com, we guarantee accurate and reliable information. Our content, validated by Expert Board Contributors, is crafted following stringent Editorial Policies. We're committed to providing you with well-researched, expert-backed insights for all your informational needs.
0 thoughts on “How To Clean A Toilet Seat”