Home>Home Maintenance>How To Clean A Kenmore Dryer Vent
Home Maintenance
How To Clean A Kenmore Dryer Vent
Modified: August 25, 2024
Learn the step-by-step process of cleaning your Kenmore dryer vent for optimal home maintenance. Say goodbye to potential fire hazards and improve your dryer's efficiency.
(Many of the links in this article redirect to a specific reviewed product. Your purchase of these products through affiliate links helps to generate commission for Storables.com, at no extra cost. Learn more)
Introduction
Welcome to our guide on how to clean a Kenmore dryer vent. Regularly cleaning your dryer vent is essential to ensuring its efficiency, preventing fire hazards, and prolonging the life of your appliance. Over time, lint, dust, and other debris can accumulate in the vent, leading to reduced airflow and increased risk of overheating. This can not only affect the performance of your dryer but also pose a serious fire hazard.
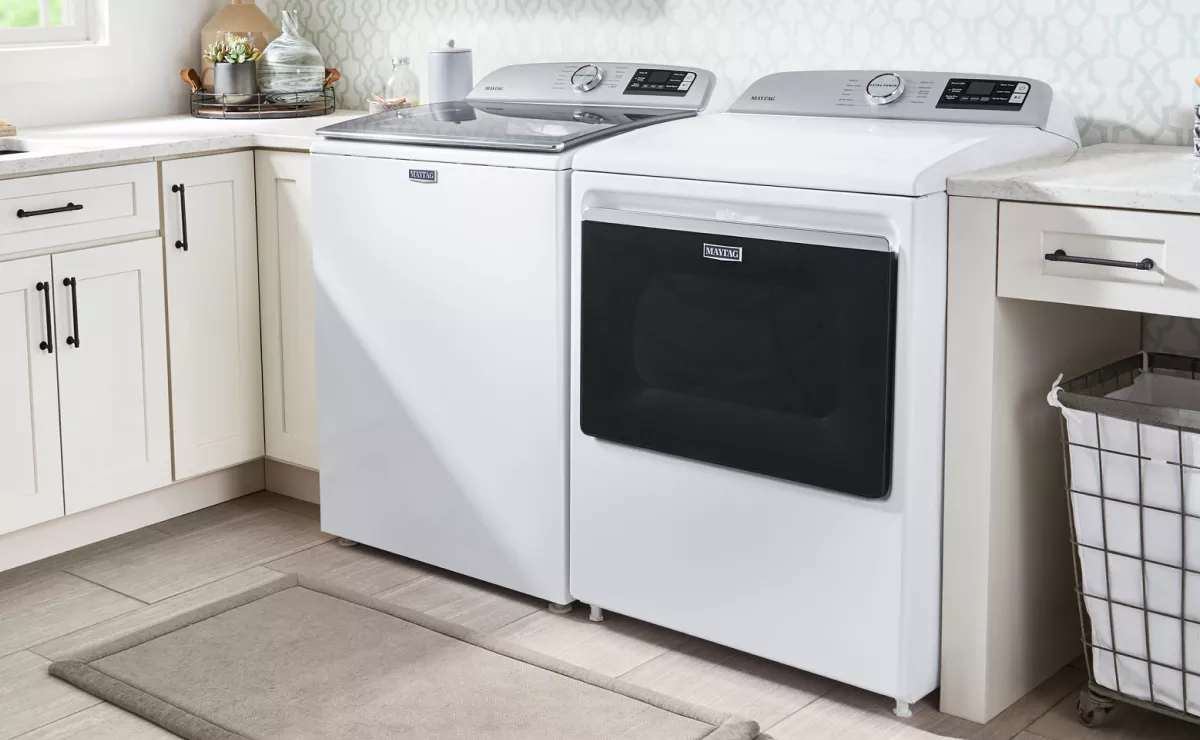
A Kenmore dryer vent is typically located at the back of the dryer and is responsible for carrying hot air and moisture out of the machine, preventing it from entering your home. Cleaning the vent involves removing any lint or debris that may have accumulated over time, improving airflow and keeping your dryer running smoothly. By following these simple steps, you can easily clean your Kenmore dryer vent and ensure optimal performance.
Key Takeaways:
- Regularly cleaning your Kenmore dryer vent is crucial for safety, efficiency, and prolonging your appliance’s lifespan. Follow safety precautions, gather tools, and carefully clean the vent for optimal performance.
- Prioritize safety, gather tools, and follow the steps outlined to effectively clean your Kenmore dryer vent. Regular maintenance is key to preventing lint buildup and maintaining efficient airflow.
Read more: Who Cleans Dryer Vent
Safety Precautions
Before you begin cleaning your Kenmore dryer vent, it is important to prioritize your safety. Taking the necessary precautions will help prevent accidents and ensure a smooth and hassle-free cleaning process. Here are some safety measures to keep in mind:
- Turn off the power: Before starting any maintenance work on your dryer, make sure to unplug it from the power source. This will help prevent any electrical shocks or accidents while you are cleaning the vent.
- Wear protective gear: It is crucial to protect yourself during the cleaning process. Wear a pair of gloves to avoid direct contact with any debris or sharp edges. Additionally, wearing safety goggles can protect your eyes from any dust or particles that may become airborne.
- Use a sturdy ladder: If your dryer vent is located higher up, you may need to use a ladder to access it. Make sure the ladder is in good condition and stable before climbing up. Have someone assist you if needed to ensure your safety.
- Keep the area well-ventilated: Cleaning the dryer vent may release dust, lint, and other airborne particles. Open windows or doors and use a fan to improve ventilation and prevent the accumulation of potentially harmful substances.
- Be cautious with heating elements: Your dryer vent may be located near heating elements, so exercise caution when cleaning around them. Ensure they are cool to the touch before proceeding to avoid any burns or injuries.
Following these safety precautions will help you carry out the cleaning process with peace of mind. Remember, your safety should always be your top priority when working with any home maintenance task.
Tools and Materials Needed
Before you can begin cleaning your Kenmore dryer vent, gather the necessary tools and materials to ensure a smooth and efficient process. Here are the items you’ll need:
- Screwdriver: A screwdriver will be required to disconnect the dryer and remove the vent cover. Depending on the type of screws used, you may need either a Phillips or a flat-head screwdriver.
- Vent brush or cleaning kit: A specialized vent brush or a dryer vent cleaning kit will help you effectively remove lint and debris from the vent pipe. These tools typically have long flexible rods with brushes attached to them, allowing you to reach deep into the vent.
- Vacuum cleaner with hose attachment: A vacuum cleaner with a long hose attachment will help you suck up any loose lint or debris that might not be reachable with the brush. Ensure that the vacuum cleaner has sufficient suction power for effective cleaning.
- Bucket or trash bag: You’ll need a bucket or trash bag to collect the lint and debris that you remove from the vent. This will help prevent a mess and make it easier to dispose of the waste properly.
- Cloth or microfiber duster: A cloth or microfiber duster can be useful for wiping down the vent cover and surrounding areas to remove any dust or lint particles that may have accumulated.
- Protective gear: As mentioned earlier, wear gloves and safety goggles to protect yourself from sharp edges, dust, and debris. It is important to prioritize your safety throughout the cleaning process.
Having these tools and materials readily available will ensure that you can clean your Kenmore dryer vent effectively and efficiently. Remember to double-check that you have everything you need before getting started.
Step 1: Disconnect the Dryer
The first step in cleaning your Kenmore dryer vent is to disconnect the appliance from the power source. This will ensure your safety and prevent any accidents during the cleaning process. Here’s how to do it:
- Turn off the dryer: Make sure the dryer is turned off and unplugged from the power outlet. This step is crucial to prevent any electrical shocks or accidents while you work.
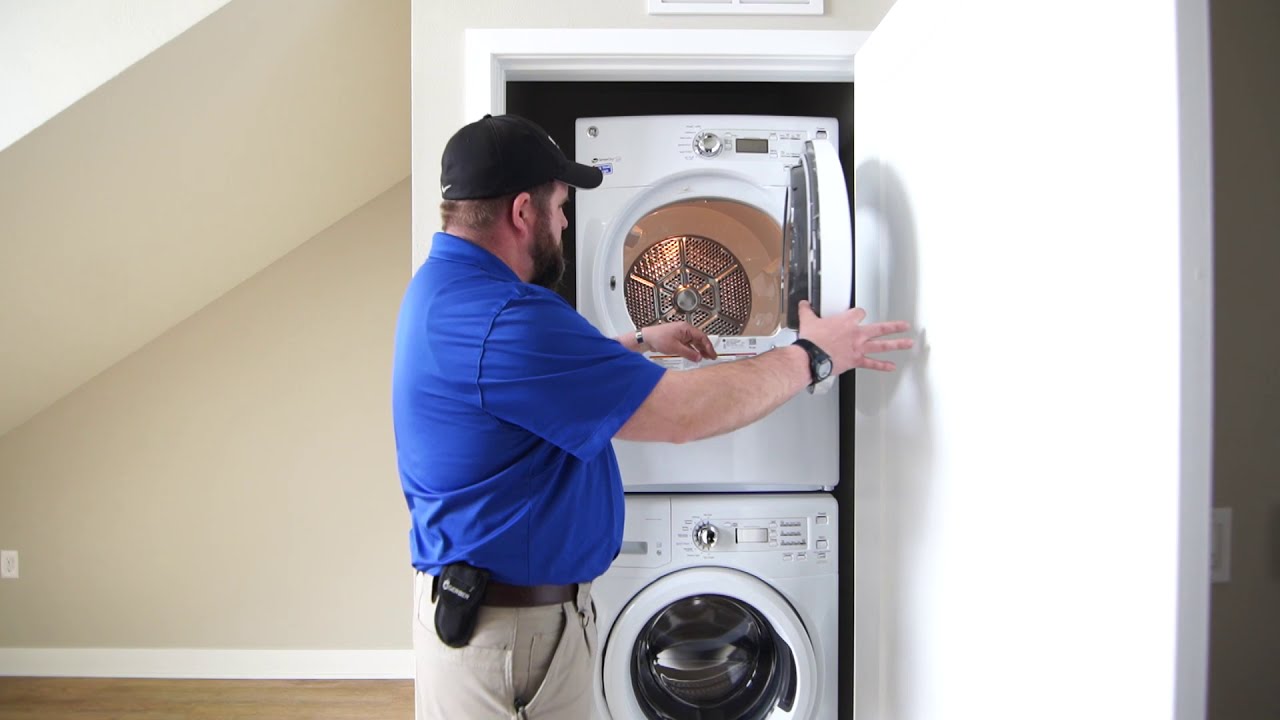
- Pull the dryer away from the wall: Carefully move the dryer away from the wall, creating enough space for you to access the back of the machine. Be cautious not to damage the flooring or any connections.
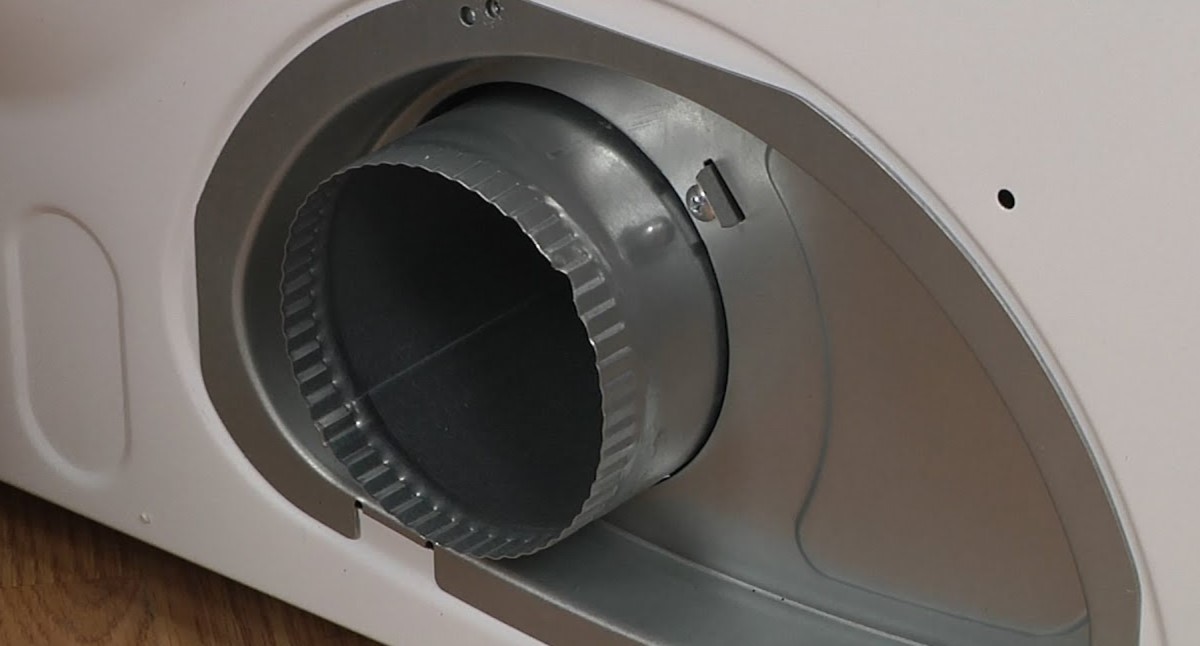
- Detach the dryer vent: Locate the dryer vent pipe at the back of the dryer. It is typically connected to the machine with metal clamps or screws. Use a screwdriver to loosen the clamps or screws and detach the vent from the dryer. Set aside the clamps or screws for reattachment later.
- Inspect the vent pipe: Take a moment to inspect the vent pipe for any signs of damage, such as holes, leaks, or disconnected sections. If you notice any issues, it is advisable to address them before continuing with the cleaning process.
By disconnecting the dryer from the power source and detaching the vent pipe, you will create a safe and accessible environment for the cleaning process. Remember to exercise caution when moving the dryer and handle the vent pipe with care to avoid causing any damage.
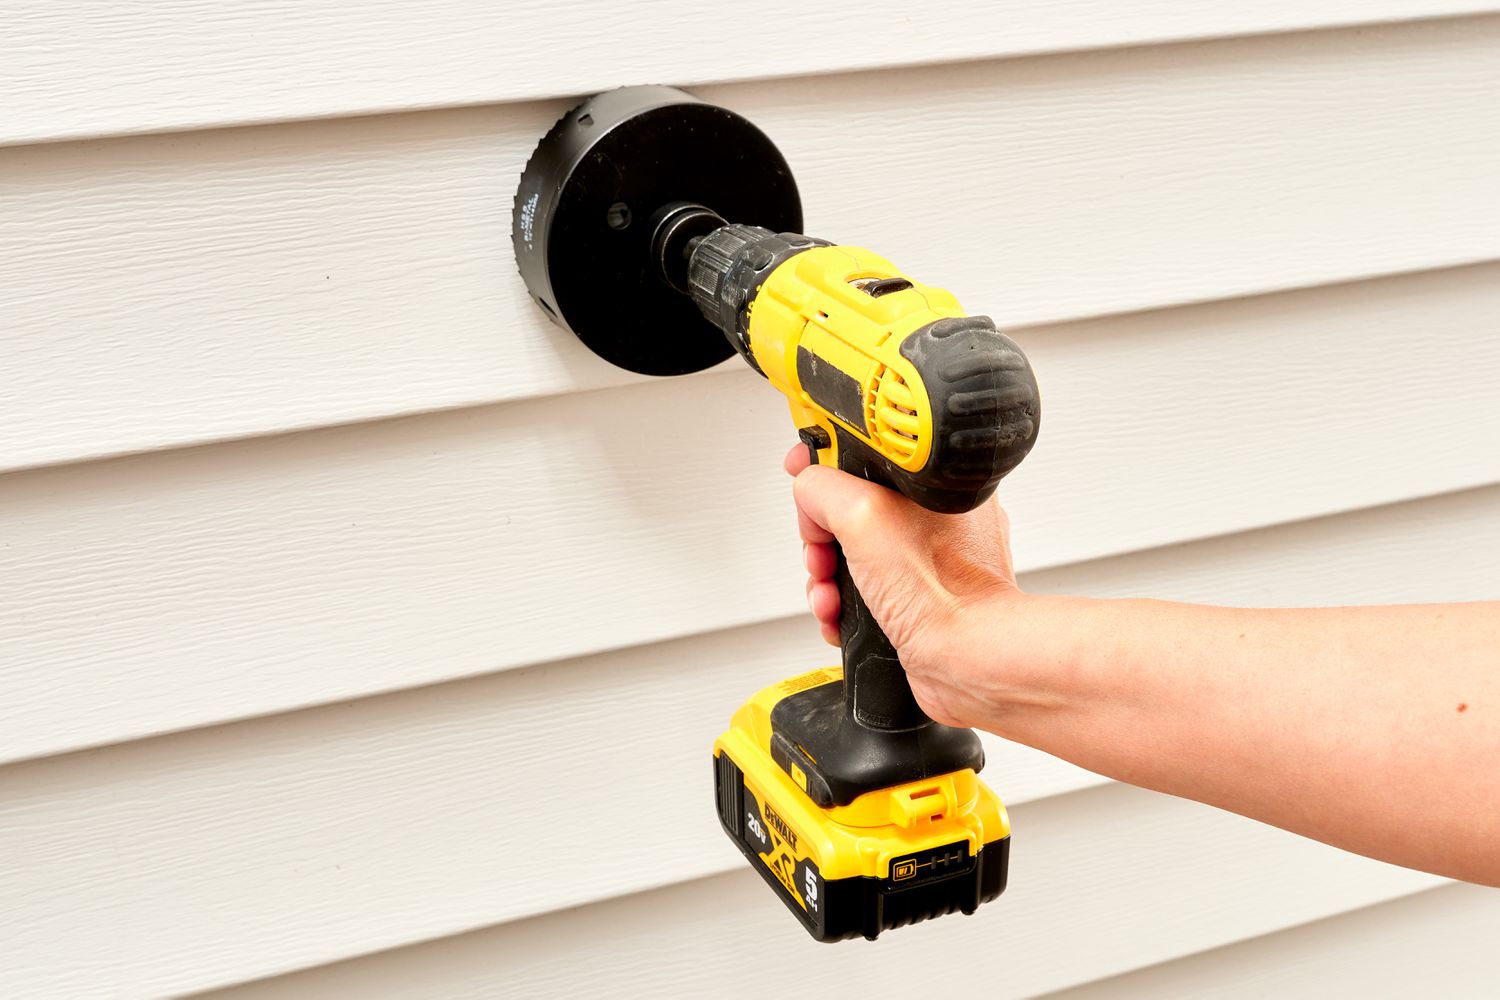
Step 2: Remove the Vent Cover
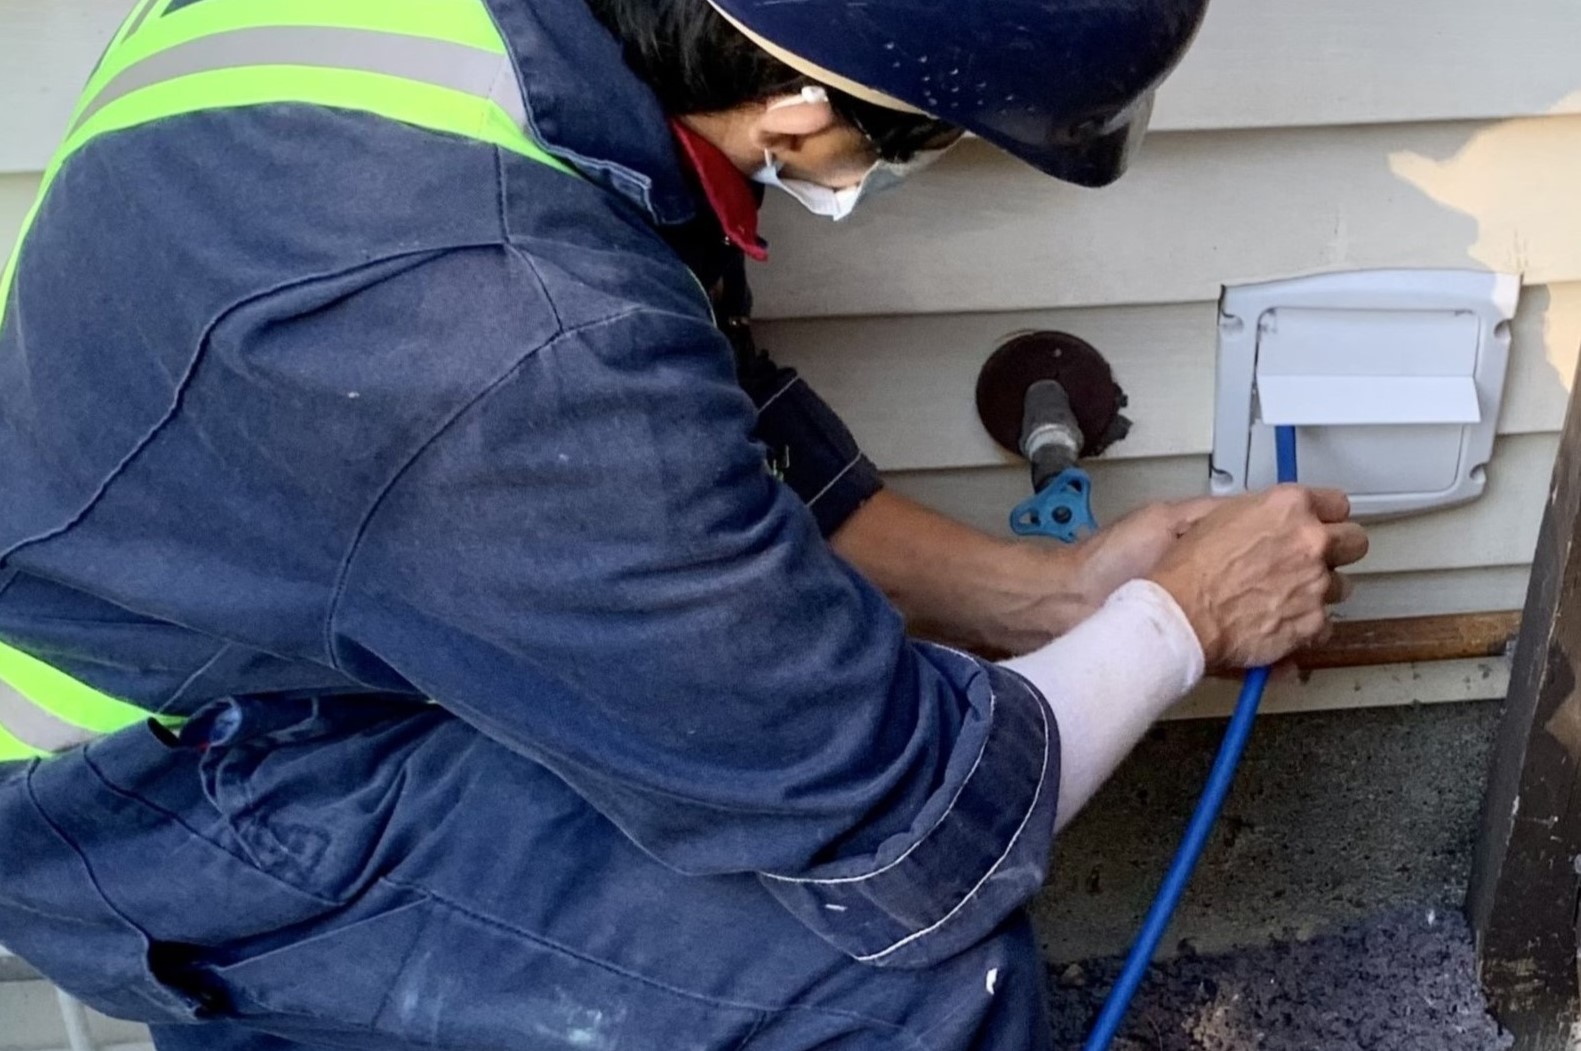
Once you have disconnected the dryer, the next step is to remove the vent cover. The vent cover is located on the exterior of your home and serves as the entrance and exit point for air when the dryer is in use. Here’s how you can remove the vent cover:
- Locate the vent cover: Go outside your home and find the vent cover. It is usually positioned on an exterior wall and can be identified by its slatted design. The vent cover may be secured with screws or clips.
- Remove the screws or clips: If the vent cover is held in place with screws, use a screwdriver to loosen and remove them. If it is secured with clips, gently push or pry them open to release the vent cover.
- Set aside the screws or clips: Keep the screws or clips in a safe place, as you will need them for reattaching the vent cover later.
- Take off the vent cover: Once the screws or clips are removed, carefully pull the vent cover away from the wall. Pay attention to how the cover is attached, as this will help you reinstall it correctly later.
Removing the vent cover allows you to access the vent pipe from the outside, making it easier to clean and maintain. Take your time to ensure that the screws or clips are safely stored and that the vent cover is removed without causing any damage.
Read more: How To Clean The Inside Of A Dryer Vent
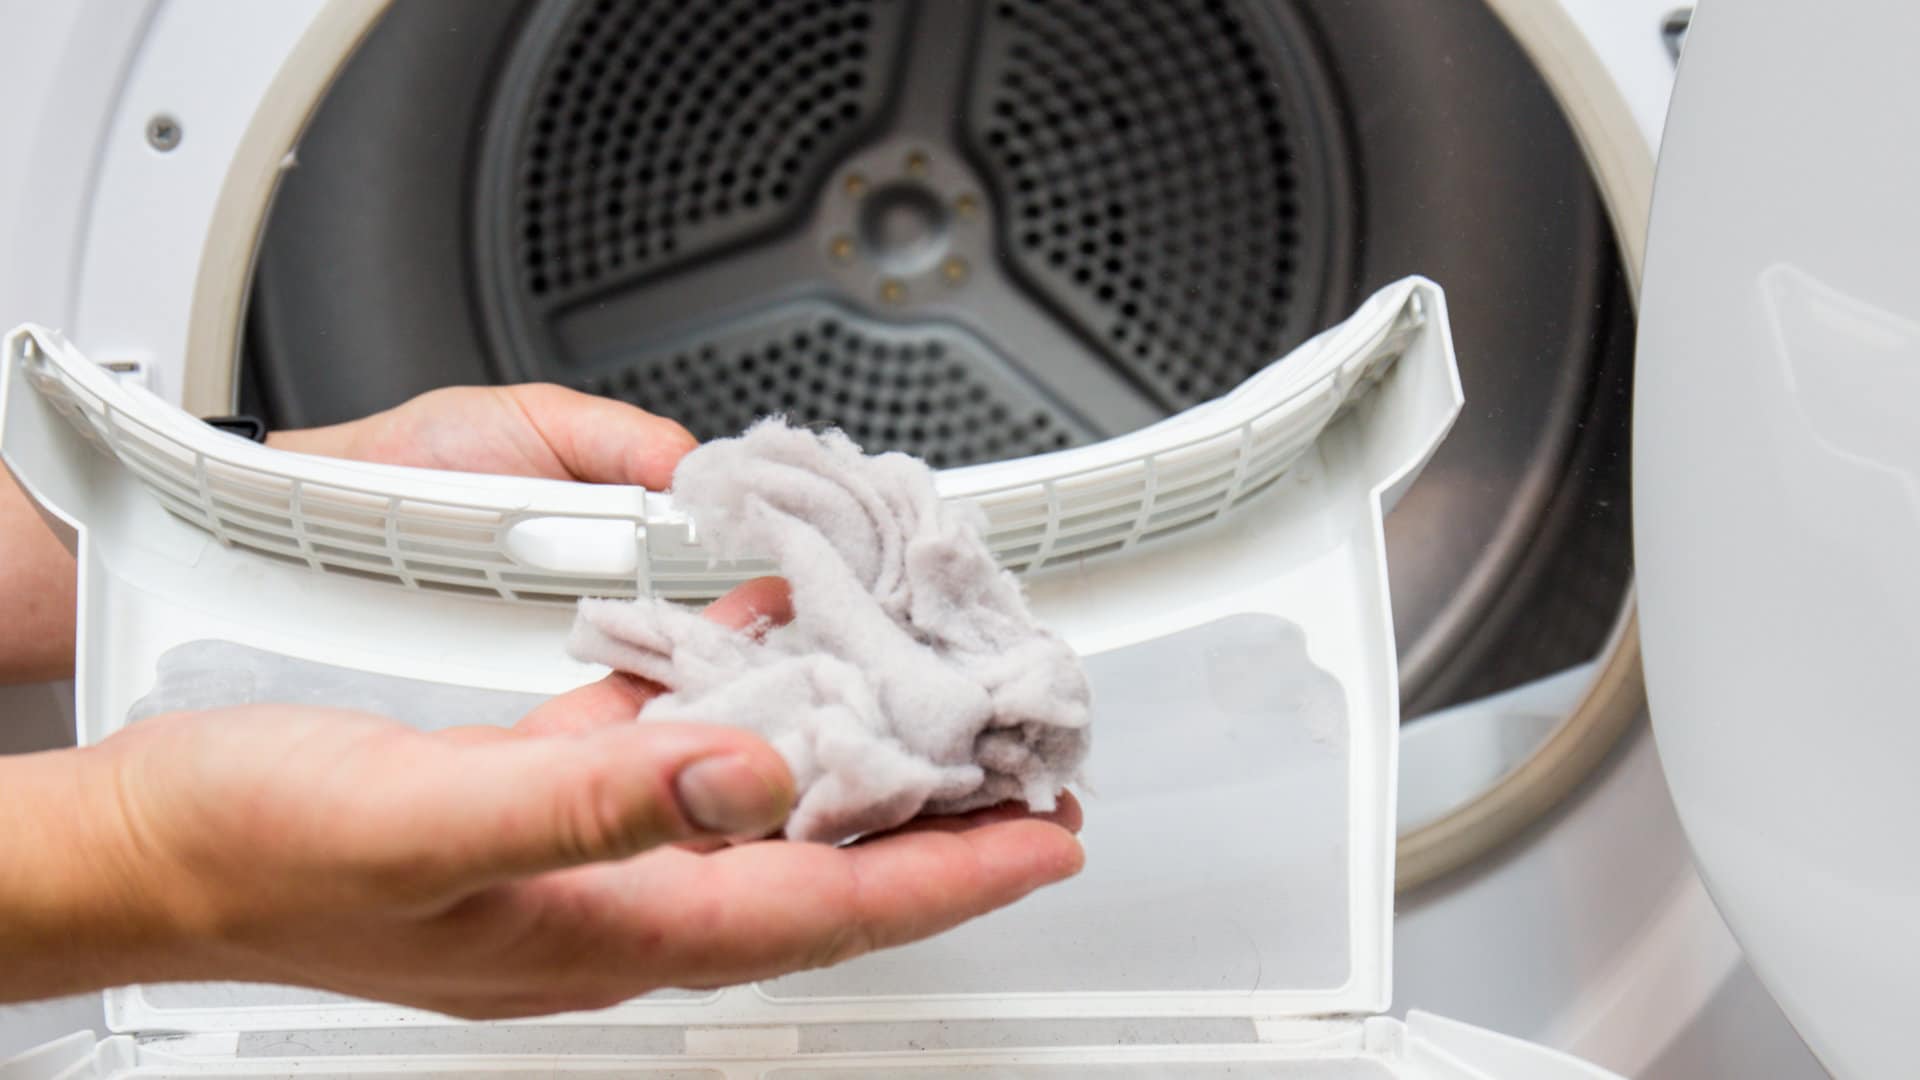
Step 3: Clean the Vent Cover
With the vent cover removed, you can now focus on cleaning it. The vent cover can accumulate dust, lint, and other debris over time, which can hinder proper airflow. Here’s how you can clean the vent cover effectively:
- Inspect the vent cover: Take a close look at the vent cover and check for any visible dirt, dust, or lint. Pay attention to the slats and the surrounding areas, as these tend to collect the most debris.
- Use a cloth or duster: Start by using a cloth or microfiber duster to wipe away any loose dirt or dust from the vent cover. Be sure to clean both sides of the cover thoroughly.
- Vacuum the vent cover: Next, use a vacuum cleaner with a hose attachment to suck up any remaining debris from the vent cover. Move the hose along the slats and any crevices to ensure a thorough cleaning. This step will help remove any hard-to-reach lint or dust particles.
- Check for blockages: While cleaning, keep an eye out for any blockages or clogs in the vent cover. Use a small brush or a toothpick to gently remove any buildup that may be obstructing the airflow.
- Inspect for damage: Take this opportunity to inspect the vent cover for any damage, such as cracks or broken slats. If you notice any issues, it may be necessary to replace the vent cover to ensure optimal performance.
Cleaning the vent cover is essential to maintain proper airflow and prevent obstructions in your Kenmore dryer vent system. By following these steps, you can effectively remove dust and debris from the cover, ensuring it functions efficiently.
Regularly clean the lint screen and vent of your Kenmore dryer to prevent buildup and improve efficiency. Use a vent cleaning brush to remove lint from the vent and ensure proper airflow.
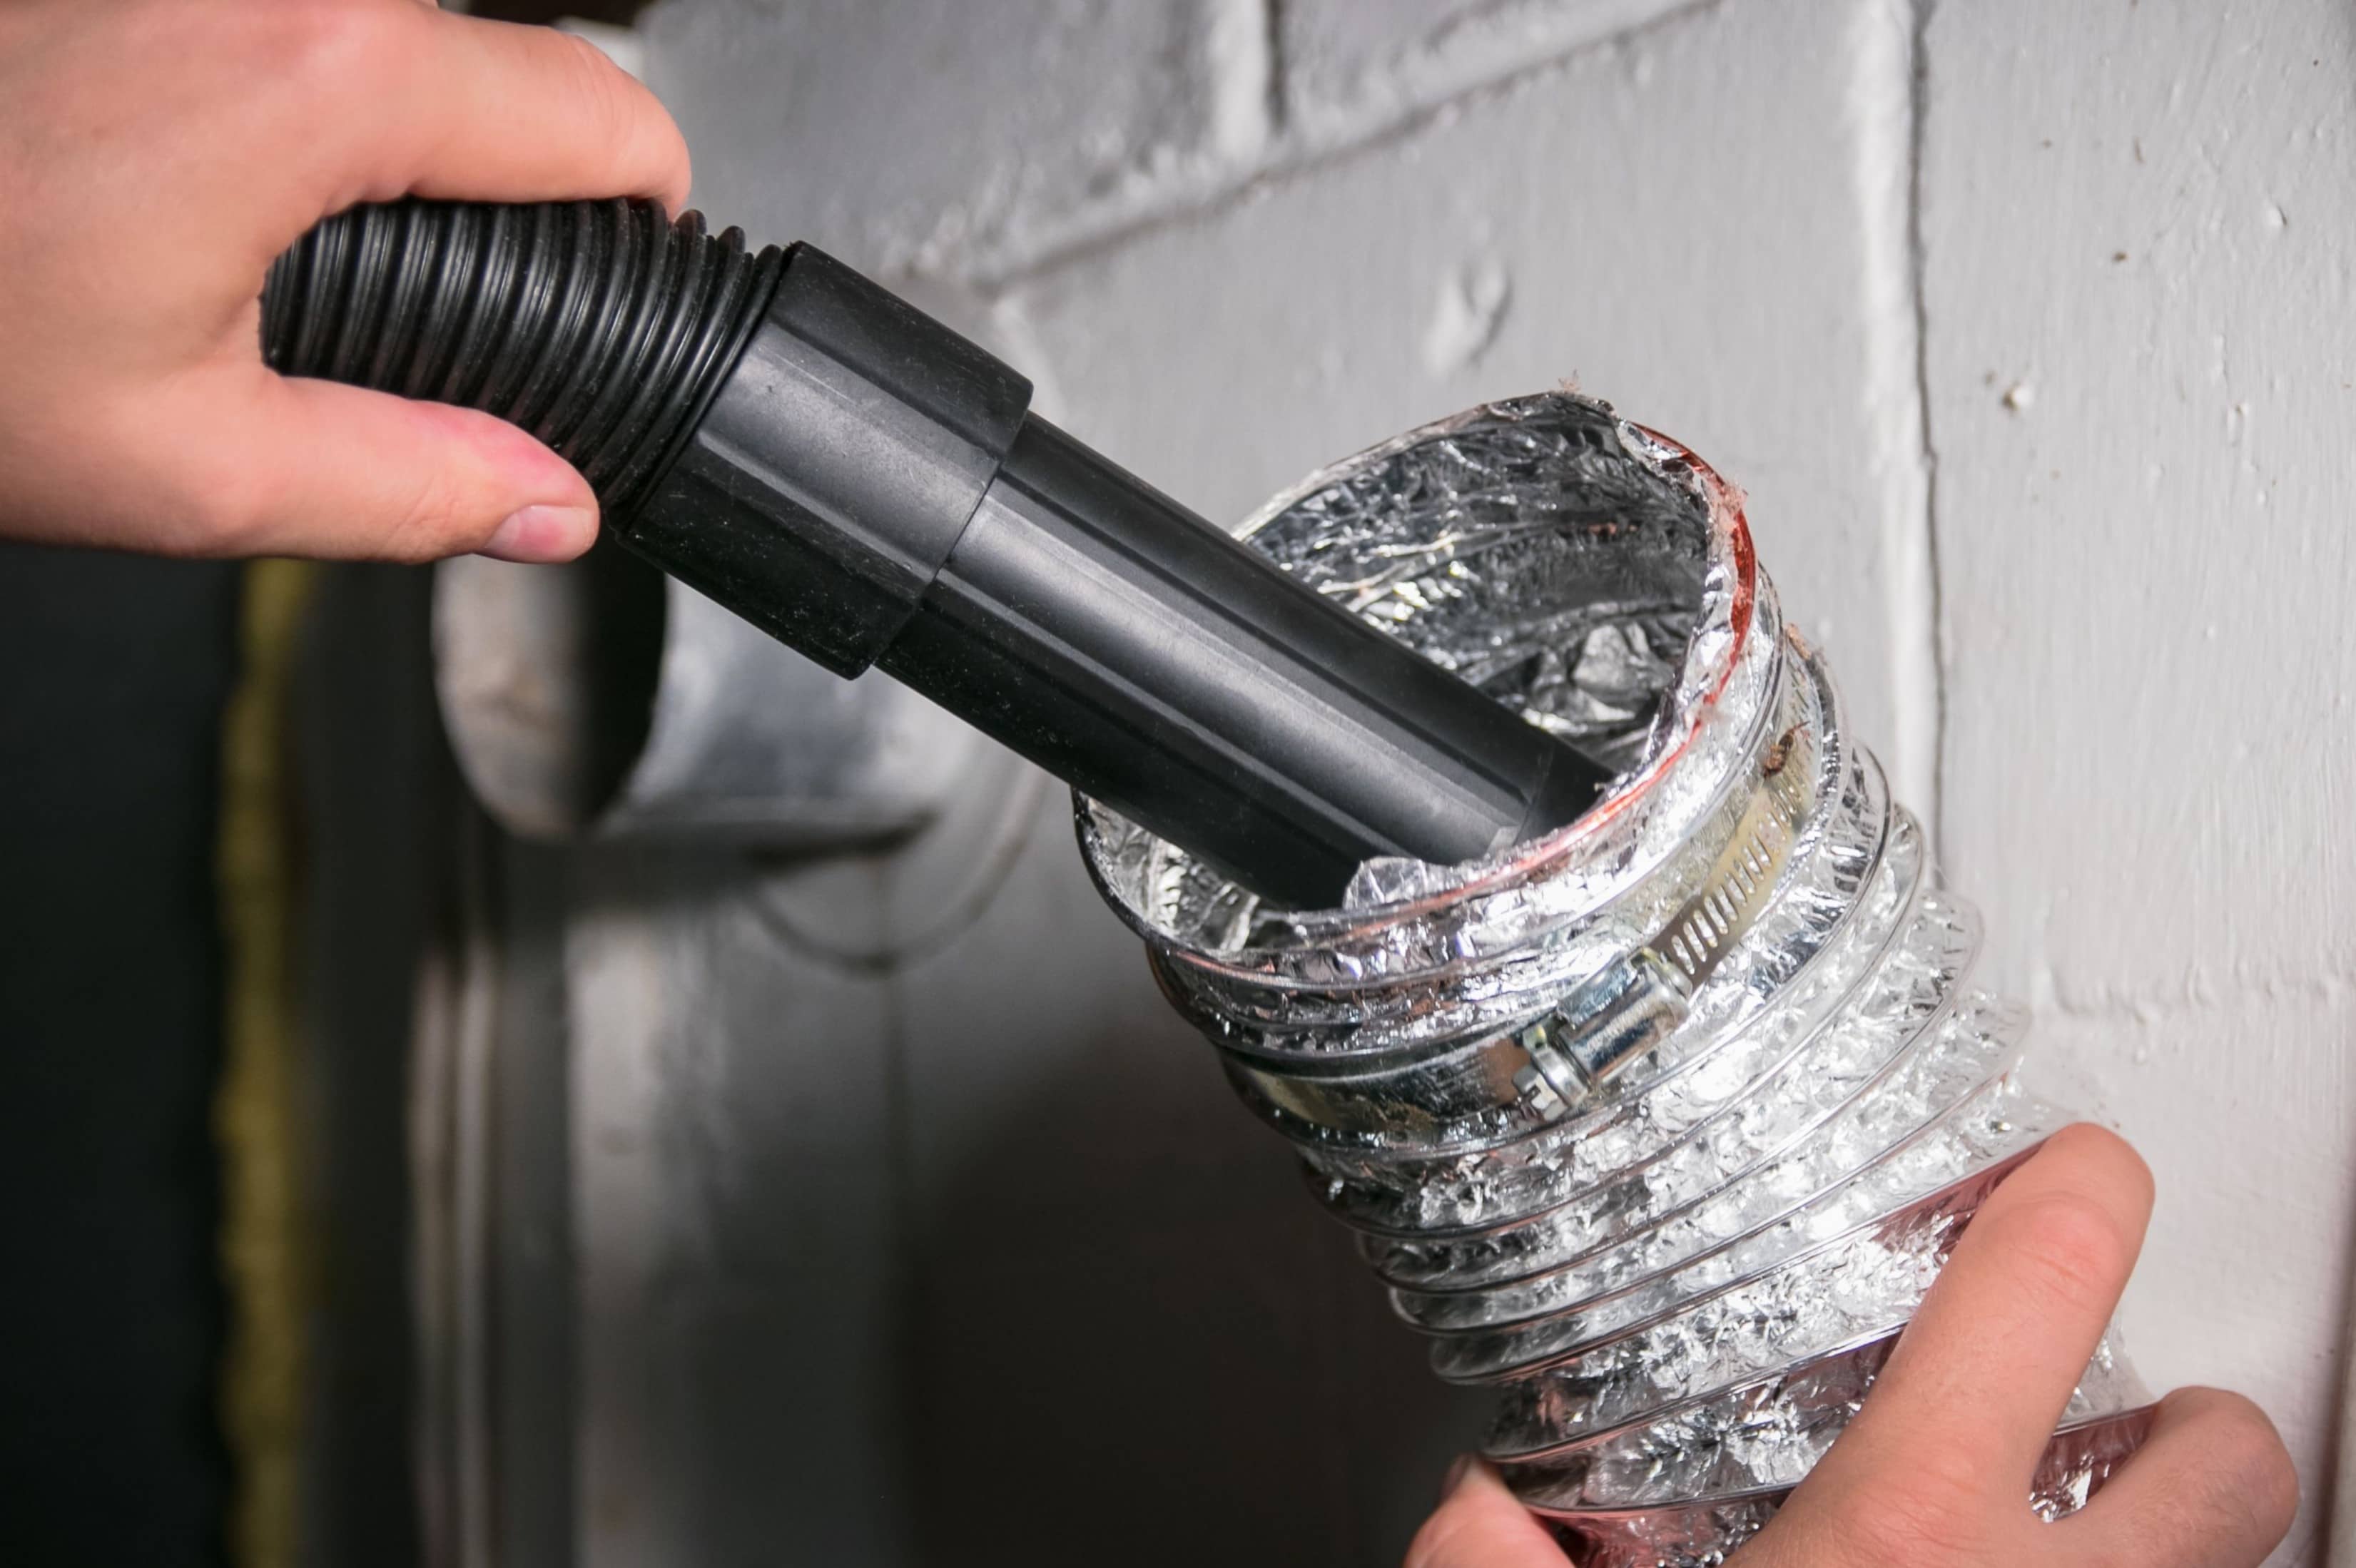
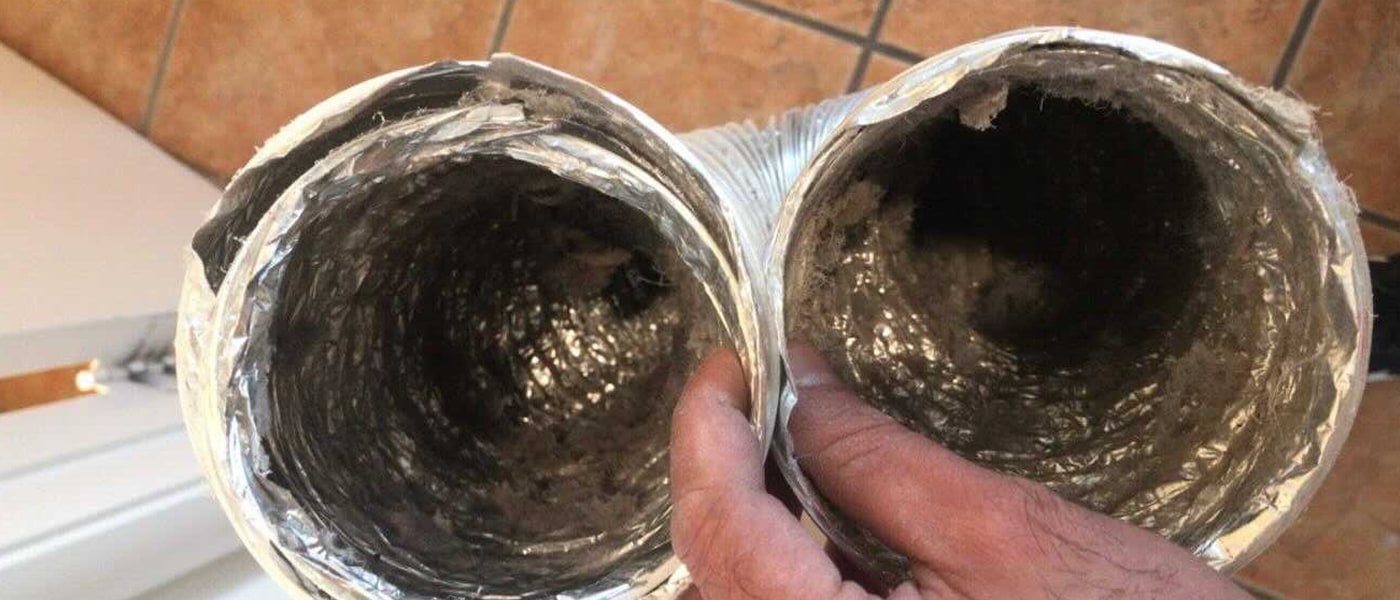
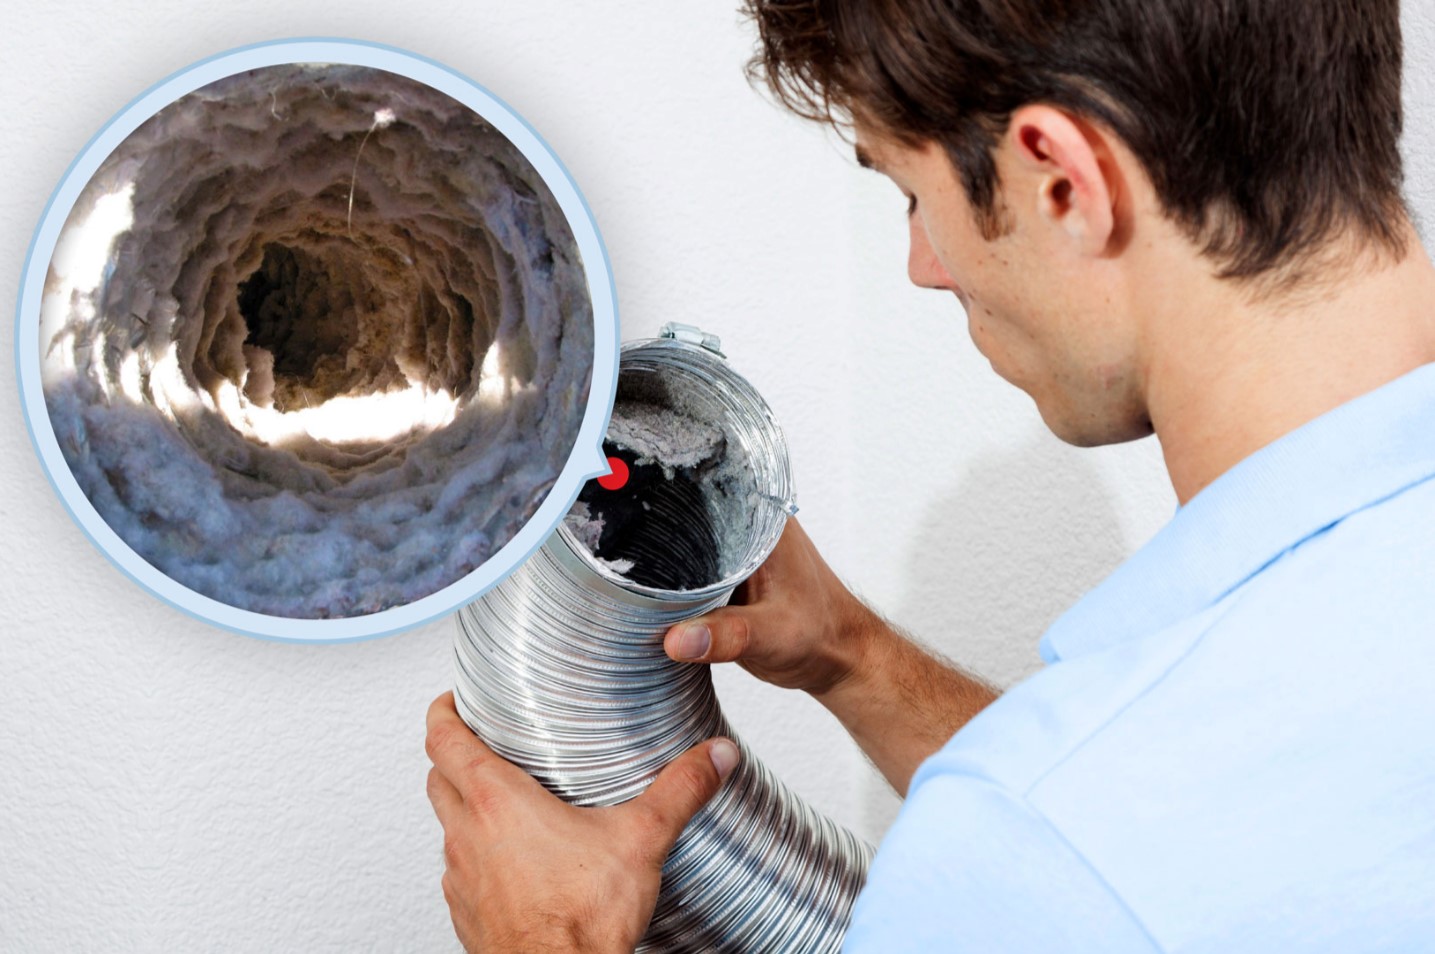
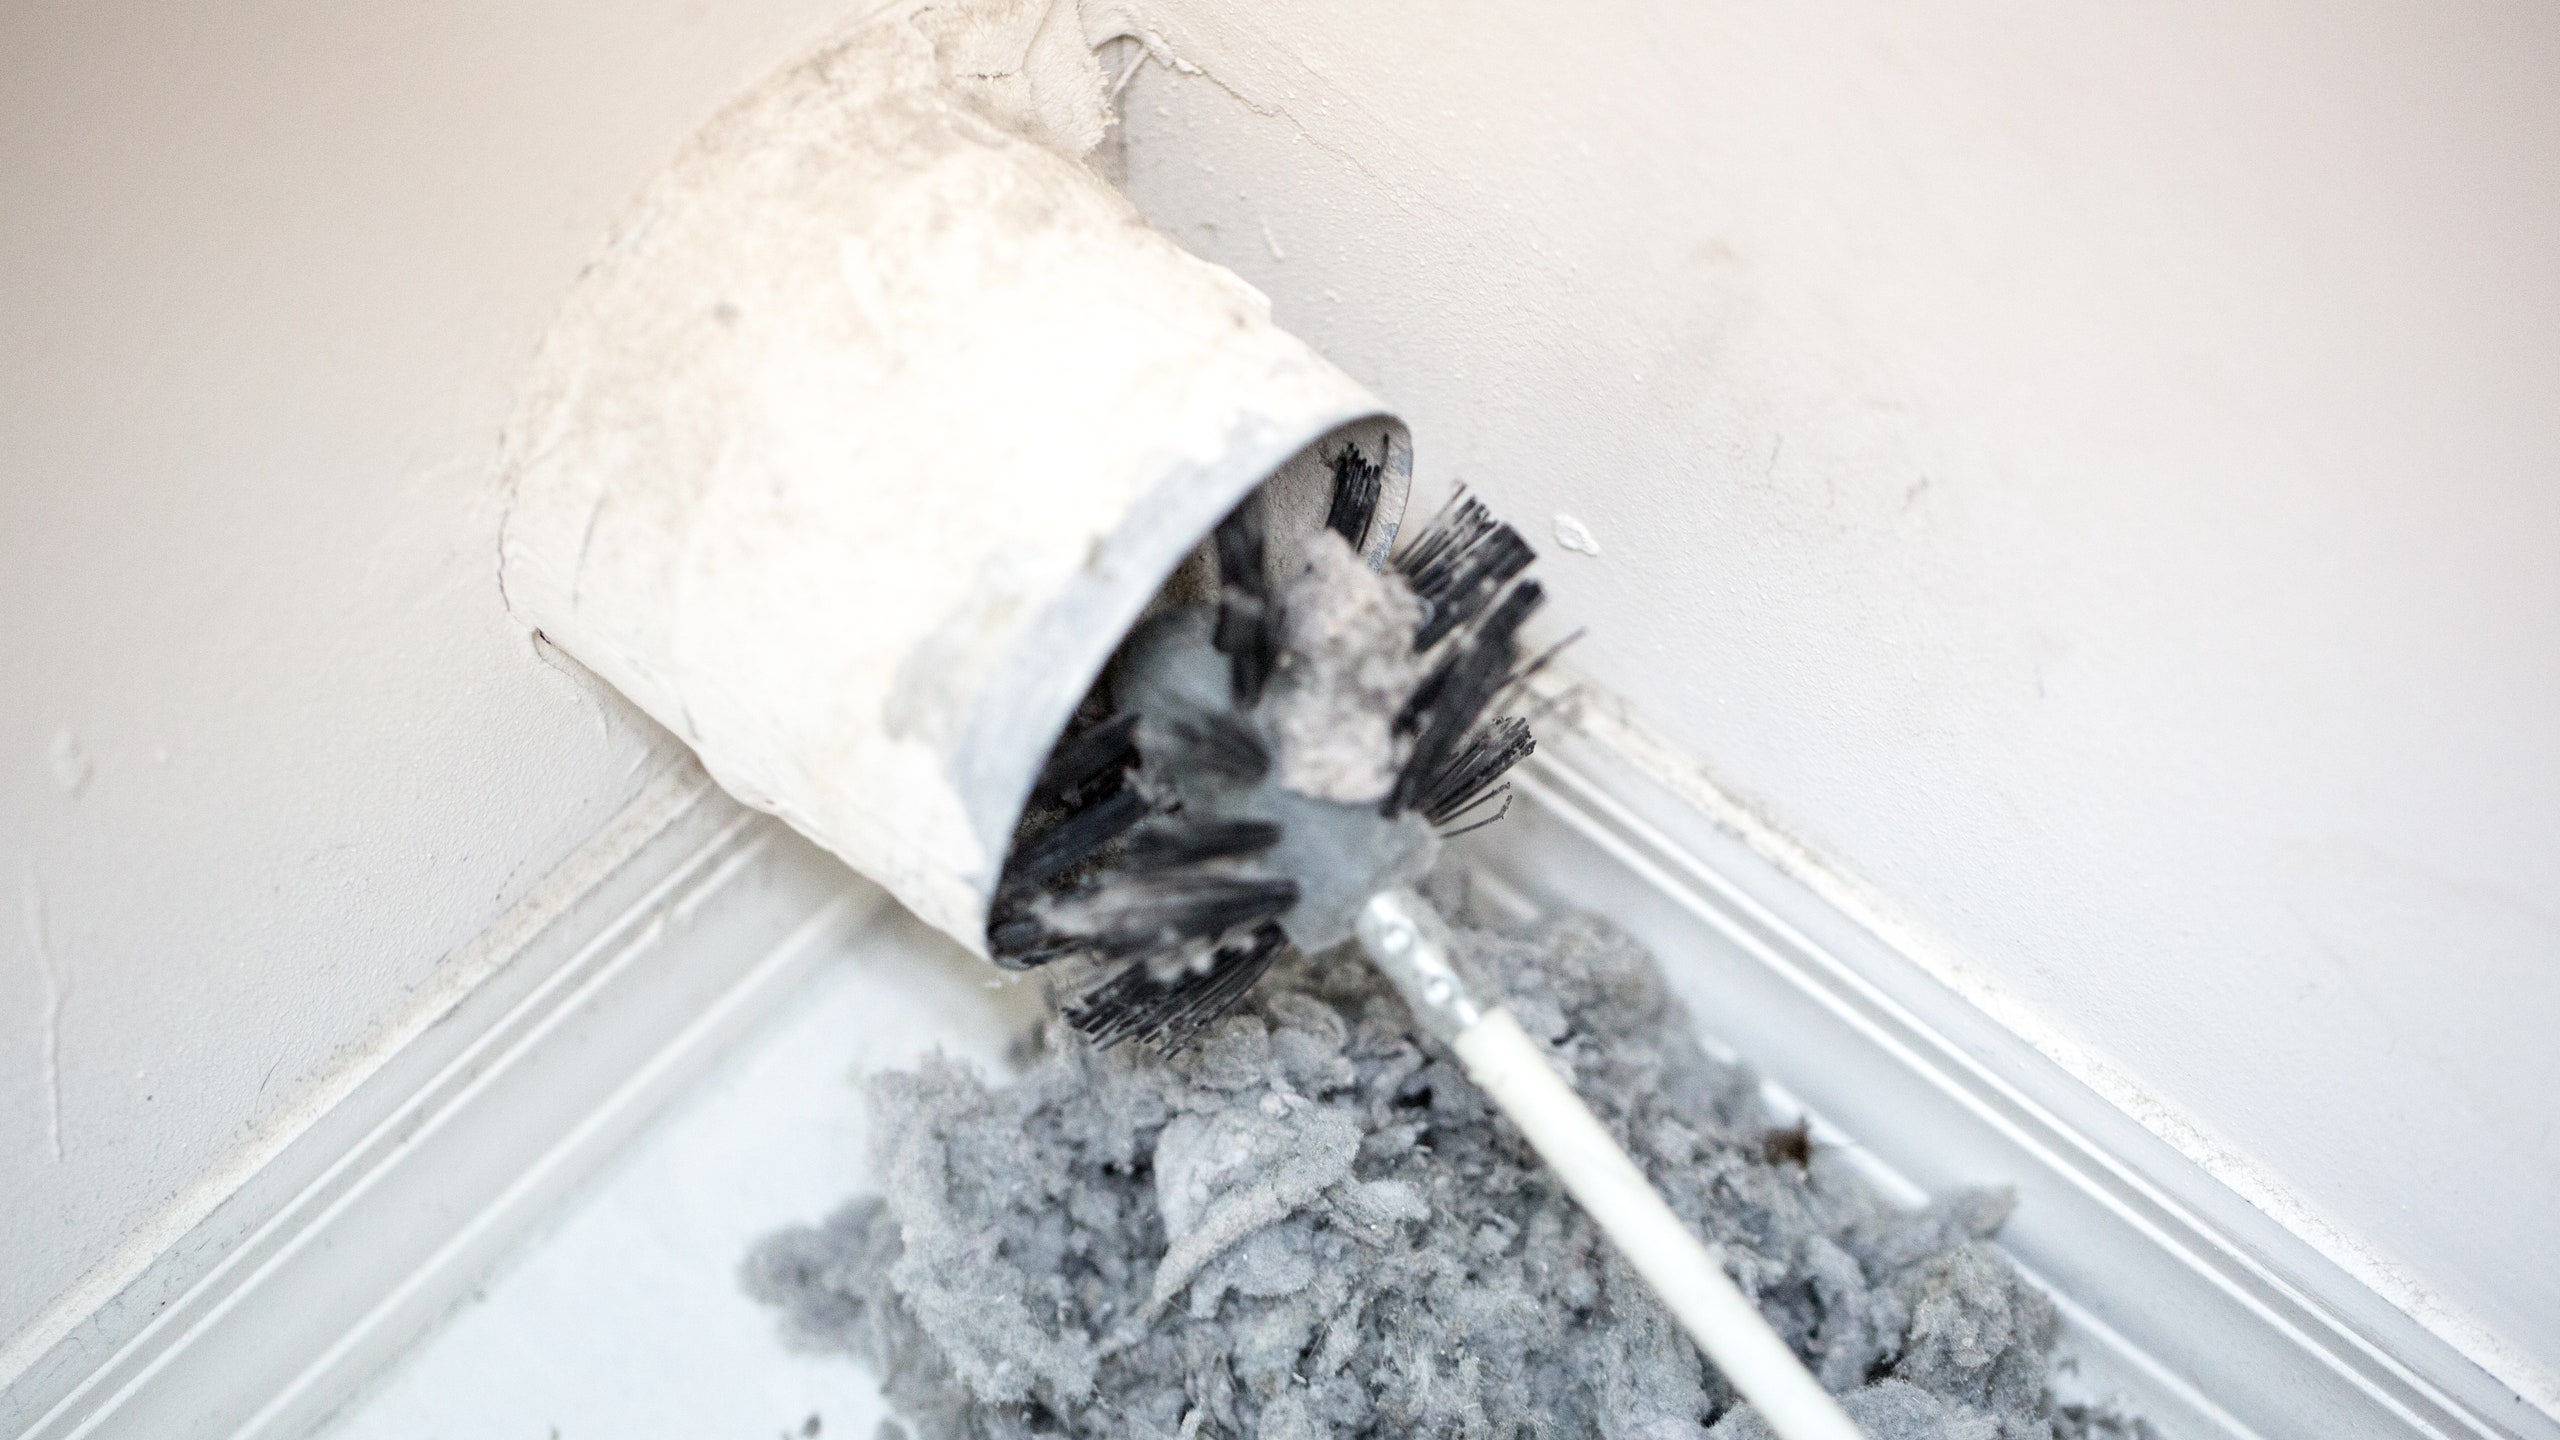
Step 4: Clean the Vent Pipe
Now that you have cleaned the vent cover, it’s time to focus on cleaning the vent pipe itself. Over time, the vent pipe can become clogged with lint, dust, and other debris, reducing the airflow and efficiency of your Kenmore dryer. Follow these steps to effectively clean the vent pipe:
- Attach the vent brush or cleaning kit: Take your vent brush or dryer vent cleaning kit and attach it to a flexible rod. Ensure that it is secure and can reach the entire length of the vent pipe. The flexible rod will allow you to navigate through the twists and turns of the pipe.
- Insert the brush into the vent pipe: Gently insert the brush into the vent pipe, starting from the dryer end. Slowly push the brush further into the pipe, rotating it as you go. This motion will help dislodge any lint or debris that has built up inside the pipe.
- Clean the entire length of the pipe: Continue pushing and rotating the brush along the entire length of the vent pipe. Take your time to ensure thorough cleaning. If you encounter any resistance, it may indicate a blockage that requires more attention.
- Vacuum the loosened debris: As you clean, use a vacuum cleaner with a hose attachment to capture the loosened debris. Keep the vacuum positioned near the opening of the vent pipe to prevent lint and dust from spreading throughout the area.
- Repeat if necessary: Depending on the level of buildup in your vent pipe, it may be necessary to repeat the brushing and vacuuming process. This will help ensure that the vent pipe is thoroughly cleaned and free of any obstructions.
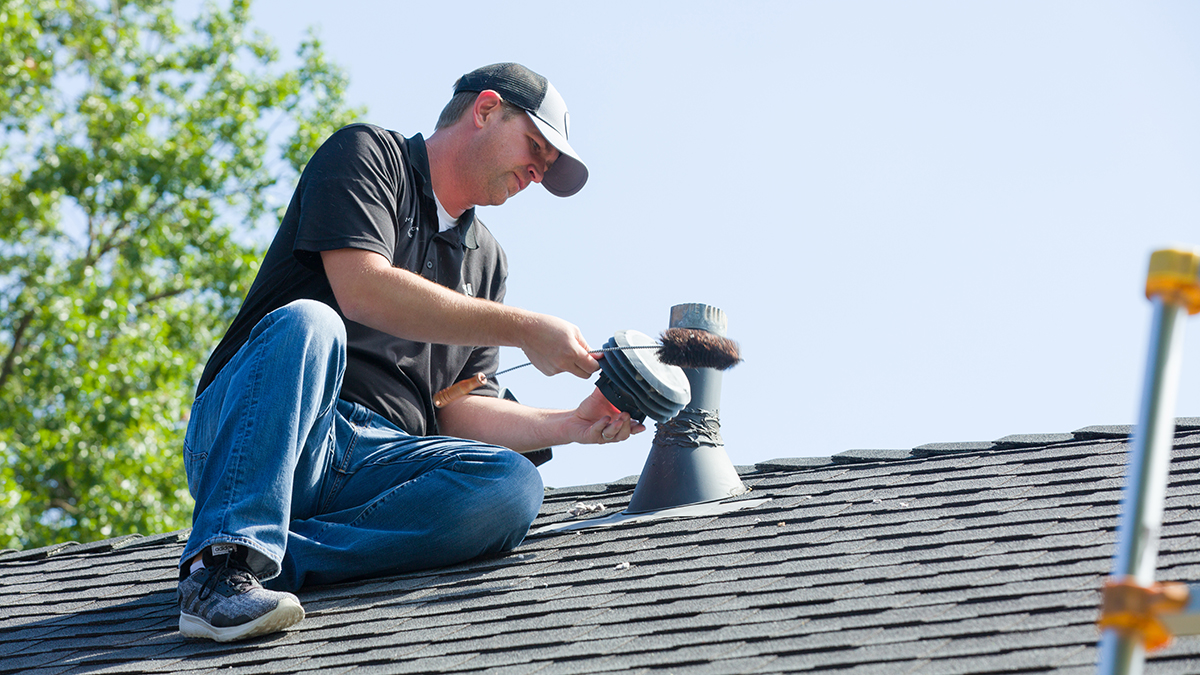
- Clean the exterior vent opening: While focusing on the vent pipe, don’t forget to inspect and clean the exterior vent opening. Remove any visible debris or obstructions that may hinder proper airflow.
By cleaning the vent pipe, you can significantly improve the performance and safety of your Kenmore dryer. Regularly checking and cleaning the vent pipe will help prevent clogs and reduce the risk of fire hazards caused by lint buildup.
Step 5: Reattach the Vent Cover
After cleaning the vent pipe and ensuring it is free from debris, it’s time to reattach the vent cover. The vent cover plays a crucial role in keeping the exterior opening protected and maintaining proper airflow. Here’s how to reattach the vent cover:
- Inspect the vent cover: Before reattaching the vent cover, carefully examine it for any damage or wear. Ensure that all the slats are intact and that there are no cracks or broken parts. If you notice any issues, consider replacing the vent cover.
- Position the vent cover: Align the vent cover with the opening on the exterior wall. Make sure it is positioned correctly and sits flush against the wall. The screw holes or clips should align with the corresponding marks on the wall.
- Secure the vent cover: If your vent cover is held in place with screws, use a screwdriver to reattach them firmly. Make sure they are tightened but not too tight to avoid damaging the vent cover. If clips were used, snap them back into place to secure the cover.
- Test the vent cover: Once the vent cover is securely attached, give it a gentle tug to ensure it is firmly in place. It should not come loose or move easily. This step will help confirm that the cover is properly secured and will not become dislodged during regular use.
Reattaching the vent cover is a crucial step in the cleaning process as it ensures that the exterior opening is protected and that airflow is directed properly. Take your time to inspect and position the vent cover correctly to maintain the efficiency and safety of your Kenmore dryer vent system.
Step 6: Reconnect the Dryer
Now that you have cleaned the vent cover and pipe, it’s time to reconnect your Kenmore dryer. Follow these steps to safely and properly reconnect the dryer:
- Move the dryer back into position: Carefully push the dryer back into its original position, ensuring that it is aligned with the vent opening on the wall. Take care not to pinch or kink the vent pipe during this process.
- Reattach the vent pipe: Align the vent pipe with the opening on the back of the dryer and securely fasten it using the metal clamps or screws. Tighten them with a screwdriver, making sure the connection is snug and secure. Ensure there are no gaps or leaks.
- Confirm proper alignment: Check that the vent pipe is properly aligned and not twisted or bent. It should run straight from the back of the dryer to the vent opening on the wall. A correct alignment is important to maintain smooth airflow.
- Plug in the power cord: Insert the dryer’s power cord into the electrical outlet. Ensure it is securely plugged in. Avoid using extension cords if possible, as they can increase the risk of electrical hazards.
- Double-check connections: Before moving forward, double-check all connections to ensure everything is properly attached. Inspect the vent pipe and power cord to ensure they are secure and in good condition.
Reconnecting the dryer is a crucial step to complete the cleaning process. By properly aligning and securing the vent pipe, you ensure optimal airflow and reduce the risk of hazards. Take your time to make sure all connections are secure before proceeding.
Read more: How Often Dryer Vent Cleaning
Step 7: Test the Dryer Vent
After completing the cleaning and reconnection process, it’s important to test the airflow of your Kenmore dryer vent to ensure it is functioning properly. Here’s how you can perform a simple test:
- Turn on the dryer: Plug in the dryer and turn it on to the appropriate setting. Allow it to run for a few minutes to generate heat and airflow.
- Feel for airflow: Stand near the exterior vent opening and place your hand in front of it. You should be able to feel a steady, strong airflow. If there is little or no airflow, there may be a blockage or an issue that requires further attention.
- Check for any obstructions: While the dryer is running, visually inspect the vent cover on the exterior of your home. Ensure that it is not being blocked or restricted by any debris, plants, or other objects. Clear away any obstructions if necessary.
- Monitor dryer performance: As the dryer runs, pay attention to its performance. Make sure it is heating up properly and drying your clothes efficiently. Any unusual noises, overheating, or prolonged drying times may indicate that there is still an issue with the vent system.
- Schedule regular maintenance: Even after cleaning the dryer vent, it is important to schedule regular maintenance to ensure its continued efficiency and safety. Consider professional dryer vent cleaning at least once a year to maintain optimal performance.
Testing the dryer vent is a critical step to confirm that the cleaning process was successful and that the vent is functioning as it should. Proper airflow and efficient drying times are indicators of a well-maintained vent system. If you notice any issues during the test, it’s advisable to seek professional assistance to diagnose and resolve the problem.
Conclusion
Cleaning your Kenmore dryer vent is an essential maintenance task that should not be overlooked. By regularly cleaning the vent cover and pipe, you can ensure optimal performance, reduce the risk of fire hazards, and extend the lifespan of your appliance. Remember these key points:
- Prioritize safety: Always disconnect the dryer from the power source and wear protective gear when cleaning the vent.
- Gather the necessary tools: Have a screwdriver, vent brush or cleaning kit, vacuum cleaner, and other materials ready before you start.
- Follow the steps: Carefully follow each step, from disconnecting the dryer to testing the vent, to ensure a thorough and effective cleaning process.
- Regular maintenance is key: Regularly check and clean your dryer vent to prevent lint buildup and maintain efficient airflow.
By investing time and effort into cleaning your Kenmore dryer vent, you can enjoy a safer and more efficient drying experience. Clean vents not only improve appliance performance but also help you save on energy costs in the long run. Remember to adhere to safety precautions, gather the necessary tools, and follow the steps outlined in this guide for successful cleaning results.
Take care of your Kenmore dryer vent, and it will take care of you and your clothes for years to come!
Frequently Asked Questions about How To Clean A Kenmore Dryer Vent
Was this page helpful?
At Storables.com, we guarantee accurate and reliable information. Our content, validated by Expert Board Contributors, is crafted following stringent Editorial Policies. We're committed to providing you with well-researched, expert-backed insights for all your informational needs.