Articles
How To Clean Floor Vents In Home
Modified: October 18, 2024
Discover effective techniques and tips for cleaning floor vents in your home with our informative articles. Keep your vents in top condition for optimal air quality and efficiency.
(Many of the links in this article redirect to a specific reviewed product. Your purchase of these products through affiliate links helps to generate commission for Storables.com, at no extra cost. Learn more)
Introduction
Floor vents play a crucial role in keeping our homes comfortable by distributing conditioned air throughout different rooms. However, without regular cleaning, these vents can accumulate dust, debris, and even pet hair over time. Not only does this affect the efficiency of your HVAC system, but it can also lead to poor indoor air quality and potential allergens circulating in your home.
Regularly cleaning your floor vents is an essential part of maintaining a clean and healthy living environment. In this article, we will guide you through the step-by-step process of cleaning floor vents in your home to ensure optimal performance and air quality.
Before we dive into the cleaning process, let’s gather the necessary tools and materials you’ll need to make the task as effortless as possible.
Key Takeaways:
- Regularly cleaning floor vents is crucial for maintaining optimal indoor air quality and HVAC system efficiency. Follow the step-by-step guide to remove dust, debris, and allergens, creating a healthier living environment.
- Gather the necessary tools, remove vent covers, vacuum, scrub, and replace covers to ensure clean and efficient floor vents. Regular maintenance enhances air quality and HVAC system longevity, promoting a healthier home environment.
Tools and Materials Needed
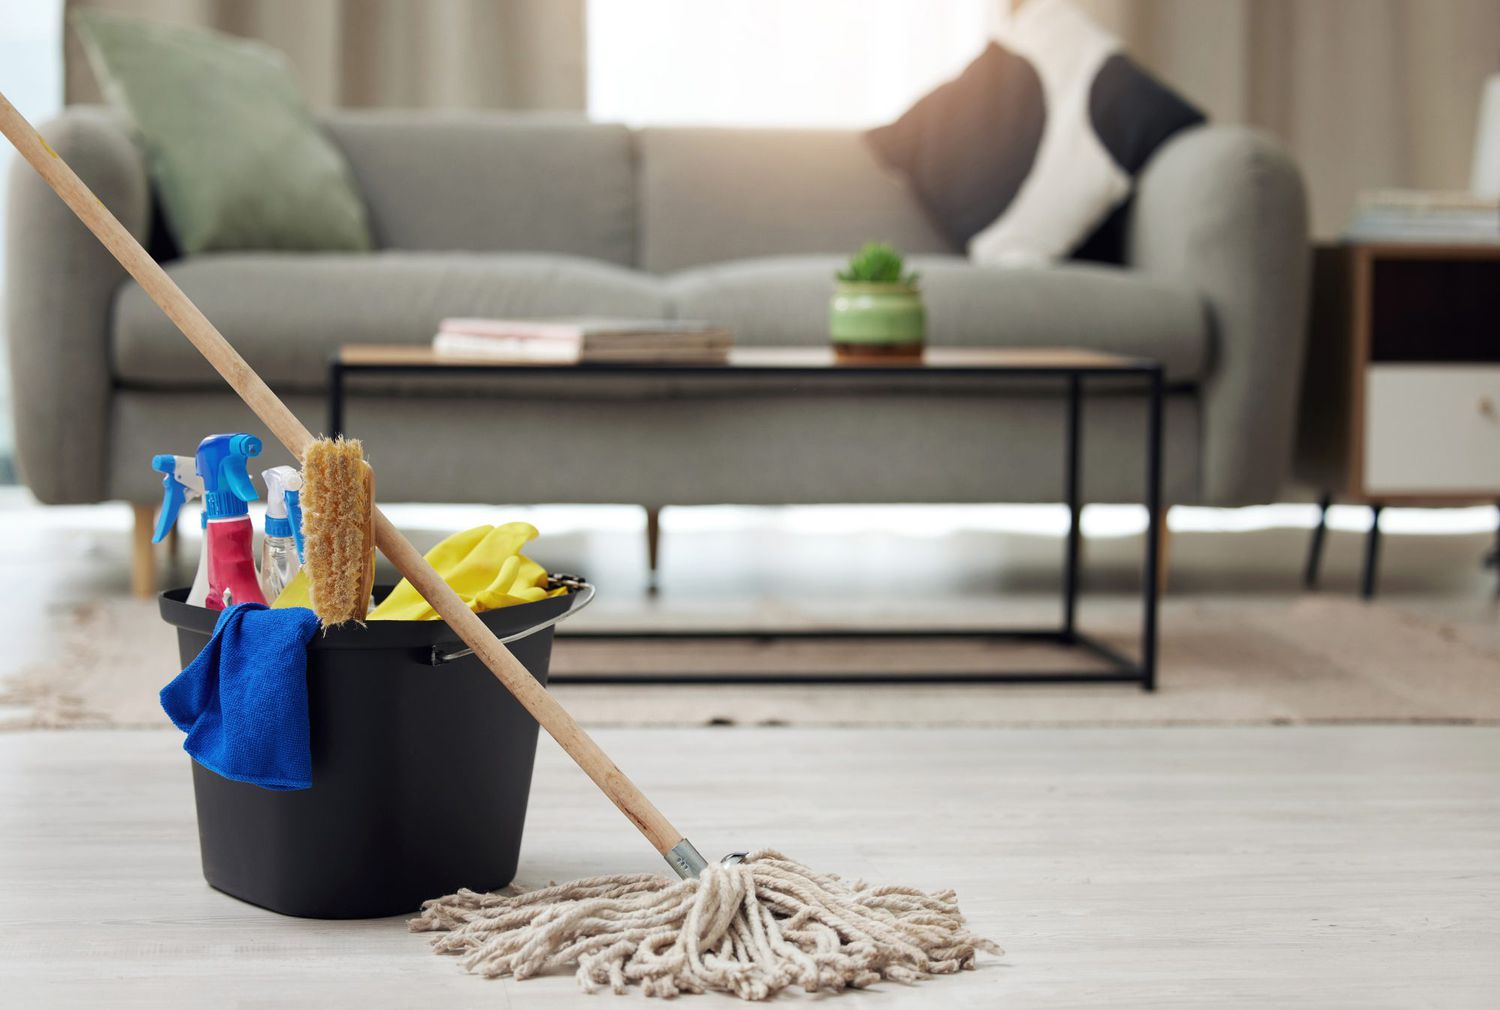
To effectively clean your floor vents, you’ll need the following tools and materials:
- A vacuum cleaner with a hose attachment
- A soft-bristle brush or old toothbrush
- All-purpose cleaner or mild soap
- Microfiber cloth or sponge
- Protective gloves
- Plastic bag or drop cloth
- Screwdriver (if necessary for removing vent covers)
Make sure to gather these items before you begin the cleaning process to avoid any interruptions. Once you have everything, you’re ready to start cleaning your floor vents.
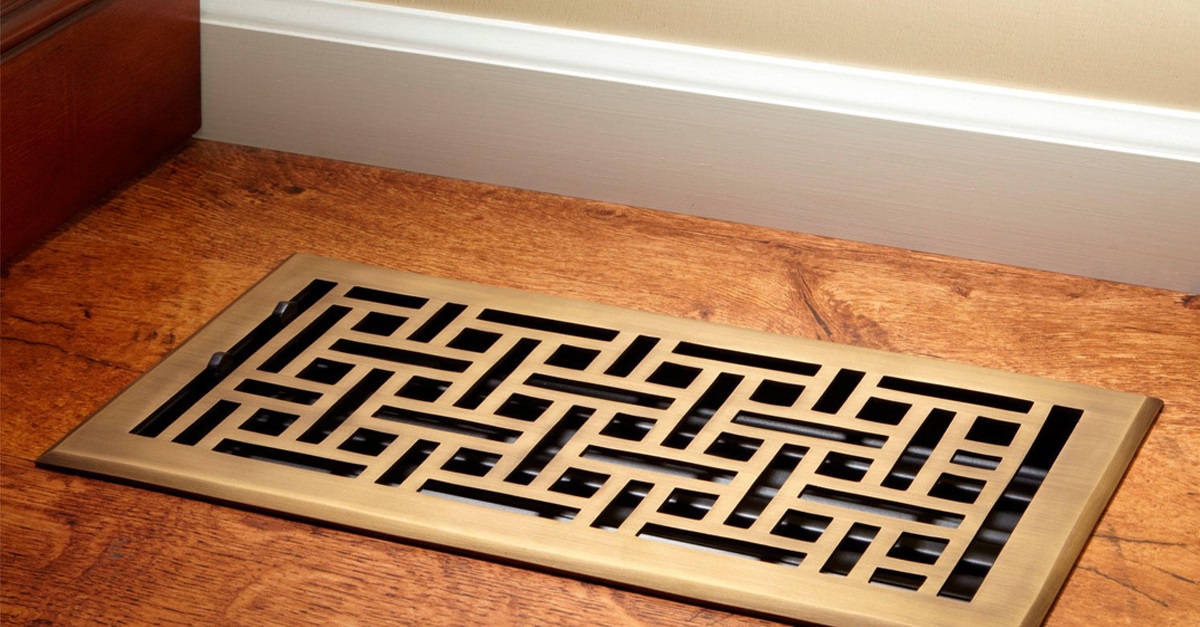
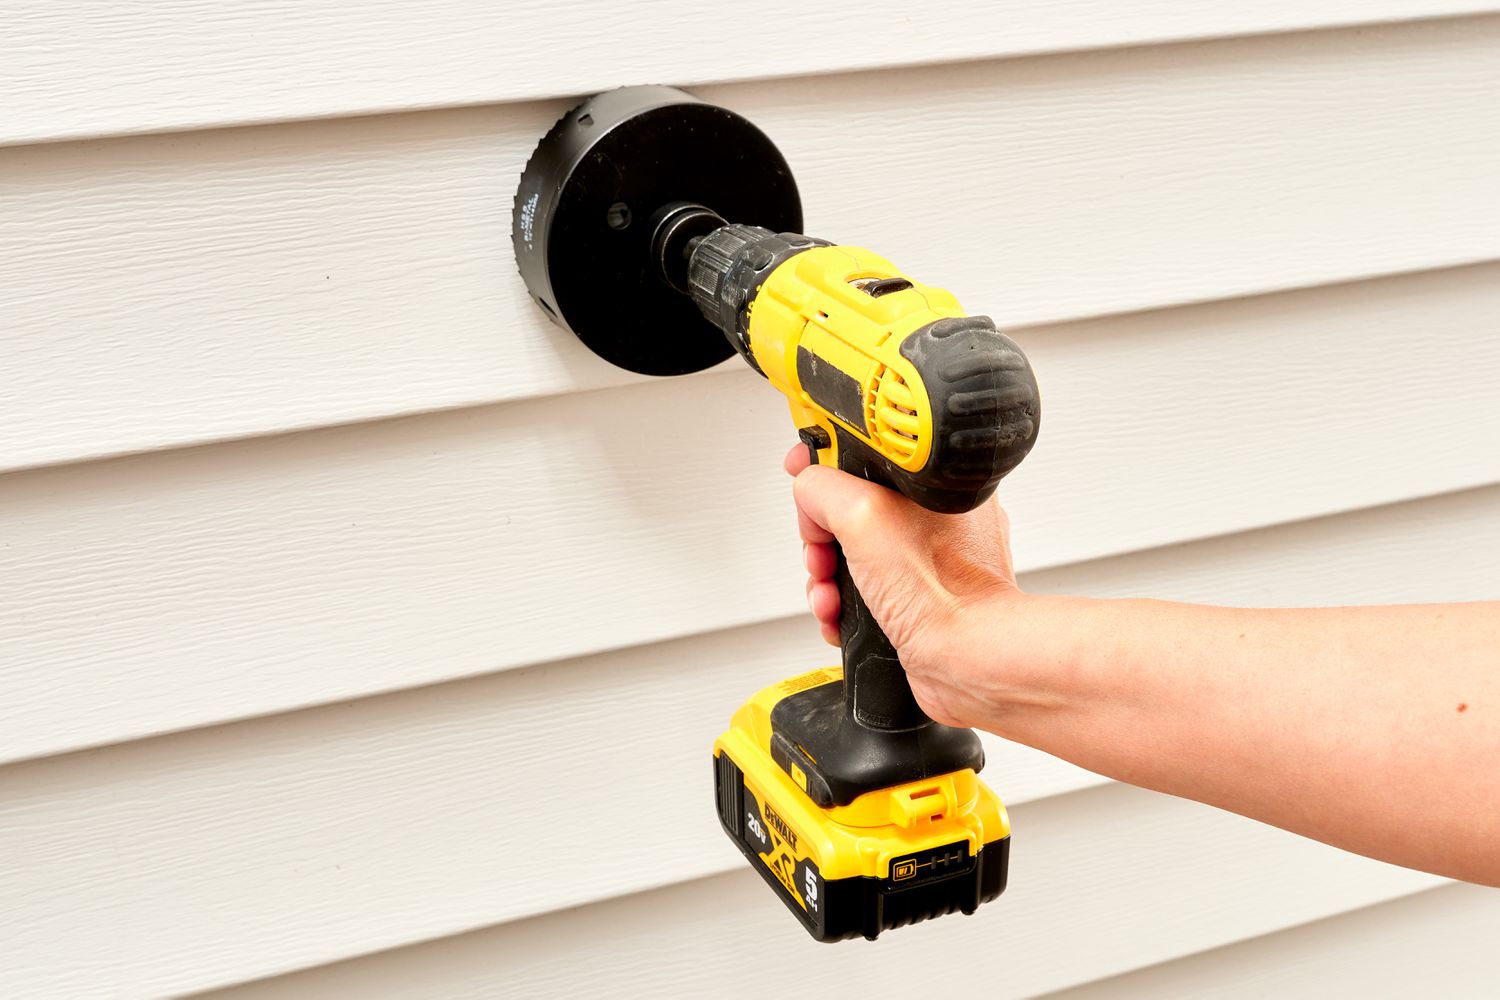
Step 1: Remove the Vent Covers
The first step in cleaning your floor vents is to remove the vent covers. Most floor vents have removable covers held in place by screws or clips. Start by carefully inspecting your vent covers to identify the attachment method. If you’re unsure, consult the manufacturer’s instructions or do a quick online search for your specific vent cover type.
Once you know how the vent covers are attached, use a screwdriver or release the clips to detach them. Be cautious and gentle to avoid any damage to the covers or surrounding flooring.
After removing the vent covers, place them on a plastic bag or a drop cloth to protect your flooring from any debris or cleaning solution that may drip off. This will make the cleaning process much easier and prevent any mess.
With the vent covers removed, you can now move on to the next step: vacuuming the vent covers and ducts.
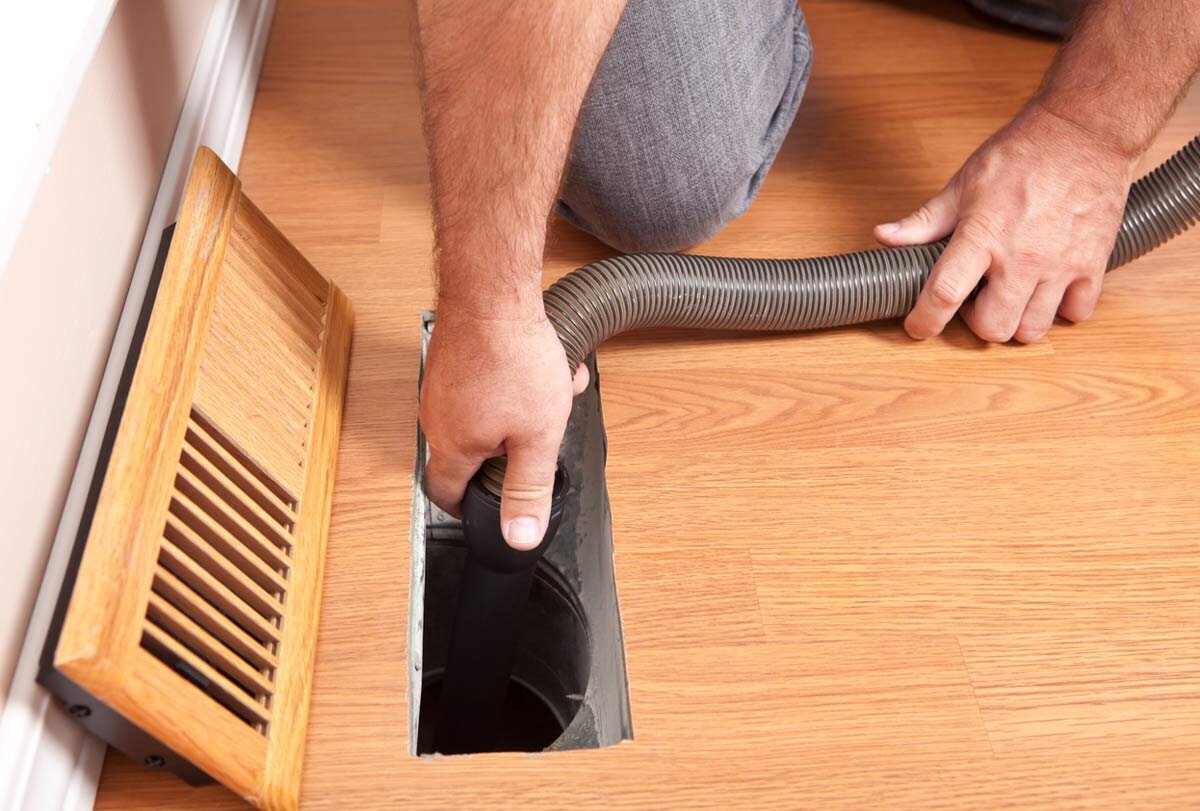
Step 2: Vacuum the Vent Covers and Ducts
Now that you have removed the vent covers, it’s time to give them a thorough vacuuming to remove any loose dust, dirt, and debris. Attach the hose attachment of your vacuum cleaner and use it to suck up any visible particles from the vent covers.
While vacuuming, pay special attention to the corners and crevices of the vent covers, as that is where dust tends to accumulate the most. Move the hose attachment back and forth to ensure you reach all the nooks and crannies.
Next, insert the hose attachment into the vent ducts and gently vacuum them as well. This will help remove any dust or dirt that may have accumulated inside the ducts. Be careful not to apply too much pressure or force, as you don’t want to damage the ductwork.
Keep vacuuming until you no longer see any visible dirt or debris being removed. This step will significantly improve the air quality and efficiency of your HVAC system.
Once you’re satisfied with the vacuuming, it’s time to move on to the next step: scrubbing the vent covers.
Use a vacuum with a brush attachment to remove dust and debris from floor vents. For a deeper clean, remove the vent covers and wash them with warm, soapy water.
Step 3: Scrub the Vent Covers
Now that you have vacuumed the vent covers and ducts, it’s time to give them a thorough scrubbing to remove any stubborn dirt or grime. Fill a bucket or sink with warm water and add a few drops of mild soap or an all-purpose cleaner.
Dip a soft-bristle brush or an old toothbrush into the soapy water mixture and gently scrub the vent covers. Pay close attention to any areas with visible dirt or stains. Use circular motions and apply gentle pressure to remove the dirt effectively.
If you come across any particularly tough spots, you can use a bit of baking soda or a mild abrasive cleaner to help remove the stubborn grime. However, be cautious and test it in a small inconspicuous area first to ensure it doesn’t cause any damage or discoloration.
After scrubbing, rinse the vent covers thoroughly with clean water to remove any residual soap or cleaner. You can either use a sponge or run them under a faucet if they are small enough.
Once you’ve rinsed the vent covers, use a microfiber cloth or sponge to dry them off completely. Ensure they are completely dry before moving on to the next step to prevent any moisture from causing rust or damage to the vent covers.
Now that the vent covers are clean and dry, it’s time to proceed to the next step: cleaning the ducts.
Read more: How To Measure A Floor Vent
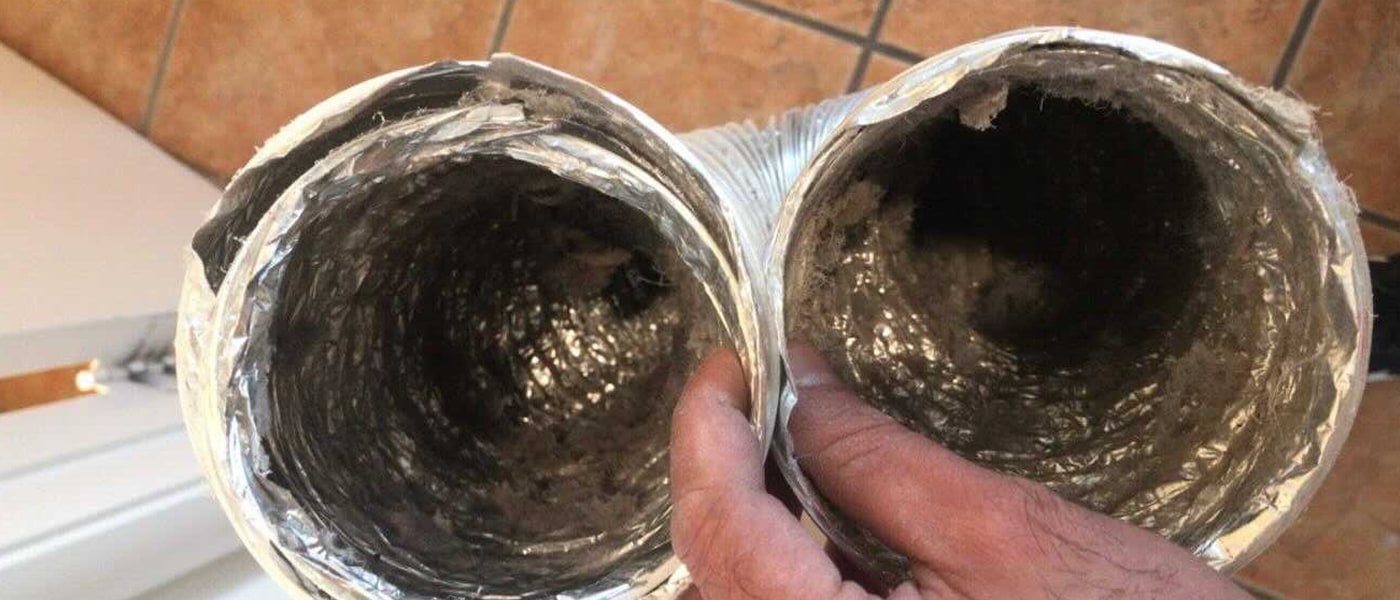
Step 4: Clean the Ducts
After scrubbing the vent covers, it’s time to clean the ducts themselves to ensure optimal airflow and air quality. Cleaning the ducts is a bit more involved, and you may opt to hire a professional duct cleaning service for a thorough job. However, here are some steps you can take to clean the ducts yourself.
Start by using a damp microfiber cloth or sponge to wipe down the interior surfaces of the ducts in a sweeping motion. This will help remove any dust or debris that may have accumulated on the walls of the ducts. If your ventilation system has metal ducts, be cautious not to use excessive moisture, as it can lead to rust.
If you notice stubborn dirt or mold growth inside the ducts, you may need to invest in a duct cleaning brush or a long-handled brush with soft bristles. Attach the brush to an extendable pole, and slowly and carefully scrub the interior surfaces of the ducts. Be gentle to avoid damaging the ductwork.
Another option to clean the ducts is to use a duct cleaning vacuum with a long hose attachment. This specialized vacuum is designed to reach deep into the ductwork and remove accumulated debris. Follow the manufacturer’s instructions for using the vacuum and clean as much of the ductwork as possible.
If you encounter any mold or excessive dust in the ducts, it’s crucial to address these issues promptly. Mold growth can lead to health problems, while excessive dust can reduce the efficiency of your HVAC system. In these cases, it’s recommended to consult a professional duct cleaning service to thoroughly clean and sanitize the ducts.
Once you are satisfied with the cleaning of the ducts, it’s time to move on to the final step: replacing the vent covers.
Step 5: Replace the Vent Covers
Now that you have cleaned the vent covers and ducts, it’s time to put everything back together by replacing the vent covers. Make sure that the vent covers are completely dry before proceeding with this step.
Line up the vent covers with the openings on the floor, ensuring they are properly aligned. If your vent covers have screw holes, use a screwdriver to secure them back in place. If they are held in place by clips, gently press down on the vent covers until you hear a click indicating that they are secure.
Take a moment to double-check that all the vent covers are securely fastened and flush with the floor. This will ensure proper airflow and prevent any unwanted air leakage.
Once the vent covers are back in place, give them a quick wipe down with a microfiber cloth to remove any fingerprints or smudges that may have occurred during the installation process.
With the vent covers securely replaced, your floor vents are now clean and ready to efficiently distribute conditioned air throughout your home.
It is recommended to repeat this cleaning process every few months or as needed, depending on the level of dust and debris in your home. Regular maintenance will not only improve the air quality in your home but also ensure the longevity and efficiency of your HVAC system.
Congratulations! You have successfully cleaned your floor vents and taken an important step towards maintaining a clean and healthy living environment.
Remember, if at any point you are unsure or uncomfortable with cleaning your floor vents, it is always a good idea to seek professional assistance to ensure the job is done correctly.
Now sit back, relax, and enjoy the improved air quality and comfort in your home!
Conclusion
Cleaning floor vents in your home is essential for maintaining optimal indoor air quality and the efficient operation of your HVAC system. By following the step-by-step process outlined in this article, you can easily clean your floor vents and enjoy a clean and healthy living environment.
Remember to gather all the necessary tools and materials before starting the cleaning process. Remove the vent covers carefully, vacuum them along with the ducts to remove loose dust and debris. Scrub the vent covers using mild soap or cleaner to remove stubborn dirt and stains, and ensure they are completely dry before proceeding.
Take the time to clean the ducts, either by wiping them down or using a specialized duct cleaning brush or vacuum. It’s important to address any mold growth or excessive dust in the ducts promptly to maintain optimal air quality.
Lastly, replace the vent covers by aligning them correctly and securing them in place. This ensures proper airflow and prevents air leakage.
By regularly cleaning your floor vents, you can minimize allergens, improve air circulation, and enhance the overall comfort of your home. It is recommended to repeat this cleaning process every few months or as needed, depending on your living environment.
Remember, if you feel uncomfortable or unsure about cleaning your floor vents, it is always best to seek professional assistance to ensure the job is done safely and efficiently.
With your newly cleaned floor vents, enjoy the fresh and clean air circulating throughout your home, creating a healthier and more comfortable living space for you and your family.
Frequently Asked Questions about How To Clean Floor Vents In Home
Was this page helpful?
At Storables.com, we guarantee accurate and reliable information. Our content, validated by Expert Board Contributors, is crafted following stringent Editorial Policies. We're committed to providing you with well-researched, expert-backed insights for all your informational needs.


0 thoughts on “How To Clean Floor Vents In Home”