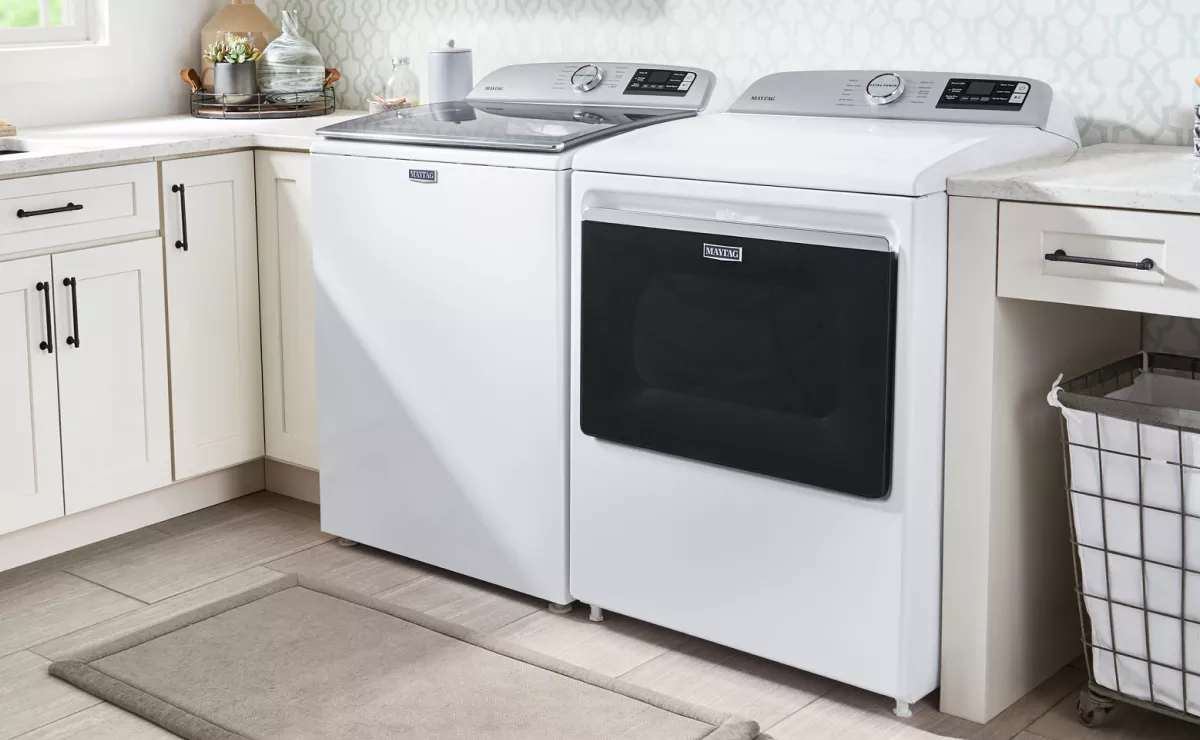
Home>Home Maintenance>How To Clean A Dryer Vent With A Drill
Home Maintenance
How To Clean A Dryer Vent With A Drill
Modified: August 24, 2024
Learn how to clean your dryer vent efficiently using a drill. Essential home-maintenance tip to avoid fire hazards and enhance appliance performance.
(Many of the links in this article redirect to a specific reviewed product. Your purchase of these products through affiliate links helps to generate commission for Storables.com, at no extra cost. Learn more)
Introduction
Welcome to our comprehensive guide on how to clean a dryer vent with a drill. If you’ve noticed that your dryer is taking longer than usual to dry your clothes, or if you’ve been experiencing a musty odor when using your dryer, it may be time to clean out the dryer vent. Regular maintenance of your dryer vent not only improves the efficiency and lifespan of your dryer but also reduces the risk of fire hazards caused by lint buildup.
Cleaning the dryer vent may seem like a daunting task, but with the right tools and a little know-how, you can easily accomplish it. In this guide, we will walk you through the step-by-step process of using a drill to clean your dryer vent effectively.
Before we dive in, it’s important to note that safety should always be your top priority. Make sure to disconnect the power source to your dryer before beginning any work. Additionally, if you are uncomfortable working with power tools or are unsure about any step in the process, it’s always best to consult a professional.
Now, let’s get started and learn how to clean your dryer vent with a drill to keep your dryer running smoothly and your home safe.
Key Takeaways:
- Regularly cleaning your dryer vent with a drill improves efficiency, extends dryer lifespan, reduces fire hazard, and promotes better indoor air quality, ensuring safe and efficient laundry drying.
- Prioritize safety, gather necessary tools, and follow the step-by-step process to effectively clean your dryer vent with a drill, maintaining dryer performance and safety.
Read more: Who Cleans Dryer Vent
Why Cleaning the Dryer Vent Is Important
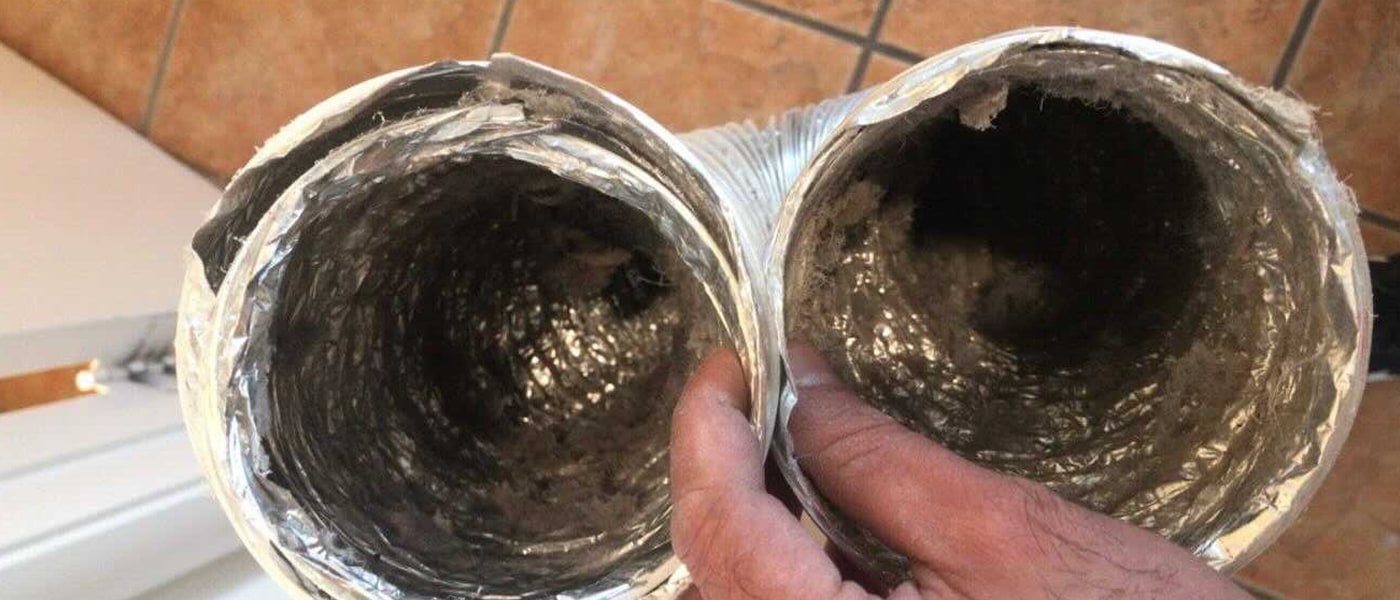
Cleaning the dryer vent is a crucial part of home maintenance that often gets overlooked. However, neglecting to clean your dryer vent can lead to a multitude of problems that not only affect the performance of your dryer but also pose serious risks to your home and family.
Here are a few key reasons why cleaning the dryer vent is so important:
- Improved Efficiency: Over time, lint and debris accumulate in the dryer vent, obstructing the airflow. This restriction forces the dryer to work harder and longer to dry your clothes, resulting in increased energy consumption and higher utility bills. Cleaning the dryer vent allows the air to flow freely, improving dryer efficiency and reducing drying times.
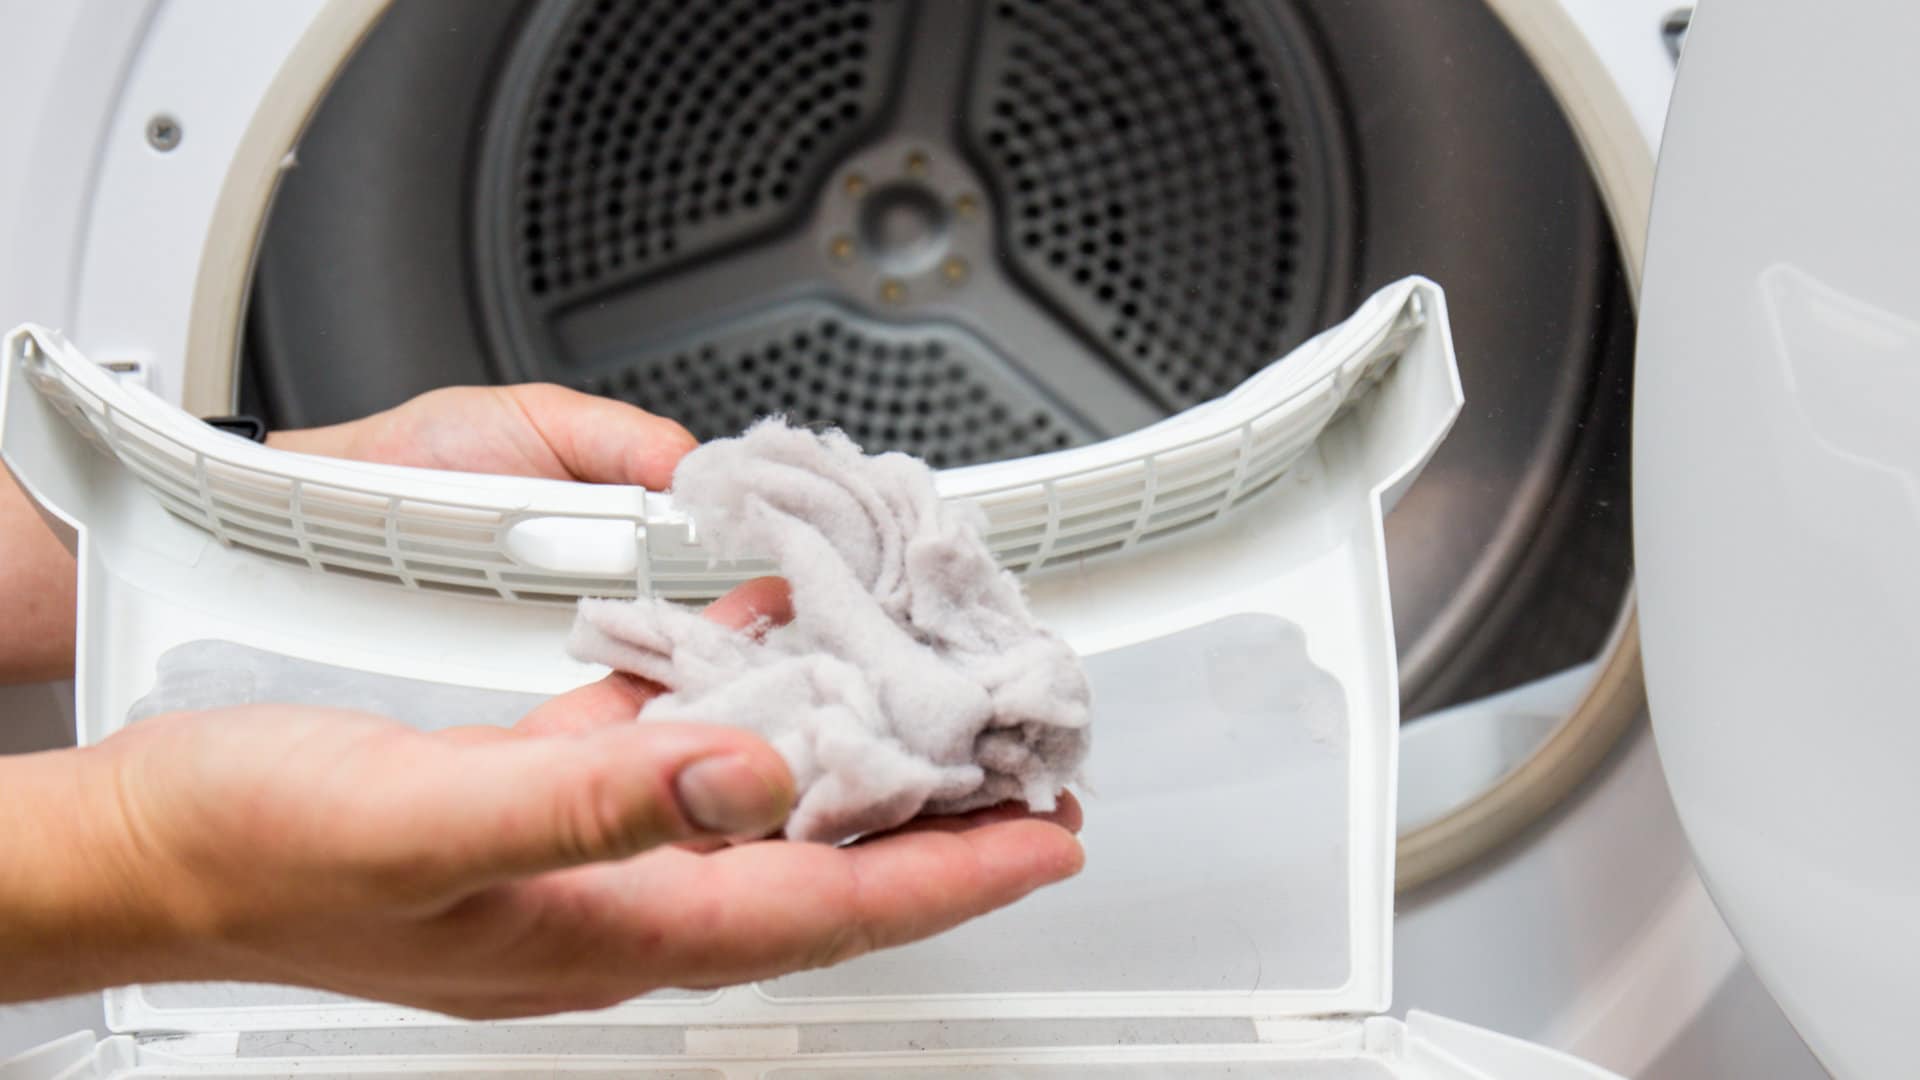
- Reduced Fire Hazard: Lint is highly flammable, and the heat generated by your dryer can cause it to ignite. In fact, lint-filled dryer vents are a leading cause of house fires. By regularly cleaning your dryer vent, you remove the accumulated lint and reduce the risk of a devastating fire in your home.
- Extended Dryer Lifespan: When your dryer is constantly working harder due to a clogged vent, it puts unnecessary strain on its components. This can lead to premature wear and tear, resulting in costly repairs or the need for a replacement. By keeping the dryer vent clean, you can help prolong the lifespan of your dryer and save money in the long run.
- Improved Indoor Air Quality: A clogged dryer vent can cause lint and other particles to recirculate in your home. These airborne pollutants can trigger allergies, asthma, and other respiratory issues, especially in individuals with sensitivities. Regularly cleaning the vent helps maintain better indoor air quality and promotes a healthier living environment.
Considering the above benefits, it’s clear that cleaning the dryer vent is not just a matter of convenience but also a critical aspect of home maintenance and safety. Let’s move on to the next section to learn about the tools and materials you’ll need for the cleaning process.
Tools and Materials Needed
Before you begin cleaning the dryer vent with a drill, it’s important to gather all the necessary tools and materials. Having everything ready will make the process easier and more efficient. Here’s a list of what you’ll need:
- Drill: A power drill with a flexible extension is essential for effectively cleaning the dryer vent. Make sure the drill is in good working condition before you start.
- Dryer Vent Cleaning Brush: Invest in a high-quality dryer vent cleaning brush that’s specifically designed for removing lint and debris from the vent. Look for a brush with sturdy bristles and a long handle for reaching deep into the vent.
- Protective Gear: Safety should always be a priority when working with power tools. Wear safety goggles to protect your eyes from dust and debris, and consider wearing gloves to keep your hands clean and protected.
- Duct Tape: Duct tape will help secure the flexible extension to the drill and prevent it from detaching while you’re cleaning the vent. Make sure you have a strong and reliable duct tape on hand.
- Drop Cloth or Tarp: Cleaning the dryer vent can be a messy job. Place a drop cloth or tarp beneath the vent to catch any debris or lint that falls out during the cleaning process.
- Vacuum Cleaner: A vacuum cleaner with a hose attachment will come in handy for cleaning up any loose lint or debris around the dryer area and ventilation system.
- Bucket or Trash Bag: Have a bucket or trash bag nearby to collect the lint and debris that you remove from the vent. Properly dispose of the collected lint in a safe and appropriate manner.
By gathering these tools and materials before you start, you’ll be well-prepared to tackle the task of cleaning your dryer vent. Now that we have everything we need, let’s move on to the step-by-step process of cleaning the dryer vent with a drill.
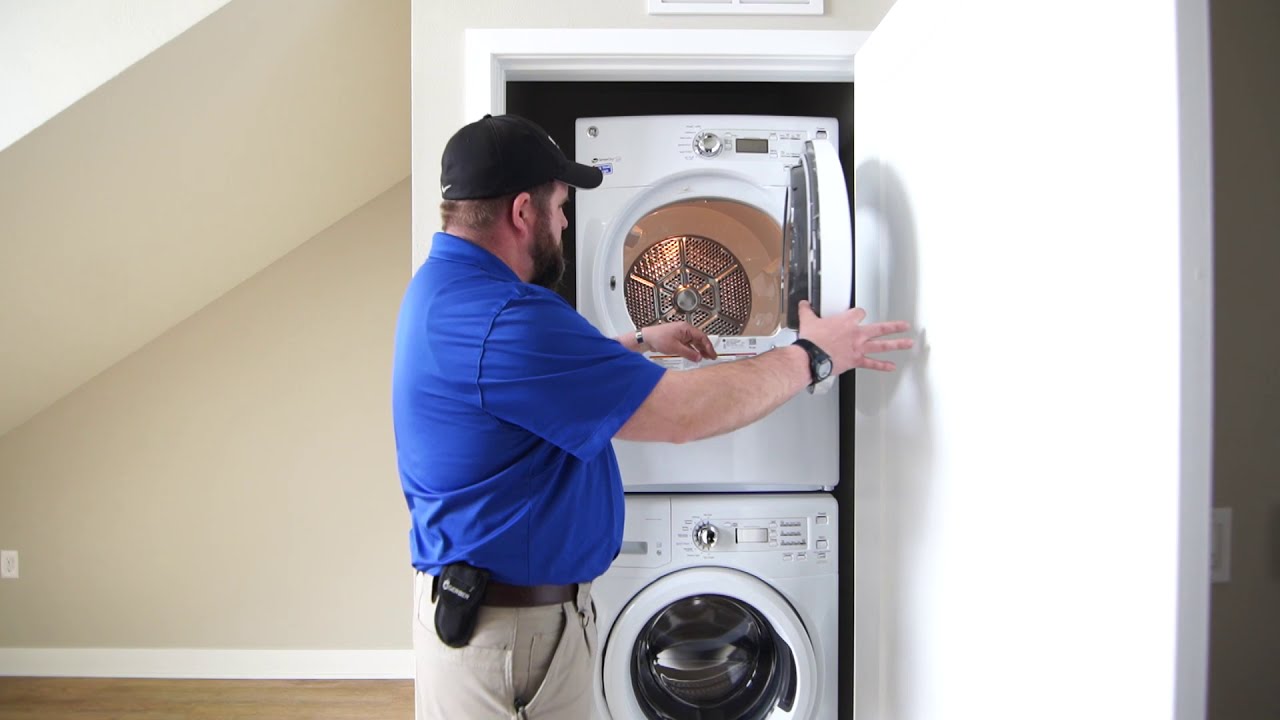
Step 1: Disconnecting the Dryer
The first step in cleaning the dryer vent is to disconnect the dryer from the power source. This is crucial to ensure your safety during the cleaning process. Here’s how to do it:
- Locate the power cord of your dryer. It is typically located at the back of the machine.
- Gently pull the power cord out of the electrical outlet. Make sure to firmly grasp the plug itself and avoid pulling on the cord to prevent damage.
- Double-check that the dryer is completely disconnected from the power source by testing its functionality. Try turning it on or activating any control buttons to ensure no power is flowing to the appliance.
By disconnecting the dryer from the power source, you eliminate the risk of electrocution or accidental activation of the dryer while you are working on the vent. Safety should always be the top priority, so take the time to ensure that the dryer is properly disconnected before proceeding.
In the next step, we’ll learn how to remove the dryer vent cover to gain access to the vent system.
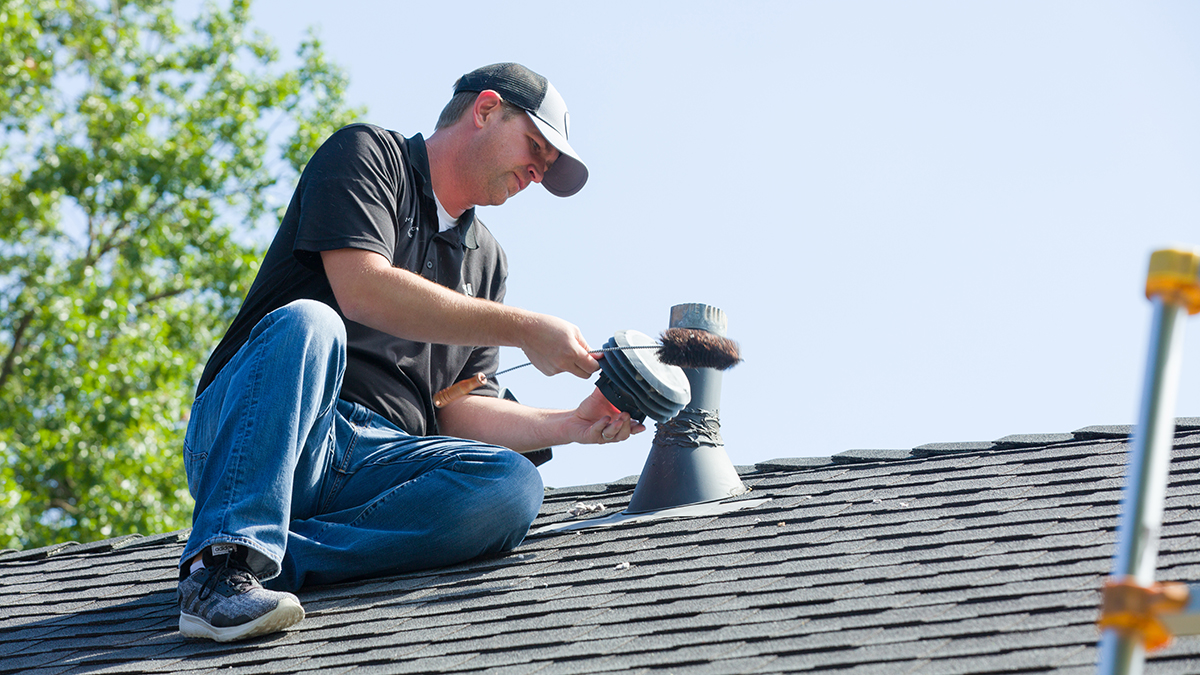
Step 2: Removing the Dryer Vent Cover
Once the dryer is safely disconnected from the power source, the next step is to remove the dryer vent cover. This will allow you to access the interior of the vent system and clean it thoroughly. Follow these steps to remove the vent cover:
- Locate the dryer vent cover on the exterior of your home. It is usually located on an exterior wall or on the roof.
- Using a screwdriver or a drill with the appropriate bit, remove any screws or fasteners that are securing the vent cover to the wall or roof.
- Once the screws are removed, gently pull the vent cover away from the wall or roof. Be careful not to damage the surrounding materials.
- Set the vent cover aside in a safe place. You may want to clean it separately while you’re cleaning the rest of the vent.
Removing the dryer vent cover allows you to gain access to the vent system and ensures that you can thoroughly clean it. Remember to handle the vent cover with care to avoid any damage.
In the next step, we’ll learn how to clean the exterior vent to remove any debris or obstructions that may be present.
Read more: How To Clean The Inside Of A Dryer Vent
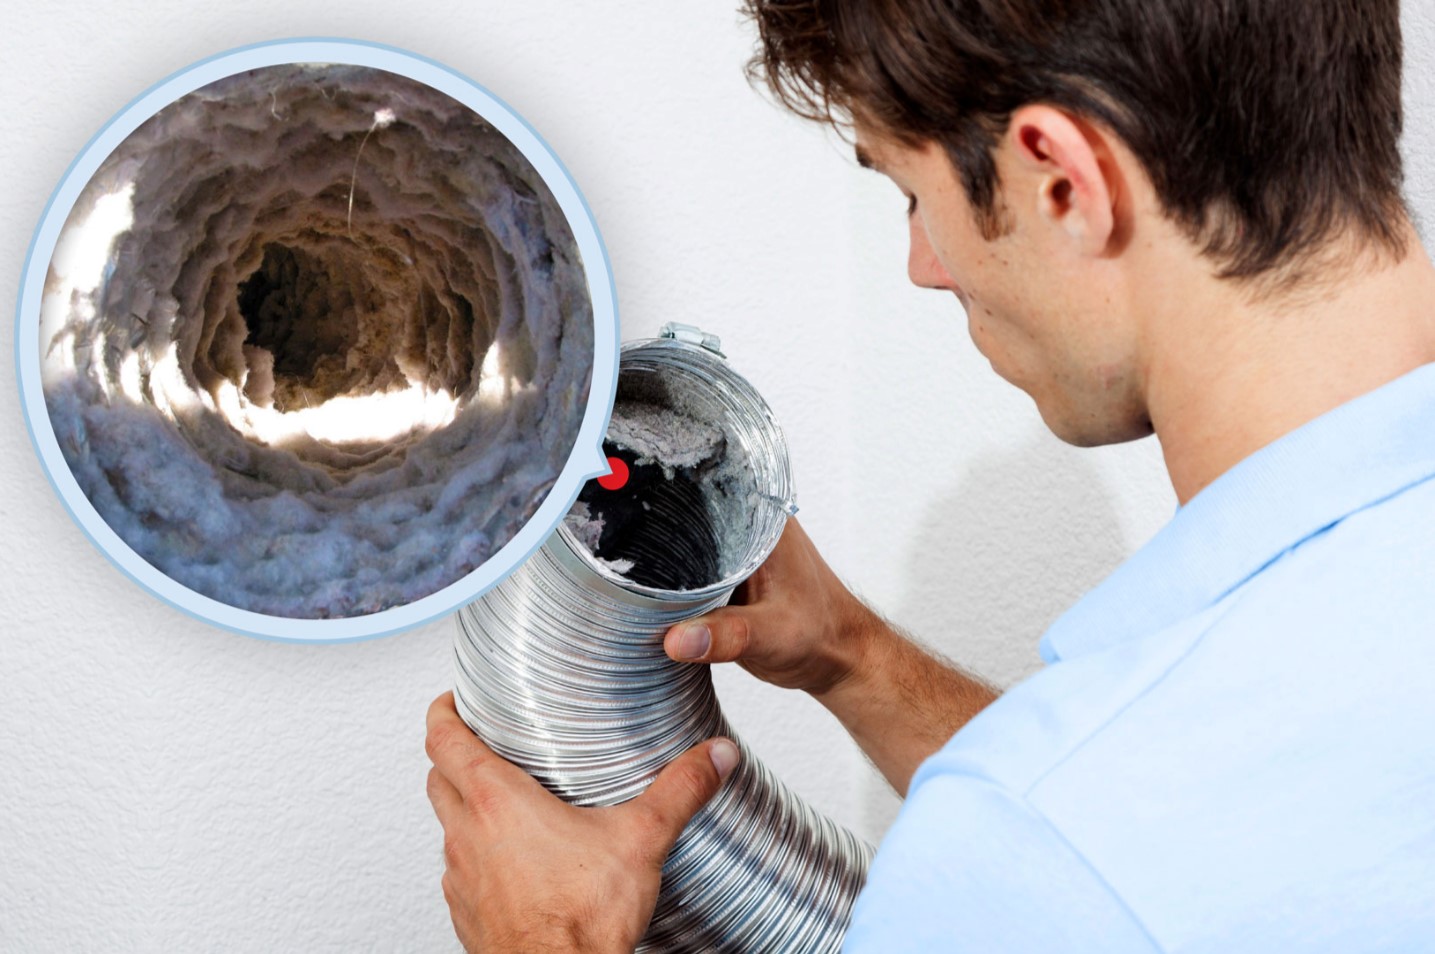
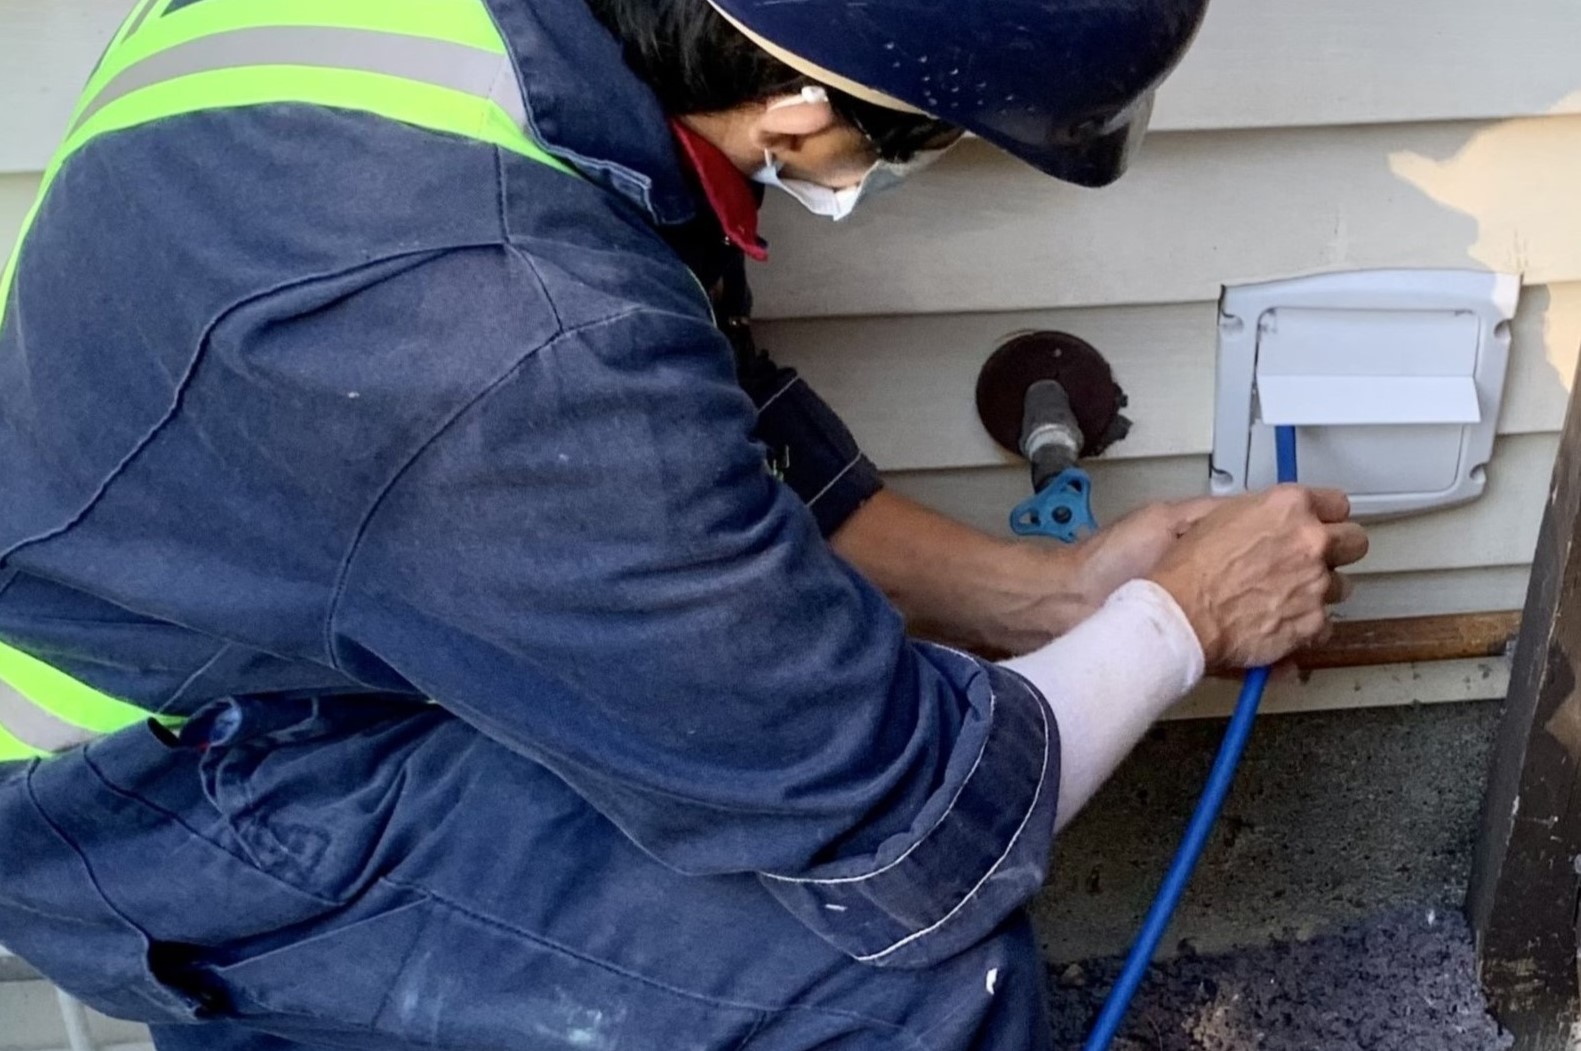
Step 3: Cleaning the Exterior Vent
After removing the dryer vent cover, it’s time to clean the exterior vent. This step focuses on clearing away any debris, dust, or obstructions that may have accumulated on the exterior vent. Here’s how to clean the exterior vent:
- Inspect the exterior vent for any signs of blockage or buildup. Look for lint, dust, bird nests, or other debris that could be obstructing the airflow.
- Using a handheld brush or a soft-bristled brush, gently scrub away any visible debris on the vent cover and surrounding area. Be thorough but gentle to avoid damaging the vent.
- If you notice any stubborn buildup that cannot be removed with the brush, you can use a vacuum cleaner with a hose attachment to suck out the debris from the vent.
- Once you have removed the visible debris, use a damp cloth or sponge to wipe down the vent cover and surrounding area. This will help remove any remaining dust or grime.
- Inspect the vent opening to ensure it is clear and unobstructed. If there are any signs of significant blockage or damage, it may be necessary to call a professional for further assistance.
Cleaning the exterior vent is an important step in improving the overall airflow of the dryer vent system. By removing any obstructions or buildup, you can ensure that the dryer operates efficiently.
Next, we’ll move on to preparing the drill for the cleaning process in Step 4.
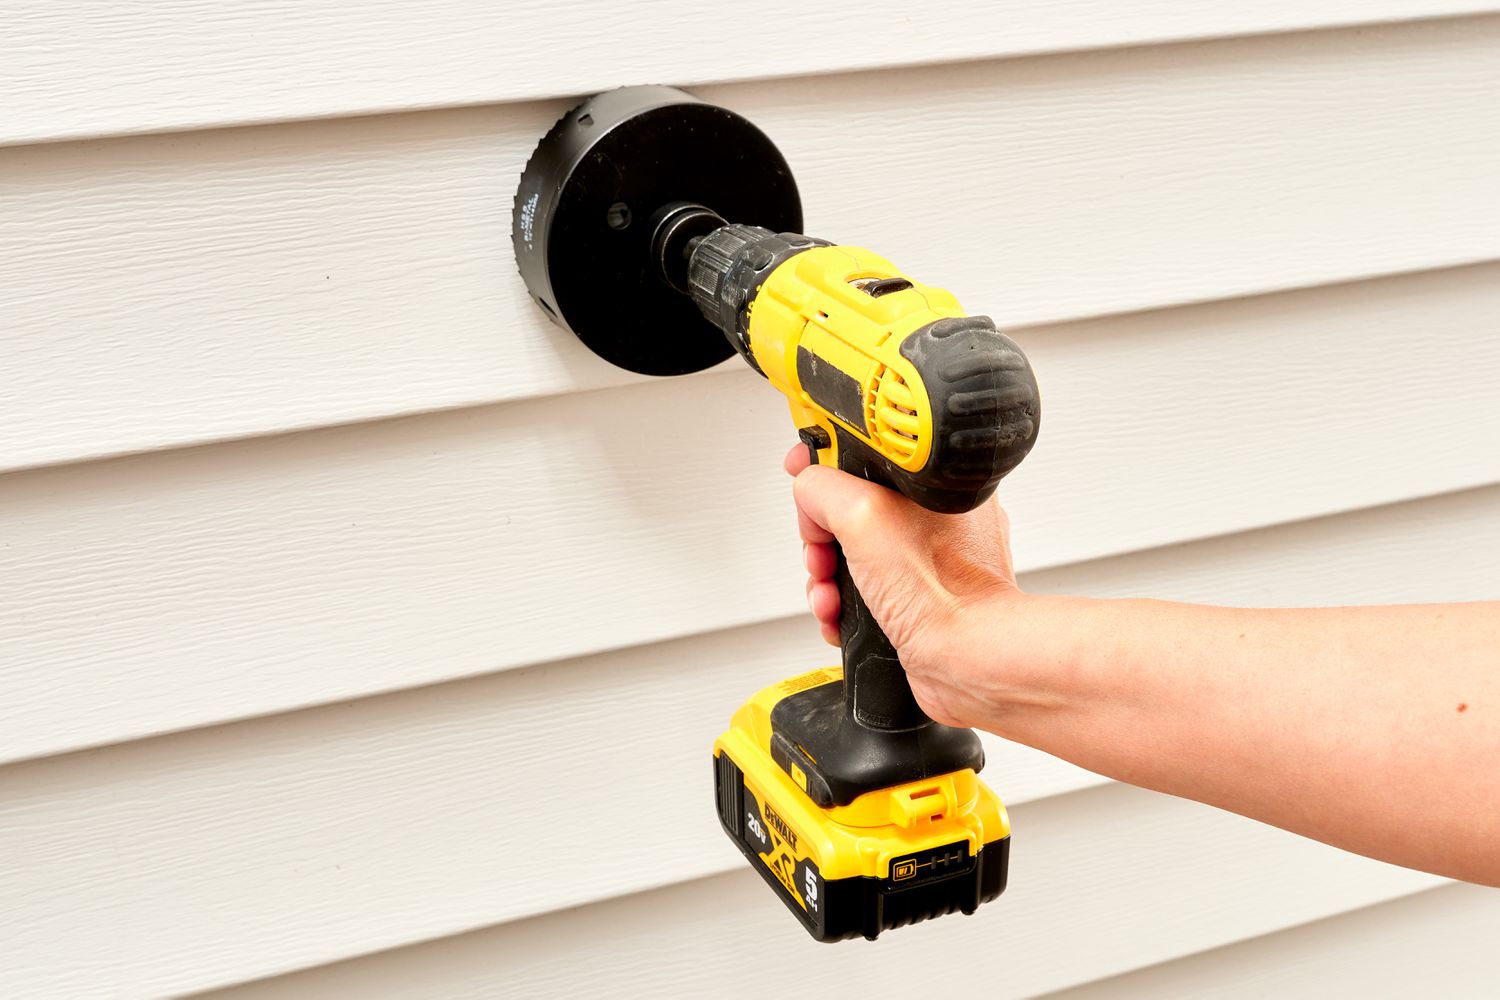
Step 4: Preparing the Drill
Before you can start using the drill to clean the dryer vent, you need to make sure it is properly prepared. Here are the steps to prepare the drill for the cleaning process:
- Make sure your drill is in good working condition and fully charged if it is cordless. This will ensure that you have enough power to complete the cleaning process without interruption.
- Check the size and compatibility of your drill’s chuck with the brush attachment you will be using. The brush should securely fit into the chuck to prevent any slippage during the cleaning process.
- If necessary, attach the drill bit extension to the chuck of the drill. This extension will allow you to reach deep into the dryer vent and clean it thoroughly.
- Ensure that the drill is set to the correct speed or setting for the cleaning process. It is recommended to start with a lower speed setting to avoid damaging the vent or causing excessive vibration.
- If you are using a corded drill, make sure the power cord is long enough to reach the vent area without causing any strain or restriction of movement.
By properly preparing the drill, you ensure that it is ready for the cleaning process. This will help you clean the dryer vent effectively and efficiently.
In the next step, we’ll learn how to attach the brush to the drill so that we can start cleaning the vent.
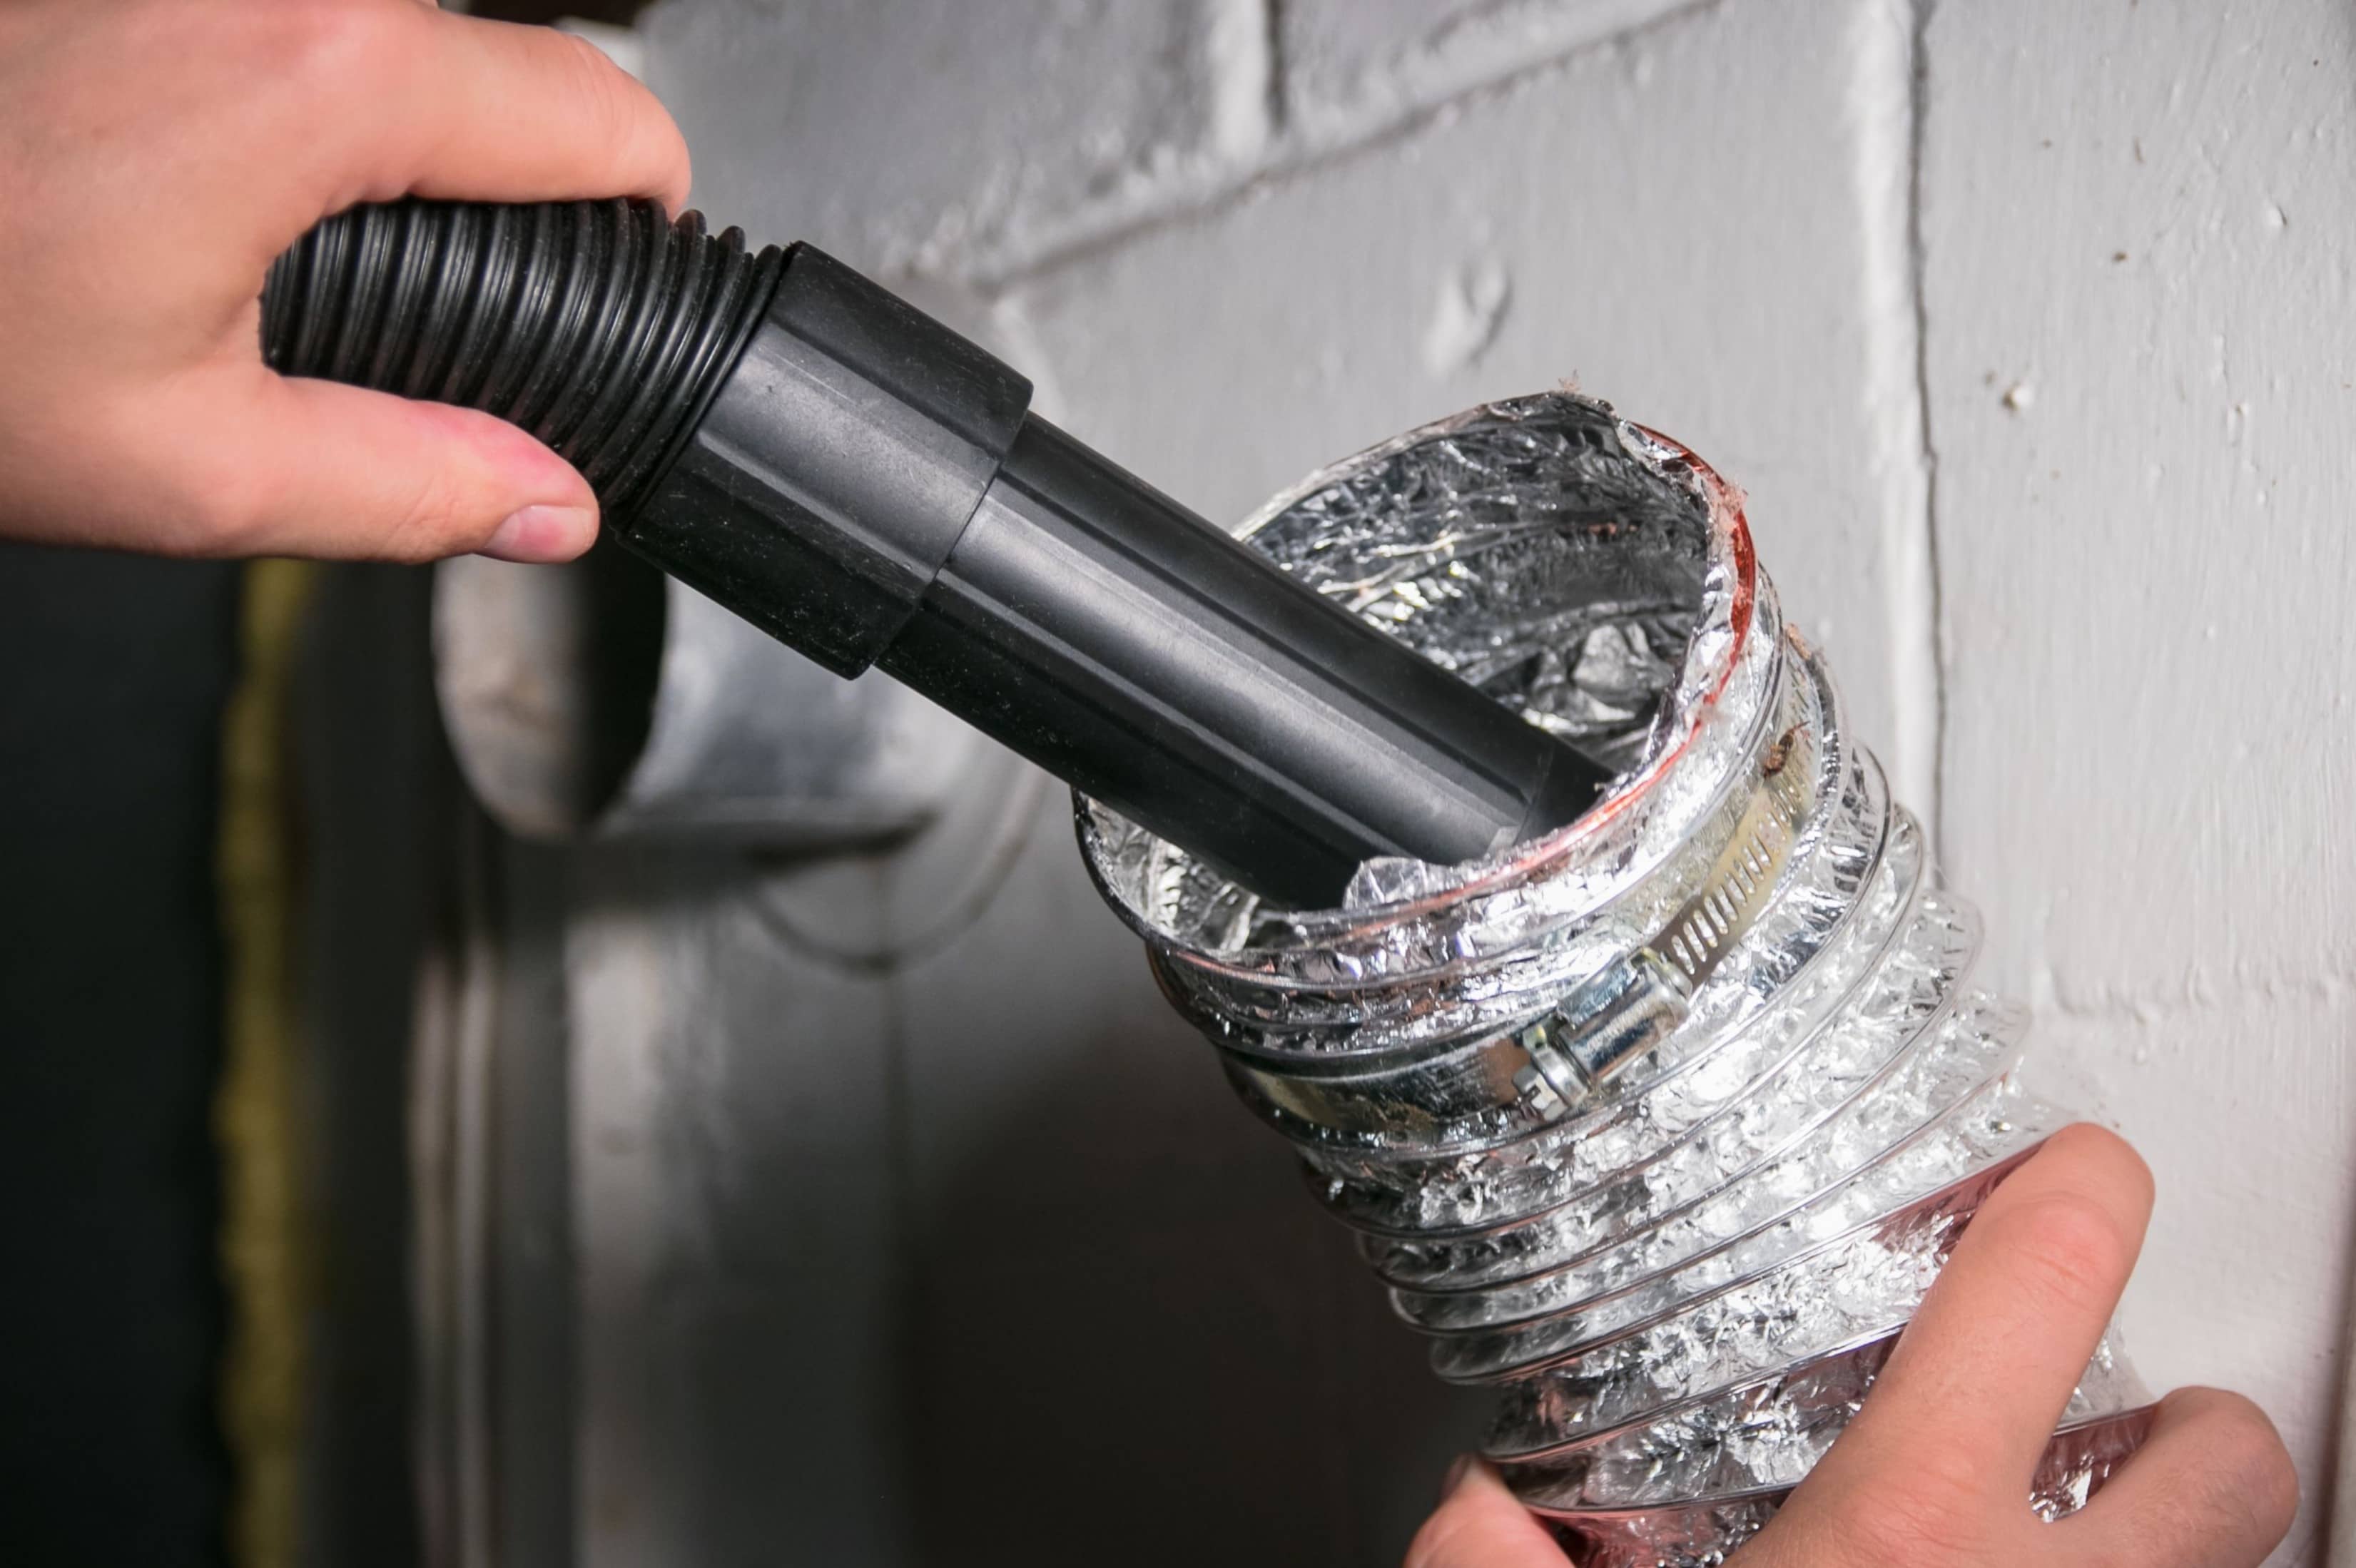
Use a dryer vent cleaning kit with a brush attachment and attach it to a drill. Run the drill at a low speed to effectively remove lint and debris from the vent. Make sure to wear a mask and gloves for safety.
Step 5: Attaching the Brush to the Drill
Now that the drill is prepared, it’s time to attach the brush that will be used to clean the dryer vent. Here’s how to attach the brush to the drill:
- Choose a dryer vent cleaning brush that is suitable for your vent size. The brush should have bristles long enough to effectively clean the length of the vent.
- Insert the brush attachment into the chuck of the drill. Make sure it is securely inserted to prevent any slippage or detachment during the cleaning process.
- Tighten the chuck of the drill to secure the brush attachment in place. Use a wrench or your hands to ensure that it is tight enough to prevent any movement or wobbling.
- Ensure that the brush attachment is properly aligned with the drill. It should be positioned straight and level to ensure effective cleaning and prevent any damage to the vent.
Once the brush is securely attached to the drill, you are ready to move on to the next step and start cleaning the dryer vent. Make sure to double-check the attachment before beginning to ensure a safe and efficient cleaning process.
In Step 6, we will guide you through the process of inserting the brush into the vent for cleaning.
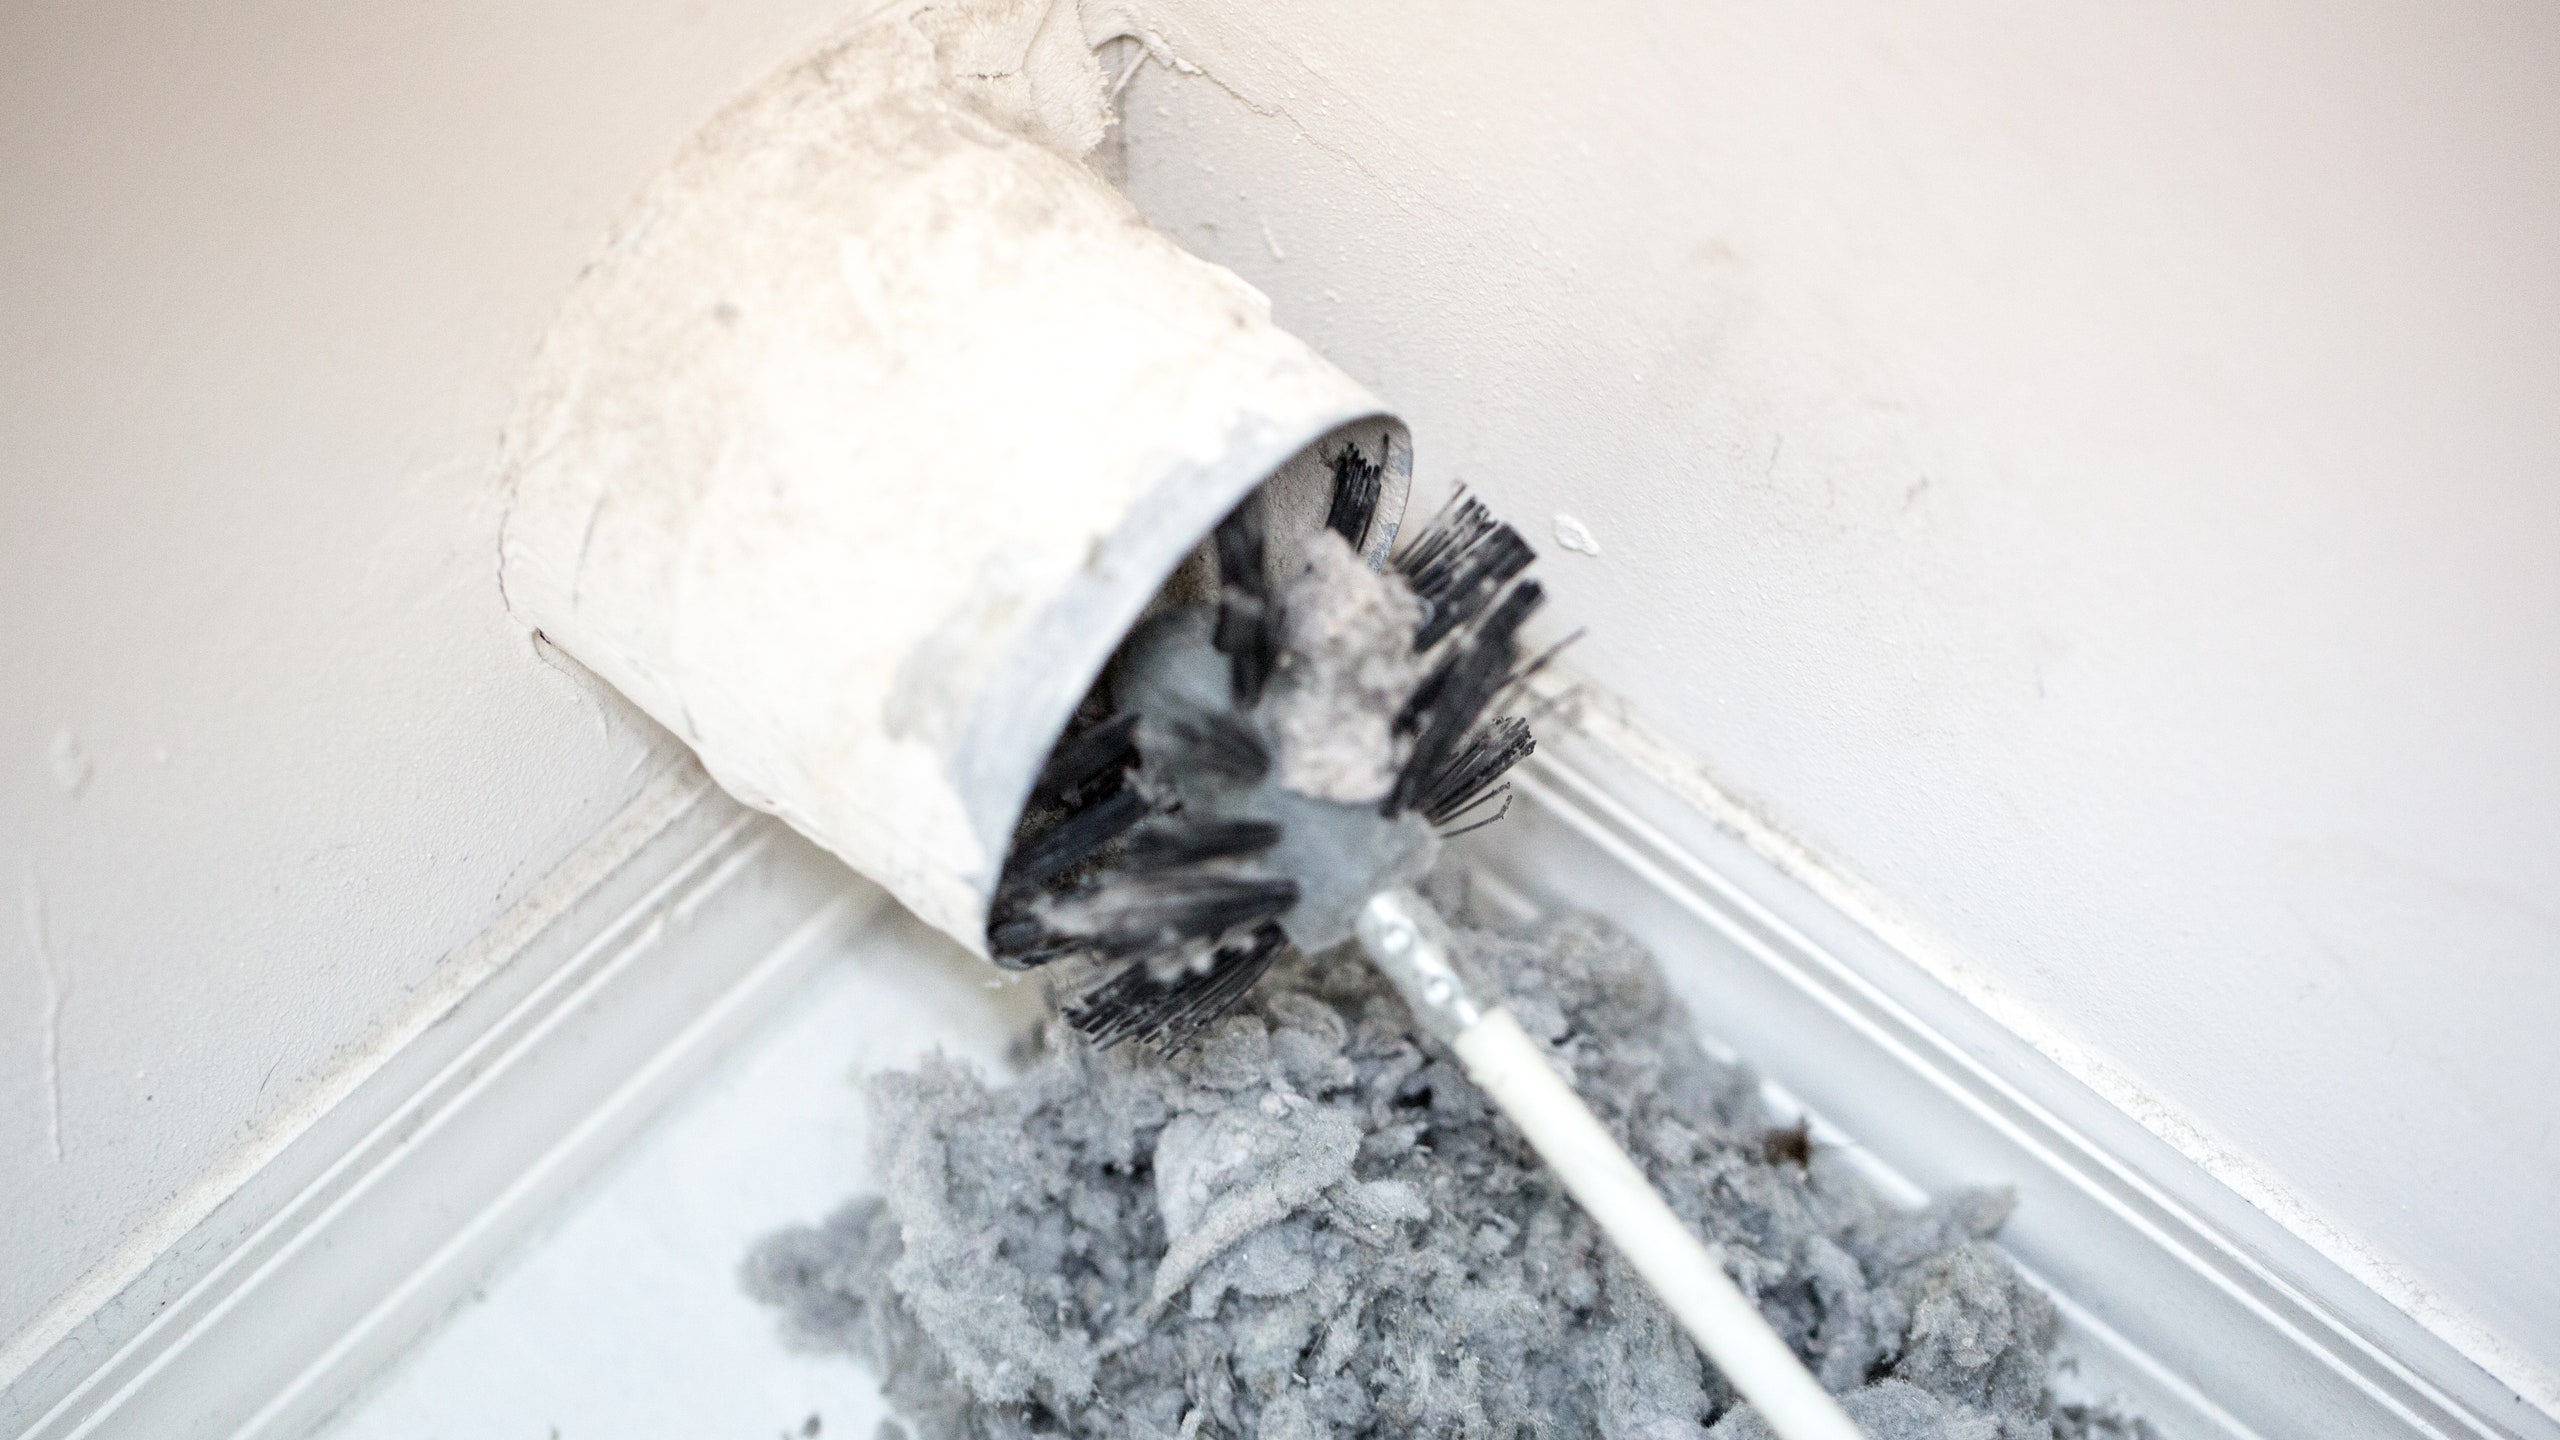
Step 6: Inserting the Brush into the Vent
With the brush securely attached to the drill, it’s time to insert the brush into the dryer vent and begin the cleaning process. Follow these steps to properly insert the brush into the vent:
- Locate the entry point of the dryer vent, usually found on the wall behind the dryer or on the floor if the vent is routed downwards.
- Carefully insert the brush attachment into the vent opening, making sure to push it in as far as it can go. The bristles of the brush should be facing into the vent, allowing them to scrub and loosen any lint or debris.
- Slowly and steadily feed the brush into the vent, applying gentle pressure as you go. Use a twisting motion to ensure that the brush makes contact with the walls of the vent, effectively dislodging any buildup.
- Continue inserting the brush until you have reached the end of the vent or until you can no longer push it further. This will ensure that you clean the entire length of the vent, from the entry point to the exit.
- Be cautious not to force the brush if you encounter any resistance or tight spots. This could indicate an obstruction or damage to the vent. In such cases, stop and consider seeking professional assistance.
Inserting the brush into the dryer vent is a crucial step in the cleaning process. It allows you to physically remove the accumulated lint and debris, ensuring a clean and clear vent for optimal dryer performance.
In the next step, Step 7, we’ll learn how to run the drill to effectively clean the vent.
Read more: How Often Dryer Vent Cleaning
Step 7: Running the Drill to Clean the Vent
Now that the brush is inserted into the dryer vent, it’s time to run the drill to effectively clean the vent. Follow these steps to run the drill and clean the vent thoroughly:
- Hold the drill firmly with both hands, ensuring a secure grip and proper control during the cleaning process.
- Gradually increase the speed of the drill to a moderate setting. This will allow the brush to rotate and scrub the interior walls of the vent.
- Maintain a steady and controlled motion as you run the drill along the length of the vent. Move the brush back and forth, as well as in a clockwise or counterclockwise rotation, to ensure all sides of the vent are properly cleaned.
- Continue running the drill and moving the brush through the vent for several minutes. This will ensure that the bristles effectively dislodge and remove the lint and debris from the vent.
- Pay extra attention to areas that may have more stubborn buildup or blockage, such as bends or curves in the vent. Use a gentle but persistent motion to ensure a thorough cleaning.
- Periodically check the brush attachment for any lint or debris that may have accumulated. If necessary, stop the drill and clean out the brush before continuing the cleaning process.
- Once you have run the drill through the entire length of the vent, slowly pull the brush back out of the vent opening. This will allow any loosened debris to be removed from the vent.
Running the drill effectively cleans the dryer vent by dislodging and removing lint and debris. Ensure a smooth and controlled motion throughout the cleaning process to achieve the best results.
In Step 8, we will guide you through the process of reassembling the dryer vent after cleaning.
Step 8: Reassembling the Dryer Vent
After thoroughly cleaning the dryer vent, it’s time to reassemble the vent system to ensure proper functionality. Follow these steps to reassemble the dryer vent:
- Retrieve the dryer vent cover that you removed earlier.
- Position the vent cover over the vent opening on the exterior wall or roof.
- Align the screw holes on the vent cover with the corresponding holes on the wall or roof.
- Securely fasten the vent cover to the wall or roof using screws or fasteners, ensuring a tight and secure fit.
- Double-check that the vent cover is properly installed and aligned, with no gaps or loose areas.
- Inspect the area around the vent cover to ensure there are no visible gaps or openings that could allow pests or outdoor elements to enter.
Reassembling the dryer vent cover is an important step to protect the vent and prevent any future buildup of lint or debris. It also ensures that the vent is properly sealed and secure.
In the next step, Step 9, we’ll learn how to reconnect the dryer to complete the cleaning process.
Step 9: Reconnecting the Dryer
With the dryer vent cleaned and the vent cover reassembled, it’s time to reconnect the dryer and complete the cleaning process. Follow these steps to reconnect the dryer:
- Locate the power cord of your dryer and gently insert the plug into the electrical outlet.
- Ensure that the power cord is securely inserted into the outlet and firmly connected.
- Test the dryer to ensure that it is receiving power and functioning properly. Turn it on and check for any abnormal noises or issues.
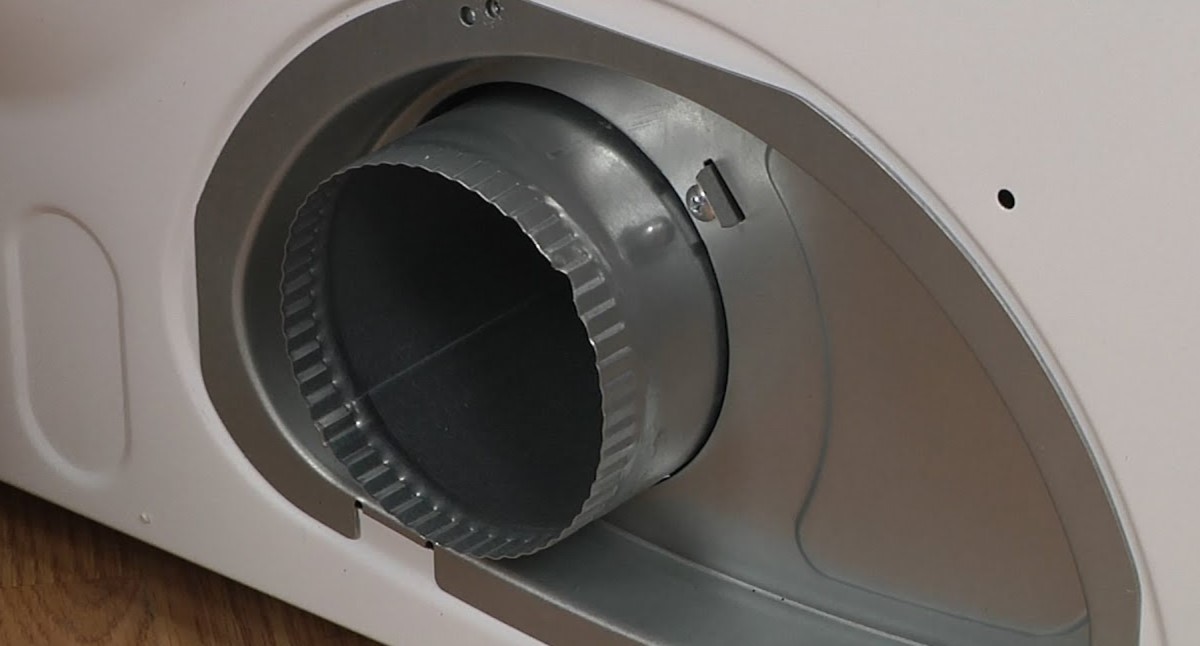
- Double-check that the dryer vent hose is properly connected to the back of the dryer. Make sure it is securely attached to prevent any air leaks.
- Inspect the area around the dryer for any signs of lint or debris that may have been displaced during the cleaning process. Use a vacuum cleaner or a damp cloth to clean up any remaining mess.
- Finally, set the dryer to a regular drying cycle and run it for a few minutes. This will help to ensure that the vent is clear and that the dryer is functioning properly.
By reconnecting the dryer, you complete the cleaning process and ensure that your dryer is ready to use safely and efficiently. Keep an eye on its performance in the upcoming drying cycles to make sure that the ventilation system is functioning well.
Congratulations! You have successfully cleaned the dryer vent using a drill. Regular maintenance of your dryer vent will help to optimize dryer performance, improve energy efficiency, and reduce the risk of fire hazards caused by lint buildup. Remember, it’s recommended to clean your dryer vent at least once a year or more frequently if you notice any signs of drying issues or excess lint accumulation.
Stay proactive and keep your dryer vent clean to enjoy smooth and efficient laundry drying for years to come.
Conclusion
Cleaning your dryer vent with a drill is a vital task for maintaining the performance, efficiency, and safety of your dryer. By following the step-by-step process outlined in this guide, you can effectively remove lint and debris, improve airflow, and reduce the risk of fire hazards.
Regular cleaning of the dryer vent offers several benefits, including improved efficiency, extended dryer lifespan, reduced fire hazard, and better indoor air quality. Neglecting this maintenance task can result in increased energy consumption, costly repairs, and potential house fires.
Remember to prioritize safety throughout the cleaning process by disconnecting the dryer from the power source and wearing appropriate protective gear. If you encounter any significant blockages or are unsure about any step, it’s wise to seek professional assistance.
By gathering the necessary tools, removing the vent cover, cleaning the exterior vent, preparing the drill, attaching the brush, inserting it into the vent, running the drill, reassembling the vent, and reconnecting the dryer, you can ensure a thorough and effective cleaning.
Regular maintenance of your dryer vent is key to maintaining the efficiency, longevity, and safety of your dryer. Make it a part of your home maintenance routine to prevent potential issues and enjoy hassle-free drying for years to come.
Thank you for following this comprehensive guide on how to clean a dryer vent with a drill. Happy cleaning!
Frequently Asked Questions about How To Clean A Dryer Vent With A Drill
Was this page helpful?
At Storables.com, we guarantee accurate and reliable information. Our content, validated by Expert Board Contributors, is crafted following stringent Editorial Policies. We're committed to providing you with well-researched, expert-backed insights for all your informational needs.