
Articles
How To Clean Coils On Whirlpool Refrigerator
Modified: October 20, 2024
Learn how to properly clean the coils on your Whirlpool refrigerator with our informative articles. Keep your fridge running efficiently and prevent potential issues with this step-by-step guide.
(Many of the links in this article redirect to a specific reviewed product. Your purchase of these products through affiliate links helps to generate commission for Storables.com, at no extra cost. Learn more)
Introduction
Welcome to our comprehensive guide on how to clean the coils on your Whirlpool refrigerator. When it comes to maintaining the optimal performance of your refrigerator, cleaning the coils is a crucial step that many people overlook. Over time, dirt, dust, and debris can accumulate on the coils, causing them to become less efficient in dissipating heat.
By regularly cleaning the coils, you can improve the energy efficiency of your refrigerator, extend its lifespan, and ensure that it continues to run smoothly. In this article, we will provide you with a step-by-step guide on how to clean the coils on your Whirlpool refrigerator, as well as important safety precautions to keep in mind.
Whether you’re a seasoned do-it-yourselfer or new to appliance maintenance, this guide will make the process easy to follow and help you keep your Whirlpool refrigerator in top-notch condition. So, let’s dive in and learn how to give your refrigerator coils the cleaning they deserve!
Key Takeaways:
- Regularly cleaning the coils on your Whirlpool refrigerator can improve energy efficiency, extend appliance lifespan, and ensure consistent cooling for food safety. Don’t overlook this simple yet impactful maintenance task!
- Gather basic tools like a vacuum cleaner, soft-bristle brush, and warm, soapy water to clean your Whirlpool refrigerator coils. Follow safety precautions, and enjoy the benefits of a well-maintained appliance!
Importance of Cleaning Coils
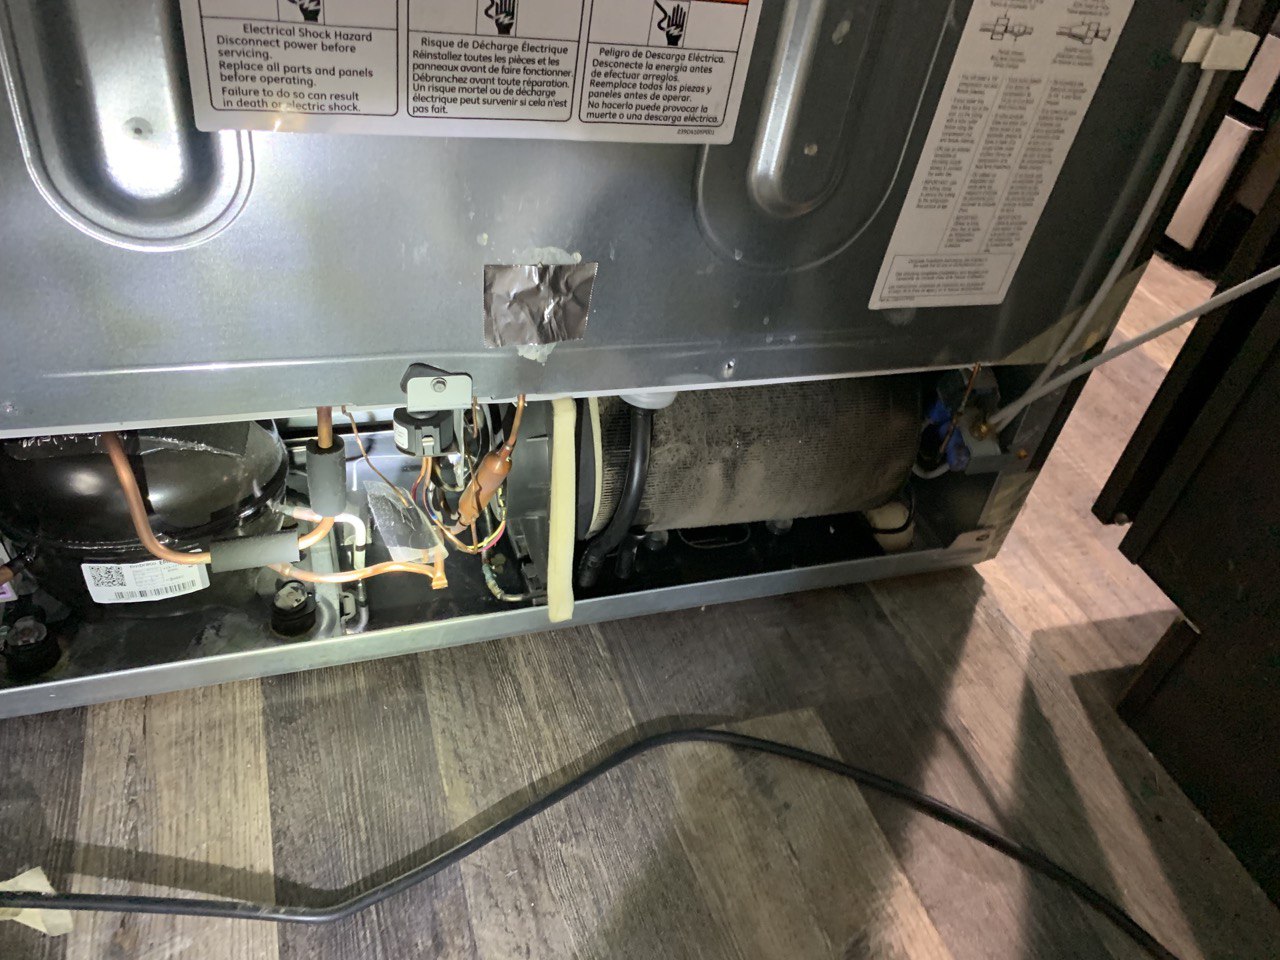
The coils in your Whirlpool refrigerator play a critical role in its overall functionality. These coils, typically located at the back or underneath the refrigerator, are responsible for releasing heat generated by the compressor. As the refrigerant flows through the coils, it absorbs warmth from the inside of the fridge and releases it to the surrounding environment.
Over time, these coils can become coated with dust, pet hair, and other debris. This build-up acts as a barrier, preventing the coils from effectively dissipating heat. As a result, the appliance works harder to maintain the desired temperature, leading to increased energy consumption and potentially shortening the lifespan of the unit.
Regularly cleaning the coils of your Whirlpool refrigerator offers several key benefits:
- Improved Energy Efficiency: When the coils are clean and free of debris, they can efficiently release heat, allowing the refrigerator to operate more efficiently. This, in turn, can help reduce energy consumption, leading to lower utility bills.
- Extended Appliance Lifespan: When the coils are clogged with dirt and dust, the compressor has to work harder to cool the refrigerator. This added strain can cause components to wear out more quickly, potentially leading to costly repairs or the need for a premature replacement.
- Prevention of Malfunctions: A build-up of debris on the coils can disrupt the normal functioning of the refrigerator’s cooling system. This can result in inconsistent temperatures, insufficient cooling, and even a complete breakdown of the appliance.
- Improved Food Safety: Keeping the coils clean ensures that your refrigerator maintains a consistent temperature, which is crucial for food safety. Proper cooling prevents the growth of bacteria and helps preserve the freshness and quality of your stored food.
Considering the impact that dirty coils can have on the performance of your Whirlpool refrigerator, it’s clear that regular maintenance and cleaning are essential. Fortunately, cleaning the coils is a relatively simple task that can be done at home with basic tools and minimal effort. Let’s move on to the next section and explore the tools and materials you’ll need for this task.
Tools and Materials Needed
Before you begin cleaning the coils on your Whirlpool refrigerator, it’s important to gather the necessary tools and materials. Fortunately, you won’t need any specialized equipment or expensive products for this task. Here’s a list of what you’ll need:
- Vacuum Cleaner: A vacuum cleaner with a brush attachment will be your primary tool for removing dust and debris from the coils. Make sure the vacuum is in good working condition and has enough suction power.
- Soft-Bristle Brush: A soft-bristle brush, such as a paintbrush or a toothbrush, will help you loosen and dislodge any stubborn dirt or dust from the coils.
- Microfiber Cloth: A microfiber cloth is ideal for wiping down the coils and any surrounding areas. It’s highly absorbent and won’t leave behind lint or particles that could disrupt the refrigerator’s performance.
- Warm, Soapy Water: Prepare a mixture of warm water and mild dish soap in a bucket or bowl. This solution will be used to clean the coils and remove any grease or grime that has accumulated.
- Container or Tray: Place a container or tray underneath the refrigerator to catch any water or debris that may fall during the cleaning process.
- Safety Gloves: While not mandatory, wearing safety gloves can help protect your hands from any sharp edges or debris that you may encounter while cleaning the coils.
- Safety Glasses: Again, not essential but advisable, safety glasses can shield your eyes from any loose debris that might be dislodged during the cleaning process.
With these tools and materials on hand, you’ll be ready to tackle the task of cleaning the coils on your Whirlpool refrigerator. Before we dive into the step-by-step guide, it’s important to review some safety precautions to ensure a safe and successful cleaning process. Let’s move on to the next section.
Step by Step Guide to Cleaning Coils on a Whirlpool Refrigerator
Now that you have gathered the necessary tools and materials, let’s walk through the step-by-step process of cleaning the coils on your Whirlpool refrigerator:
- Disconnect the refrigerator: Start by unplugging the refrigerator from the power source. This will ensure your safety and prevent any electrical accidents while cleaning the coils.
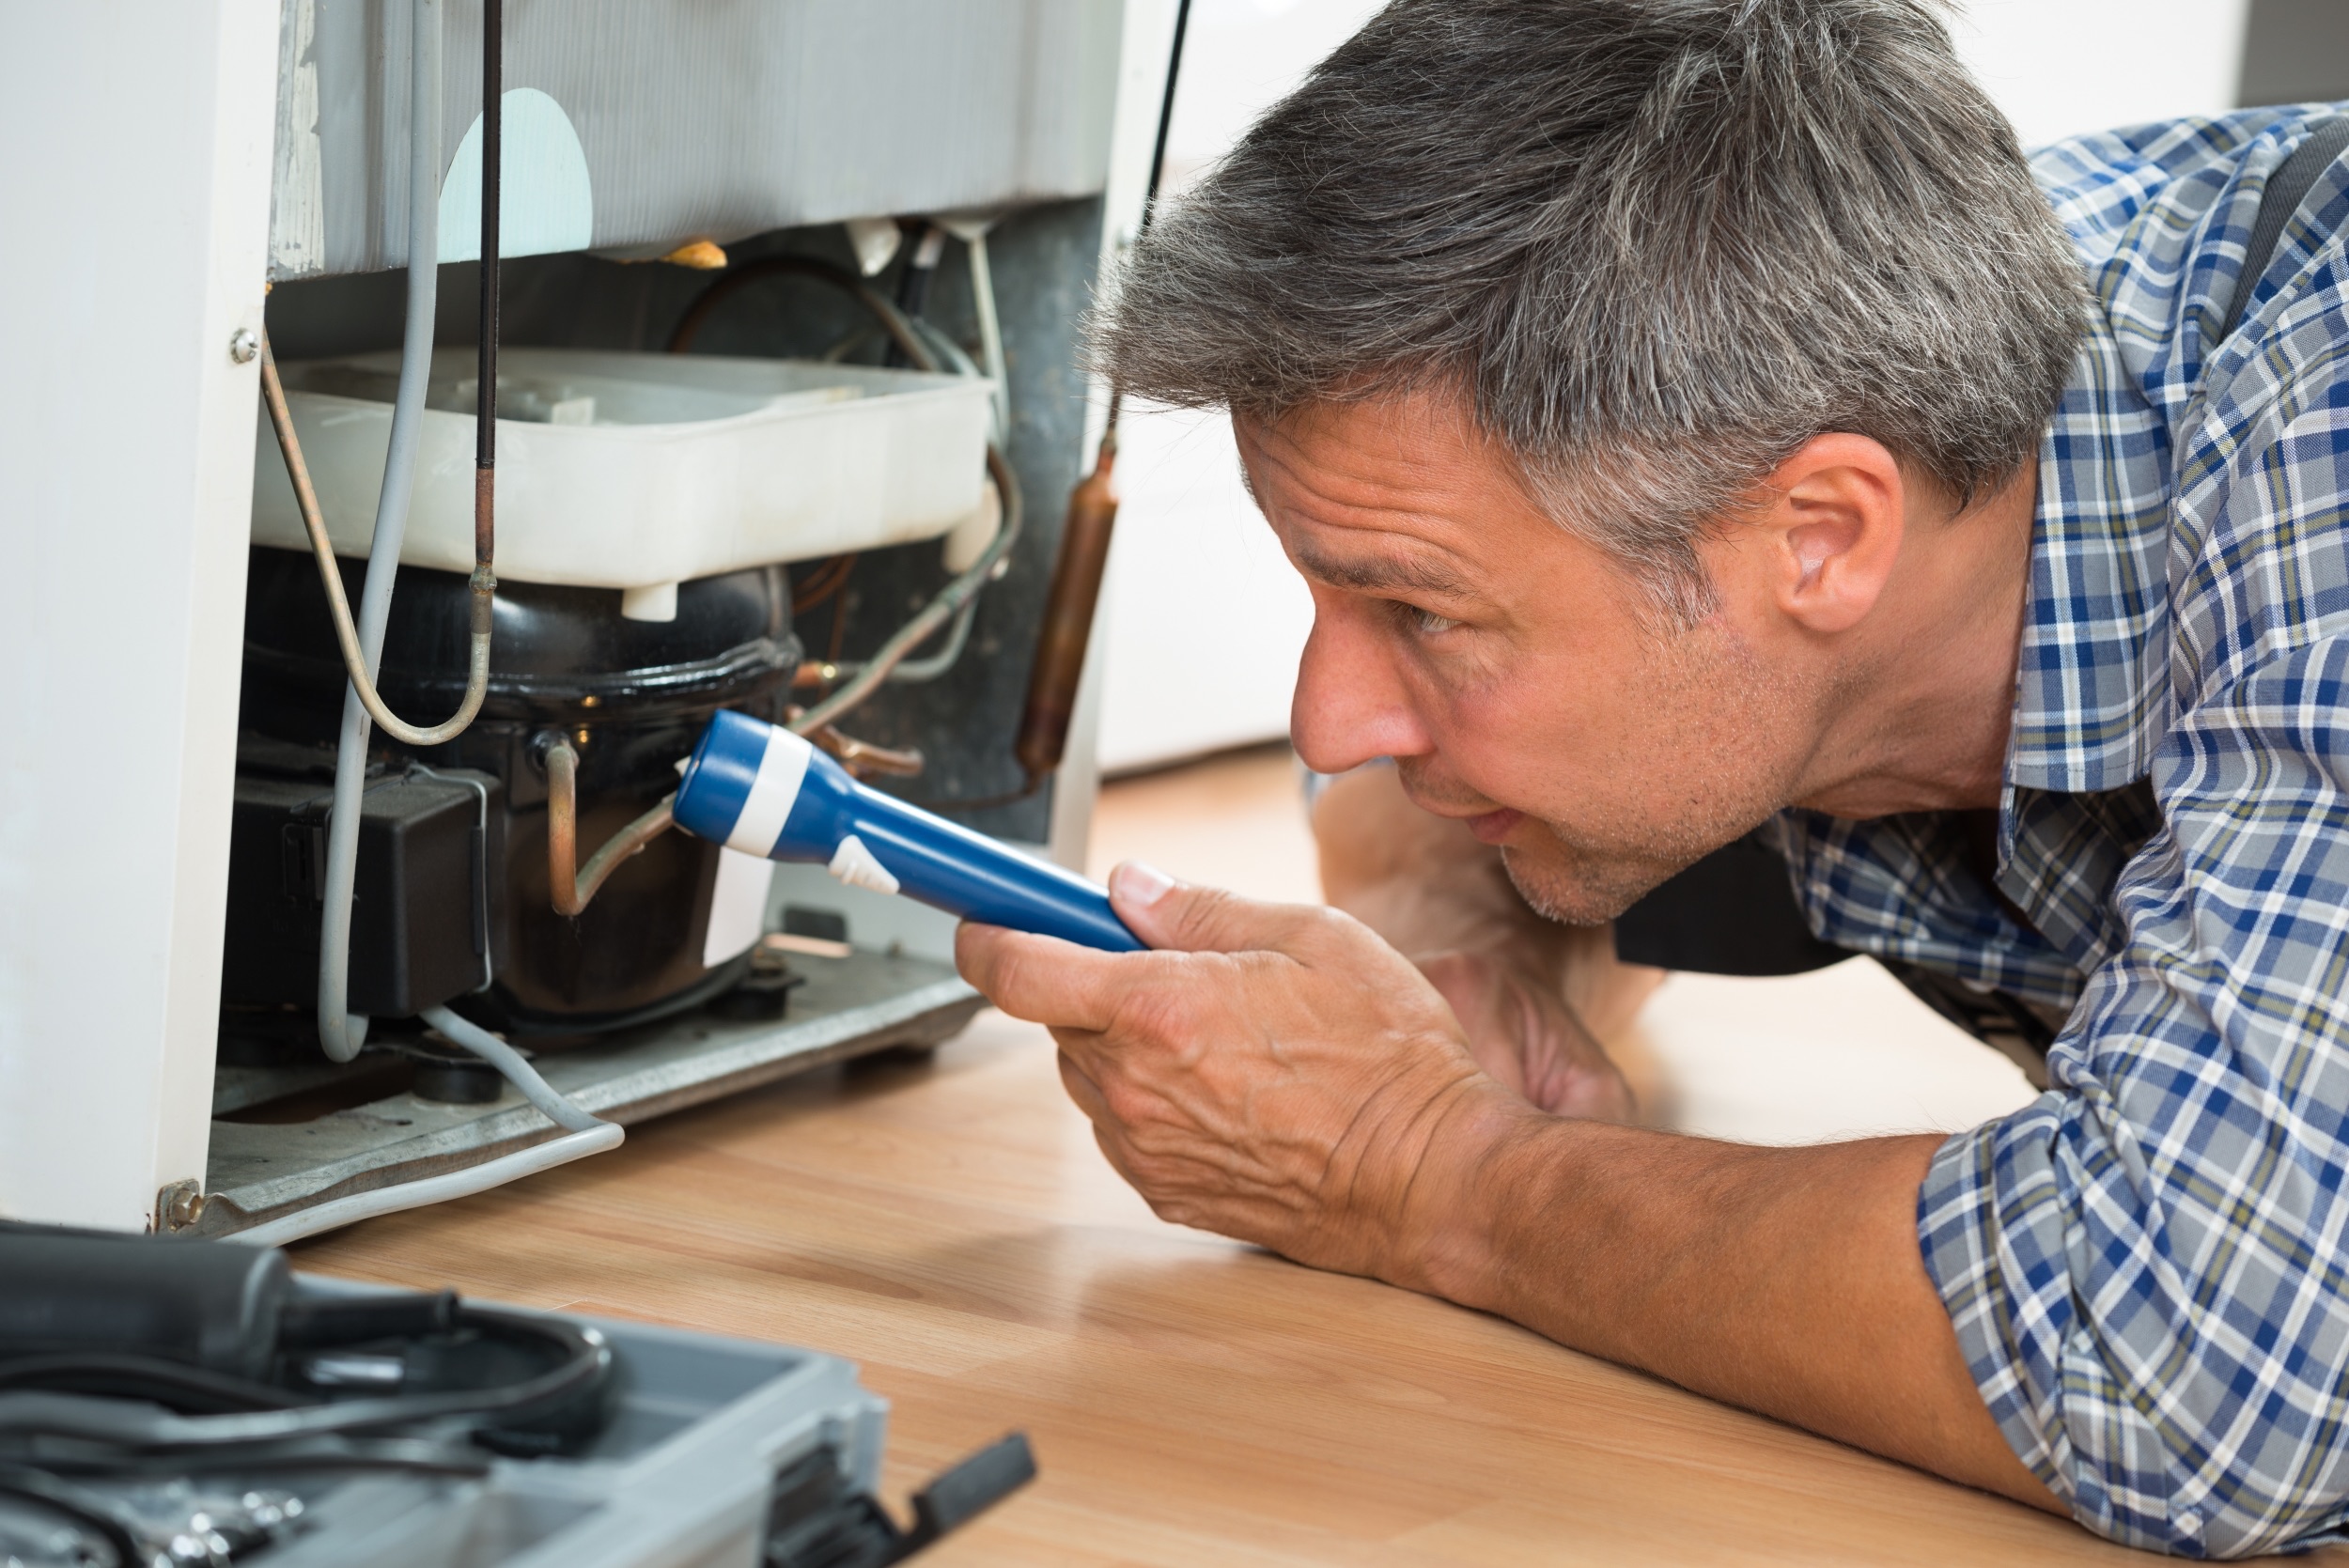
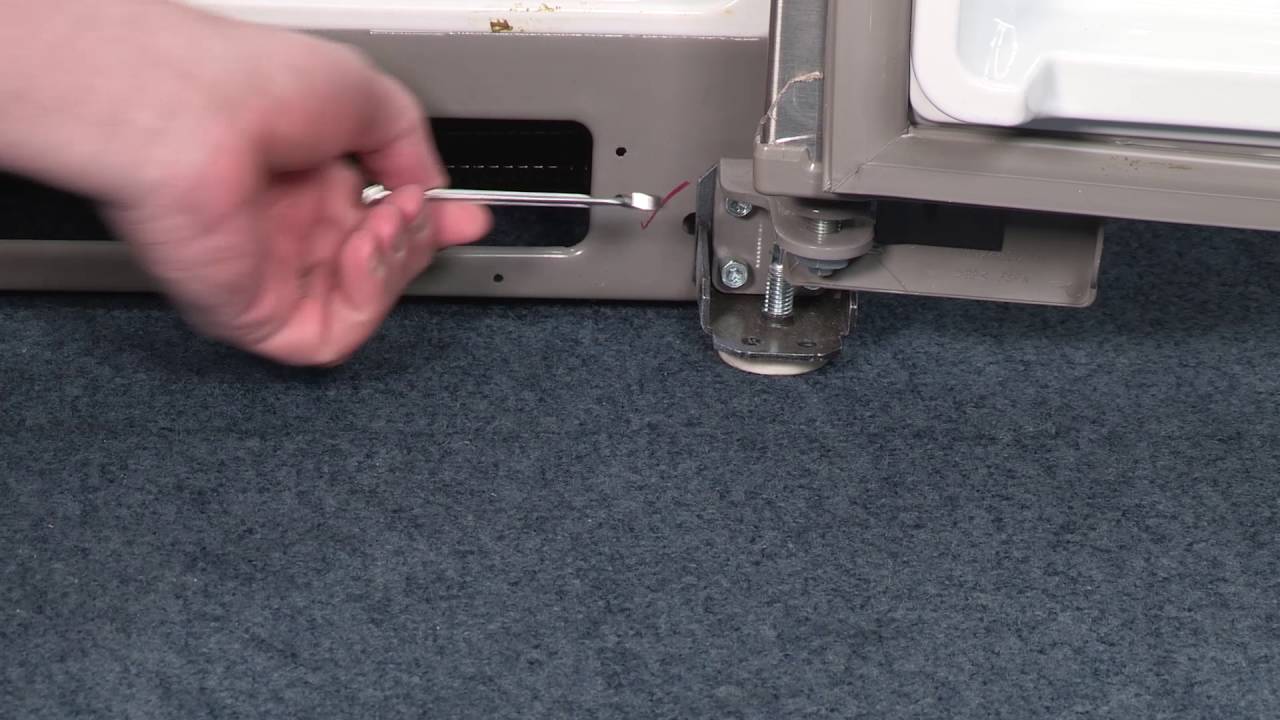
- Locate the coils: Depending on your Whirlpool refrigerator model, the coils are usually found on the back or underneath the appliance. Move the refrigerator away from the wall or access the coils from the front, if applicable.
- Remove visible debris: Use a soft-bristle brush or your vacuum cleaner’s brush attachment to gently remove any visible dust or debris from the coils. Take care not to bend or damage the delicate fins of the coils.
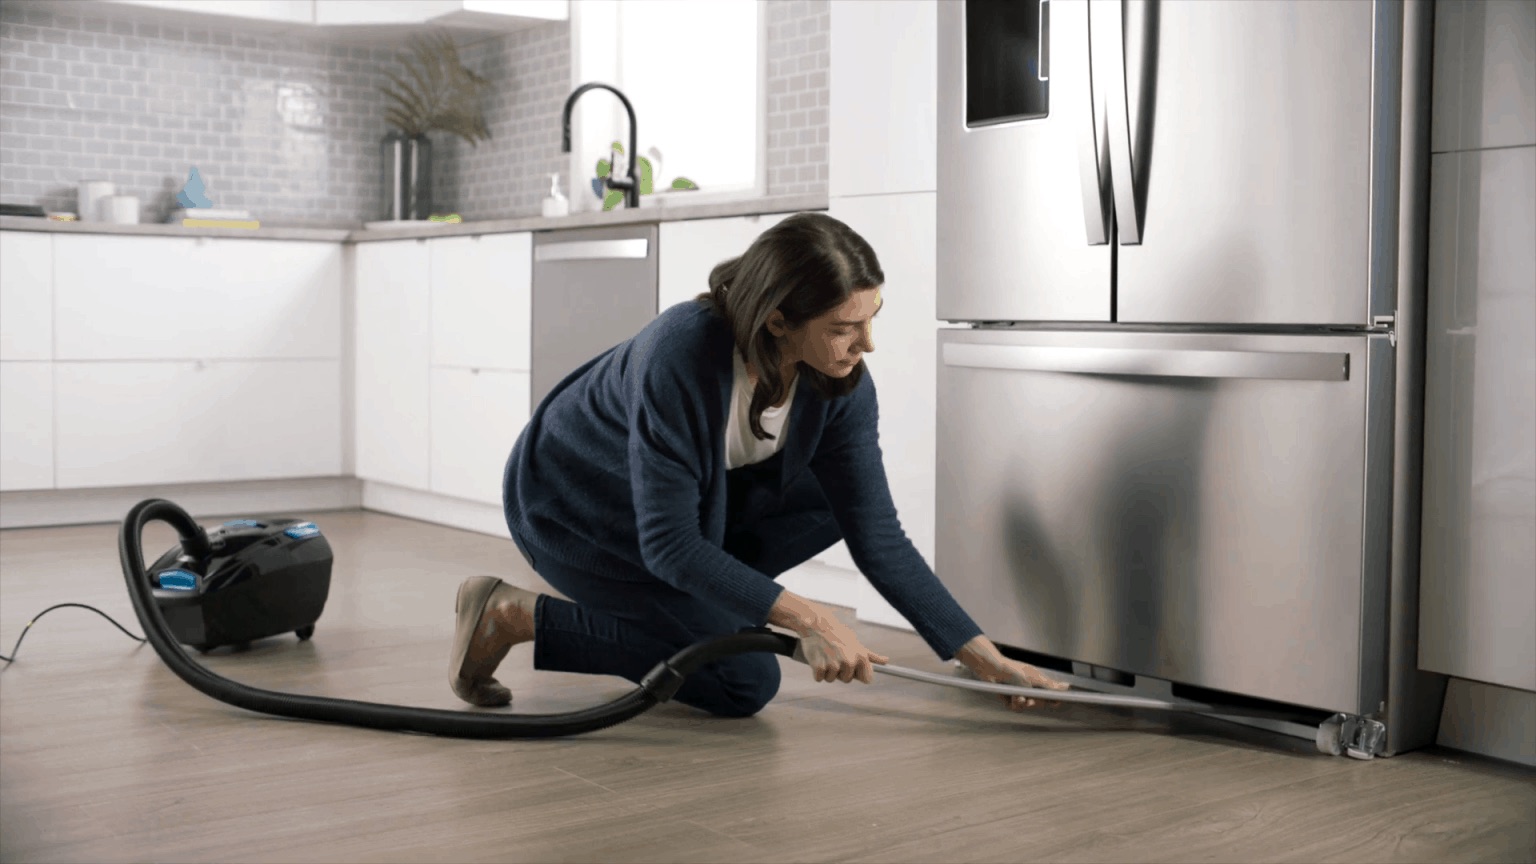
- Vacuum the coils: Using your vacuum cleaner’s brush attachment, carefully vacuum the coils, moving in a slow and methodical manner. Start from the top and work your way down, making sure to reach all areas of the coils.
- Brush away stubborn dirt: For any stubborn dirt or dust that the vacuum couldn’t remove, use a soft-bristle brush to loosen and dislodge it. Be gentle, as excessive force can damage the coils.
- Wipe down the coils: Dampen a microfiber cloth with warm, soapy water. Gently wipe down the coils to remove any remaining dirt or residue. Take your time and ensure that all sides of the coils are thoroughly cleaned.
- Dry the coils: After cleaning, use a dry microfiber cloth to carefully dry the coils. Make sure there is no excess moisture left on the coils or surrounding areas.
- Reconnect the refrigerator: Once the coils are clean and dry, carefully move the refrigerator back into place and plug it back into the power source.
- Clean the surrounding area: While you’re at it, take the opportunity to clean the surrounding area, including the floor, walls, and any exposed parts of the refrigerator.
Following these steps will help ensure that your Whirlpool refrigerator’s coils are clean and free of debris, allowing for optimal performance and energy efficiency. Remember to refer to your refrigerator’s manual for any specific instructions or precautions related to the cleaning process.
Before we conclude, let’s go over some important safety precautions that you should keep in mind while cleaning the coils of your Whirlpool refrigerator.
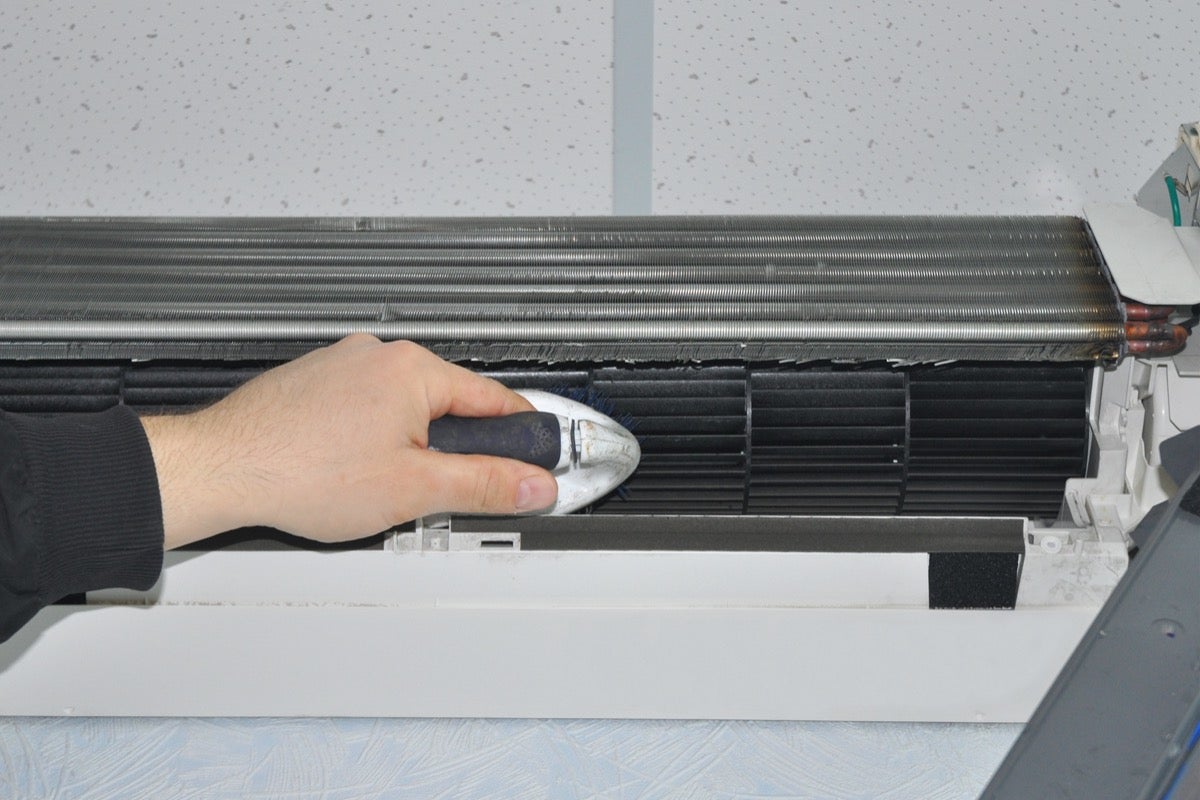
Use a vacuum with a brush attachment to gently remove dust and debris from the coils. Be careful not to bend or damage the coils during cleaning.
Safety Precautions
While cleaning the coils on your Whirlpool refrigerator, it is essential to prioritize your safety. Follow these safety precautions to ensure a smooth and accident-free cleaning process:
- Disconnect the power: Before starting any cleaning or maintenance tasks, unplug the refrigerator from the power source to prevent electrical shock or accidents.
- Protect your hands: Consider wearing safety gloves to protect your hands from sharp edges or debris that may be present around the coils.
- Use safety glasses: Although not mandatory, wearing safety glasses can prevent any loose debris or particles from getting into your eyes while cleaning.
- Be gentle: When cleaning the coils, use a soft-bristle brush and gentle motions to avoid bending or damaging the delicate fins of the coils.
- Avoid using excessive force: Excessive force when cleaning the coils can cause damage. Take your time and be patient while removing dirt and dust.
- Ensure the refrigerator is stable: When moving the refrigerator to access the coils, be cautious to avoid tipping or damaging the appliance. Enlist the help of others if needed.
- Avoid water near electrical components: Take care not to allow water to come into contact with electrical components of the refrigerator while cleaning. Ensure the coils are completely dry before reconnecting the power.
- Follow manufacturer’s instructions: Always refer to your specific Whirlpool refrigerator’s manual for any model-specific instructions or precautionary measures related to cleaning the coils.
- Keep the area clear: Make sure the area around the refrigerator is clear of any obstacles, especially during the cleaning process. This will prevent accidental trips or falls.
- Consult a professional if unsure: If you are uncertain about any aspect of cleaning the coils or if you encounter any problems during the process, it’s best to seek the assistance of a professional technician.
By following these safety precautions, you can ensure that the cleaning process is safe and free from any accidents or harm. Now that we have covered the safety precautions, let’s move on to some frequently asked questions about cleaning refrigerator coils.
Read more: How To Clean Coil Stove Burners
Frequently Asked Questions
Here are some common questions related to cleaning the coils on a Whirlpool refrigerator:
- How often should I clean the coils on my Whirlpool refrigerator?
- Can I use a brush or cloth to clean the coils?
- Do I need to remove the back panel of the refrigerator to access the coils?
- Can I use a pressure washer to clean the coils?
- Is it necessary to clean both the condenser and evaporator coils?
- Can I use household cleaners or chemicals to clean the coils?
It is recommended to clean the coils on your Whirlpool refrigerator at least once every six months. However, if you have pets or if your environment is particularly dusty, more frequent cleaning may be necessary.
Yes, you can use a soft-bristle brush or a microfiber cloth to clean the coils. These tools are gentle enough to remove dirt and debris without damaging the delicate fins of the coils.
In most Whirlpool refrigerator models, the coils are accessible from the back or underneath the appliance. It is not necessary to remove the back panel, but you may need to pull the refrigerator away from the wall to access the coils.
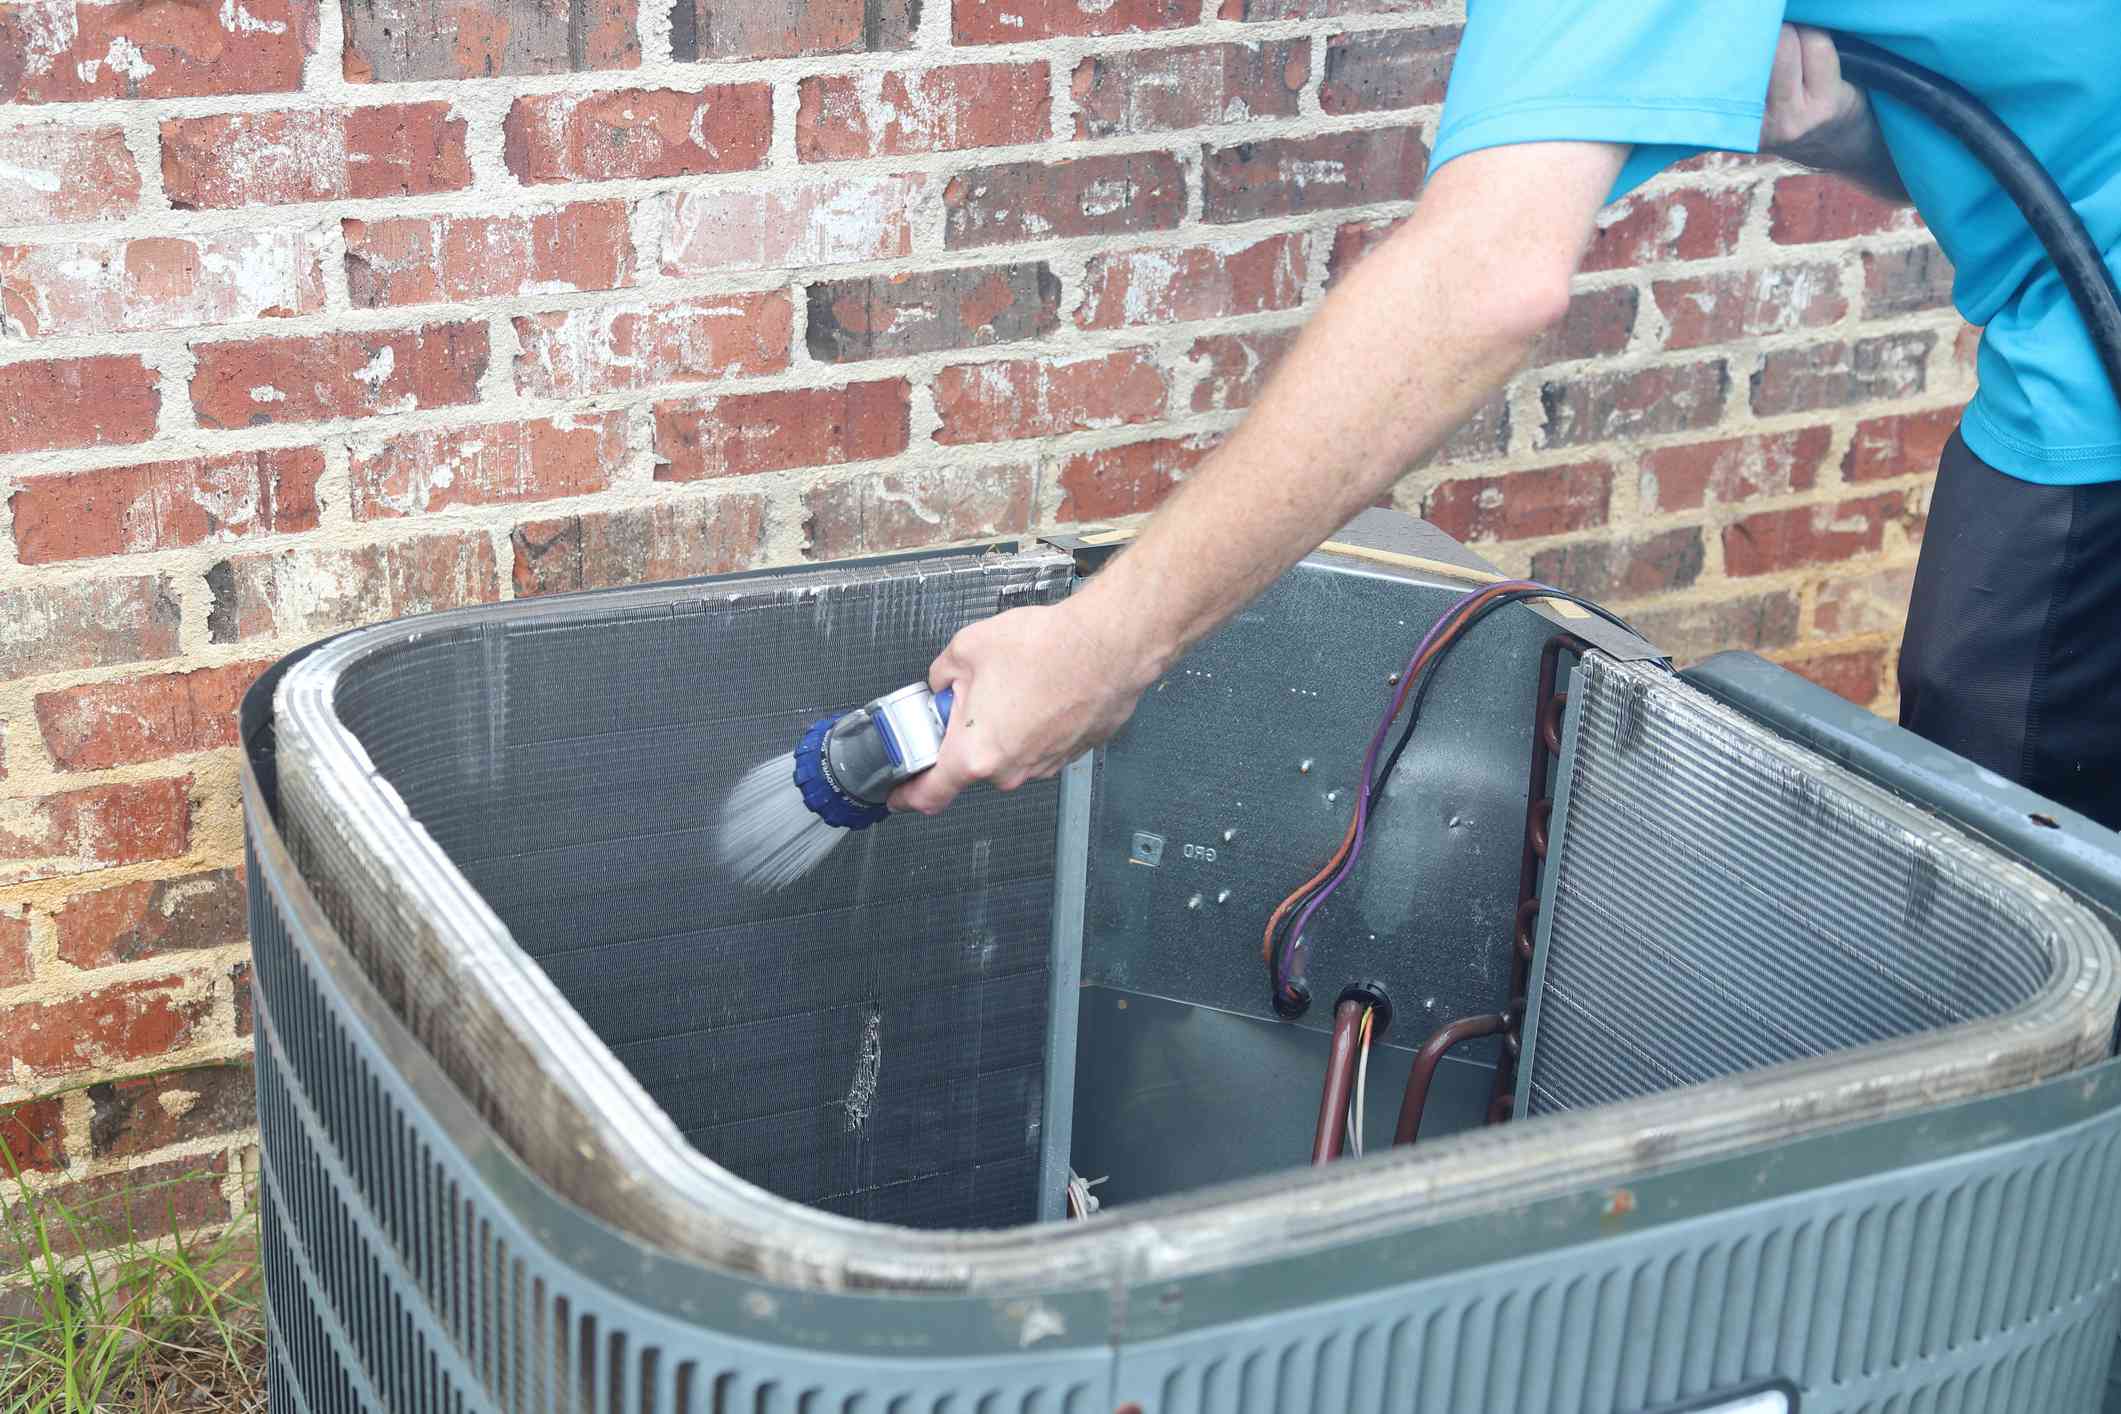
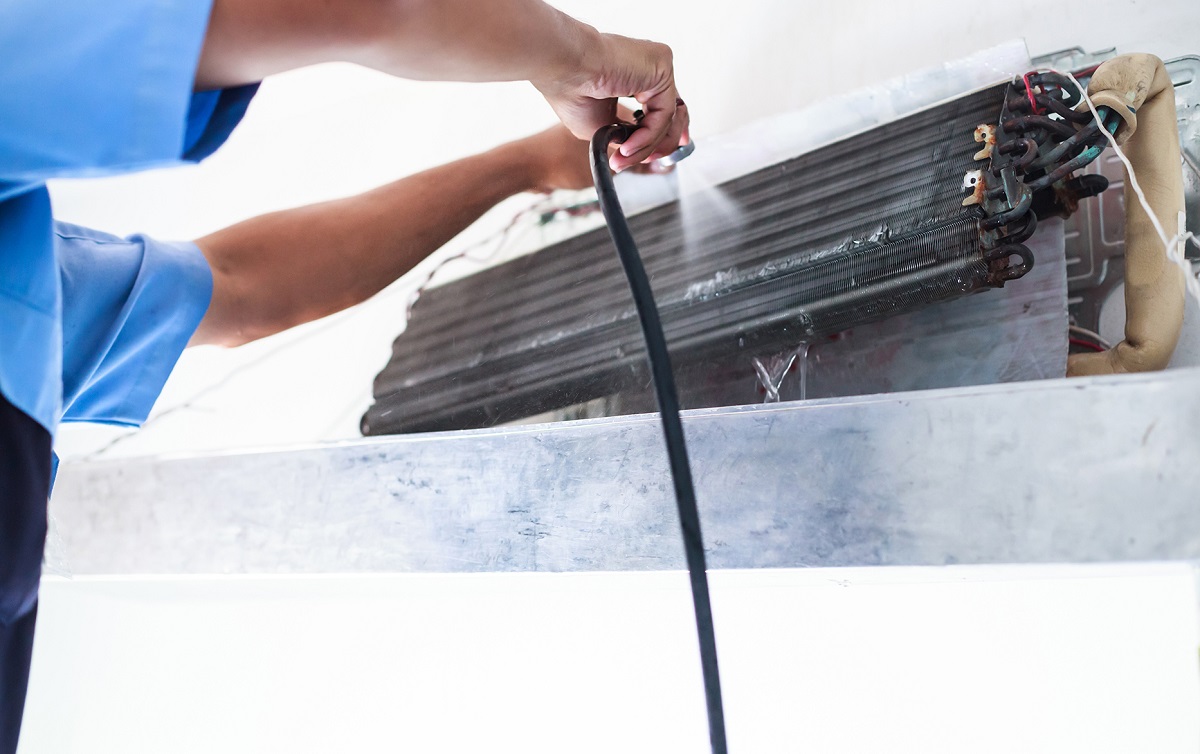
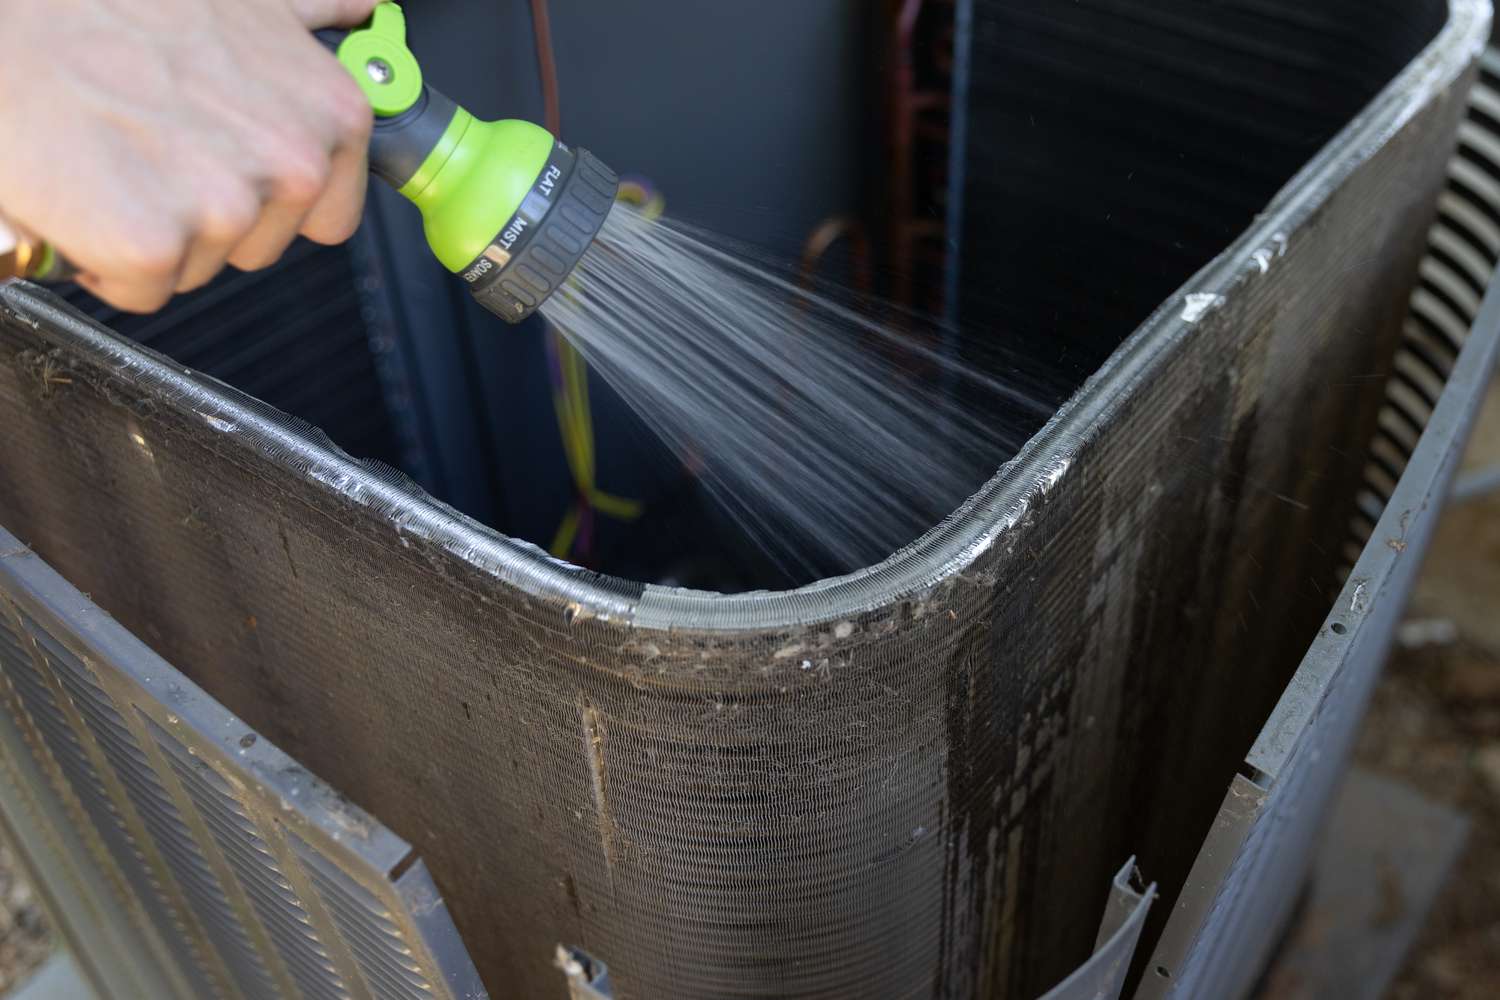
No, it is not recommended to use a pressure washer or any strong water jet to clean the coils. High-pressure water can damage the delicate fins or force water into electrical components of the refrigerator, causing potential damage.
For most Whirlpool refrigerators, only the condenser coils, also known as the hot coils, require cleaning. The evaporator coils, which are responsible for cooling, are typically enclosed and do not require regular cleaning.
It is best to avoid using household cleaners or chemicals on the coils of your refrigerator. These substances can leave behind residue or damage the coils. Stick to warm, soapy water and a gentle cleaning approach.
If you have any other questions or concerns about cleaning the coils on your Whirlpool refrigerator, consult the manufacturer’s manual or reach out to their customer support for further guidance.
Now, let’s conclude our guide on cleaning the coils of a Whirlpool refrigerator.
Conclusion
Cleaning the coils on your Whirlpool refrigerator is a simple yet crucial maintenance task that can have a significant impact on its performance and energy efficiency. By removing dirt, dust, and debris from the coils, you can ensure that your refrigerator operates optimally, extends its lifespan, and saves you money on energy bills.
In this comprehensive guide, we have walked you through the step-by-step process of cleaning the coils on your Whirlpool refrigerator. We discussed the importance of regular coil cleaning, the tools and materials needed for the task, and provided safety precautions to keep in mind. Additionally, we answered some frequently asked questions to address any concerns you may have had.
Remember to follow the recommended cleaning schedule, typically every six months, or more frequently if needed. Keeping the coils clean will help your refrigerator maintain its cooling efficiency, prevent malfunctions, and ensure the safety and freshness of your stored food.
Now that you have the knowledge and guidance to tackle this maintenance task, we encourage you to plan a time to clean the coils on your Whirlpool refrigerator. Invest a little time and effort now to reap the long-term benefits of an efficiently running appliance.
Thank you for reading our guide, and we hope it has been helpful. If you have any further questions or need assistance, don’t hesitate to reach out to the Whirlpool customer support or consult the manufacturer’s manual for model-specific instructions.
Happy cleaning!
Now that you've mastered cleaning coils on your Whirlpool refrigerator, why not tackle another vital maintenance task? Keeping your refrigerator's ice maker clean not only ensures you're always ready for a cold drink but also extends its lifespan. Our next guide walks you through the simple steps of refrigerator maintenance, specifically focusing on the ice maker. Don't miss out on these handy tips to keep your appliance in top shape!
Frequently Asked Questions about How To Clean Coils On Whirlpool Refrigerator
Was this page helpful?
At Storables.com, we guarantee accurate and reliable information. Our content, validated by Expert Board Contributors, is crafted following stringent Editorial Policies. We're committed to providing you with well-researched, expert-backed insights for all your informational needs.

0 thoughts on “How To Clean Coils On Whirlpool Refrigerator”