Articles
How To Level Whirlpool Refrigerator
Modified: May 6, 2024
Learn how to level your Whirlpool refrigerator with this step-by-step guide. Find articles and tips to ensure your appliance is balanced and functioning properly.
(Many of the links in this article redirect to a specific reviewed product. Your purchase of these products through affiliate links helps to generate commission for Storables.com, at no extra cost. Learn more)
Introduction
Having a properly leveled refrigerator is essential not only for its optimal performance but also for the safety of its contents. If your Whirlpool refrigerator is not level, it can result in the doors not closing properly, uneven cooling, and even potential damage to the appliance. Fortunately, leveling a Whirlpool refrigerator is a relatively straightforward process that you can do yourself with a few basic tools.
In this guide, we will walk you through the steps to level your Whirlpool refrigerator effectively. We will also provide some essential safety precautions to ensure that you stay safe while working on the appliance. With these instructions and a little bit of time and effort, you’ll have your Whirlpool refrigerator level and functioning optimally in no time.
Key Takeaways:
- Ensure safety by following precautions such as turning off the power, protecting floors, and seeking assistance. Refer to the manual for specific instructions to level your Whirlpool refrigerator effectively and safely.
- Use a bubble level to adjust front and rear leveling feet, ensuring a stable and balanced refrigerator. Test for stability by checking door functionality and monitoring for any unusual noises or vibrations.
Read more: How To Level Refrigerator
Safety Precautions
Before you begin leveling your Whirlpool refrigerator, it’s crucial to take some safety precautions to prevent any accidents or injuries:
-
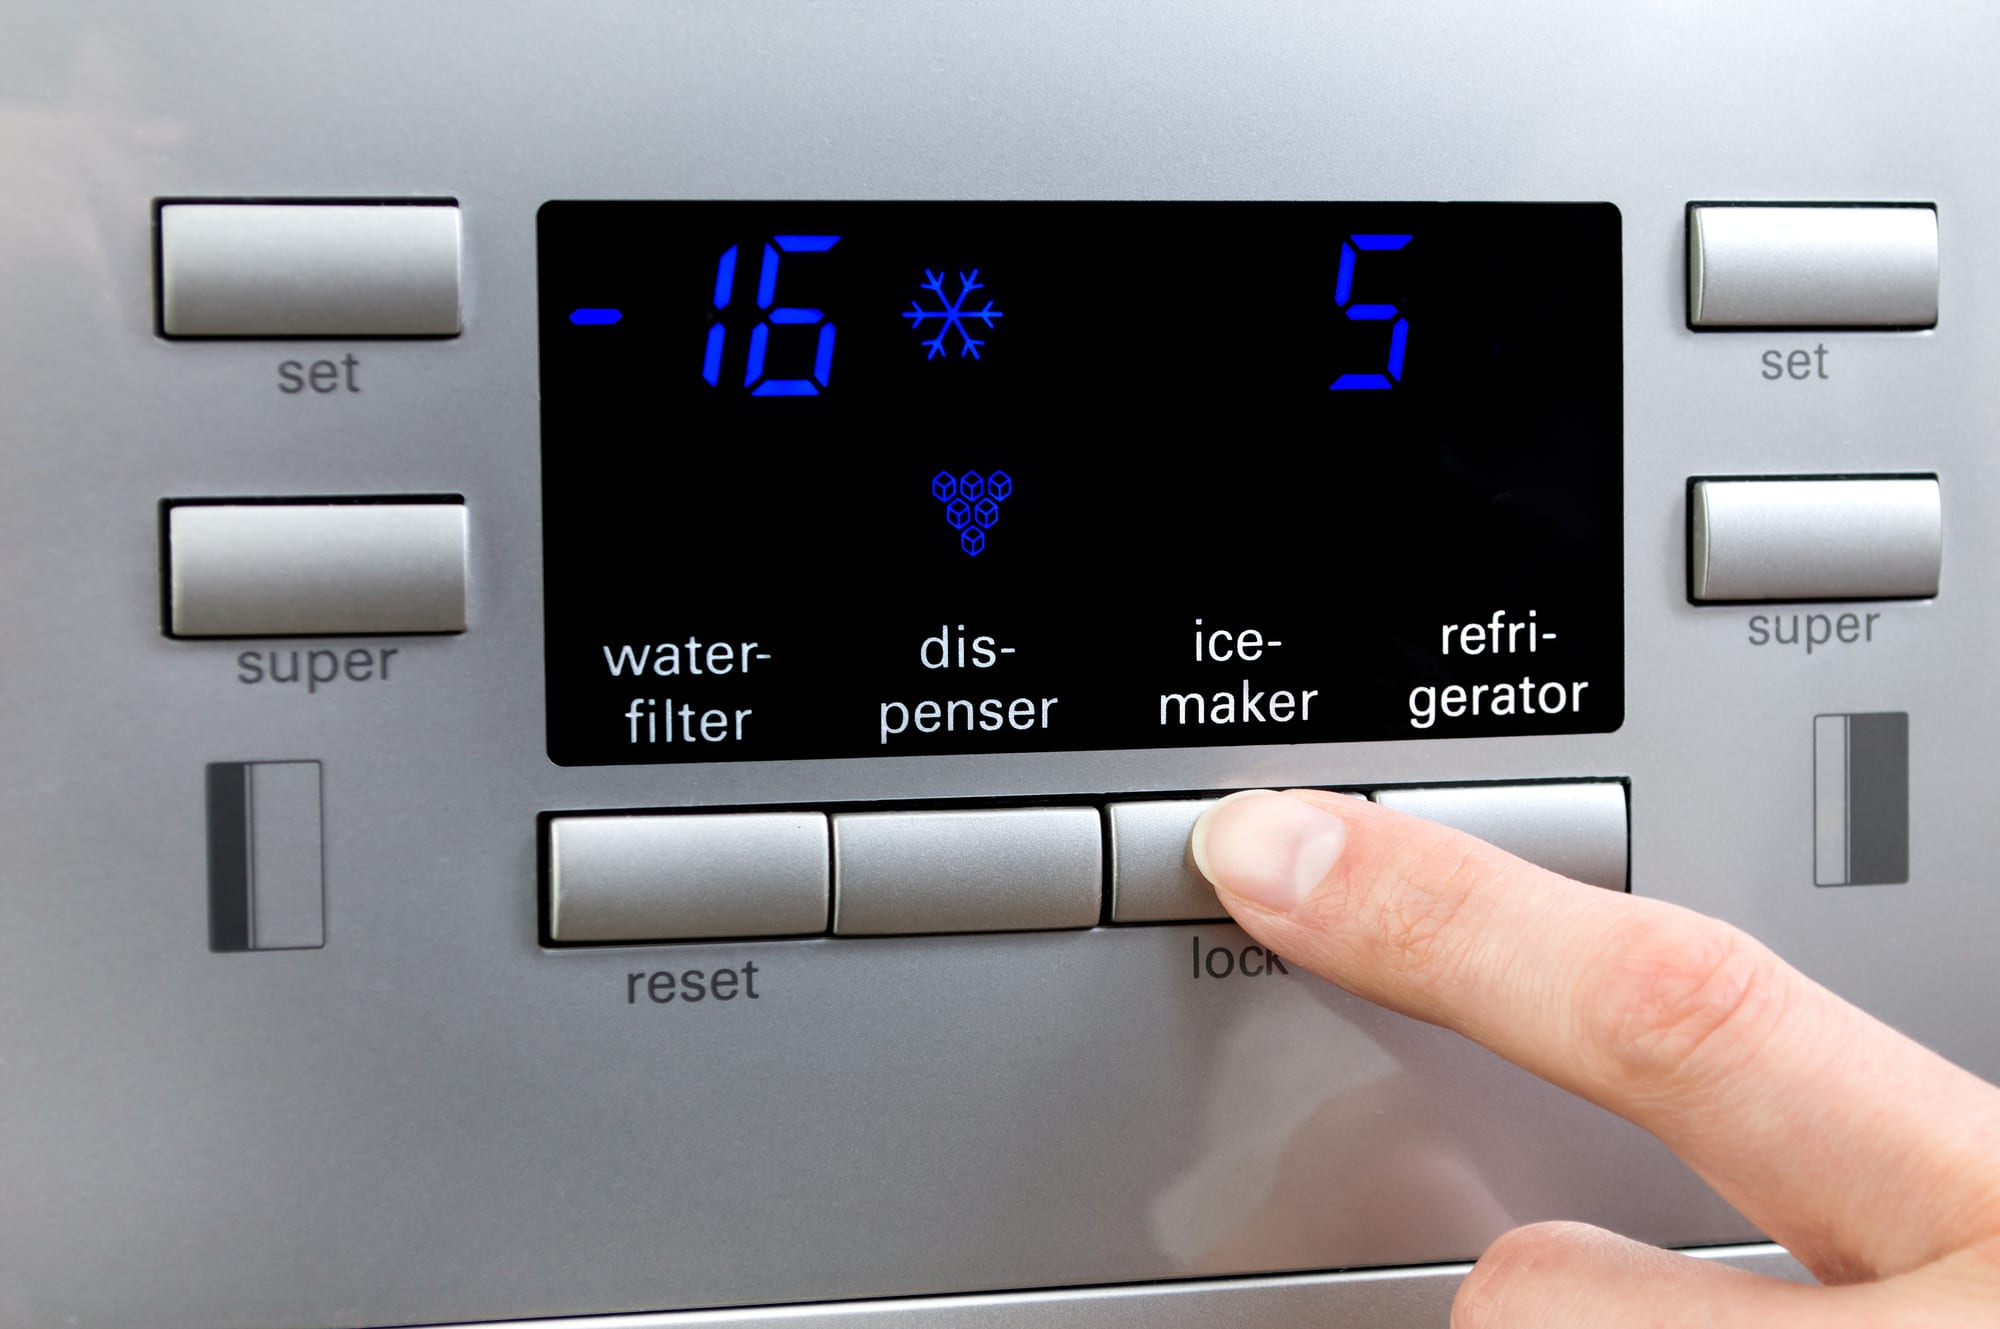
Turn off the power: Start by unplugging your refrigerator from the power source. This will eliminate the risk of electric shock while working on the appliance.
-
Protect your floors: Place a protective covering, such as a drop cloth or cardboard, in front of the refrigerator to prevent any scratches or damage to the floor surface.
-
Seek assistance if needed: Some refrigerators can be heavy and may require more than one person to safely adjust and level. If necessary, ask for help from a friend or family member to avoid straining yourself or causing any accidents.
-
Use caution when moving the refrigerator: Be careful when moving the appliance to access the leveling feet. Ensure that you have a secure grip and lift with your legs to avoid back injuries. Avoid using excessive force, as this can damage the refrigerator or cause it to tip over.
-
Refer to the manual: It’s always best to consult your Whirlpool refrigerator’s manual for specific instructions regarding leveling. Different models may have slight variations in the leveling process, and the manual will provide the most accurate information for your particular appliance.
By following these safety precautions, you’ll be able to level your Whirlpool refrigerator safely and effectively, minimizing the risk of accidents and ensuring a smooth and problem-free process.
Tools and Materials Needed
Before you start leveling your Whirlpool refrigerator, gather the following tools and materials:
-
Level: A small bubble level will help you determine whether your refrigerator is level. You can use either a traditional bubble level or a digital level, depending on your preference.
-
Adjustable wrench: An adjustable wrench will be necessary to loosen and tighten the leveling feet of the refrigerator.
-
Protective gloves: It’s always a good idea to wear protective gloves to prevent any injuries to your hands during the leveling process.
-
Protective covering: Place a protective covering, such as a drop cloth or cardboard, in front of the refrigerator to protect the floor from scratches or damage while adjusting the leveling feet.
Make sure you have all these tools and materials ready before you begin leveling your Whirlpool refrigerator. Having everything within reach will make the process more efficient and ensure that you can complete the job without any interruptions.
Step 1: Prepare the Refrigerator
Before you start leveling your Whirlpool refrigerator, it is important to prepare the appliance for the process. Follow these steps:
-
Empty the refrigerator: Remove all items from the refrigerator, including food, drinks, and any removable shelves or bins. This will make it easier to access the rear and front leveling feet.
-
Clean the exterior: Take a moment to wipe down the exterior of the refrigerator with a mild cleaning solution and a cloth. This will ensure that you have a clean surface to work on and prevent any dirt or debris from interfering with the leveling process.
-
Remove the front grille: Locate the front grille at the base of the refrigerator and gently lift it upwards to remove it. The grille is usually held in place with clips or tabs. Set the grille aside in a safe place.
By preparing the refrigerator beforehand, you create a safe and clean environment for leveling. Removing the contents and cleaning the exterior will make it easier to access the leveling feet and ensure a more accurate leveling process.
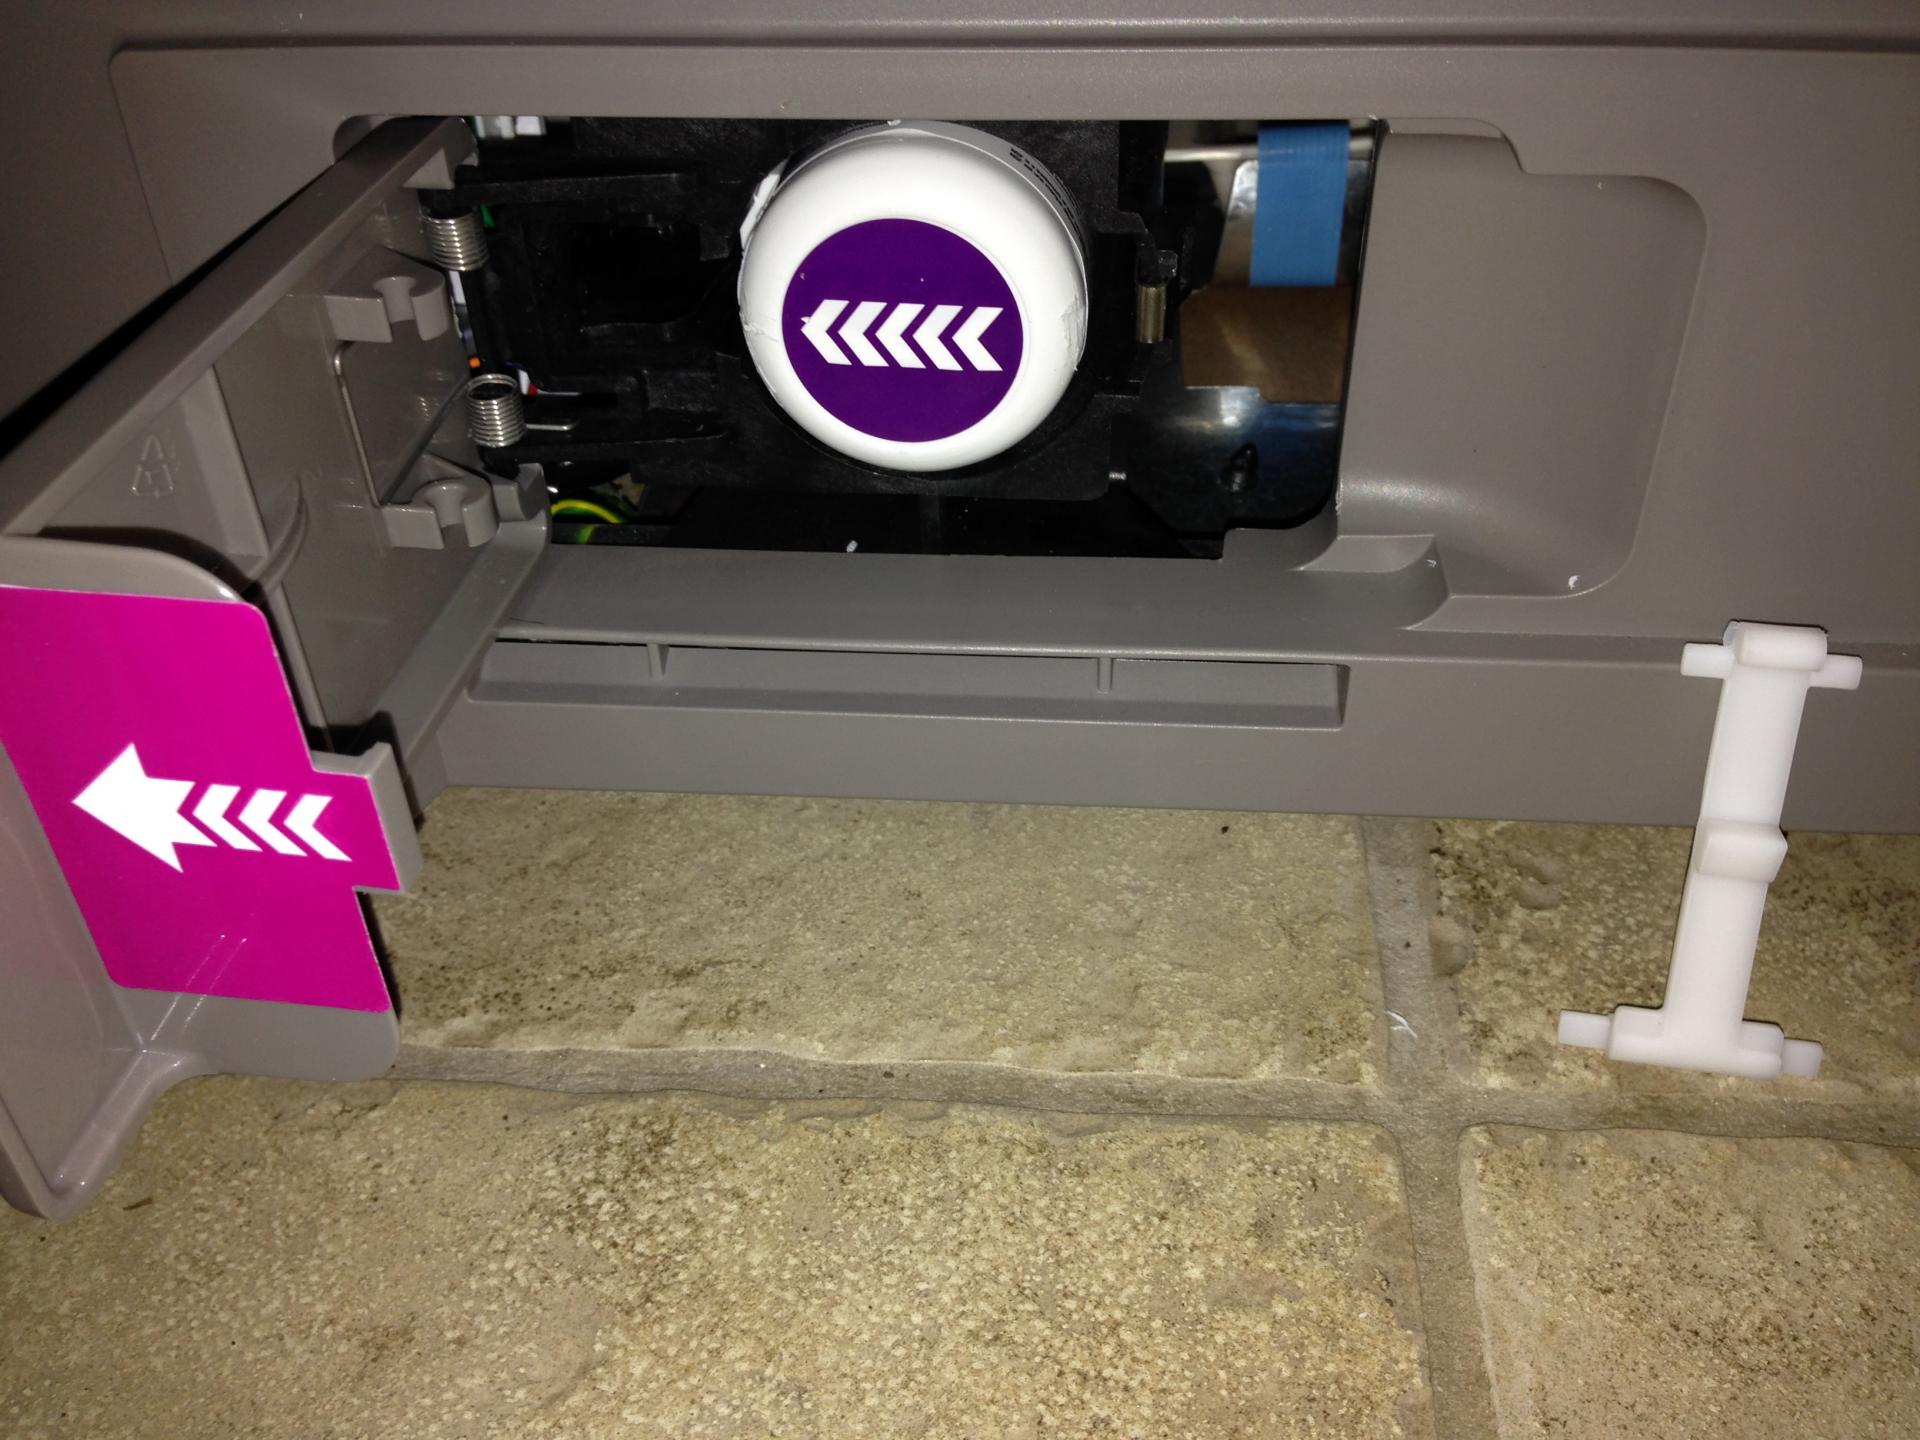
Step 2: Locate the Adjustable Leveling Feet
Once the refrigerator is prepared, the next step is to locate the adjustable leveling feet. Follow these instructions:
-
Look at the front of the refrigerator, near the bottom. You should see two or four adjustable leveling feet. These feet are typically located on the left and right sides of the front base of the refrigerator.
-
Inspect the rear of the refrigerator. Depending on the model, you may find additional leveling feet at the rear base of the appliance. These feet are necessary to provide stability and ensure that the refrigerator remains level.
-
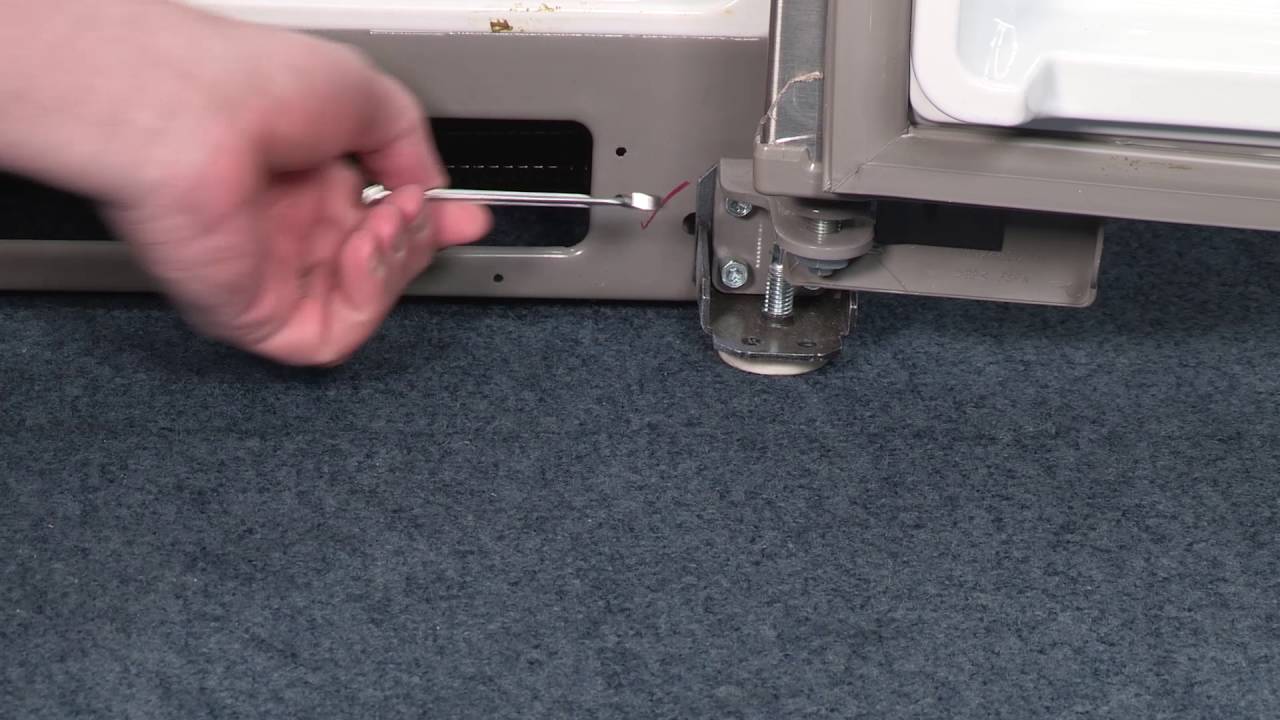
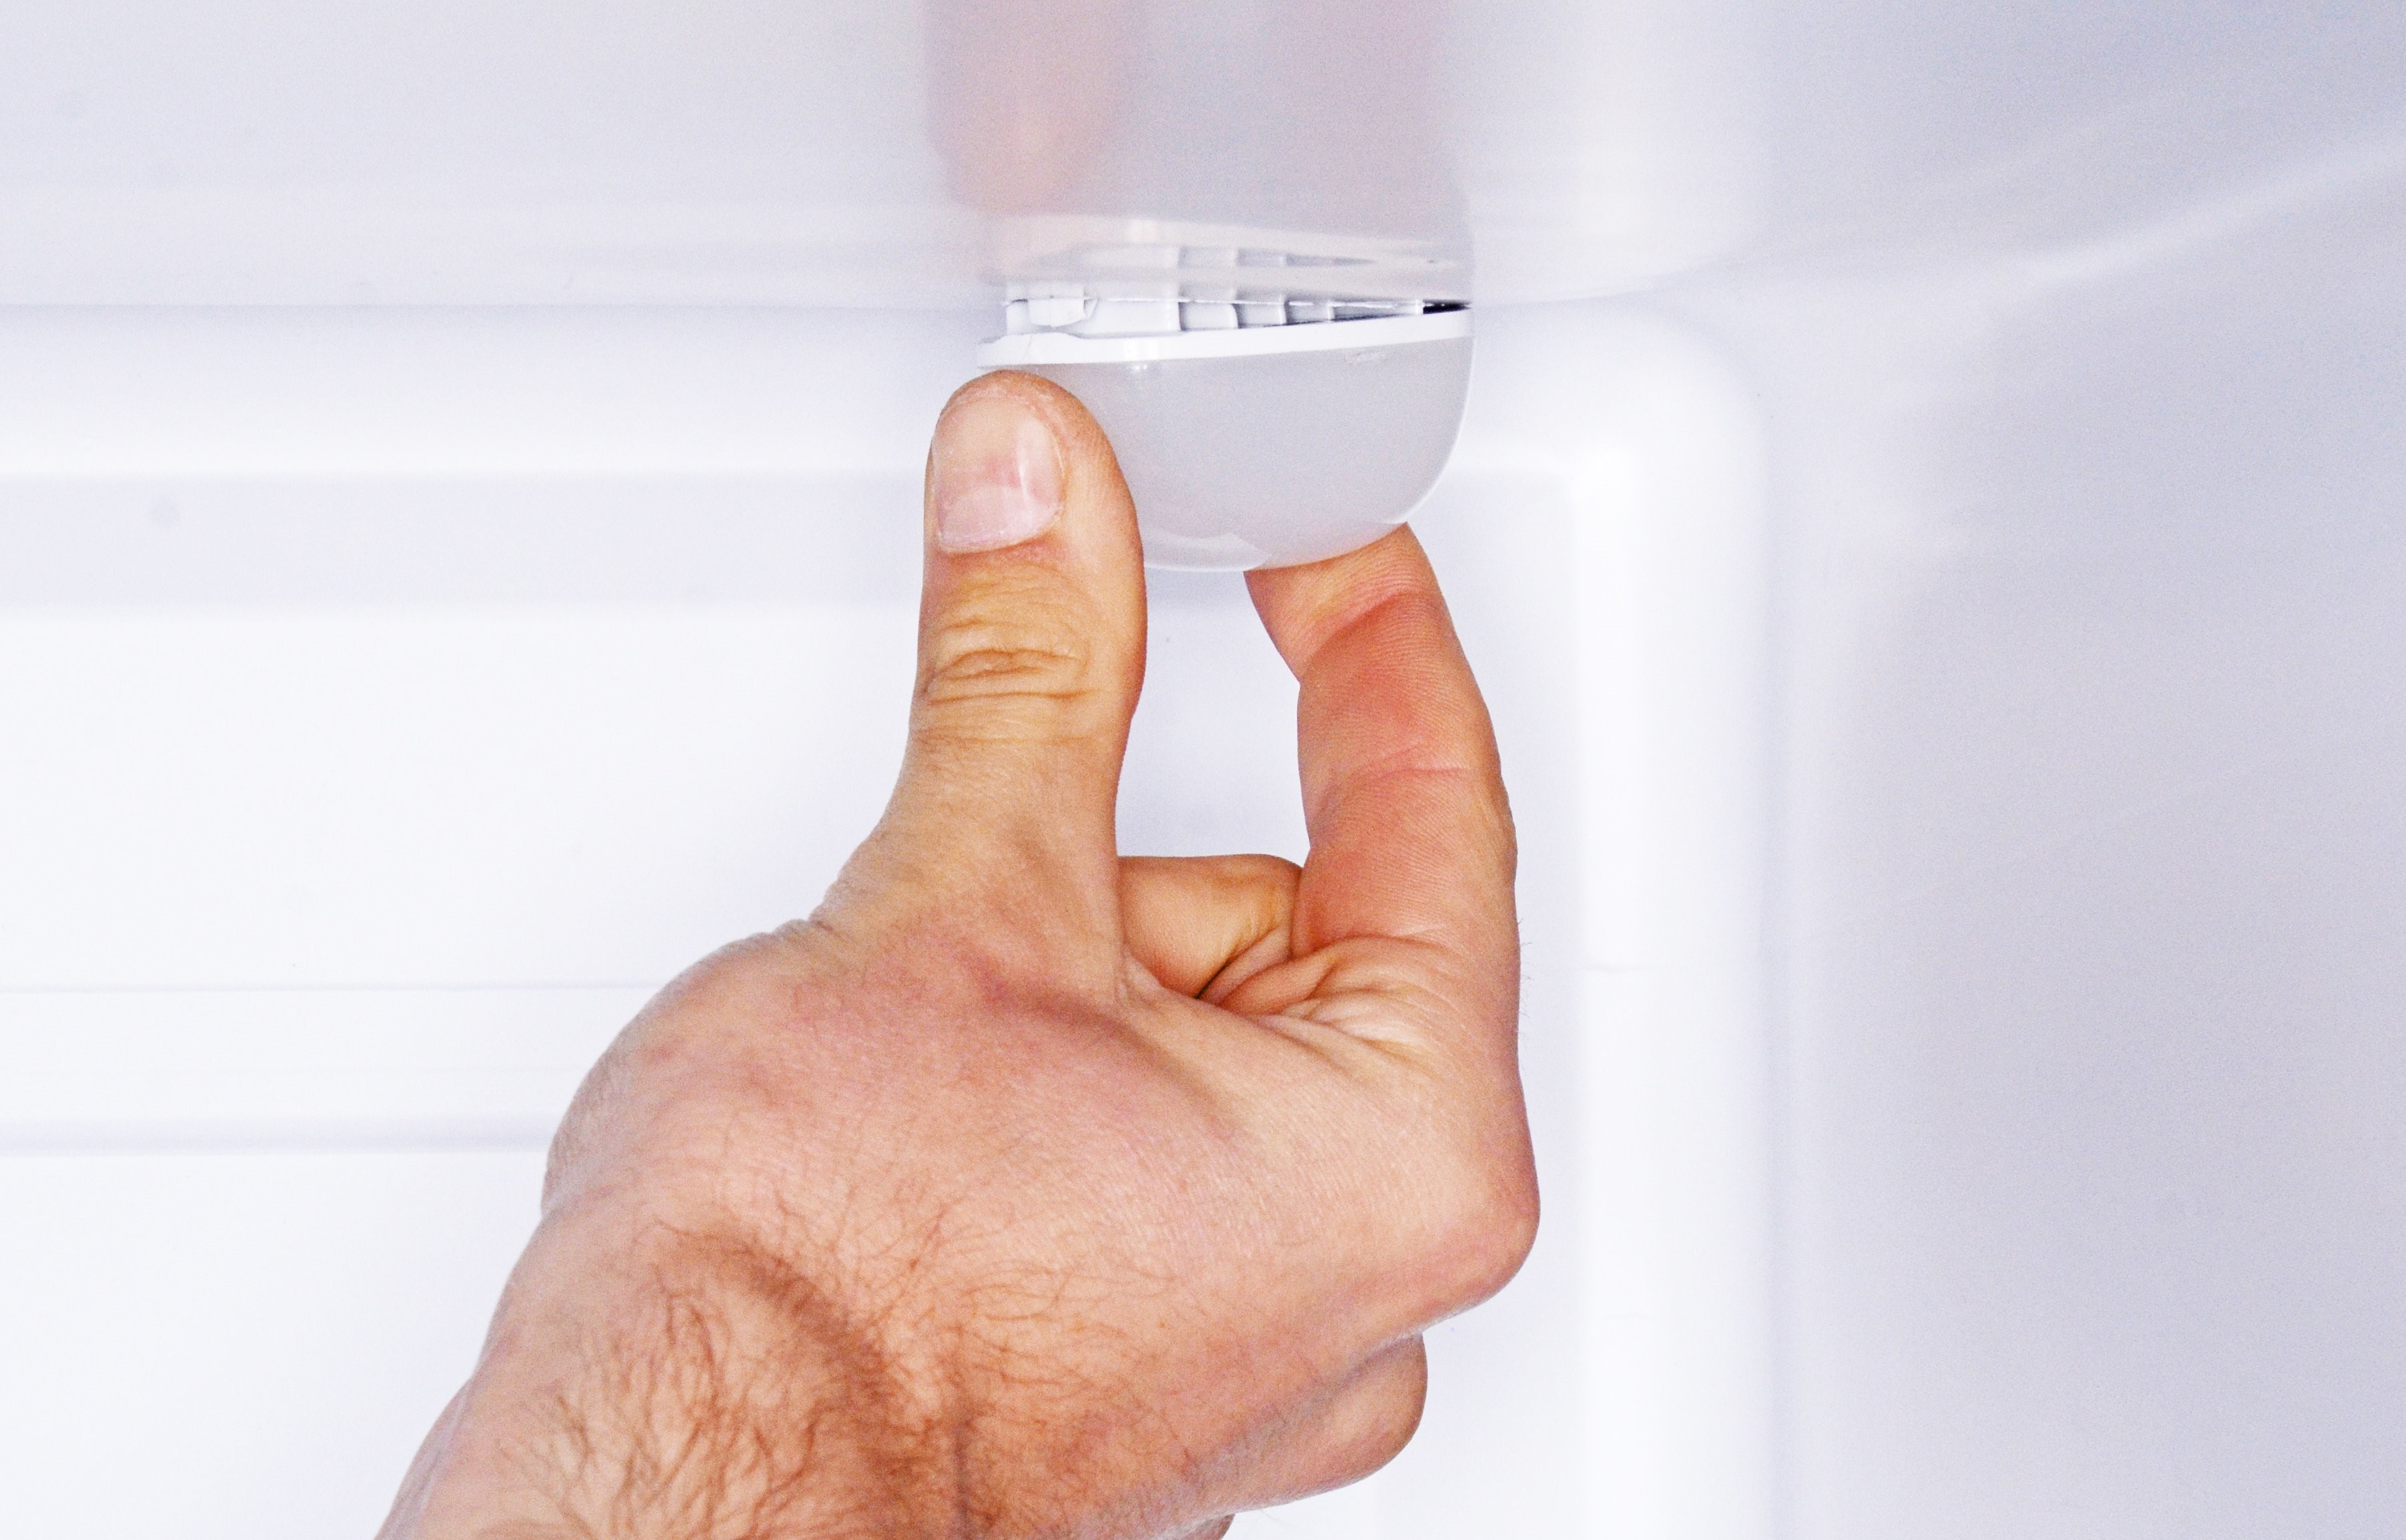
Take note of the leveling feet’s appearance. They are usually round or square and may have a bolt-like structure in the center. These feet are what you will adjust to level the refrigerator.
By locating the adjustable leveling feet, you have identified the critical components that need adjusting to level your Whirlpool refrigerator. Familiarizing yourself with their location will make it easier for you to proceed to the next steps effectively.
Read more: How To Level Lg Refrigerator
Step 3: Adjust the Front Leveling Feet
Now that you have located the adjustable leveling feet, it’s time to adjust the front feet to level your Whirlpool refrigerator. Follow these steps:
-
Using the adjustable wrench, loosen the lock nut on one of the front leveling feet. Turn the nut counterclockwise to loosen it.
-
Once the lock nut is loosened, adjust the leveling foot by turning it clockwise or counterclockwise. Turning it clockwise will raise the front of the refrigerator, while turning it counterclockwise will lower it.
-
Place the level on top of the refrigerator or on the nearest flat surface. Check the bubble in the level to see if the refrigerator is level. If the bubble is centered between the lines, the refrigerator is level. If not, continue adjusting the leveling foot until the bubble is centered.
-
Once the refrigerator is level, hold the leveling foot in place and tighten the lock nut clockwise with the adjustable wrench. This will secure the leveling foot in its adjusted position.
-
Repeat the above steps for the other front leveling foot. Loosen the lock nut, adjust the foot, check for levelness, and tighten the lock nut once the refrigerator is level.
By adjusting the front leveling feet, you are ensuring that the front of the refrigerator is level. This adjustment will help with the proper functioning of the doors and overall stability of the appliance. Make sure to double-check the levelness using the bubble level to ensure accuracy.
To level a Whirlpool refrigerator, use a wrench to adjust the leveling legs at the bottom of the appliance until it is stable and all four corners are making contact with the floor.
Step 4: Check the Levelness
After adjusting the front leveling feet, it’s essential to check the levelness of your Whirlpool refrigerator using a bubble level. Follow these steps:
-
Place the bubble level on top of the refrigerator or on the nearest flat surface.
-
Check the bubble in the level. If the bubble is centered between the lines, it means that the refrigerator is level. If the bubble is off-center, you may need to make further adjustments to the leveling feet to achieve levelness.
-
If necessary, repeat the adjustment process for the front leveling feet until the bubble in the level is centered and the refrigerator is level.
Checking the levelness of the refrigerator is crucial to ensure that it is balanced and stable. A properly level refrigerator will prevent the doors from swinging open or not closing correctly, and it will also promote optimal cooling and performance.
Step 5: Adjust the Rear Leveling Feet
Now that you have checked the levelness of your Whirlpool refrigerator and made adjustments to the front leveling feet, it’s time to adjust the rear leveling feet. Follow these steps:
-
Locate the rear leveling feet at the base of the refrigerator.
-
Using the adjustable wrench, loosen the lock nut on one of the rear leveling feet by turning it counterclockwise.
-
Once the lock nut is loosened, adjust the rear leveling foot by turning it clockwise or counterclockwise, just like you did with the front leveling feet. Turning it clockwise will raise the rear of the refrigerator, while turning it counterclockwise will lower it.
-
Place the level on top of the refrigerator or on the nearest flat surface. Check the bubble in the level to see if the refrigerator is level. Adjust the rear leveling foot as needed until the bubble is centered.
-
Once the refrigerator is level, hold the leveling foot in place and tighten the lock nut clockwise with the adjustable wrench to secure it.
-
Repeat the same process for the other rear leveling foot.
By adjusting the rear leveling feet, you are ensuring that the back of the refrigerator is level and in alignment with the front. This step is crucial for the overall stability and proper functioning of the appliance.
Step 6: Verify the Levelness Again
After adjusting the rear leveling feet, it’s important to verify the levelness of your Whirlpool refrigerator once more. Follow these steps:
-
Place the bubble level on top of the refrigerator or on the nearest flat surface.
-
Check the bubble in the level. If it is centered between the lines, it means that the refrigerator is level both from front to back and side to side. If the bubble is off-center, you may need to make additional adjustments to achieve perfect levelness.
-
If necessary, make slight adjustments to the front or rear leveling feet as needed to center the bubble and ensure that the refrigerator is completely level.
Verifying the levelness of the refrigerator again is crucial to ensure that all adjustments have been made correctly. A completely level refrigerator will enhance its performance and ensure that the doors function properly, preventing any potential issues and maintaining the overall stability of the appliance.
Read more: How To Level A Frigidaire Refrigerator
Step 7: Secure the Adjustable Leveling Feet
Once you have achieved the desired levelness of your Whirlpool refrigerator, the next step is to secure the adjustable leveling feet in place to prevent them from shifting or becoming unbalanced. Follow these steps:
-
Using the adjustable wrench, tighten the lock nut on each of the leveling feet.
-
Turn the lock nut clockwise to tighten it securely against the leveling foot.
-
Make sure to check each leveling foot individually and ensure that the lock nut is tightened properly.
Securing the adjustable leveling feet is important to maintain the levelness and stability of the refrigerator. The tightened lock nuts will prevent any unintentional adjustments and ensure that the appliance remains level over time.
Step 8: Test the Refrigerator for Stability
After completing the leveling process and securing the adjustable leveling feet, it’s important to test the stability of your Whirlpool refrigerator. Follow these steps:
-
Gently push and pull the refrigerator to check if it wobbles or moves excessively. If you notice any instability, it may indicate that the leveling feet need further adjustment.
-
Open and close the refrigerator doors to ensure they function properly and close securely. If the doors do not align or have difficulty closing, adjust the leveling feet as needed to rectify the issue.
-
Listen for any unusual noises or vibrations while the refrigerator is in operation. Excessive noise or vibrations can indicate that the appliance is not properly leveled.
-
Monitor the refrigerator for the next few days to ensure that it remains stable and level. If you notice any changes or issues, make necessary adjustments to the leveling feet.
Testing the refrigerator for stability is a crucial final step in the leveling process. It allows you to confirm that the adjustments made have resulted in a stable and well-balanced appliance.
By following these steps and conducting a thorough stability test, you can ensure that your Whirlpool refrigerator is properly leveled, promoting optimal performance, door functionality, and the overall safety of the appliance.
Conclusion
Leveling your Whirlpool refrigerator is a simple yet crucial maintenance task that ensures optimal performance and safety for your appliance. By following the step-by-step process outlined in this guide, you can achieve a level refrigerator and enjoy its benefits.
Remember to take the necessary safety precautions before starting the leveling process. Turn off the power, protect your floors, and seek assistance if needed. Additionally, refer to your appliance’s manual for specific instructions and guidelines.
Once you have prepared the refrigerator and located the adjustable leveling feet, proceed to adjust the front and rear leveling feet accordingly. Use a bubble level to verify the levelness, making adjustments as needed. Once you are satisfied with the levelness, secure the adjustable leveling feet in place to prevent any shifting or movement.
Finally, test the refrigerator for stability by pushing and pulling it, checking the door functionality, and monitoring for any unusual noises or vibrations. This ensures that your Whirlpool refrigerator is properly balanced and in optimal condition.
By taking the time to level your Whirlpool refrigerator, you can prevent issues such as uneven cooling, door misalignment, and potential damage to the appliance. A level refrigerator not only enhances its performance but also prolongs its lifespan and improves the overall functionality of the unit.
Remember to periodically check the levelness of your refrigerator and make adjustments as needed. This will ensure that it remains in proper working order and maintains optimal performance for years to come.
Now that you've mastered leveling your Whirlpool refrigerator, why not tackle more around your house? Keeping up with regular home upkeep not only preserves your living space but also prevents future headaches. Dive into our comprehensive guide on home maintenance to keep your abode in top shape. Feeling more hands-on? Our detailed walkthrough on DIY home improvement will equip you with the know-how to enhance your space, making each corner more vibrant and functional. Start your journey towards a more comfortable and efficient home today!
Frequently Asked Questions about How To Level Whirlpool Refrigerator
Was this page helpful?
At Storables.com, we guarantee accurate and reliable information. Our content, validated by Expert Board Contributors, is crafted following stringent Editorial Policies. We're committed to providing you with well-researched, expert-backed insights for all your informational needs.

0 thoughts on “How To Level Whirlpool Refrigerator”