Home>Articles>How To Clean Ice Maker In Samsung Refrigerator

Articles
How To Clean Ice Maker In Samsung Refrigerator
Modified: February 20, 2024
Learn how to clean the ice maker in your Samsung refrigerator with these helpful articles. Keep your appliance running smoothly and ensure fresh ice at all times.
(Many of the links in this article redirect to a specific reviewed product. Your purchase of these products through affiliate links helps to generate commission for Storables.com, at no extra cost. Learn more)
Introduction
Welcome to our guide on how to clean the ice maker in a Samsung refrigerator. Ice makers are convenient appliances that provide us with refreshing ice cubes at our disposal. However, over time, they can accumulate mineral deposits, bacteria, and other impurities that can affect the quality of ice and even lead to unpleasant odors.
Cleaning your ice maker is essential not only for maintaining the optimal performance of the appliance but also for ensuring that your ice is clean and safe to consume. Regular maintenance and cleaning can help prolong the life of your ice maker and prevent any potential issues.
In this comprehensive guide, we will take you through the step-by-step process of cleaning your ice maker in a Samsung refrigerator. We will walk you through the necessary supplies, instructions to disassemble and clean the ice maker components, and how to safely reassemble the ice maker for continued use.
Before we dive into the cleaning process, let’s take a look at the supplies you will need to gather beforehand.
Key Takeaways:
- Regularly cleaning your Samsung refrigerator’s ice maker with simple supplies like warm water, vinegar, and mild dish soap ensures clean, refreshing ice and extends the appliance’s lifespan.
- Following the step-by-step cleaning process, including removing, cleaning, and reassembling the ice maker, guarantees safe and efficient ice production, maintaining the optimal performance of your Samsung refrigerator.
Necessary Supplies
Before you start cleaning your Samsung refrigerator’s ice maker, make sure you have the following supplies ready:
- Warm water
- Mild dish soap
- Vinegar
- Soft cloth or sponge
- Soft-bristle brush
- Small container for soaking parts
- Refrigerator-safe disinfectant
- Towel or absorbent cloth
These supplies will help you effectively clean and sanitize your ice maker, ensuring that any residue or bacteria is removed.
Now that you have all the necessary supplies, let’s move on to the step-by-step process of cleaning your Samsung refrigerator’s ice maker.
Step 1: Unplug the Refrigerator
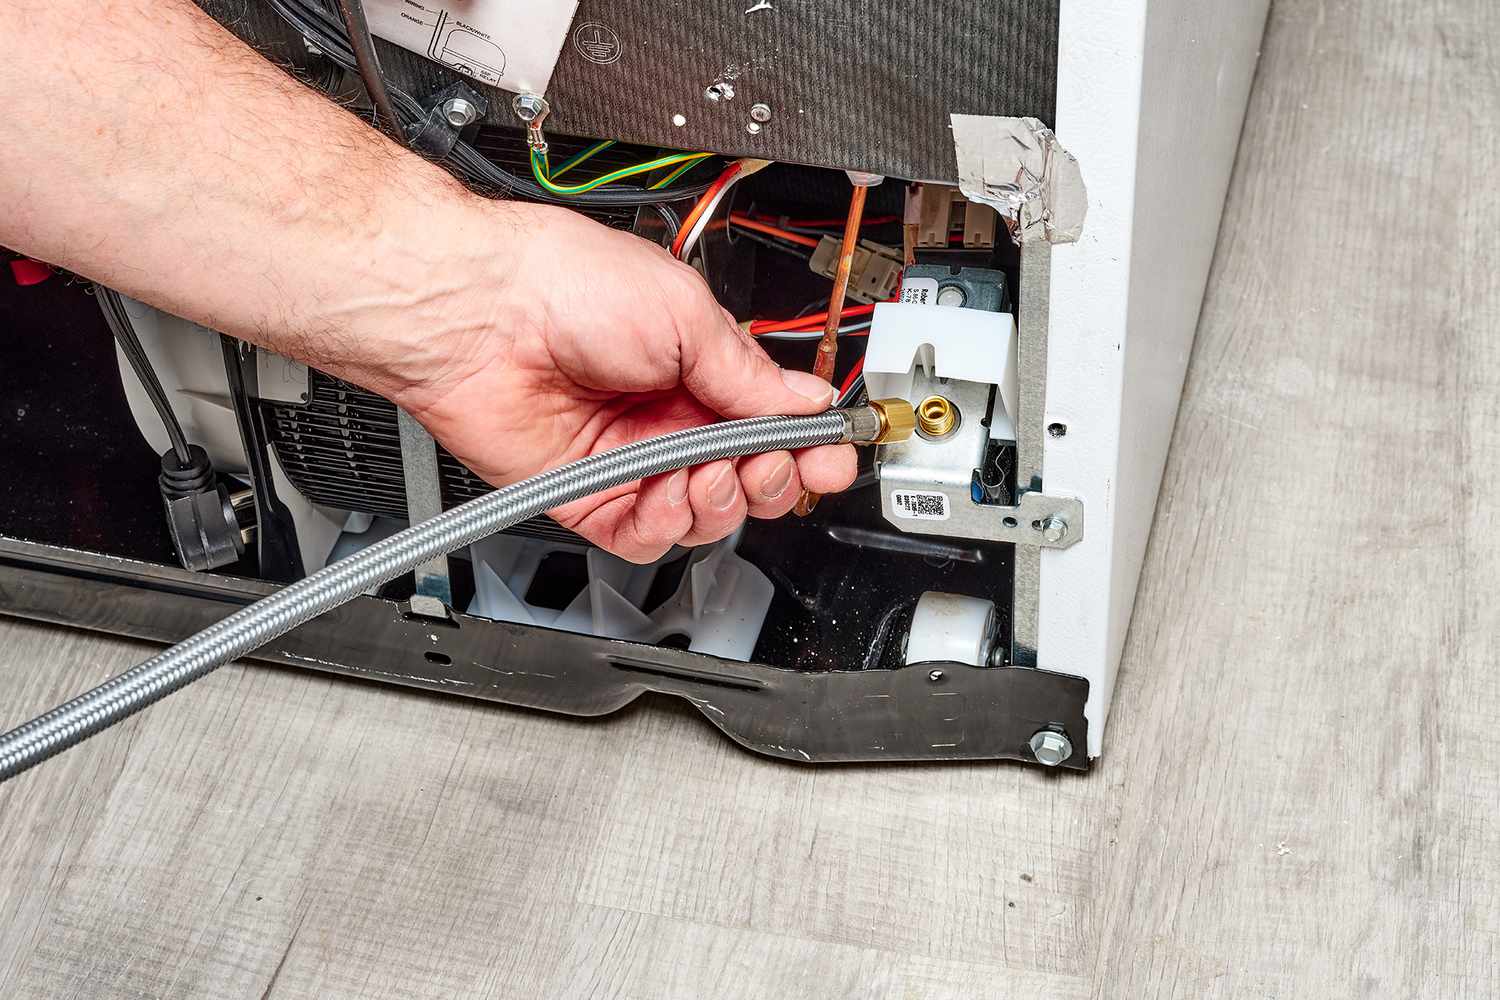
The first step in cleaning your Samsung refrigerator’s ice maker is to unplug the refrigerator from the power source. This is an important safety measure to ensure that there is no power supply to the appliance while you are cleaning it.
To unplug the refrigerator, locate the power cord at the back of the appliance. Gently pull the plug from the outlet or use the switch on the power strip if your refrigerator is connected to one. Make sure that the refrigerator is completely disconnected from the power source before proceeding with the cleaning process.
By unplugging the refrigerator, you minimize the risk of electrical shock and ensure that you can safely handle the ice maker components without any power supply. It is crucial to prioritize your safety during the entire cleaning process.
Once the refrigerator is unplugged, you can move on to the next step of removing the ice bin from the freezer section. This will allow you to access and clean the ice maker assembly thoroughly.
Step 2: Remove Ice Bin
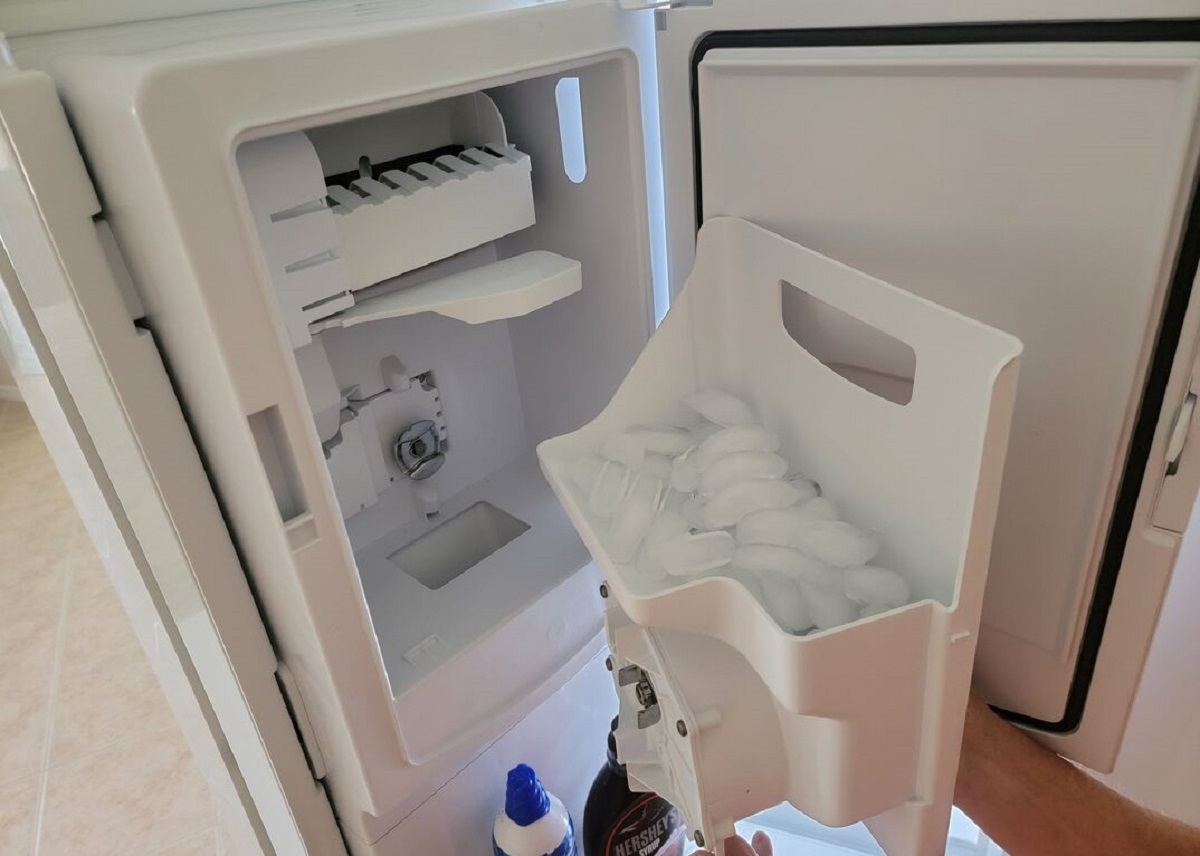
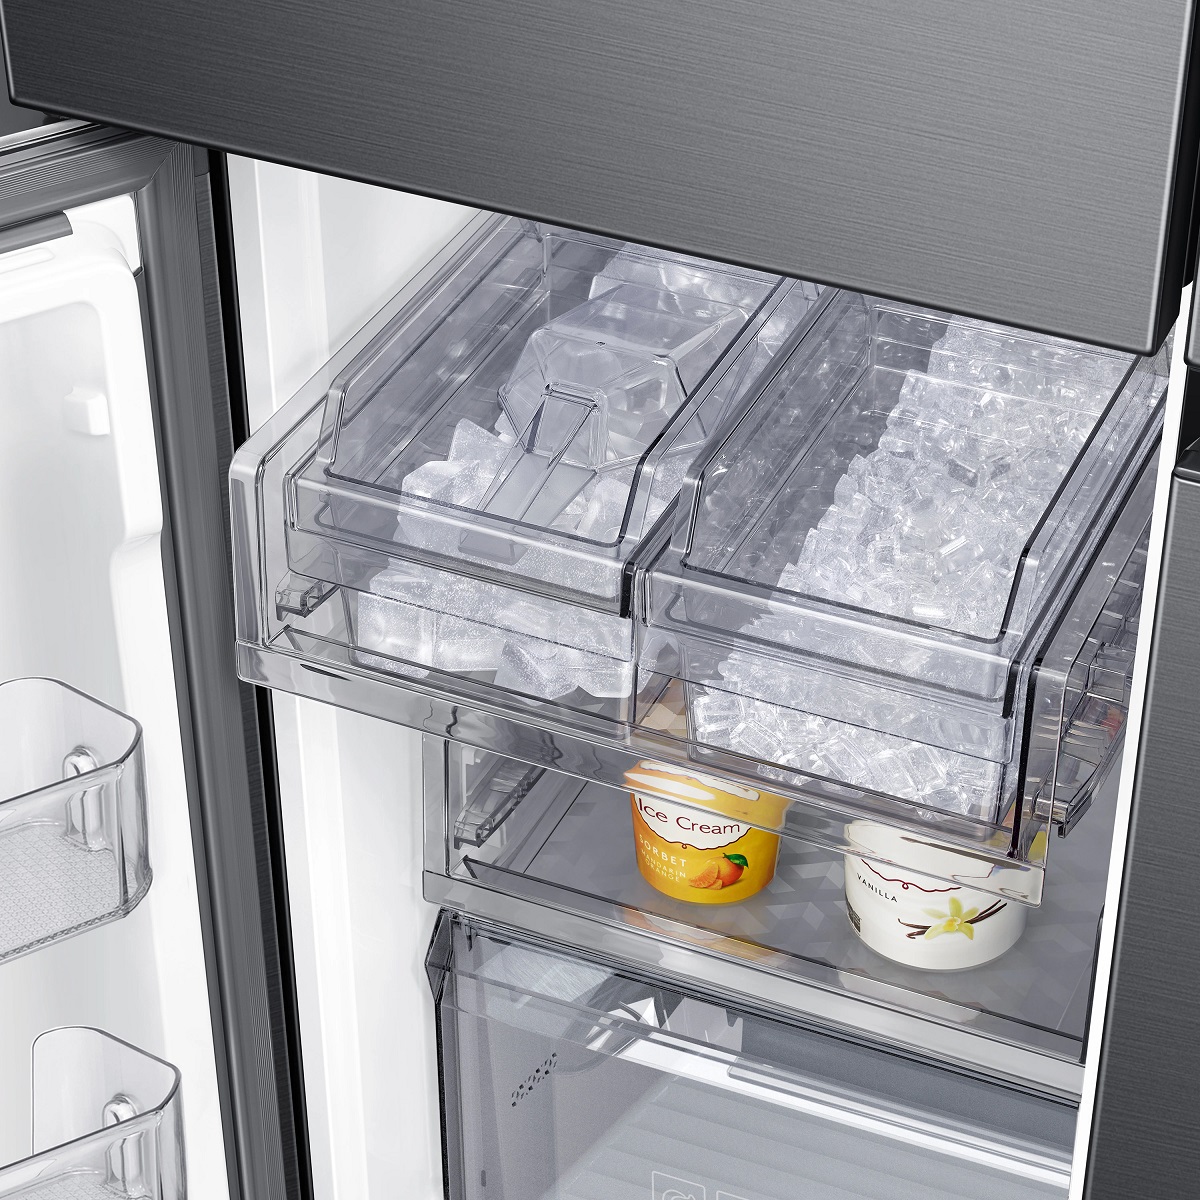
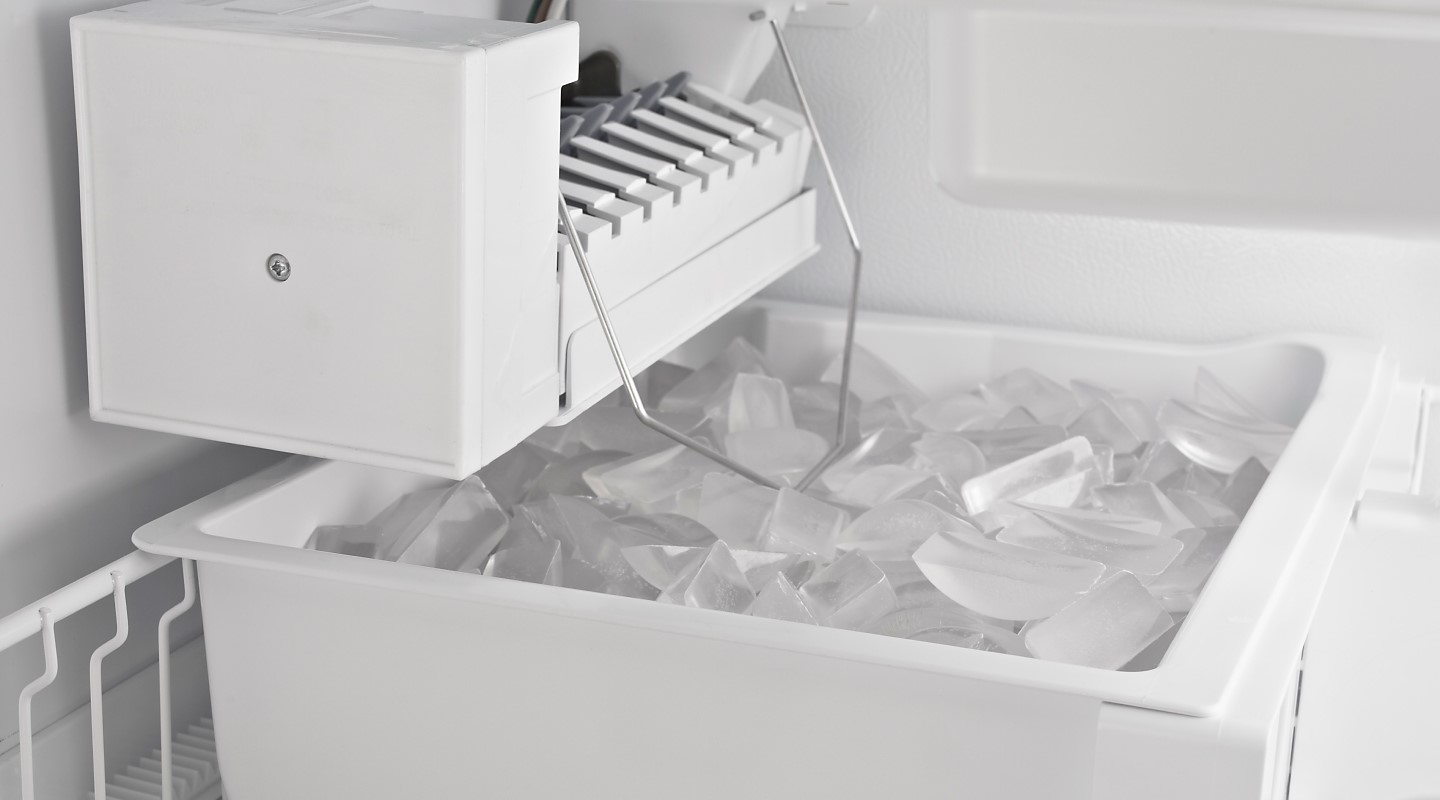
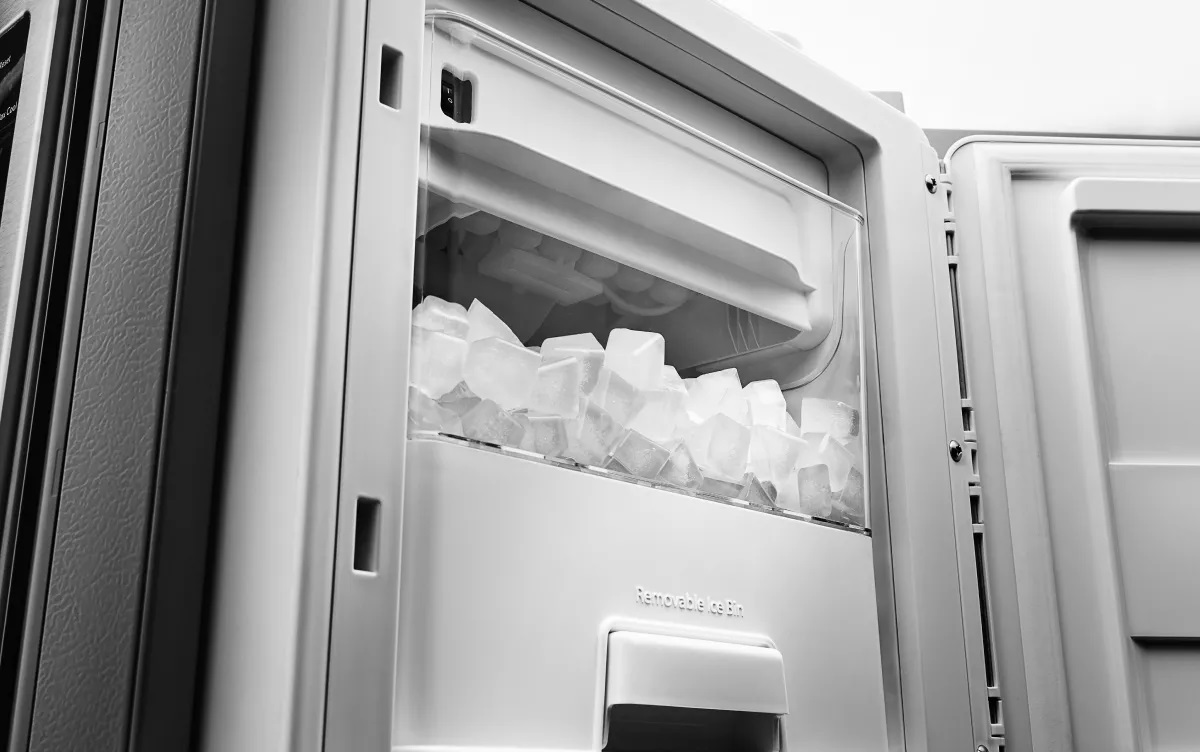
After unplugging the refrigerator, the next step is to remove the ice bin from the freezer section. The ice bin is where the ice cubes are stored before they are dispensed.
First, open the freezer door and locate the ice bin. It is usually located on the door or the bottom of the freezer compartment. Depending on your Samsung refrigerator model, you may need to press a release button or lift a latch to unlock the ice bin.
Once the ice bin is unlocked, gently slide it out of the freezer compartment. Be careful not to tip it over or spill any ice cubes. If there is a large amount of ice in the bin, you can transfer it to a cooler to keep it frozen while you clean the ice bin and the ice maker assembly.
Set the ice bin aside and inspect it for any signs of damage or mold growth. If you notice any cracks or mold, consider replacing the ice bin to ensure hygienic ice production. Make a note to clean the ice bin separately later in the cleaning process.
Removing the ice bin allows you to access the ice maker assembly, which is the next component to clean. With the ice bin out of the way, you can proceed with step 3 of cleaning the ice maker assembly.
Step 3: Empty and Clean the Ice Bin
Now that you have removed the ice bin from the freezer section, it’s time to empty and clean it. The ice bin can accumulate dirt, residues, and even mold over time, so it’s essential to thoroughly clean it before reusing it.
Start by emptying any remaining ice cubes from the ice bin into a sink or other suitable container. Discard any old or discolored ice cubes as they may affect the taste and quality of the ice produced in the future.
Next, prepare a solution of warm water and mild dish soap in a sink or basin. Submerge the ice bin in the soapy water and use a soft cloth or sponge to clean the inside and outside surfaces of the bin. Pay attention to corners and crevices where dirt and residue may accumulate.
If you notice any stubborn stains or residues, you can use a soft-bristle brush to scrub them gently. Avoid using abrasive cleaners or harsh chemicals that can damage the plastic material of the ice bin.
Rinse the ice bin thoroughly with clean water to remove any soap residue. Ensure that all traces of soap are removed to prevent any unpleasant taste or odor in the ice cubes.
After rinsing, dry the ice bin with a towel or allow it to air dry completely before reassembling it in the freezer. It’s important to ensure that the ice bin is completely dry to prevent any moisture buildup that can lead to mold growth.
Once the ice bin is cleaned and dried, you can move on to step 4 of the cleaning process: removing the ice maker assembly for thorough cleaning.
To clean the ice maker in a Samsung refrigerator, start by turning off the ice maker and removing any ice. Then, use a mixture of warm water and mild detergent to clean the ice maker and its components. Be sure to rinse thoroughly and dry before turning the ice maker back on.
Step 4: Remove Ice Maker Assembly
With the ice bin cleaned and set aside, it’s time to remove the ice maker assembly from your Samsung refrigerator. Removing the ice maker assembly will allow you to access and clean the various components of the ice maker more effectively.
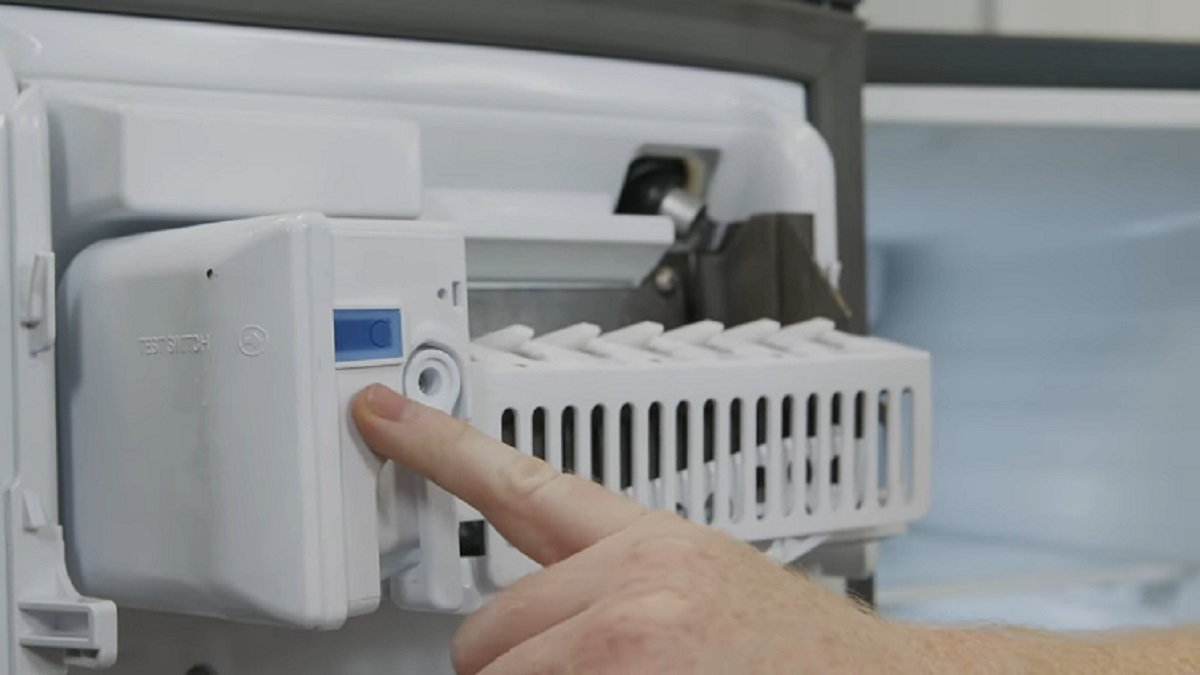
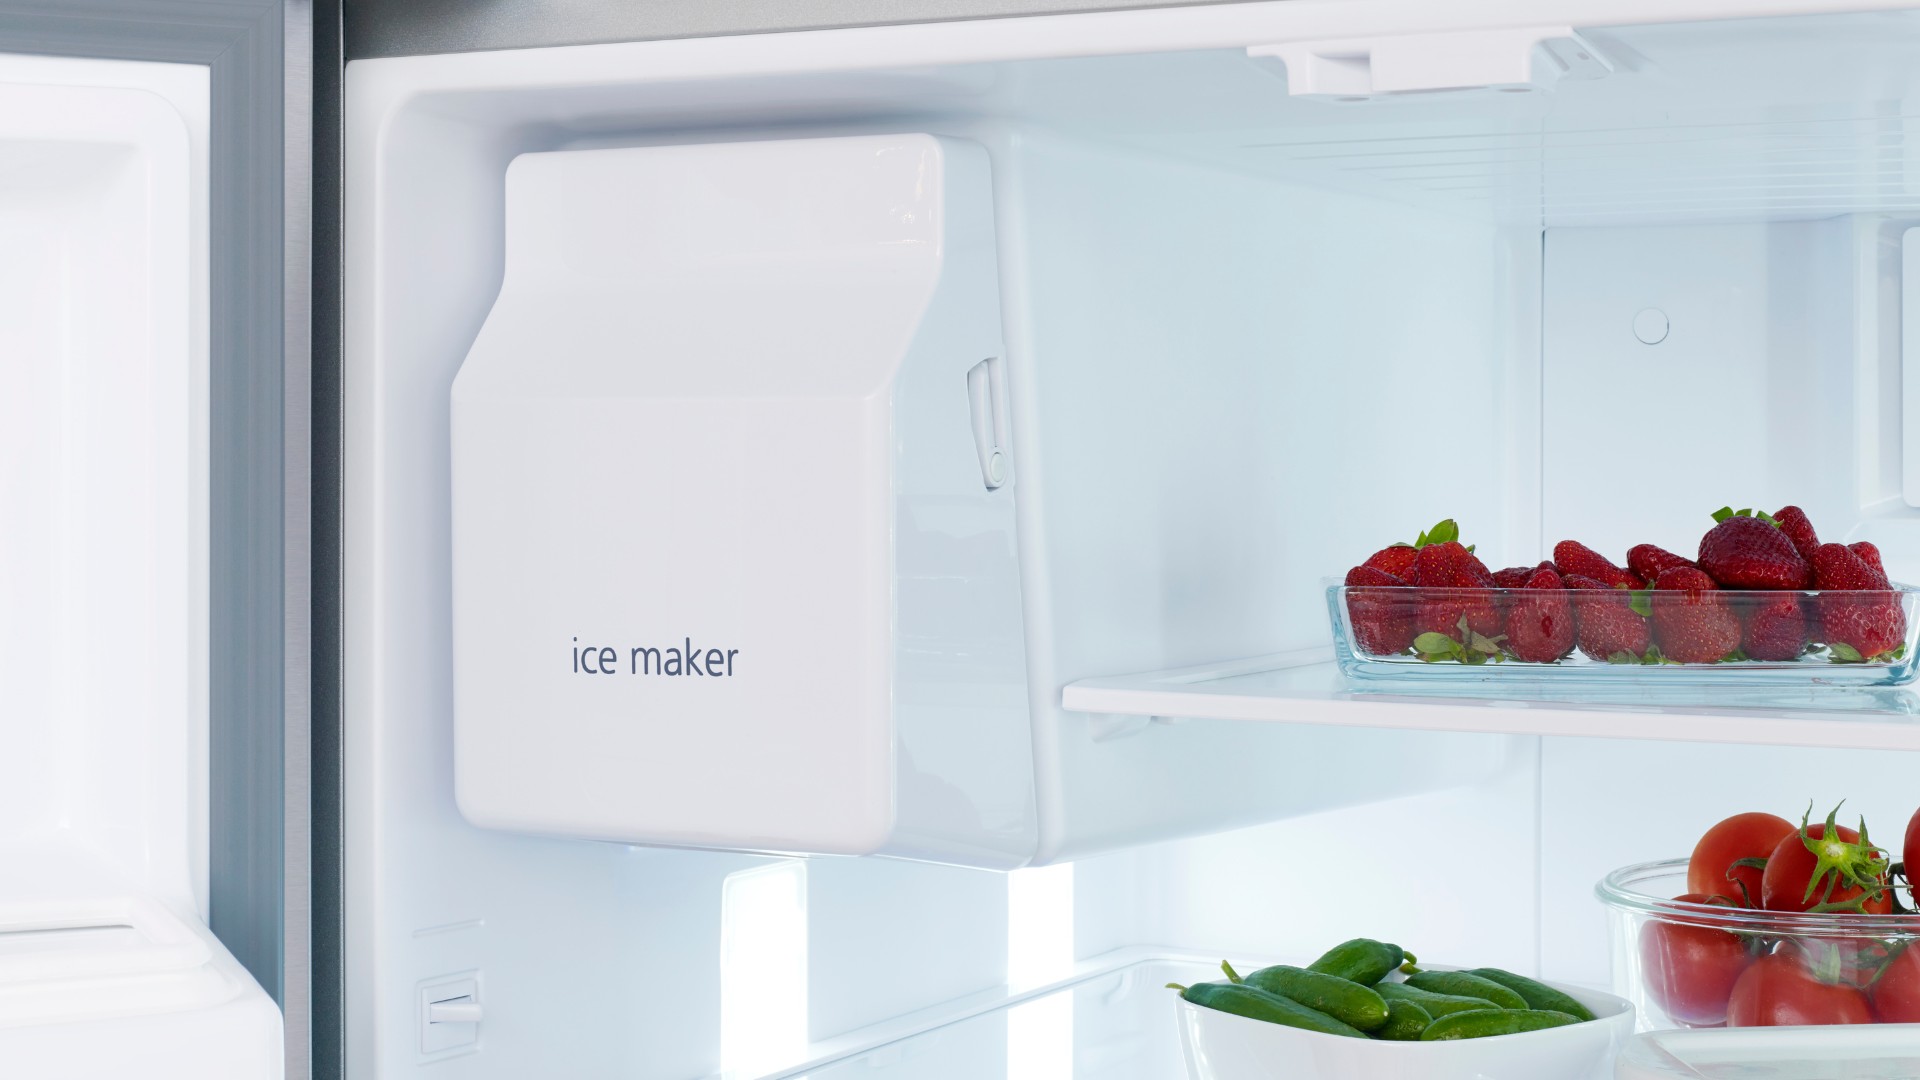
Start by locating the ice maker assembly inside the freezer compartment. It is usually attached to the back or side wall of the freezer, depending on the model of your Samsung refrigerator.
Look for the mounting brackets or screws that secure the ice maker assembly in place. Use a screwdriver or a wrench to loosen these screws or brackets. Carefully detach any wiring or connectors that are connected to the ice maker assembly. It’s important to handle these wires gently to avoid any damage.
Once the ice maker assembly is detached, slowly and carefully pull it out from its position. Be mindful of any obstacles or other components inside the freezer that may get in the way. If needed, consult your Samsung refrigerator’s user manual for specific instructions on removing the ice maker assembly.
Place the ice maker assembly on a clean and stable surface. Take a moment to inspect the assembly for any visible signs of dirt, mold, or residue. This is also an excellent opportunity to check the condition of the components and ensure that they are in good working order.
Removing the ice maker assembly is a crucial step in the cleaning process, as it allows you to access the different parts of the ice maker that can accumulate impurities. With the ice maker assembly removed, you can proceed to the next step: cleaning the ice maker components to restore their optimal performance.
Step 5: Clean the Ice Maker Assembly
Now that you have removed the ice maker assembly from your Samsung refrigerator, it’s time to clean its various components. Cleaning the ice maker assembly is crucial for removing any dirt, mineral deposits, or bacteria that may have accumulated over time, ensuring that your ice maker functions optimally and produces clean ice.
Begin by preparing a cleaning solution using equal parts warm water and vinegar. Vinegar is an excellent natural cleaner that helps dissolve mineral deposits and eliminate bacteria.
Take a soft cloth or sponge and dip it into the vinegar and water solution. Use the damp cloth to wipe down the ice maker assembly, paying close attention to the areas where ice is formed and dispensed. Gently clean the surfaces, ensuring that you remove any visible dirt or residue.
Next, focus on cleaning the smaller components of the ice maker assembly. These may include the ice mold, the water reservoir, and any other removable parts.
If your ice maker has a removable ice mold, carefully detach it from the assembly. Place the ice mold in a container filled with the vinegar and water solution and let it soak for a few minutes. After soaking, use a soft-bristle brush or toothbrush to gently scrub away any mineral deposits or stubborn residue.
For the water reservoir and other removable parts, use the vinegar and water solution to wipe them clean. Pay attention to any nooks and crannies where bacteria or mold may hide.
Once all the components are cleaned, rinse them thoroughly with clean water to remove any vinegar residue. It’s important to ensure that there are no traces of vinegar left, as it can affect the taste or smell of the ice.
After rinsing, leave the components to air dry completely before moving on to the next step. Drying is crucial to prevent any moisture buildup that could lead to mold growth or damage to the ice maker assembly.
Now that you have cleaned and dried the ice maker assembly components, you can proceed to the next step: reassembling the ice maker for continued use.
Step 6: Reassemble the Ice Maker
After cleaning and drying the various components of your Samsung refrigerator’s ice maker assembly, it’s time to reassemble them to ensure proper functioning. Follow these steps to safely and correctly reassemble the ice maker:
- Take the dried ice maker assembly components and carefully place them back in their respective positions. Make sure they fit securely and there are no loose or improperly aligned parts.
- Reattach any wiring or connectors that were detached during the disassembly process. Ensure that the connections are firmly secured.
- Using a screwdriver or wrench, fasten the mounting brackets or screws that hold the ice maker assembly in place. Make sure they are tightened but not overly tightened, as this can damage the components.
- Double-check that all the components are correctly reassembled and securely attached. Take a moment to inspect for any visible signs of damage or loose connections.
- Once you are satisfied with the reassembly, close the freezer compartment door.
Reassembling the ice maker is an important step to ensure that all the components are back in their proper positions, allowing for the smooth functioning of the ice maker.
Now that the ice maker assembly is successfully reassembled, you can move on to the final step: plugging the refrigerator back into the power source and allowing the ice maker to resume its operation.
Step 7: Plug in the Refrigerator
After completing the cleaning and reassembly process of your Samsung refrigerator’s ice maker, it’s time to plug the refrigerator back into the power source and allow the ice maker to resume its operation.
Follow these steps to safely plug in your refrigerator:
- Locate the power cord at the back of the refrigerator.
- Gently insert the plug into the electrical outlet.
- If your refrigerator is connected to a power strip, ensure that the power switch is turned on.
- Wait for a few moments to allow the refrigerator to power up.
- Monitor the operation of the ice maker to ensure that it starts working properly, indicating that power has been restored.
Once the refrigerator is plugged in, it will start cooling, and the ice maker will begin its ice production cycle. This process may take a few hours, so be patient as it replenishes the ice supply.
It’s important to note that after cleaning the ice maker, the first batch of ice produced may contain traces of cleaning solution or minerals. It is recommended to discard the first few batches of ice to ensure that you are only consuming clean, fresh ice cubes.
Congratulations! You have successfully cleaned and reassembled the ice maker in your Samsung refrigerator. By regularly following this cleaning process, you can maintain the optimal performance of your ice maker and ensure that you have clean and refreshing ice at your fingertips.
Remember to perform routine maintenance and cleaning as recommended by Samsung to keep your refrigerator and ice maker in excellent condition for years to come.
Thank you for using our guide on how to clean the ice maker in a Samsung refrigerator. Enjoy your freshly cleaned ice!
Read more: How To Fix Ice Maker On Samsung Refrigerator
Conclusion
Cleaning the ice maker in your Samsung refrigerator is an essential task to ensure the production of clean and refreshing ice cubes. By following the step-by-step process outlined in this guide, you can effectively remove dirt, mineral deposits, and bacteria that may have accumulated in your ice maker assembly over time.
Remember, safety is paramount, so always unplug your refrigerator before beginning the cleaning process. Gather all the necessary supplies, including warm water, mild dish soap, vinegar, and soft cleaning tools, to ensure a thorough and efficient cleaning experience.
Start by removing the ice bin, emptying it, and cleaning it with a mixture of warm water and mild dish soap. Then, carefully remove the ice maker assembly, clean its various components, and reassemble them according to the manufacturer’s instructions.
Once the ice maker is reassembled, plug your refrigerator back into the power source, and allow the ice maker to resume its operation. Don’t forget to discard the first few batches of ice to ensure that you’re only consuming clean and fresh ice cubes.
Regularly cleaning your ice maker not only improves the quality of the ice but also extends the lifespan and performance of your appliance. It safeguards against potential issues such as bad odors, clogs, or even malfunctioning of the ice maker.
By following these simple steps, you can maintain a clean and reliable ice maker in your Samsung refrigerator, giving you continuous access to refreshing ice whenever you need it. Remember to consult your refrigerator’s user manual for any specific instructions or recommendations provided by the manufacturer.
Thank you for using our guide on how to clean the ice maker in a Samsung refrigerator. Enjoy clean and crystal-clear ice cubes for your beverages!
Frequently Asked Questions about How To Clean Ice Maker In Samsung Refrigerator
Was this page helpful?
At Storables.com, we guarantee accurate and reliable information. Our content, validated by Expert Board Contributors, is crafted following stringent Editorial Policies. We're committed to providing you with well-researched, expert-backed insights for all your informational needs.


0 thoughts on “How To Clean Ice Maker In Samsung Refrigerator”