Articles
How To Take Out Samsung Ice Maker
Modified: October 18, 2024
Learn how to easily remove the ice maker from your Samsung refrigerator with our informative articles.
(Many of the links in this article redirect to a specific reviewed product. Your purchase of these products through affiliate links helps to generate commission for Storables.com, at no extra cost. Learn more)
Introduction
Having an ice maker in your Samsung refrigerator can be incredibly convenient, providing you with a steady supply of ice for refreshing drinks and cooling down foods. However, there may come a time when you need to take out the ice maker for cleaning, maintenance, or replacement. In this article, we will guide you through the process of taking out the ice maker from your Samsung refrigerator.
The ice maker removal process may slightly vary depending on the model of your Samsung refrigerator. It’s always a good idea to consult your refrigerator’s user manual for specific instructions. Additionally, if you are not confident in performing the following steps, it is advisable to seek professional assistance to avoid any damage to the unit or injury.
Before we delve into the steps, it is essential to prioritize safety precautions to ensure your well-being. Make sure to wear protective gloves and goggles during the removal process, as you may encounter sharp edges or potentially harmful substances. Additionally, ensure that the refrigerator is powered off and unplugged to prevent any electrical accidents.
Now that we’ve covered the safety aspects, let’s move on to the tools you will need for this task. Having the right tools on hand will make the removal process much easier and more efficient.
Key Takeaways:
- Prioritize safety by wearing protective gear, disconnecting the power, and following the manufacturer’s instructions when removing the ice maker from your Samsung refrigerator. Proper preparation and caution ensure a successful and safe removal process.
- Gather the necessary tools, locate the ice maker, and follow the step-by-step process to remove, clean, and reinstall the ice maker unit. Regular maintenance and attention to detail will keep your Samsung refrigerator’s ice maker in optimal working condition.
Read more: How To Defrost A Samsung Ice Maker
Safety Precautions
Before proceeding with the removal of your Samsung ice maker, it is crucial to take certain safety precautions to minimize the risk of injury or damage. Here are some guidelines to follow:
- Wear protective gear: Before you start working on removing the ice maker, ensure that you are wearing protective gloves and goggles. These items will help protect your hands and eyes from any sharp edges or potential hazards.
- Turn off and unplug the refrigerator: Before you begin the removal process, make sure to turn off the power to your refrigerator and unplug it from the electrical outlet. This will prevent any accidental shocks or electrical accidents while working on the ice maker.
- Allow time for the refrigerator to defrost: If your ice maker has a build-up of ice or frost, it is essential to allow the refrigerator to defrost completely before attempting to remove the ice maker. This will make the process easier and prevent any damage to the unit.
- Be careful with sharp edges: During the removal process, you may come across sharp edges or components that can cause injury. Take caution while handling these parts and ensure that you are using the appropriate tools to minimize the risk of cuts or abrasions.
- Follow the manufacturer’s instructions: While the general steps for removing a Samsung ice maker are outlined in this article, it is crucial to consult your refrigerator’s user manual for specific instructions. Different models may have slight variations in the removal process, so it is essential to follow the manufacturer’s guidelines for a safe and successful removal.
By following these safety precautions, you can ensure that the ice maker removal process is conducted in a safe and efficient manner. Remember, if you are unsure about any aspect of the removal process or do not have the necessary tools or expertise, it is always best to seek professional assistance to avoid any accidents or damage to your refrigerator.
Tools Needed
Before you begin the process of removing the ice maker from your Samsung refrigerator, it’s important to gather the necessary tools. Having the right tools on hand will make the removal process much smoother and easier. Here are the tools you will need:
- Screwdriver: A Phillips head screwdriver is typically required to remove screws holding the ice maker in place. Make sure you have a suitable screwdriver size for your particular refrigerator model.
- Adjustable Wrench: An adjustable wrench will be useful for disconnecting the water line from the ice maker. Ensure that the wrench is adjustable to fit different sizes of fittings.
- Bucket or container: When you disconnect the water line from the ice maker, there may be residual water in the line. Having a bucket or container nearby will help catch any water that may flow out during the disconnection process.
- Cleaning supplies: Depending on the reason for removing the ice maker, you may need cleaning supplies such as a mild detergent, warm water, and a microfiber cloth or sponge for cleaning the ice maker and its components.
- Protective gloves and goggles: As mentioned in the safety precautions, wearing protective gloves and goggles is crucial to ensure your safety while working with the ice maker. Make sure you have these items on hand before starting the removal process.
By having these tools ready, you will be well-prepared to remove the ice maker from your Samsung refrigerator. It’s always a good idea to gather all the necessary tools before starting the process to avoid any unnecessary interruptions or delays.
Now that we have the required tools at hand, we can move on to the step-by-step process of removing the ice maker from your Samsung refrigerator.
Step 1: Preparation
Before you begin removing the ice maker from your Samsung refrigerator, it’s important to prepare the area and gather the necessary supplies. This will ensure a smooth and efficient removal process. Here’s what you need to do:
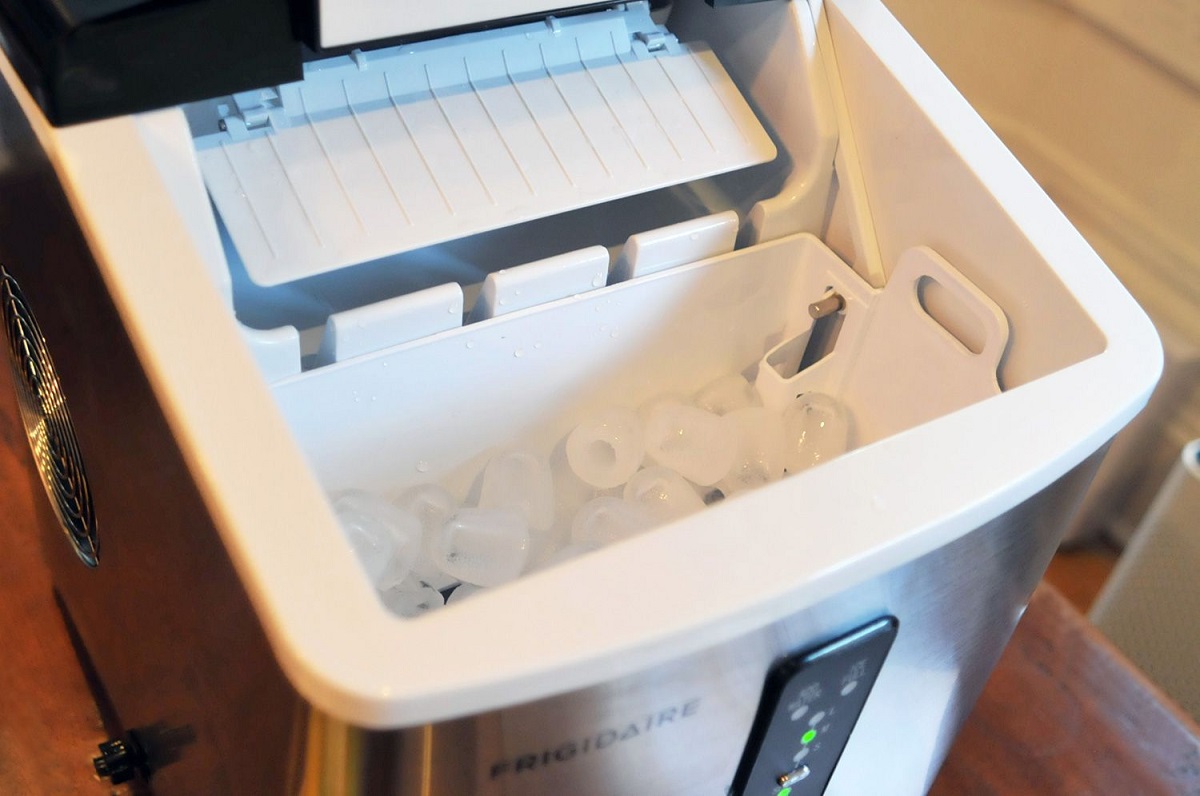
- Empty the ice bin: Remove any ice cubes or frozen items from the ice bin to avoid any spillage or mess during the removal process.
- Find a suitable work area: Locate a clear and well-lit area near your refrigerator where you can comfortably work. Ensure that there is enough space to move around and access the back of the refrigerator.
- Turn off the water supply: Locate the water supply line connected to your refrigerator and turn off the water supply. This will prevent any water leakage when disconnecting the water line from the ice maker.
- Protect your flooring: To protect your flooring from any potential water spills or scratches, place a towel or mat underneath the area where you’ll be working.
- Gather the necessary tools: Make sure you have all the tools listed in the previous step, as well as any additional cleaning supplies you may need, within reach.
- Refer to the user manual: Consult your Samsung refrigerator’s user manual for specific instructions on how to remove the ice maker. Different models may have slight variations in the removal process, so it’s important to follow the manufacturer’s guidelines.
By following these preparation steps, you will ensure that you are ready to begin the ice maker removal process. Taking the time to properly prepare will make the overall process much smoother and more organized.
Now that you are fully prepared, we can move on to the next step: locating the ice maker in your Samsung refrigerator.
Step 2: Locate the Ice Maker
Before you can remove the ice maker from your Samsung refrigerator, you first need to locate its position within the appliance. Follow these steps to find the ice maker:
- Open the refrigerator door: Start by opening the refrigerator door to access the interior of the unit.
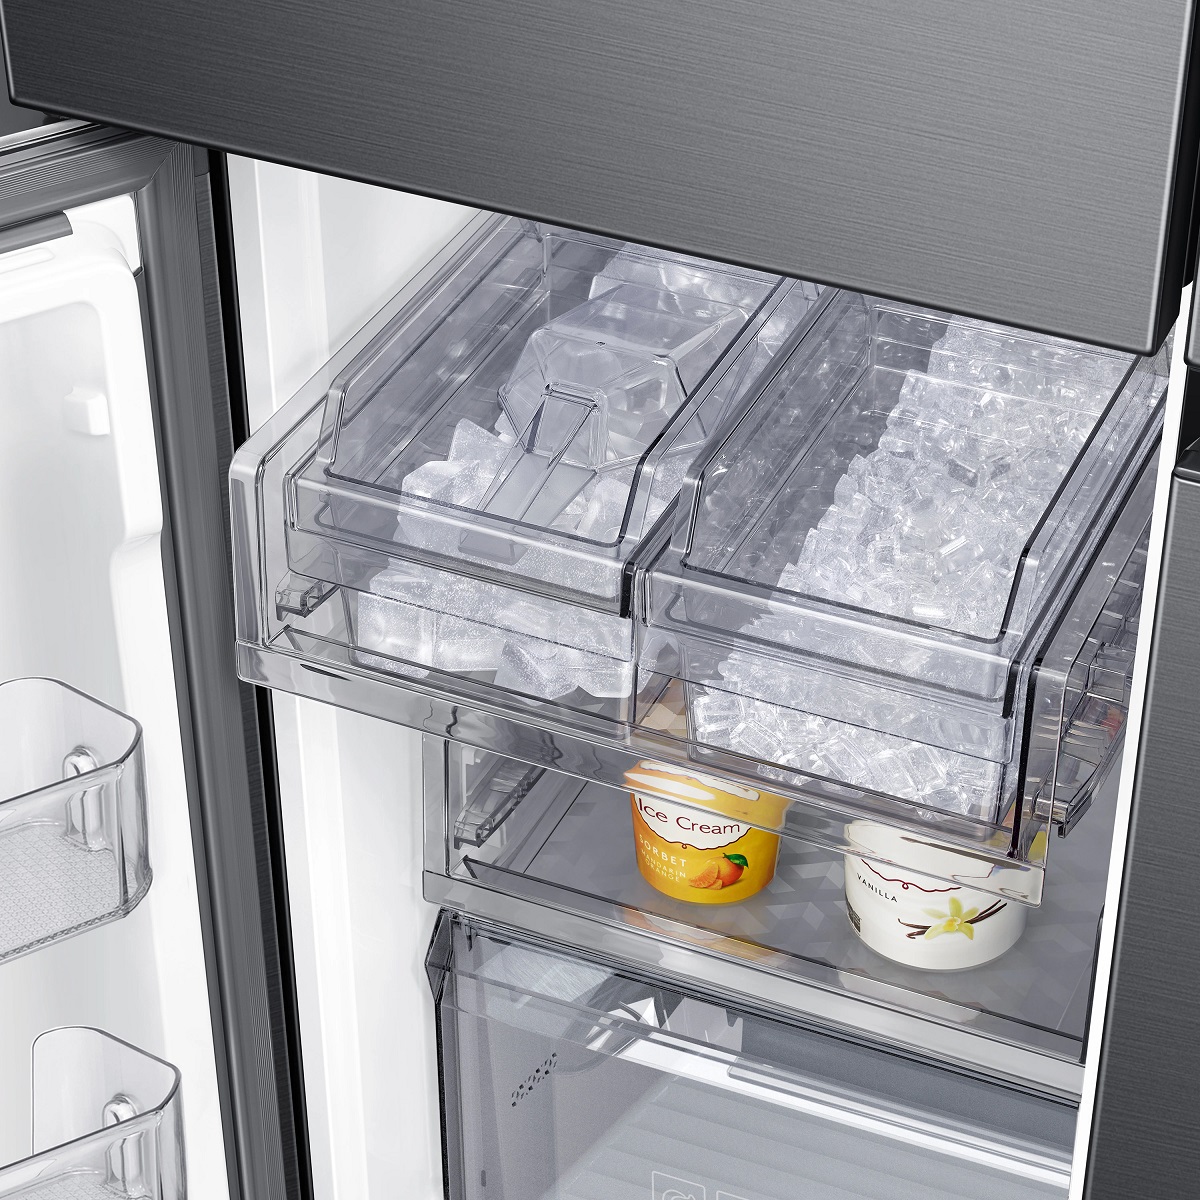
- Locate the ice maker compartment: Look for the ice maker compartment, which is usually located on the upper left or upper right side of the refrigerator’s interior. It will be a small square or rectangular box, typically attached to a wall or mounted on a bracket.
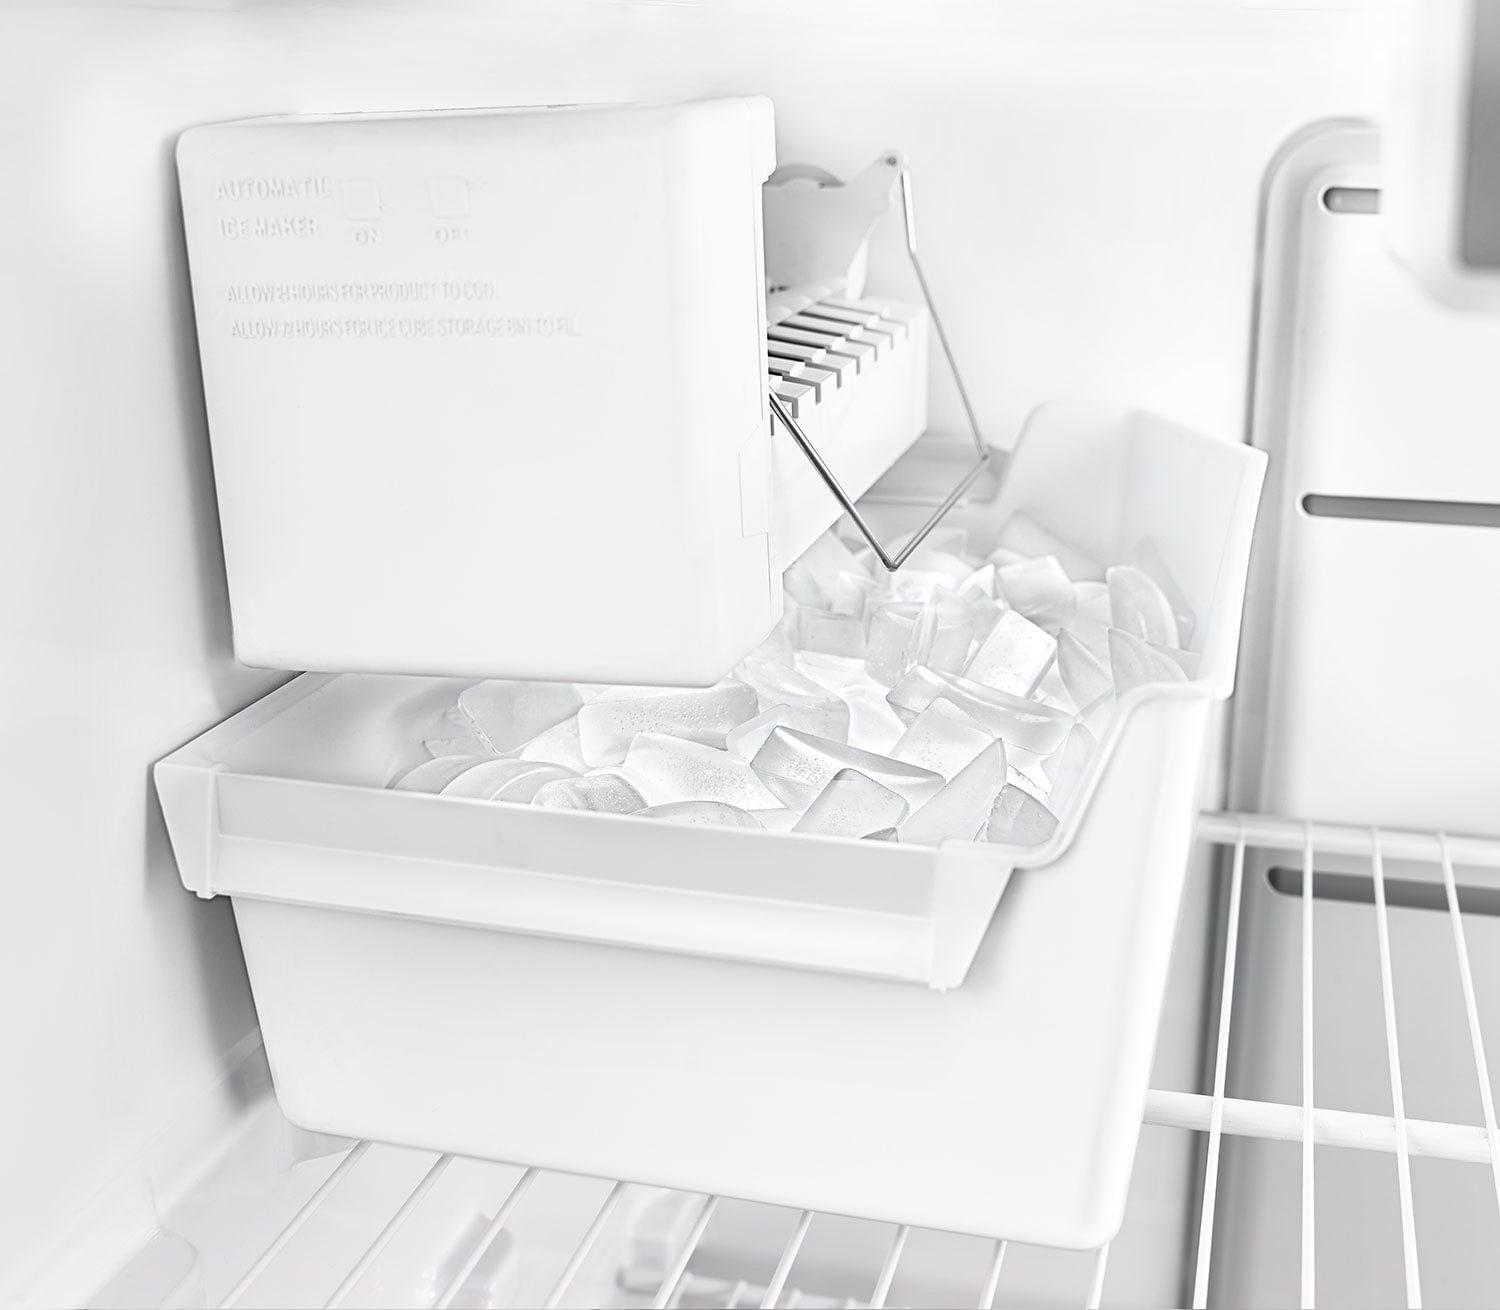
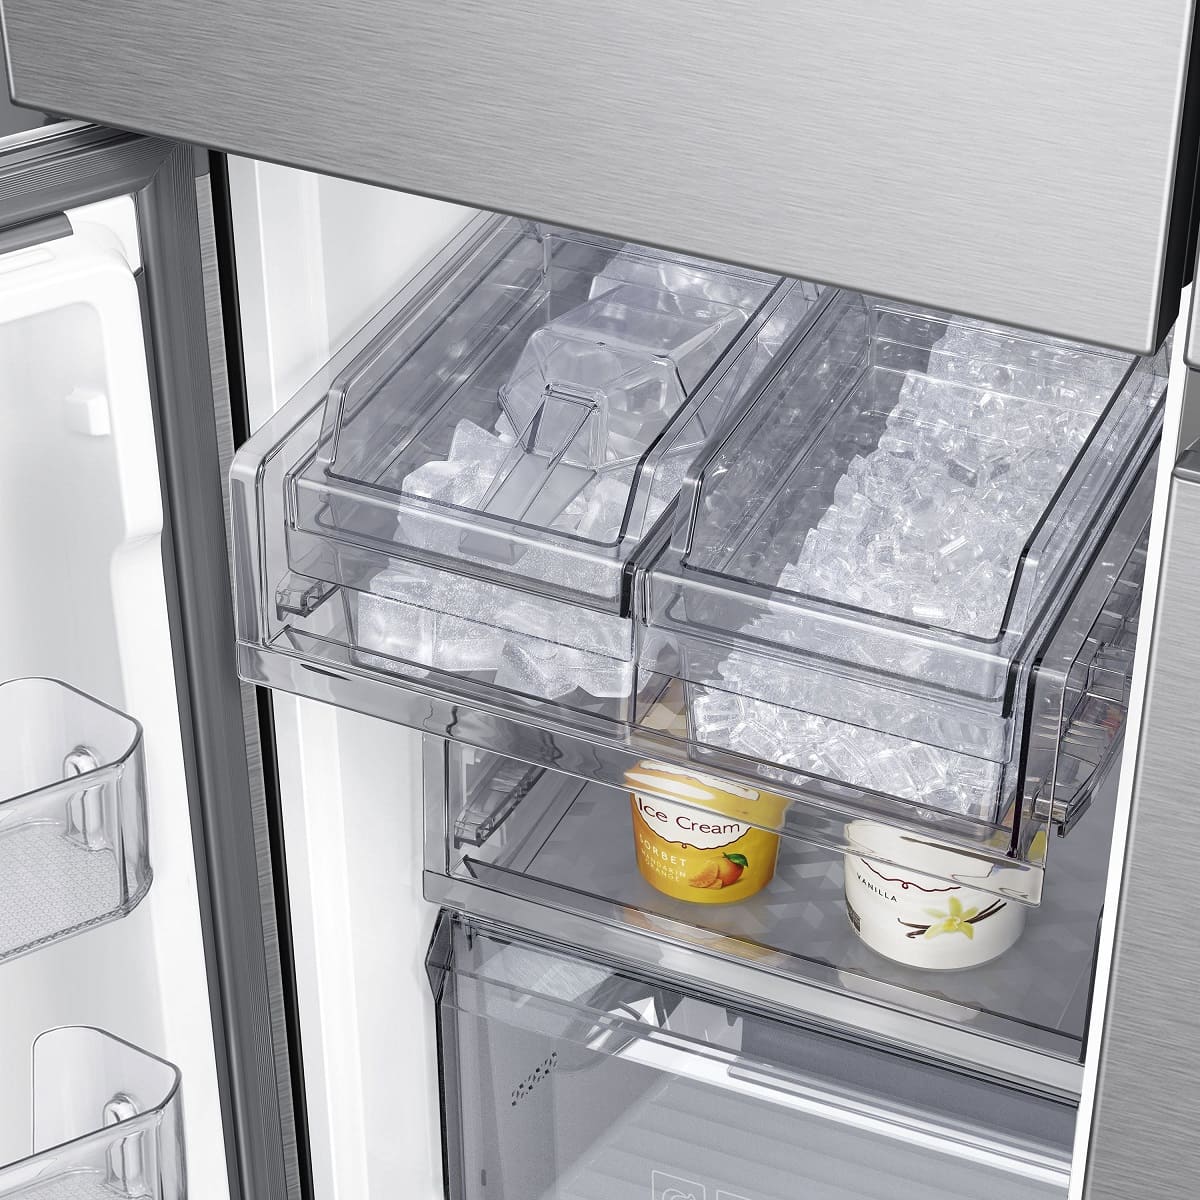
- Identify the ice bin: Within the ice maker compartment, you’ll find the ice bin. This is where the ice cubes are stored until they are dispensed. Take note of the ice bin’s location and how it is connected to the rest of the ice maker assembly.
- Inspect for any cover or panel: Some Samsung refrigerator models may have a cover or panel over the ice maker compartment. If this is the case, visually inspect for any screws or fasteners securing the cover in place.
- Refer to the user manual: If you’re having trouble locating the ice maker, refer to your Samsung refrigerator’s user manual for specific instructions and diagrams. The manual will provide helpful guidance on finding the ice maker’s exact location within your specific model.
Once you have successfully identified the ice maker and its components, you’re ready to move on to the next step of the removal process. In the following step, we will learn how to disconnect the power supply to ensure the safety of the removal process.
Read more: How To Clean Out An Ice Maker
Step 3: Disconnect the Power
Before proceeding with the removal of your Samsung ice maker, it is crucial to disconnect the power supply to ensure your safety. Follow these steps to disconnect the power:
- Locate the power cord: Look for the power cord at the back of the refrigerator. It is typically located near the bottom or on one side.
- Unplug the power cord: Carefully unplug the power cord from the electrical outlet. Take your time and ensure a firm, steady grip on the plug to prevent any accidental dislodging.
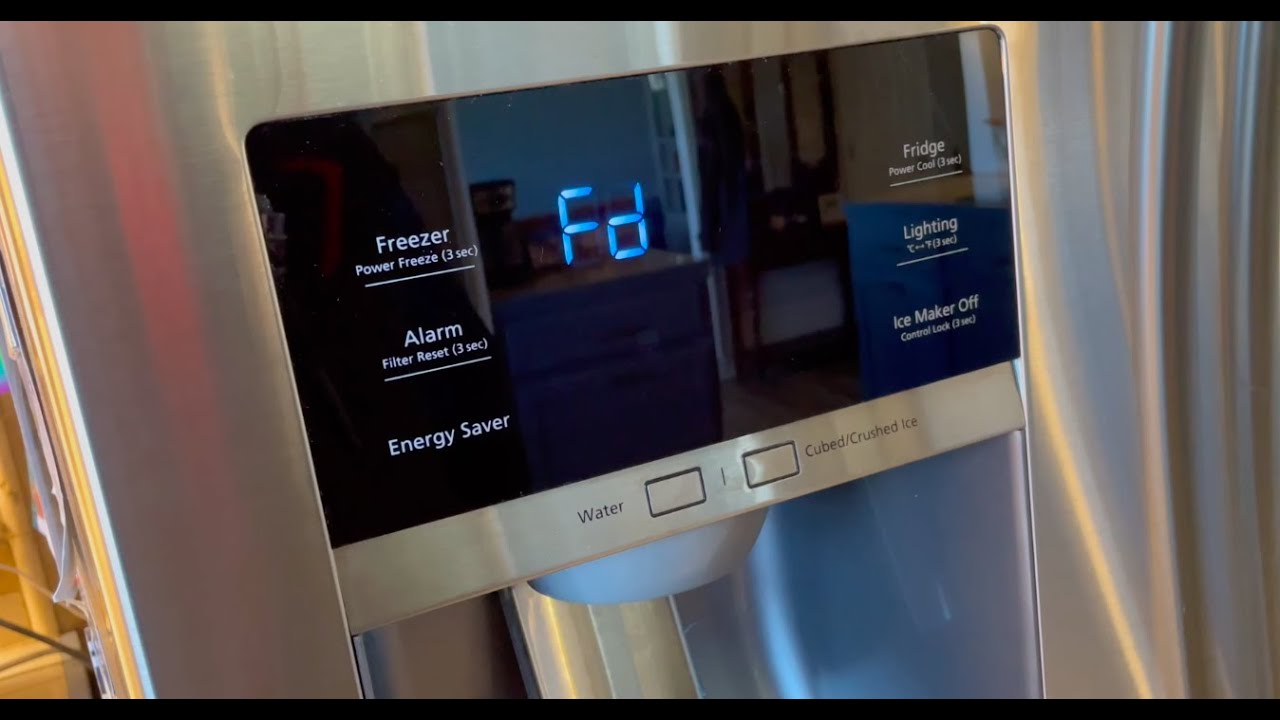
- Confirm the power is off: Verify that the refrigerator’s power is indeed disconnected by checking if the lights and display panel on the front of the appliance have turned off. Double-check by pressing any buttons or switches to ensure they are non-responsive.
- Consider turning off the circuit breaker: For an extra layer of safety, you may want to consider turning off the circuit breaker that supplies power to the refrigerator. This will provide an added precaution against any accidental electrical surges or power restoration during the removal process.
By disconnecting the power supply, you eliminate the risk of electrical shock or damage while working on the ice maker. Always prioritize your safety and take the necessary precautions throughout the removal process.
With the power disconnected, you are now ready to move on to the next step: removing the ice maker assembly from your Samsung refrigerator.
Before removing the Samsung ice maker, make sure to disconnect the power and water supply to the refrigerator. Follow the manufacturer’s instructions and use the proper tools to avoid damaging the unit.
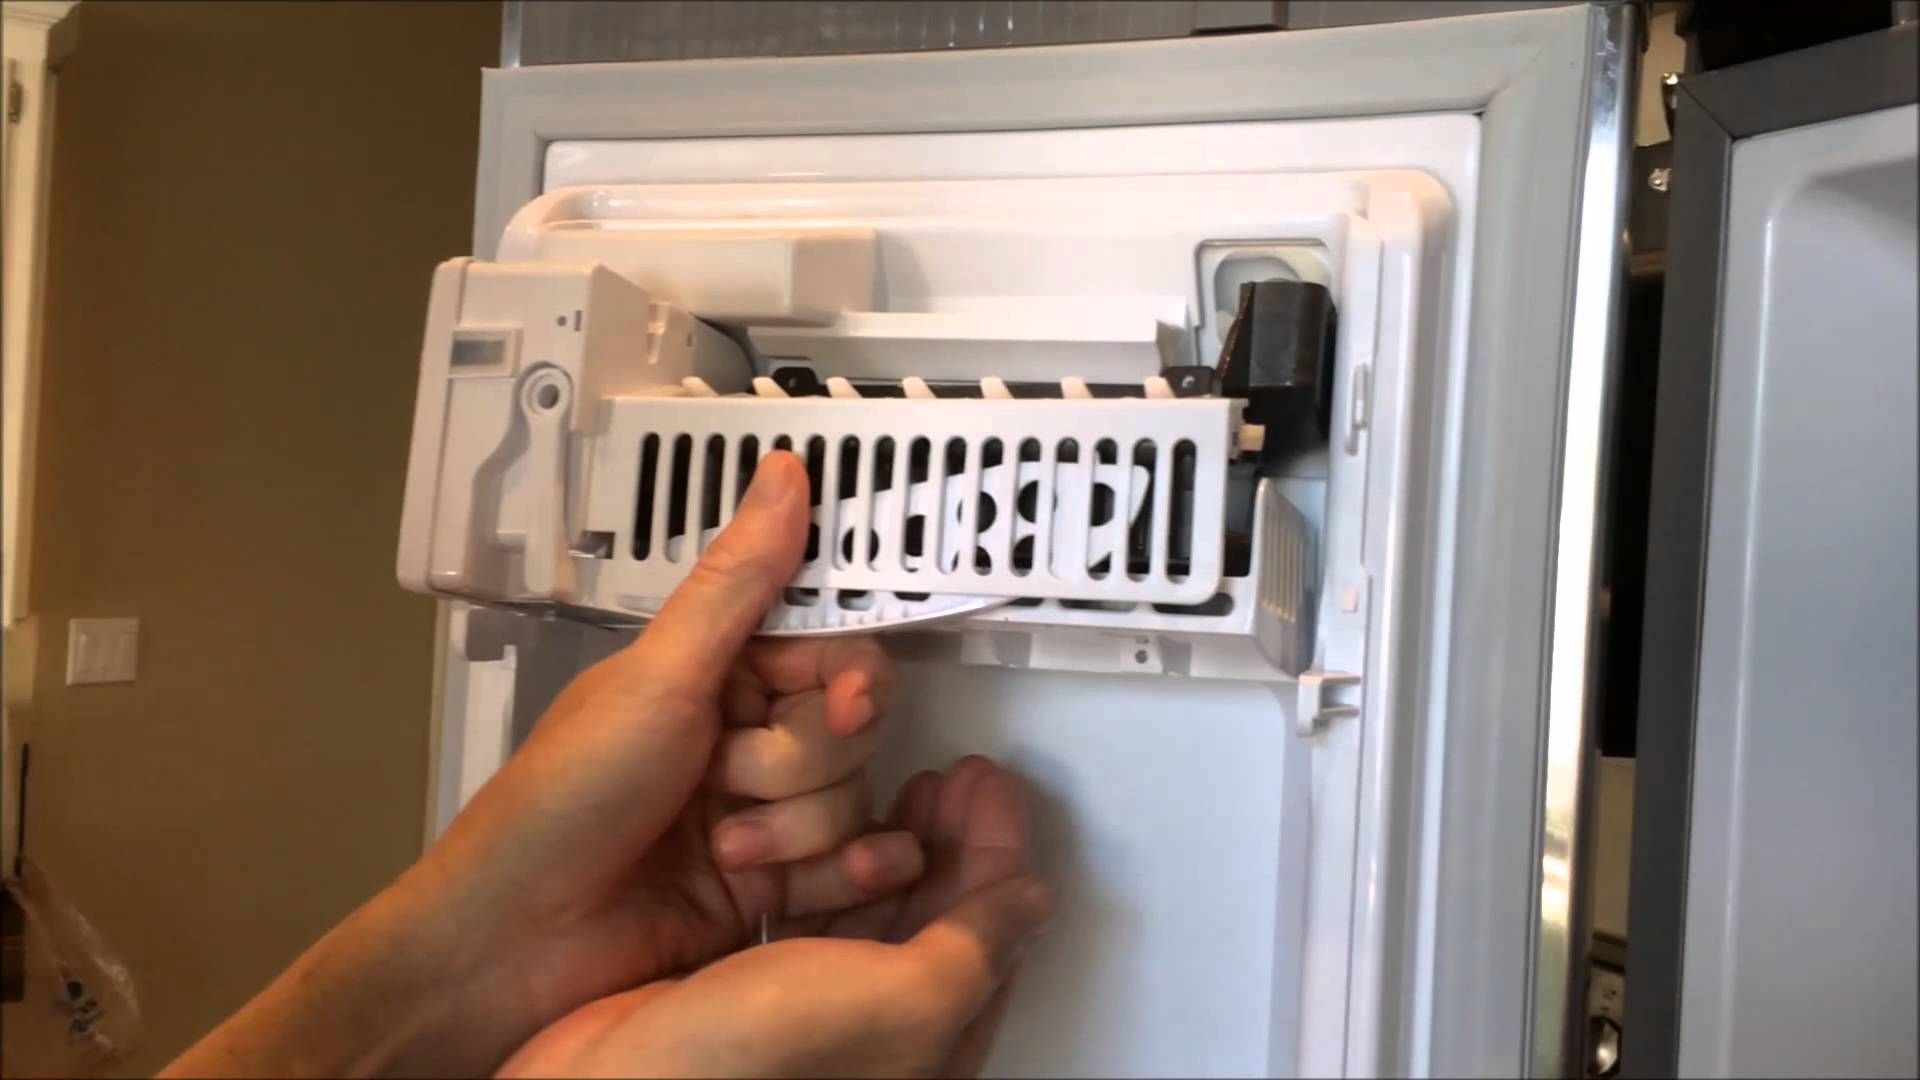
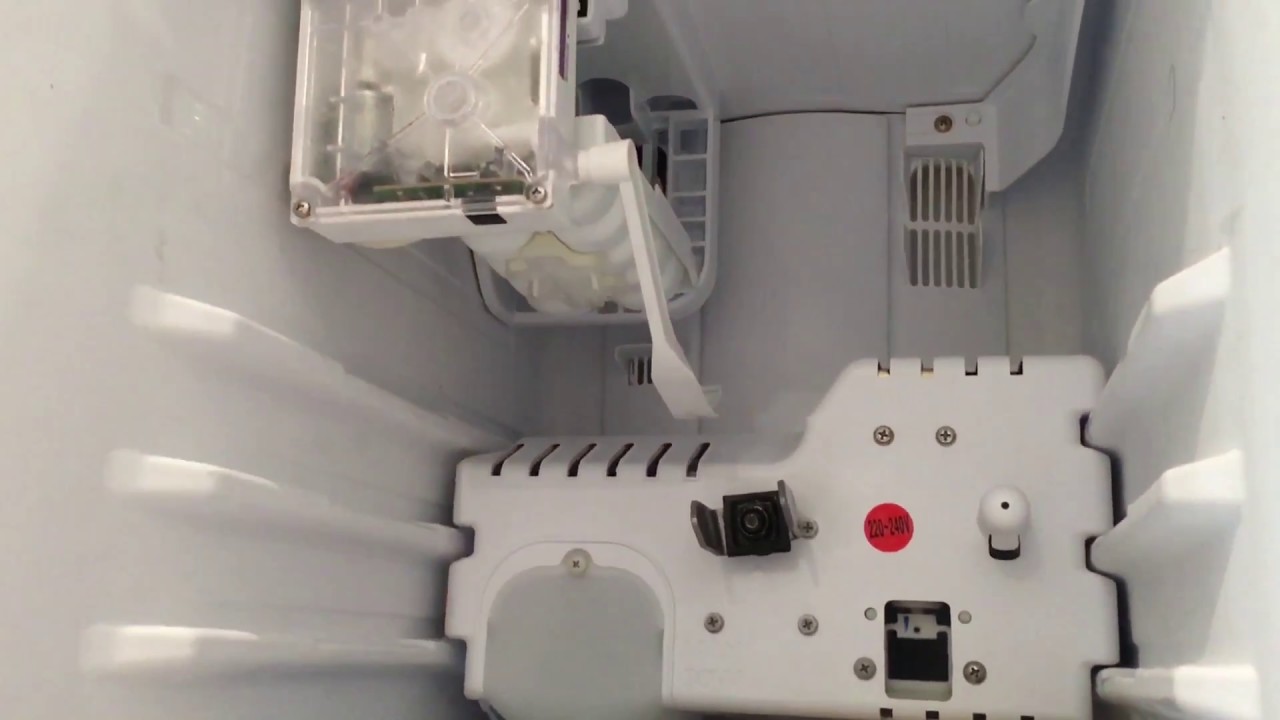
Step 4: Remove the Ice Maker Assembly
Now that you have disconnected the power, you can proceed with removing the ice maker assembly from your Samsung refrigerator. Follow these steps to safely remove the ice maker assembly:
- Locate the mounting screws: Look for the mounting screws that hold the ice maker assembly in place. These screws are usually located on the sides or top of the ice maker assembly. Use a Phillips head screwdriver to remove these screws.
- Support the ice maker assembly: As you remove the mounting screws, gently support the weight of the ice maker assembly with your other hand to prevent it from falling or causing damage.
- Slide the ice maker assembly out: Once the mounting screws are removed, carefully slide the ice maker assembly out of its compartment or mounting brackets. Take note of any connectors or wiring attached to the back of the ice maker.
- Disconnect any connectors or wiring: If there are any electrical connectors or wiring attached to the back of the ice maker assembly, you will need to disconnect them. Depending on your model, there may be a locking mechanism or release tab that needs to be pressed or squeezed to disconnect the connectors.
- Set aside the ice maker assembly: Once the ice maker assembly is free from the refrigerator, set it aside on a clean, stable surface. Be cautious not to damage any delicate components.
By following these steps, you have successfully removed the ice maker assembly from your Samsung refrigerator. Now, let’s move on to the next step, where we will learn how to disconnect the water line from the ice maker.
Step 5: Disconnect the Water Line
In order to completely remove the ice maker from your Samsung refrigerator, you will need to disconnect the water line. Follow these steps to safely disconnect the water line:
- Locate the water line connection: Look for the water line connection attached to the back of the ice maker or the refrigerator’s water supply valve. It is usually a flexible tube or hose.
- Identify the water line connector: Take note of the type of connector used to connect the water line. It may be a compression fitting, a push-to-connect fitting, or a threaded connection.
- Prepare a bucket or container: Before disconnecting the water line, place a bucket or container beneath the connection point. This will catch any residual water that may drip out during the disconnection process.
- Disconnect the water line: Depending on the type of connector, use the appropriate method to disconnect the water line. For compression fittings, you will need to use an adjustable wrench to loosen and remove the nut. For push-to-connect fittings, firmly press the release button and pull the water line out. For threaded connections, use a wrench to unscrew the connection gently.
- Catch any residual water: As you disconnect the water line, be prepared for some water to flow out. Direct the water flow into the bucket or container to avoid any mess or water damage.
Once the water line is successfully disconnected, you have completed the necessary steps to remove the ice maker from your Samsung refrigerator. In the next step, we will cover how to remove the ice maker unit itself.
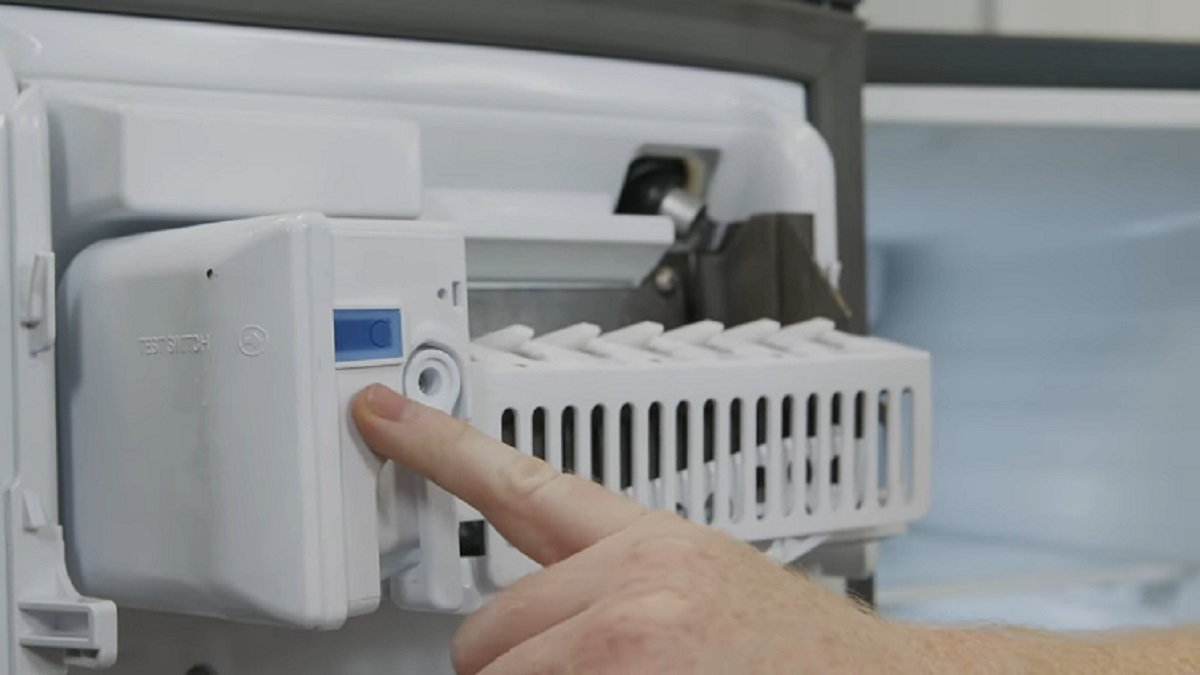
Step 6: Remove the Ice Maker Unit
With the water line disconnected, you can now proceed to remove the ice maker unit itself from your Samsung refrigerator. Follow these steps to safely remove the ice maker unit:
- Locate the mounting bracket: Look for the mounting bracket that secures the ice maker unit in place. It is typically located on the side or back wall of the refrigerator’s interior.
- Inspect for any screws or clips: Check for any screws or clips that hold the ice maker unit to the mounting bracket. Using a Phillips head screwdriver, remove any screws or release any clips that are securing the ice maker unit.
- Gently lift the ice maker unit: After removing the screws or releasing the clips, gently lift the ice maker unit up and away from the mounting bracket. Be cautious of any wiring or connectors still attached to the unit.
- Disconnect any wiring or connectors: If there are any electrical wiring or connectors still attached to the ice maker unit, carefully disconnect them. Take note of the connections for reassembly later.
- Set aside the ice maker unit: Once the ice maker unit is free from the mounting bracket and all connections are disconnected, carefully set it aside on a stable surface. Handle the unit with care to avoid causing any damage.
By following these steps, you have successfully removed the ice maker unit from your Samsung refrigerator. In the next step, we will cover how to clean and maintain the ice maker for optimal performance and functionality.
Read more: Why Is My Samsung Ice Maker Not Dropping Ice
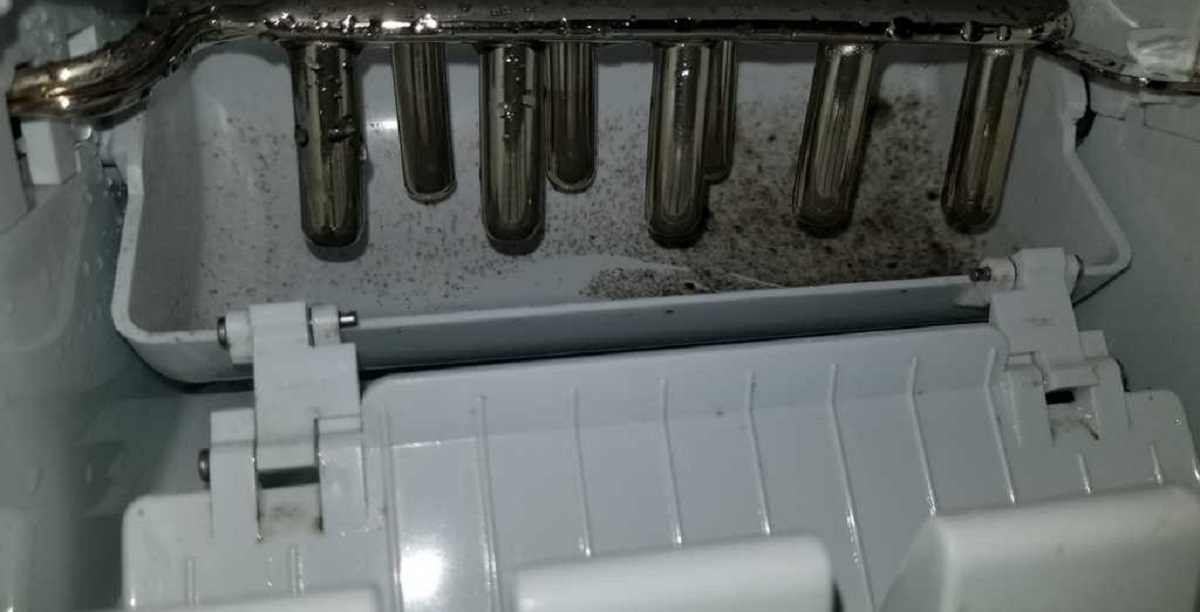
Step 7: Clean and Maintain the Ice Maker
Now that you have removed the ice maker from your Samsung refrigerator, it’s a good opportunity to clean and maintain it for optimal performance. Follow these steps to effectively clean and maintain your ice maker:
- Inspect for any signs of damage or wear: Before cleaning, carefully examine the ice maker unit for any signs of damage, such as cracks or broken parts. If you notice any issues, it may be best to replace the damaged components before proceeding with cleaning.
- Prepare a cleaning solution: In a bucket or basin, mix warm water with a mild detergent or cleaner suitable for cleaning the ice maker. Avoid using harsh chemicals or abrasive cleaners, as they can damage the ice maker’s components.
- Remove and clean the ice bin: If applicable, remove the ice bin from the ice maker and clean it separately. Wash the ice bin with the cleaning solution and rinse thoroughly with clean water. Allow it to air dry before reinstalling it.
- Clean the ice maker unit: Using a sponge or cloth dampened with the cleaning solution, wipe down the interior and exterior surfaces of the ice maker unit. Pay close attention to any areas where mold or residue may have accumulated. Use a soft brush to gently scrub the ice maker’s components, such as the ice mold and dispenser chute.
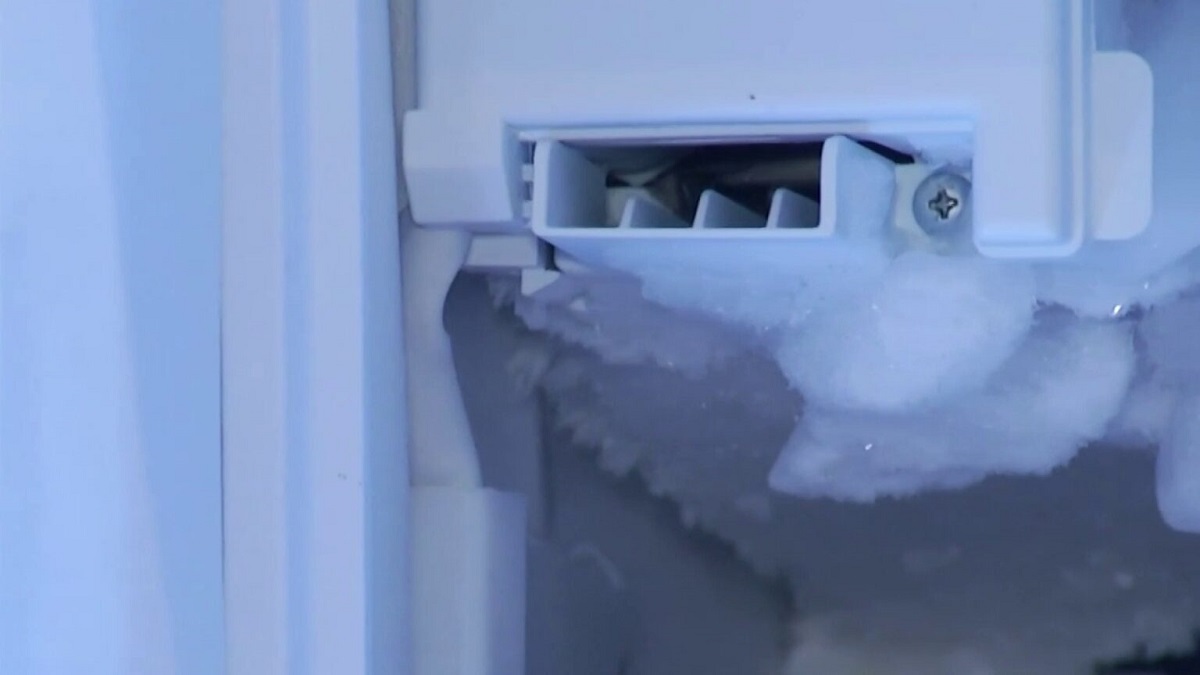
- Clear any ice or debris: Check for any ice or debris that may be blocking the ice maker’s mechanisms. Use a clean cloth or brush to carefully remove any obstructions and ensure that the ice maker’s functions are unimpeded.
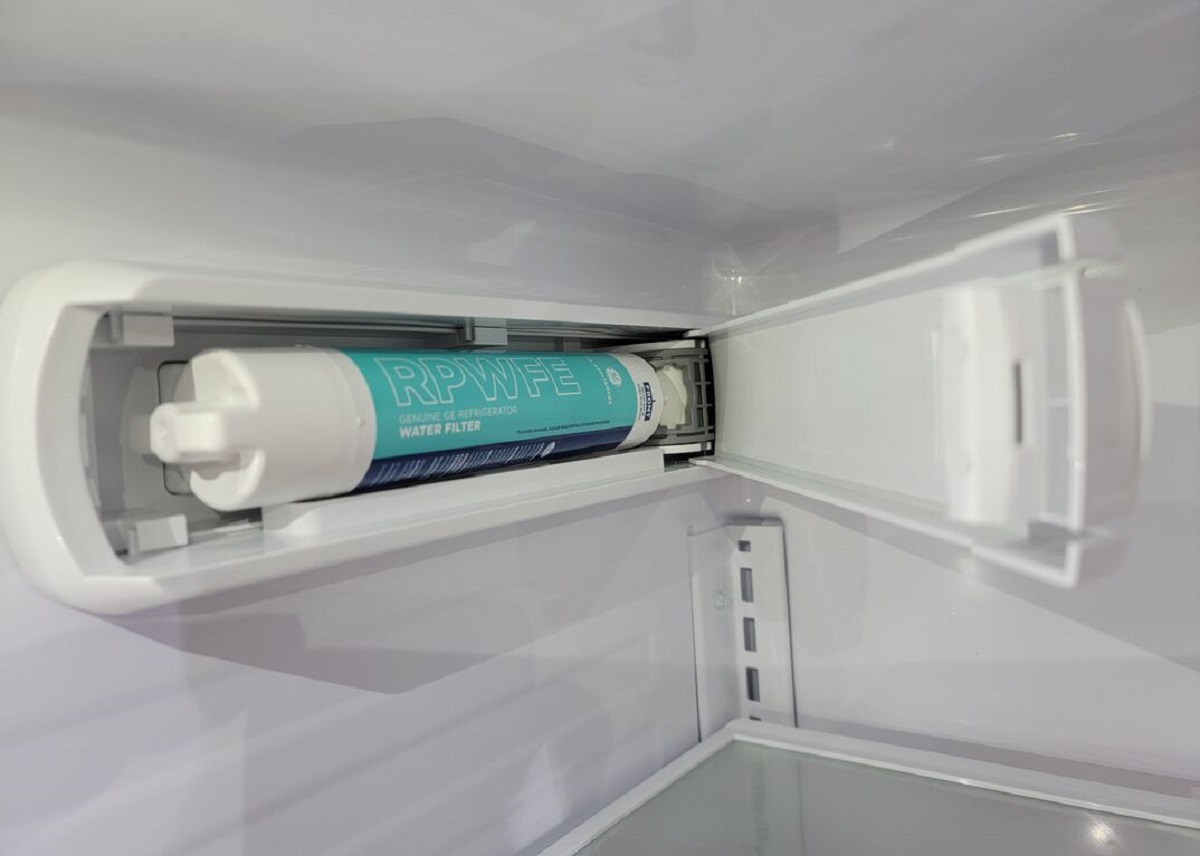
- Check the water filter: If your refrigerator has a water filter, inspect it for any signs of clogging or wear. Replace the filter if necessary, following the manufacturer’s guidelines for your specific refrigerator model.
- Perform routine maintenance: As part of regular maintenance, consider wiping down the water supply line and checking for any leaks or loose connections. Additionally, consult your refrigerator’s user manual for any recommended maintenance tasks specific to your model.
By following these cleaning and maintenance steps, you can ensure that your ice maker remains clean and in optimal working condition. Regular maintenance will help prolong the lifespan of your ice maker and ensure the production of clean, refreshing ice cubes.
In the final step, we will cover how to reinstall the ice maker unit back into your Samsung refrigerator.
Step 8: Reinstall the Ice Maker
After cleaning and maintaining the ice maker, it’s time to reinstall it back into your Samsung refrigerator. Follow these steps to safely and properly reinstall the ice maker:
- Position the ice maker unit: Place the ice maker unit back into the mounting bracket or designated area in the refrigerator. Make sure it is aligned properly and positioned securely.
- Reconnect any wiring or connectors: If you disconnected any electrical wiring or connectors during the removal process, carefully reconnect them to their respective ports. Ensure a secure and proper connection.
- Attach the mounting screws or clips: Depending on your refrigerator model, use the appropriate screws or clips to secure the ice maker unit in place. Insert and tighten the screws or snap the clips into position, ensuring that the ice maker unit is firmly held in place.
- Reconnect the water line: Carefully reconnect the water line to the ice maker. If you have a compression fitting, tighten the nut securely. If you have a push-to-connect fitting, firmly insert the water line into the connection until it snaps into place. For threaded connections, use a wrench to tighten the connection.
- Turn on the water supply: Once the water line is securely connected, turn on the water supply and check for any leaks. Monitor the connections closely to ensure there are no signs of water leakage.
- Power up the refrigerator: Plug in the refrigerator’s power cord and turn on the power. Confirm that the refrigerator is receiving power by checking if the lights and display panel are functioning.
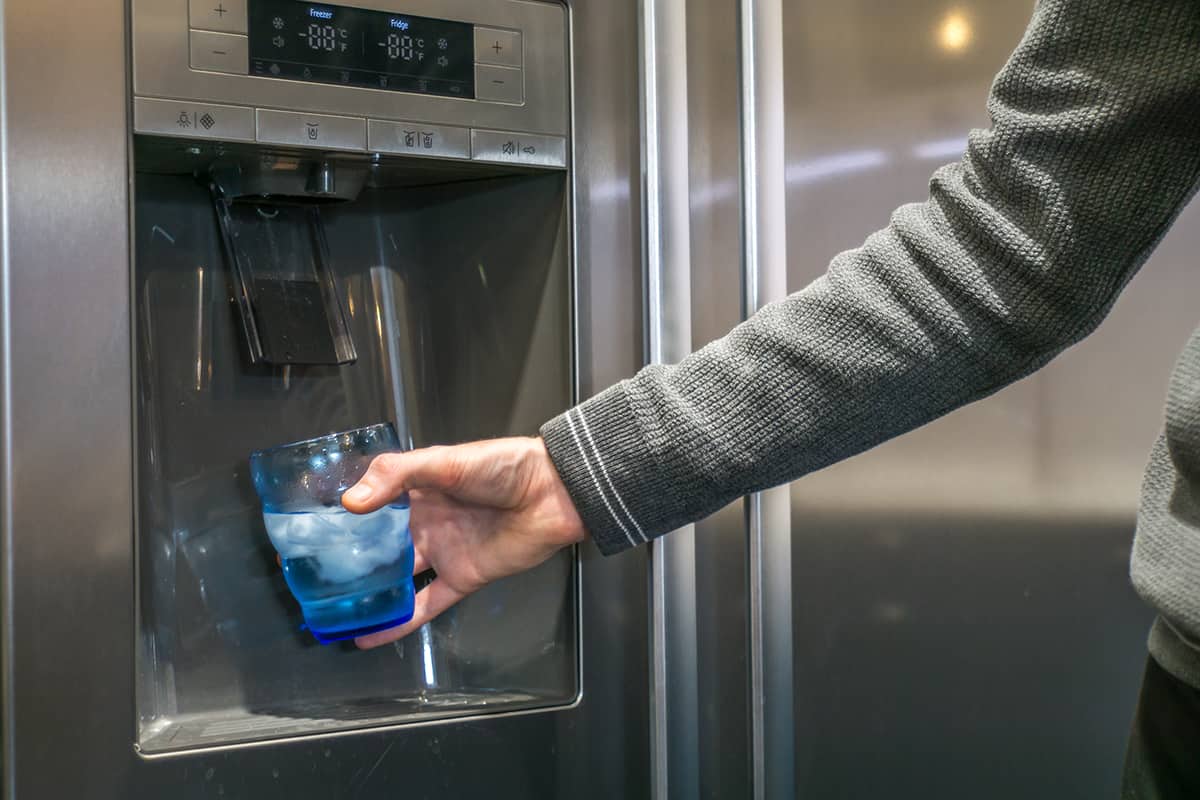
- Allow time for ice production: Give the ice maker some time to produce a new batch of ice. Depending on your model, this may take a few hours or longer. Once the ice production resumes, you can start enjoying ice cubes from your freshly maintained ice maker.
By following these steps, you have successfully reinstalled the ice maker back into your Samsung refrigerator. Ensure that everything is properly secured and functioning before closing up the refrigerator. If you encounter any issues or concerns, refer to your refrigerator’s user manual or consider contacting the manufacturer’s customer support for further assistance.
With the ice maker reinstalled, you can now enjoy the convenience of having a fully operational ice maker in your Samsung refrigerator. Remember to perform regular cleaning and maintenance to keep your ice maker in top-notch condition.
That concludes the step-by-step guide on how to take out the ice maker from your Samsung refrigerator. We hope this article has been helpful and that you have successfully completed the removal process. Cheers to refreshing ice and cool drinks!
Conclusion
Removing and reinstalling the ice maker in your Samsung refrigerator may seem like a daunting task, but with the right knowledge and guidance, it can be accomplished safely and efficiently. By following the step-by-step instructions outlined in this article, you can confidently take out the ice maker for cleaning, maintenance, or replacement.
Throughout the process, it is crucial to prioritize safety precautions. Always wear protective gloves and goggles, and ensure that the refrigerator is powered off and unplugged before starting any work. Additionally, consult your refrigerator’s user manual for specific instructions and guidelines tailored to your particular model.
By gathering the necessary tools and preparing the work area, you set yourself up for success. Take your time to locate the ice maker, disconnect the power, and remove the ice maker assembly. Clean and maintain the ice maker to ensure optimal performance and longevity. Finally, reinstall the ice maker, reconnect the water line, and power up the refrigerator to resume ice production.
Regular cleaning and maintenance of your ice maker are essential to preserve its functionality and ensure the production of clean ice cubes. Be sure to monitor for any signs of damage or wear and address them promptly to prevent further issues.
If you encounter any difficulties or are unsure about any aspect of the ice maker removal process, it’s always recommended to seek professional assistance. Your safety and the well-being of your appliance are of utmost importance.
We hope that this article has provided you with the necessary information and guidance to successfully take out the ice maker from your Samsung refrigerator. Enjoy the convenience of a properly maintained and fully functional ice maker, providing you with refreshing ice whenever you need it.
Frequently Asked Questions about How To Take Out Samsung Ice Maker
Was this page helpful?
At Storables.com, we guarantee accurate and reliable information. Our content, validated by Expert Board Contributors, is crafted following stringent Editorial Policies. We're committed to providing you with well-researched, expert-backed insights for all your informational needs.

0 thoughts on “How To Take Out Samsung Ice Maker”