
Articles
How To Repair An Ice Maker In A Refrigerator
Modified: March 19, 2024
Learn how to repair the ice maker in your refrigerator with our informative articles. Save money on repairs and keep your ice maker working efficiently.
(Many of the links in this article redirect to a specific reviewed product. Your purchase of these products through affiliate links helps to generate commission for Storables.com, at no extra cost. Learn more)
Introduction
An ice maker is a convenient and essential component in a refrigerator, allowing you to have a steady supply of ice cubes whenever you need them. However, like any other mechanical device, ice makers can experience malfunctions and stop working properly. This can be frustrating, especially during hot summer days or when you have guests over.
Fortunately, repairing an ice maker in a refrigerator is not as daunting as it may seem. With a few basic tools and some troubleshooting skills, you can often diagnose and fix the issue yourself, saving both time and money.
In this article, we will guide you through the process of repairing an ice maker in a refrigerator. We will cover the common reasons for ice maker malfunctions and provide step-by-step instructions on how to identify and fix the problem.
Before we begin, it’s important to note that safety should always be a priority when working with any electrical or plumbing components. Make sure to disconnect the power and water supply to the refrigerator before attempting any repairs. If you’re unsure or uncomfortable with any step, it’s best to consult a professional technician.
Now, let’s dive into the reasons for ice maker malfunctions and the tools and materials you’ll need for the repair process.
Key Takeaways:
- Don’t let a malfunctioning ice maker ruin your day. With basic tools and troubleshooting skills, you can save time and money by diagnosing and fixing common issues yourself, ensuring a steady supply of ice cubes.
- Prioritize safety, regular maintenance, and proper reinstallation to keep your ice maker in optimal condition. If in doubt, consult a professional technician for expert guidance and assistance.
Read more: How To Clean Ice Maker In Refrigerator
Reasons for Ice Maker Malfunction
There are several possible reasons why your ice maker may not be functioning properly. Understanding these common causes will help you narrow down the issue and proceed with the appropriate repair steps.
1. Water Supply Issues: One of the most common reasons for an ice maker malfunction is a problem with the water supply. If there’s no water flowing into the ice maker, it won’t be able to produce ice. This could be due to a blocked water line, a malfunctioning water inlet valve, or a frozen water supply line.
2. Faulty Water Inlet Valve: The water inlet valve controls the flow of water into the ice maker. If it becomes faulty or clogged with debris, it can disrupt the water supply and prevent ice production. Checking and replacing a faulty water inlet valve is a common troubleshooting step.
3. Ice Mold Thermostat Issues: The ice mold thermostat is responsible for monitoring the temperature of the ice mold tray. If it’s not functioning correctly, it can cause the ice maker to stop producing ice. Testing and troubleshooting the ice mold thermostat can help identify and resolve this issue.
4. Ice Maker Control Module Problems: The ice maker control module is the brain of the ice maker, controlling the various functions and cycles. If it becomes defective, the ice maker may not initiate the ice production process. Testing the control module and replacing it if necessary can resolve this issue.
5. Clogged or Dirty Ice Maker Components: Over time, the ice maker components, such as the ice mold and water lines, can get clogged with mineral deposits or dirt. This can impede the ice production process. Cleaning these components regularly can help maintain proper functionality.
These are just a few of the common reasons for ice maker malfunctions. By identifying the specific issue, you can proceed with the necessary repair steps to get your ice maker back up and running.
Next, let’s move on to the tools and materials you’ll need for repairing an ice maker in a refrigerator.
Tools and Materials Needed
Before you begin repairing your ice maker, it’s important to gather the necessary tools and materials. Having everything prepared in advance will make the process smoother and more efficient. Here’s a list of commonly used tools and materials:
1. Screwdrivers: Depending on the model of your refrigerator, you may need both a flathead and a Phillips screwdriver. These will be used to remove screws and access the ice maker compartment.
2. Pliers: Pliers are essential for tasks such as disconnecting water lines or gripping and twisting components during the repair process.
3. Multimeter: A multimeter is a handy tool for testing electrical connections and components. It can help you identify any potential issues with the ice maker’s electrical system.
4. Bucket or Container: You will need a bucket or container to collect any water that might leak or spill during the repair process. This will help avoid mess and potential water damage.
5. Cleaning Solution: It’s important to have an appropriate cleaning solution on hand to clean the ice maker components, such as the ice mold and water lines. You can use a mixture of warm water and mild dish soap or a specialized ice maker cleaner.
6. Replacement Parts: Depending on the specific issue with your ice maker, you may need to have replacement parts ready. Common replacement parts include the water inlet valve, ice mold thermostat, or ice maker control module. Make sure to consult your refrigerator’s manual or do some research to identify the correct replacement parts for your model.
7. Safety Precautions: Lastly, don’t forget to have appropriate safety equipment, such as gloves and safety goggles, to protect yourself during the repair process.
By having these tools and materials ready, you’ll be well-equipped to efficiently diagnose and fix the issue with your ice maker. Now that you’re prepared, let’s move on to the step-by-step repair process.
Step 1: Safety Precautions
Prior to starting any repairs on your ice maker, it’s crucial to take the necessary safety precautions to prevent any accidents or injuries. Here are some important safety measures to follow:
1. Disconnect the Power: Start by unplugging the refrigerator from the electrical outlet. This will ensure that there is no power running to the ice maker while you work on it. Safety should always be the top priority when handling any electrical components.
2. Shut Off the Water Supply: Locate the water shut-off valve behind or underneath your refrigerator. Turn it clockwise to shut off the water supply to the ice maker. This will prevent any leaks or water damage during the repair process.
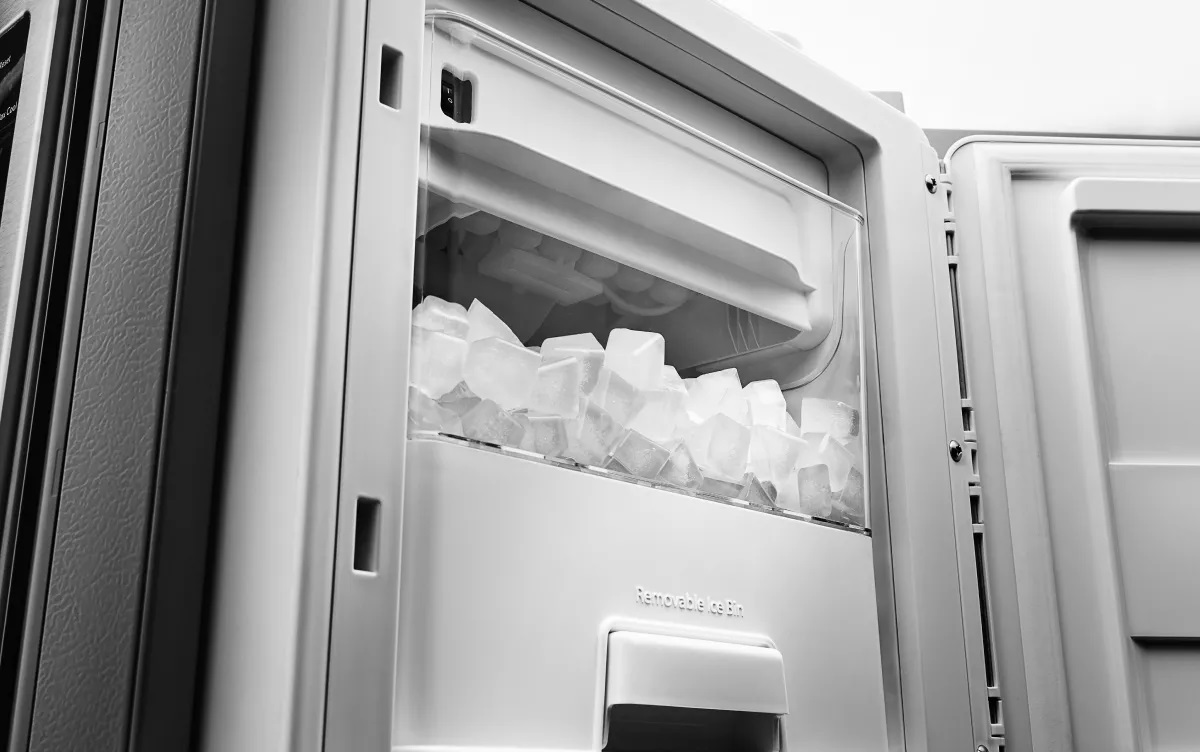
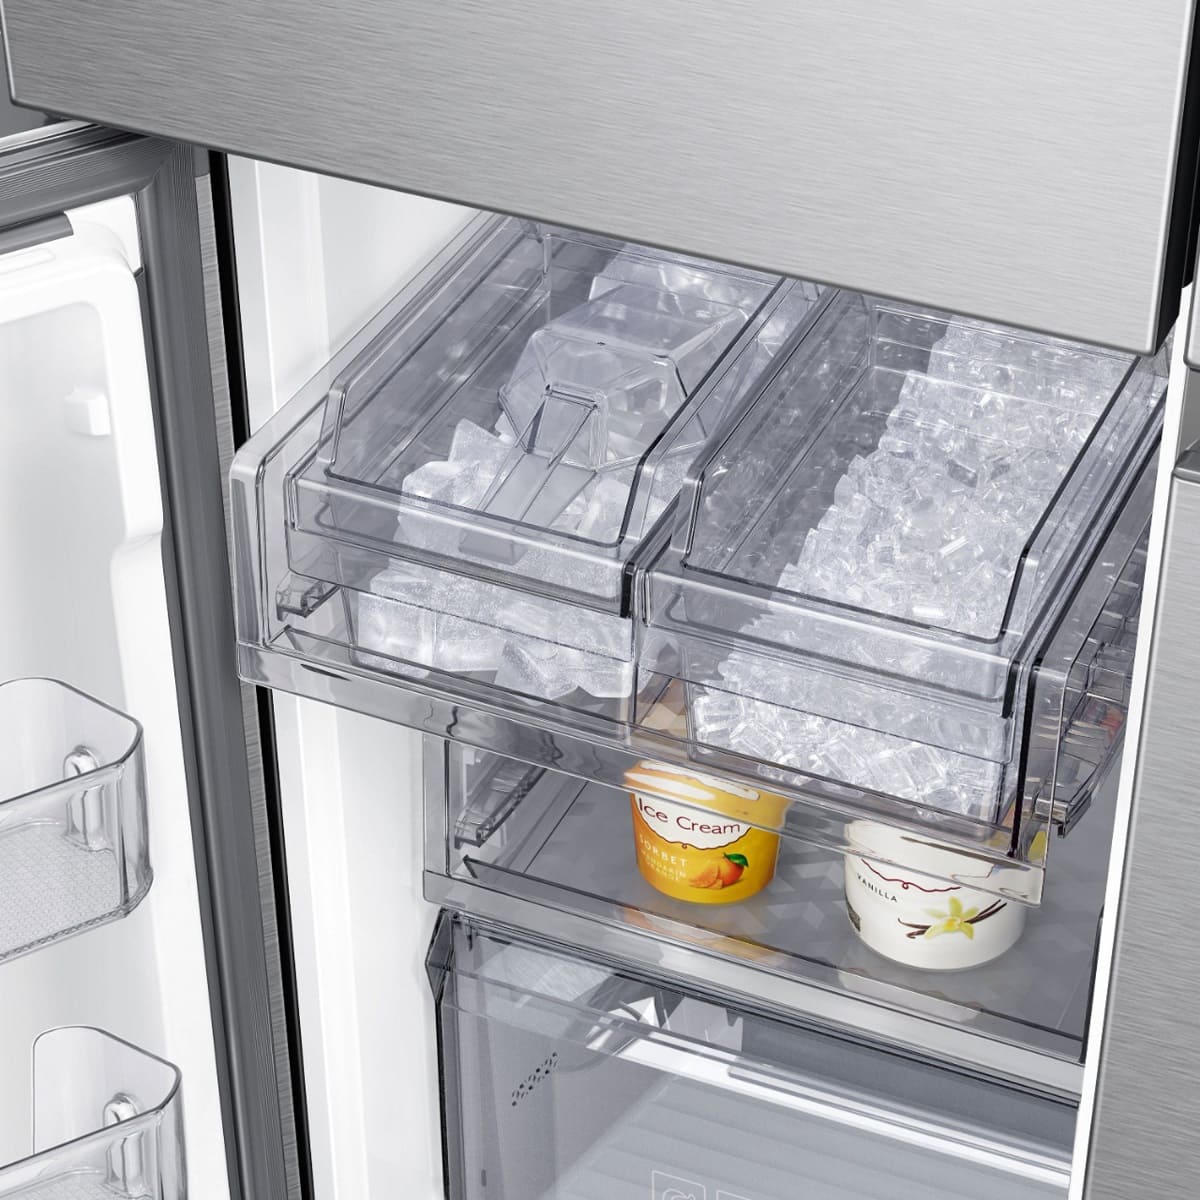
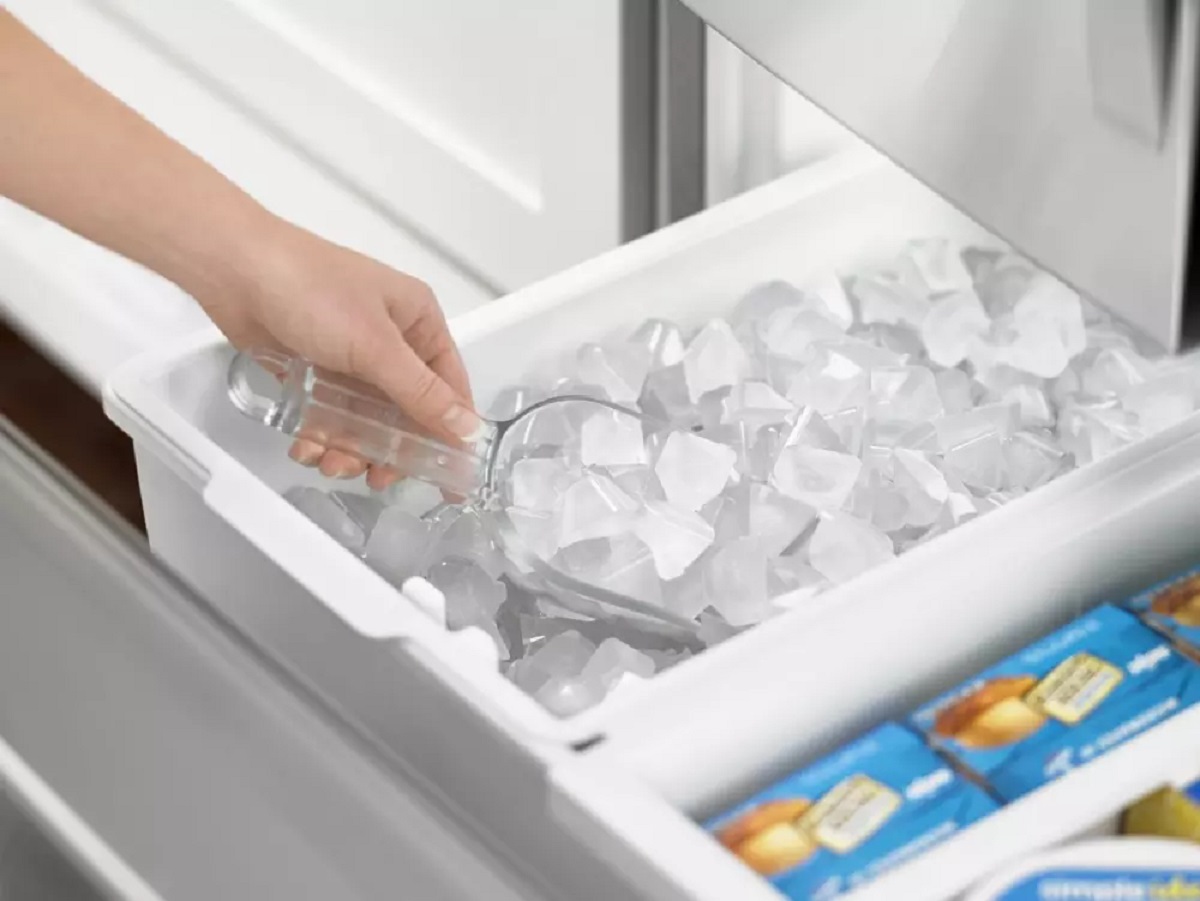
3. Empty the Ice Bin: Remove any ice cubes or leftover ice from the ice bin. This will make it easier to access and work on the ice maker components without worrying about any melting ice causing a mess.
4. Put on Safety Equipment: Protect yourself by wearing gloves and safety goggles. This will shield your hands and eyes from any potential hazards or sharp edges while handling the ice maker or its components.
5. Work in a Well-Ventilated Area: Ensure that you’re working in a well-ventilated space. Repairing the ice maker may involve using cleaning solutions or encountering mold or mildew. Good ventilation will prevent any harmful fumes from accumulating.
By following these safety precautions, you’ll reduce the risk of accidents and ensure a safe repair process. Once you’ve taken the necessary precautions, you can move on to the next step: shutting off the water supply.
Step 2: Shutting Off the Water Supply
Before you can proceed with repairing your ice maker, it’s essential to shut off the water supply to prevent any leaks or water damage during the process. Follow these steps to shut off the water supply:
1. Locate the Water Shut-Off Valve: The water shut-off valve is typically located behind or underneath your refrigerator. It is connected to the water supply line that feeds into the ice maker. You may need to move the refrigerator away from the wall to access it.
2. Turn the Valve Clockwise: Once you’ve located the water shut-off valve, use a wrench or pliers to turn the valve clockwise. This will close the valve and stop the water flow to the ice maker. Make sure to turn the valve firmly, but be cautious not to apply excessive force that could damage the valve or the water line.
3. Check for Water Flow: After shutting off the valve, check if the water supply has been successfully cut off. You can do this by trying to dispense water from the refrigerator’s water dispenser. If no water comes out, it means the water supply has been effectively shut off.
4. Empty the Water Line: To ensure that there’s no remaining water in the water line, briefly dispense water from the refrigerator’s water dispenser or manually remove any excess water. This step is crucial to prevent any water from leaking or spilling out when you disconnect the water line.
By properly shutting off the water supply, you’ll minimize the risk of water leaks and make the repair process easier and safer. With the water supply turned off, you can now proceed to the next step: removing the ice maker from the refrigerator for closer inspection.
Read more: How To Fix Ice Maker Ge Refrigerator
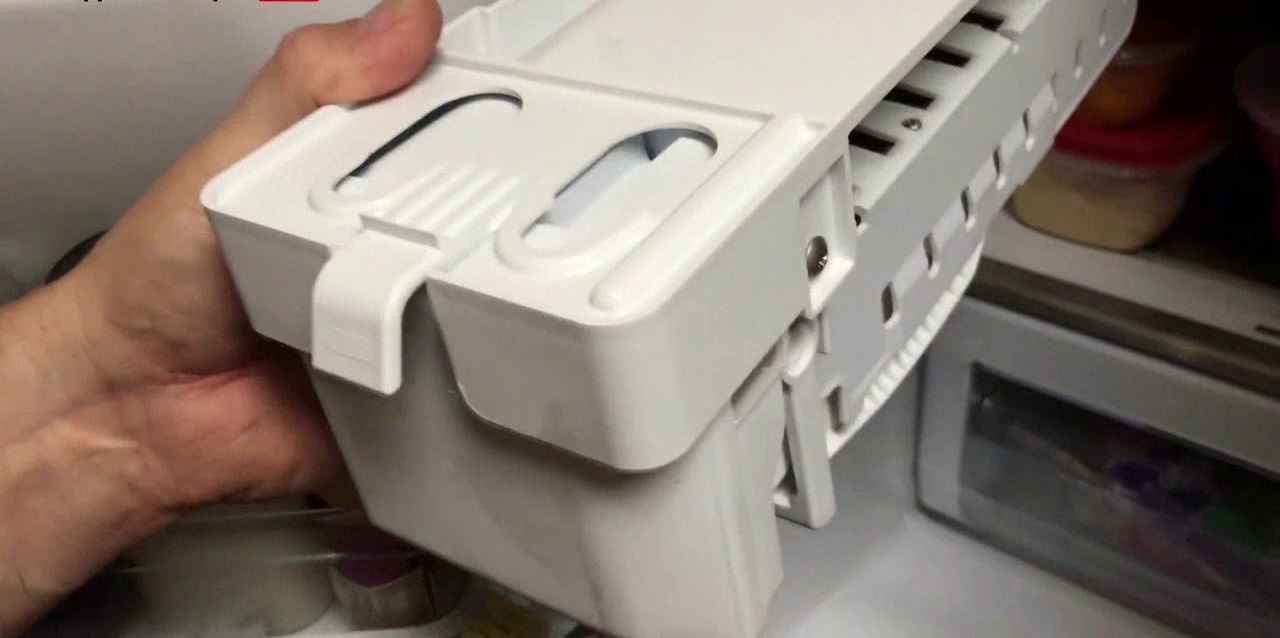
Step 3: Removing the Ice Maker
In order to properly diagnose and repair your ice maker, you’ll need to remove it from the refrigerator. Follow these steps to safely remove the ice maker:
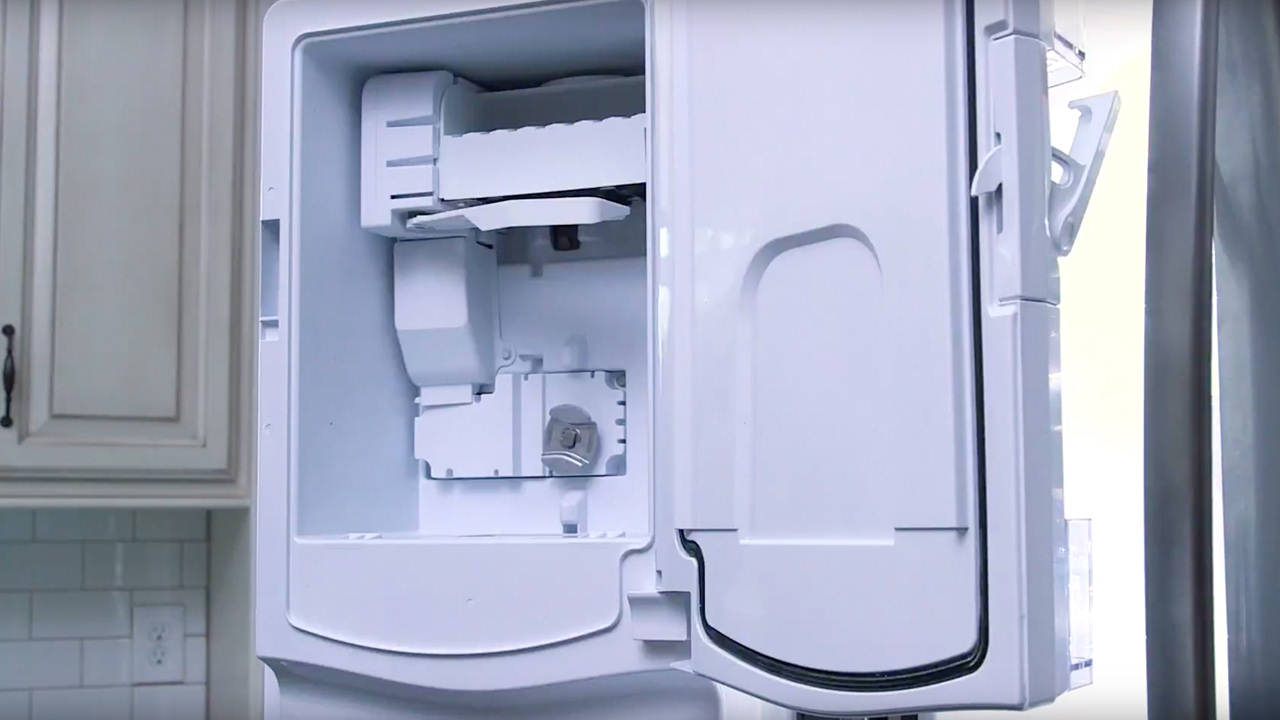
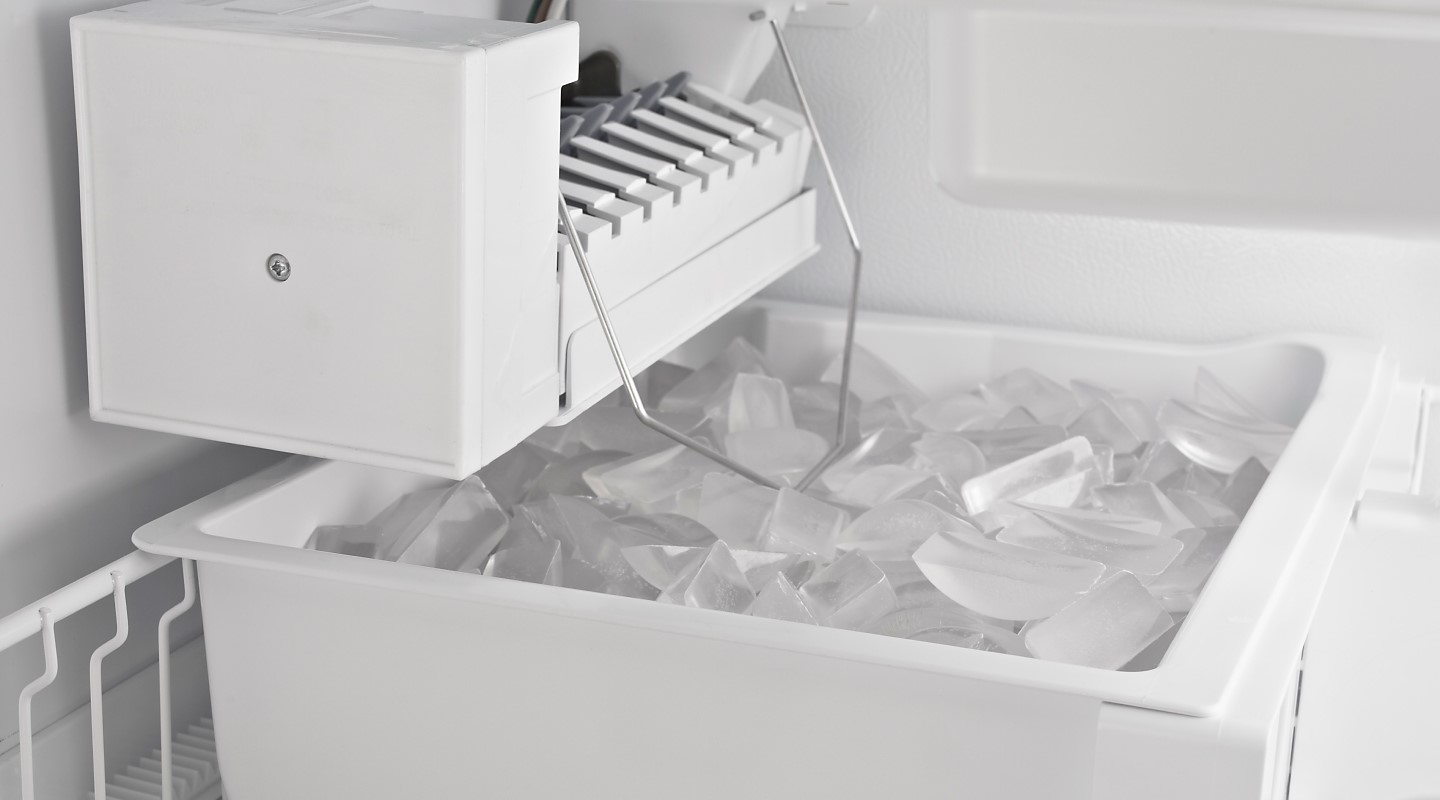
1. Locate the Ice Maker: Depending on your refrigerator model, the ice maker may be located in the freezer compartment or in a separate compartment on the door. Look for the ice maker unit and familiarize yourself with its components.
2. Disconnect the Power: Before proceeding, ensure that the refrigerator is still unplugged from the electrical outlet to eliminate the risk of electrical shock. Safety should always be a priority when working with electrical components.
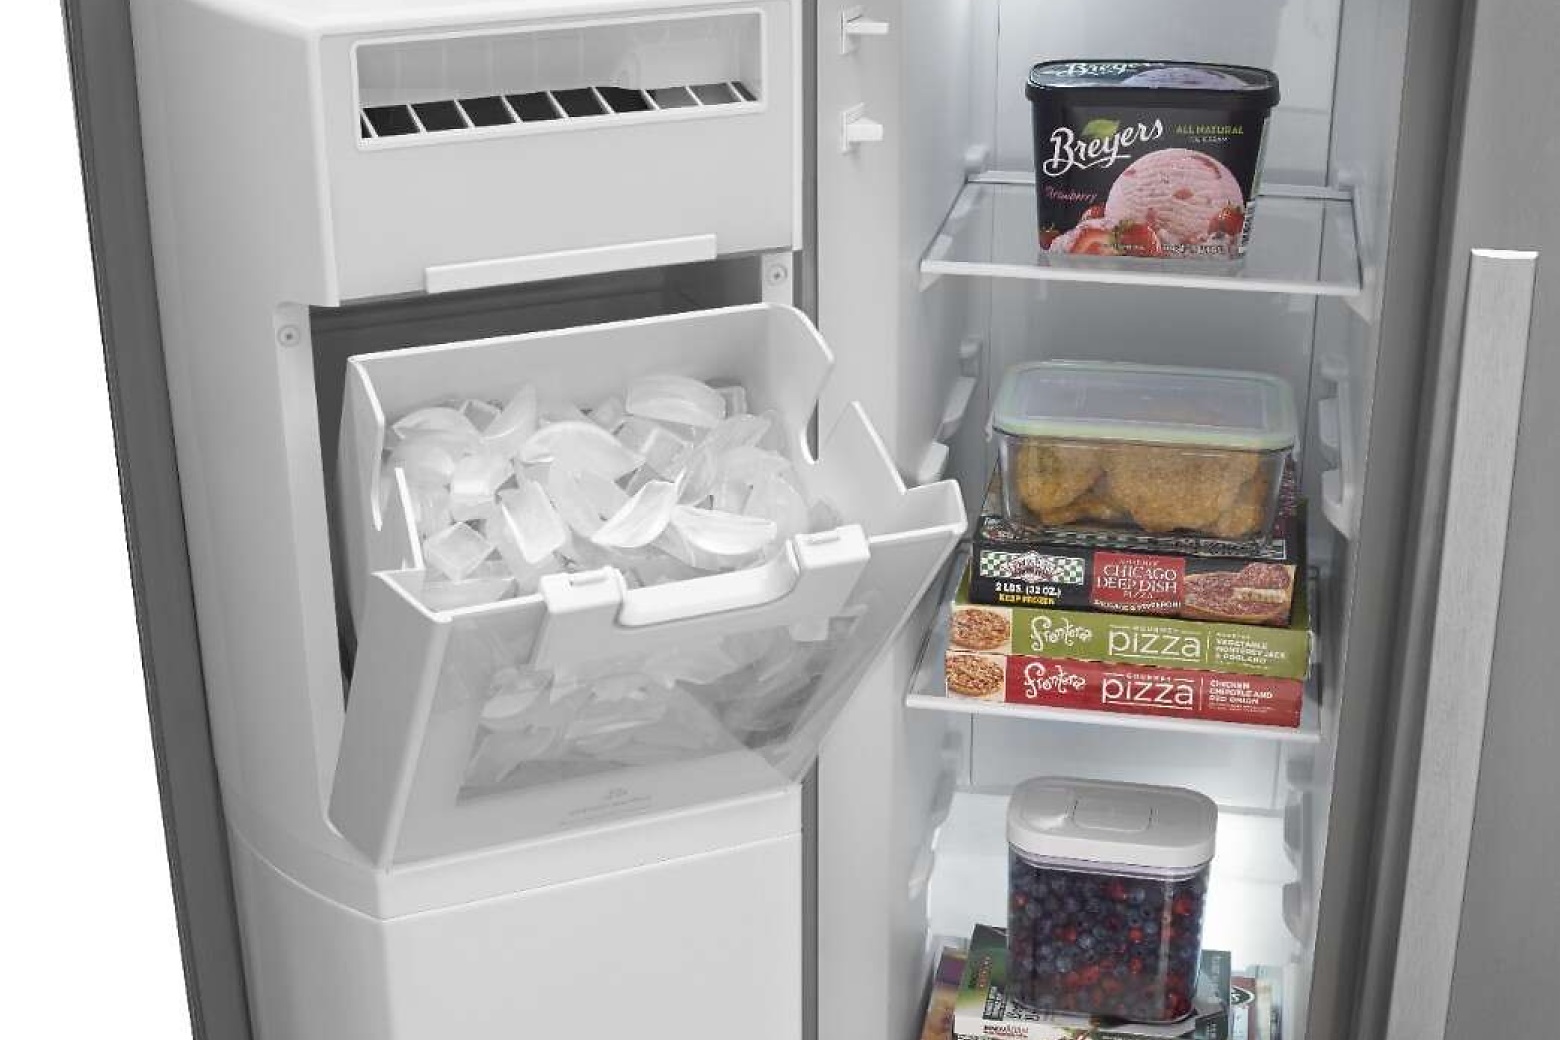
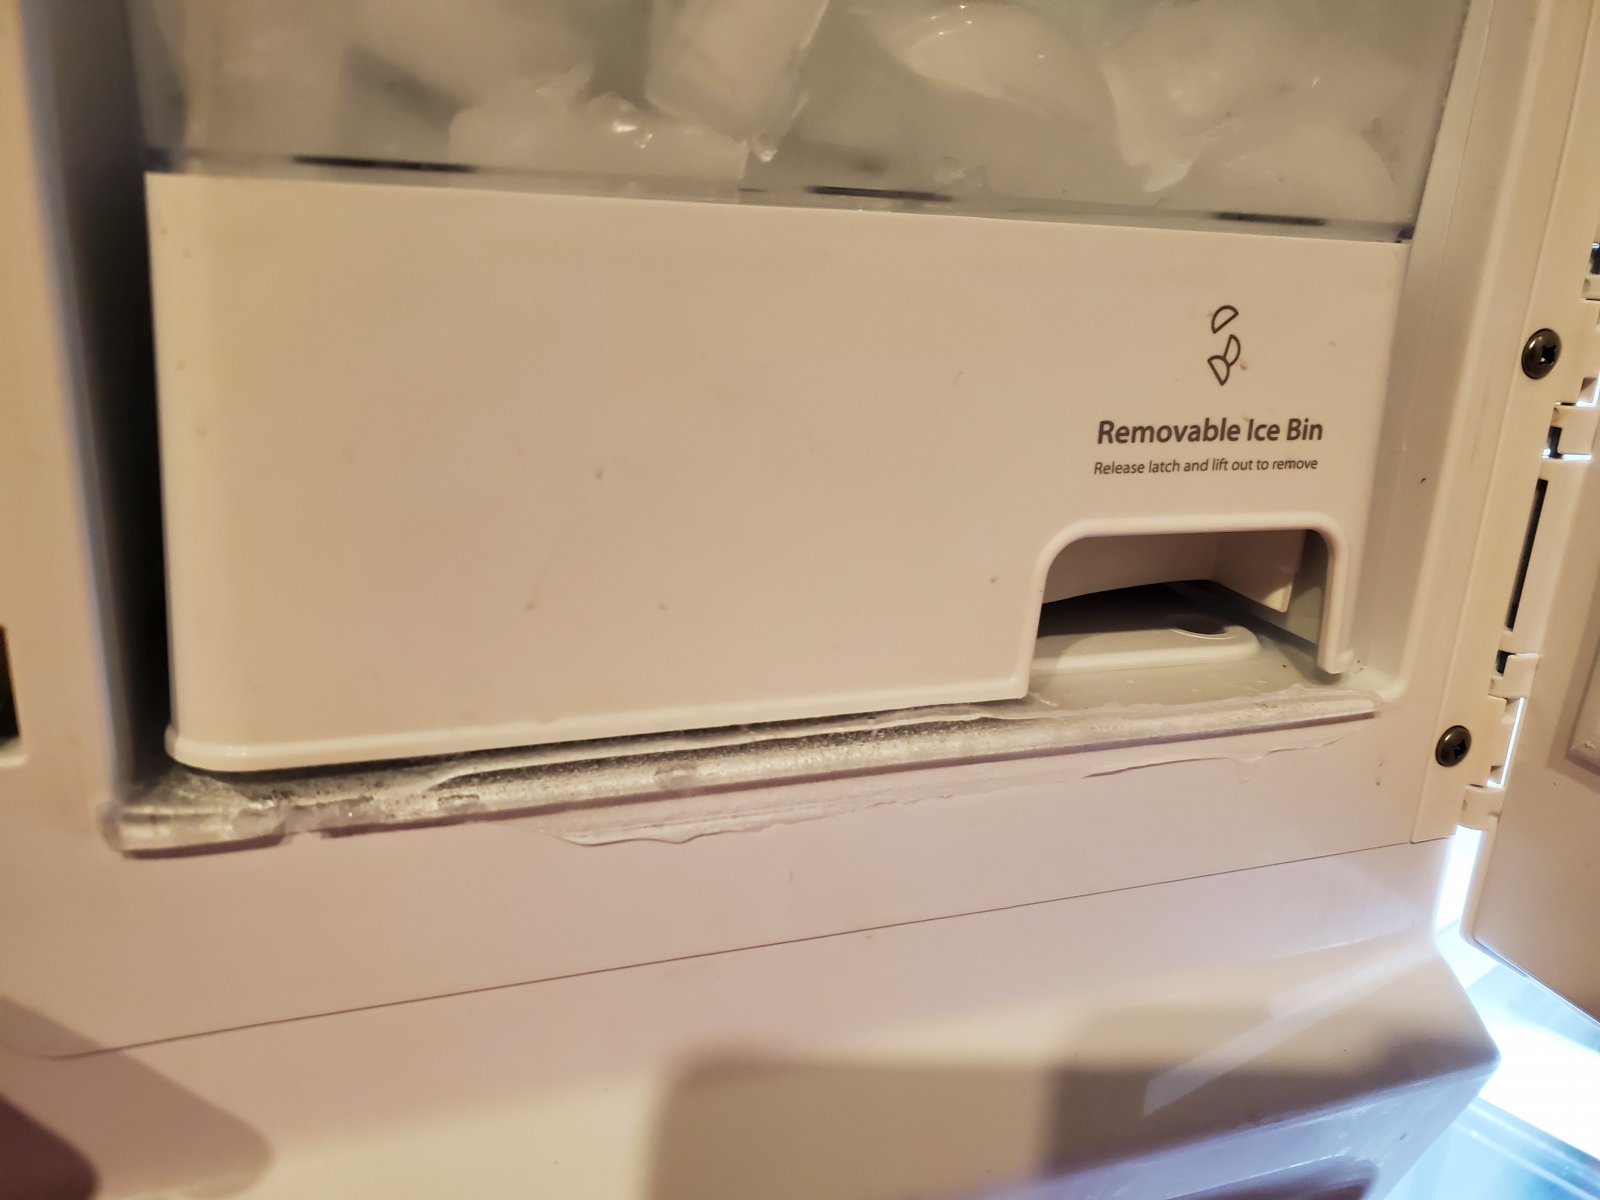
3. Remove the Ice Bin: Open the freezer compartment and remove the ice bin or ice tray. Set it aside in a safe place. This will allow for easier access to the ice maker and prevent any interference during the removal process.
4. Locate the Mounting Bracket or Screws: Examine the ice maker unit and look for the mounting bracket or screws that secure it to the refrigerator. These can typically be found on the side or underside of the ice maker assembly.
5. Loosen the Mounting Bracket or Screws: Use a screwdriver or the appropriate tool to loosen the mounting bracket or screws that hold the ice maker in place. Carefully unscrew them without applying excessive force to prevent any damage to the ice maker or the refrigerator.
6. Disconnect the Wiring Harness: With the mounting bracket or screws loosened, you can now disconnect the wiring harness that connects the ice maker to the refrigerator’s electrical system. Gently unplug the harness by pulling the connector apart.
7. Remove the Ice Maker: Once the mounting bracket, screws, and wiring harness are detached, carefully lift and remove the ice maker from the refrigerator. Take note of any additional connectors or water lines that may be attached and disconnect them if necessary.
By following these steps, you can safely remove the ice maker from your refrigerator. With the ice maker now separate from the unit, you can move on to the next step: inspecting the water inlet valve for any issues.
Step 4: Inspecting the Water Inlet Valve
The water inlet valve is a crucial component of the ice maker that controls the flow of water into the ice mold. If the water inlet valve is faulty or clogged, it can prevent the ice maker from producing ice. Follow these steps to inspect and troubleshoot the water inlet valve:
1. Locate the Water Inlet Valve: The water inlet valve is usually located at the back of the refrigerator, near the bottom. It is connected to the water supply line that feeds water into the ice maker. Identify the water inlet valve and familiarize yourself with its components.
2. Examine the Valve for External Damage: Inspect the water inlet valve visually for any signs of physical damage, such as cracks or leaks. If you notice any significant damage, it is likely that the valve needs to be replaced. Take note of the specific model of the water inlet valve for ordering the correct replacement part.
3. Check for Clogs or Debris: Use a flashlight to illuminate the water inlet valve and its inlet port. Look for any clogs or debris that may be obstructing the water flow. If you notice any blockage, carefully remove it using a small brush or toothpick. Be cautious not to damage the valve or push the debris further into the system.
4. Test the Water Inlet Valve: With the valve visually inspected, you can now test its functionality using a multimeter. Set the multimeter to the resistance or continuity mode. Place the multimeter probes on the terminals of the water inlet valve and observe the readings. If the readings are significantly different from the manufacturer’s specifications, it indicates a faulty valve that needs to be replaced.
5. Consult the Refrigerator Manual: If you’re unsure about the acceptable readings or need more specific instructions for testing the water inlet valve, refer to your refrigerator’s manual. It typically provides detailed information and troubleshooting steps for diagnosing issues with the ice maker components.
By inspecting the water inlet valve, you can determine if it’s the cause of your ice maker malfunction. If you’ve identified any issues or suspect that the valve is faulty, it’s time to proceed to the next step: replacing the water inlet valve.
Check the water supply line for any kinks or blockages. If the line is clear, the issue may be with the water inlet valve or the ice maker itself.
Step 5: Replacing Faulty Water Inlet Valve
If you have determined that the water inlet valve in your ice maker is faulty and needs to be replaced, follow these steps to install a new valve:
1. Order the Correct Replacement Valve: Refer to your refrigerator’s manual or do some research to identify the correct replacement water inlet valve for your specific make and model. Purchase the replacement valve from a reputable supplier or directly from the manufacturer.
2. Shut off the Water Supply: Before proceeding with the replacement, make sure to shut off the water supply to the refrigerator by turning the shut-off valve clockwise. This will prevent any leaks or water spills during the installation.
3. Disconnect the Water Supply Line: Use pliers to loosen and disconnect the water supply line from the existing water inlet valve. Have a bucket or container ready to catch any residual water that may flow out after the disconnection.
4. Remove the Old Water Inlet Valve: Locate the mounting screws or brackets that secure the water inlet valve to the refrigerator. Use a screwdriver or the appropriate tool to remove these screws or brackets. Carefully detach the old water inlet valve from the refrigerator.
5. Install the New Water Inlet Valve: Take the new water inlet valve and position it in the same location where the old valve was removed. Align the mounting screws or brackets and secure the new valve in place with the appropriate tools. Make sure the valve is tightly attached and properly positioned.
6. Reconnect the Water Supply Line: Take the water supply line and reconnect it to the new water inlet valve. Use pliers to tighten the connection securely. Be cautious not to overtighten, as it may damage the valve or the water line.
7. Turn on the Water Supply: Once the new water inlet valve is installed and the connections are secure, turn on the water supply by turning the shut-off valve counterclockwise. This will allow water to flow into the ice maker and initiate the ice production process.
8. Test the Ice Maker: Plug the refrigerator back into the electrical outlet and wait for the ice maker to start functioning. Monitor the ice maker for the production of ice cubes. If the new water inlet valve has been installed correctly, the ice maker should now be working properly.
By replacing a faulty water inlet valve, you can resolve issues with water flow to the ice maker and restore its functionality. If the water inlet valve was not the cause of the malfunction, you can proceed to the next step to check the water line for any obstructions or defects.
Step 6: Checking the Water Line
If you have ruled out a faulty water inlet valve as the cause of your ice maker issues, the next step is to check the water line for any obstructions or defects. Here’s how to proceed:
1. Locate the Water Line: The water line is typically located at the back of the refrigerator, running from the water supply to the ice maker. Find the portion of the water line that connects to the ice maker.
2. Inspect for Visible Damage: Examine the water line closely for any visible signs of damage, such as cracks, kinks, or leaks. If you notice any significant damage, the water line may need to be replaced. Take note of the specific length and type of water line required for your refrigerator model.
3. Test the Water Flow: Disconnect the water line from the water inlet valve or from the ice maker, depending on your refrigerator’s configuration. Have a bucket or container ready to catch any water that may flow out after the disconnection. Turn on the water supply briefly to check if water flows freely through the line. If there’s no water flow or if it’s sluggish, there may be a clog or blockage within the line.
4. Remove any Obstructions: If you encounter a blockage while testing the water flow, gently remove it using a small brush or a pipe cleaner. Be careful not to push the obstruction further into the line. Clearing any clogs or debris should restore proper water flow to the ice maker.
5. Check for Frozen Water Line: In some cases, the water line leading to the ice maker may freeze, preventing water from reaching the ice mold. Inspect the water line for any signs of freezing, such as visible ice inside the line. If frozen, carefully thaw the water line using a hairdryer set on low heat or by using a hot towel. Once thawed, the water should flow freely again.
6. Reconnect the Water Line: After inspecting and clearing any obstructions, reconnect the water line to the water inlet valve or the ice maker. Use pliers to secure the connection tightly, ensuring there are no leaks.
7. Test the Ice Maker: Plug the refrigerator back into the electrical outlet and allow the ice maker to cycle. Monitor the ice maker to see if it fills with water and proceeds to produce ice cubes. If the water line was the issue, the ice maker should now be working properly.
By checking the water line for obstructions or defects, you ensure that water can flow freely to the ice maker, addressing one of the common causes of ice maker malfunctions. If the water line was not the issue, continue to the next step to troubleshoot the ice mold thermostat.
Read more: How Does A Refrigerator Ice Maker Work
Step 7: Troubleshooting the Ice Mold Thermostat
The ice mold thermostat is responsible for monitoring the temperature of the ice mold tray in your ice maker. If it’s not functioning correctly, it can prevent the ice maker from initiating the ice production process. Follow these steps to troubleshoot the ice mold thermostat:
1. Locate the Ice Mold Thermostat: The ice mold thermostat is usually situated near or within the ice mold tray. Identify the location of the thermostat in your ice maker. Refer to your refrigerator’s manual if you’re unsure.
2. Inspect for Physical Damage: Visually examine the ice mold thermostat for any signs of physical damage or wear. Look for visible cracks, broken wires, or loose connections. If you notice any significant damage, the thermostat may need to be replaced.
3. Test the Thermostat for Continuity: Use a multimeter in the continuity mode to test the functionality of the ice mold thermostat. Remove the thermostat from its position (if possible) and disconnect any electrical connectors. Place the multimeter probes on the terminals of the thermostat, and observe the readings on the multimeter display. If there is no continuity or if the readings are significantly different from the manufacturer specifications, it indicates a faulty thermostat that needs to be replaced.
4. Test the Thermostat’s Response to Temperature: If the initial continuity test is inconclusive or if your multimeter has a temperature probe, you can further test the thermostat’s response to temperature changes. Use a hairdryer to warm the thermostat or place it in a container of ice to cool it down. Monitor the multimeter readings as you introduce temperature changes to the thermostat. If the readings do not change accordingly, it indicates a faulty thermostat that requires replacement.
5. Replace the Ice Mold Thermostat: If the ice mold thermostat is determined to be faulty, you will need to replace it. Consult your refrigerator’s manual or do some research to find the correct replacement part. Disconnect the old thermostat and connect the new one, following the manufacturer’s instructions.
6. Reassemble and Test the Ice Maker: Once you have replaced the ice mold thermostat, reassemble any components that were removed during the troubleshooting process. Plug the refrigerator back into the electrical outlet and allow the ice maker to cycle. Monitor the ice maker to see if it fills with water and initiates the ice production process. If the ice mold thermostat was the issue, the ice maker should now be working properly.
Troubleshooting the ice mold thermostat allows you to identify if it’s the cause of the ice maker malfunction. By following these steps, you can determine if a faulty thermostat is preventing your ice maker from producing ice. If the thermostat was not the issue, proceed to the next step to test the ice maker control module.
Step 8: Testing the Ice Maker Control Module
The ice maker control module is the brain of the ice maker, responsible for controlling its various functions and cycles. If it becomes defective, the ice maker may fail to initiate the ice production process. Follow these steps to test the ice maker control module:
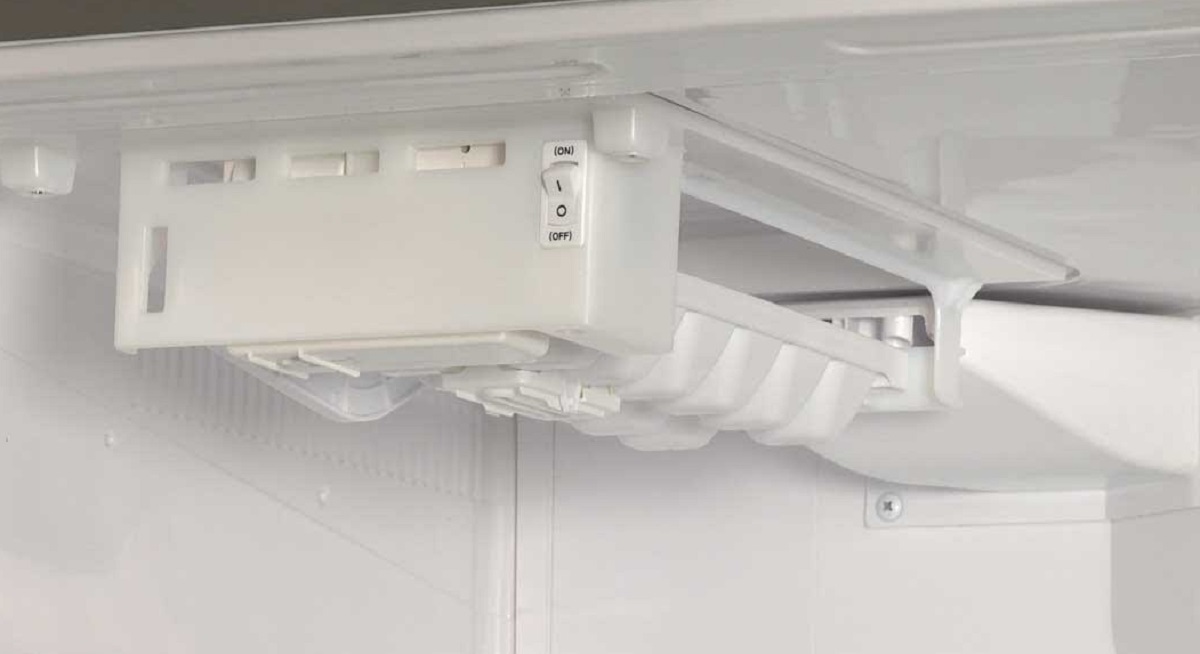
1. Locate the Ice Maker Control Module: The ice maker control module is usually located within the ice maker itself. Remove any panels or covers on the ice maker to access the control module. Refer to your refrigerator’s manual for guidance if needed.
2. Examine for Visible Damage: Inspect the control module for any visible signs of damage, such as burnt components or loose connections. Look for any obvious signs of wear or corrosion. If you notice significant damage, the control module may need to be replaced.
3. Test the Voltage Supply: Using a multimeter, set it to the appropriate voltage setting and test for power supply to the control module. Place the multimeter probes on the corresponding terminals of the control module and observe the multimeter readings. If there is no power supply or if the readings are significantly different from the manufacturer’s specifications, it indicates a problem with the voltage supply that should be addressed.
4. Check for Proper Resistance: Disconnect any electrical connectors from the control module and set the multimeter to the resistance setting. Test the resistance between specific terminals or pins on the control module according to the manufacturer’s specifications. Compare the readings with the recommended values. If the readings differ significantly, it indicates a faulty control module that requires replacement.
5. Test the Component Activation: Some ice maker control modules have the ability to activate specific components, such as the water valve or the ice ejector motor. Refer to your refrigerator’s manual for instructions on how to activate these components using the control module. Activate each component and observe its response. If any of the components do not respond or function as intended, it suggests a problem with the control module.
6. Replace the Ice Maker Control Module: If the control module is found to be faulty, you will need to replace it. Consult your refrigerator’s manual or do some research to find the correct replacement part. Disconnect the old control module and connect the new one, ensuring the proper wiring connections are made according to the manufacturer’s instructions.
7. Reassemble and Test the Ice Maker: Once the control module has been replaced, reassemble any components that were removed during the testing process. Plug the refrigerator back into the electrical outlet and allow the ice maker to cycle. Monitor the ice maker to see if it fills with water and initiates the ice production process. If the control module was the issue, the ice maker should now be functioning properly.
By testing the ice maker control module, you can determine if it’s the cause of the ice maker malfunction. Follow these steps to diagnose any issues with the control module and proceed accordingly with repair or replacement. If the control module was not the cause, move on to step 9 to clean the ice maker components.
Step 9: Cleaning the Ice Maker Components
Over time, the ice maker components can accumulate mineral deposits, mold, or debris, which can affect its performance and lead to malfunctions. Cleaning the ice maker components is an important step in troubleshooting and maintaining its optimal functionality. Follow these steps to clean the ice maker components:
1. Disconnect the Power: Before starting the cleaning process, unplug the refrigerator from the electrical outlet to ensure your safety.
2. Remove the Ice Maker: If you haven’t already done so, detach the ice maker from the refrigerator following the steps outlined in previous sections. This will allow for easier access to the components that need cleaning.
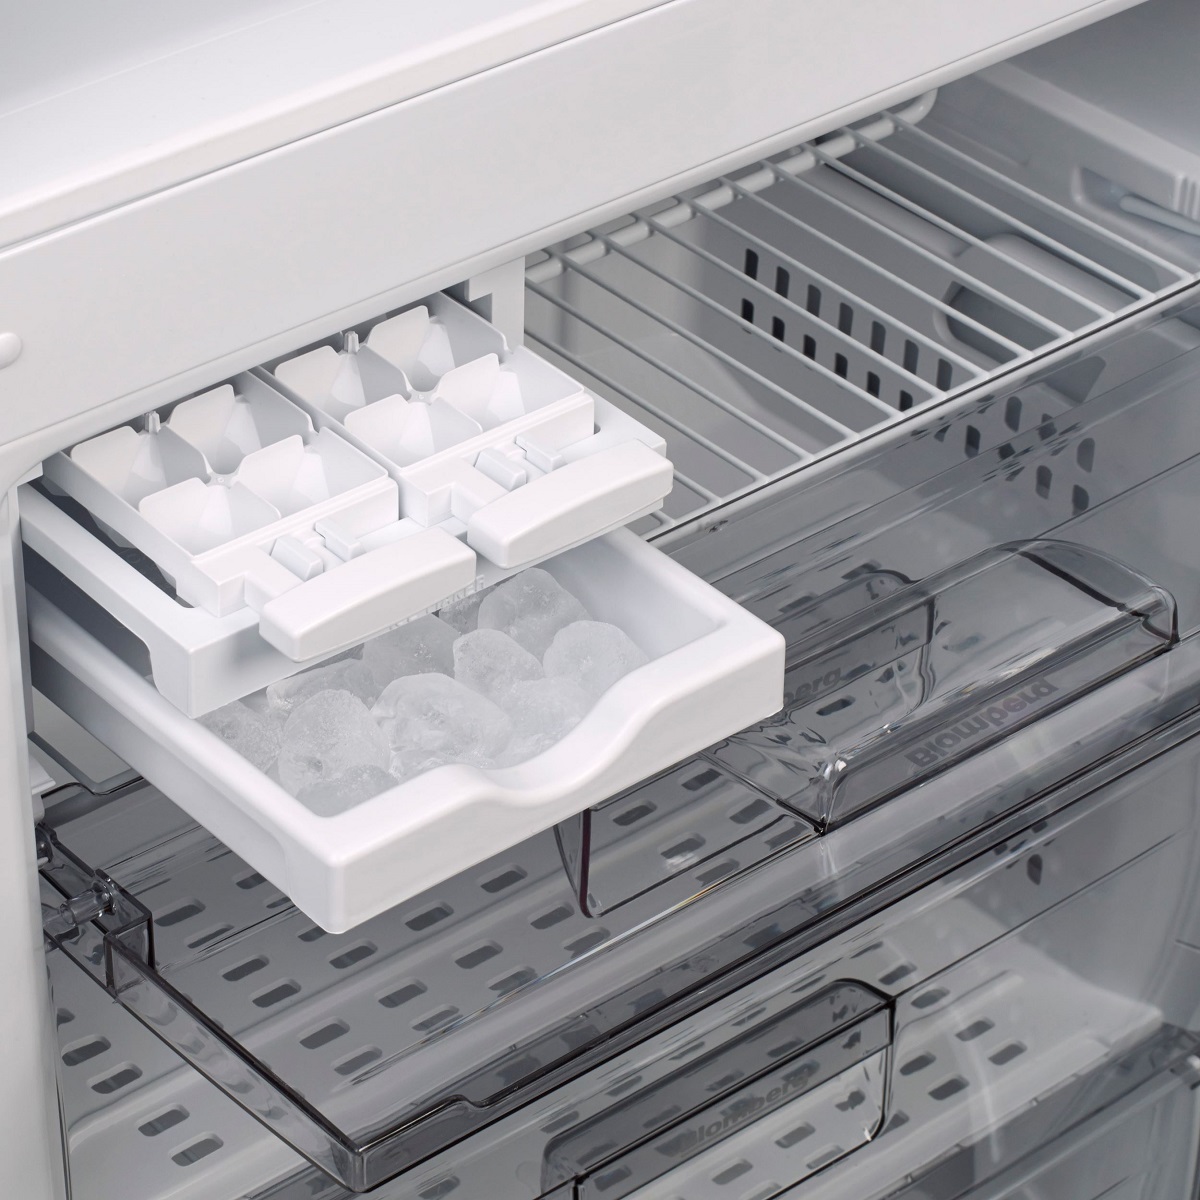
3. Remove the Ice Mold: Locate the ice mold, which is the tray or assembly that holds the ice cubes. Remove it from the ice maker carefully. Depending on your ice maker model, you may need to unscrew or release any fasteners holding the ice mold in place.
4. Soak the Ice Mold: Prepare a solution of warm water and mild dish soap or a specialized ice maker cleaner. Submerge the ice mold in the solution and let it soak for about 15-20 minutes. This will help loosen and dissolve any mineral deposits or dirt that may have accumulated.
5. Scrub the Ice Mold: After soaking, use a soft brush or sponge to gently scrub the ice mold. Pay attention to any areas with stubborn buildup, focusing on removing all traces of dirt, mineral deposits, or mold. Rinse the ice mold thoroughly with clean water.
6. Clean the Water Inlet and Outlet: With the ice mold removed, inspect the water inlet and outlet for any mineral deposits or debris. Use a small brush or pipe cleaner to carefully clean these areas and ensure that water can flow freely through the ice maker.
7. Check the Water Lines: Inspect the water lines connected to the ice maker for any residue or clogs. If necessary, use a brush or pipe cleaner to clean the interior of the water lines. Pay special attention to any connections or bends where debris can accumulate.
8. Dry and Reassemble: Once all the components are thoroughly cleaned, dry them properly to prevent any excess moisture. Reassemble the ice maker, ensuring all the components are securely fitted and connections are properly reattached.
9. Reinstall the Ice Maker: Place the ice maker back into its original position within the refrigerator. Affix any mounting brackets or screws to secure it in place. Reconnect the water line to the water inlet valve and tighten the connection using pliers if necessary.
10. Plug in the Refrigerator: Restore power to the refrigerator by plugging it back into the electrical outlet. Allow the ice maker to cycle and monitor its operation to ensure it is functioning optimally.
By cleaning the ice maker components regularly, you can prevent buildup and maintain the performance and efficiency of your ice maker. Proper cleaning can help avoid potential issues and ensure that your ice maker continues to produce clean and fresh ice cubes.
Step 10: Reinstalling the Ice Maker
After completing the necessary repairs and maintenance on your ice maker, it’s time to reinstall it back into the refrigerator. Follow these steps to properly reinstall the ice maker:
1. Position the Ice Maker: Align the ice maker unit with its designated position in the refrigerator. Ensure that it is correctly oriented and fits snugly into place.
2. Attach the Mounting Brackets or Screws: Using a screwdriver or the appropriate tool, reattach the mounting brackets or screws that secure the ice maker to the refrigerator. Tighten them securely but be careful not to overtighten to avoid damaging the ice maker or the refrigerator.
3. Reconnect the Wiring Harness: Identify the wiring harness that connects the ice maker to the refrigerator’s electrical system. Gently plug the connector back into its corresponding outlet, ensuring a secure and proper connection.
4. Connect the Water Supply Line: If you disconnected the water supply line during the repair process, reattach it to the water inlet valve. Use pliers to tighten the connection, ensuring a watertight seal.
5. Verify Proper Installation: Double-check that all connections are securely fitted and tightened. Make sure there are no loose components or wiring that could interfere with the ice maker’s functionality.
6. Test the Ice Maker: Plug the refrigerator back into the electrical outlet and turn on the water supply. Allow the ice maker to cycle through a complete ice-making cycle. Monitor its operation to ensure that it fills with water, freezes the water, and ejects ice cubes into the ice bin.
7. Confirm Proper Functionality: After a complete ice-making cycle, verify that the ice maker is functioning correctly. Check for proper water flow, ice cube production, and smooth operation of all the components. Listen for any unusual noises or signs of malfunction.
8. Adjust Settings if Necessary: Depending on your ice maker model, you may need to adjust specific settings, such as ice cube size or harvest cycle duration, to suit your preference. Consult your refrigerator’s manual for instructions on adjusting the settings, if needed.
By following these steps to reinstall your ice maker, you’ll ensure a proper and secure fit within your refrigerator. Testing and verifying its functionality will provide you with peace of mind that the repair work was successful, and your ice maker is once again ready to produce ice cubes for your convenience.
Conclusion
Repairing an ice maker in a refrigerator doesn’t have to be daunting or expensive. With a little bit of troubleshooting and some basic tools, you can often diagnose and fix common ice maker malfunctions yourself. By following the steps outlined in this article, you can regain the functionality of your ice maker and enjoy a steady supply of ice cubes whenever you need them.
Throughout the repair process, it’s important to prioritize safety. Remember to disconnect the power and shut off the water supply before beginning any repairs. Use appropriate safety equipment, such as gloves and goggles, to protect yourself from potential hazards.
By understanding the various reasons for ice maker malfunctions and the steps to troubleshoot and repair common issues, you can save both time and money. Whether it’s a faulty water inlet valve, a clogged water line, a malfunctioning thermostat, or a defective control module, you now have the knowledge to tackle these problems head-on.
Regular maintenance is also crucial for keeping your ice maker in optimal condition. Clean the ice maker components regularly to prevent mineral buildup and other debris that can affect its performance. Stay attentive to any signs of damage or wear and address them promptly to avoid further complications.
If you have any doubts or concerns about the repair process, it’s always a good idea to consult a professional technician. They can provide expert advice, guidance, and assistance if needed.
Now that you have learned how to repair an ice maker in a refrigerator, you can confidently tackle any ice maker issues that may arise. Remember, a properly functioning ice maker ensures you always have ice on hand to keep your drinks cool and refreshing.
Frequently Asked Questions about How To Repair An Ice Maker In A Refrigerator
Was this page helpful?
At Storables.com, we guarantee accurate and reliable information. Our content, validated by Expert Board Contributors, is crafted following stringent Editorial Policies. We're committed to providing you with well-researched, expert-backed insights for all your informational needs.

0 thoughts on “How To Repair An Ice Maker In A Refrigerator”