Home>Storage Ideas>Kitchen Storage>How To Clean A Dryer Inside And Out
Kitchen Storage
How To Clean A Dryer Inside And Out
Modified: August 28, 2024
Learn how to effectively clean the inside and outside of your dryer with our simple and helpful guide. Improve kitchen storage with practical ideas.
(Many of the links in this article redirect to a specific reviewed product. Your purchase of these products through affiliate links helps to generate commission for Storables.com, at no extra cost. Learn more)
Introduction
When it comes to household appliances, the dryer is often overlooked when it comes to regular cleaning. However, cleaning your dryer, both inside and out, is essential to maintain its efficiency and functionality. Not only does regular cleaning enhance the performance of your dryer, but it also reduces the risk of fire hazards and extends the lifespan of the appliance.
Let’s explore why cleaning your dryer is important and the benefits of making it a part of your regular cleaning routine.
One of the primary reasons why cleaning your dryer is important is to prevent the build-up of lint. Lint is one of the most common culprits of dryer fires. When lint accumulates in the dryer vent and ducts, it restricts airflow, causing the dryer to work harder and potentially overheat. The high temperatures combined with the presence of flammable lint create a dangerous combination, increasing the risk of fires. Therefore, by regularly cleaning your dryer, you can minimize the accumulation of lint and significantly reduce the chances of a dryer fire.
Another benefit of regular dryer cleaning is improved efficiency. When the dryer vent and ducts are clogged with lint, the airflow is restricted, leading to longer drying times and higher energy consumption. By cleaning out the lint, you allow for better air circulation, leading to improved efficiency and shorter drying cycles. This not only saves you time and energy but also reduces your utility bills.
Furthermore, cleaning your dryer can help prolong its lifespan. When the dryer is clogged with lint and debris, it puts excessive strain on the motor and other components, causing them to wear out faster. Regular cleaning removes the debris and reduces the strain, thus extending the life of your appliance.
In addition to preventing fire hazards, improving efficiency, and extending the lifespan of your dryer, regular cleaning also helps to maintain its overall performance. A clean dryer will dry your clothes more evenly and effectively, ensuring that they come out fresh and wrinkle-free. It also helps to eliminate any musty odors that may develop due to the accumulation of lint and moisture.
By incorporating dryer cleaning into your regular household cleaning routine, you can ensure that your dryer operates safely and efficiently for years to come. Not only will this save you time and money, but it will also provide you with peace of mind, knowing that you have taken the necessary precautions to protect your home and family.
Now that we understand the importance of cleaning your dryer, let’s dive into the tools and materials you’ll need to get the job done.
Key Takeaways:
- Regularly cleaning your dryer, both inside and out, is crucial for reducing fire hazards, improving efficiency, and prolonging its lifespan. Incorporate dryer cleaning into your routine for safety and peace of mind.
- Use the right tools, follow safety precautions, and schedule professional maintenance to ensure a clean and efficient dryer. Regular cleaning and maintenance yield significant long-term benefits for safety and performance.
Read more: How To Clean Inside Of Dryer
Tools and Materials Needed
When it comes to cleaning your dryer, having the right tools and materials is essential to ensure a thorough and effective cleaning process. Here is a list of items you will need to clean your dryer, along with an explanation of why using proper tools is important.
1. Vacuum cleaner: A vacuum cleaner with a hose attachment is necessary to remove loose lint and debris from the dryer vent, ducts, and drum. It helps to eliminate any obstructions that may restrict airflow and lead to reduced efficiency.
2. Dryer vent brush: A long, flexible brush specifically designed for cleaning dryer vents is crucial for removing stubborn lint build-up from the vent and ducts. The brush helps to dislodge and loosen the lint, allowing it to be easily vacuumed or swept away.
3. Microfiber cloth: A soft microfiber cloth is ideal for wiping down the exterior surfaces of the dryer. It effectively removes dust, dirt, and fingerprints without scratching or damaging the finish.
4. Gentle cleaning solution: For more stubborn stains on the dryer’s exterior, a mild cleaning solution can be used. Avoid abrasive or harsh chemicals that may cause damage or discoloration to the surface. Instead, opt for a gentle solution made of warm water and a mild detergent.
5. Lint trap brush: A small brush specifically designed for cleaning the lint trap is essential. This brush helps to remove any lint or debris that may have gathered in the trap, allowing for proper airflow and preventing clogs.
6. Screwdriver: In some cases, you may need a screwdriver to remove the front panel or access certain parts of the dryer for thorough cleaning. Make sure you have the appropriate screwdriver size and type for your specific dryer model.
Using proper tools is crucial to ensure a safe and effective cleaning process. For example, using a specialized dryer vent brush rather than a regular brush or improvised tool will help you reach deep into the vent and ducts, removing lint efficiently. Similarly, using a lint trap brush instead of your fingers or a regular brush prevents potential injury while effectively cleaning the trap.
Additionally, using a vacuum cleaner with a hose attachment allows you to properly clean tight spaces, ensuring that no lint or debris is left behind. The microfiber cloth helps avoid scratches or damage to the dryer’s surface, maintaining its aesthetic appeal.
By using the right tools and materials, you can ensure a thorough and safe cleaning of your dryer. Now that we have covered the tools and materials needed, let’s move on to the safety precautions you should consider before cleaning.
Safety Precautions
Prior to cleaning your dryer, it is important to take certain safety precautions to ensure your well-being and protect yourself from potential hazards. By following these precautions, you can minimize the risk of accidents and maintain a safe cleaning environment. Here are some precautions to consider before cleaning your dryer:
1. Disconnect the power: Before starting any cleaning or maintenance tasks on your dryer, unplug it from the power source or turn off the circuit breaker to avoid electrical shocks or accidents. This precaution is crucial to ensure your safety while handling electrical components or accessing the interior of the dryer.
2. Allow the dryer to cool down: Give your dryer enough time to cool down before attempting any cleaning. Dryers can become hot during operation, and touching hot surfaces can cause burns. Waiting until the dryer is cool to the touch is essential to reduce the risk of accidental injuries.
3. Wear protective gear: To protect yourself from potential hazards, it is advisable to wear appropriate protective gear. This may include gloves to shield your hands from sharp edges or cleaning chemicals, safety goggles to protect your eyes from dust or debris, and a mask to prevent inhalation of dust or lint particles.
4. Clean the lint trap: Before beginning the cleaning process, clean the lint trap thoroughly. Removing excess lint from the trap helps prevent the spread of lint during the cleaning process and ensures proper airflow. This step is essential for maintaining a safe and efficient dryer.
5. Clear the area around the dryer: Make sure the area around the dryer is clear of any clutter or obstructions. This includes removing any flammable materials, such as lint or cleaning solvents, that may pose a fire hazard. It is important to have a clear workspace to maneuver safely while cleaning the dryer.
6. Read the manufacturer’s instructions: It is always a good idea to consult the manufacturer’s instructions or manual before attempting any cleaning or maintenance tasks. Each dryer model may have specific guidelines or recommendations for cleaning, and following these instructions can help you avoid potential damage or accidents.
By adhering to these safety precautions, you can ensure a safe and incident-free cleaning process for your dryer. Prioritizing your safety while handling electrical components, using protective gear, clearing the area around the dryer, and following the manufacturer’s instructions are essential for a successful and risk-free cleaning experience.
Now that you are aware of the necessary safety precautions, it’s time to move on to the step-by-step guide for cleaning the exterior of your dryer.
Cleaning the Exterior
Keeping the exterior of your dryer clean not only enhances its appearance but also helps maintain its functionality. Regular cleaning of the outside of the dryer removes dust, dirt, and stains, ensuring a pristine and well-maintained appliance. Here is a step-by-step guide to cleaning the exterior of your dryer:
- Prepare the cleaning solution: Start by preparing a gentle cleaning solution using warm water and a mild detergent. Avoid using harsh chemicals or abrasive cleaners that may damage the surface of the dryer. Mix the solution thoroughly.
- Unplug the dryer: Before starting the cleaning process, ensure that the dryer is unplugged from the power source. Disconnecting the power eliminates the risk of electrical shock while cleaning.
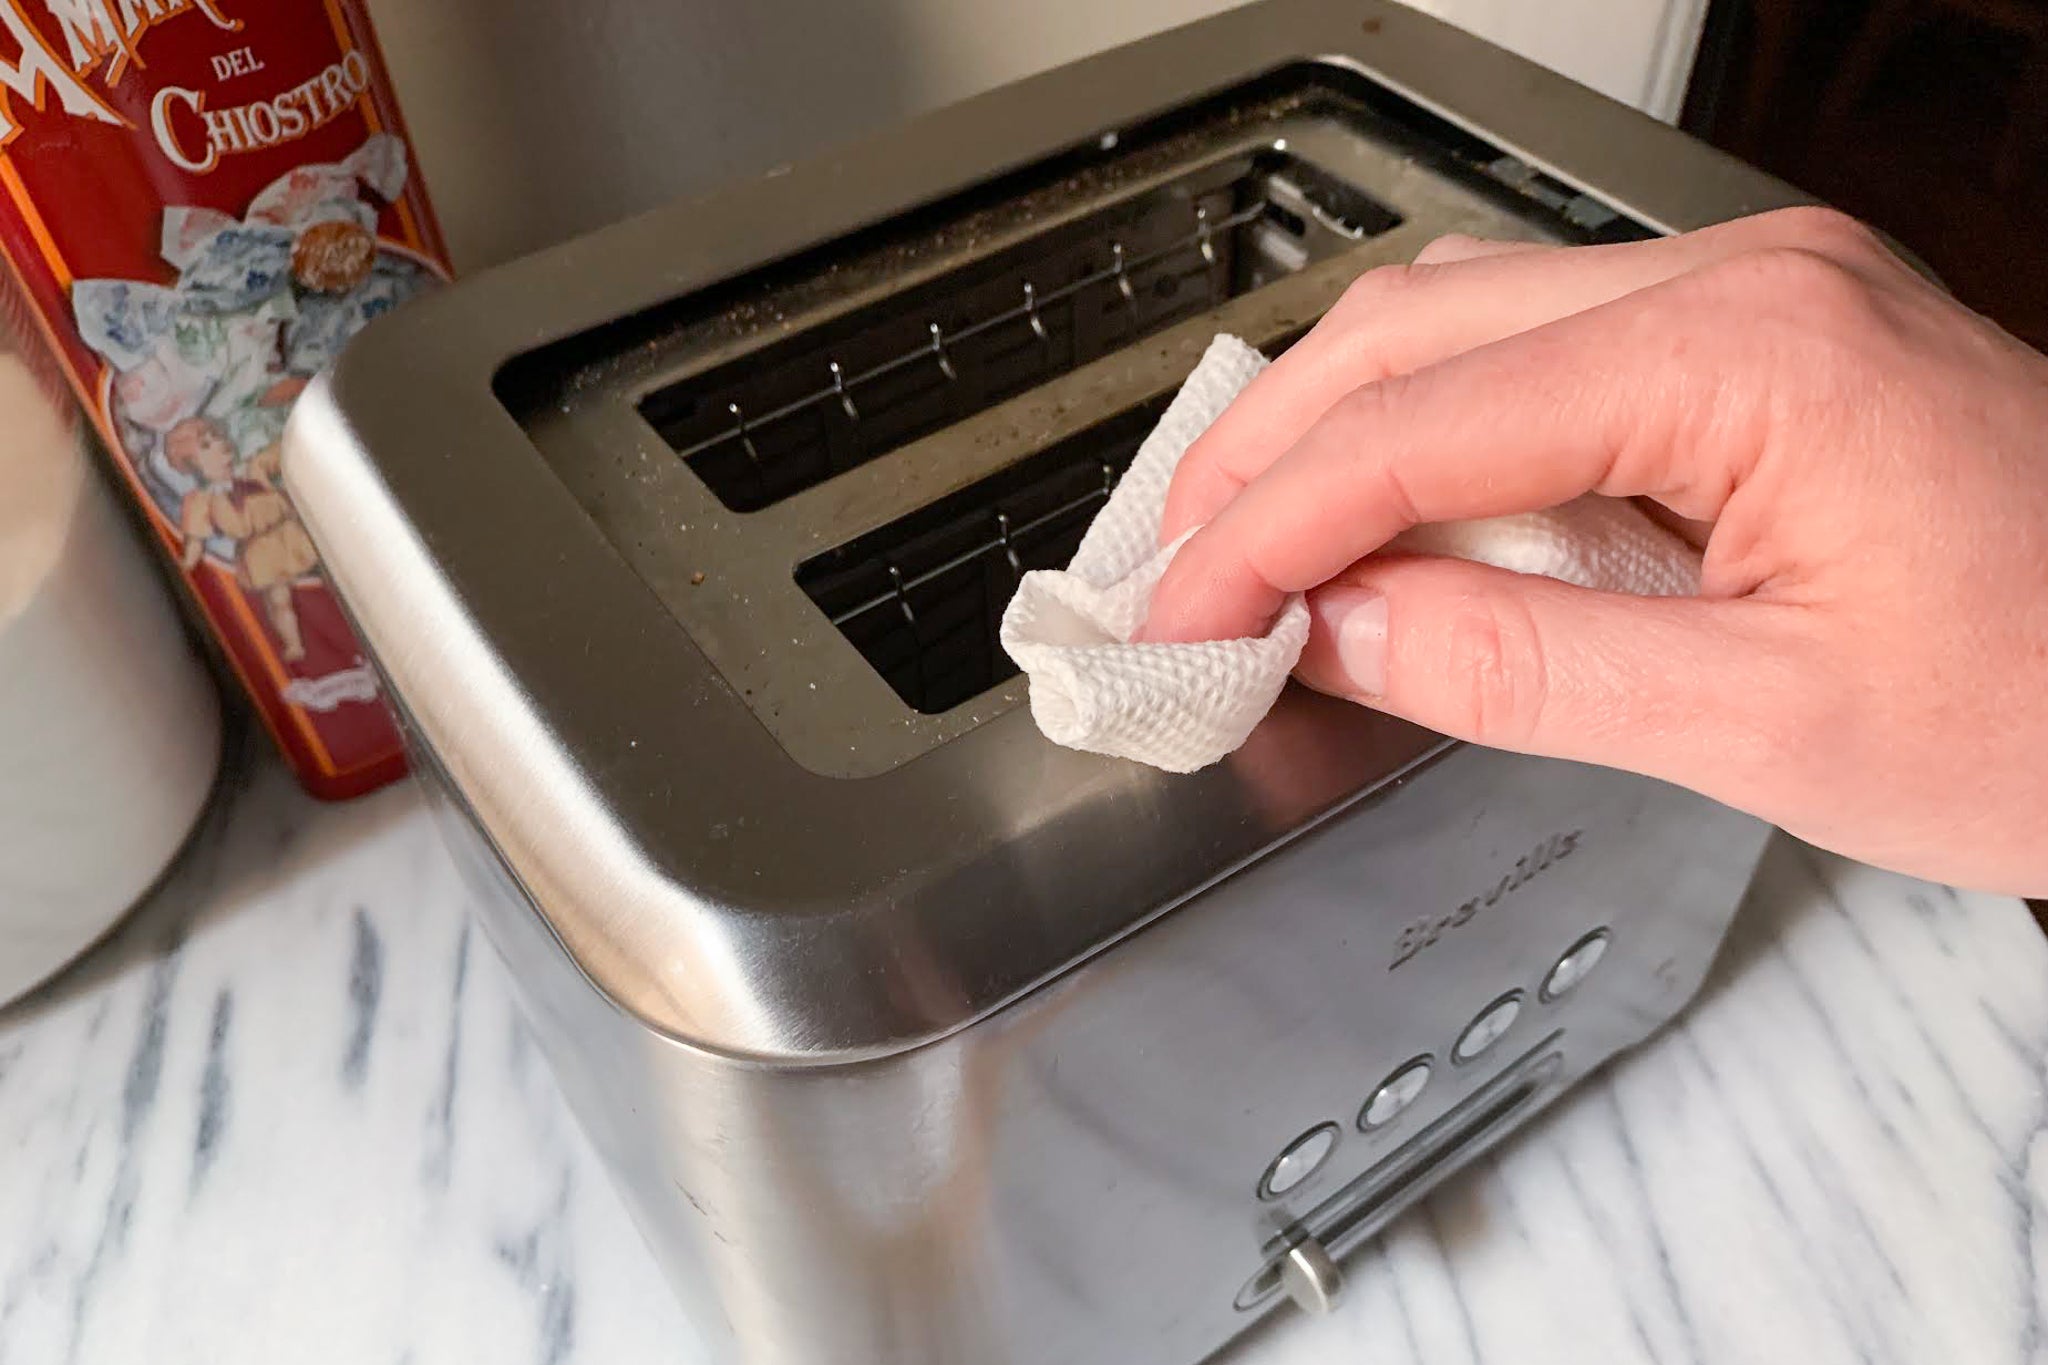
- Wipe down the surface: Dip a soft microfiber cloth into the cleaning solution and wring out any excess liquid. Gently wipe down the entire exterior surface of the dryer, including the top, sides, and front panel. Pay special attention to areas that tend to accumulate dust or fingerprints.
- Remove stubborn stains: For any stubborn stains or marks on the dryer’s exterior, apply a small amount of the cleaning solution directly to the stain. Use a soft cloth or sponge to gently scrub the stained area. Be cautious not to apply excessive pressure or scrub too hard to prevent any damage to the finish.
- Rinse and dry: Once you have finished cleaning, dampen a clean cloth with plain water and wipe down the entire exterior surface of the dryer to remove any remaining detergent residue. Finally, dry the surface thoroughly with a dry, lint-free cloth.
- Clean the control panel: Pay attention to the control panel, buttons, and knobs of the dryer. Use a slightly damp cloth to wipe down these areas, removing any dirt or grime. Make sure to avoid using excessive water or liquid around the control panel to prevent damage to the electrical components.
Regularly cleaning the exterior of your dryer helps to maintain its aesthetic appeal and prolong its lifespan. Removing dust, dirt, and stains not only enhances the appearance of the appliance but also prevents potential damage caused by buildup over time. By following these simple steps, you can ensure that your dryer’s exterior remains clean and well-maintained.
Now that the exterior of your dryer is sparkly clean, it’s time to move on to the next step – cleaning the lint trap. Importance of cleaning the lint trap will be covered in the next section.
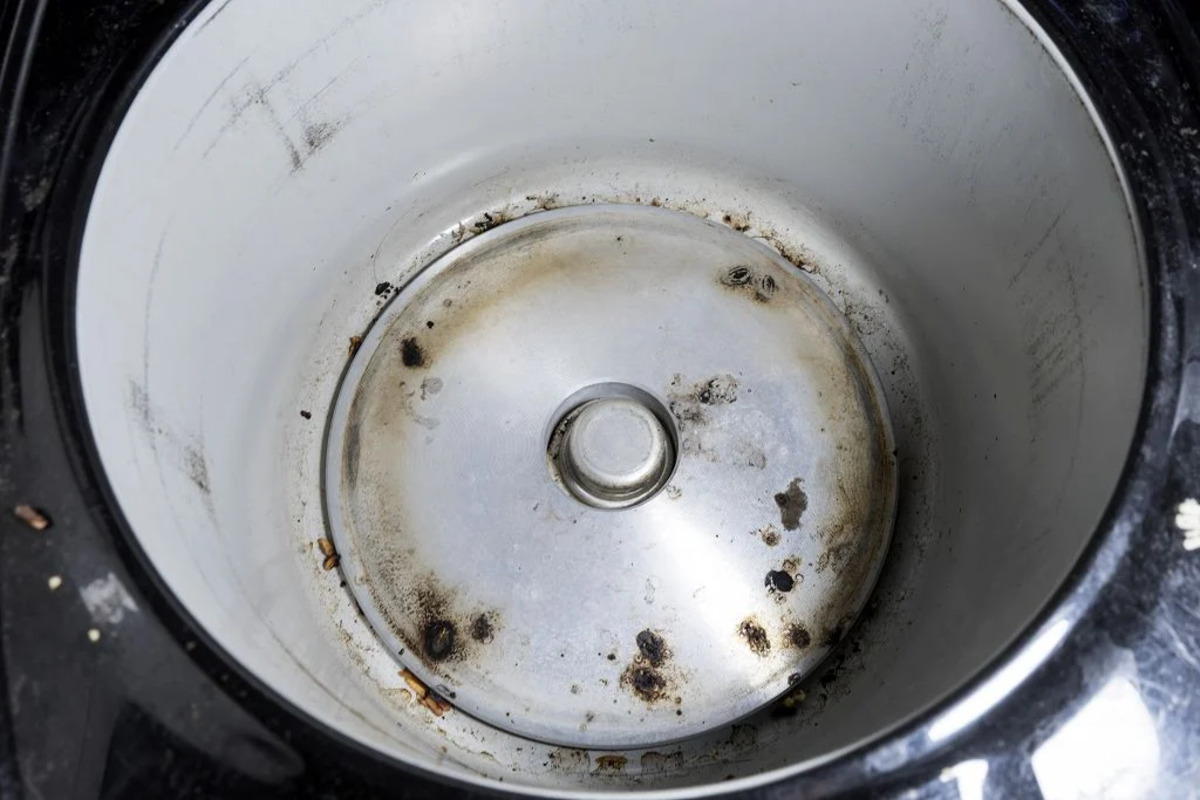
Cleaning the Lint Trap
The lint trap is an essential component of your dryer’s ventilation system. It captures lint and debris from your laundry, preventing it from clogging the vent and causing potential safety hazards. Regularly cleaning the lint trap is crucial for maintaining the efficiency and safety of your dryer. Here’s why cleaning the lint trap is important and how to remove and clean it:
Importance of cleaning the lint trap:
1. Fire prevention: The lint trap acts as a first line of defense against lint buildup in your dryer. Accumulated lint is highly flammable and can pose a serious fire hazard if not removed regularly. Cleaning the lint trap after every load helps to minimize the risk of dryer fires.
2. Improved efficiency: A clogged or dirty lint trap restricts airflow, making your dryer work harder and less efficiently. Airflow obstruction can lead to longer drying times, increased energy consumption, and unnecessary strain on the dryer’s heating element. Regular cleaning of the lint trap ensures proper airflow, maximizing the dryer’s efficiency and reducing drying times.
How to remove and clean the lint trap:
- Locate the lint trap: The lint trap is typically located inside the dryer drum, near the opening where you load your laundry. It is usually situated on the top or front panel of the dryer.
- Open the lint trap: Gently pull out the lint trap by its handle or tab. Some traps may require you to press a release button or lift a latch before removal. Refer to your dryer’s manual for specific instructions on how to access and remove the lint trap.
- Remove the lint: Once you have removed the lint trap, carefully peel off any visible lint accumulated on the trap’s surface. Use your fingers or a lint trap brush to remove stubborn lint that may be stuck in the crevices.
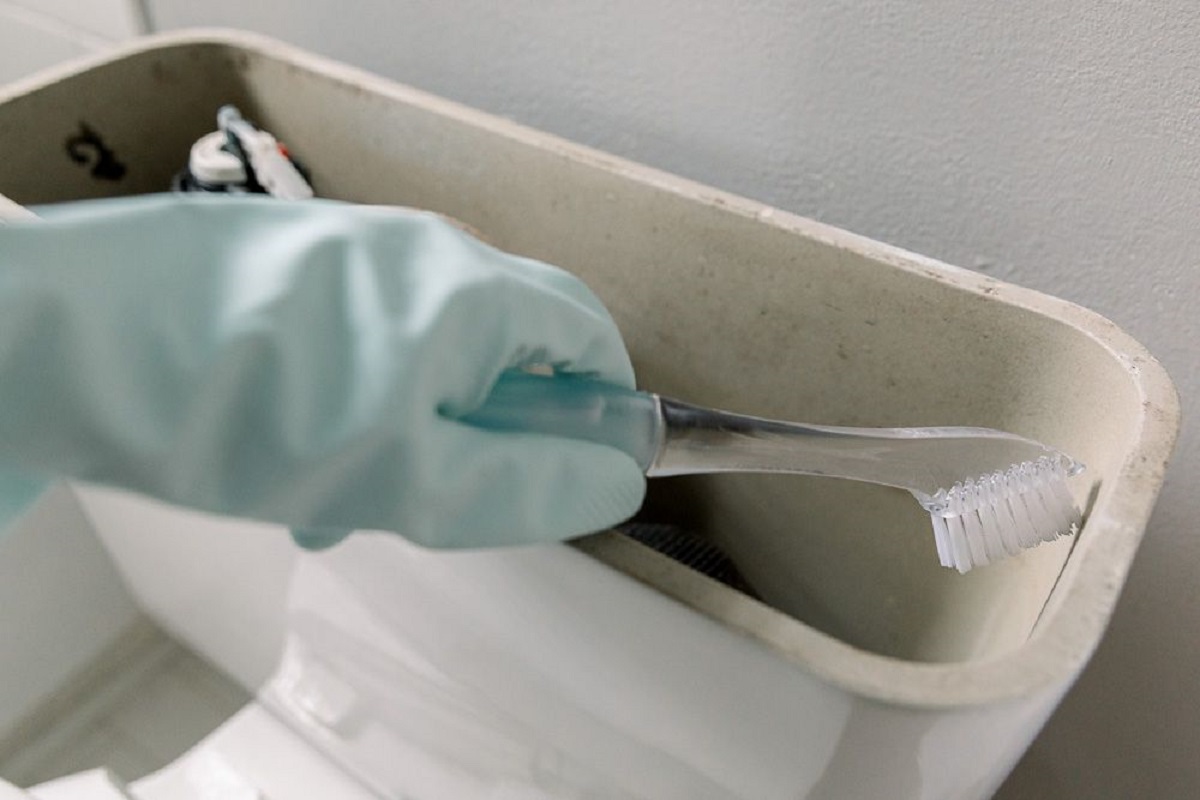
- Clean the trap: Rinse the lint trap under running water to remove any remaining lint or debris. You can also use a soft-bristled brush or toothbrush to scrub away any stubborn residue. Make sure to remove all traces of lint and allow the trap to dry completely before reinserting it into the dryer.
- Inspect and clean the area: While the lint trap is out, take the opportunity to inspect the area surrounding it for any lint accumulation. Use a vacuum cleaner or a lint trap brush to remove any excess lint from the trap slot or the area within the dryer.
- Reinsert the lint trap: Once the lint trap is clean and dry, carefully slide it back into its original position in the dryer. Ensure that it fits securely and snaps into place, so it won’t come loose during the drying cycle.
Remember to clean the lint trap after every load of laundry to maintain optimal performance and safety. Additionally, it’s a good practice to periodically deep clean the lint trap and the dryer vent system to remove any accumulated lint or debris that may have bypassed the trap.
Now that the lint trap is clean, let’s move on to the next step – cleaning the inside of the dryer drum.
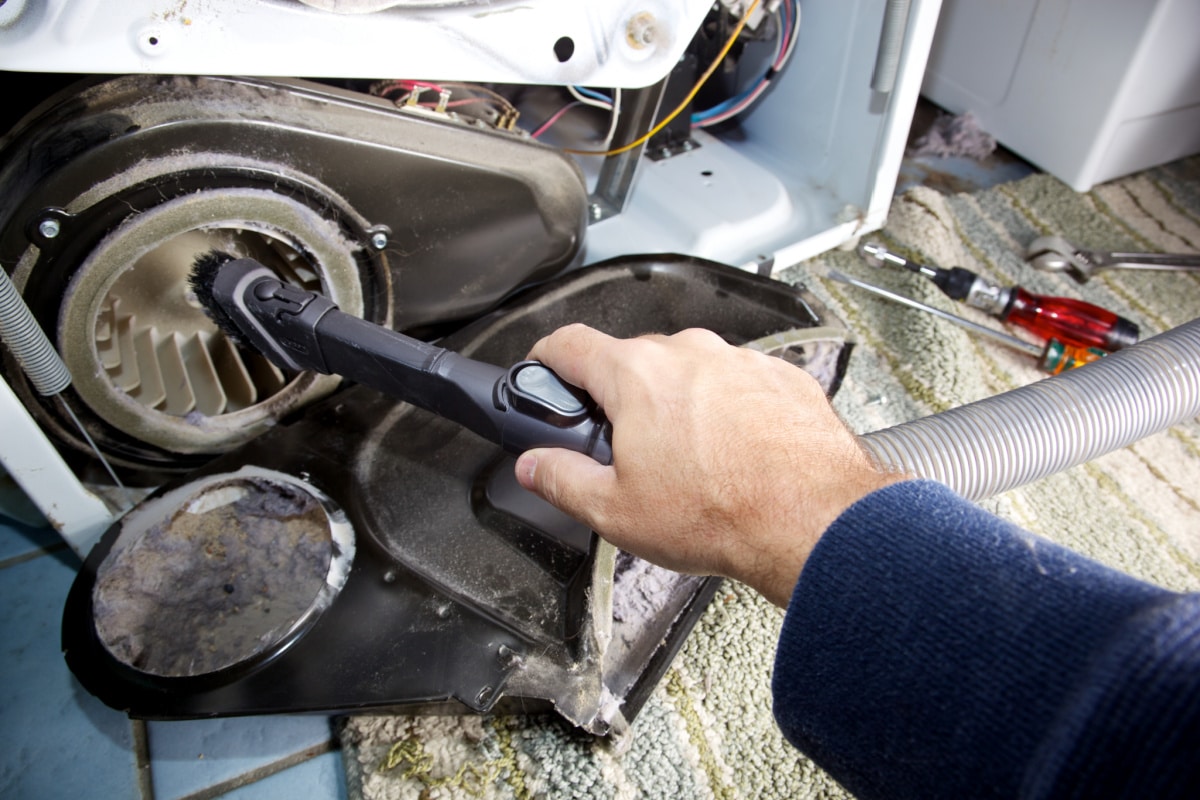
Use a vacuum with a narrow attachment to remove lint from the inside of the dryer. Wipe down the outside with a damp cloth and mild detergent to remove any built-up grime.
Read more: How To Clean The Inside Of A Dryer Vent
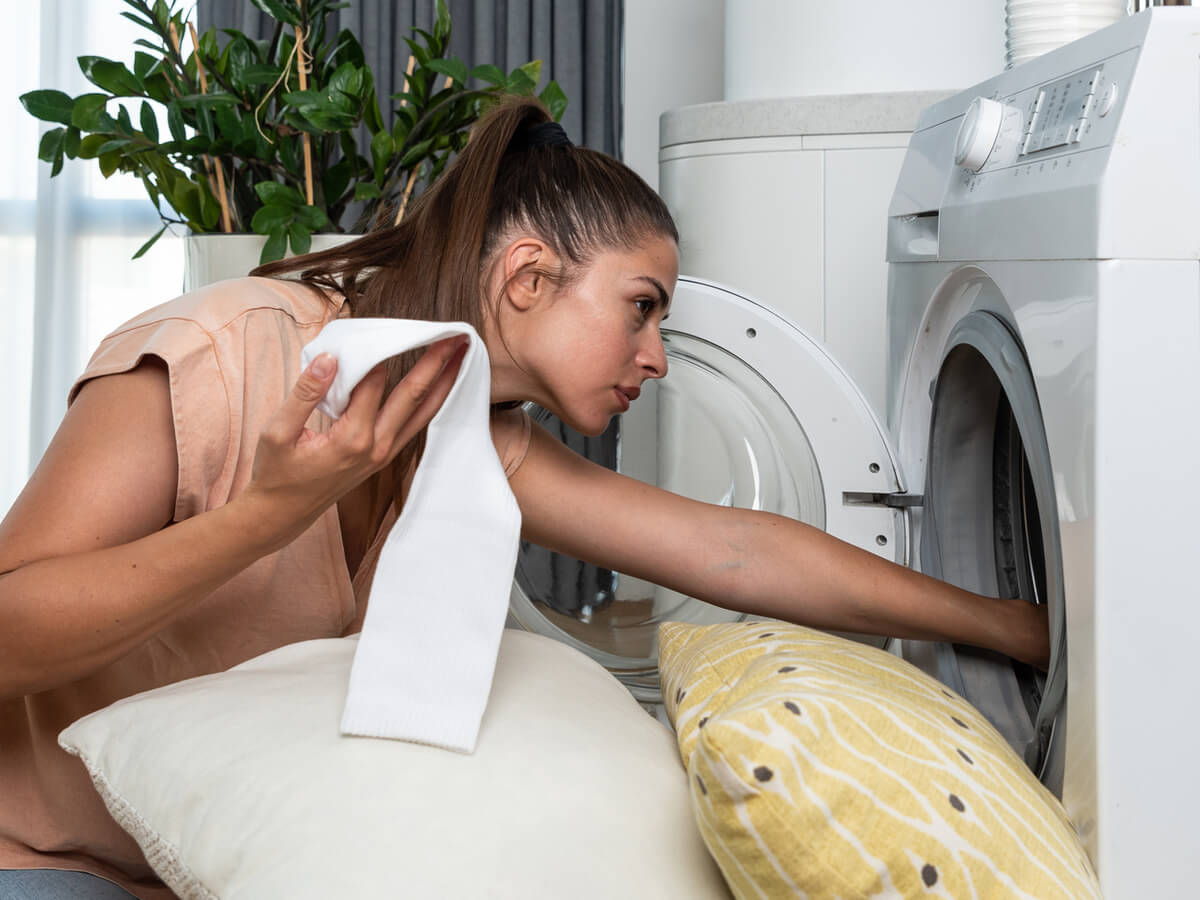
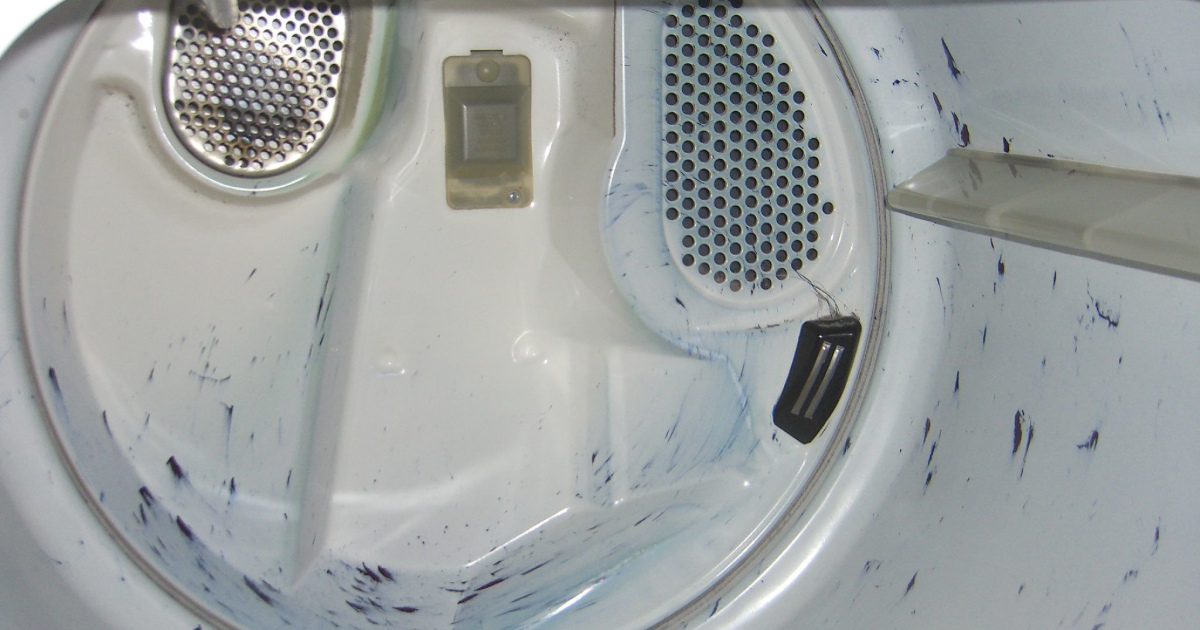
Cleaning the Drum
Keeping the inside of your dryer drum clean is essential for maintaining its efficiency and prolonging its lifespan. Over time, residue, lint, and debris can accumulate in the drum, potentially affecting the performance of your dryer. Regularly cleaning the drum ensures that your clothes come out fresh and free from any unwanted particles. Here are the steps to clean the inside of the dryer drum:
- Disconnect the power: Before starting the cleaning process, unplug the dryer from the power source to eliminate any risk of electrical shock.
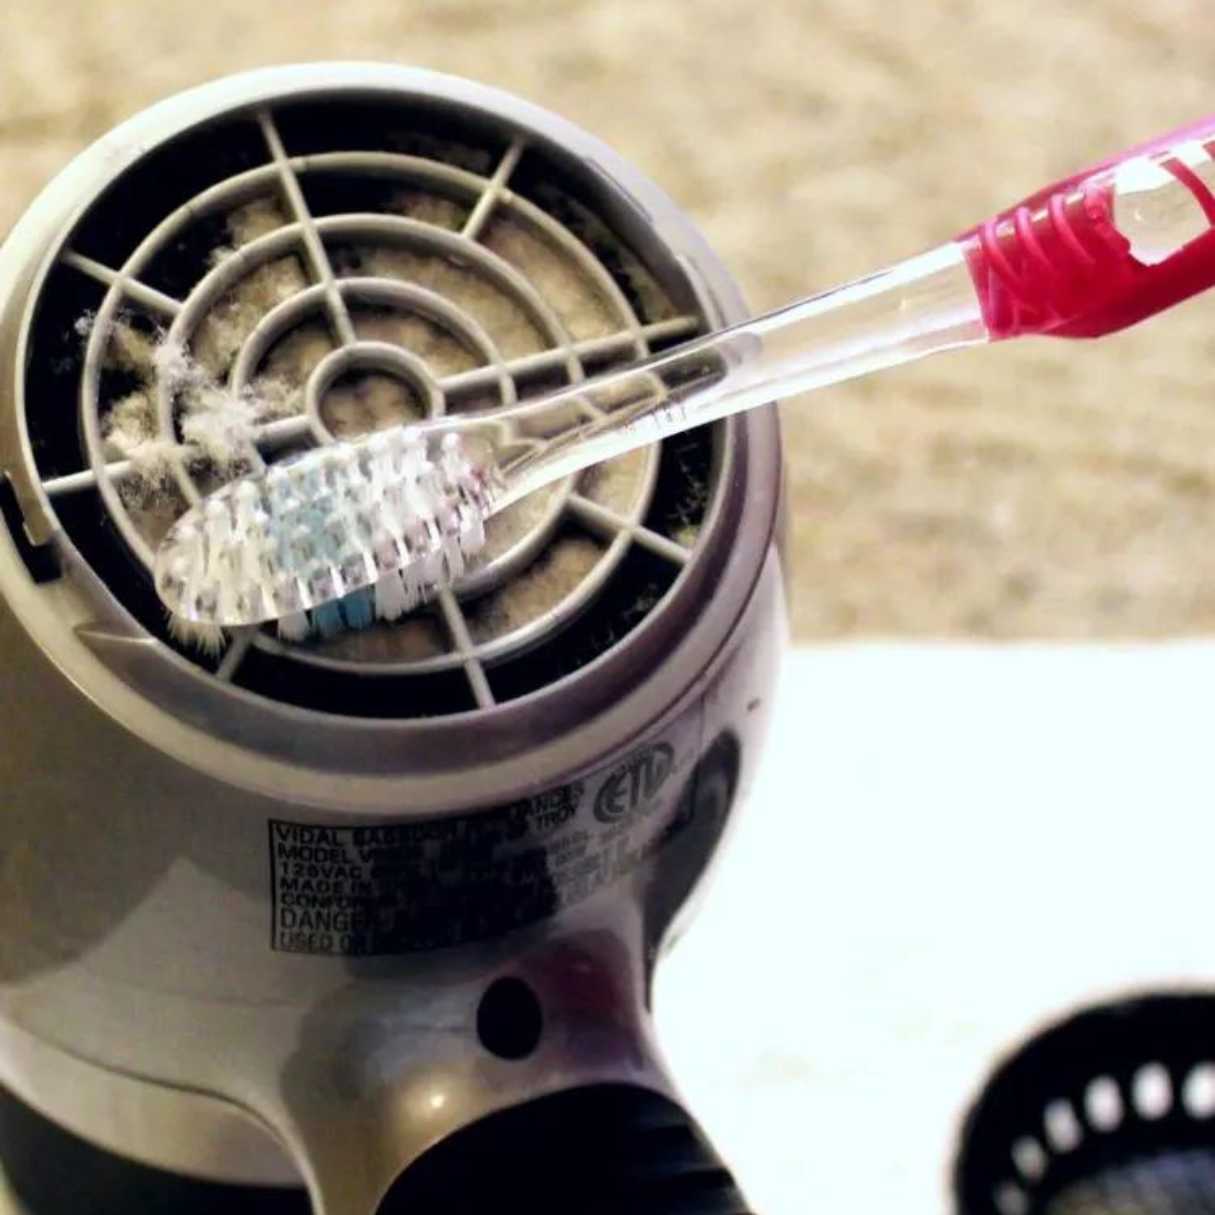
- Remove lint and debris: Use a vacuum cleaner with a hose attachment or a lint trap brush to remove loose lint and debris from the drum. Pay close attention to the areas around the lint trap and the drum’s edges, as lint tends to accumulate in these areas.
- Wipe down the drum: Dampen a soft cloth or sponge with warm water and a mild detergent. Gently scrub the interior surfaces of the drum, including the drum walls and the back panel, to remove any residue or stains. Be careful not to use abrasive cleaners or scrub too vigorously, as they can damage the drum’s finish.
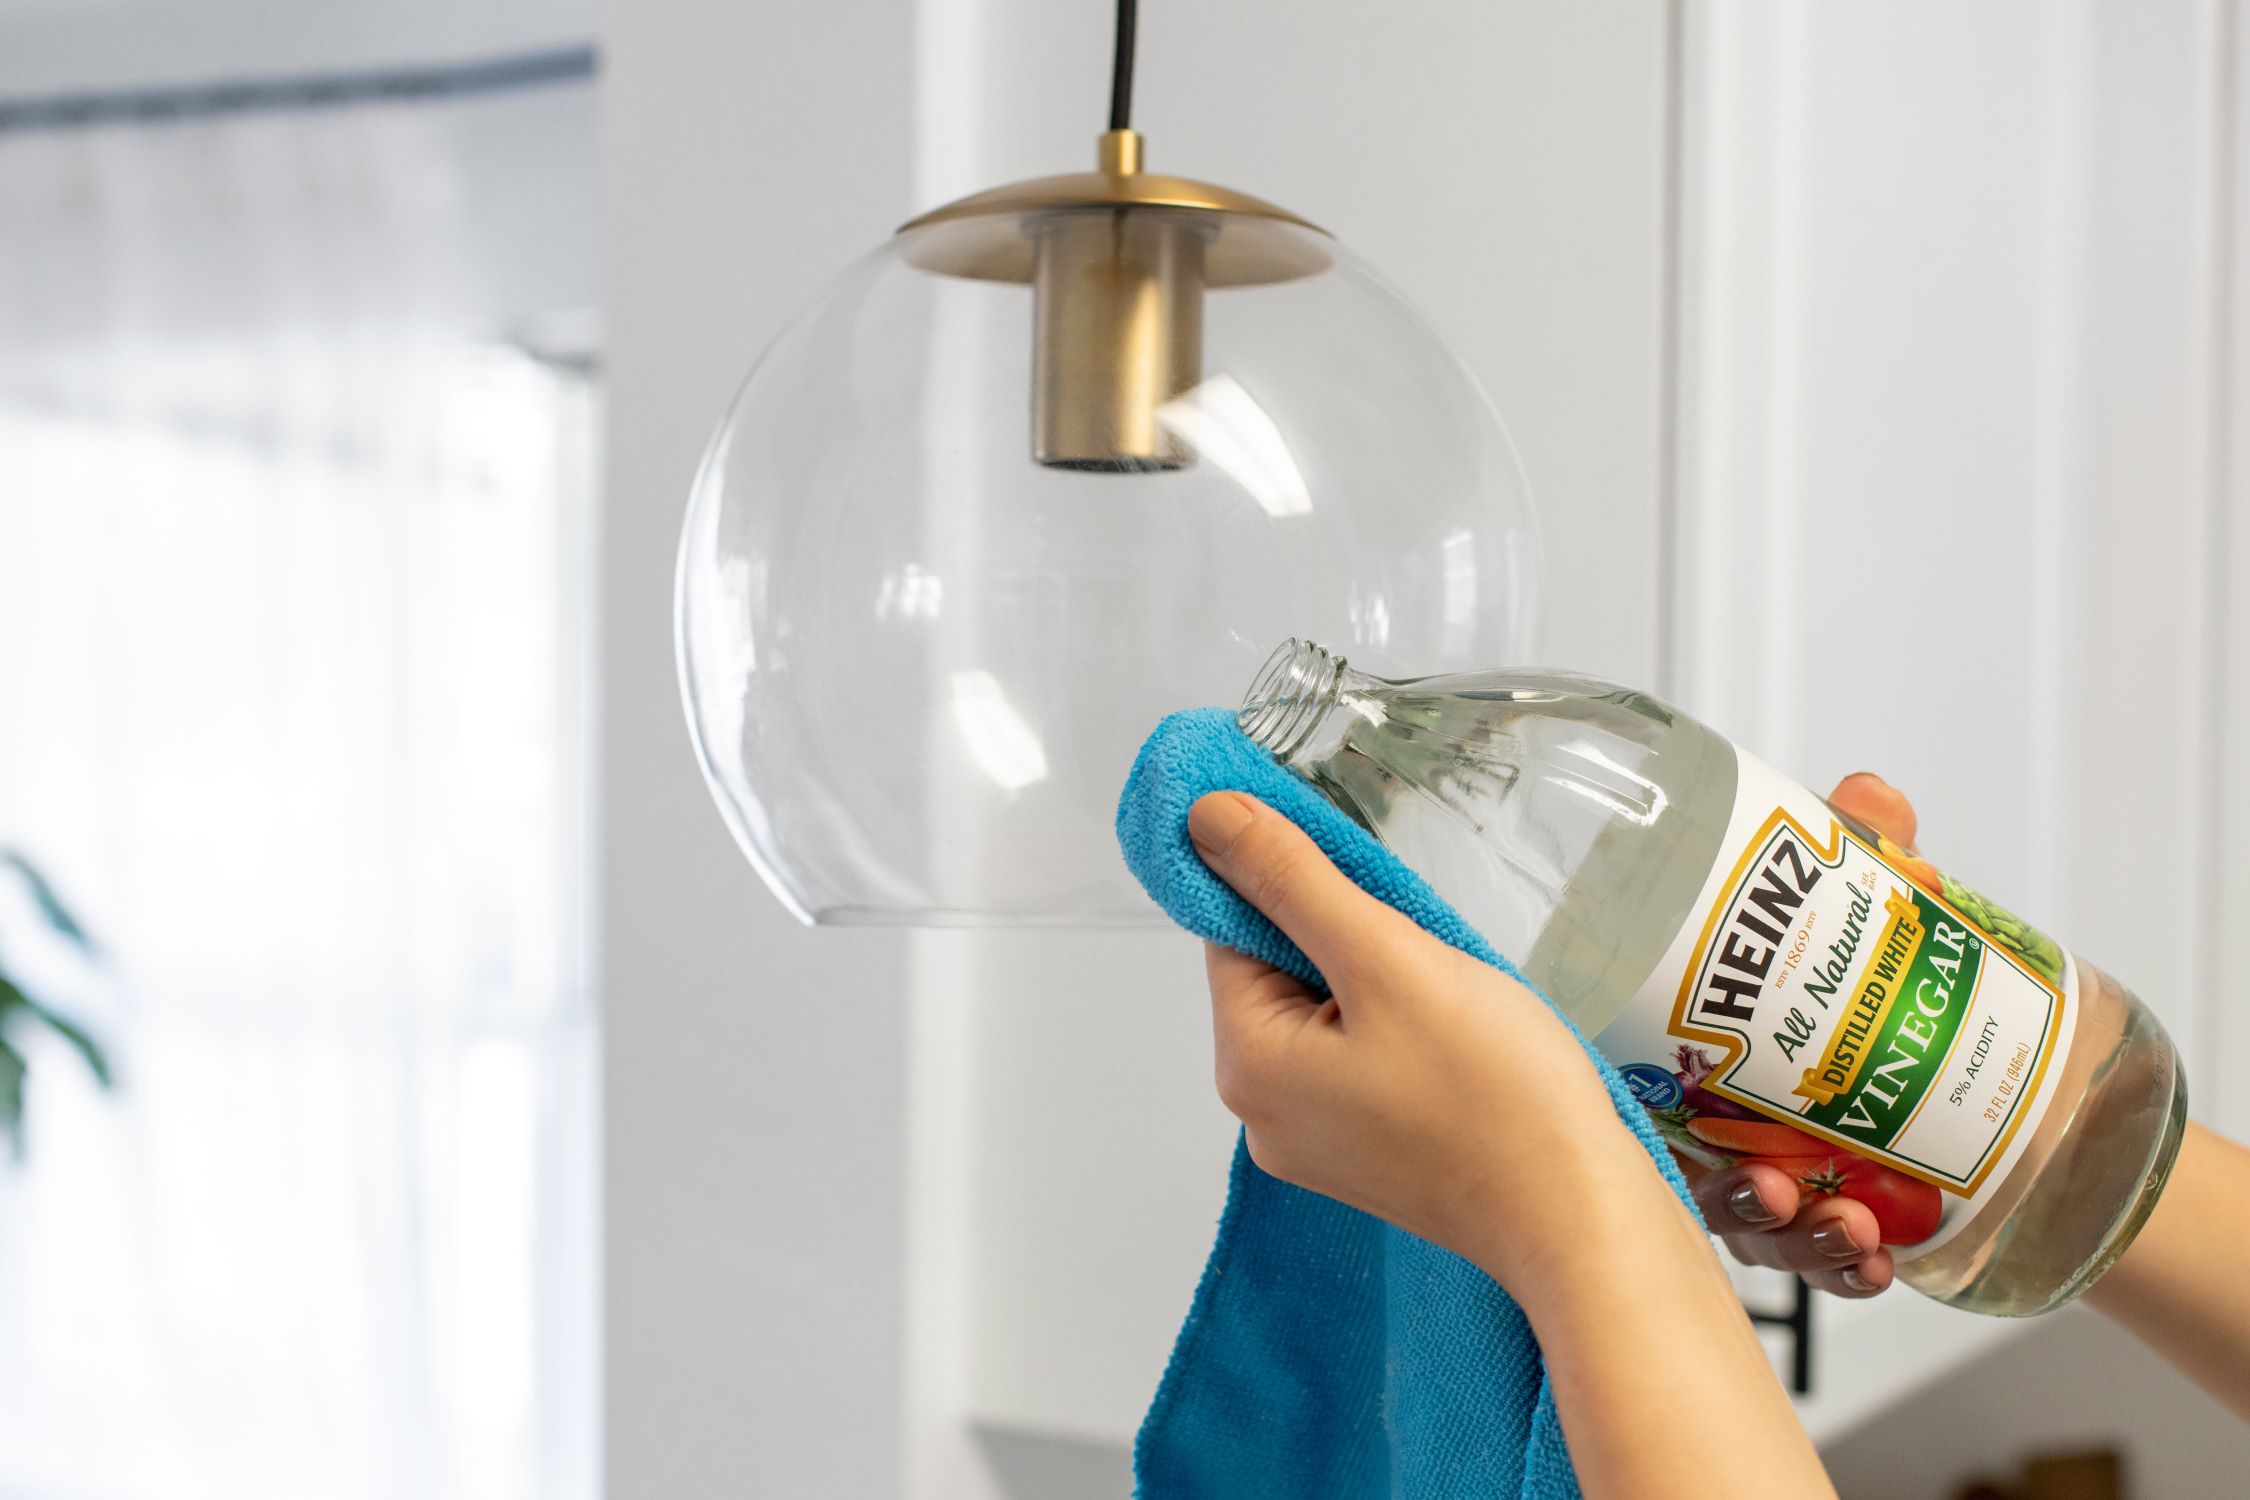
- Remove sticky residue: If you encounter any sticky residue or stains, use a cloth dampened with a mixture of equal parts water and vinegar. Wipe the affected area, allowing the vinegar solution to break down the residue. For more stubborn stains, you can make a paste with baking soda and water and gently scrub the area.
- Rinse and dry: After cleaning the drum, dampen a clean cloth with plain water and wipe down the interior surfaces to remove any cleaning residue. Finally, use a dry cloth or towel to thoroughly dry the drum.
- Check for hidden debris: While cleaning the drum, be sure to inspect the drum’s gasket or seal and remove any trapped lint or debris. This will help prevent any airflow restriction and ensure optimal dryer performance.
Regularly cleaning the inside of your dryer drum eliminates potential sources of lint and residue that can transfer onto your clothes. By keeping the drum clean, you can maintain the freshness and cleanliness of your laundry.
Now that you’ve cleaned the inside of the dryer drum, it’s time to move on to the next step – cleaning the dryer vent system to ensure proper airflow and ventilation.
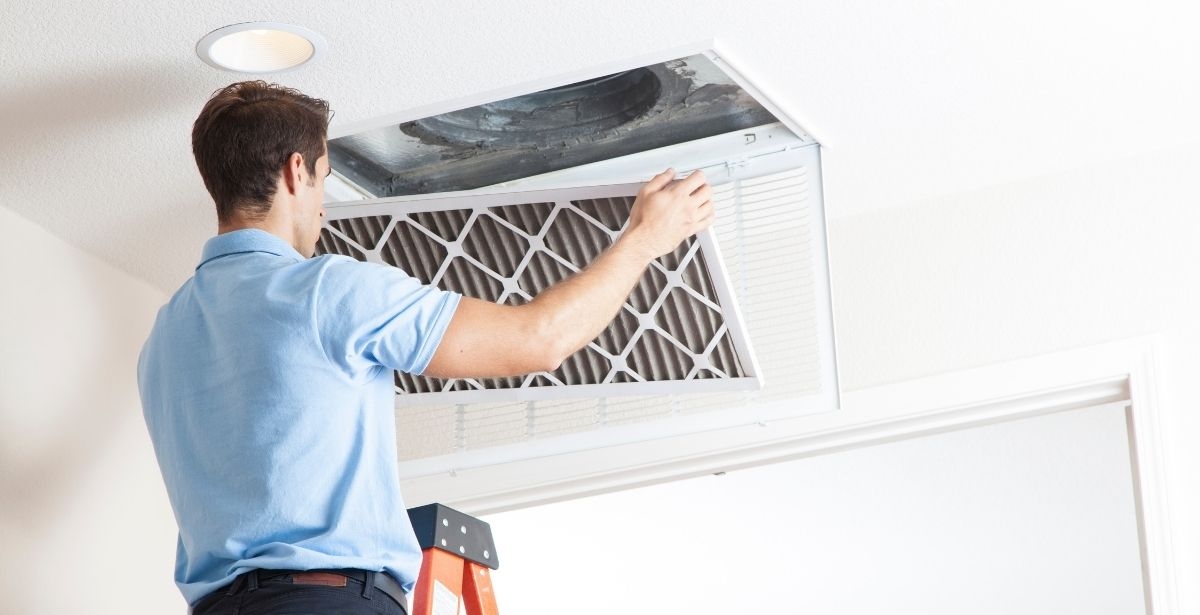
Cleaning the Vent System
Maintaining a clean vent system is crucial for the proper functioning of your dryer. The vent system consists of the dryer vent and ducts that connect the dryer to the exterior of your home. It plays a vital role in removing hot air, moisture, and lint from the dryer. Regular cleaning of the vent system is essential to prevent fire hazards, improve dryer efficiency, and ensure safety. Here’s why maintaining a clean vent system is important and how to clean the dryer vent and ducts:
Understanding the importance of maintaining a clean vent system:
1. Fire prevention: The accumulation of lint in the dryer vent and ducts can block the airflows, causing the dryer to work harder and potentially overheat. Lint is highly flammable, and when combined with high temperatures, it poses a significant fire hazard. Regular cleaning of the vent system reduces the risk of dryer fires caused by lint buildup.
2. Improved efficiency: A clogged vent system restricts the airflow, leading to longer drying times and increased energy consumption. When airflow is restricted, the dryer has to work harder to dry clothes, resulting in higher utility bills. By cleaning the vent system, you ensure proper airflow, optimize the dryer’s efficiency, and reduce drying time and energy usage.
3. Prevention of moisture buildup: A clean vent system allows the moisture generated during the drying process to be efficiently vented outdoors. If the vent system is clogged, moisture can accumulate in the ducts, leading to mold and mildew growth. A clean vent system helps mitigate moisture issues and contributes to a healthier indoor environment.
How to clean the dryer vent and ducts:
- Turn off the dryer: Make sure the dryer is turned off and unplugged from the power source before cleaning the vent system. Safety is paramount during this process.
- Locate the vent opening: Find the exterior vent opening of your dryer. It is usually located on the side of your home or the roof.
- Clear debris from the vent opening: Inspect the vent opening and remove any visible lint or debris that may be blocking the airflow. Use a brush or your hands (wearing gloves) to clear the area effectively.
- Disconnect the dryer vent duct: Carefully detach the dryer vent duct from the back of the dryer. This may require loosening clamps or removing screws, depending on your setup. Refer to your dryer’s manual for specific instructions.
- Clean the vent duct: Use a vent brush or a flexible lint brush to clean the vent duct thoroughly. Insert the brush into the vent opening and gently push it through to the other end. This will help dislodge and remove any accumulated lint or debris. Repeat this process until the vent duct is clean.
- Clean the dryer vent outlet: With the vent duct removed, use the vent brush or a vacuum cleaner with a hose attachment to clean the dryer vent outlet on the back of the dryer. Remove any lint or debris that may have collected in this area.
- Reconnect the vent duct: Once the vent duct and dryer vent outlet are clean, reattach the vent duct to the back of the dryer. Ensure that it is securely fastened with clamps or screws.
- Perform a final check: Double-check that the vent system is properly connected and free from any obstructions. Ensure that the vent flap on the exterior vent opening can open and close freely.
- Regular maintenance: Schedule regular cleaning of the vent system, at least once a year or more frequently if you notice any signs of reduced dryer performance. This will help maintain optimal airflow and prevent lint buildup.
By cleaning the dryer vent and ducts regularly, you can prevent fire hazards, improve dryer efficiency, and promote a safe drying environment. These efforts contribute to both the longevity of your dryer and the safety of your home.
Now that your vent system is clean, let’s move on to the final section – maintaining your dryer to ensure continued efficiency and cleanliness.
Maintaining the Dryer
Maintaining a clean and well-functioning dryer is essential to ensure optimal performance, extend its lifespan, and minimize the risk of fire hazards. By following these tips for maintaining a clean dryer, you can keep your appliance in excellent condition. Here are some essential tips to consider:
1. Clean the lint trap after every load: Get into the habit of cleaning the lint trap after each drying cycle. Removing lint from the trap helps maintain proper airflow and prevents lint from accumulating in the dryer vent and ducts. Remember to peel off any visible lint and use a lint trap brush to clean hard-to-reach areas.
2. Deep clean the lint trap and vent system: Periodically, deep clean the lint trap and the dryer vent system. Remove the lint trap and wash it with warm, soapy water to remove any residue or buildup. For the vent system, use a vent brush or a vacuum cleaner with a hose attachment to clean out the ducts and the exterior vent opening. This deep cleaning should be done at least once a year, but more frequent cleaning may be necessary if you notice reduced dryer performance.
3. Clean the drum: Regularly wipe down the inside of the dryer drum with a damp cloth to remove any residue, lint, or debris. You can use a mild detergent or a vinegar-water solution for tough stains. Be sure to dry the drum thoroughly after cleaning to prevent moisture buildup.
4. Inspect and clean the dryer vent hose: Check the vent hose behind the dryer for any kinks, bends, or obstructions. Remove lint or debris that may have accumulated in the hose. Ensure that the hose is properly connected and not crushed against the wall, as this can restrict airflow.
5. Keep the dryer’s surroundings clean: Regularly vacuum or sweep the area around the dryer to remove dust, lint, and debris. This prevents these particles from getting into the dryer and potentially causing clogs or airflow issues. Avoid storing flammable items near the dryer to minimize the risk of fire hazards.
6. Schedule professional maintenance: Consider scheduling professional maintenance for your dryer. A qualified technician can thoroughly clean and inspect the internal components, ensuring optimal performance and detecting any potential issues before they become major problems.
7. Follow manufacturer’s guidelines: Always refer to the manufacturer’s guidelines and recommendations for specific cleaning and maintenance instructions. Each dryer model may have unique requirements, so it’s essential to follow these instructions to maintain warranty coverage and ensure proper care.
Following these tips for maintaining a clean dryer will help keep your appliance running efficiently and reduce potential safety risks. By incorporating regular cleaning and maintenance into your routine, you can enjoy a longer-lasting dryer and peace of mind.
Now that you understand how to maintain your dryer, let’s wrap up with a summary of the importance of regular cleaning and some final thoughts.
Conclusion
Regular cleaning of your dryer, both inside and out, is of utmost importance for maintaining its efficiency, functionality, and safety. By incorporating dryer cleaning into your regular household cleaning routine, you can enjoy the following benefits:
1. Reduced fire hazards: Cleaning the lint trap, vent system, and ducts minimizes the risk of dryer fires caused by lint buildup, ensuring the safety of your home and family.
2. Improved efficiency: A clean dryer operates more efficiently, reducing drying times, energy consumption, and utility bills.
3. Prolonged lifespan: Regular cleaning helps prevent excessive strain on the motor and components, extending the life of your dryer.
4. Fresher and cleaner laundry: A clean dryer drum eliminates residue, lint, and debris, ensuring that your clothes come out fresh, wrinkle-free, and free from unwanted particles.
Final thoughts and tips for keeping your dryer clean:
- Maintain a regular cleaning schedule: Make dryer cleaning a routine task to prevent lint buildup and maintain optimal performance. Clean the lint trap after every load and deep clean the lint trap and vent system at least once a year.
- Use the right tools and materials: Ensure that you have the necessary tools and materials, such as a vacuum cleaner, lint trap brush, and gentle cleaning solutions, to properly clean your dryer.
- Follow safety precautions: Prioritize safety by disconnecting the power, wearing protective gear, and clearing the area around the dryer before cleaning. Always follow the manufacturer’s instructions.
- Inspect and maintain the vent system: Regularly check the vent hose for any obstructions, kinks, or damage. Keep the area around the exterior vent opening clear of debris for proper airflow.
- Schedule professional maintenance: Consider scheduling professional maintenance to ensure thorough cleaning and inspection of internal components.
- Stay vigilant for signs of reduced performance: Keep an eye out for signs of reduced drying efficiency, such as longer drying times or excessive heat. Address these issues promptly to prevent further damage or safety risks.
- Keep the dryer’s surroundings clean: Regularly clean the area surrounding the dryer to prevent dust and debris from entering the appliance and interfering with its performance.
By following these guidelines and maintaining a clean dryer, you can enjoy its optimal performance, prolong its lifespan, and ensure the safety of your home. Incorporating regular cleaning and maintenance into your routine is a small investment of time and effort that yields significant benefits in the long run.
Now, armed with this knowledge, you’re ready to keep your dryer clean and running smoothly for years to come!
Frequently Asked Questions about How To Clean A Dryer Inside And Out
Was this page helpful?
At Storables.com, we guarantee accurate and reliable information. Our content, validated by Expert Board Contributors, is crafted following stringent Editorial Policies. We're committed to providing you with well-researched, expert-backed insights for all your informational needs.


0 thoughts on “How To Clean A Dryer Inside And Out”