
Articles
How To Clean Out A Primo Water Dispenser
Modified: May 6, 2024
Learn the best method to clean out your Primo water dispenser with this informative article. Keep your dispenser fresh and efficient.
(Many of the links in this article redirect to a specific reviewed product. Your purchase of these products through affiliate links helps to generate commission for Storables.com, at no extra cost. Learn more)
Introduction
Welcome to the world of Primo Water Dispensers! These innovative appliances provide a convenient and refreshing way to quench your thirst. However, over time, mineral deposits, bacteria, and other impurities can build up inside the dispenser, affecting the taste and quality of the water. This makes regular cleaning and maintenance essential to ensure the dispenser continues to provide clean and delicious water.
In this article, we will guide you through the process of cleaning out your Primo Water Dispenser, step by step. By following these instructions, you can maintain the performance and hygiene of your dispenser, ensuring that you and your family can continue to enjoy fresh, pure water.
Before we dive into the cleaning process, let’s go over the supplies you will need:
- Warm water
- Vinegar or citric acid
- Mild dish soap
- Clean cloth or sponge
- Clean towel or paper towels
- Soft-bristle brush
Make sure to gather all these supplies before you begin cleaning your Primo Water Dispenser.
Key Takeaways:
- Regular cleaning and maintenance of your Primo Water Dispenser is crucial to ensure clean, delicious water for you and your family. Follow the step-by-step guide and gather the necessary supplies for an efficient cleaning process.
- Disassembling internal components and using a cleaning solution of warm water and vinegar or citric acid are essential steps in thoroughly cleaning and sanitizing your Primo Water Dispenser. Ensure all parts are completely dry before reassembling the dispenser.
Read more: How To Clean Primo Water Dispenser Top Load
Supplies Needed
Before you start cleaning your Primo Water Dispenser, it’s important to gather all the necessary supplies. Here’s a list of items you’ll need:
- Warm water: You’ll need warm water to help loosen any residue or build-up inside the dispenser.
- Vinegar or citric acid: Both vinegar and citric acid can effectively remove mineral deposits and disinfect the dispenser. Choose one of these options based on your preference.
- Mild dish soap: Use a mild dish soap to clean the external surfaces and remove any dirt or stains.
- Clean cloth or sponge: These will be used to wipe down the surfaces of the dispenser and remove any dirt or grime.
- Clean towel or paper towels: You’ll need these to dry off the dispenser after cleaning.
- Soft-bristle brush: A soft-bristle brush will come in handy for scrubbing hard-to-reach areas or removing stubborn residue.
Having these supplies readily available will make the cleaning process much more efficient and effective. Now that you have everything you need, let’s move on to the step-by-step process of cleaning out your Primo Water Dispenser.
Step 1: Disconnect and Empty the Water Dispenser
The first step in cleaning your Primo Water Dispenser is to disconnect and empty it. Follow these steps:
- Turn off the power: Before disconnecting the dispenser, make sure to turn off the power to prevent any accidents or unwanted water flow.
- Unplug the dispenser: Unplug the power cord from the electrical outlet to ensure safety during the cleaning process.
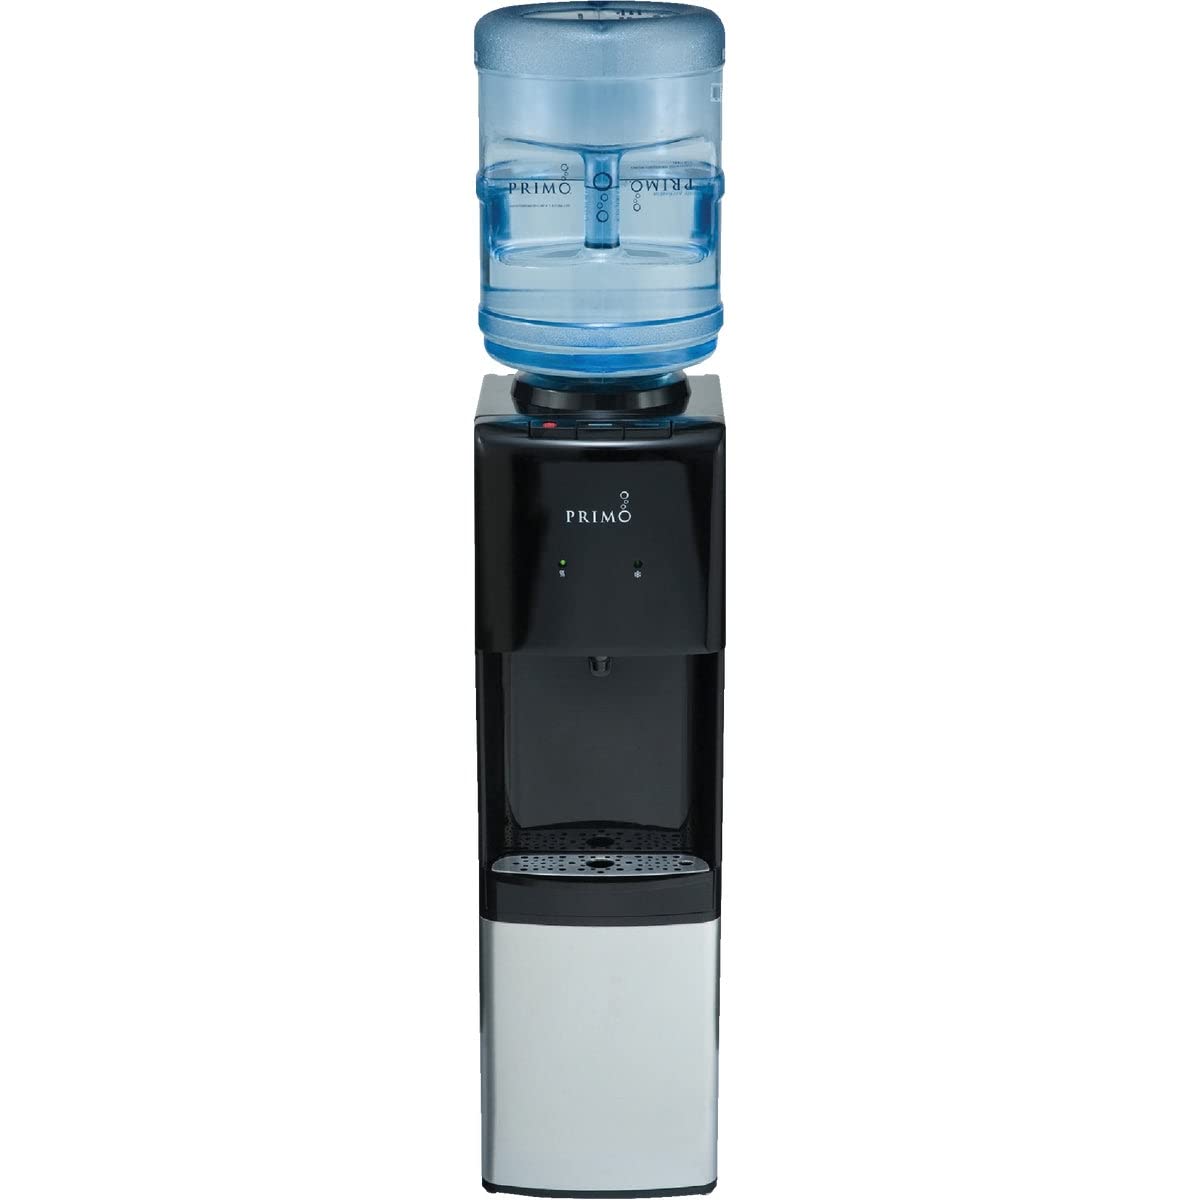
- Empty the water: Remove the water bottle from the top of the dispenser and pour out any remaining water from the reservoir.
- Remove any accessories: If your dispenser has any detachable accessories, such as drip trays or nozzles, remove them for easier access during cleaning.
Once you’ve completed these steps, you’re ready to move on to the next phase of cleaning your Primo Water Dispenser.
Step 2: Remove and Clean the Water Bottle
The water bottle in your Primo Water Dispenser can accumulate bacteria and dirt over time, so it’s important to clean it regularly. Follow these steps to remove and clean the water bottle:
- Disconnect the bottle: Carefully lift the water bottle out of the dispenser and place it on a clean surface.
- Empty the bottle: Pour any remaining water from the bottle into a sink or drain.
- Wash with warm soapy water: Fill the bottle with warm water and add a few drops of mild dish soap. Swirl the mixture around and use a bottle brush to scrub the inside of the bottle, paying attention to any hard-to-reach areas or crevices.
- Rinse thoroughly: Empty the soapy water from the bottle and rinse it several times with clean water to remove any soap residue.
- Sanitize the bottle: Prepare a sanitizing solution by mixing 1 tablespoon of vinegar or citric acid with 1 gallon of water. Fill the bottle with the solution and let it sit for a few minutes. Rinse the bottle thoroughly with clean water.
- Dry the bottle: Use a clean towel or paper towels to dry the bottle completely before placing it back into the dispenser.
By following these steps, you will ensure that the water bottle is clean and free from any contaminants. Now, let’s move on to the next step in cleaning your Primo Water Dispenser.
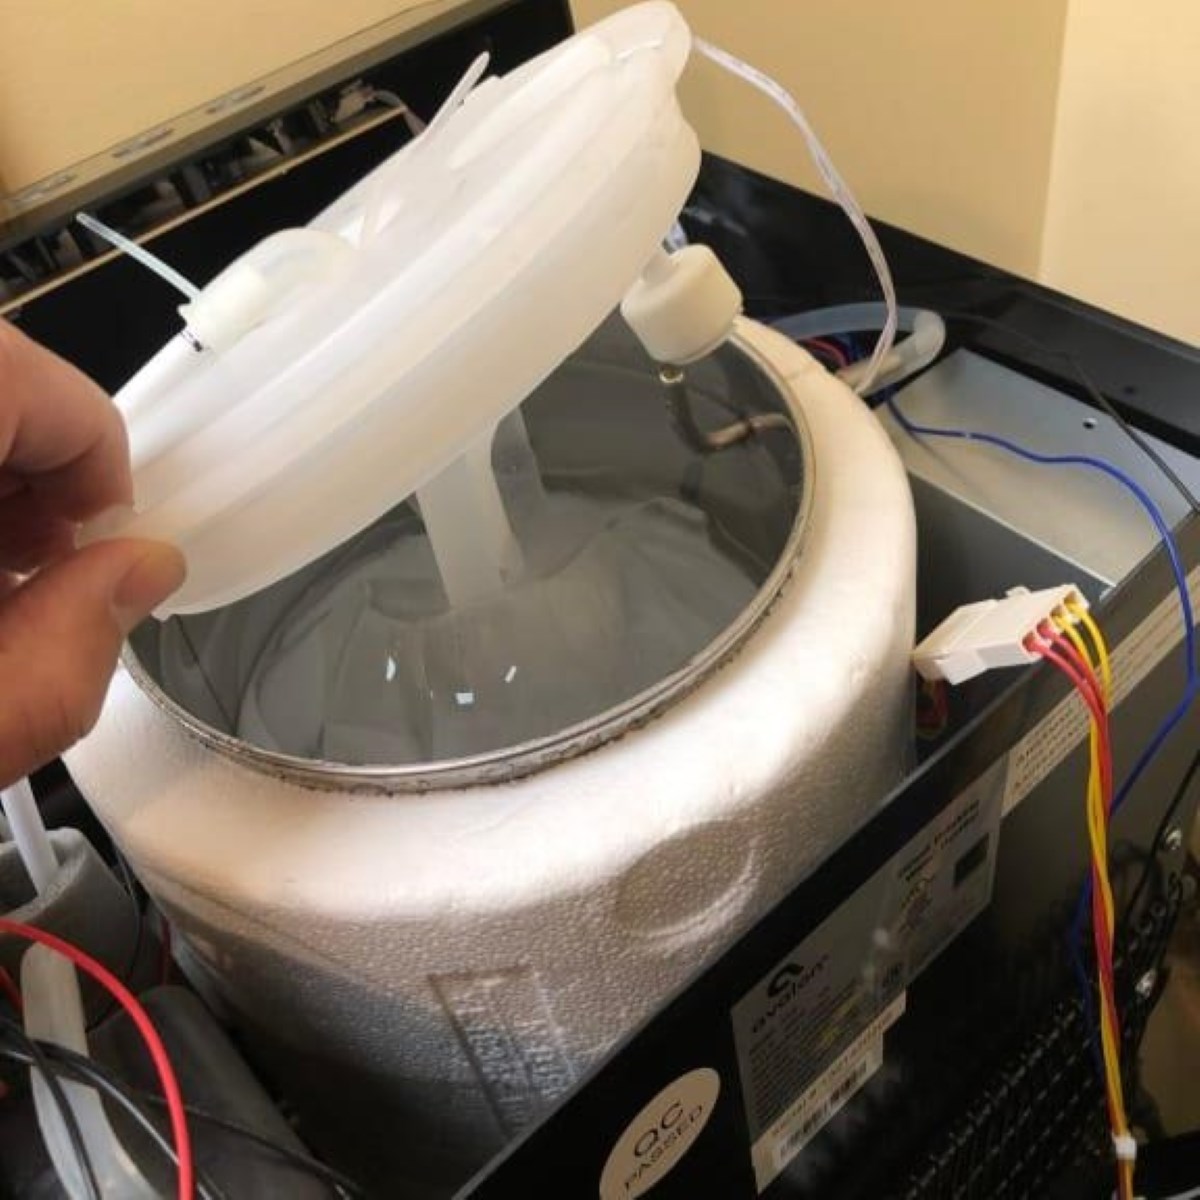
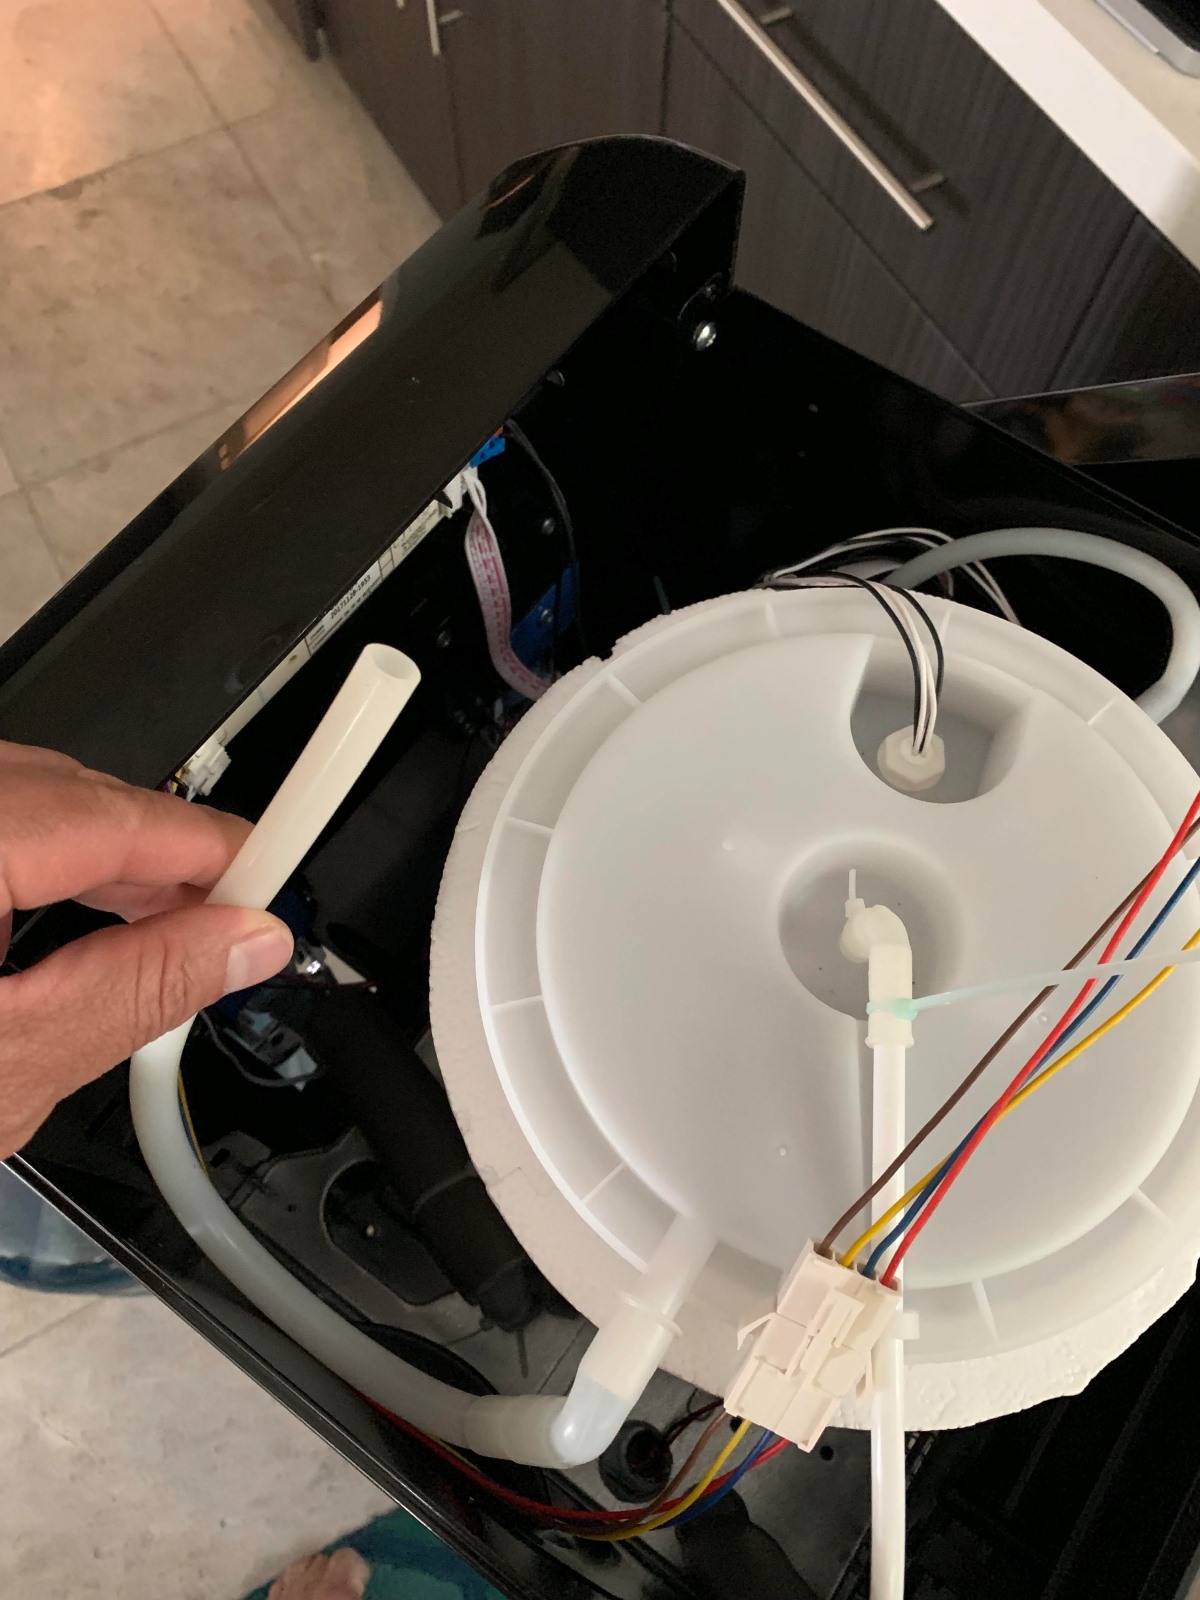
Step 3: Disassemble Internal Components
In order to thoroughly clean your Primo Water Dispenser, it’s essential to disassemble the internal components. Follow these steps:
- Refer to the instruction manual: Every Primo Water Dispenser model may have different instructions for disassembly. Consult the instruction manual that came with your dispenser for specific guidance.
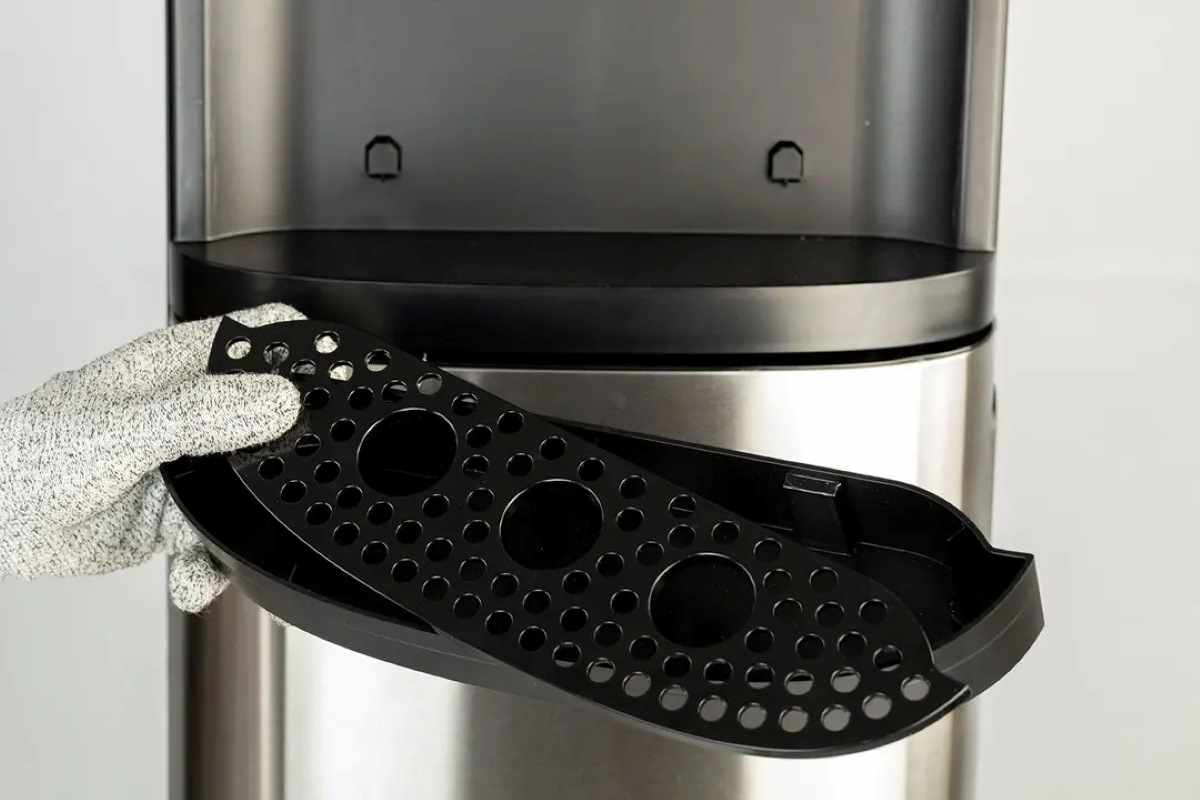
- Remove the drip tray: If your dispenser has a drip tray, carefully lift it out of its position and set it aside.
- Take out the water guard: The water guard is the component that sits beneath the nozzle. Gently pull it out or unscrew it, depending on the design of your dispenser.
- Detach the nozzle: If your dispenser has a removable nozzle, twist or unscrew it to detach it from the dispenser. Be cautious as it may have small parts that can easily be misplaced.
- Unscrew or remove any filters: If your Primo Water Dispenser has a filter, follow the instructions to remove it properly. This may involve twisting or unscrewing the filter housing.
By disassembling these internal components, you will have better access to clean and sanitize each part thoroughly. Make sure to handle each component with care and keep any small parts in a safe place to avoid losing them. Now, let’s move on to the next step in cleaning your Primo Water Dispenser.
To clean out a Primo water dispenser, mix a solution of 1 part vinegar to 3 parts water and run it through the system. Then, rinse with clean water to remove any vinegar residue. Repeat this process every 3 months to keep the dispenser clean and functioning properly.
Read more: How To Use Primo Water Dispenser
Step 4: Clean and Sanitize the Water Dispenser
Now that you have disassembled the internal components of your Primo Water Dispenser, it’s time to clean and sanitize them. Follow these steps:
- Prepare a cleaning solution: Mix equal parts warm water and vinegar or citric acid in a container. This solution will effectively remove any mineral deposits and bacteria.
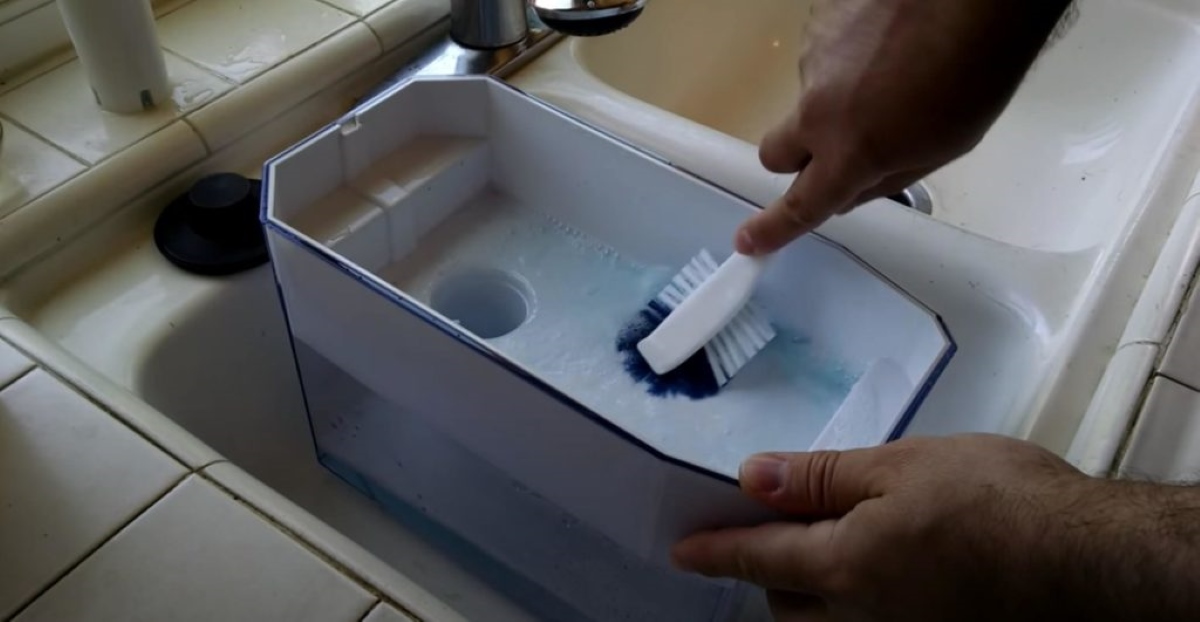
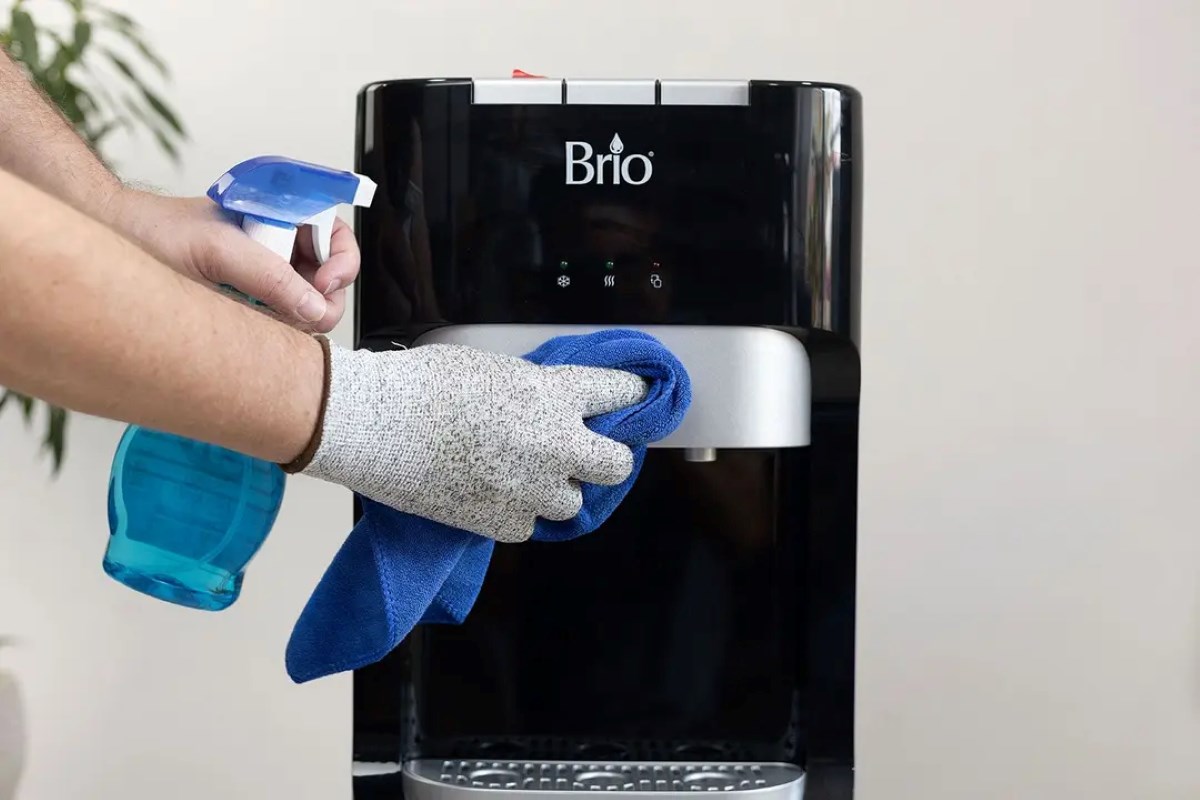
- Use a clean cloth or sponge: Dip a clean cloth or sponge into the cleaning solution and gently scrub the interior surfaces of the dispenser. Pay attention to areas that may have build-up, such as around the nozzle, water guard, and where the water bottle sits.
- Scrub removable parts: Take the disassembled components, such as the nozzle, water guard, and drip tray, and scrub them with the cleaning solution using a soft-bristle brush. Make sure to thoroughly clean all sides and crevices.
- Rinse with clean water: After cleaning, rinse all the parts with clean water to remove any remaining residue or cleaning solution.
- Sanitize: To sanitize the dispenser and internal components, fill a container with a sanitizing solution. You can use a mixture of 1 teaspoon of bleach per gallon of water. Submerge the components in the solution for a few minutes, then rinse them thoroughly with clean water.
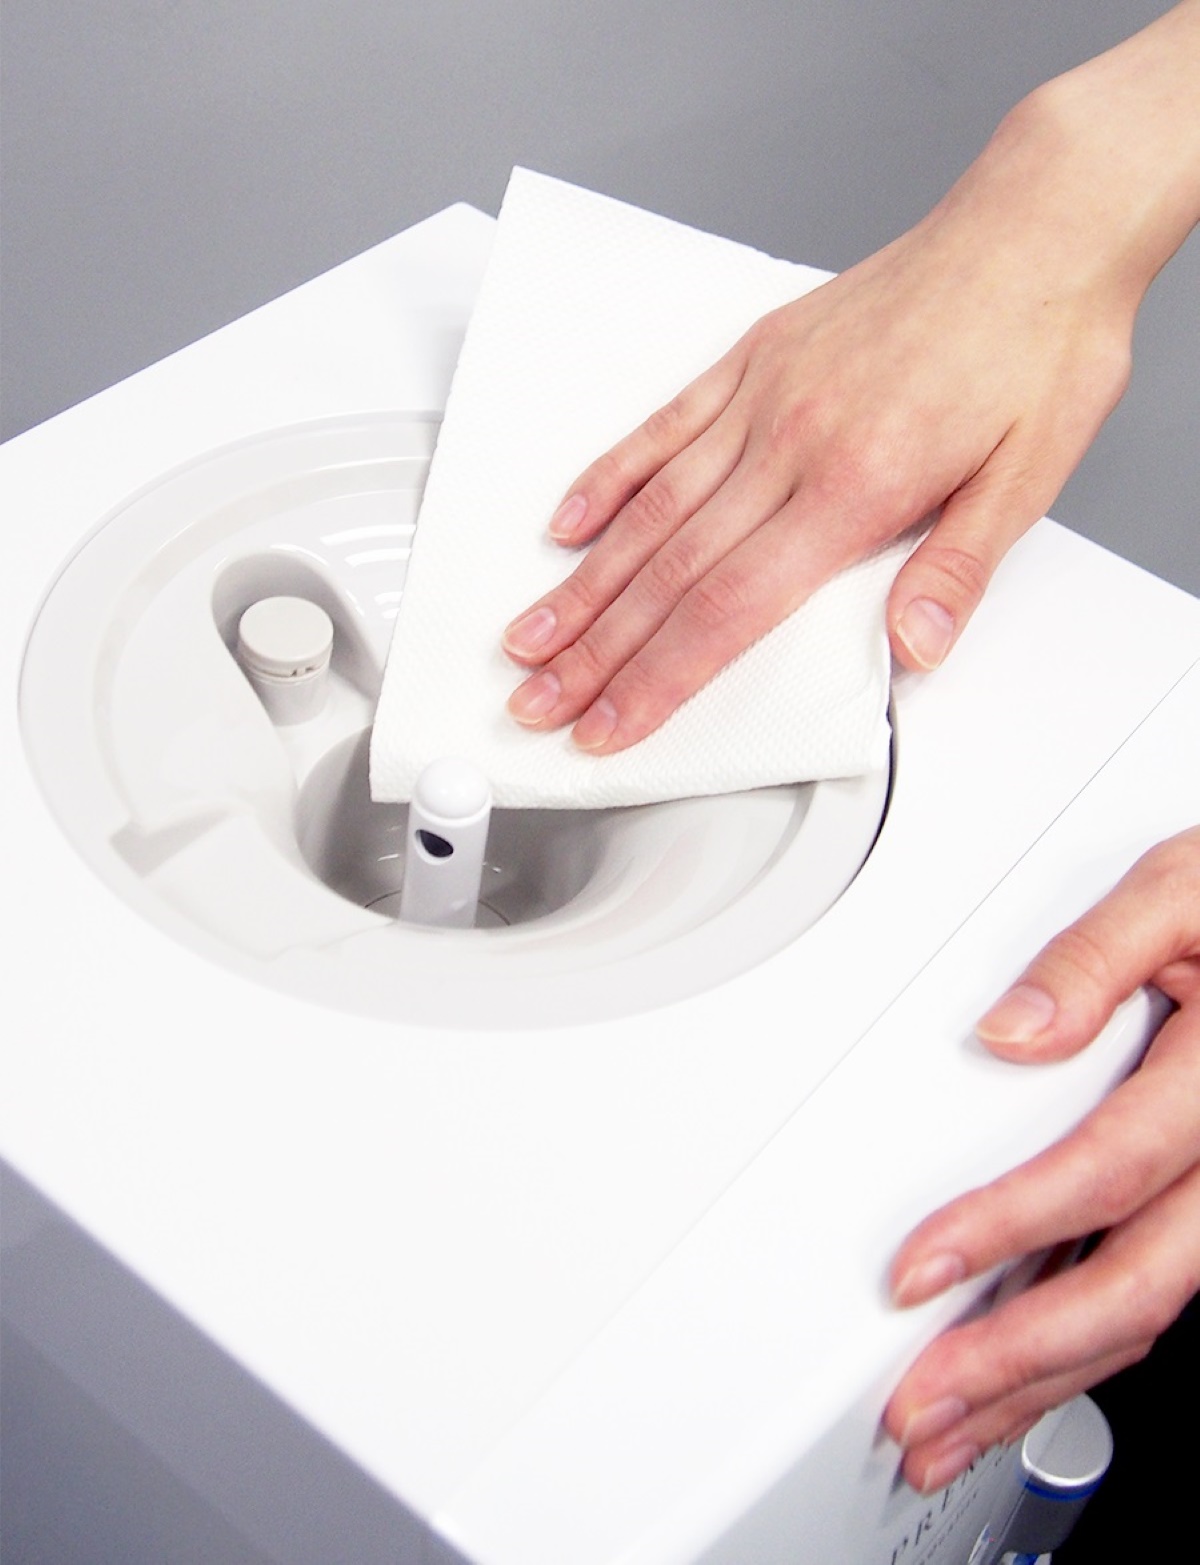
- Dry everything: Use a clean towel or paper towels to dry all the components and the interior surfaces of the dispenser. Make sure they are completely dry before reassembling the dispenser.
By following these steps, you will ensure that your Primo Water Dispenser is thoroughly cleaned and sanitized, ready to provide you with fresh and clean water. Now, let’s move on to the next step in cleaning your Primo Water Dispenser.
Step 5: Reassemble and Reconnect the Water Dispenser
After cleaning and sanitizing the internal components of your Primo Water Dispenser, it’s time to reassemble and reconnect everything. Follow these steps:
- Refer to the instruction manual: Consult the instruction manual that came with your Primo Water Dispenser for specific guidance on how to reassemble the internal components.
- Reattach the nozzle: If you removed a removable nozzle, carefully twist or screw it back into its original position.
- Reinsert the water guard: Place the water guard back into the dispenser, ensuring it is secure and in the correct position.
- Replace the drip tray: Put the drip tray back into its designated spot beneath the nozzle.
- Reinstall any filters: If you removed a filter during the cleaning process, follow the instructions to properly reinstall it. This may involve twisting or screwing the filter housing back into place.
- Place the water bottle back: Lift the cleaned and dry water bottle and place it securely into the dispenser, ensuring it is correctly aligned with the dispenser’s nozzle.
Take your time to ensure that each component is properly reassembled and securely attached. This will help maintain the optimal performance of your Primo Water Dispenser. Now, let’s move on to the final step in cleaning your Primo Water Dispenser.
Step 6: Test and Flush the Dispenser
Once you have reassembled and reconnected your Primo Water Dispenser, it’s important to test it and flush out any remaining residues or cleaning agents. Follow these steps:
- Plug in the dispenser: Plug the power cord back into the electrical outlet and turn on the power.
- Run a test cycle: Dispense a small amount of water into a cup or container to check if the dispenser is functioning properly.
- Check for any leaks: Inspect the dispenser for any leaks after running the test cycle. If you notice any leaks, turn off the power and address the issue before continuing.
- Flush the dispenser: Fill the water bottle with clean water and place it back into the dispenser. Run several cycles of water through the dispenser to flush out any remaining residues or cleaning agents.
- Dispose of the flushed water: Dispose of the flushed water or use it for non-consumable purposes, as it may still contain traces of cleaning agents.
By testing and flushing your Primo Water Dispenser, you ensure that any remaining contaminants or cleaning agents are removed, leaving you with clean and fresh water. Now that you’ve completed all the necessary steps, your Primo Water Dispenser should be ready to provide you with pure and refreshing hydration.
Conclusion
Congratulations! You have successfully cleaned out your Primo Water Dispenser and restored it to its optimal condition. By following the step-by-step instructions provided in this article, you have ensured that your dispenser is clean, sanitized, and ready to provide you and your family with fresh and pure drinking water.
Regular cleaning and maintenance of your Primo Water Dispenser is essential to prevent the build-up of mineral deposits, bacteria, and other impurities. By incorporating these cleaning steps into your routine, you can continue to enjoy clean, delicious water from your dispenser.
Remember to gather all the necessary supplies before starting the cleaning process and consult your instruction manual for any specific instructions related to your model of Primo Water Dispenser. In addition, testing and flushing after cleaning helps ensure that any remaining residues or cleaning agents are fully removed.
By taking the time to clean and maintain your Primo Water Dispenser properly, you not only enhance the taste and quality of your drinking water, but also prolong the lifespan of your dispenser. So, make it a habit to clean out your Primo Water Dispenser at regular intervals to keep it in top-notch condition and enjoy refreshing hydration whenever you need it.
Thank you for reading, and we hope this article has been helpful in guiding you through the process of cleaning your Primo Water Dispenser!
Now that you've mastered cleaning your Primo water dispenser, why not keep the momentum going with your entire home? Regular upkeep is vital for maintaining a house's comfort and functionality. Dive into our detailed guide on essential home maintenance routines that will ensure every corner of your dwelling is in top shape. From seasonal check-ups to quick fixes, you'll find practical advice that simplifies upkeep tasks.
Frequently Asked Questions about How To Clean Out A Primo Water Dispenser
Was this page helpful?
At Storables.com, we guarantee accurate and reliable information. Our content, validated by Expert Board Contributors, is crafted following stringent Editorial Policies. We're committed to providing you with well-researched, expert-backed insights for all your informational needs.

0 thoughts on “How To Clean Out A Primo Water Dispenser”