Home>Home Appliances>Lighting Appliances>How To Clean Ceiling Light Fixtures

Lighting Appliances
How To Clean Ceiling Light Fixtures
Modified: February 18, 2024
Learn how to effectively clean your ceiling light fixtures and maintain your lighting appliances. Discover tips and techniques for a brighter, cleaner home.
(Many of the links in this article redirect to a specific reviewed product. Your purchase of these products through affiliate links helps to generate commission for Storables.com, at no extra cost. Learn more)
Introduction
Cleaning ceiling light fixtures is an essential yet often overlooked aspect of home maintenance. Over time, dust, dirt, and grime can accumulate on the surfaces of these fixtures, diminishing their brightness and overall aesthetic appeal. Additionally, neglecting to clean light fixtures can lead to reduced energy efficiency and potential fire hazards due to the buildup of dust and debris. Therefore, regular cleaning of ceiling light fixtures is crucial for maintaining a well-lit and safe living environment.
In this comprehensive guide, we will walk you through the step-by-step process of cleaning your ceiling light fixtures effectively and safely. By following these instructions, you can restore the brightness and clarity of your light fixtures while ensuring that they remain in optimal working condition.
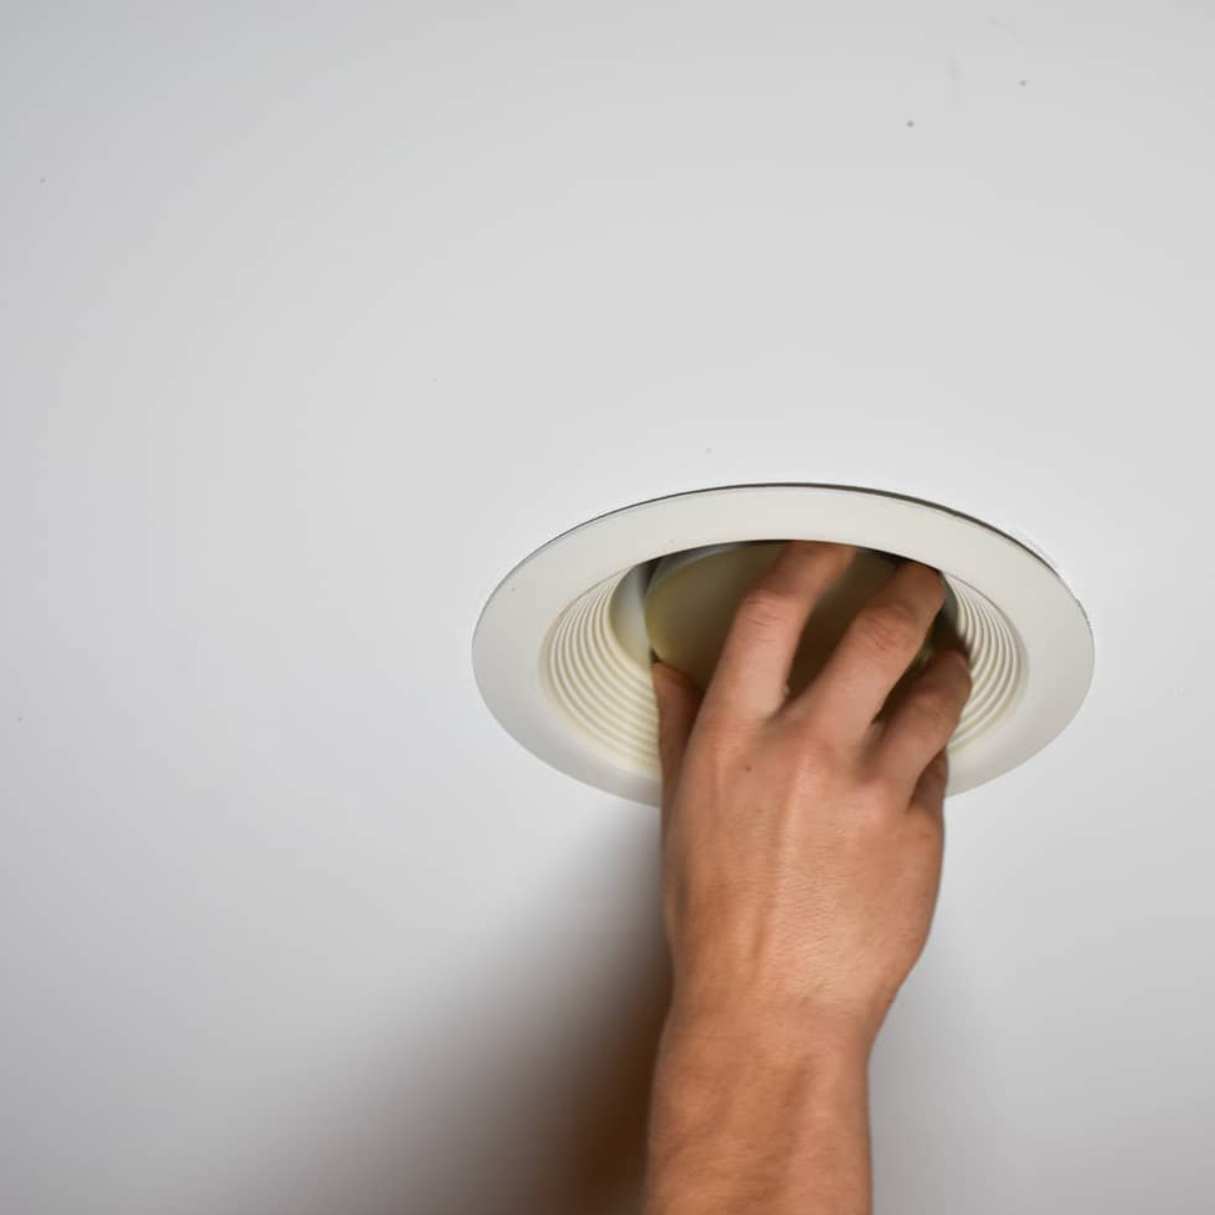
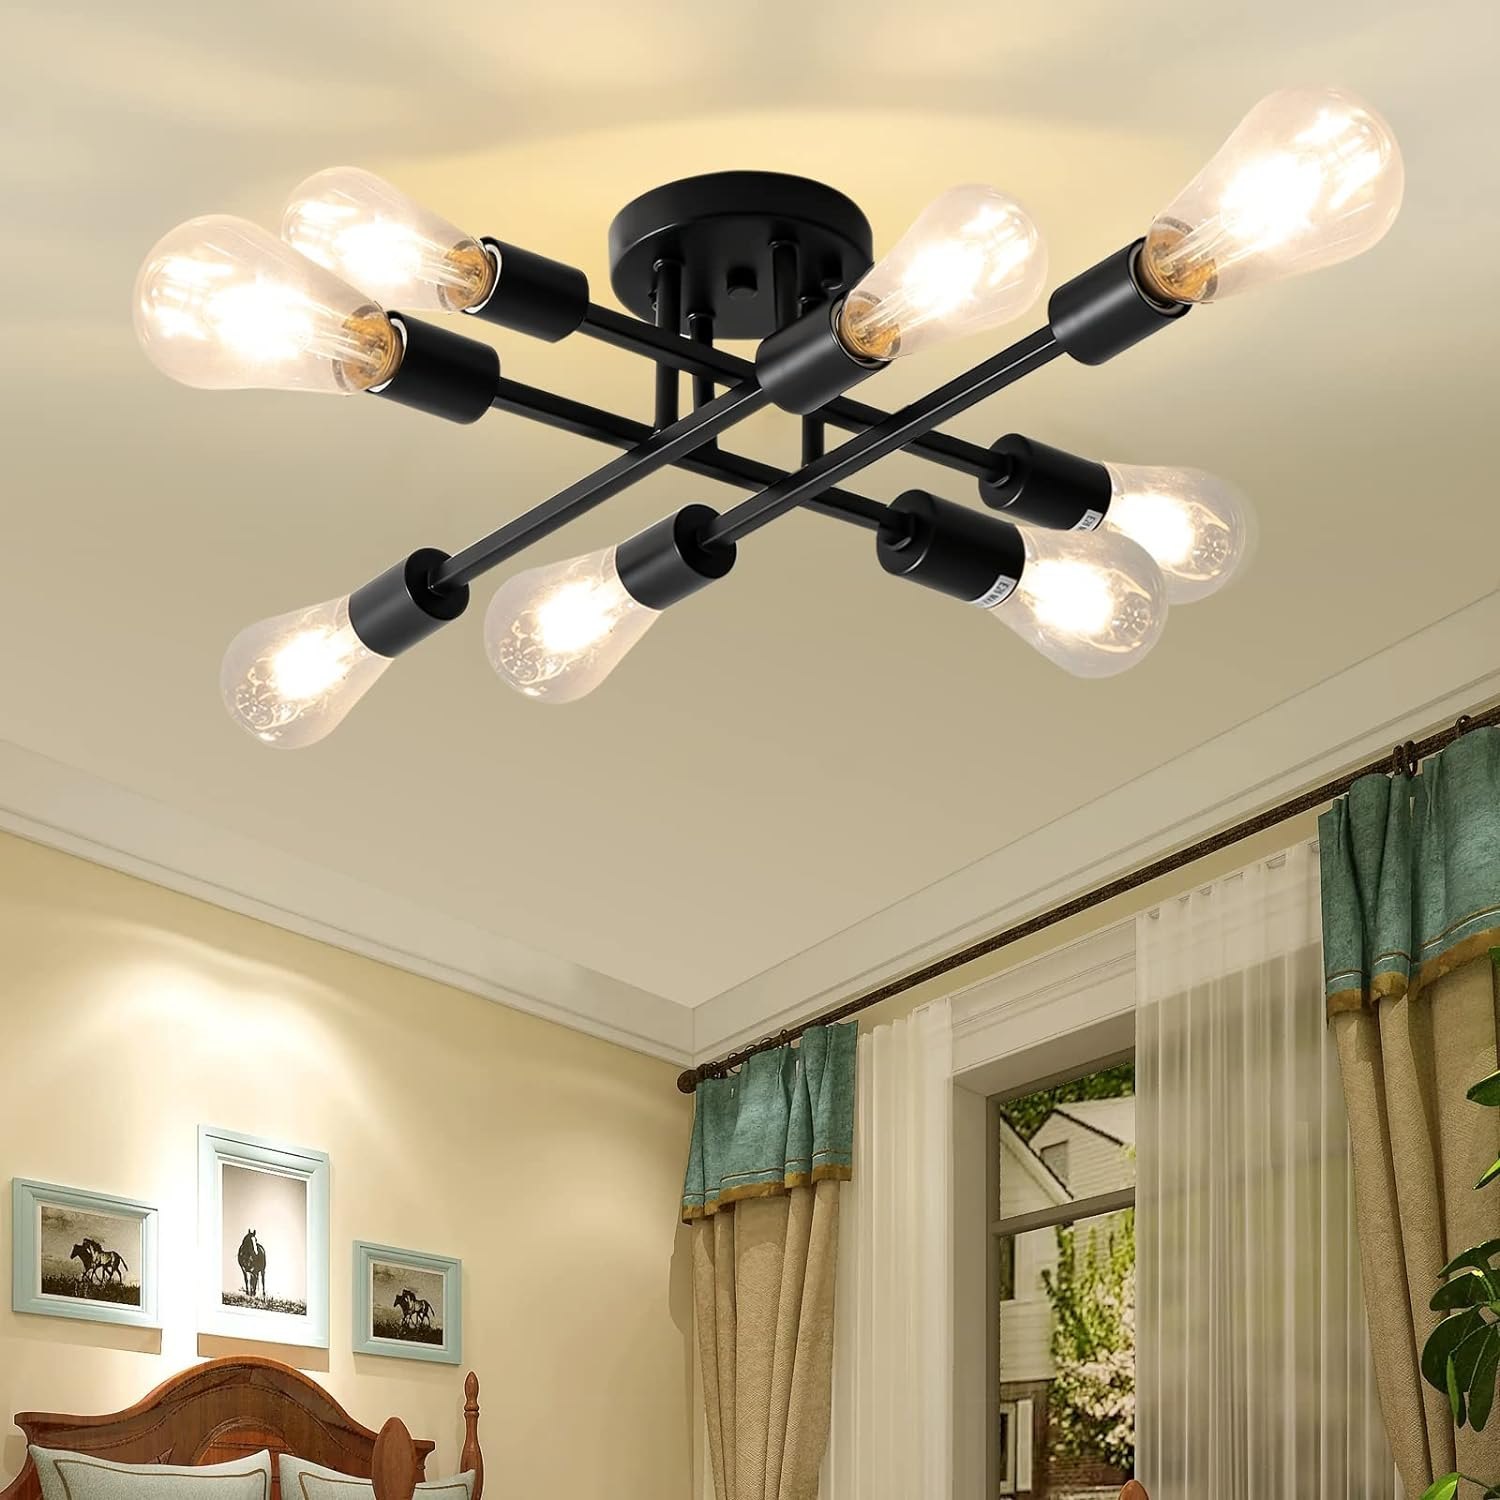
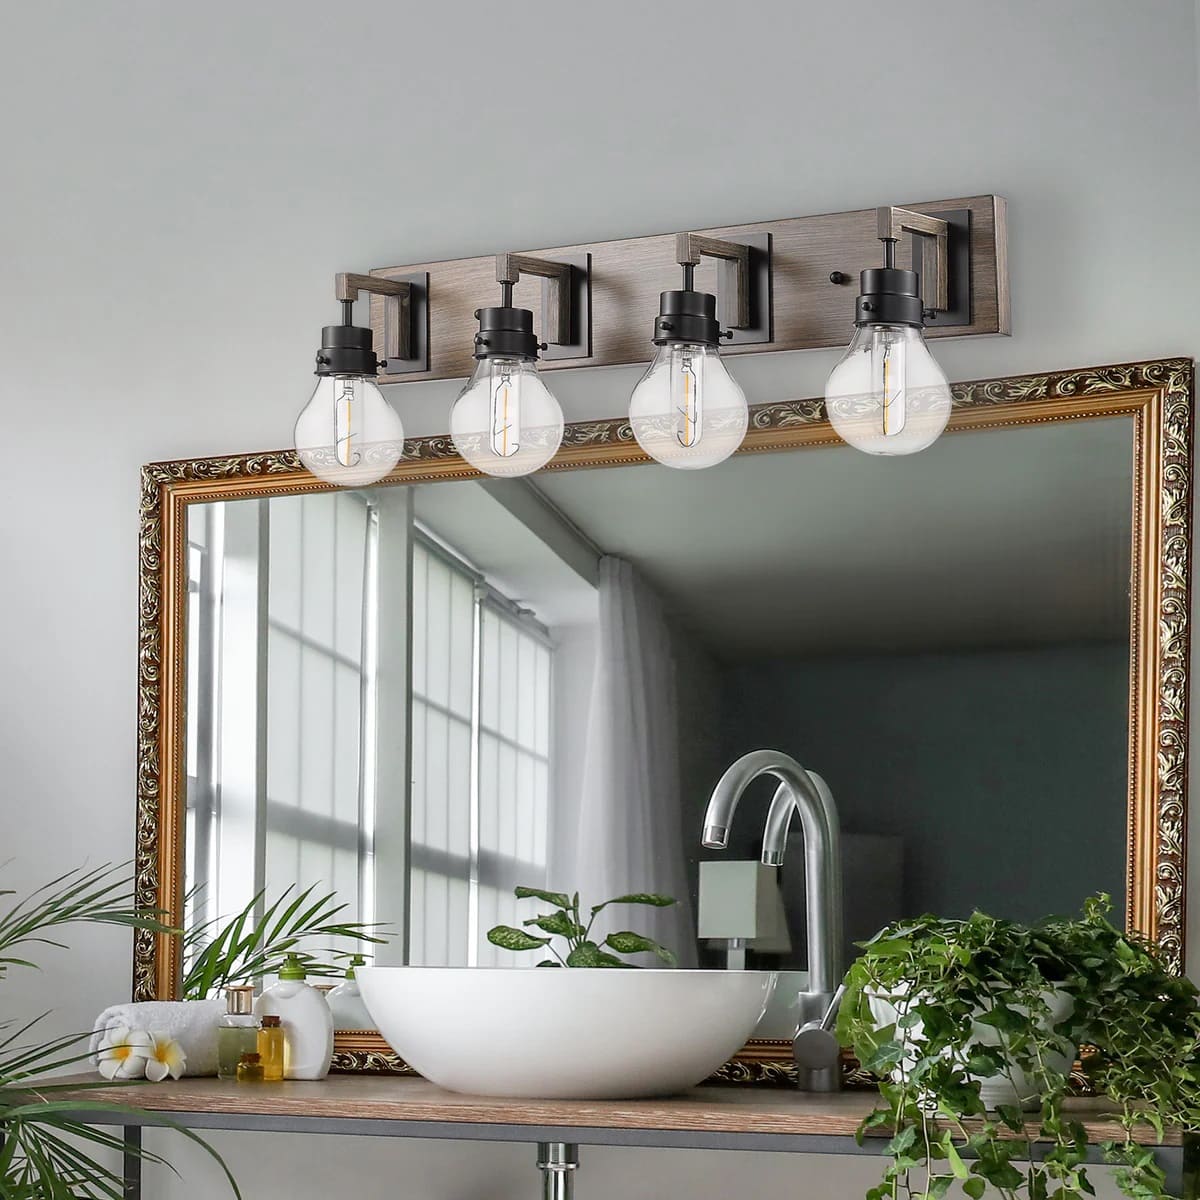
Whether you have recessed lighting, pendant lights, chandeliers, or flush-mount fixtures, the cleaning methods outlined in this guide can be applied to various types of ceiling light fixtures. By investing a small amount of time and effort into this maintenance task, you can significantly enhance the overall ambiance and functionality of your living space.
Now, let's delve into the specific steps and techniques required to clean your ceiling light fixtures thoroughly. With the right supplies and a methodical approach, you can revitalize your light fixtures and enjoy a well-lit, inviting home environment.
Key Takeaways:
- Regularly cleaning ceiling light fixtures not only enhances the appearance of your home but also ensures safety and energy efficiency. It’s a simple yet crucial task for maintaining a well-lit and inviting living space.
- By following a step-by-step cleaning process, you can revitalize your ceiling light fixtures and contribute to a safer and more visually appealing home environment. Regular maintenance prolongs the lifespan of fixtures and optimizes energy efficiency.
Read more: How To Replace Ceiling Light Fixture
Step 1: Gather the necessary supplies
Before embarking on the task of cleaning your ceiling light fixtures, it's essential to gather the necessary supplies to ensure a thorough and efficient cleaning process. Here's a comprehensive list of supplies you'll need:
-
Step ladder or sturdy platform: Depending on the height of your ceiling, a step ladder or a sturdy platform will enable you to safely access the light fixtures. Ensure that the ladder or platform is stable and secure before use.
-
Microfiber cloth or soft, lint-free rags: These gentle cleaning materials are ideal for removing dust and grime from the surface of the light fixture without leaving behind lint or scratches.
-
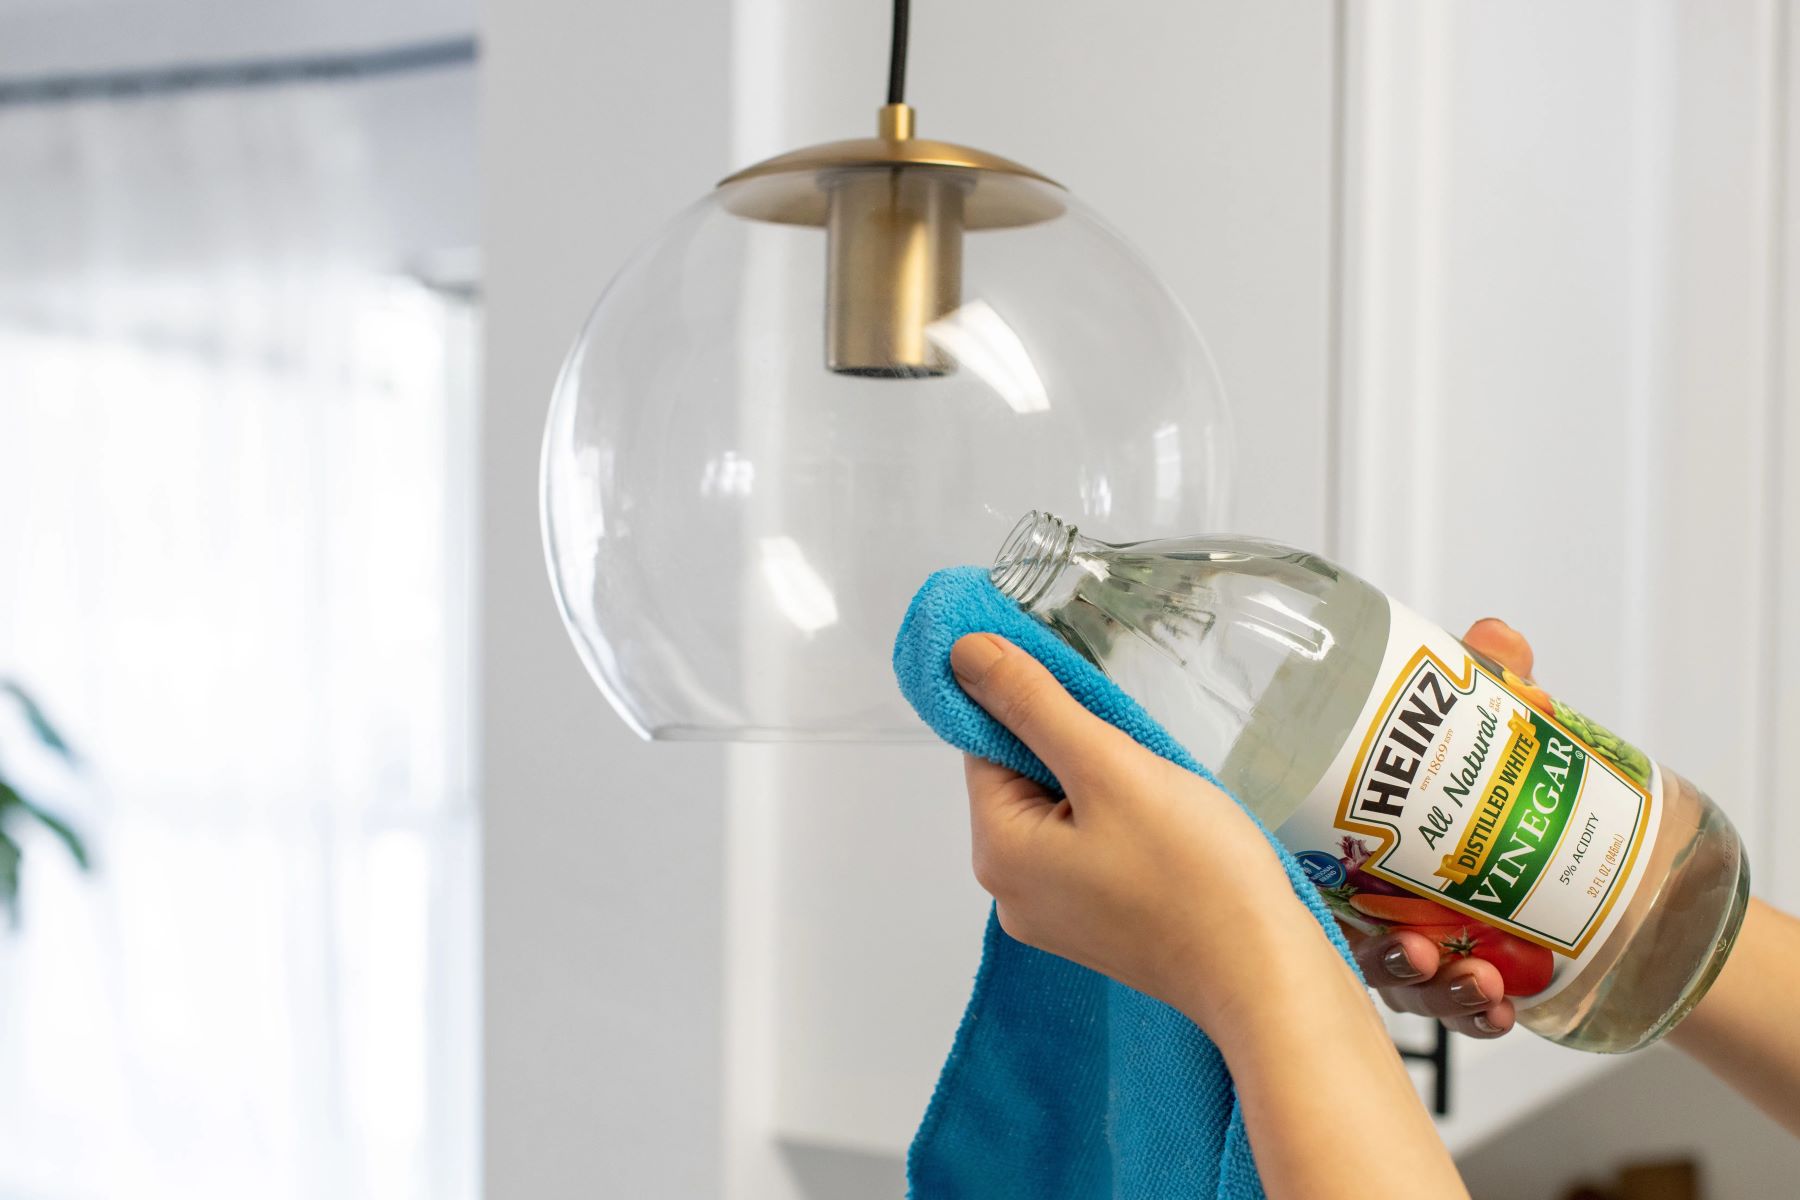
Mild detergent or glass cleaner: Select a gentle, non-abrasive detergent or glass cleaner to effectively remove any stubborn dirt or residue from the light fixture cover and other components.
-
Screwdriver or appropriate tools: In some cases, you may need to remove the light fixture cover or bulbs, so having a screwdriver or the necessary tools on hand is crucial for this step.
-
Protective gloves: To protect your hands from dust, cleaning solutions, and any sharp edges, it's advisable to wear protective gloves throughout the cleaning process.
-
Safety goggles: When working with light fixtures, especially those that have accumulated a significant amount of dust, wearing safety goggles can shield your eyes from debris and ensure a safe cleaning experience.
-
Vacuum cleaner with brush attachment: A vacuum cleaner with a soft brush attachment can be used to remove loose dust and cobwebs from the surrounding area before and after cleaning the light fixtures.
-
Extension cord (if necessary): If the light fixtures are located in an area where the power source is not easily accessible, an extension cord may be required to provide adequate lighting during the cleaning process.
By gathering these essential supplies, you'll be well-prepared to tackle the task of cleaning your ceiling light fixtures with confidence and efficiency. With the right tools at your disposal, you can ensure that the cleaning process is thorough and safe, ultimately contributing to a brighter and more inviting living space.
Step 2: Turn off the power
Before proceeding with the cleaning process, it is crucial to prioritize safety by turning off the power to the light fixture. This step is essential to prevent the risk of electric shock or other potential hazards while handling the fixture and its components.
To begin, locate the circuit breaker or fuse box that controls the power supply to the specific light fixture you intend to clean. If you are unsure which circuit or fuse corresponds to the fixture, it may be helpful to have a family member or friend assist you by flipping the light switch while you identify the corresponding circuit.
Once you have identified the correct circuit, switch off the power by flipping the corresponding circuit breaker to the "off" position or removing the corresponding fuse. It is advisable to use a non-contact voltage tester to ensure that the power to the fixture has been successfully turned off. This simple yet crucial tool can verify the absence of electrical current, providing an extra layer of safety and peace of mind before proceeding with the cleaning process.
After confirming that the power has been effectively turned off, it is recommended to test the light switch to ensure that the fixture remains unresponsive. This additional precaution can help validate that the power supply has been successfully disconnected, minimizing the risk of accidental electrical contact during the cleaning process.
By diligently following these steps to turn off the power, you can create a safe working environment for cleaning your ceiling light fixture. Prioritizing safety at every stage of the cleaning process is essential for a smooth and risk-free experience. With the power safely turned off, you can proceed to the next steps with confidence, knowing that you have taken the necessary precautions to protect yourself and maintain a secure cleaning environment.
Step 3: Remove the light fixture cover
Removing the light fixture cover is a crucial step in the process of cleaning ceiling light fixtures. By accessing the interior components of the fixture, you can effectively remove accumulated dust and grime, ensuring that the fixture operates at its optimal capacity. Here's a detailed guide on how to safely remove the light fixture cover:
-
Prepare the Work Area: Before proceeding, ensure that the area around the light fixture is clear of any obstacles. Place a sturdy step ladder or platform beneath the fixture, providing a stable and secure base for accessing the fixture cover.
-
Use Protective Gear: Prior to handling the light fixture, it's advisable to wear protective gloves to shield your hands from any sharp edges or accumulated dust. Additionally, wearing safety goggles can protect your eyes from debris that may dislodge during the removal process.
-
Identify the Fastening Mechanism: Depending on the type of light fixture, the cover may be secured in place using screws, clips, or a twist-lock mechanism. Carefully inspect the fixture to identify the specific fastening method employed.
-
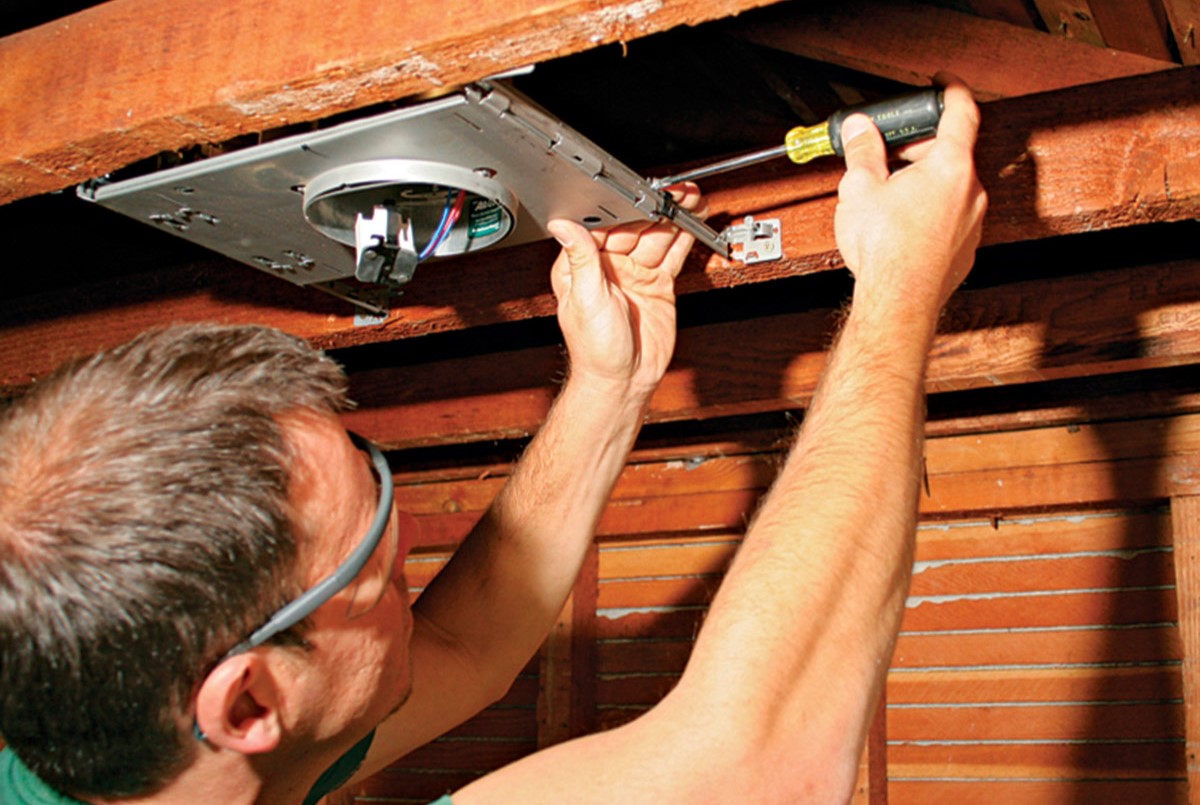
Unscrew or Release the Fasteners: If the cover is secured with screws, use an appropriate screwdriver to carefully loosen and remove the screws. For fixtures with clips or a twist-lock mechanism, follow the manufacturer's instructions to release the cover securely.
-
Handle with Care: Once the fasteners are disengaged, gently lower the cover from the fixture, taking care to support its weight and avoid any sudden movements that may cause damage or dislodgment of internal components.
-
Set Aside the Cover Safely: After removing the cover, place it on a soft, clean surface to prevent scratches or damage. This will also facilitate easy access to the interior of the cover for cleaning.
By following these detailed steps, you can safely and effectively remove the light fixture cover, setting the stage for thorough cleaning and maintenance. With the cover removed, you can proceed to the next steps in the cleaning process, ensuring that the interior components of the fixture receive the attention they need to function optimally.
Step 4: Clean the cover and bulbs
With the light fixture cover safely removed, it's time to focus on cleaning both the cover and the bulbs to restore their clarity and brightness. Here's a detailed guide on how to effectively clean the cover and bulbs of your ceiling light fixture:
Read more: How To Measure A Ceiling Light Fixture
Cleaning the Cover:
-
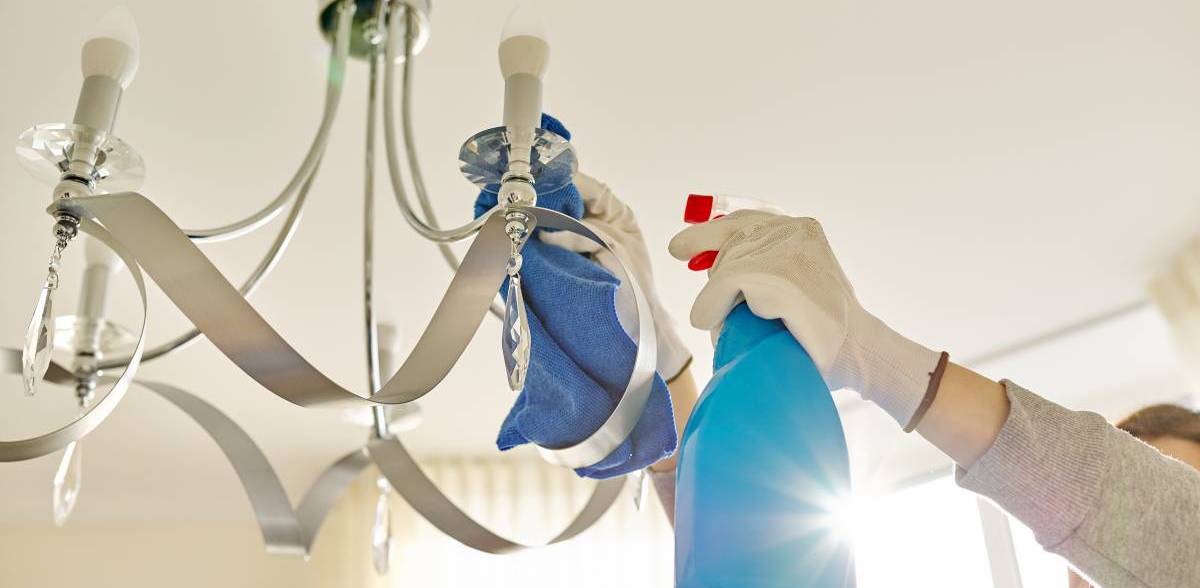
Dust Removal: Begin by using a microfiber cloth or a soft, lint-free rag to gently wipe the interior and exterior surfaces of the cover. This will help remove loose dust and debris that may have accumulated over time.
-
Detergent Solution: For more stubborn stains or residue, prepare a mild detergent solution by mixing a small amount of gentle dish soap with warm water. Dampen a clean cloth with the solution and carefully wipe the cover, ensuring thorough coverage of all surfaces.
-
Rinsing and Drying: After cleaning with the detergent solution, rinse the cover with clean water to remove any soapy residue. Once rinsed, use a dry, lint-free cloth to gently pat the cover dry, ensuring that no water spots or streaks remain.
-
Inspect for Damage: While cleaning the cover, take the opportunity to inspect it for any signs of damage, such as cracks or discoloration. If any damage is detected, consider consulting a professional for repair or replacement.
Cleaning the Bulbs:
-
Cooling Period: If the light bulbs were recently in use, allow them to cool down completely before handling them to prevent the risk of burns or breakage.
-
Dust Removal: Using a dry microfiber cloth or a soft brush, carefully remove any dust or debris from the surface of the bulbs. This step will help improve the overall clarity and brightness of the light emitted.
-
Glass Cleaner Application: Apply a small amount of glass cleaner to a clean, lint-free cloth and gently wipe the surface of each bulb. Take care to avoid excessive pressure or twisting motions that may damage the bulbs.
-
Drying and Reinstallation: After cleaning, allow the bulbs to air dry completely before reinstallation. Once dry, carefully reinsert the bulbs into the fixture, ensuring a secure fit.
By following these detailed steps, you can effectively clean the cover and bulbs of your ceiling light fixture, enhancing their appearance and performance. With these components thoroughly cleaned, you can proceed to the next steps in the cleaning process, ultimately contributing to a well-lit and inviting living space.
Use a microfiber cloth or a duster with an extendable handle to gently wipe the dust off the ceiling light fixtures. For tougher stains, mix warm water with mild dish soap and gently wipe the fixtures with a soft cloth. Avoid using harsh chemicals or abrasive materials.
Step 5: Clean the inside of the fixture
Cleaning the inside of the fixture is a critical step in maintaining the optimal performance and longevity of your ceiling light fixture. Over time, dust, insects, and other debris can accumulate inside the fixture, potentially obstructing light output and affecting the overall aesthetic appeal. Here's a detailed guide on how to effectively clean the inside of the fixture:
-
Prepare the Work Area: Before proceeding, ensure that the power to the fixture remains turned off to prevent any risk of electric shock. Position the step ladder or platform securely beneath the fixture to facilitate safe access to the interior.
-
Use a Vacuum Cleaner: Begin by using a vacuum cleaner with a soft brush attachment to carefully remove loose dust, cobwebs, and other debris from the interior of the fixture. Gently maneuver the brush attachment around the interior surfaces, ensuring thorough coverage.
-
Inspect for Residue: After vacuuming, visually inspect the interior of the fixture for any stubborn residue or buildup. If necessary, use a soft, dry cloth to gently wipe the interior surfaces, removing any remaining dust or debris.
-
Check Electrical Components: While cleaning the interior, take the opportunity to inspect the electrical components for any signs of damage or wear. Ensure that the wiring, sockets, and other internal elements are free from dust and debris that may affect their functionality.
-
Reassemble the Fixture: Once the interior is thoroughly cleaned and inspected, carefully reassemble the fixture by securing the cover back in place using the appropriate fastening method. Ensure that all components are securely reattached before proceeding.
By diligently following these steps to clean the inside of the fixture, you can effectively remove accumulated dust and debris, ensuring that the interior components operate optimally. With the interior of the fixture cleaned and reassembled, you can proceed to the final step of the cleaning process, ultimately contributing to a well-maintained and visually appealing ceiling light fixture.
Step 6: Reassemble the light fixture
After completing the thorough cleaning of the light fixture cover, bulbs, and the interior of the fixture, the final step involves reassembling the components to restore the fixture to its fully operational and visually appealing state.
-
Securely Position the Cover: Carefully lift the clean light fixture cover and align it with the fixture base. Ensure that the cover is positioned correctly to align with the fastening mechanism, whether it involves screws, clips, or a twist-lock method.
-
Fasten the Cover: If the cover is secured with screws, use a screwdriver to reattach the screws securely, taking care not to overtighten them. For fixtures with clips or a twist-lock mechanism, follow the manufacturer's instructions to secure the cover in place.
-
Test for Stability: Once the cover is reattached, gently test its stability by applying light pressure to ensure that it is securely fastened. This step is crucial to verify that the cover is properly positioned and will remain in place during regular use.
-
Reinstall the Bulbs: If the light bulbs were removed during the cleaning process, carefully reinsert them into their respective sockets, ensuring a secure fit. Take care to align the bulbs properly and avoid applying excessive force during reinstallation.
-
Double-Check the Fasteners: After reassembling the light fixture, double-check the fasteners to ensure that they are tightened securely. This step is essential to prevent any potential hazards or instability that may arise from loose components.
-
Restore Power: Once the light fixture is fully reassembled, restore the power supply by switching the corresponding circuit breaker to the "on" position or reinstalling the fuse. Test the light switch to ensure that the fixture illuminates as expected, indicating successful reassembly and restoration of power.
By meticulously following these steps to reassemble the light fixture, you can ensure that the components are securely positioned and that the fixture operates optimally. With the cleaning and reassembly process completed, take a moment to appreciate the revitalized appearance and functionality of your ceiling light fixture, knowing that your efforts have contributed to a well-maintained and inviting living space.
Read more: How To Change A Ceiling Light Fixture
Conclusion
In conclusion, the process of cleaning ceiling light fixtures is a fundamental aspect of home maintenance that significantly contributes to the overall ambiance, functionality, and safety of your living space. By following the step-by-step guide outlined in this comprehensive article, you have gained valuable insights into the effective and safe cleaning of various types of ceiling light fixtures, including recessed lighting, pendant lights, chandeliers, and flush-mount fixtures.
Through the meticulous gathering of necessary supplies, the careful turning off of the power supply, the methodical removal of the light fixture cover, and the thorough cleaning of both the cover and bulbs, you have taken proactive steps to maintain the brightness and clarity of your light fixtures. Additionally, the detailed instructions provided for cleaning the inside of the fixture and the meticulous reassembly process have equipped you with the knowledge and confidence to ensure that your ceiling light fixtures operate optimally and remain visually appealing.
By investing a small amount of time and effort into the cleaning process, you have contributed to the longevity and energy efficiency of your light fixtures while creating a safer and more inviting living environment. Regular maintenance and cleaning of ceiling light fixtures not only enhance the aesthetic appeal of your home but also mitigate potential fire hazards and ensure that the fixtures operate at their optimal capacity.
As you reflect on the completion of the cleaning process, take pride in the revitalized appearance and functionality of your ceiling light fixtures. Your commitment to maintaining a well-lit and visually appealing living space demonstrates your dedication to creating a comfortable and safe home environment for yourself and your loved ones.
Moving forward, consider incorporating the cleaning of ceiling light fixtures into your regular home maintenance routine. By doing so, you can prolong the lifespan of your fixtures, optimize energy efficiency, and continue to enjoy a well-lit and inviting home environment for years to come.
With the knowledge and skills acquired from this guide, you are well-equipped to tackle future cleaning and maintenance tasks, ensuring that your living space remains a bright and welcoming sanctuary for all who enter.
Frequently Asked Questions about How To Clean Ceiling Light Fixtures
Was this page helpful?
At Storables.com, we guarantee accurate and reliable information. Our content, validated by Expert Board Contributors, is crafted following stringent Editorial Policies. We're committed to providing you with well-researched, expert-backed insights for all your informational needs.




0 thoughts on “How To Clean Ceiling Light Fixtures”