Articles
How To Clean Broan Bathroom Fan
Modified: October 28, 2024
Learn how to clean a Broan bathroom fan effectively with these helpful articles. Keep your fan running smoothly and efficiently for years to come.
(Many of the links in this article redirect to a specific reviewed product. Your purchase of these products through affiliate links helps to generate commission for Storables.com, at no extra cost. Learn more)
Introduction
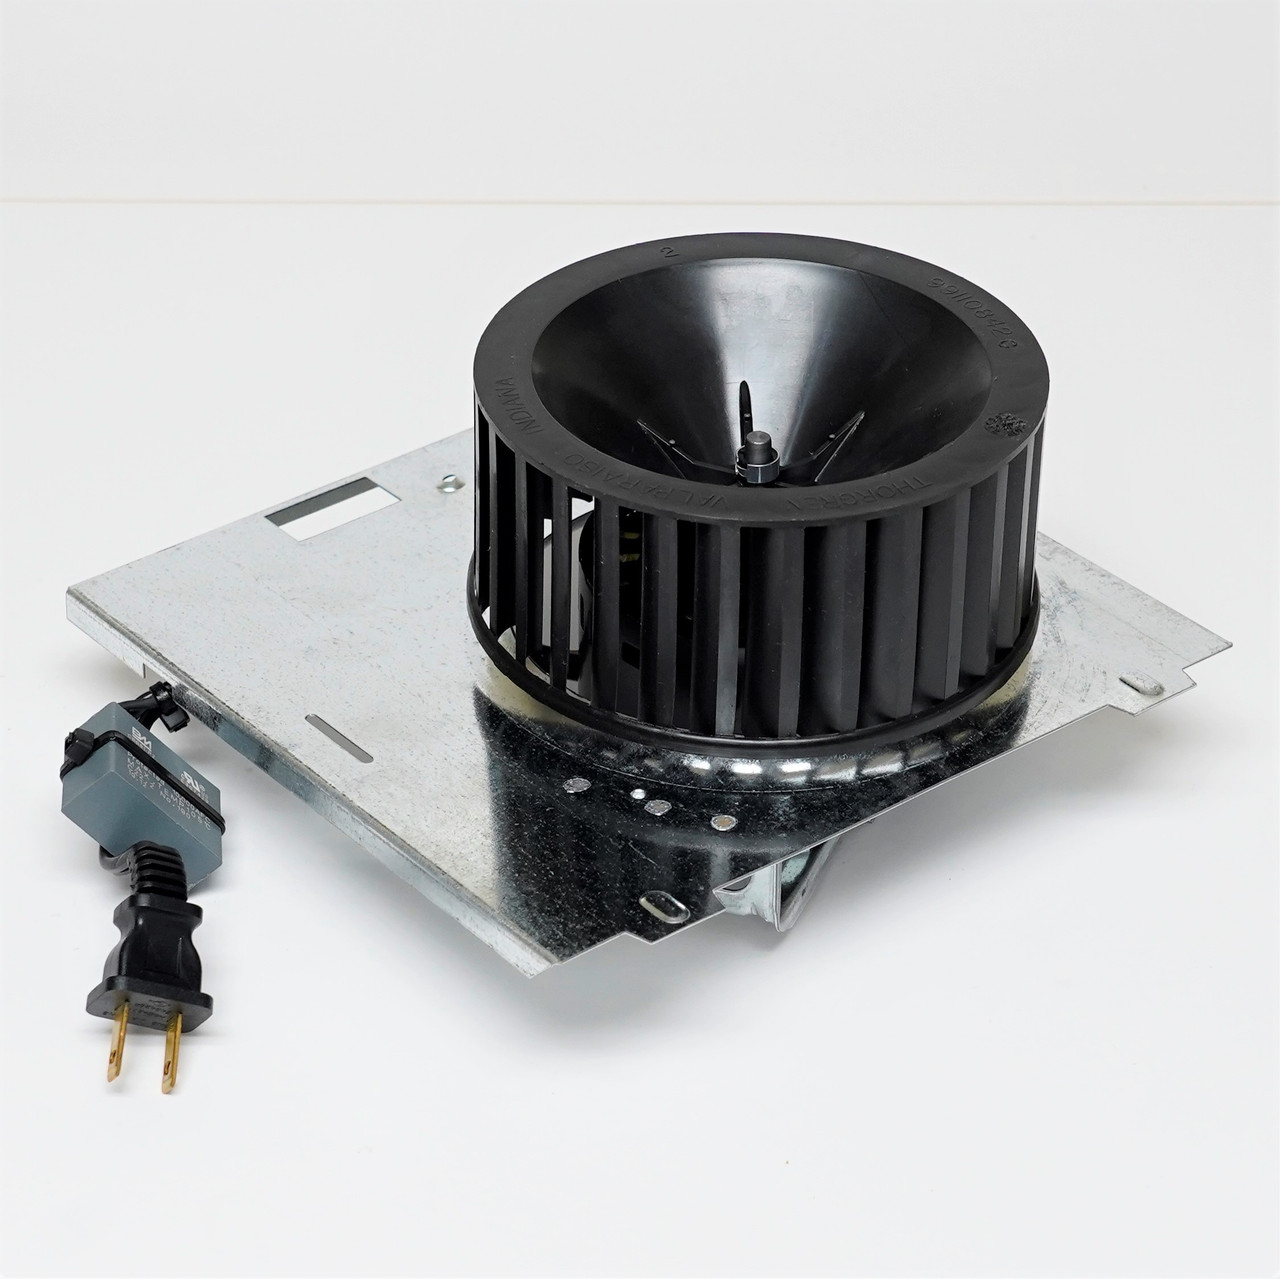
Having a clean and well-functioning bathroom fan is crucial for maintaining good air circulation and preventing mold and mildew growth. The Broan bathroom fan is a popular choice due to its reliability and effectiveness. Regular cleaning of the fan is necessary to ensure optimum performance and prolong its lifespan.
In this article, we will guide you through the step-by-step process of cleaning a Broan bathroom fan. By following these simple instructions, you can keep your fan in top-notch condition and enjoy fresh and clean air in your bathroom.
Before we delve into the cleaning process, make sure you gather the necessary tools and materials to complete the task efficiently. Here’s what you’ll need:
- Screwdriver (usually a Phillips head)
- Soft brush or vacuum cleaner with a brush attachment
- Mild dish soap or all-purpose cleaner
- Microfiber cloth or paper towels
- Warm water
Now that you’re ready, let’s get started!
Key Takeaways:
- Regular cleaning and maintenance of your Broan bathroom fan is essential for optimal performance, preventing mold and mildew growth, and ensuring fresh air circulation in your bathroom.
- Gather the necessary tools and materials, turn off the power, and follow the step-by-step guide to clean and reassemble your Broan bathroom fan for a clean and efficient environment.
Read more: How To Remove Broan Range Hood Fan Blade
Tools and Materials Needed
Before you begin cleaning your Broan bathroom fan, gather the following tools and materials:
- Screwdriver: You’ll need a screwdriver to remove the grille cover and access the fan blades.
- Soft brush or vacuum cleaner with a brush attachment: This will help you remove dust and debris from the fan blades and motor housing.
- Mild dish soap or all-purpose cleaner: Use a gentle cleaning solution to effectively remove dirt and grime.
- Microfiber cloth or paper towels: These will come in handy for wiping down and drying the various components of the fan.
- Warm water: You’ll need warm water to create a mixture with the cleaning solution.
Having these tools and materials prepared will ensure that you can clean your Broan bathroom fan efficiently and effectively.
Additionally, it’s important to ensure your safety during the cleaning process. Before starting, make sure to turn off the power to the fan. This can be done by switching off the corresponding circuit breaker or removing the fuse for the fan in your electrical panel. Taking these precautions will prevent any accidents or electrical hazards while cleaning your fan.
Now that you have all the necessary tools and materials and have ensured your safety, you’re ready to begin cleaning your Broan bathroom fan! Let’s move on to the step-by-step guide.
Step 1: Turn off the Power
Before you begin cleaning your Broan bathroom fan, it’s crucial to ensure your safety by turning off the power to the fan. This will prevent any accidents or electrical hazards while you work on cleaning the fan.
To turn off the power, you can follow these steps:
- Locate the circuit breaker panel or electrical panel in your home.
- Identify the circuit breaker that controls the bathroom fan. It is usually labeled accordingly.
- Switch off the circuit breaker for the fan by flipping it to the “off” position. Alternatively, if your fan is connected to a dedicated fuse, you can remove the fuse.
Double-check to make sure the power to the fan is turned off by attempting to switch it on. If the fan doesn’t turn on, you can proceed with confidence.
Remember, safety should always be a top priority. Do not attempt to clean the fan without turning off the power first. This will protect you from electric shock and prevent any damage to the fan or other electrical components.
Now that you’ve turned off the power, we can move on to the next step: removing the grille cover.
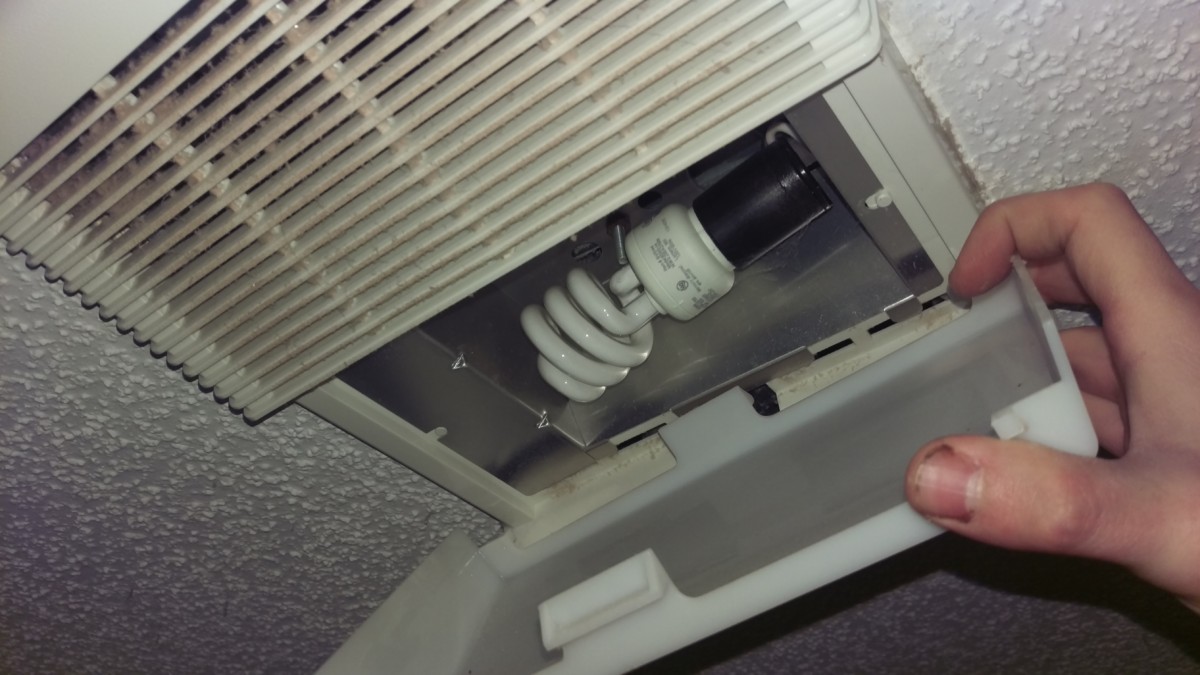
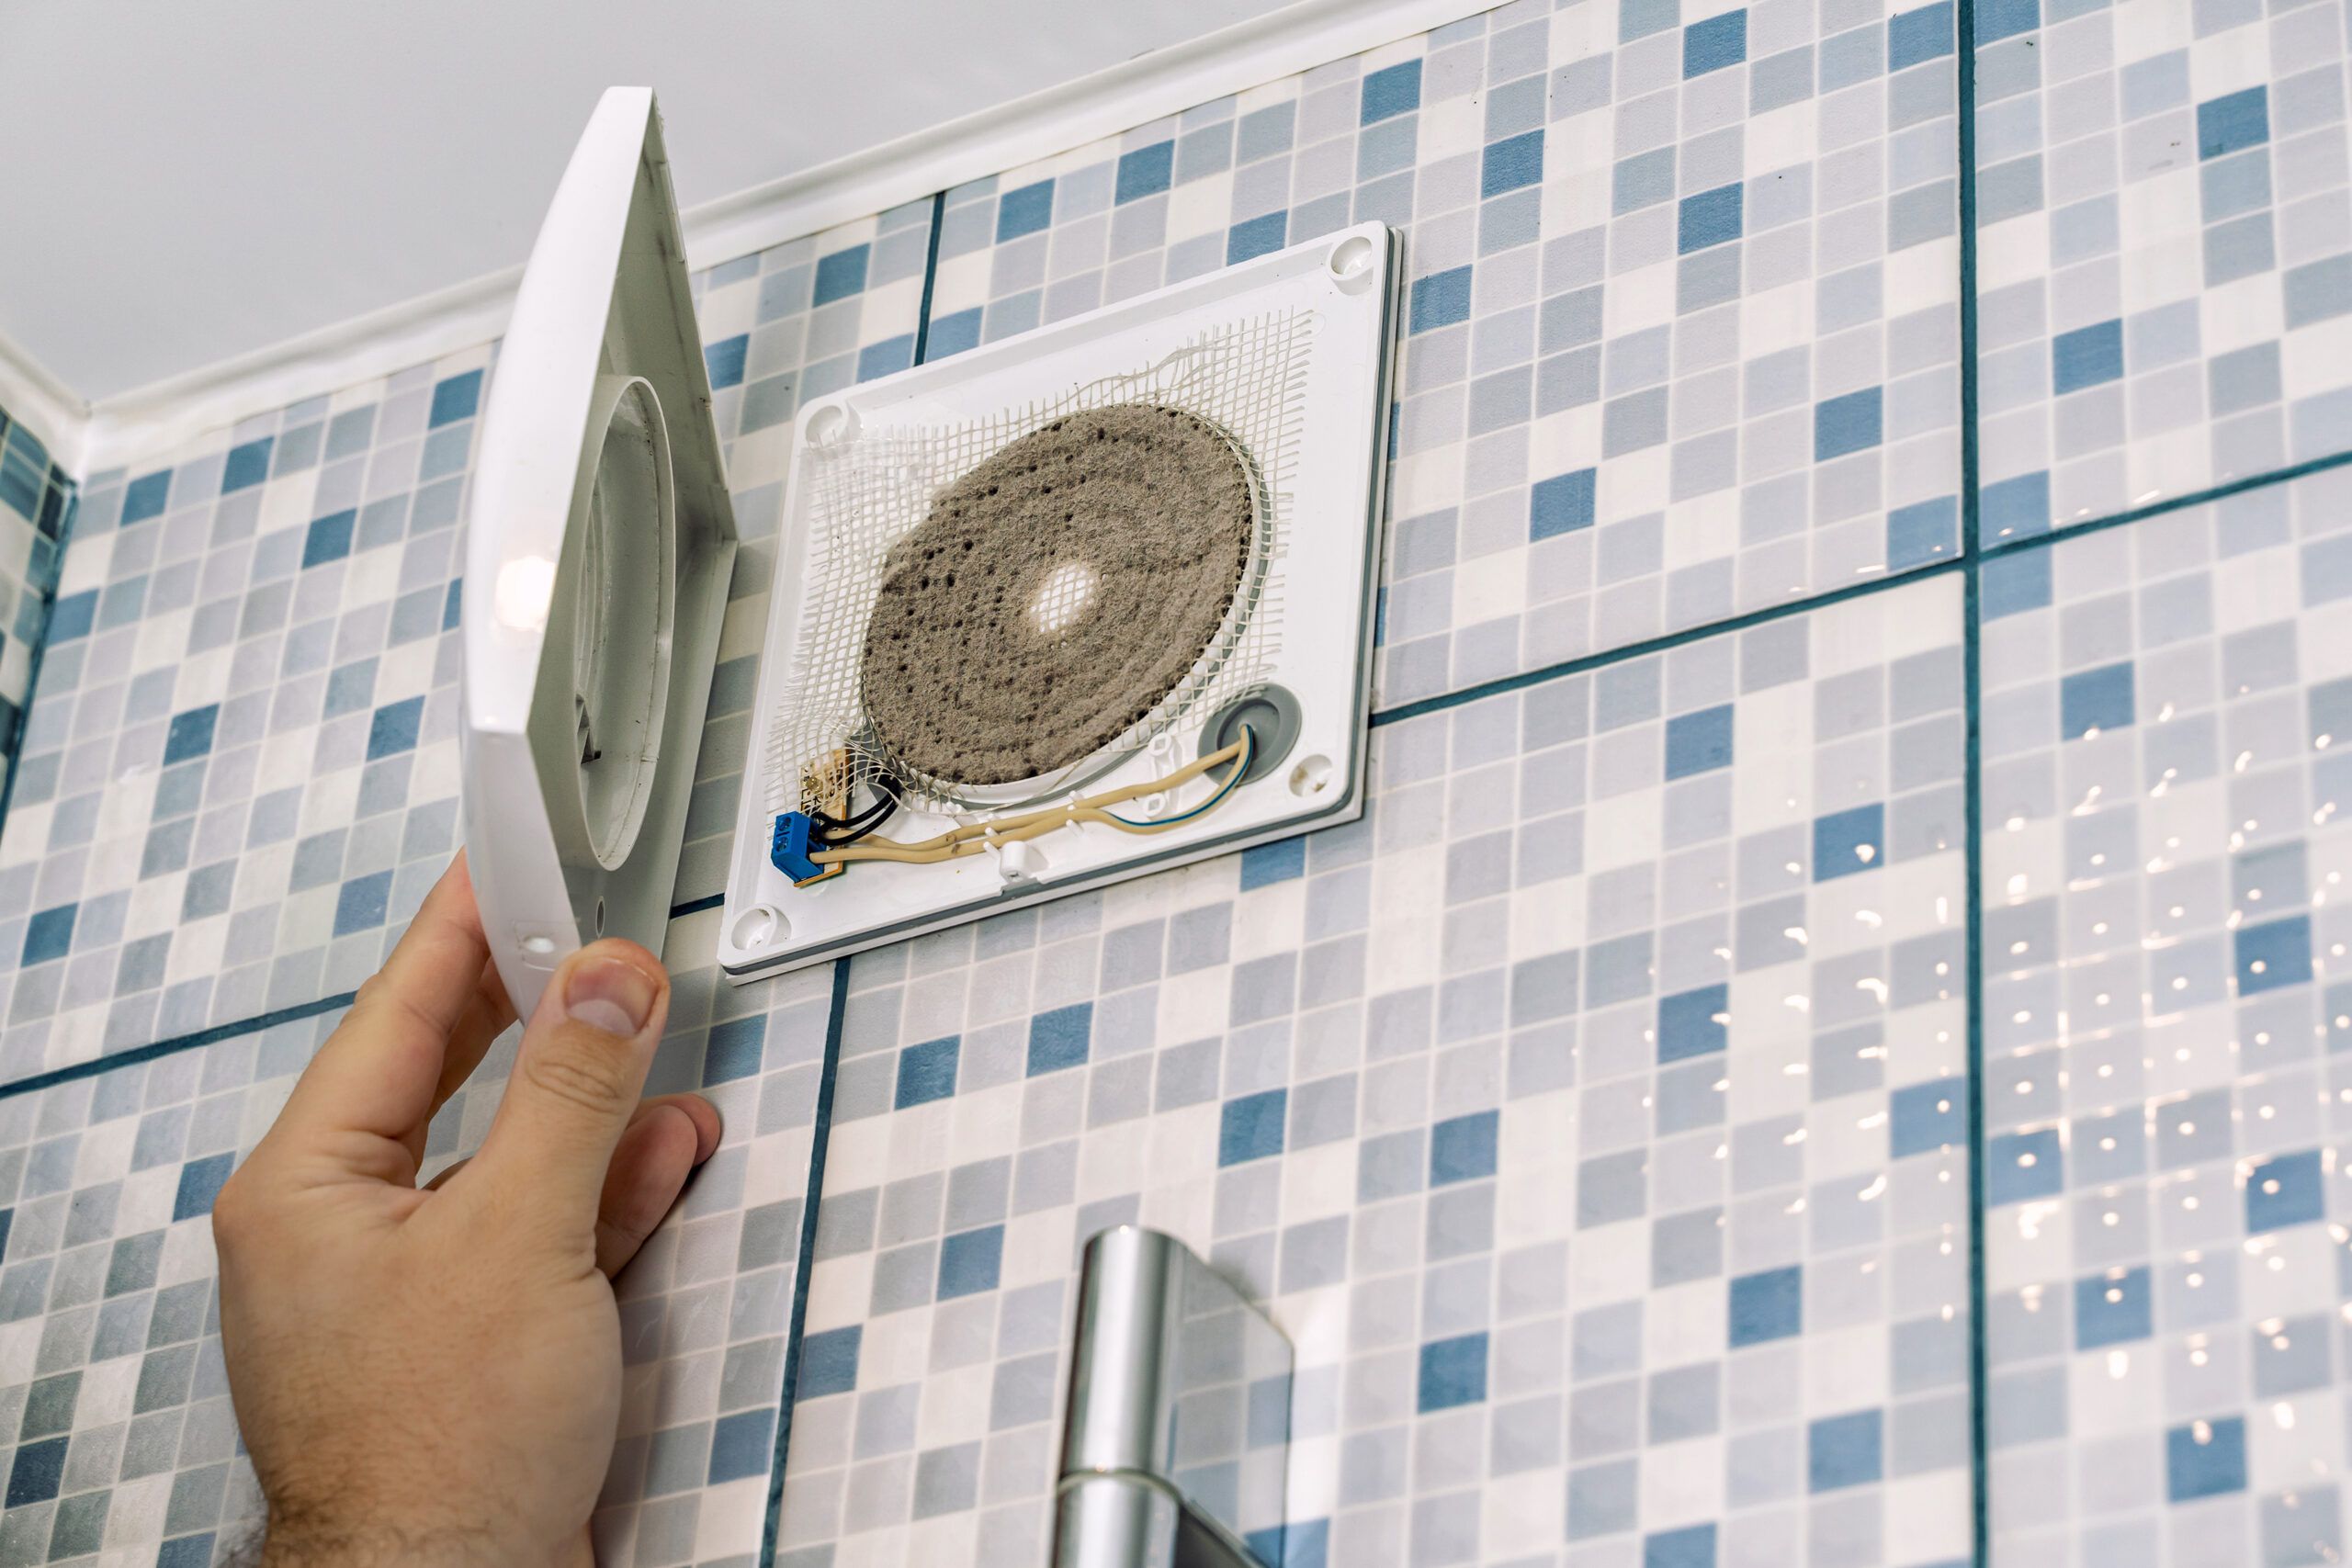
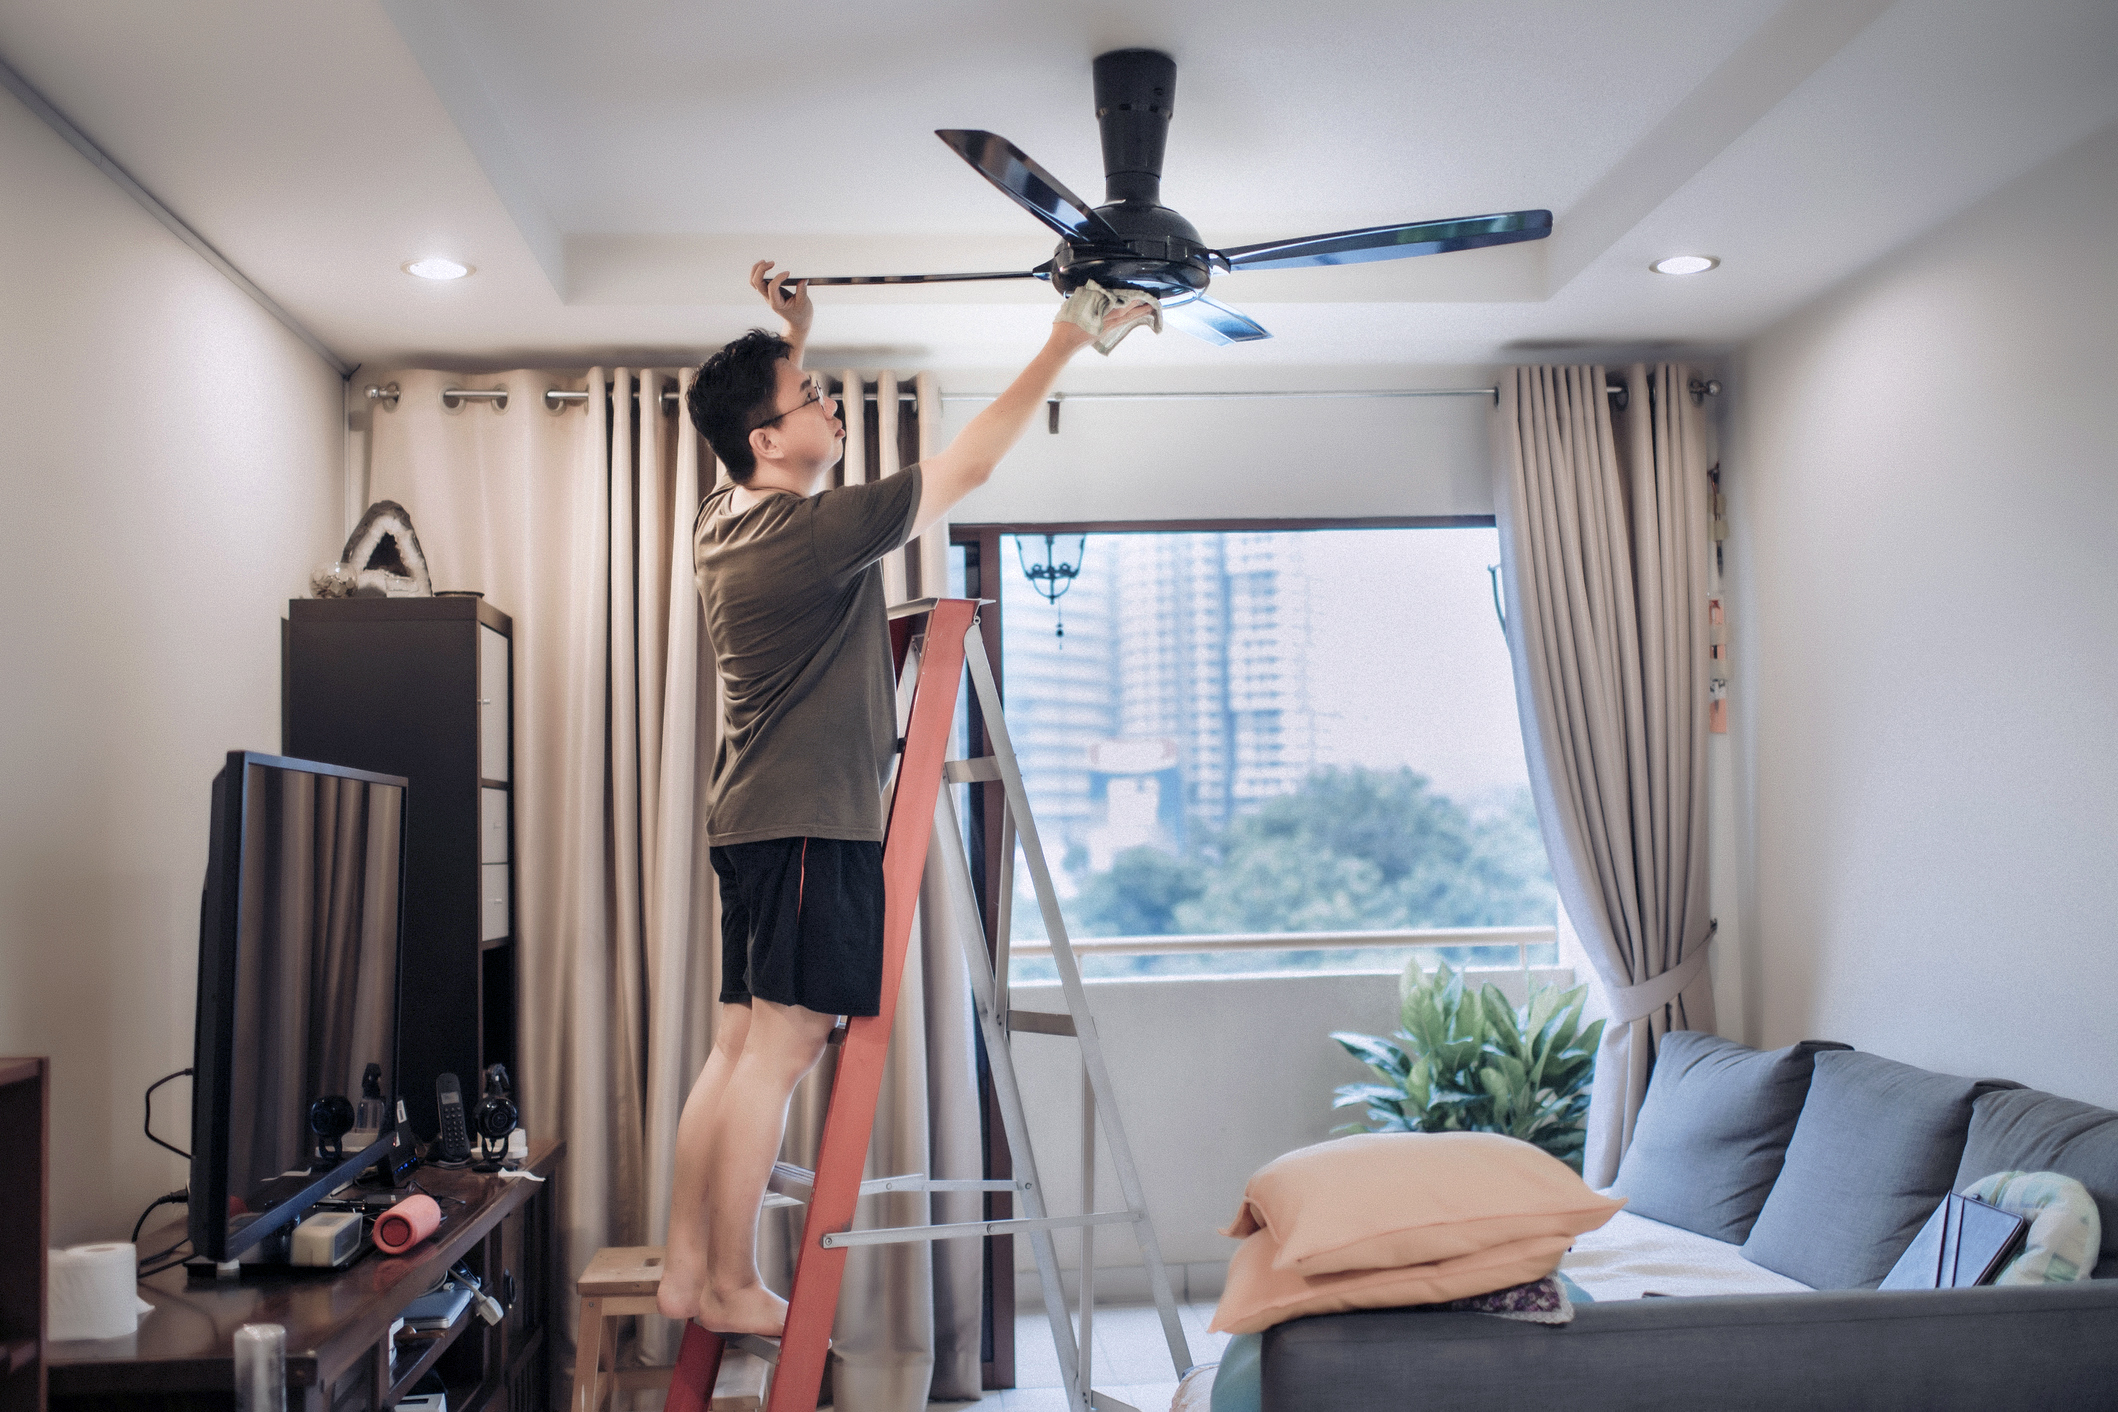
Step 2: Remove the Grille Cover
Now that you’ve turned off the power to your Broan bathroom fan, it’s time to remove the grille cover. The grille cover not only protects the fan but also collects dust and debris over time. Removing it will allow you to access and clean the fan blades and motor housing.
To remove the grille cover, follow these steps:
- Locate the screws securing the grille cover to the fan housing. These are typically located on the sides or corners of the grille.
- Using a screwdriver that fits the screw heads (usually a Phillips head), carefully remove the screws by turning them counterclockwise.
- Place the screws in a safe place so that they don’t get lost during the cleaning process.
- Once the screws are removed, gently pull the grille cover away from the fan housing. Be careful not to force it or bend it.
If your grille cover is attached with spring clips instead of screws, you’ll need to release the clips one by one to remove the cover. Simply press on the clips and carefully detach the grille from the housing.
After removing the grille cover, inspect it for any visible dirt or debris. You can gently tap it or use a soft brush or vacuum cleaner to remove any loose particles. Set the grille cover aside for now as we move on to the next step: cleaning the grille cover itself.
Removing the grille cover is an essential step in cleaning your Broan bathroom fan. It allows you to access the interior components and ensures a thorough cleaning of the fan blades and motor housing. With the grille cover removed, we can now proceed to clean it properly in the next step.
Step 3: Clean the Grille Cover
Now that you have removed the grille cover from your Broan bathroom fan, it’s time to clean it thoroughly. The grille cover tends to accumulate dust, grime, and other particles over time, affecting the performance and appearance of your fan. Cleaning the grille cover will ensure that it functions optimally and looks its best.
Follow these steps to clean the grille cover:
- Fill a basin or sink with warm water. Add a small amount of mild dish soap or all-purpose cleaner to create a gentle cleaning solution.
- Place the grille cover into the soapy water and allow it to soak for a few minutes. This will help loosen any dirt or grime.
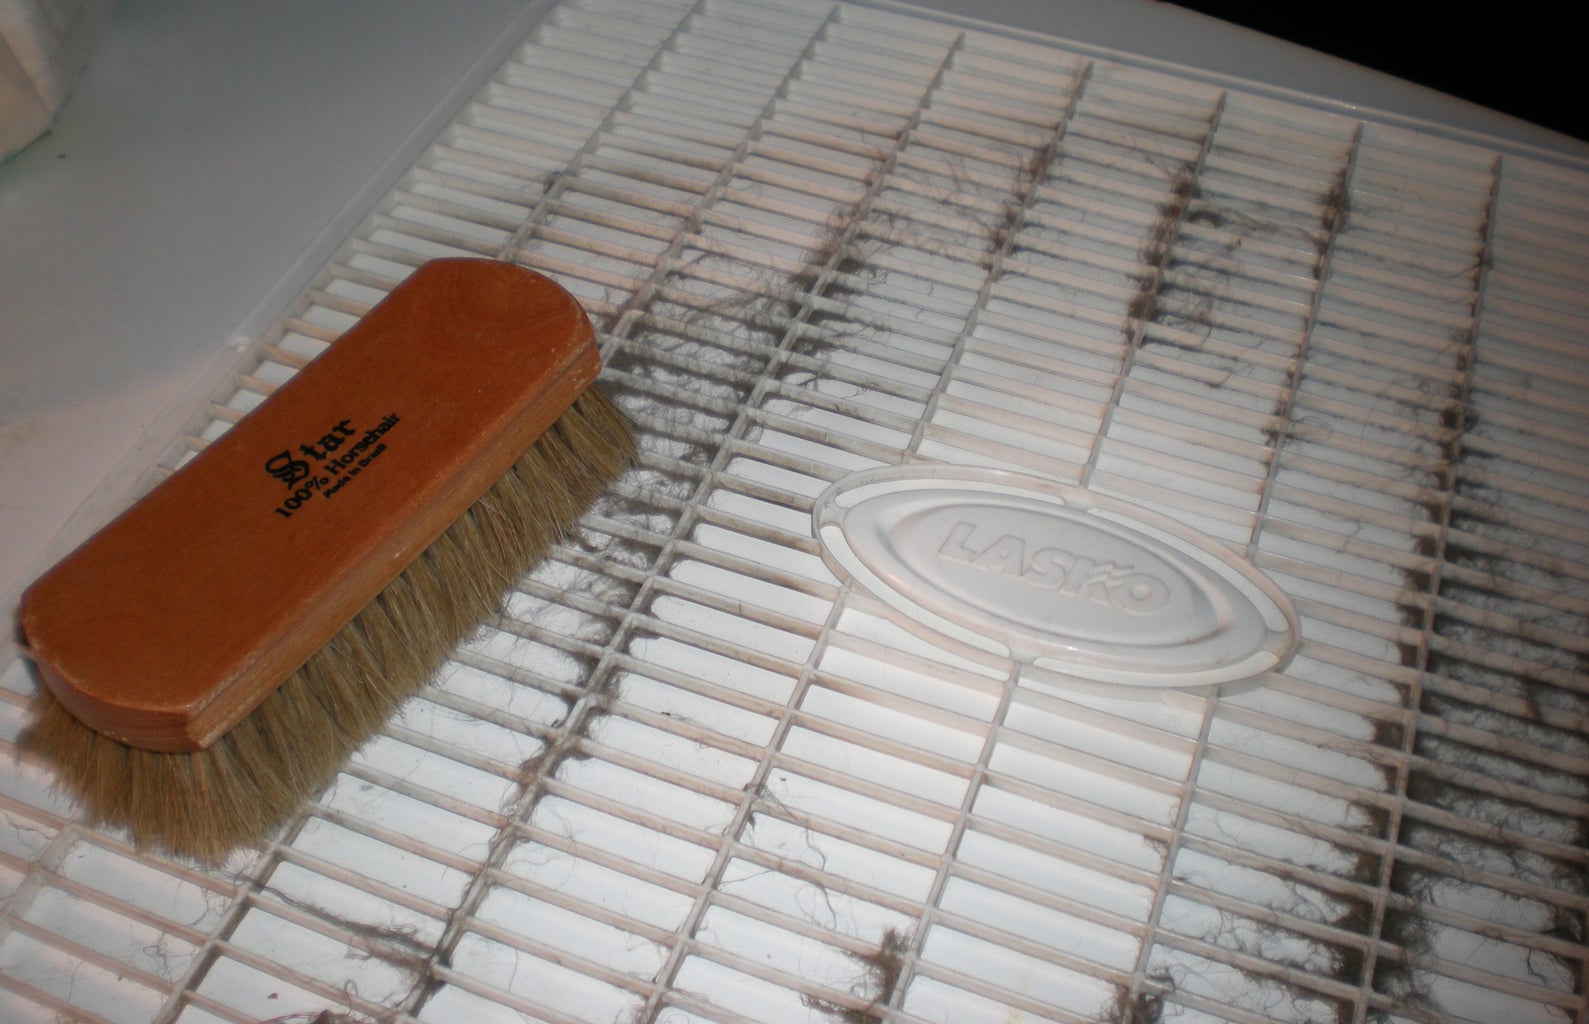
- Using a soft brush or a microfiber cloth, gently scrub the grille cover to remove any remaining dirt. Pay attention to the corners and crevices, ensuring that no debris is left behind.
- Rinse the grille cover under running water to remove the soapy residue.
- Inspect the grille cover to ensure it is thoroughly clean. If there are still stubborn stains or residue, you can repeat the cleaning process or use a mild cleaning solution specifically formulated for removing grease or grime.
- Once clean, use a microfiber cloth or paper towels to dry the grille cover completely before reassembling it.
Remember to handle the grille cover gently to avoid bending or damaging it. Take your time to clean all areas thoroughly for the best results.
A clean grille cover not only enhances the appearance of your bathroom fan but also allows for maximum airflow. With the grille cover clean and dry, we can move on to the next step: cleaning the fan blades.
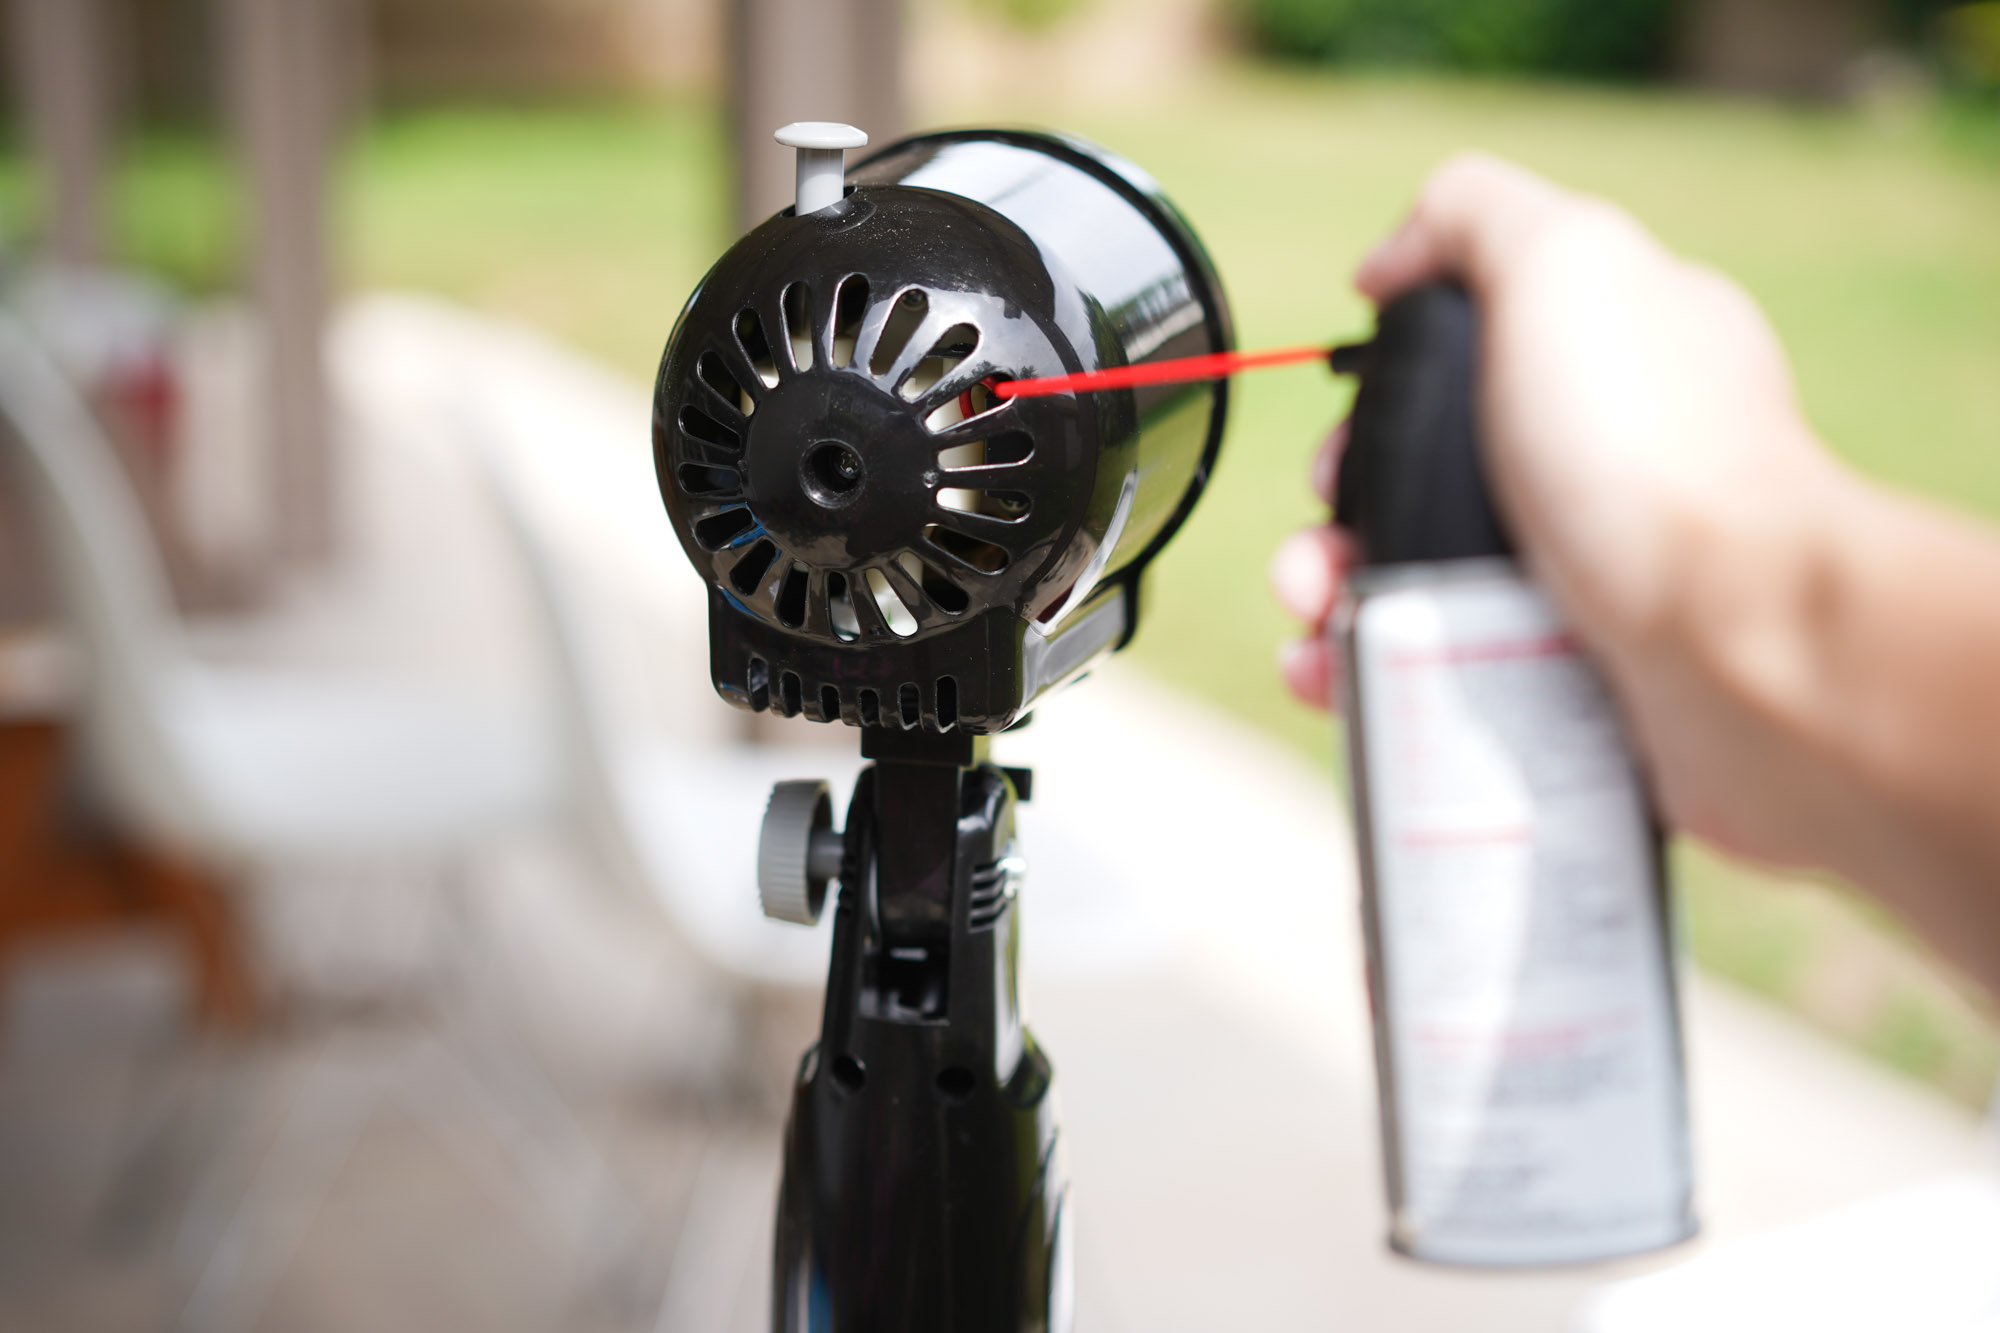
To clean a Broan bathroom fan, start by turning off the power to the fan. Remove the cover and use a vacuum to remove dust and debris. Wipe down the fan blades and cover with a damp cloth. Ensure everything is completely dry before turning the power back on.
Read more: How To Clean Dyson Fan
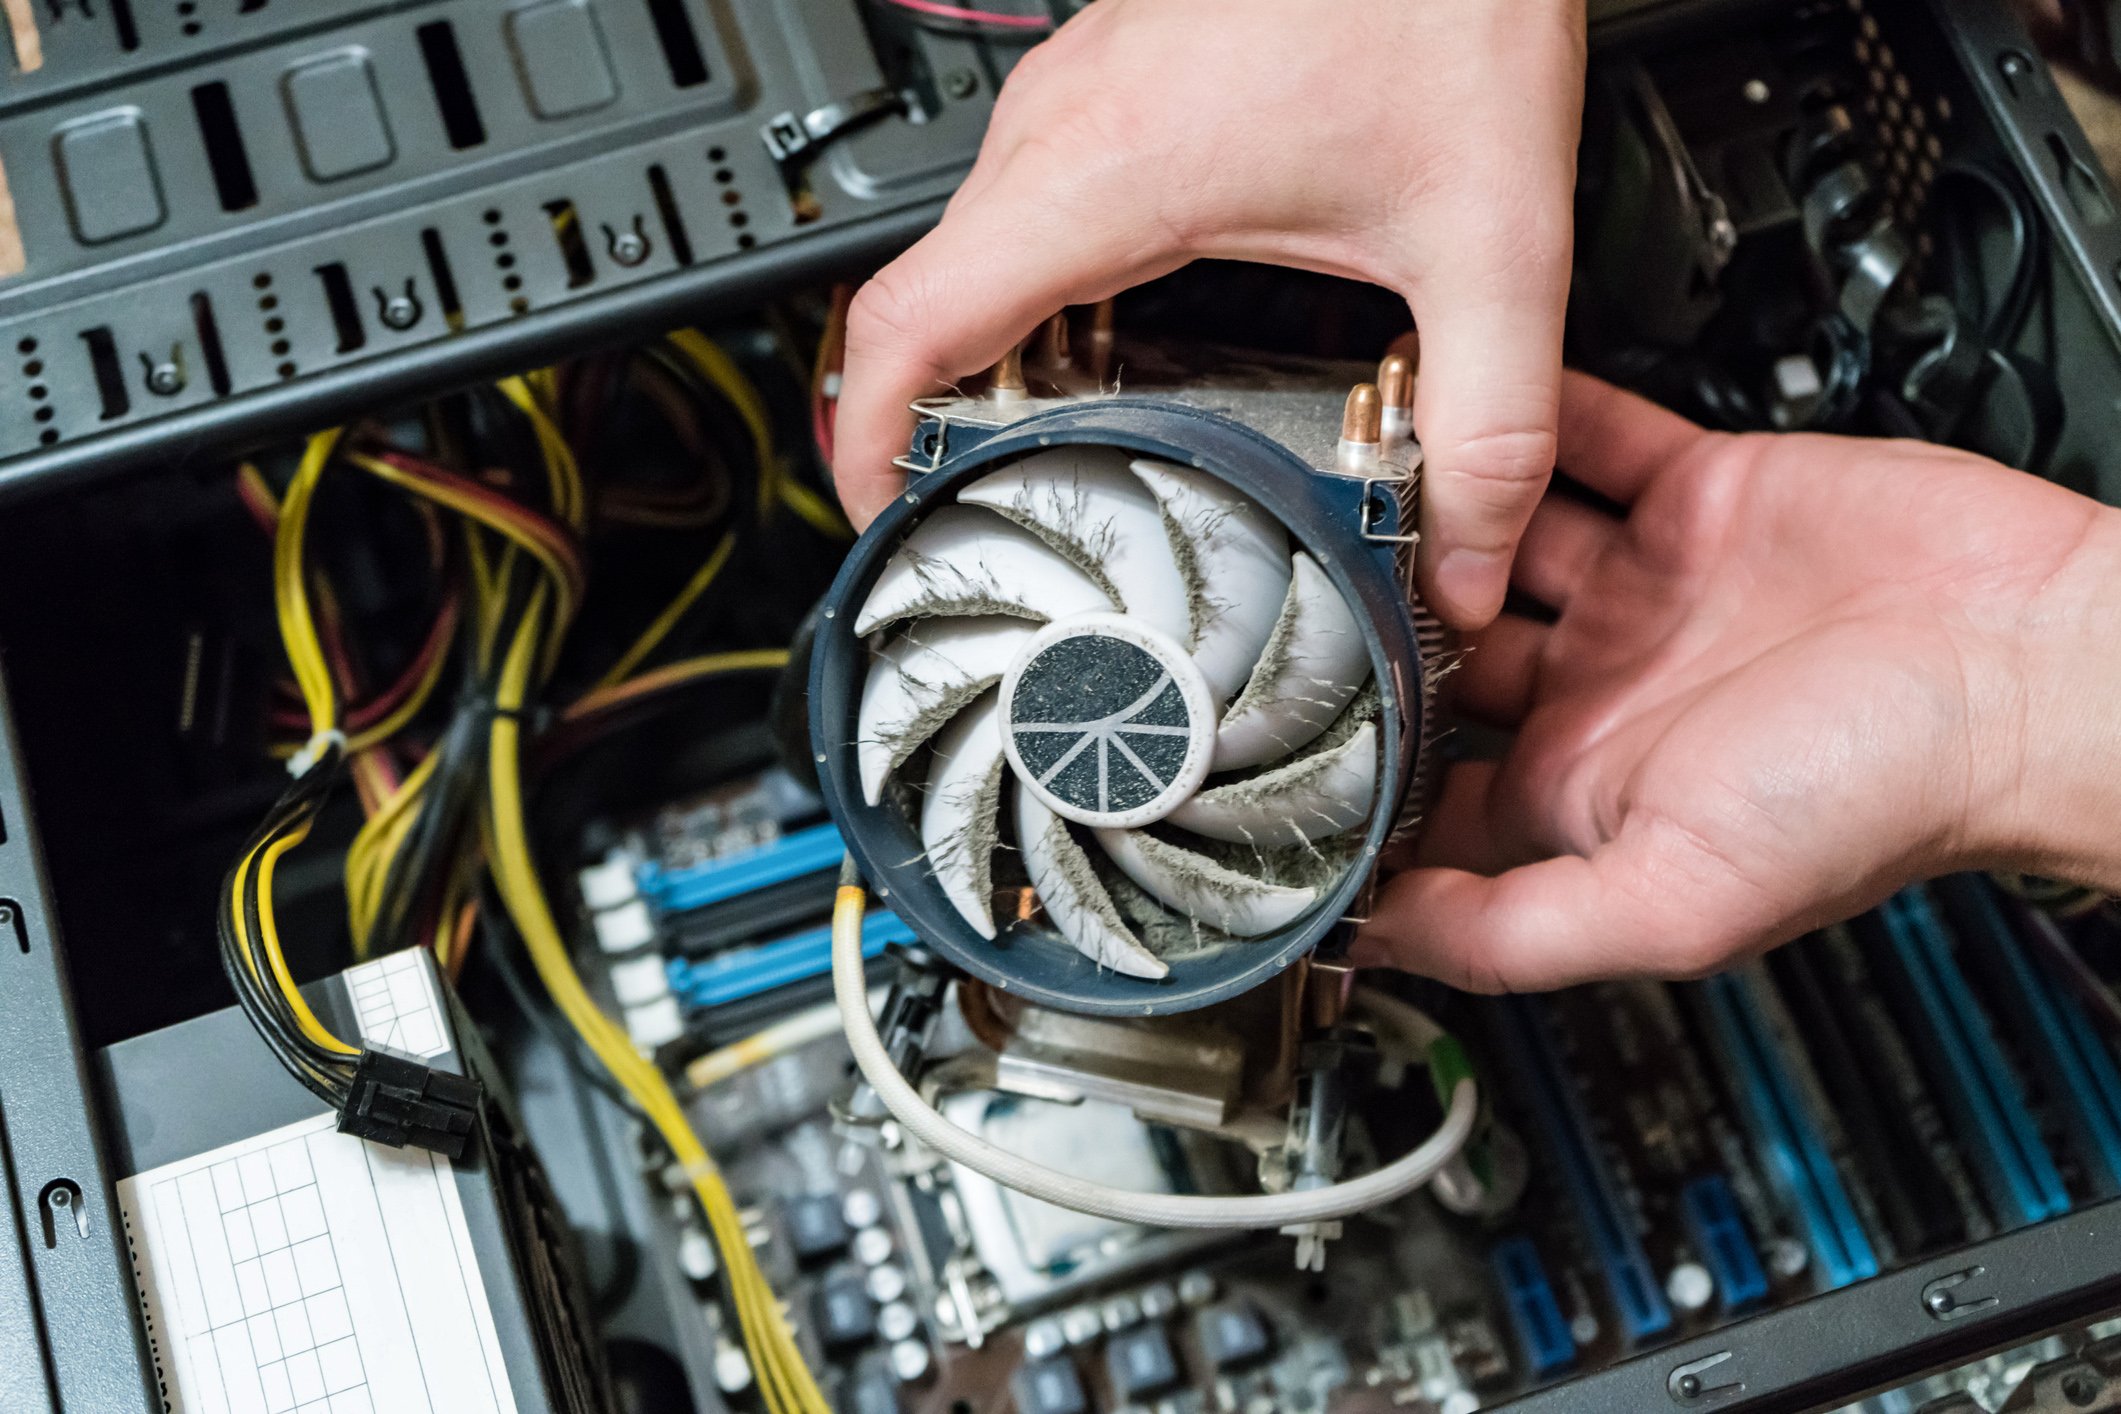
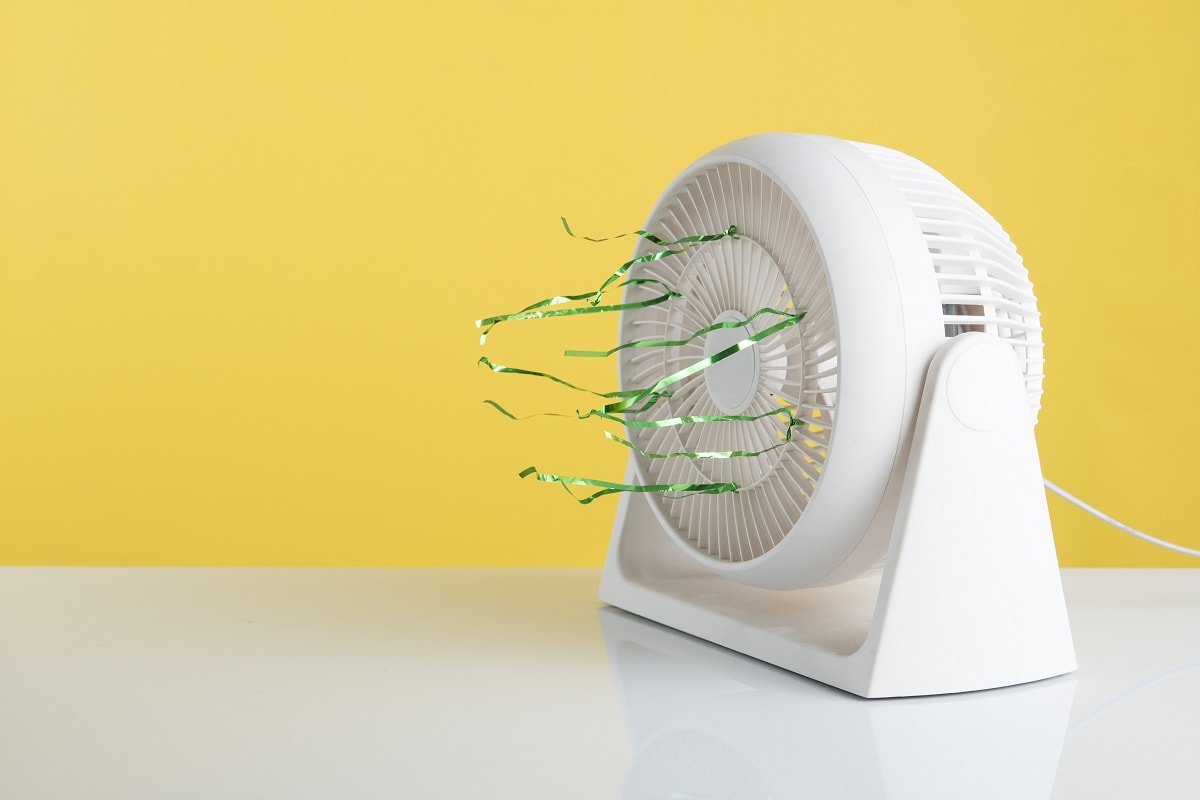
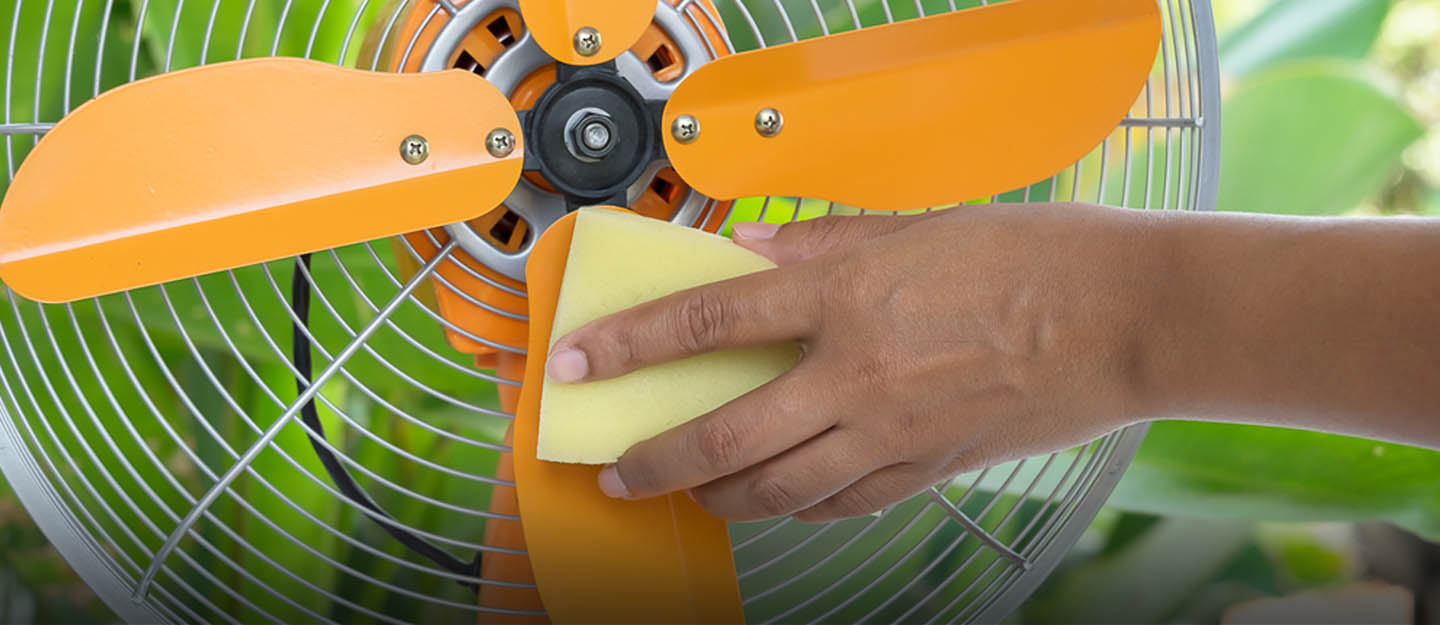
Step 4: Clean the Fan Blades
Now that the grille cover of your Broan bathroom fan is clean and dry, it’s time to focus on cleaning the fan blades. Over time, dust and debris tend to accumulate on the blades, reducing the fan’s efficiency and airflow. Cleaning the fan blades will help maintain optimal performance and ensure a refreshing environment in your bathroom.
Follow these steps to clean the fan blades:
- Using a soft brush or a vacuum cleaner with a brush attachment, gently remove any loose dust or debris from the fan blades. Be thorough and make sure to clean both sides of each blade.
- If there are stubborn dirt or stains on the blades, you can create a cleaning solution using warm water and mild dish soap or all-purpose cleaner.
- Dip a clean microfiber cloth or a soft brush into the cleaning solution. Gently scrub the fan blades, paying attention to any particularly dirty areas. Take care not to put excessive pressure on the blades to avoid bending or damaging them.
- Rinse the fan blades with clean water to remove any soapy residue.
- Inspect the blades to ensure they are clean and free from any dirt or stains. If necessary, repeat the cleaning process until they are thoroughly clean.
- Once the fan blades are clean, use a microfiber cloth or paper towels to dry them. Ensure they are completely dry before moving on to the next step.
Cleaning the fan blades will not only improve the performance of your Broan bathroom fan but also reduce the accumulation of dust and maintain the appearance of the blades. With the fan blades clean and dry, we can move on to the next step: wiping down the motor housing.
Step 5: Wipe down the Motor Housing
With the grille cover and fan blades of your Broan bathroom fan clean and dry, it’s time to focus on the motor housing. The motor housing is responsible for housing the motor and other internal components of the fan. Cleaning the motor housing will help remove any dust or debris that may have accumulated, ensuring optimal performance and prolonging the lifespan of your fan.
Follow these steps to wipe down the motor housing:
- Start by unplugging the fan or ensuring that the power is still turned off.
- Using a soft brush or a vacuum cleaner with a brush attachment, gently remove any loose dust or debris from the motor housing. Pay attention to vents, grilles, or any other areas where dust tends to accumulate.
- Next, dampen a microfiber cloth or a soft cloth with warm water. If there are stubborn stains or grease on the motor housing, you can add a small amount of mild dish soap or all-purpose cleaner to the damp cloth.
- Gently wipe down the motor housing, making sure to clean all surfaces thoroughly. Pay extra attention to any areas with visible dirt or stains.
- If necessary, use a toothbrush or a soft brush to clean hard-to-reach areas or crevices on the motor housing.
- Once you have wiped down all areas of the motor housing, use a dry microfiber cloth or paper towels to remove any excess moisture. Ensure that the motor housing is completely dry before reassembling the fan.
Cleaning the motor housing will not only help maintain the performance of your Broan bathroom fan but also keep it looking clean and well-maintained. With the motor housing wiped down and dry, we can move on to the next step: reassembling the fan.
Step 6: Reassemble the Fan
Now that you have thoroughly cleaned the various components of your Broan bathroom fan, it’s time to reassemble it. Reassembling the fan is a straightforward process and involves putting the grille cover back in place and securing it properly.
Follow these steps to reassemble your fan:
- Take the grille cover that you cleaned earlier and position it back onto the fan housing.
- Line up the screw holes or spring clips on the grille cover with the corresponding slots on the fan housing.
- If your fan attaches with screws, use a screwdriver to insert and tighten the screws into place. Turn the screws clockwise to secure the grille cover tightly.
- If your fan attaches with spring clips, press each clip into its respective slot until it snaps securely into place.
- Ensure that the grille cover is properly aligned and firmly attached to the fan housing.
Take a moment to inspect the fan to ensure that all components are securely reassembled. Give the grille cover a gentle tug to ensure it is properly secured without any wobbling or movement.
With the fan reassembled, we can proceed to the final step: testing the fan to ensure it is working correctly.
Step 7: Test the Fan
After cleaning and reassembling your Broan bathroom fan, it’s important to test its functionality to ensure everything is in proper working order. Testing the fan will allow you to confirm that it is running smoothly and effectively, providing the necessary air circulation in your bathroom.
Follow these steps to test your fan:
- Make sure the power to the fan is still turned off or the fan is unplugged before proceeding.
- Switch on the power to the fan by flipping the circuit breaker or re-inserting the fuse.
- Go to your bathroom and switch on the fan using the appropriate control (wall switch, pull cord, or remote control).
- Listen for the sound of the fan running and ensure that it is operating smoothly without any unusual noises.
- Observe the airflow to ensure that air is being properly circulated and vented out of the bathroom.
- If the fan is working correctly, switch it off and proceed with caution.
- If the fan is not functioning properly or you notice any issues, turn off the power again and recheck the assembly and connections. Make sure that the grille cover is securely in place and that all wiring is intact.
- If you are unable to resolve any issues with the fan, it may be necessary to consult a professional electrician or contact the manufacturer for assistance.
By testing your fan after cleaning and reassembling it, you can have peace of mind knowing that it is in good working condition and providing the desired airflow in your bathroom.
Congratulations! You have successfully cleaned and tested your Broan bathroom fan. Regular maintenance and cleaning will help keep your fan in optimal condition and ensure clean and fresh air in your bathroom.
Remember to schedule regular cleanings and maintenance to prevent excessive dirt or debris buildup in the future. This will help extend the lifespan of your fan and maintain its performance for years to come.
We hope this guide has been helpful in guiding you through the process of cleaning your Broan bathroom fan. Enjoy the benefits of a clean and efficient fan in your bathroom!
Read more: How To Clean A Window Fan
Conclusion
Cleaning your Broan bathroom fan is an important maintenance task that ensures optimal performance and a fresh environment in your bathroom. By following the step-by-step guide outlined in this article, you can easily clean and maintain your fan to enjoy clean air circulation and prevent mold and mildew growth.
Throughout the cleaning process, we discussed the tools and materials needed, including a screwdriver, soft brush or vacuum cleaner, mild dish soap or all-purpose cleaner, microfiber cloth or paper towels, and warm water. These items are essential for effectively cleaning the various components of your fan.
We began by turning off the power to the fan to ensure safety during the cleaning process. Next, we learned how to remove the grille cover, allowing access to the fan blades and motor housing. Then, we thoroughly cleaned the grille cover, fan blades, and motor housing using a gentle cleaning solution and appropriate cleaning tools. Afterward, we reassembled the fan and conducted a final test to ensure everything was working correctly.
Regular cleaning and maintenance of your Broan bathroom fan will not only prolong its lifespan but also improve its performance and appearance. By removing accumulated dirt and debris, you can prevent blockages and ensure optimal airflow in your bathroom.
Remember to schedule regular cleanings to prevent excessive dirt buildup and take note of any signs of malfunction or unusual noise during the testing phase. If you encounter any issues that you are unable to resolve, it is recommended to seek professional assistance from an electrician or contact the manufacturer for further guidance.
With proper maintenance and regular cleaning, your Broan bathroom fan will continue to provide efficient air circulation and help maintain a clean and fresh environment in your bathroom for years to come.
We hope this comprehensive guide has been informative and helpful in guiding you through the process of cleaning your Broan bathroom fan. Enjoy the benefits of a clean and well-maintained fan in your bathroom!
Now that you've got your Broan bathroom fan spick and span, why not tackle another cleaning challenge? Refrigerators often harbor unseen messes that can affect both smell and functionality. Cleaning your fridge thoroughly not only keeps it looking good but also improves its efficiency. Check out our article for practical cleaning tips that cover every nook and cranny of your refrigerator. You’ll find straightforward advice on maintaining both the interior and exterior, ensuring your appliance stays fresh and functions at its best.
Frequently Asked Questions about How To Clean Broan Bathroom Fan
Was this page helpful?
At Storables.com, we guarantee accurate and reliable information. Our content, validated by Expert Board Contributors, is crafted following stringent Editorial Policies. We're committed to providing you with well-researched, expert-backed insights for all your informational needs.
0 thoughts on “How To Clean Broan Bathroom Fan”