
Articles
How To Clean My Laptop Fan
Modified: October 28, 2024
Learn effective methods to clean your laptop fan and keep it running smoothly. Check out our helpful articles for step-by-step guides and expert tips.
(Many of the links in this article redirect to a specific reviewed product. Your purchase of these products through affiliate links helps to generate commission for Storables.com, at no extra cost. Learn more)
Introduction
Is your laptop fan making a loud whirring noise? Does your laptop get excessively hot and slow down while you’re using it? If so, your laptop fan may be clogged with dust and debris, hindering its ability to cool down your computer effectively. Cleaning your laptop fan is a simple yet essential maintenance task that can improve the performance and lifespan of your device.
In this article, we will guide you through the process of cleaning your laptop fan, step by step. We will also explain why cleaning your laptop fan is important and provide you with some additional tips for maintaining a clean and efficient fan.
Before we get started, it’s important to note that if you’re not comfortable working with hardware components of your laptop, it’s always best to seek professional help. However, cleaning your laptop fan is a fairly straightforward task that can be done by most laptop users with some basic tools and precautions.
So, let’s dive in and learn how to clean your laptop fan effectively and keep your device running smoothly.
Key Takeaways:
- Regularly cleaning your laptop fan prevents overheating, improves performance, and extends device lifespan. Follow our step-by-step guide and precautions for a smoother, quieter, and more reliable computing experience.
- Maintain a clean laptop fan by using a cooling pad, updating software, and keeping the surrounding areas dust-free. Regular maintenance ensures optimal cooling and efficient laptop performance.
Read more: Why Does My Laptop Fan Keep Running
Why cleaning your laptop fan is important
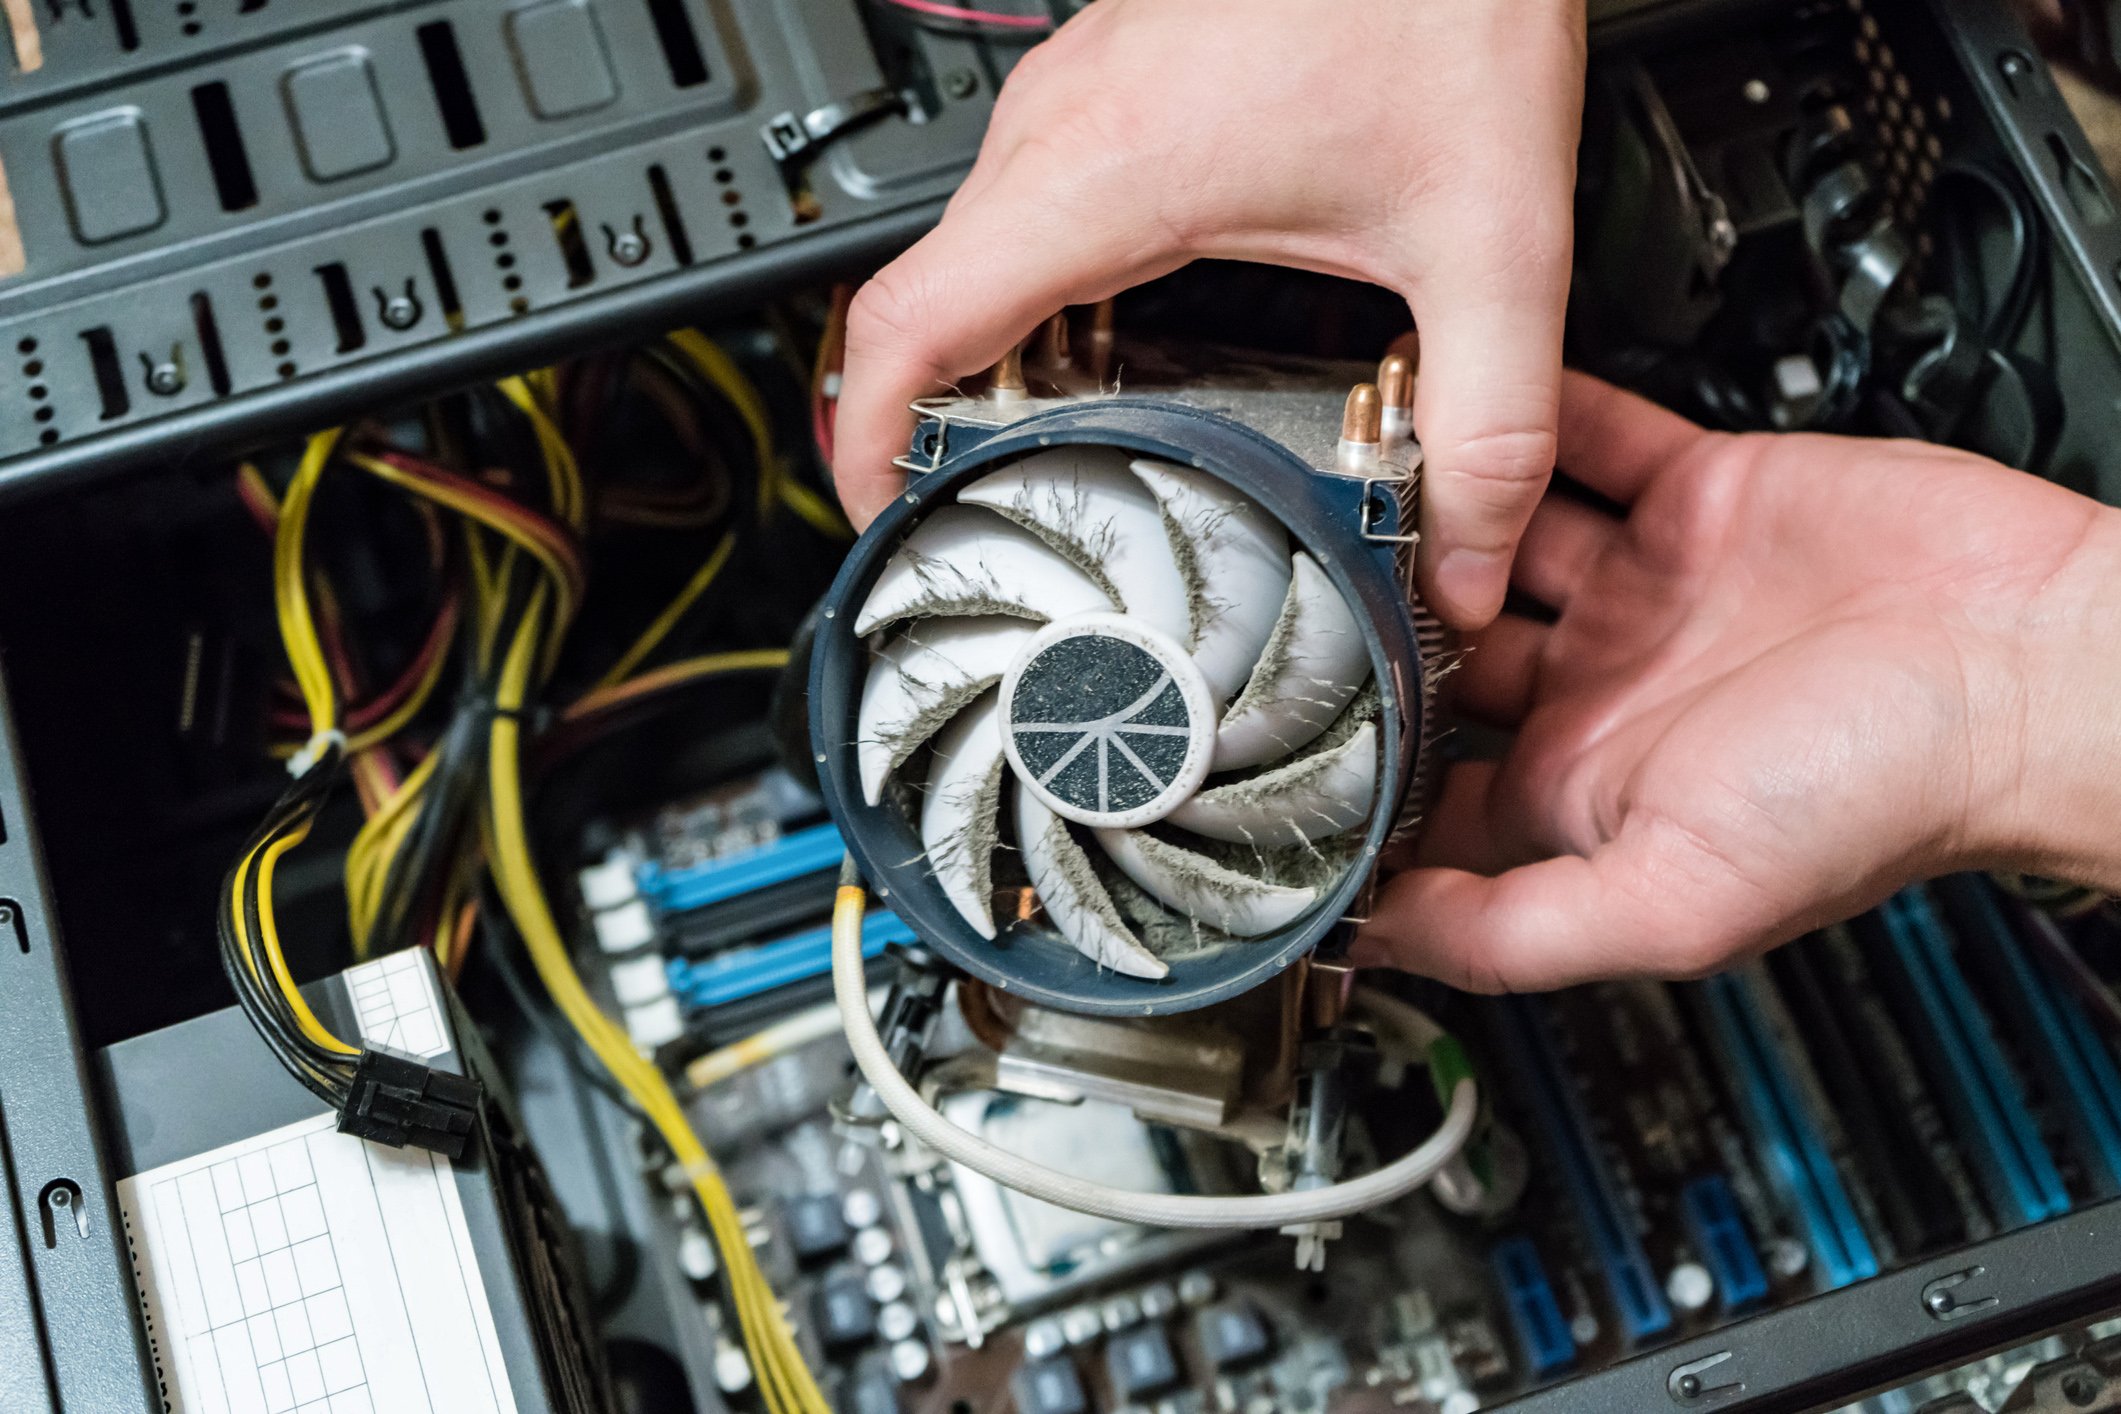
Your laptop fan plays a crucial role in keeping your device cool and preventing overheating. As you use your laptop, dust, hair, and other debris can accumulate on the fan blades and vents, obstructing the airflow and causing the fan to work harder. This buildup can lead to several problems:
- Overheating: When the fan is clogged, it struggles to cool down the internal components of your laptop. This can result in overheating, which can damage sensitive hardware components and cause your laptop to shut down unexpectedly or even fail completely. Regularly cleaning your laptop fan can help prevent overheating and prolong the lifespan of your device.
- Performance degradation: If your laptop is running hot due to a clogged fan, it will start to slow down and lag. Excessive heat can cause the processor to throttle down, reducing its performance. Cleaning the fan helps to maintain proper airflow and keeps your laptop running smoothly and efficiently.
- Noise reduction: A clogged laptop fan often works harder to push air through the debris, resulting in noisy operation. Cleaning the fan eliminates the buildup and restores its proper functionality, reducing the noise generated by the fan and providing a quieter computing experience.
Regularly cleaning your laptop fan is an essential maintenance task that ensures effective cooling and optimal performance of your device. By preventing overheating and performance degradation, you can extend the lifespan of your laptop and avoid costly repairs or replacements.
Now that we understand the importance of cleaning your laptop fan, let’s move on to the tools and materials you will need for the cleaning process.
Tools and materials needed for cleaning
Before you start cleaning your laptop fan, gather the following tools and materials:
- Screwdriver: Most laptops have screws securing the bottom panel. You will need a screwdriver (often a Phillips head) to remove the screws and access the internal components.
- Compressed air canister: Compressed air is an essential tool for cleaning the fan and other hard-to-reach areas. Make sure to use a canister specifically designed for electronics cleaning. Avoid using air compressors or other high-pressure air sources, as they can damage delicate components.
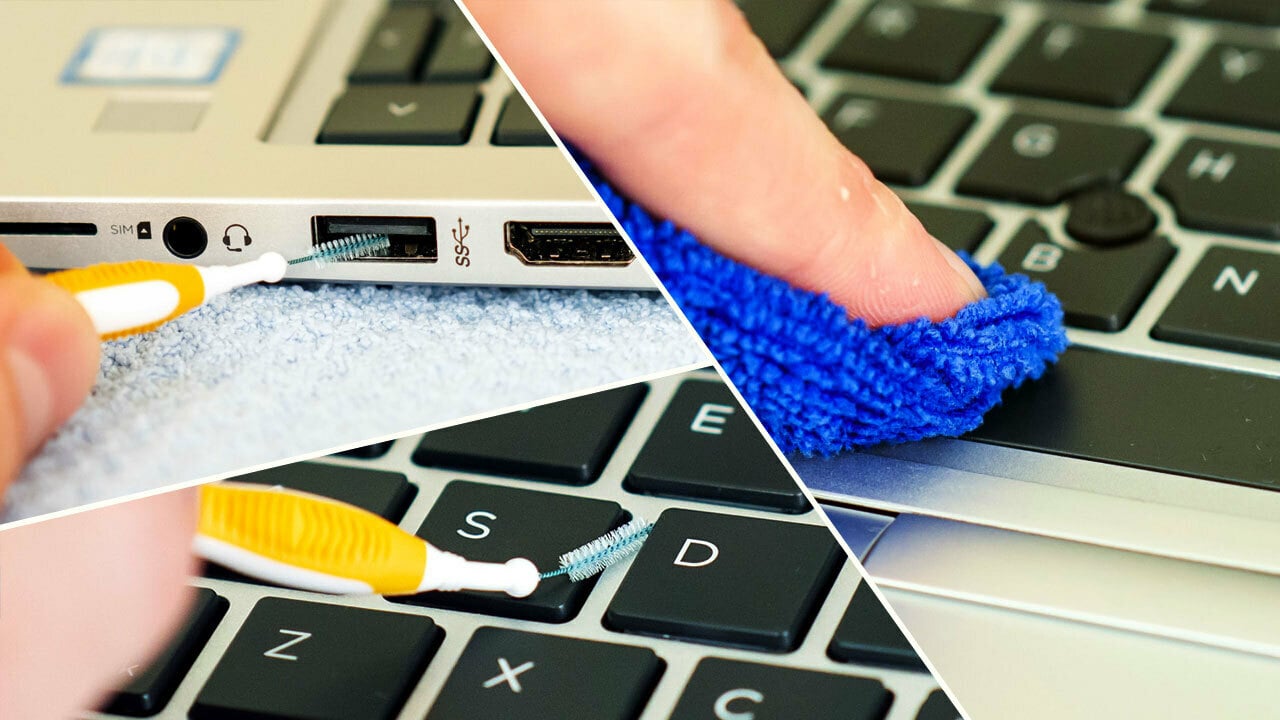
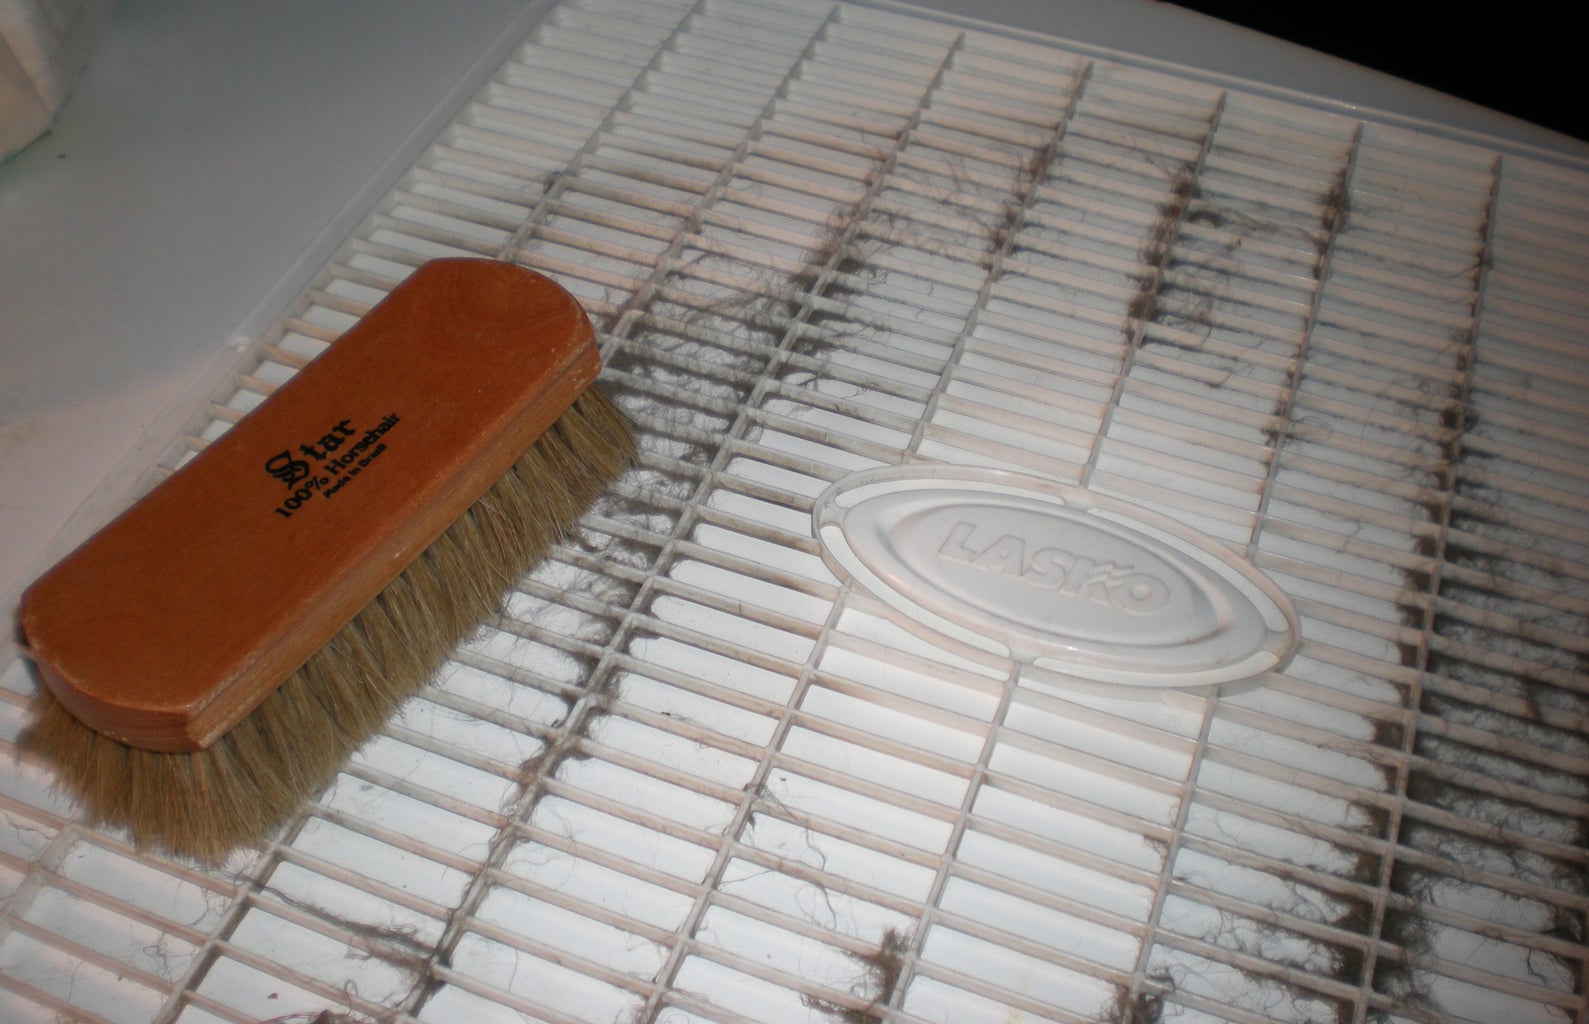
- Soft brush or cloth: A soft-bristled brush or microfiber cloth will help you remove dust and debris from the fan blades, vents, and other surfaces. Avoid using abrasive materials that may scratch or damage the components.
- Isopropyl alcohol: Isopropyl alcohol is a great cleaning agent for removing stubborn grime and grease. It evaporates quickly and leaves no residue. Use it sparingly on a cloth or cotton swab to clean the fan blades or any sticky areas.
- Cotton swabs: Cotton swabs are useful for reaching tight spots and cleaning small areas that are hard to access with other tools.
Make sure you have all these tools and materials readily available before you proceed with the cleaning process. Having the right equipment will ensure that you can clean your laptop fan effectively and safely.
Next, we will provide you with a step-by-step guide on how to clean your laptop fan.
Step-by-step guide to cleaning your laptop fan
Follow these steps to clean your laptop fan and ensure optimal cooling:
- Turn off your laptop and unplug it: Before you begin, shut down your laptop and unplug it from the power source. This will prevent any accidents or damage while cleaning.
- Prepare your workspace: Find a clean and well-lit area to work on. Place a soft cloth or towel on the surface to protect your laptop from scratches.
- Remove the laptop’s bottom panel: Use a screwdriver to remove the screws securing the bottom panel of your laptop. Keep track of the screws and place them in a safe location.
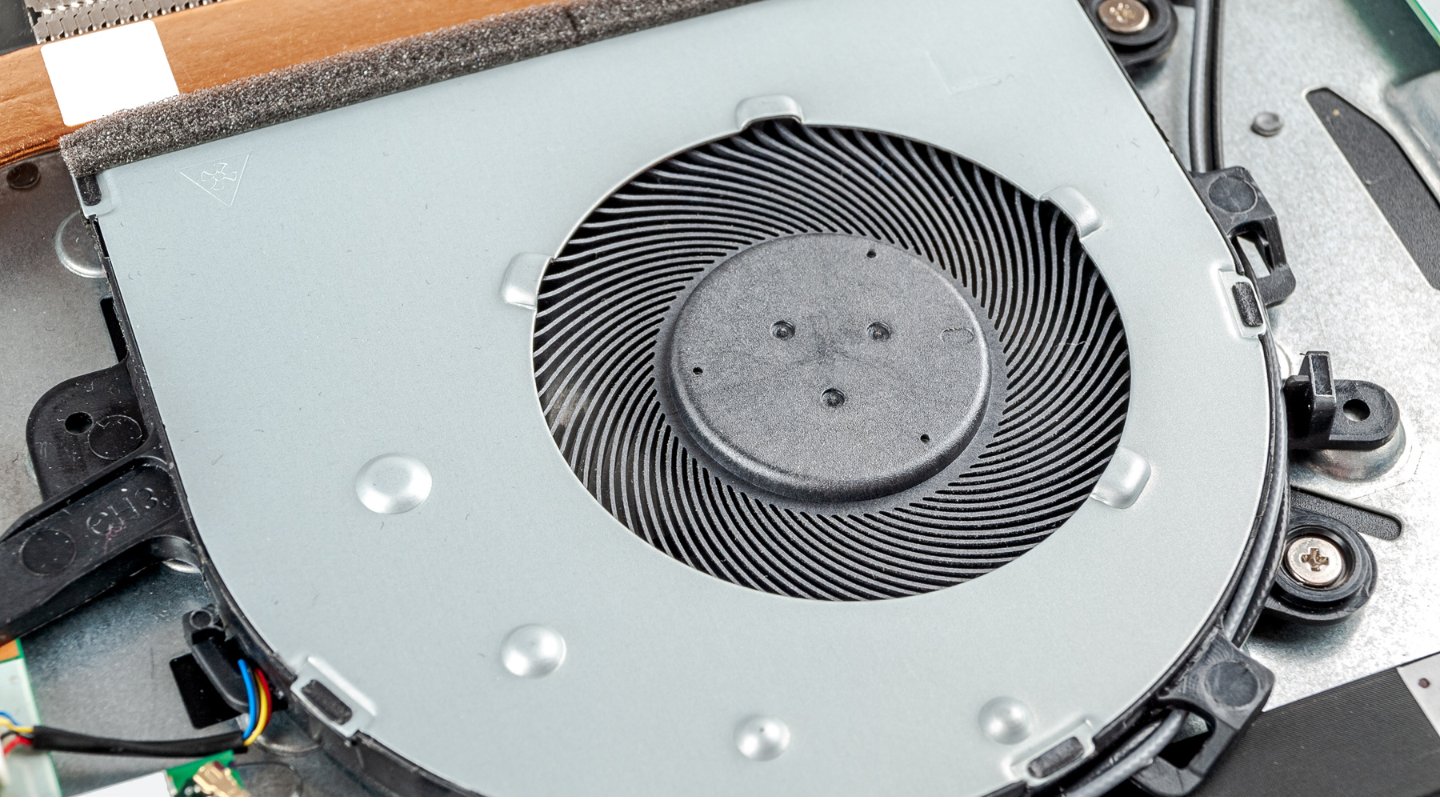
- Locate the laptop fan: Once the panel is removed, locate the laptop fan. It is usually located near the vents and is identifiable by the rotating blades. Take a moment to familiarize yourself with its location.
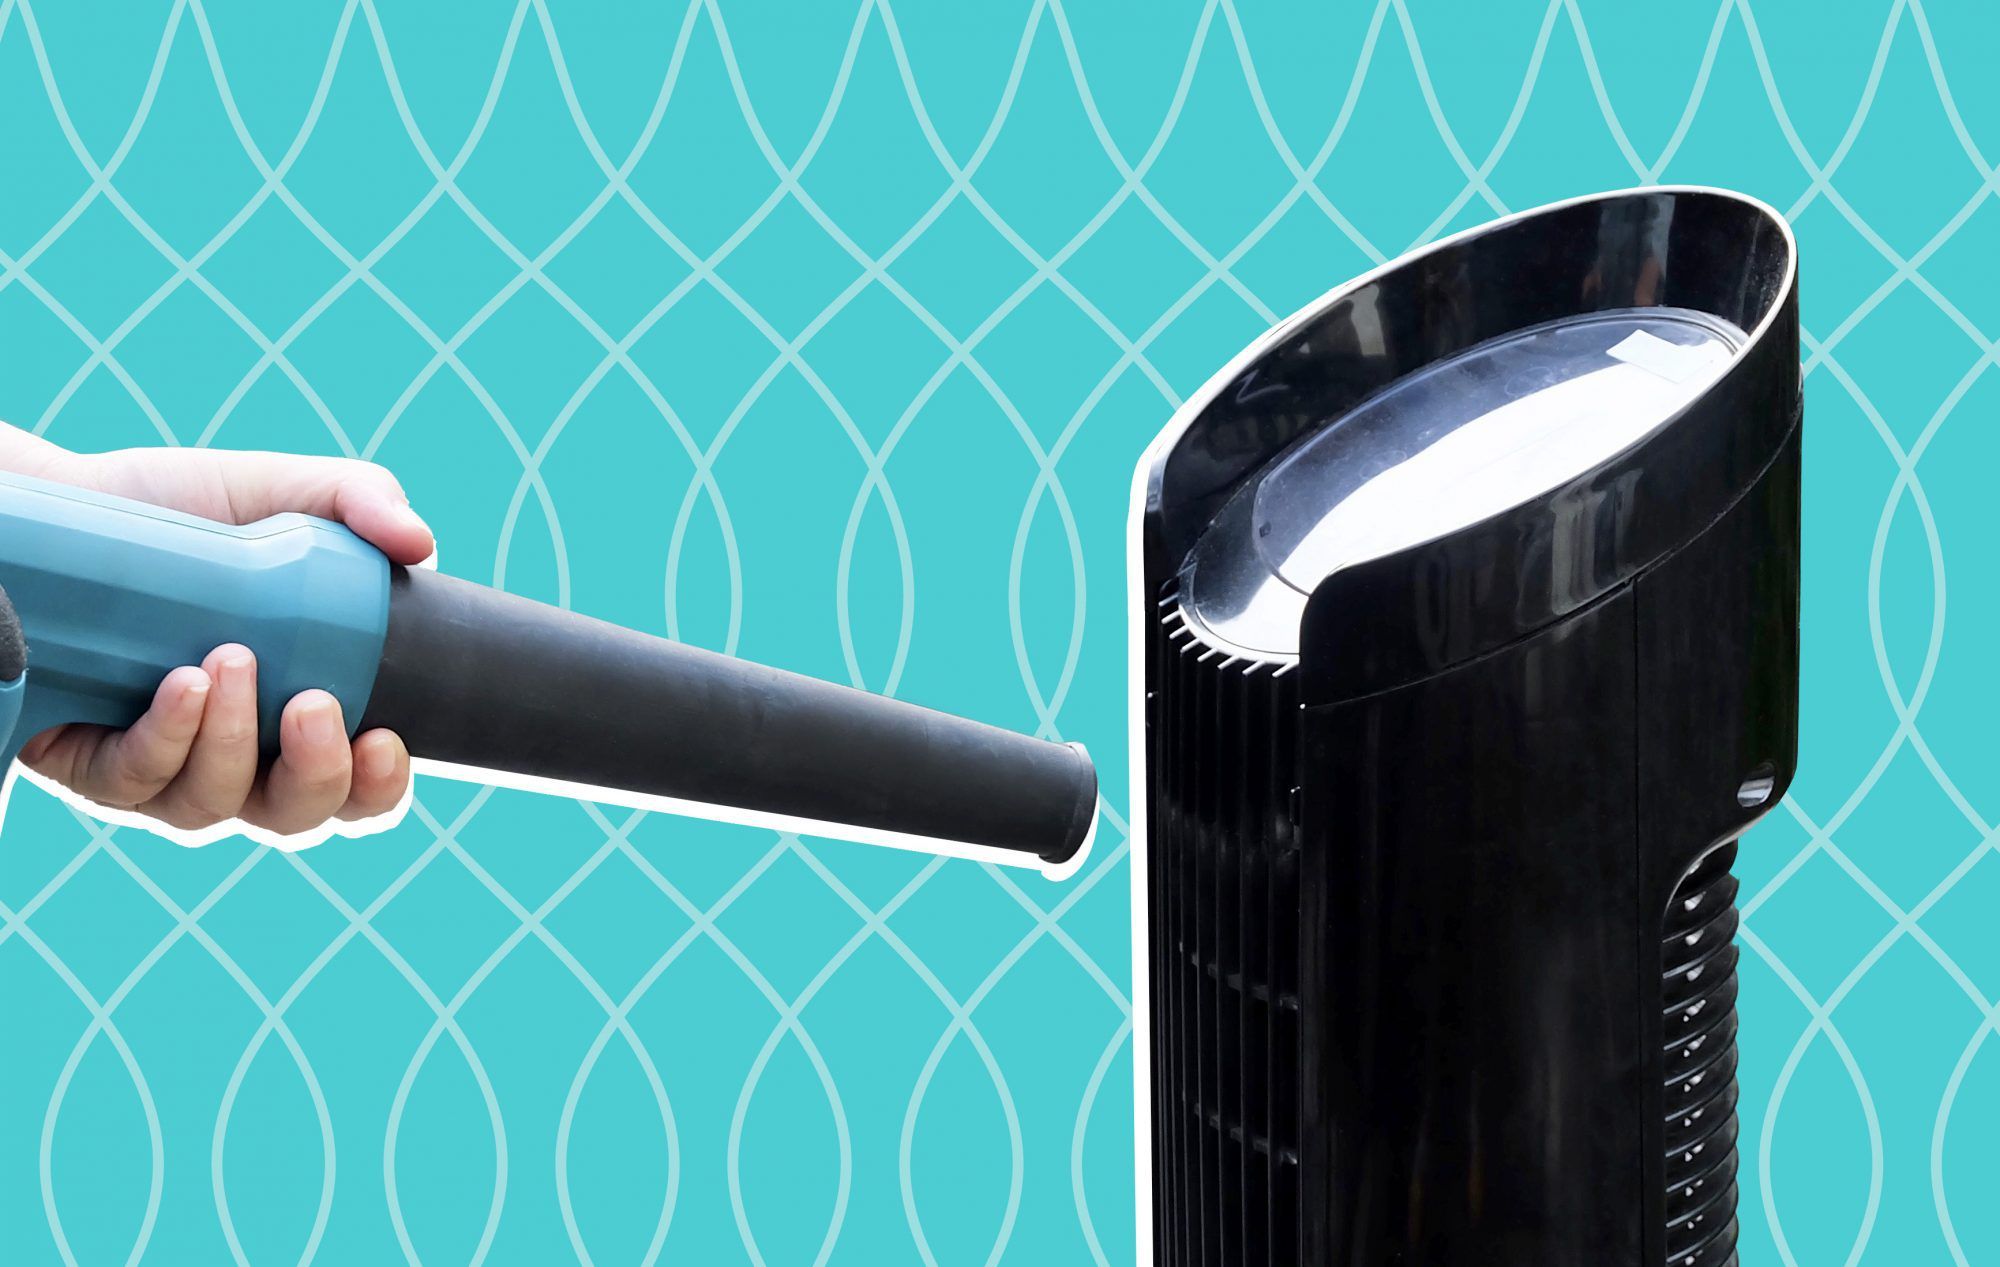
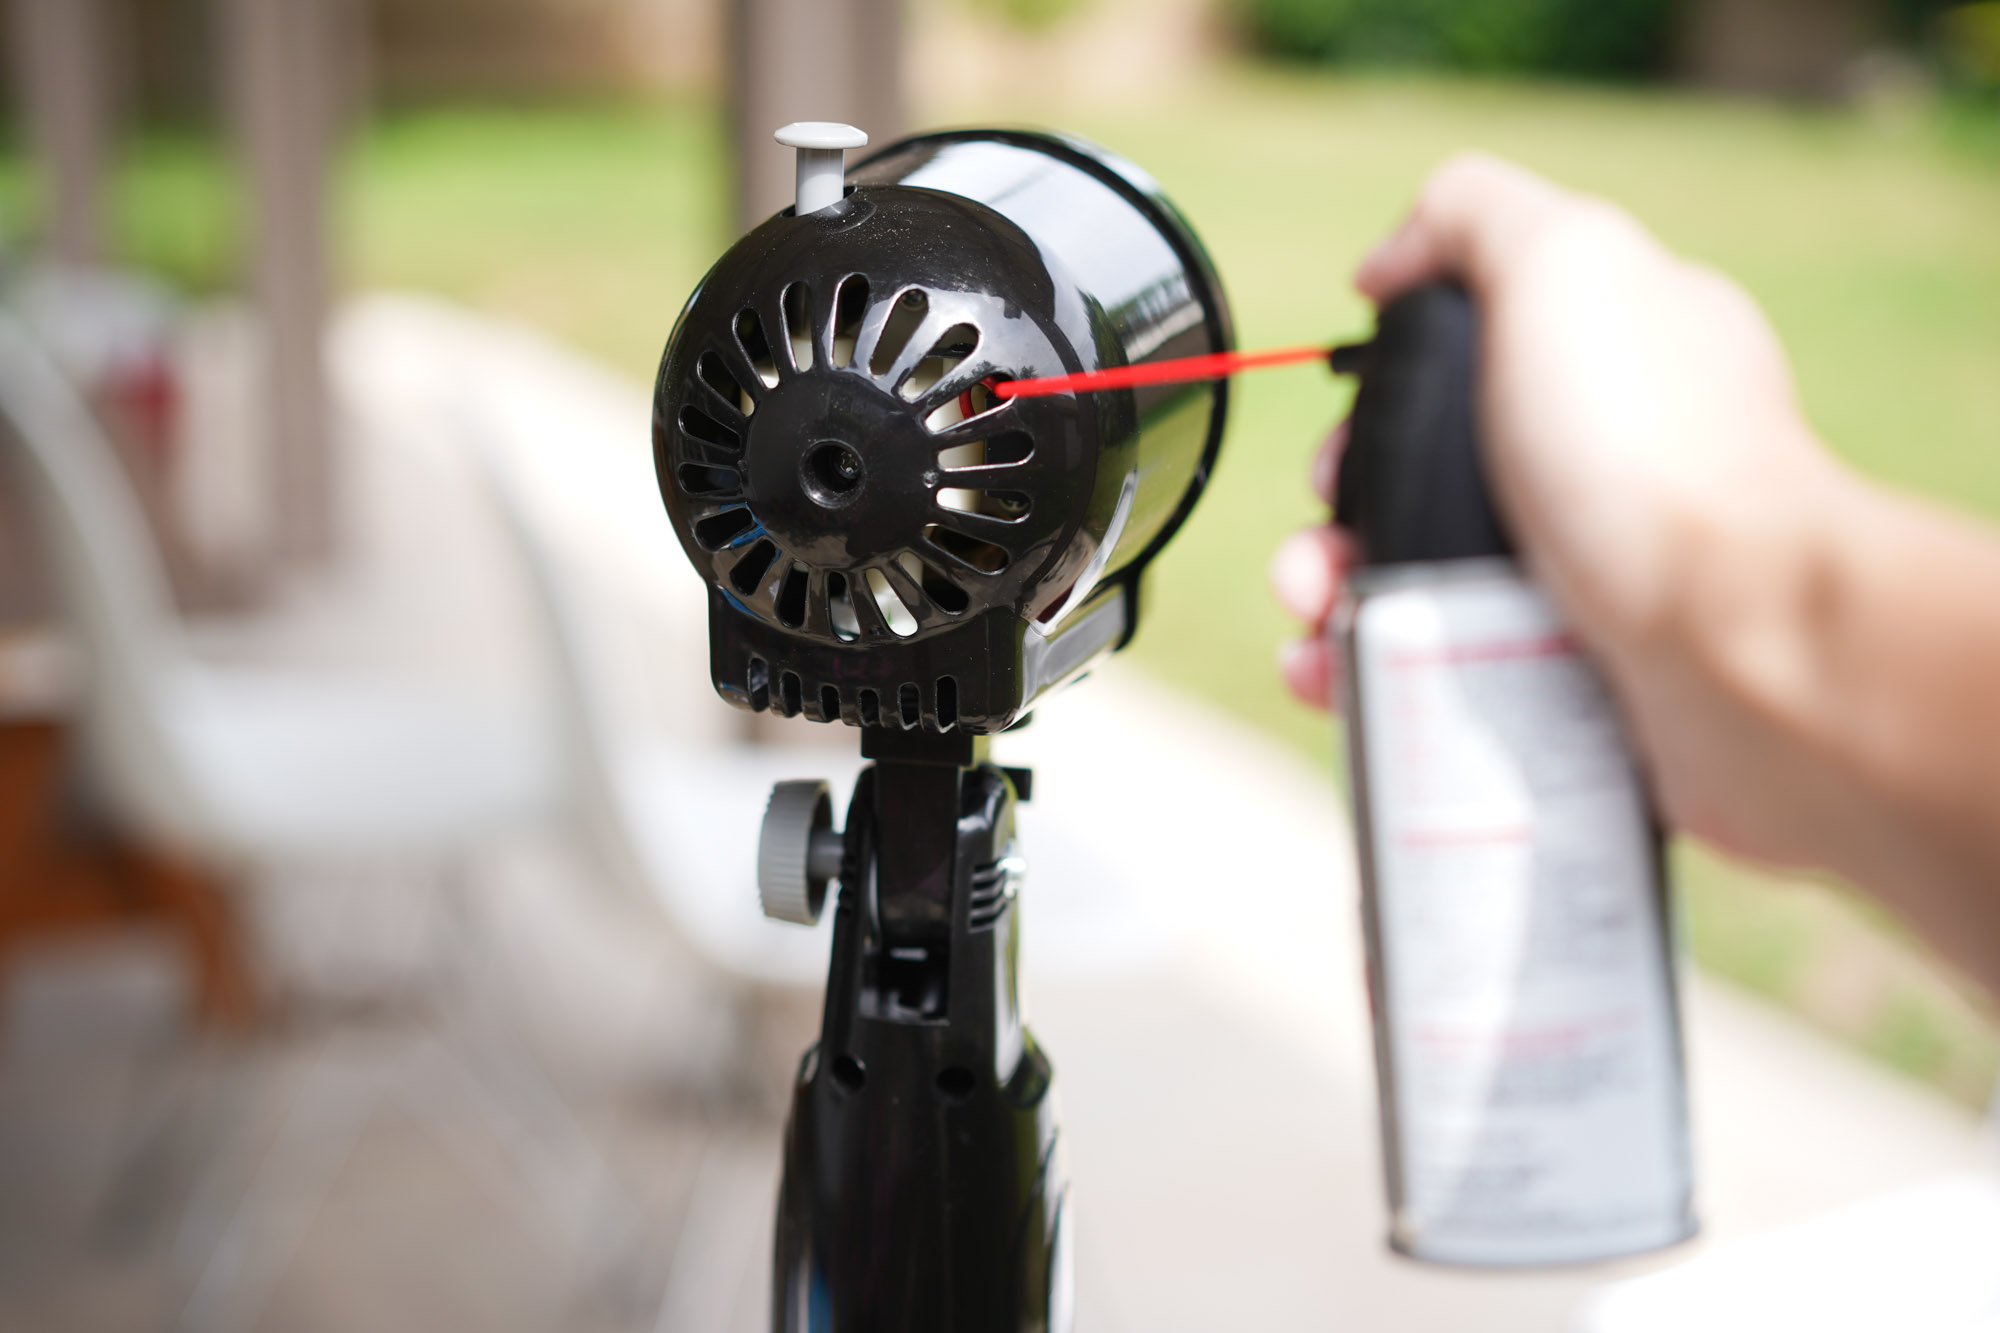
- Blow out the dust and debris: Use the compressed air canister to blow out the dust and debris from the laptop fan. Hold the canister upright and use short bursts of air to avoid moisture buildup. Direct the air towards the fan blades and vents to dislodge the buildup effectively.
- Remove stubborn dirt: If there is any stubborn dirt or grime on the fan blades or other surfaces, dampen a cloth or cotton swab with isopropyl alcohol. Gently wipe the affected areas, taking care not to apply excessive pressure.
- Clean the surrounding areas: While you’re at it, use the compressed air canister to blow out any dust or debris from the surrounding areas, such as the vents or heat sink. This will further improve airflow and cooling efficiency.
- Reassemble your laptop: Once you’ve finished cleaning the fan and surrounding areas, carefully place the laptop’s bottom panel back and secure it with the screws. Make sure you tighten the screws adequately without over-tightening them.
Now, you have successfully cleaned your laptop fan! You can now turn on your laptop and enjoy smoother performance, reduced noise, and improved cooling.
However, there are a few precautions you should keep in mind while cleaning your laptop fan to ensure safety and avoid any potential damage. Let’s take a look at these precautions in the next section.
Use compressed air to blow out dust and debris from the laptop fan. Hold the fan in place to prevent it from spinning and causing damage. Repeat every few months to keep the fan running smoothly.
Precautions to take while cleaning
While cleaning your laptop fan, it’s important to follow these precautions to ensure your safety and prevent any damage to your device:
- Turn off and unplug your laptop: Always turn off your laptop and unplug it from the power source before starting the cleaning process. This will eliminate the risk of electrical shock and prevent accidental power-on during the cleaning.
- Handle delicate components with care: When removing the bottom panel or working inside your laptop, be cautious and handle delicate components with care. Avoid applying excessive force or bending any parts as it can cause damage.
- Avoid touching sensitive areas: When cleaning the fan or any internal components, avoid touching sensitive areas such as circuit boards or connectors. Static electricity from your body can damage electronic components. If necessary, use an antistatic wrist strap to ground yourself.
- Use compressed air cautiously: When using a compressed air canister, hold it upright and use short bursts of air to avoid moisture buildup. Do not tilt the canister too much, as the moisture or propellant can spray out and potentially damage your laptop.
- Do not disassemble the fan: While cleaning, refrain from disassembling the fan unless it’s necessary. Disassembling the fan can void your laptop’s warranty and requires advanced knowledge. Instead, focus on cleaning the accessible areas and using compressed air to remove debris.
- Be mindful of static and airflow direction: Ensure that the airflow from the compressed air canister is directed opposite to the fan blades’ rotation. This helps in pushing the dust and debris out of the laptop instead of further inside.
- Work in a well-ventilated area: Ensure that the area where you are cleaning your laptop fan is well-ventilated. This will help disperse any residue or fumes from the cleaning process and maintain a healthy breathing environment.
By following these precautions, you can safely clean your laptop fan without risking any damage to your device or personal safety. Now, let’s explore some additional tips for maintaining a clean laptop fan in the next section.
Read more: How To Turn Laptop Fan Off
Additional tips for maintaining a clean laptop fan
Now that you have cleaned your laptop fan, here are some additional tips to help you maintain a clean and efficient fan:
- Keep your laptop on a hard, flat surface: When using your laptop, place it on a hard, flat surface such as a desk or table. This allows for better airflow and prevents dust and debris from getting trapped under the laptop.
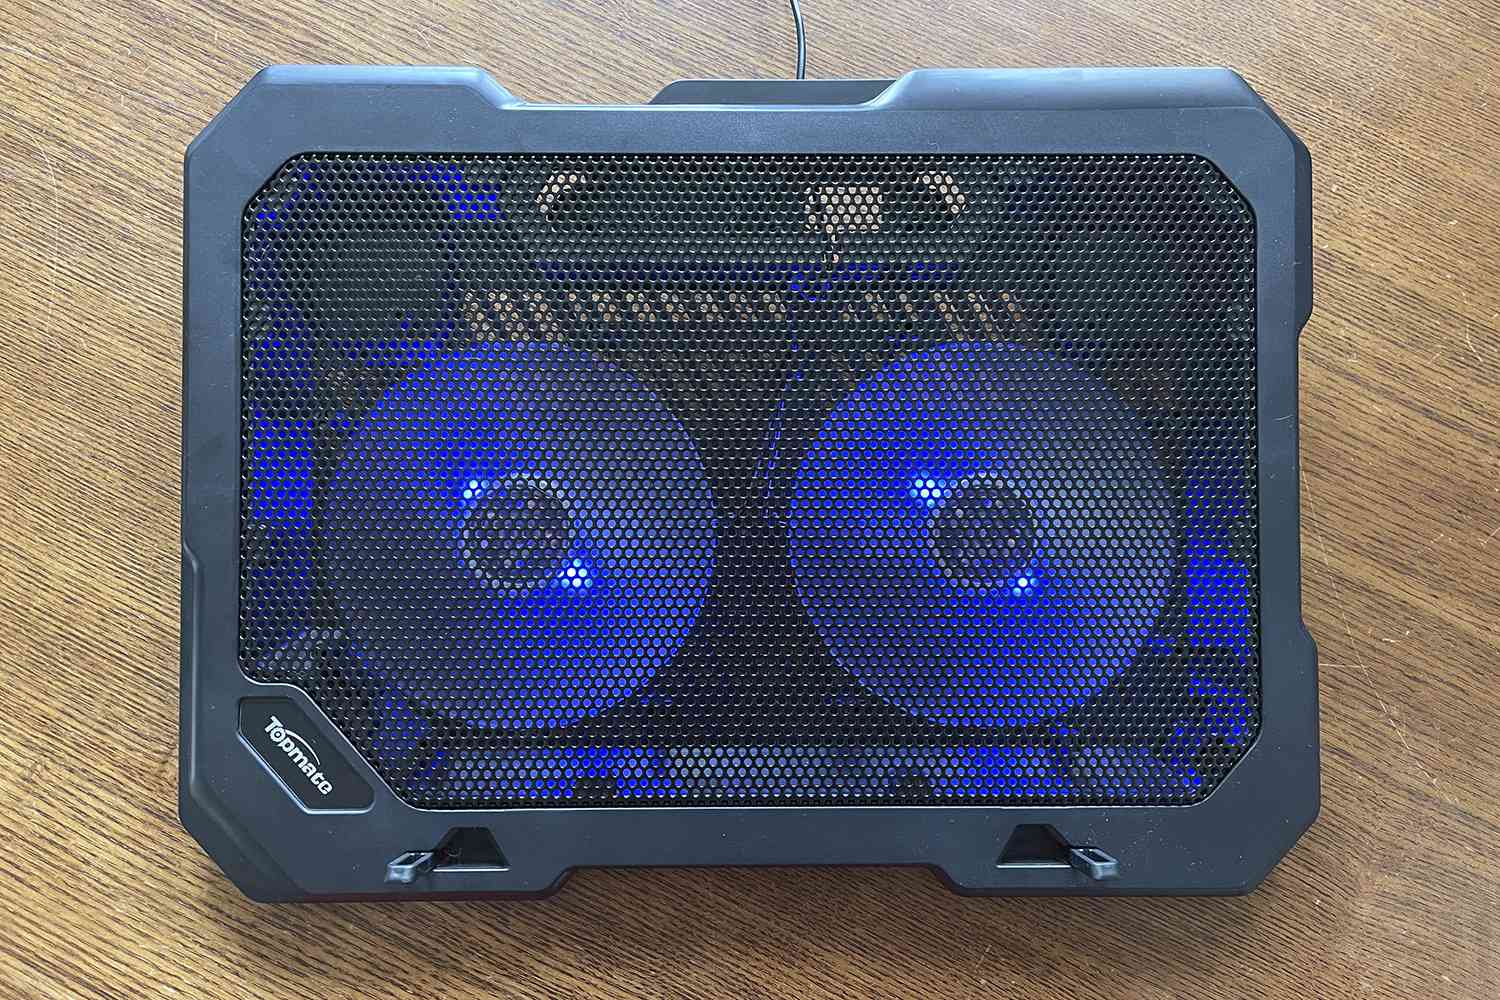
- Avoid using your laptop on soft surfaces: Using your laptop on soft surfaces like beds or couches can block the vents and hinder proper airflow. This can lead to the accumulation of dust and debris on the fan blades and vents. Use a laptop cooling pad or a hard surface for better ventilation.
- Regularly clean the surrounding areas: Along with cleaning the fan, periodically clean the surrounding areas, including vents, heat sinks, and air intakes. This helps in maintaining optimal airflow and preventing dust buildup.
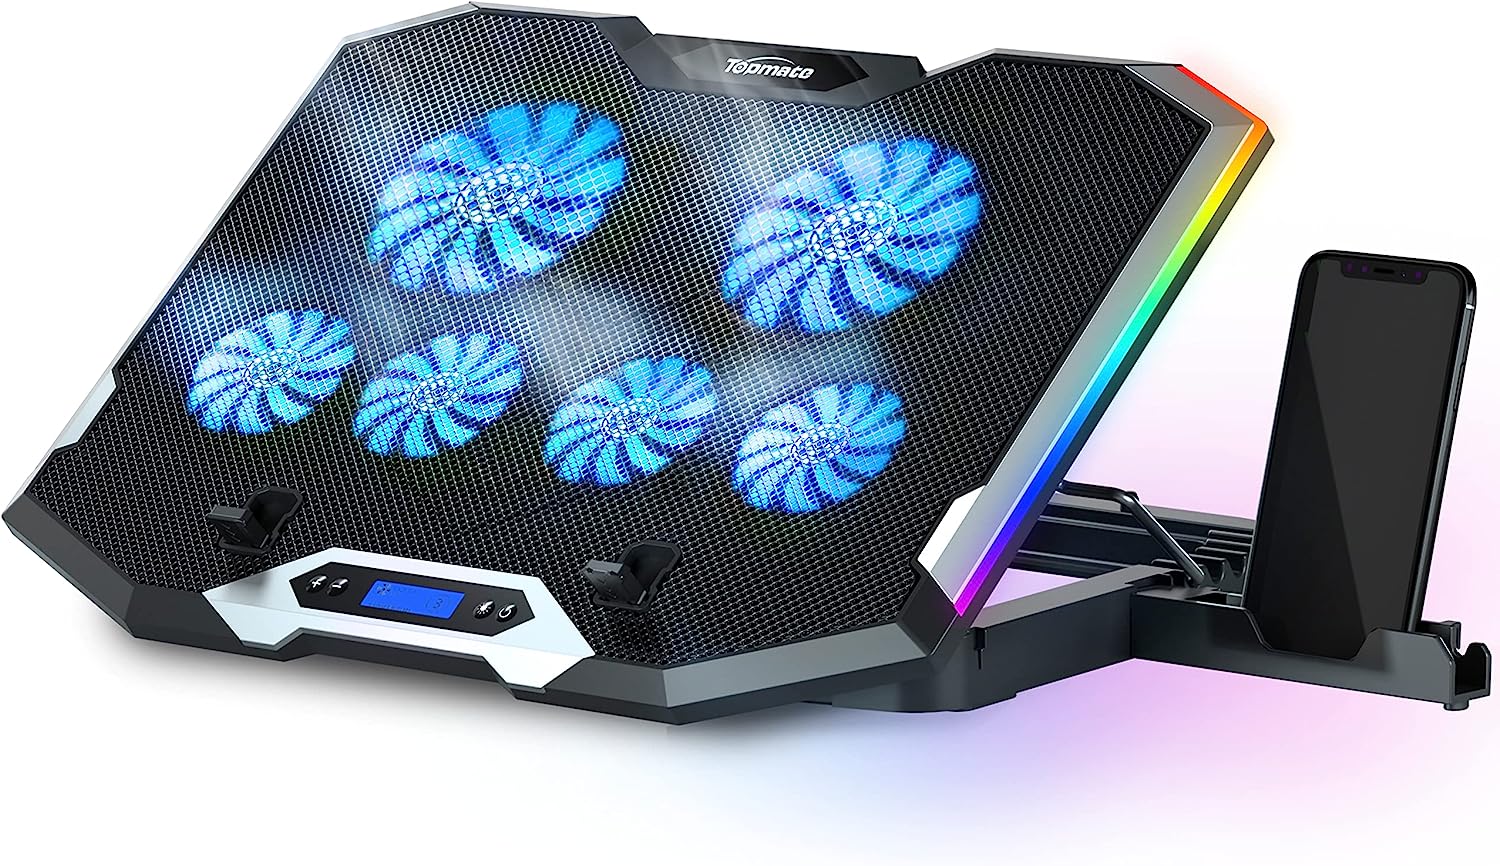
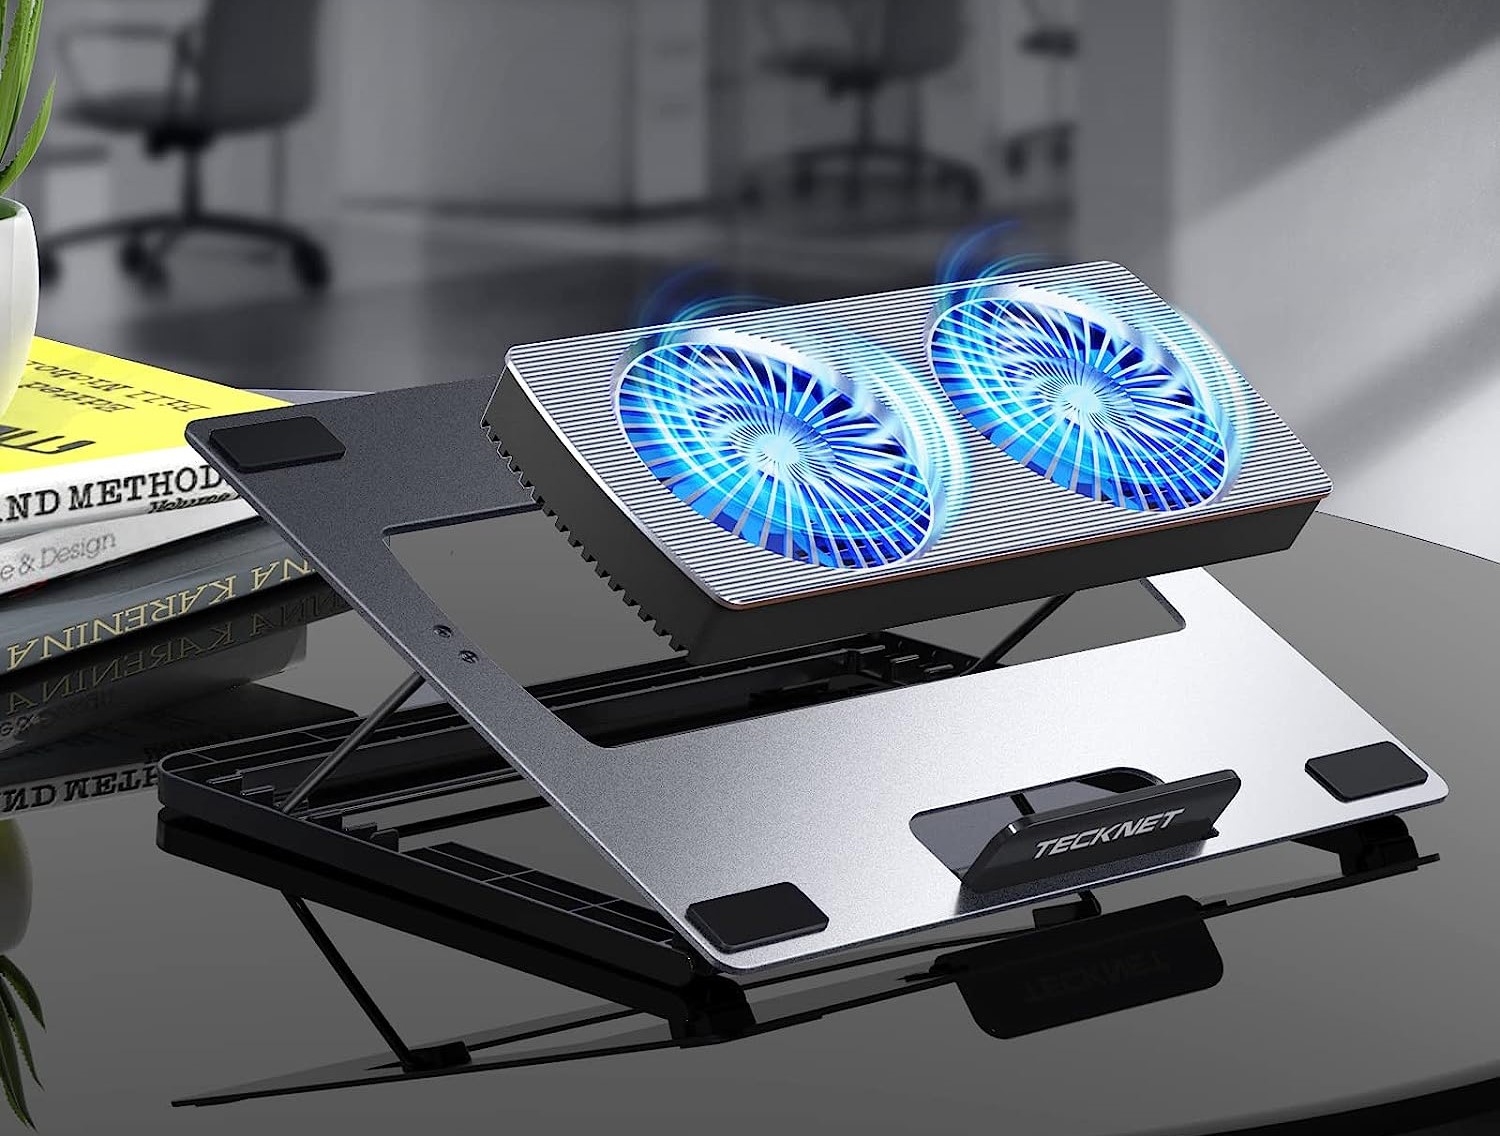
- Use a laptop cooling pad: Consider using a laptop cooling pad, which is designed to provide additional airflow and cooling to your laptop. These cooling pads have built-in fans that help dissipate heat and keep your laptop running at a lower temperature.
- Keep your laptop in a clean environment: Avoid using your laptop in dusty or smoky environments, as this can lead to faster dust accumulation on the fan and other components. Keep your laptop in a clean and well-maintained area to minimize dust and debris ingress.
- Regularly update your software: Keeping your laptop’s operating system and software up to date can improve its performance and efficiency. Software updates often include optimizations that help enhance cooling and power management.
- Consider professional servicing: If you’re uncomfortable or unsure about cleaning your laptop fan yourself, consider taking your laptop to a professional technician for regular servicing. They have the expertise and tools to clean your laptop thoroughly and ensure its longevity.
By following these additional tips, you can maintain a clean laptop fan and optimize the cooling performance of your device. Remember, regular maintenance is key to keeping your laptop running smoothly and efficiently.
Now that you have learned the importance of cleaning your laptop fan and how to maintain it, you can enjoy a cooler and more reliable laptop experience. Happy computing!
Conclusion
Cleaning your laptop fan is an important maintenance task that should not be overlooked. By keeping your laptop fan clean, you can prevent overheating, improve performance, reduce noise, and prolong the lifespan of your device.
In this article, we provided a step-by-step guide to help you clean your laptop fan effectively. We also discussed the reasons why cleaning your laptop fan is important, including preventing overheating and performance degradation. Additionally, we shared some precautions to take while cleaning to ensure your safety and avoid any potential damage to your device.
Furthermore, we provided additional tips for maintaining a clean laptop fan, such as using a laptop cooling pad, keeping the surrounding areas clean, and regularly updating your software. By following these tips, you can optimize the cooling performance of your laptop and maintain its efficiency.
Remember, regular cleaning and maintenance of your laptop fan are essential for the proper functioning of your device. By incorporating these practices into your routine, you can enjoy a cooler, quieter, and more reliable laptop experience.
So, don’t neglect your laptop fan’s cleanliness and take the necessary steps to keep it in top shape. Your laptop will thank you with improved performance and a longer lifespan.
Happy cleaning!
Frequently Asked Questions about How To Clean My Laptop Fan
Was this page helpful?
At Storables.com, we guarantee accurate and reliable information. Our content, validated by Expert Board Contributors, is crafted following stringent Editorial Policies. We're committed to providing you with well-researched, expert-backed insights for all your informational needs.



0 thoughts on “How To Clean My Laptop Fan”