
Articles
How To Clean Out A Water Heater
Modified: October 31, 2024
Learn how to clean out a water heater with our informative articles. Find step-by-step instructions and expert tips to keep your water heater running efficiently.
(Many of the links in this article redirect to a specific reviewed product. Your purchase of these products through affiliate links helps to generate commission for Storables.com, at no extra cost. Learn more)
Introduction
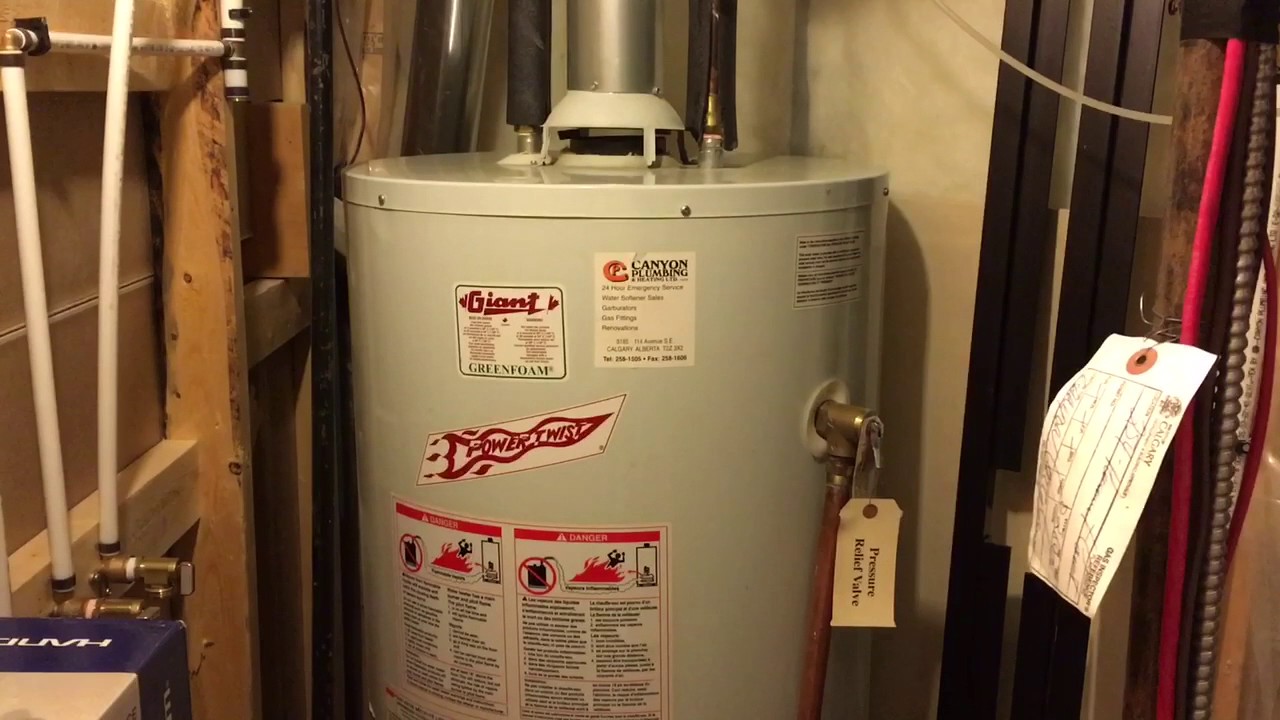
Water heaters are an essential component of any household, providing hot water for bathing, cooking, and cleaning. Over time, mineral deposits and sediment can accumulate in the tank, reducing its efficiency and potentially causing damage. Regular maintenance, including cleaning out the water heater, is crucial to ensure optimal performance and longevity.
In this article, we will guide you through the process of cleaning out a water heater, step by step. But before we dive into the procedure, it’s important to note some safety precautions to ensure your well-being during the maintenance process.
Let’s get started!
Key Takeaways:
- Regularly cleaning out your water heater by draining, flushing, and removing sediment can improve efficiency and extend its lifespan, ensuring a steady supply of hot water for your household needs.
- Prioritize safety by following recommended precautions, gathering necessary materials, and reassembling the water heater correctly to enjoy the benefits of a clean and efficiently functioning unit.
Read more: How To Change Out Water Heater
Safety Precautions
Prior to cleaning out your water heater, it is essential to take certain safety precautions to prevent accidents and injuries. Remember to follow these guidelines:
- Turn off the power: Before starting any maintenance work, make sure to turn off the power supply to the water heater. This will reduce the risk of electric shock while working with water.
- Shut off the water supply: Locate the valve that controls the water supply to the water heater and turn it off. This will prevent water from entering the tank during the cleaning process.
- Allow the tank to cool: Hot water can cause burns. Give the water heater enough time to cool down before proceeding with any maintenance activities. Ideally, wait for several hours or overnight.
- Protective gear: Wear appropriate protective gear, such as gloves and safety goggles, to protect yourself from hot water, debris, and chemicals that may be present during the cleaning process.
- Clear the area: Remove any flammable materials or objects from the immediate vicinity of the water heater to prevent accidents.
- Read the manufacturer’s instructions: Familiarize yourself with the water heater’s manual and follow any specific safety guidelines recommended by the manufacturer.
Prioritizing safety is essential to the success of any maintenance task. By following these safety precautions, you can ensure a secure and stress-free cleaning process for your water heater.
Gather Necessary Materials
Before you can begin cleaning out your water heater, it’s important to gather all the necessary materials. This will ensure that you have everything on hand and can complete the task efficiently. Here are the materials you will need:
- Garden hose: A garden hose will be used to drain the water from the tank.
- Bucket or drain pan: You’ll need a bucket or drain pan to collect the water that comes out of the tank.
- Adjustable wrench: An adjustable wrench is necessary for disconnecting the water supply and drain valve.
- Vinegar or descaling solution: Vinegar or a descaling solution will be used to remove mineral deposits and sediment from the tank.
- Cleaning brush or cloth: A cleaning brush or cloth will help you scrub away any residue inside the tank.
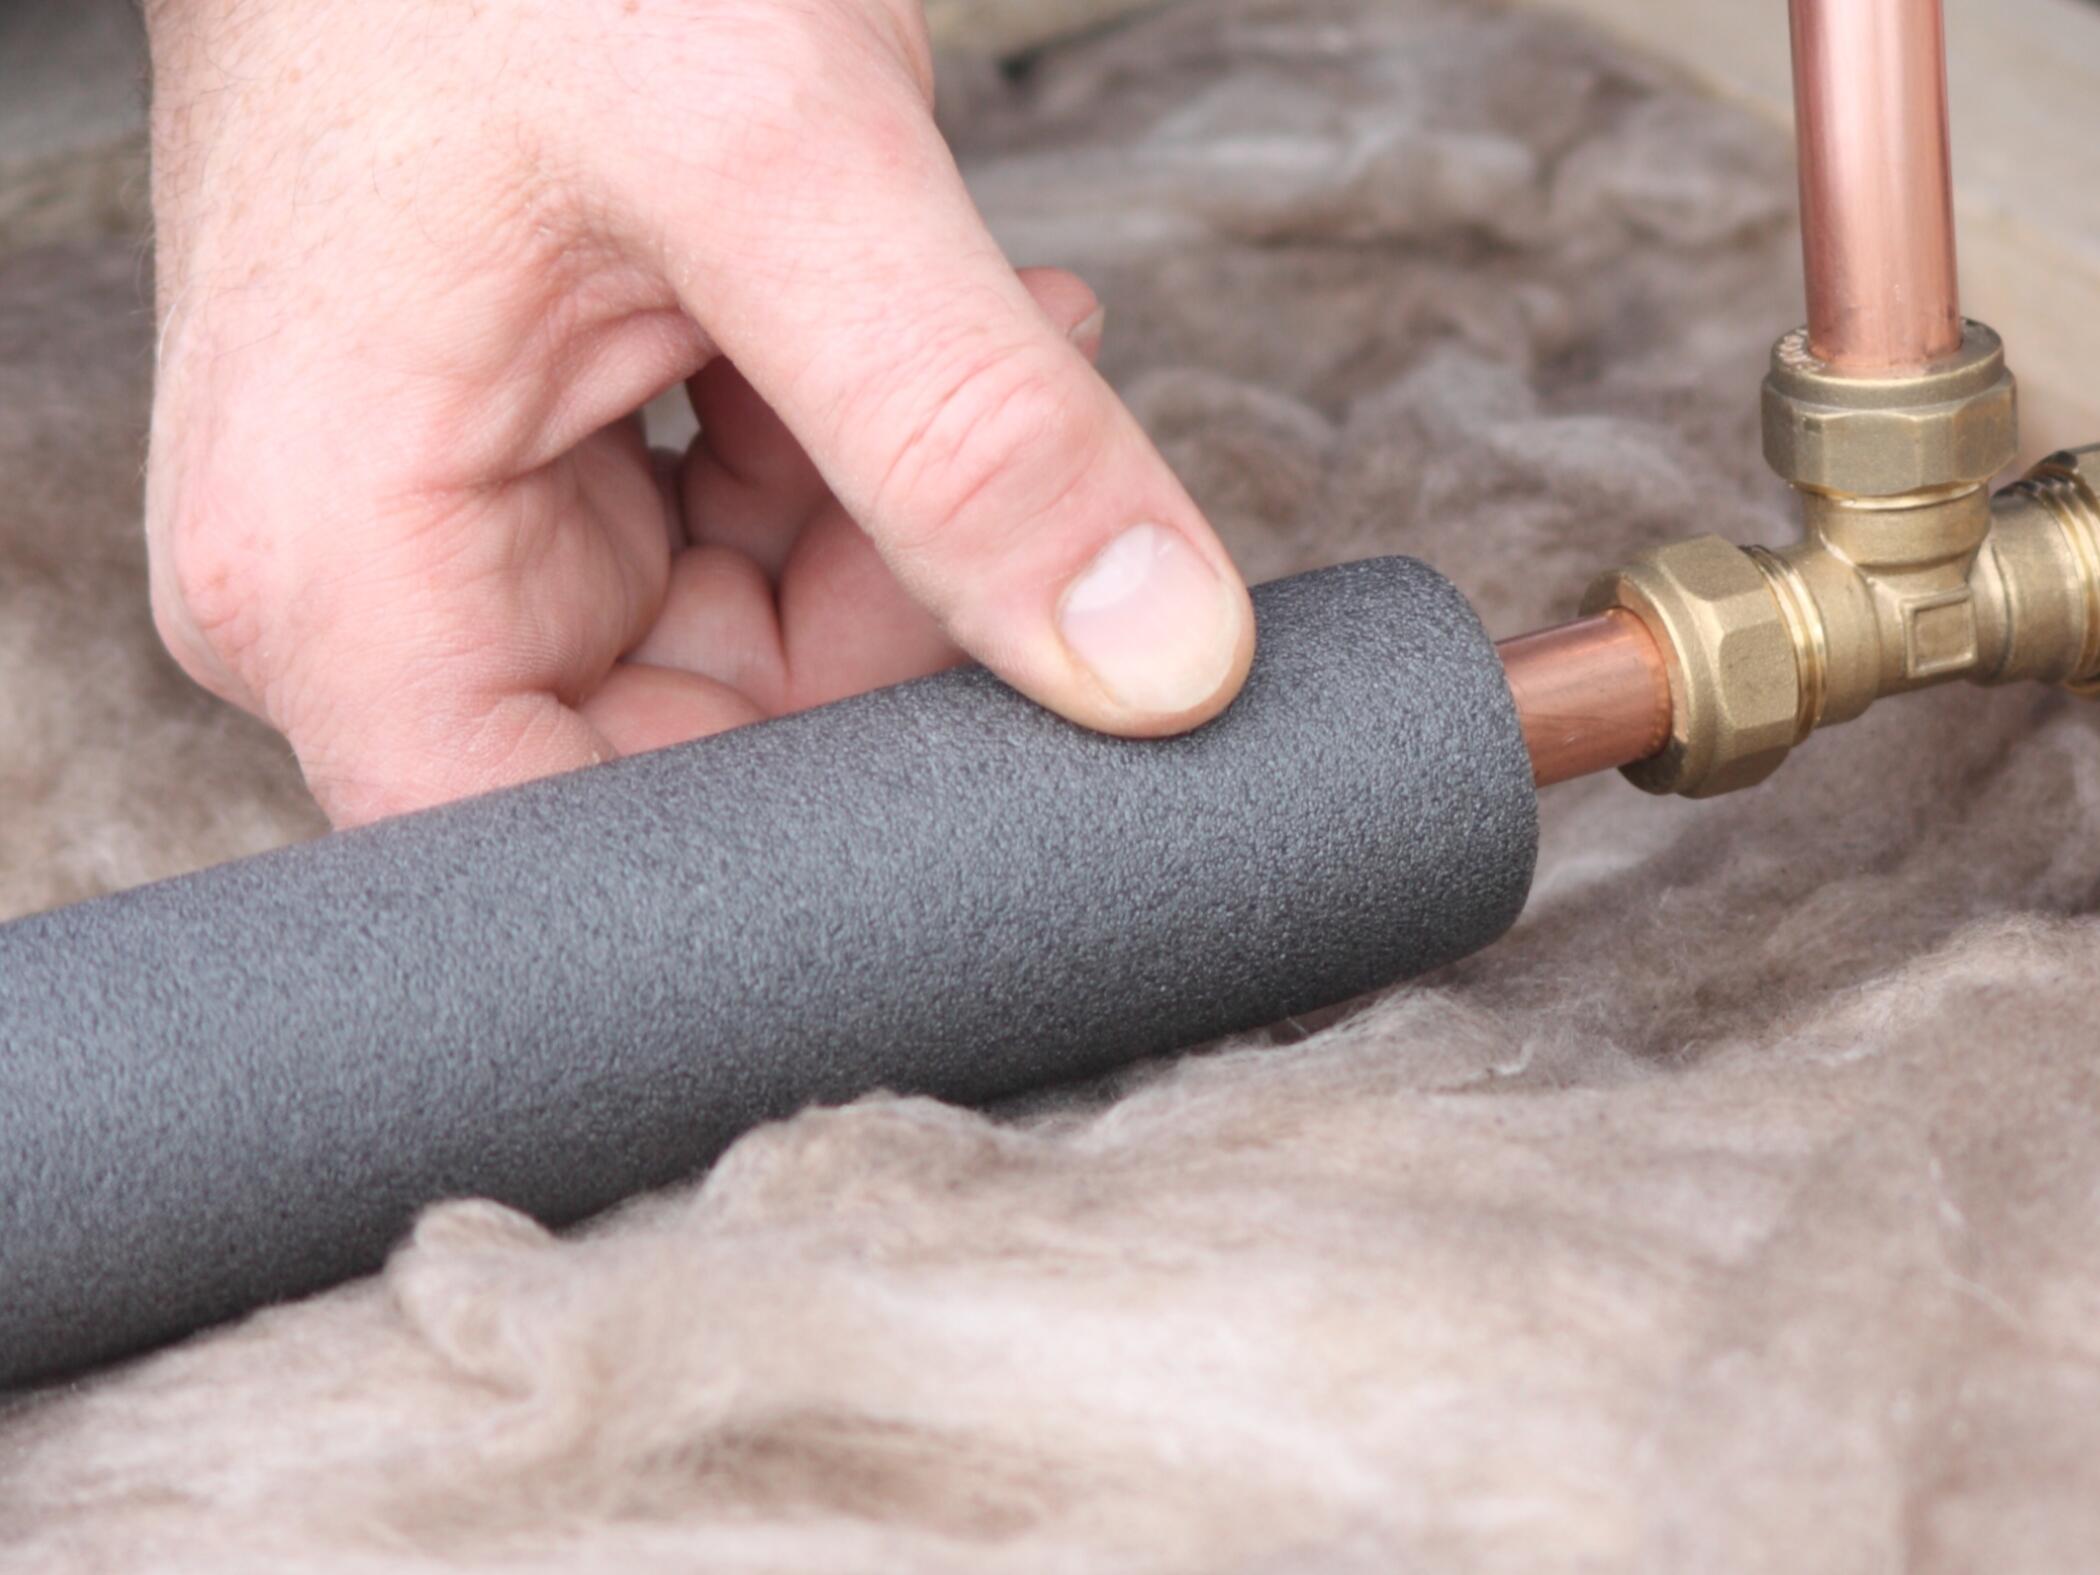
- Teflon tape: Teflon tape will be used to reseal any connections that were undone during the cleaning process.
It’s important to note that these materials may vary depending on the type and model of your water heater. Refer to the manufacturer’s instructions to ensure you have the specific tools and materials required for your water heater.
Once you have gathered all the necessary materials, move on to the next step: turning off the power and water supply to the water heater.
Turn off the Power and Water Supply
Before you start cleaning out your water heater, you must turn off both the power supply and the water supply to the unit. Here’s how to do it:
- Electric Water Heaters: Locate the circuit breaker panel and switch off the breaker that controls the water heater. This will ensure that no electricity is flowing to the unit. It’s crucial to double-check that the power is off by testing the water heater controls.
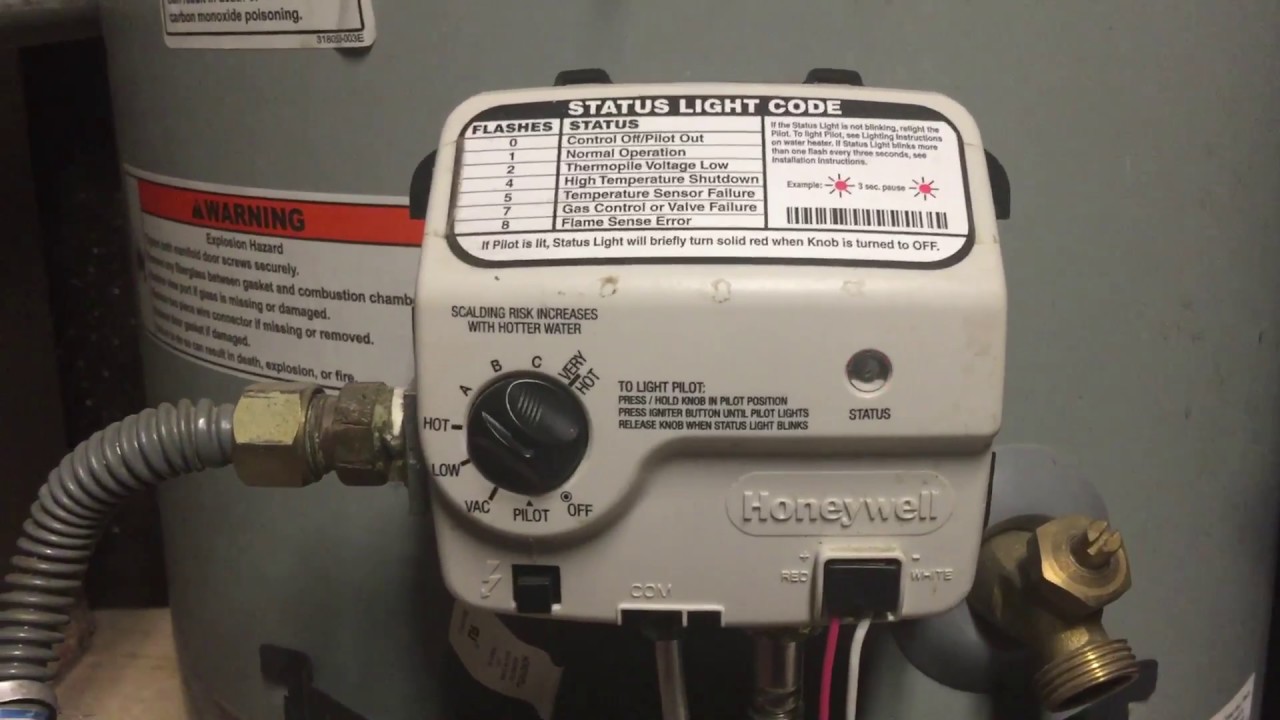
- Gas Water Heaters: Find the gas supply valve, usually located near the unit’s bottom. Turn the valve to the “off” position to shut off the gas supply. If you are unsure, consult the manufacturer’s instructions or contact a professional technician to help you with this step.
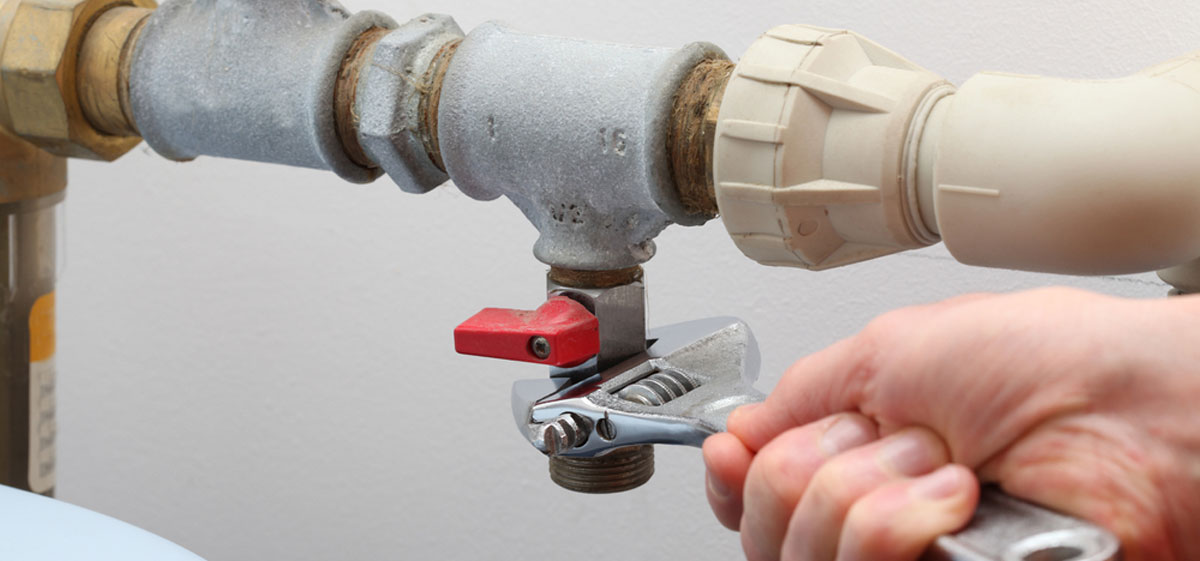
- Water Supply: Locate the cold water supply valve connected to the water heater. Turn it off by rotating it clockwise until it is fully closed. This will prevent water from entering the tank while you are cleaning it out.
It’s essential to ensure that both the power supply and the water supply are fully turned off before proceeding to the next steps. This will prevent any accidents or damage while working on your water heater.
Once you have successfully turned off the power and water supply, you can move on to draining the tank.
Drain the Tank
Draining the tank is an important step in the process of cleaning out your water heater. Here’s how you can drain the tank:
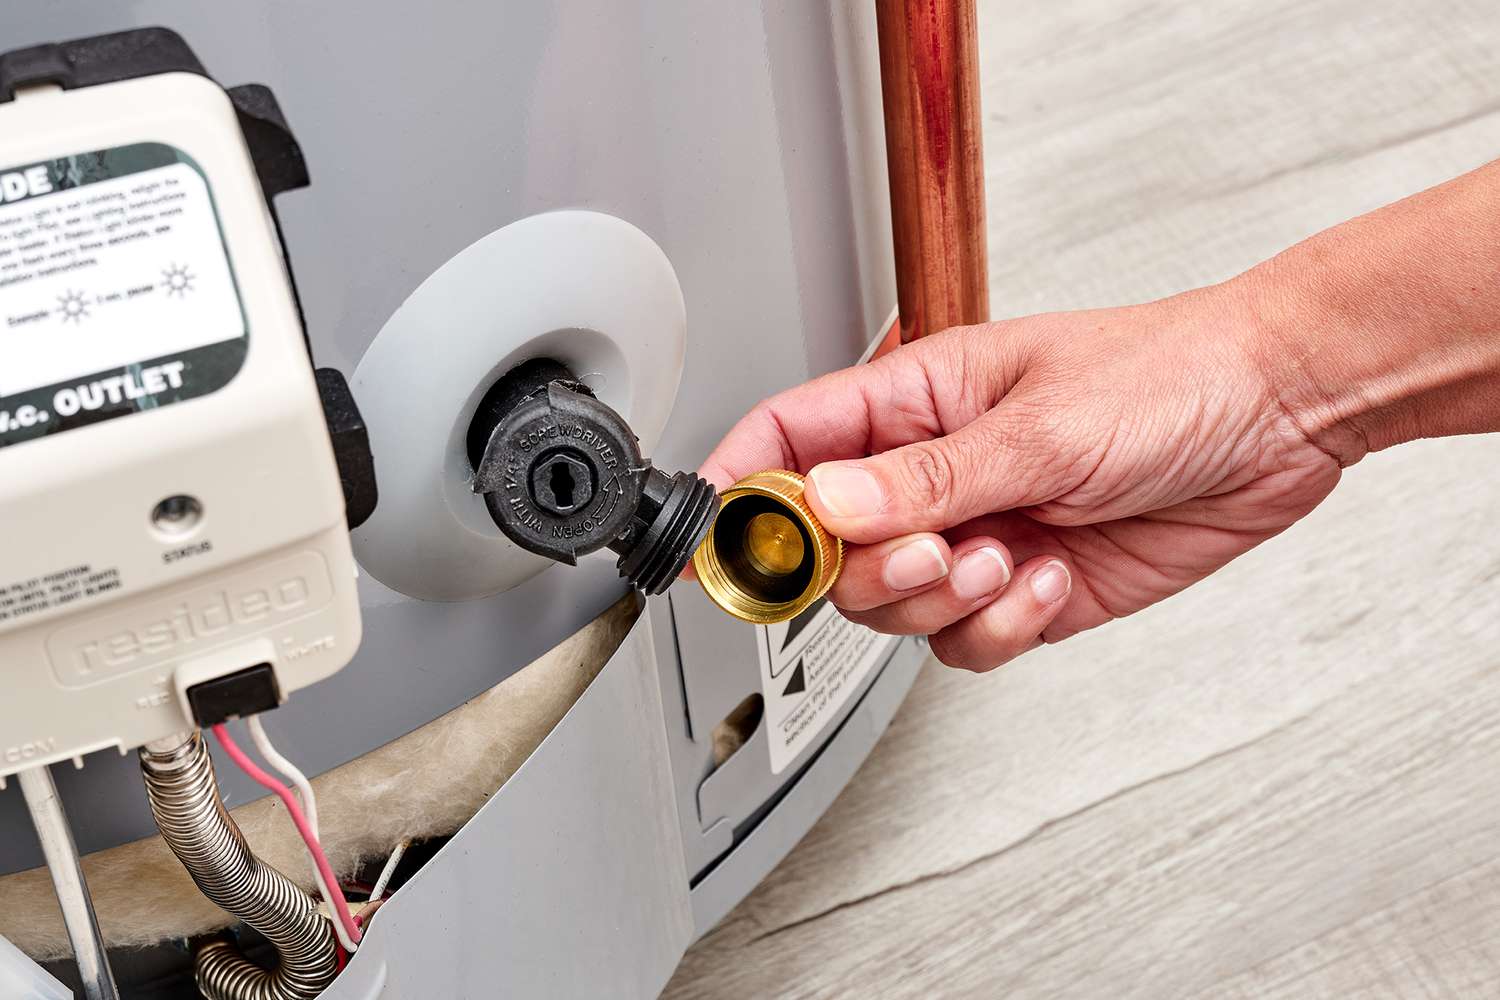
- Attach the garden hose: Locate the drain valve at the bottom of the water heater. Attach one end of the garden hose to the drain valve. Ensure that the hose is tightly secured to avoid any leaks.
- Connection for the water discharge: Position the other end of the garden hose in a suitable drainage area or connect it to a nearby floor drain. Make sure the hose is placed in a location where the discharged water can safely flow away without causing damage or inconvenience.
- Open the drain valve: Slowly open the drain valve by turning it counterclockwise. This will allow the water inside the tank to start draining through the hose. You may hear a gurgling sound as air enters the tank.
- Wait for the tank to fully drain: Depending on the size of your water heater, it may take some time for the tank to fully drain. Be patient and allow all the water to flow out through the garden hose. You can use a bucket or drain pan to collect the water in case you need to empty it during the draining process.
It’s important to note that the water draining from the tank may be hot, so exercise caution while handling the hose and ensure that it doesn’t pose a safety hazard. Once the tank is fully drained, you can proceed to the next step: flushing the tank.
Flush your water heater at least once a year to remove sediment and mineral buildup. This will improve its efficiency and extend its lifespan.
Read more: How To Clean Water Heater Thermocouple
Flush the Tank
Flushing the tank is a vital step in cleaning out your water heater. This process involves removing any remaining sediment and mineral buildup that may have accumulated inside the tank. Here’s how you can flush the tank:
- Close the drain valve: Once the tank is fully drained, close the drain valve by turning it clockwise. This will prevent any water from flowing out while you are flushing the tank.
- Turn on the water supply: Slowly open the cold water supply valve to allow water to enter the water heater. The water will help flush out any remaining sediment and debris from the tank.
- Monitor the water: As you continue to let the water flow into the tank, observe the water coming out from the drain valve. You may notice discolored water initially, which is an indicator of sediment being flushed out.
- Continue flushing: Let the water flow through the tank for several minutes, or until the water coming out of the drain valve runs clear. This ensures that all the sediment and debris have been flushed out of the tank.
By flushing the tank, you not only remove accumulated sediment, but you also improve the efficiency and extend the lifespan of your water heater. Once the tank has been thoroughly flushed, you can move on to the next step: removing sediment and mineral buildup.
Remove Sediment and Mineral Buildup
Removing sediment and mineral buildup is a crucial part of the cleaning process for your water heater. Over time, these deposits can accumulate inside the tank, reducing its efficiency and potentially causing damage. Here’s how you can remove sediment and mineral buildup:
- Turn off the water supply: Close the cold water supply valve to stop the flow of water into the tank.
- Open the pressure relief valve: Lift the lever on the pressure relief valve to release any built-up pressure inside the tank. This step helps prevent any potential accidents during the cleaning process.
- Remove the drain valve: Use an adjustable wrench to loosen and remove the drain valve located at the bottom of the water heater. This will allow better access to the sediment and mineral buildup inside the tank.
- Scrub the tank: Use a cleaning brush or cloth to scrub the interior walls of the tank, focusing on areas with visible sediment or mineral deposits. Pay extra attention to the bottom of the tank where the most buildup tends to occur.
- Descale the tank: If you are dealing with stubborn mineral buildup, you can use a vinegar solution or a commercial descaling product. Follow the manufacturer’s instructions on how to safely and effectively descale the tank.
- Rinse the tank: After scrubbing and descaling, rinse the tank thoroughly with clean water. Ensure that all debris and cleaning agents are completely flushed out.
- Recoat the drain valve: Apply Teflon tape to the threads of the drain valve and reattach it to the tank. Tighten it securely using an adjustable wrench.
By removing sediment and mineral buildup, you can restore the efficiency and performance of your water heater. This maintenance step is crucial to ensure a continuous supply of hot water and prevent any potential damage to the unit.
With the sediment and mineral buildup addressed, it’s time to reassemble your water heater and get it up and running again.
Reassemble the Water Heater
After cleaning out the tank and removing sediment and mineral buildup, the next step is to reassemble your water heater. Follow these steps to properly reassemble the unit:
- Apply Teflon tape: Before reattaching any fittings or valves, apply Teflon tape to the threads. This will create a tight seal and prevent any leaks.
- Reattach the drain valve: Take the drain valve that you previously removed and reattach it to the tank. Use an adjustable wrench to tighten it securely.
- Turn on the water supply: Open the cold water supply valve to allow water to flow back into the tank. This will fill the tank and prepare it for heating.
- Check for leaks: Inspect all the connections, including the drain valve and other fittings, to ensure there are no leaks. If you notice any leaks, tighten the connections with an adjustable wrench or consult a professional if needed.
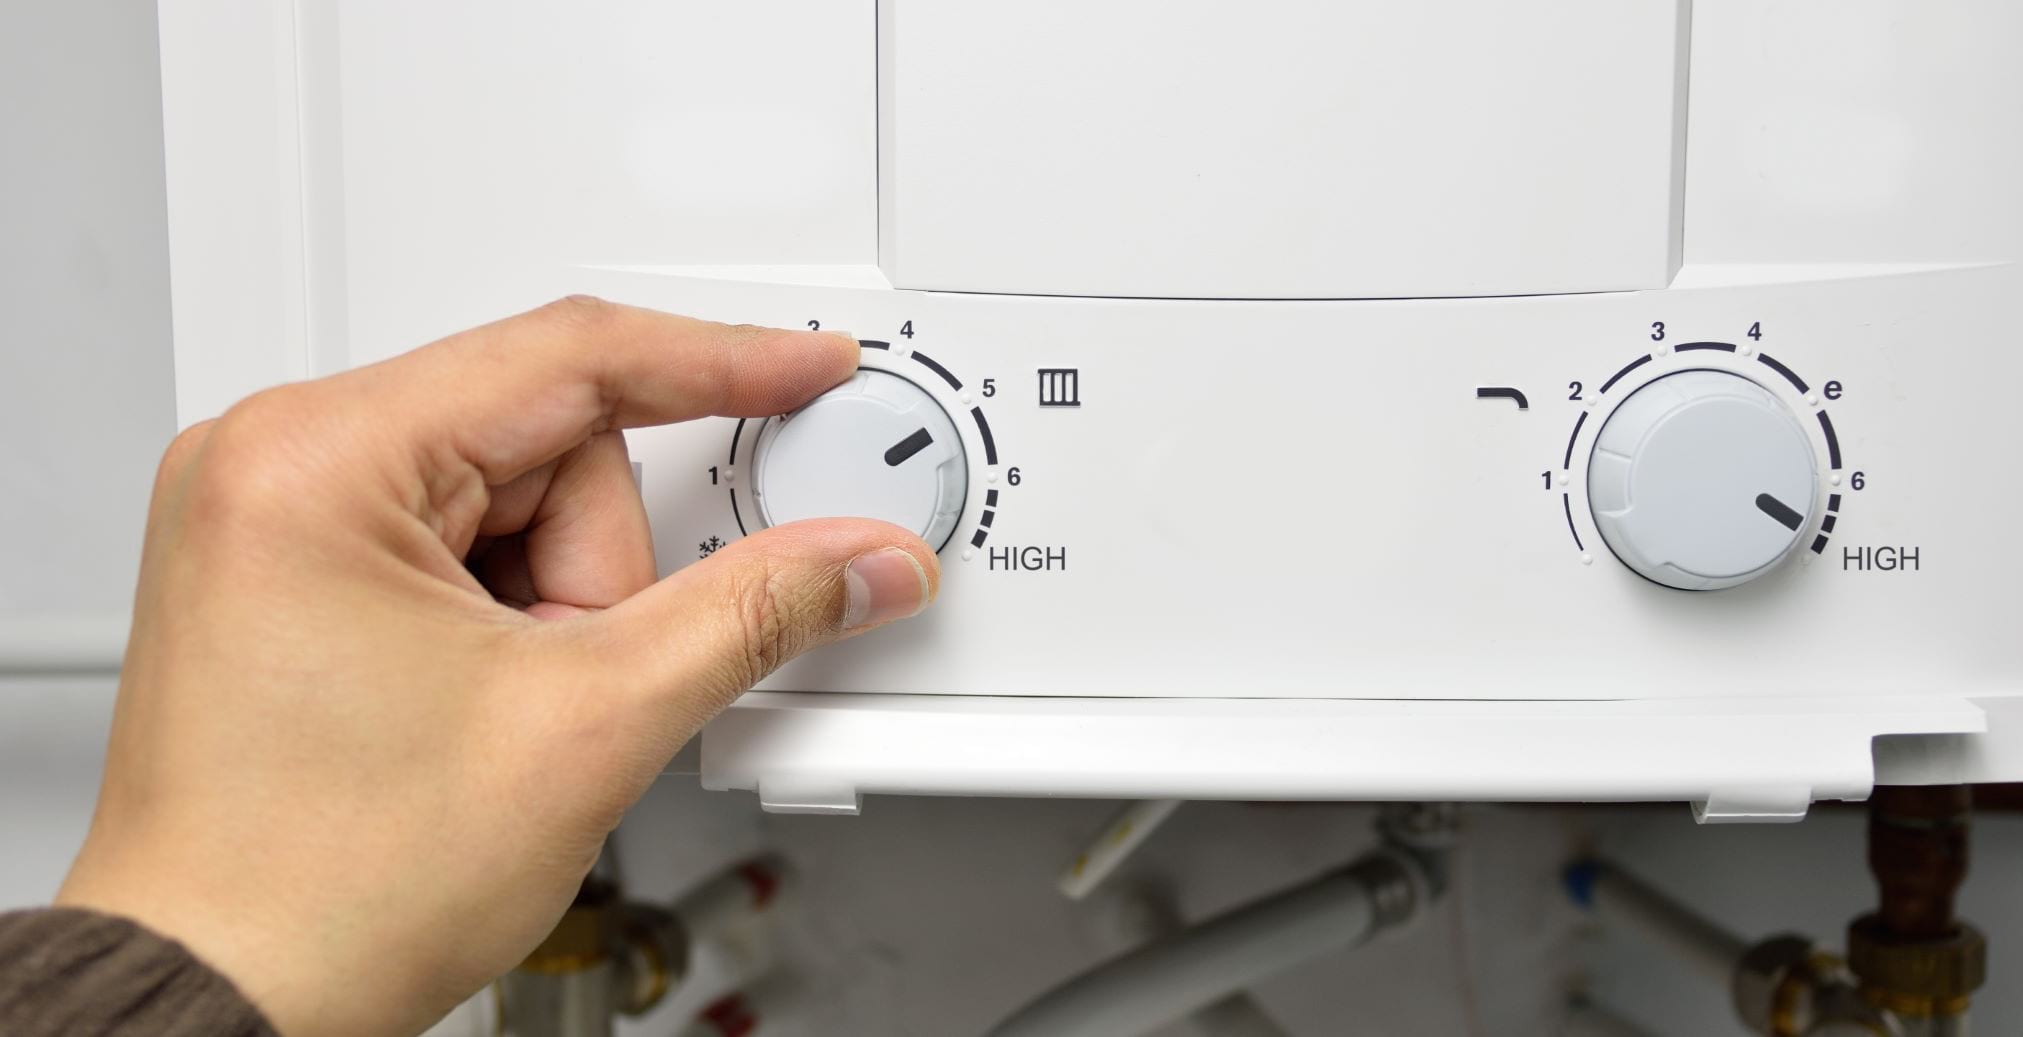
- Turn on the power: If you have an electric water heater, return to the circuit breaker panel and turn on the breaker that controls the water heater. For gas water heaters, refer to the manufacturer’s instructions and relight the pilot if necessary.
- Wait for the water to heat up: Give the water heater some time to heat up and reach the desired temperature. This may take several hours.
- Monitor for proper operation: Once the water has heated up, check the operation of the water heater to ensure it functions correctly. Verify that hot water is being delivered consistently and that there are no unusual sounds or issues.
By properly reassembling your water heater, you ensure that it is functioning correctly and ready to provide you with hot water on demand.
With the reassembly complete, you can now proceed to the final step: turning on the power and water supply to your water heater.
Turn on the Power and Water Supply
After successfully reassembling your water heater, it’s time to turn on the power and water supply. Follow these steps to ensure a safe and efficient restart of your unit:
- Electric Water Heaters: Return to the circuit breaker panel and turn on the breaker that controls the water heater. This will restore power to the unit.
- Gas Water Heaters: If you have a gas water heater, refer to the manufacturer’s instructions on how to safely relight the pilot, if necessary.
- Cold Water Supply: Open the cold water supply valve fully to allow water to flow into the tank.
- Check for leaks: Monitor all the connections and fittings for any signs of leaks. If you notice any leaks, turn off the water supply and consult a professional for assistance.
- Wait for the water to heat up: Give the water heater some time to heat up and reach the desired temperature. This may take a few hours, so be patient.
- Test the hot water: Once the water has heated up, test the hot water from various faucets around your home to ensure there is a steady supply of hot water. If there are any issues, check the water heater settings or consult a professional plumber.
Turning on the power and water supply is the final step in the cleaning and maintenance process for your water heater. By following these steps, you can ensure that your unit is operating safely and efficiently, providing you with reliable hot water for your everyday needs.
Remember to keep up with regular maintenance by periodically checking for sediment buildup and following the cleaning process outlined in this article. This will help prolong the lifespan of your water heater and maintain its optimal performance.
With the power and water supply turned on, you can now enjoy the benefits of a clean and well-maintained water heater.
Read more: How To Clean Out A Primo Water Dispenser
Conclusion
Cleaning out your water heater is a crucial maintenance task that should not be overlooked. Regularly removing sediment and mineral buildup from the tank can help improve the efficiency and performance of your water heater, ensuring a steady supply of hot water for your household needs. By following the step-by-step guide provided in this article, you can successfully clean out your water heater and keep it in optimal condition.
Remember to prioritize safety throughout the process by following the recommended safety precautions. This includes turning off the power and water supply, wearing protective gear, and clearing the area around the water heater. Safety should always be your top priority to prevent any accidents or injuries.
Gathering the necessary materials and taking the time to drain, flush, and remove sediment and mineral buildup from your water heater will greatly contribute to its longevity and performance. By adhering to these steps, you can ensure that your water heater continues to provide you with reliable hot water for years to come.
Lastly, don’t forget to reassemble the water heater correctly and turn on the power and water supply once the cleaning process is complete. Monitor the unit for any leaks or irregularities and enjoy the benefits of a clean and efficiently functioning water heater.
By incorporating regular cleaning and maintenance into your routine, you can extend the life of your water heater and enjoy the comforts of hot water whenever you need it. So, take the time to clean out your water heater and reap the rewards in terms of efficiency, performance, and peace of mind.
Frequently Asked Questions about How To Clean Out A Water Heater
Was this page helpful?
At Storables.com, we guarantee accurate and reliable information. Our content, validated by Expert Board Contributors, is crafted following stringent Editorial Policies. We're committed to providing you with well-researched, expert-backed insights for all your informational needs.


0 thoughts on “How To Clean Out A Water Heater”