Articles
How To Change Out Water Heater
Modified: October 31, 2024
Learn how to change out your water heater with step-by-step instructions and expert tips. Read our informative articles to tackle this project confidently.
(Many of the links in this article redirect to a specific reviewed product. Your purchase of these products through affiliate links helps to generate commission for Storables.com, at no extra cost. Learn more)
Introduction
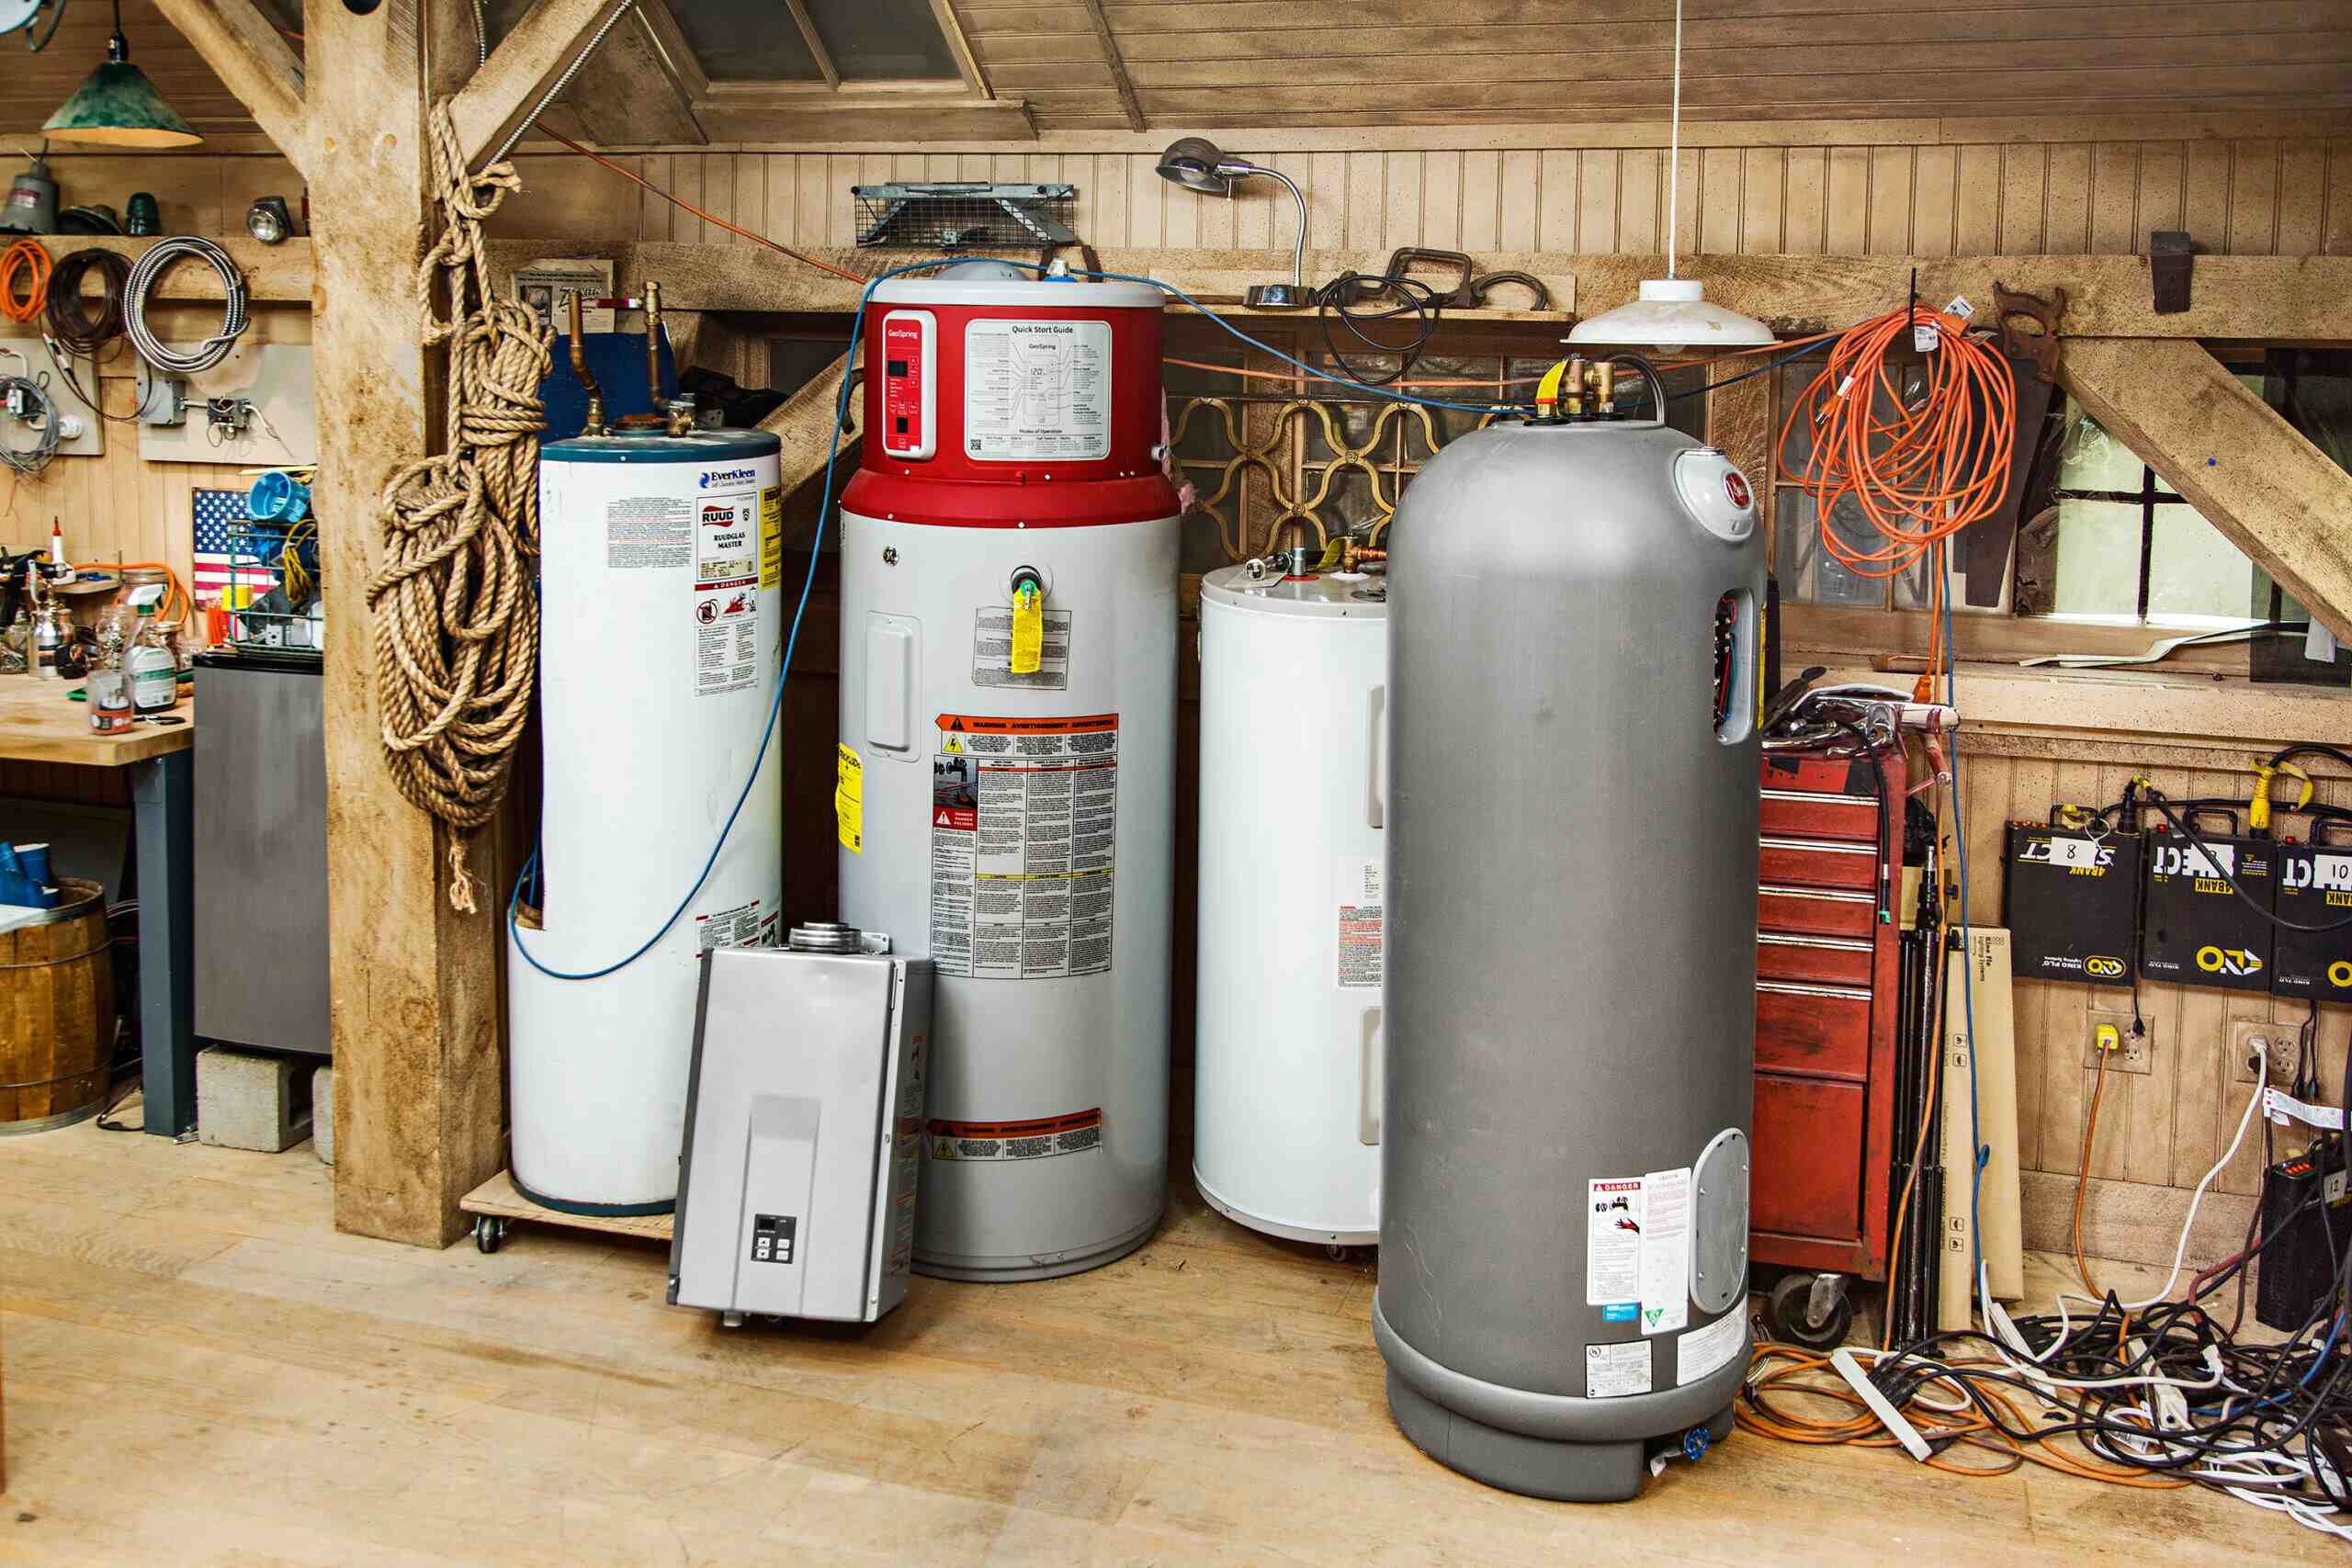
Changing out a water heater may seem like a daunting task, but with the right knowledge and safety precautions, it can be a straightforward process. A water heater is an essential appliance in any home, providing hot water for showers, laundry, and washing dishes. Over time, however, water heaters can become less efficient or develop leaks, requiring replacement.
In this article, we will guide you through the step-by-step process of changing out a water heater. Before we begin, it’s important to note that working with water heaters involves electricity and plumbing, so safety should be a top priority. Make sure to read and understand the manufacturer’s instructions before attempting a water heater replacement. If you are not comfortable with this type of work, it’s always best to consult a professional.
Before you start, gather all the necessary tools and materials. This includes a new water heater, pipes and fittings, a pipe wrench, adjustable wrenches, Teflon tape, a pipe cutter, a bucket, and a hose.
Now, let’s dive into the process of changing out a water heater while keeping safety in mind every step of the way.
Key Takeaways:
- Prioritize safety by following crucial steps such as turning off power and water supply, draining the tank, and using proper lifting techniques to ensure a secure and accident-free water heater replacement process.
- Successfully change out your water heater by following a step-by-step guide, from disconnecting the old unit to installing the new one, while prioritizing safety and thoroughness for efficient hot water supply.
Read more: How To Clean Out A Water Heater
Safety Precautions
Before starting any work on your water heater, it’s crucial to prioritize safety to prevent accidents or injuries. Here are some important safety precautions to follow:
- Turn Off Power: Locate the circuit breaker for the water heater and switch it off to cut off the power supply. This will help avoid the risk of electric shock while working on the water heater.
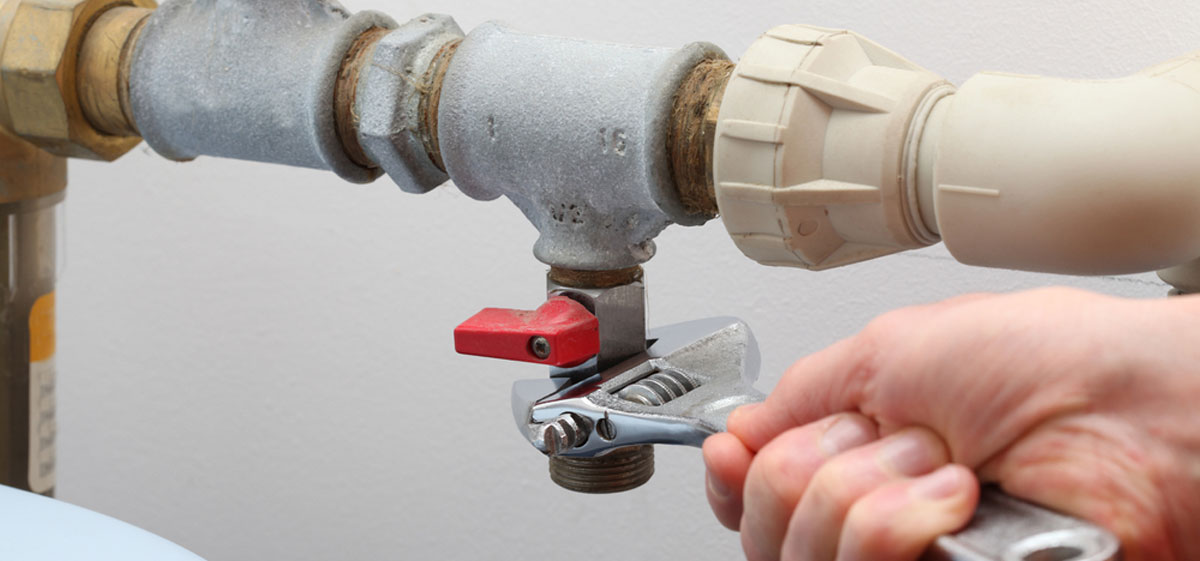
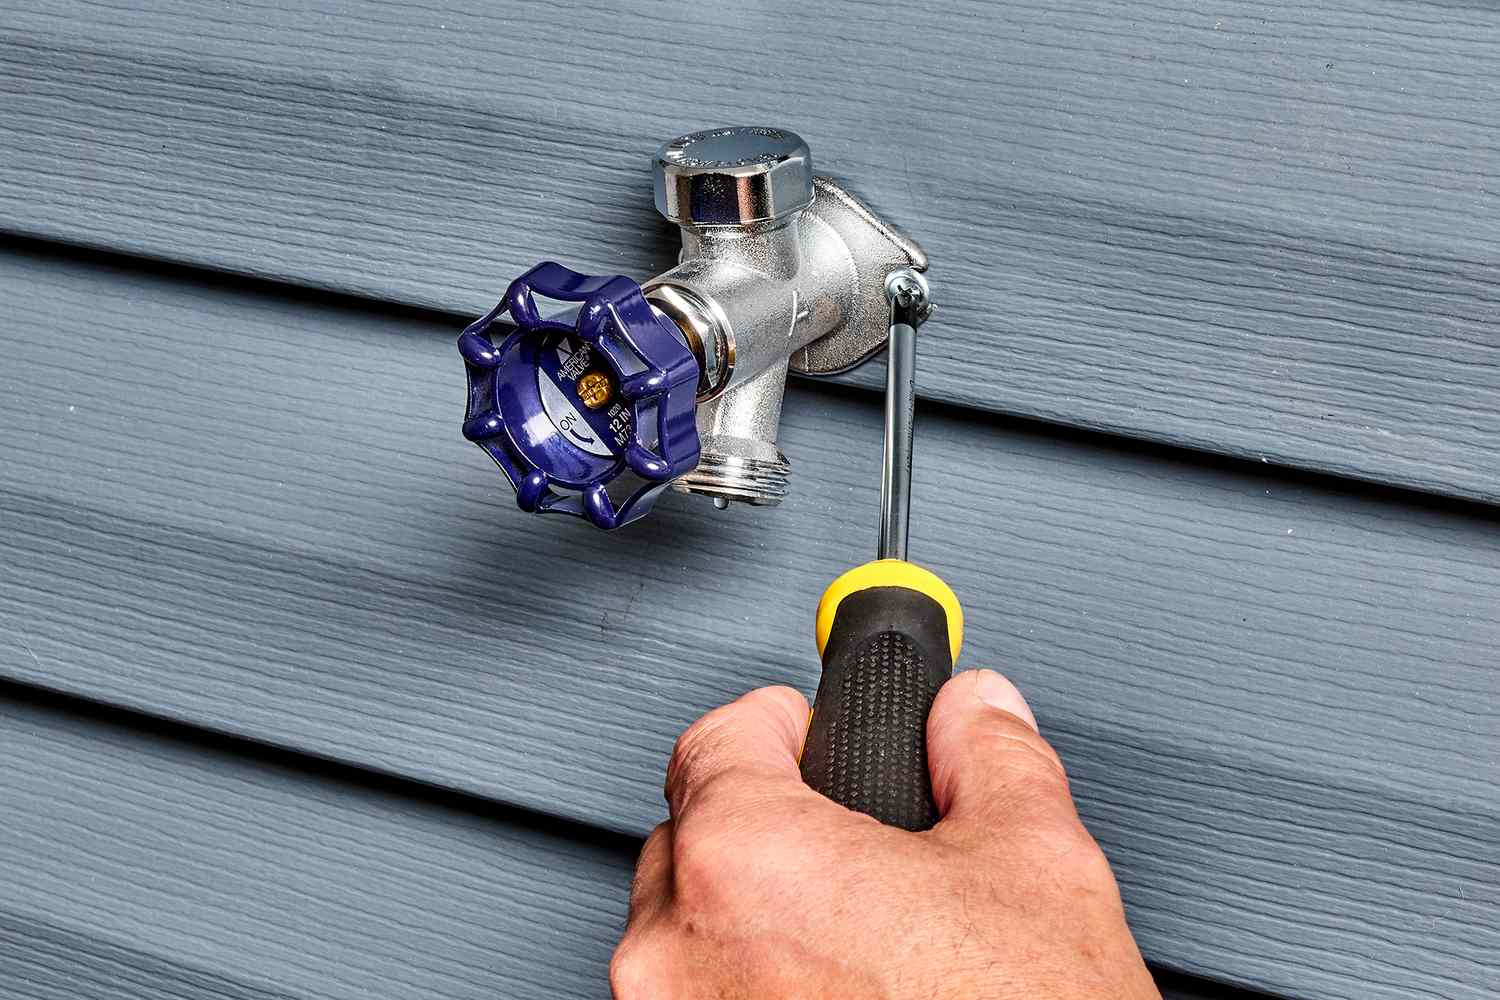
- Shut Off Water Supply: Locate the water shut-off valve near the water heater and turn it clockwise to close it. This will prevent water from flowing into the tank and allow you to work on the system without any leaks.
- Allow the Heater to Cool: Give your water heater ample time to cool down before starting any work. Hot water and steam can cause burns, so it’s vital to ensure the tank is cool to the touch.
- Protective Gear: Wear appropriate protective gear, such as gloves and safety glasses, to shield yourself from any potential hazards. This is particularly important when dealing with plumbing connections and potential leaks.
- Use Proper Lifting Techniques: Water heaters can be heavy, so it’s important to use proper lifting techniques to avoid straining your back or causing injury. Enlist the help of a friend or family member to assist with lifting the old water heater and installing the new one.
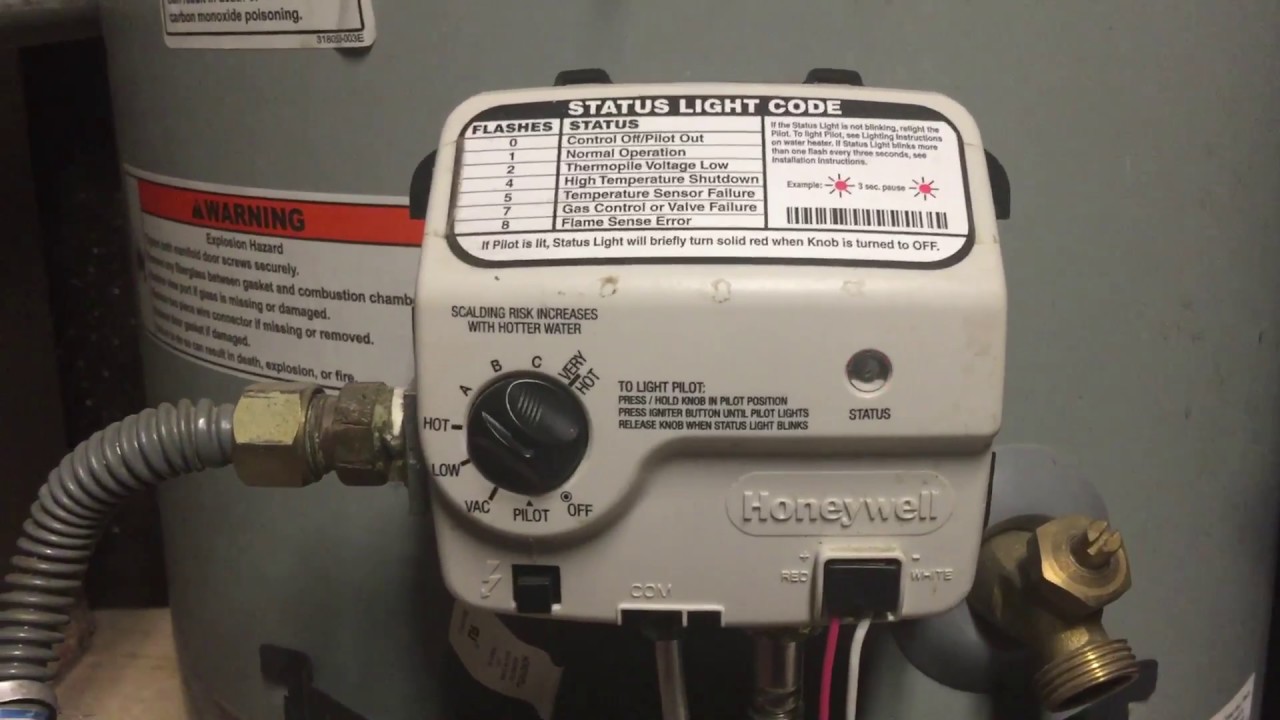
- Gas Leak Detection: If you have a gas water heater, be vigilant for any signs of gas leaks. Familiarize yourself with the smell of natural gas, which has a distinct sulfur-like odor. If you detect a gas leak, evacuate the area immediately and contact your gas utility provider.
- Follow Manufacturer’s Instructions: Always refer to the manufacturer’s instructions for your specific water heater model. These instructions will provide specific safety guidelines and step-by-step instructions for installation and removal.
By following these safety precautions, you can ensure a secure and accident-free water heater replacement process. Prioritizing safety not only protects you but also ensures a successful and efficient installation. Now that we’ve covered the safety measures, let’s move on to the step-by-step process of changing out a water heater.
Step 1: Turn Off the Power and Water Supply
Before you begin working on your water heater, it’s crucial to turn off both the power and water supply to ensure your safety. Here is how you can do it:
- Locate the electrical panel in your home and find the circuit breaker labeled for the water heater. Flip the switch to the “Off” position to cut off the power supply. This step is essential to avoid any risk of electrical shock while working on the water heater.
- Next, you need to shut off the water supply to the water heater. Locate the shut-off valve near the water heater. It is typically found on the cold water pipe leading to the tank. Rotate the valve clockwise until it is fully closed. This action will prevent water from flowing into the tank during the replacement process.
- Once the power and water supply are turned off, open a hot water faucet somewhere in your home. This is done to relieve any pressure in the system and drain any remaining hot water from the heater. Keeping the faucet open will also help to prevent a vacuum from forming in the pipes.
By following these steps, you have successfully turned off the power and water supply to your water heater. This precautionary measure ensures a safe working environment and prevents any potential accidents. Now you can proceed to the next step – draining the water heater.
Step 2: Drain the Water Heater
Draining the water heater is an essential step in replacing your water heater. It involves emptying the tank to remove any remaining water and sediment. Follow these steps to drain your water heater:
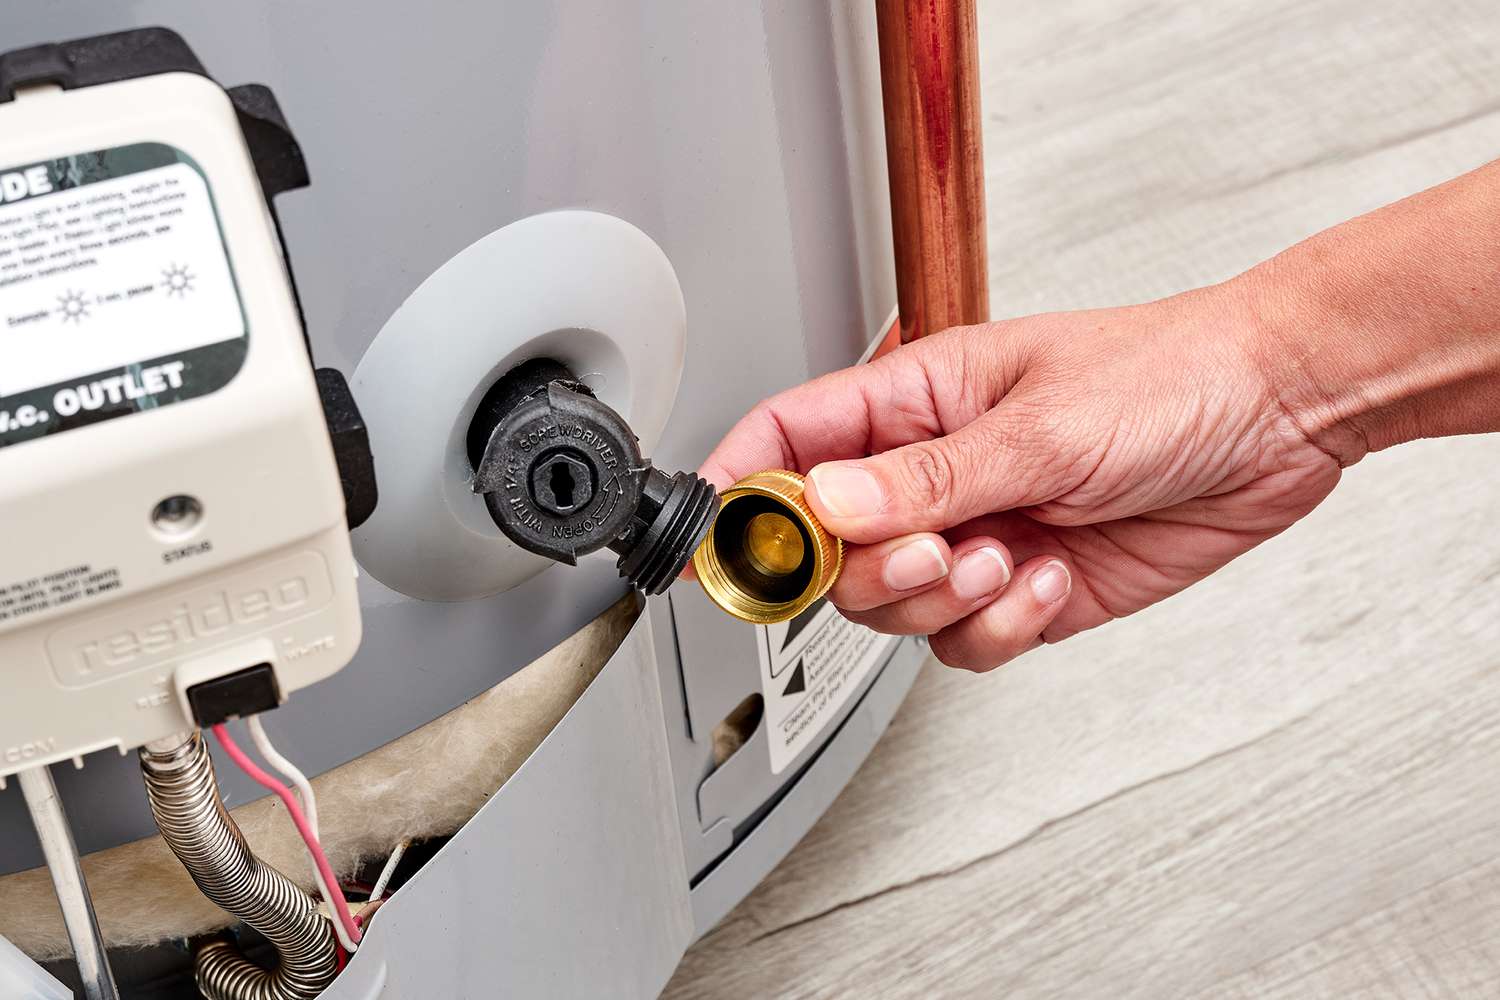
- Connect a hose to the drain valve located at the bottom of the water heater tank. Ensure that the other end of the hose is securely placed in a safe location where the water can drain, such as a floor drain or outside.
- Open a hot water faucet in your home, such as a sink or bathtub. This step will help to relieve any pressure in the water heater and allow the tank to drain more efficiently.
- Slowly open the drain valve on the water heater by turning it counterclockwise. Be cautious, as the water will be hot as it exits the tank.
- Allow the water to drain completely from the tank. Depending on the size of the tank and the level of sediment, this process can take some time. You may notice sediment coming out with the water, which is normal.
- Once the tank is empty, close the drain valve by turning it clockwise. Make sure it is tightly closed to prevent any leaks when you refill the tank later.
By following these steps, you have successfully drained the water heater. It’s important to note that the water flowing from the tank may still be hot, so exercise caution to prevent burns. Draining the tank removes any sediment buildup and ensures a clean and efficient replacement process. Now you can move on to the next step – disconnecting the pipes.
Step 3: Disconnect the Pipes
Disconnecting the pipes is the next crucial step in changing out your water heater. This involves detaching the plumbing connections to the old water heater to prepare for its removal. Here’s how to disconnect the pipes:
- Using an adjustable wrench or a pipe wrench, loosen the fittings connecting the hot and cold water pipes to the water heater. Turn the fittings counterclockwise to loosen them. Place a bucket or a towel underneath the connections to catch any residual water that may come out.
- Once the fittings are loosened, disconnect the pipes from the water heater. Carefully remove the fittings while ensuring you don’t damage the pipes. Set aside the fittings and pipes for later reconnection.
- If your water heater has a gas supply line, which is common for gas water heaters, disconnect it from the gas valve. Using an adjustable wrench, turn the coupling counterclockwise to detach the gas supply line. Be cautious as you disconnect the gas line, as gas may still be present in the line.
- Inspect the pipes and fittings for any signs of damage or wear. If any components appear to be in poor condition, it’s recommended to replace them to avoid future leaks or issues.
By following these steps, you have successfully disconnected the pipes from the water heater. Remember to be cautious and work carefully to prevent any damage to the pipes or fittings. Now you can proceed to the next step – removing the old water heater.
Read more: How To Change Out A Toilet
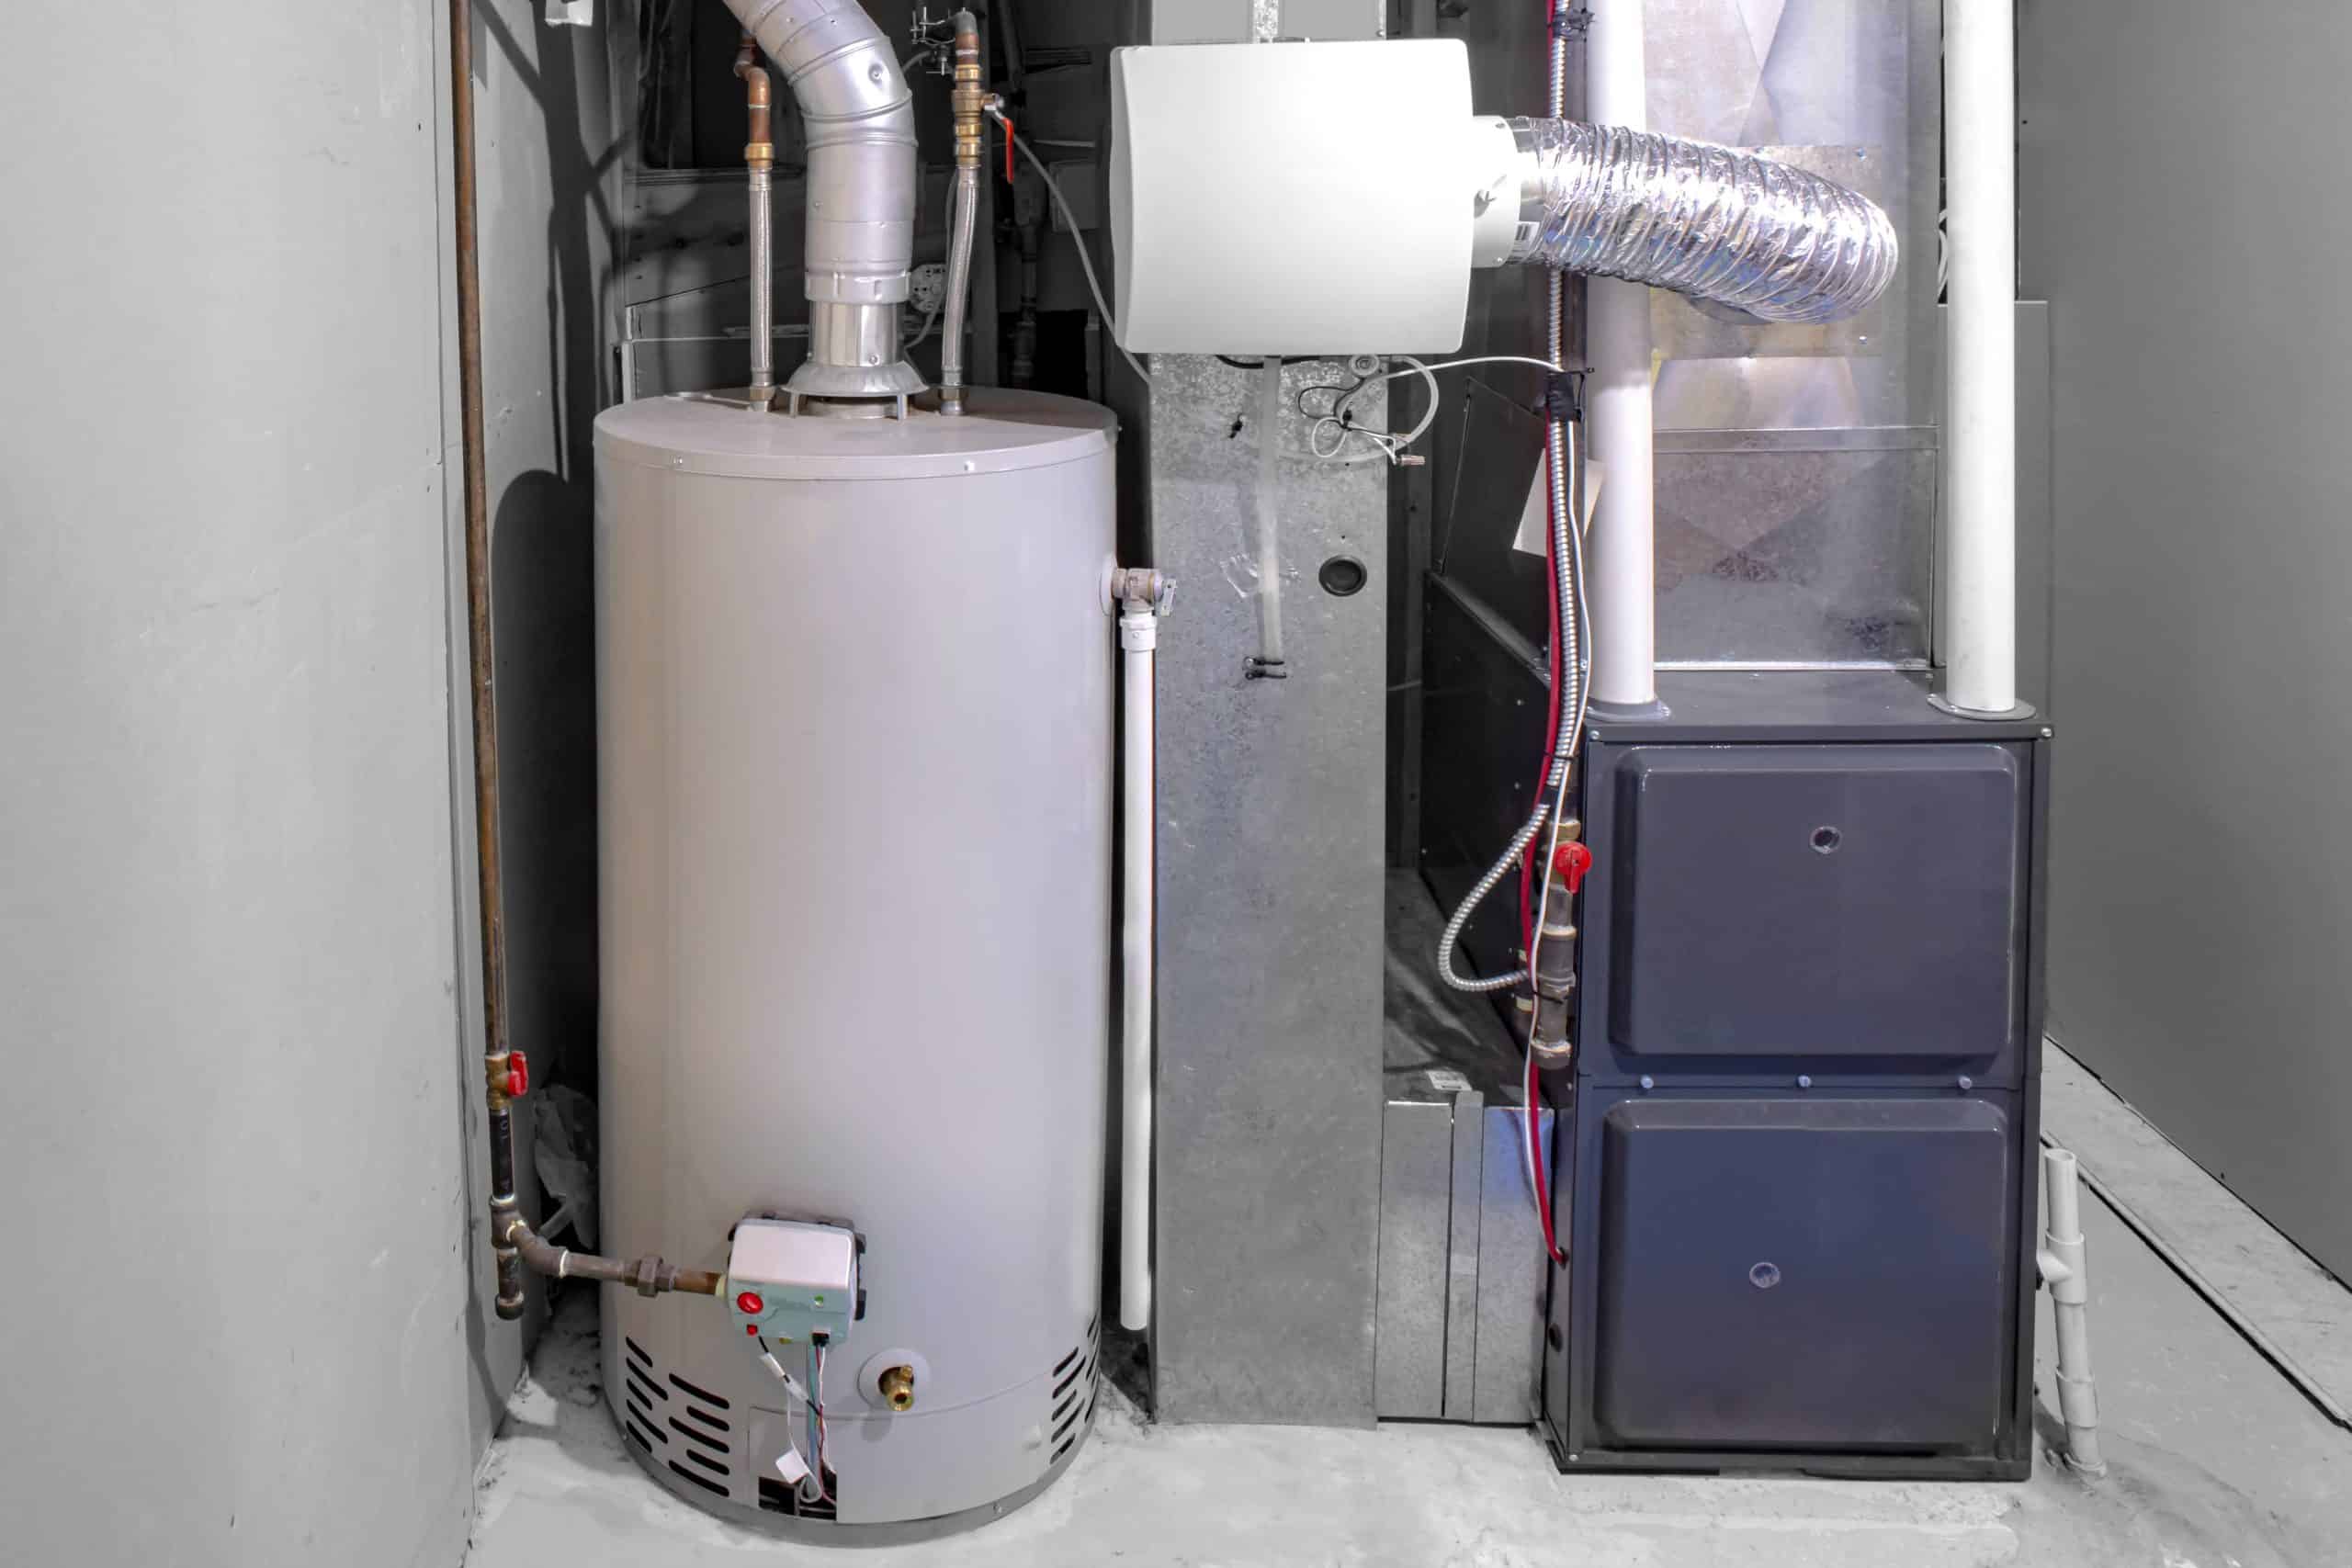
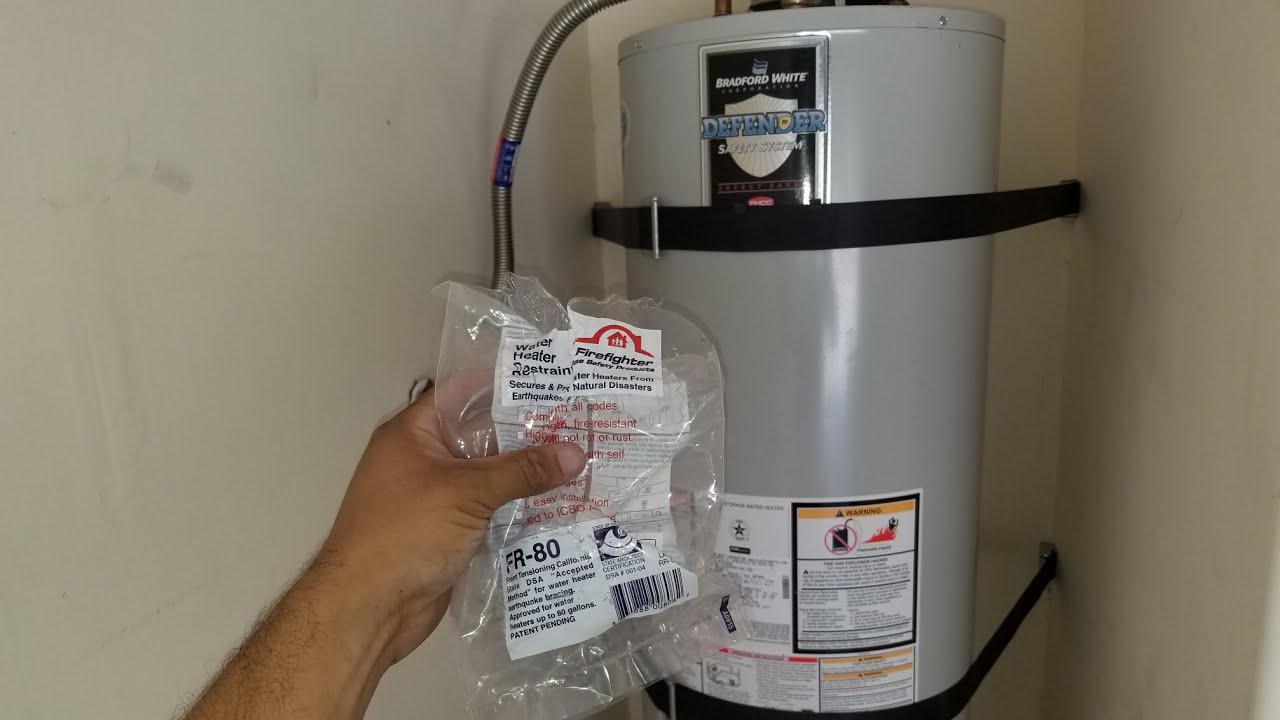
Step 4: Remove the Old Water Heater
After disconnecting the pipes, it’s time to remove the old water heater from its current location. This step requires careful handling as water heaters can be heavy and bulky. Follow these steps to remove the old water heater:
- Ensure the area around the water heater is clear of any obstructions or items that may hinder the removal process. Clear a path to safely maneuver the water heater out of its space.
- Enlist the help of a friend or family member to assist with lifting the water heater. Water heaters can be heavy, so having an extra pair of hands can make the process much easier and safer.
- With your partner, carefully lift the old water heater and maneuver it out of its current location. Be mindful of your surroundings and take care not to damage any nearby surfaces or objects.
- If necessary, use a hand truck or dolly to transport the water heater to its new location. This can help to distribute the weight and make it easier to maneuver.
- Place the old water heater in a safe area away from foot traffic and any potential hazards. Keep in mind that water heaters can still contain residual water, so handle it with care to prevent any spills or leaks.
By following these steps, you have successfully removed the old water heater. Be sure to take your time during this process and prioritize safety. Now you can move on to the next step – installing the new water heater.
When changing out a water heater, make sure to turn off the power and water supply before starting. Drain the old tank completely to avoid any water spillage during removal.
Step 5: Install the New Water Heater
Now that the old water heater is removed, it’s time to install the new water heater. Follow these steps to ensure a proper installation:
- Position the new water heater in the desired location. Make sure to leave adequate space around the unit for servicing and ventilation. Check the manufacturer’s instructions for specific clearance requirements.
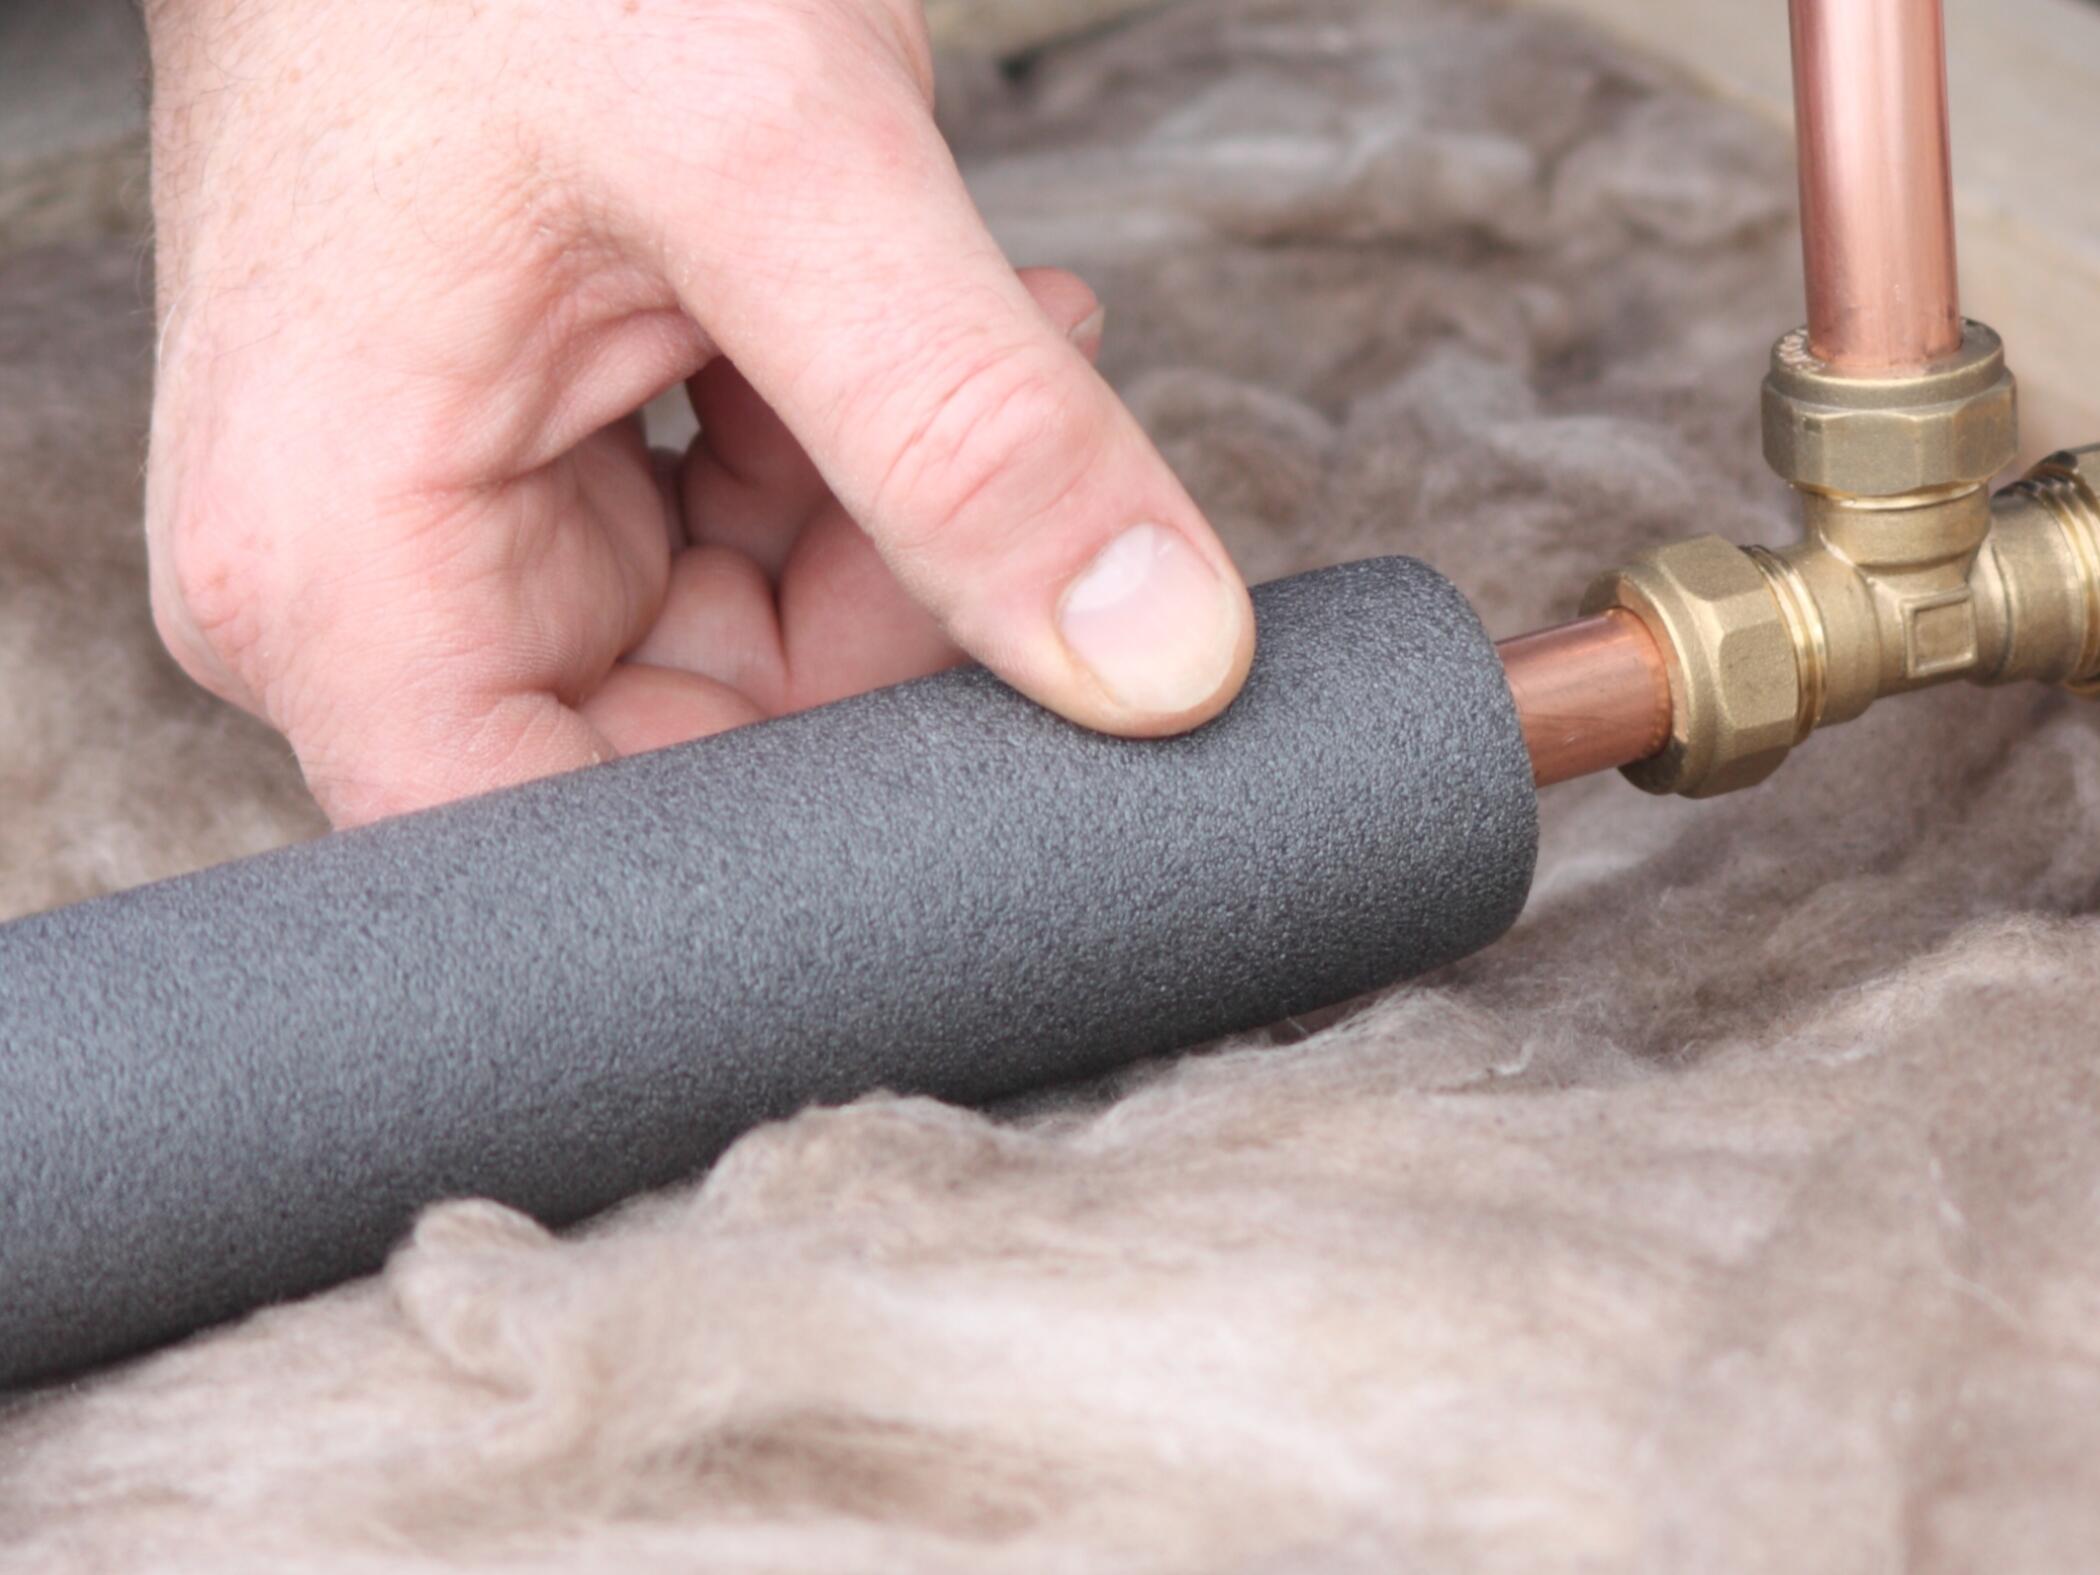
- Connect the hot and cold water pipes to the corresponding fittings on the new water heater. Use a pipe wrench or adjustable wrench to tighten the fittings securely. Wrap the threaded ends of the fittings with Teflon tape to create a watertight seal.
- If you have a gas water heater, connect the gas supply line to the gas valve on the new water heater. Use an adjustable wrench to tighten the coupling securely. Apply a solution of soapy water to the connection and check for any gas leaks. If bubbles form, tighten the connection further until the leaks stop.
- Once all the connections are secure, double-check that the fittings are properly tightened and aligned. Ensure there are no signs of leaks at the connections.
- Securely attach the vent pipe to the collar on top of the water heater. Make sure the vent pipe is properly aligned and connected according to local building codes. Consult a professional if you are unsure about venting requirements.
By following these steps, you have successfully installed the new water heater. Ensure that all the connections are secure and there are no signs of leaks. Now you can proceed to the next step – reconnecting the pipes.
Step 6: Reconnect the Pipes
After installing the new water heater, it’s time to reconnect the pipes to ensure proper water flow and functionality. Follow these steps to reconnect the pipes:
- Take the hot and cold water pipes that you disconnected earlier and attach them to the corresponding fittings on the new water heater. Use a pipe wrench or adjustable wrench to tighten the fittings securely. Ensure they are aligned properly and there are no signs of leaks.
- Wrap the threaded ends of the fittings with Teflon tape to create a watertight seal. This will prevent any leakage at the connections.
- If your water heater has a pressure relief valve, reconnect it to the appropriate opening on the new water heater. Use Teflon tape to create a secure and leak-free connection.
- Inspect all the pipe connections and fittings for any signs of damage or leaks. If you notice any issues, tighten the connections further or replace any damaged components.
By following these steps, you have successfully reconnected the pipes to the new water heater. It’s important to ensure that all connections are secure and there are no signs of leaks. Now you can move on to the next step – filling the water heater.
Step 7: Fill the Water Heater
With the pipes reconnected, it’s time to fill the new water heater and prepare it for use. Follow these steps to properly fill the water heater:
- Close all the hot water faucets that you opened earlier during the draining process.
- Locate the shut-off valve that you closed earlier to cut off the water supply to the water heater. Slowly turn the valve counterclockwise to open it and allow water to flow into the tank.
- While the water heater is filling, open a hot water faucet in your home, such as a sink or bathtub. This will help to purge any air from the system.
- Allow the water heater to fill completely. You can monitor the filling progress by listening for water flowing into the tank or by checking the hot water faucet for a steady flow of water.
- Once the tank is full, close the hot water faucet that you opened earlier. Check the connections on the water heater for any signs of leaks or dripping.
By following these steps, you have successfully filled the water heater. It’s important to ensure that there are no leaks and the tank is properly filled before moving on to the next step. Now you can proceed to the final step – turning on the power and water supply.
Read more: How To Refill A Water Heater
Step 8: Turn On the Power and Water Supply
Now that the new water heater is installed and filled, it’s time to turn on the power and water supply to restore its functionality. Follow these steps to complete the installation process:
- Locate the circuit breaker for the water heater in your electrical panel. Flip the switch to the “On” position to restore power to the water heater.
- Once the power is restored, locate the shut-off valve that you closed earlier to cut off the water supply. Turn the valve counterclockwise to open it and allow water to flow into the tank.
- Check the water heater and the surrounding pipes for any signs of leaks. If you notice any leaks, turn off the water supply immediately and check the connections for proper tightening.
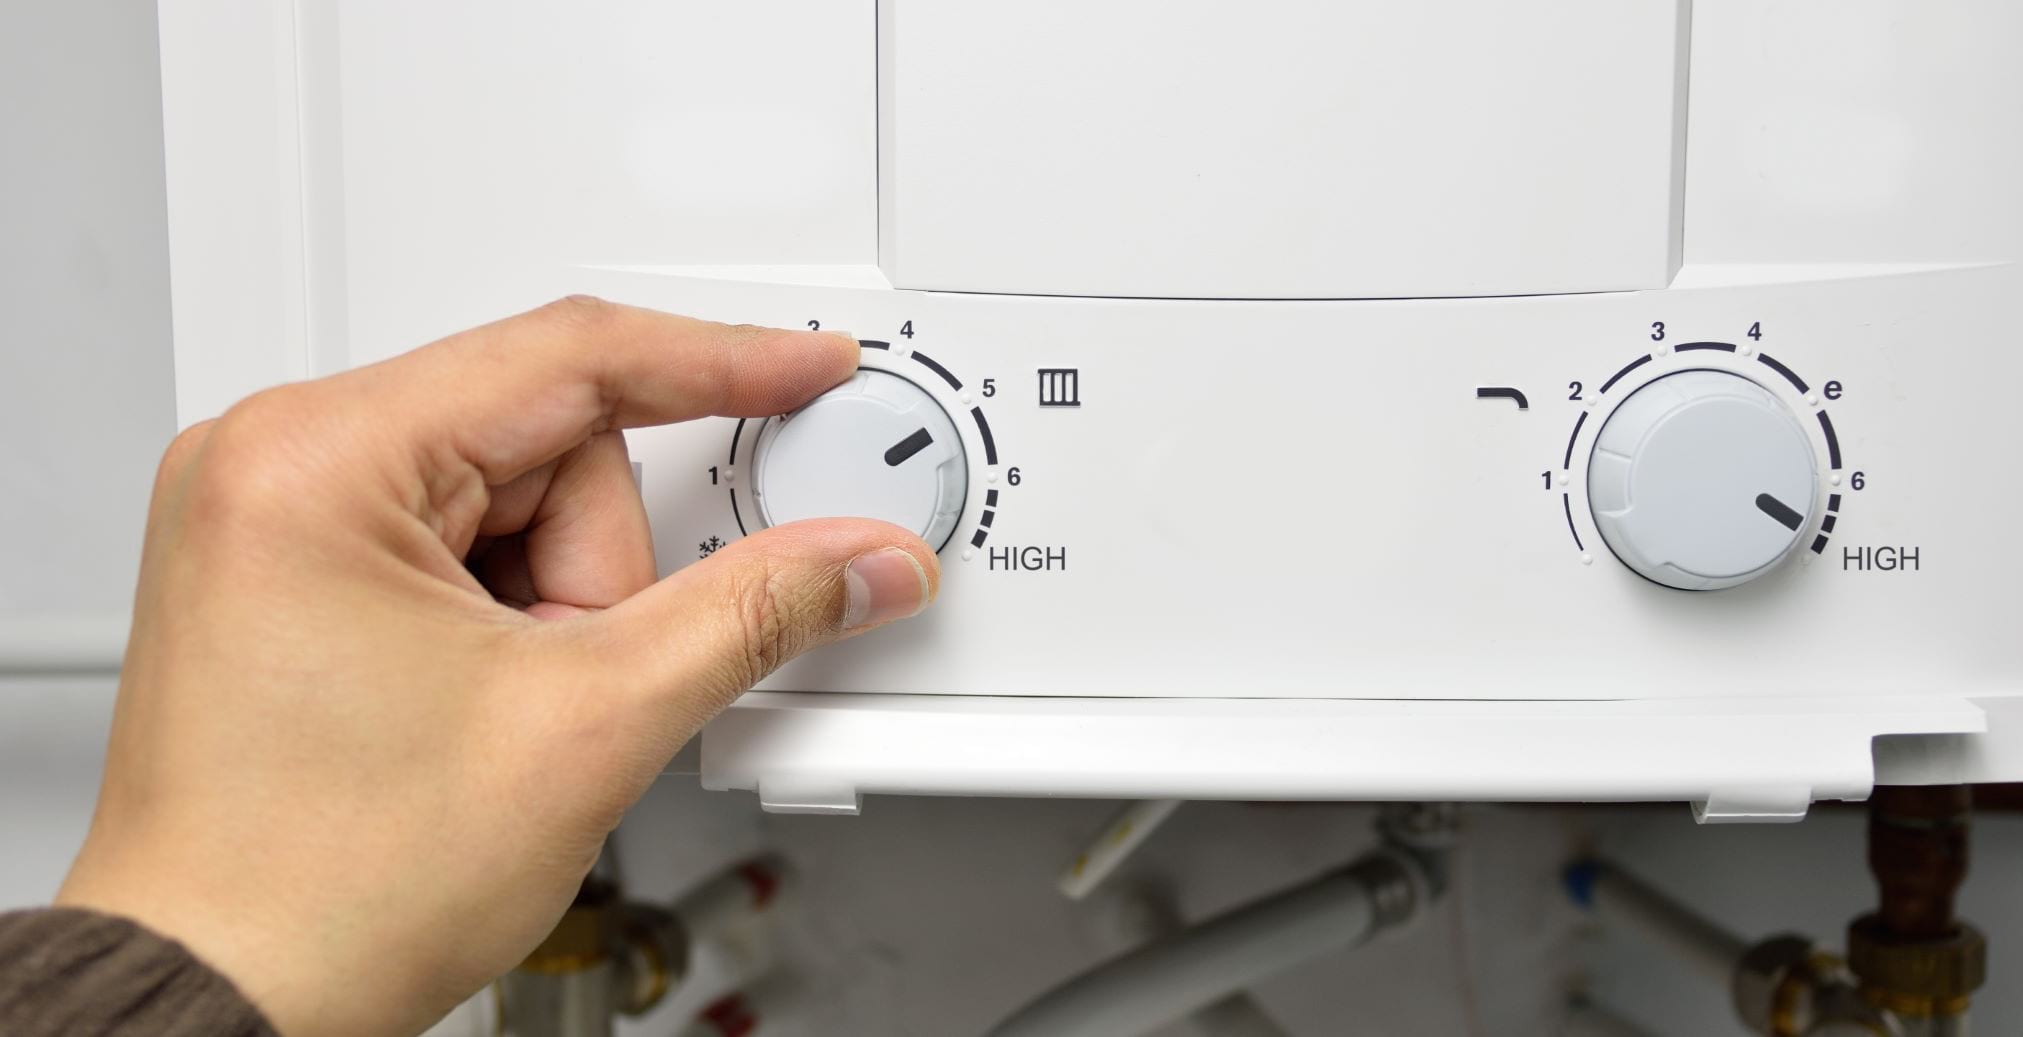
- Allow the water heater to heat the water for a sufficient amount of time. This may vary depending on the size and model of your water heater. Check the manufacturer’s instructions for recommended heating times.
- To ensure the water heater is functioning properly, open a hot water faucet in your home and check for a steady flow of hot water. If the water is coming out hot, the water heater is working correctly.
- Monitor the water heater over the next few days to ensure there are no additional leaks or issues. If you notice any problems, contact a professional plumber for assistance.
By following these steps, you have successfully turned on the power and water supply to the new water heater. Ensure that there are no leaks and the water heater is functioning properly. Congratulations – you have completed the process of changing out a water heater!
Remember, if you aren’t comfortable with performing the replacement yourself or if you encounter any difficulties during the process, it’s always best to consult a professional plumber for assistance. They can ensure a safe and efficient installation.
Conclusion
Changing out a water heater may seem like a challenging task, but with the right knowledge and precautions, it can be accomplished successfully. Throughout this article, we have provided a step-by-step guide to help you replace your water heater effectively and safely.
It’s important to prioritize safety throughout the entire process. Remember to turn off the power and water supply before starting any work. Wear protective gear and use proper lifting techniques to avoid injuries. Always follow the manufacturer’s instructions and consult a professional if needed.
From draining the old water heater to disconnecting and reconnecting the pipes, each step is crucial to ensure a seamless replacement. Taking the time to properly install the new water heater and check for any leaks or issues is essential for its efficient operation in the long run.
By following our guide, you have gained the knowledge necessary to tackle this project confidently. However, if you feel unsure or uncomfortable with any aspect, it is always recommended to seek professional assistance from a skilled plumber.
Remember, a water heater is a vital appliance in your home, providing you with hot water for various daily tasks. Regular maintenance and timely replacement will ensure its optimal performance and energy efficiency.
We hope that this article has been helpful in guiding you through the process of changing out a water heater. By following the steps and safety precautions outlined, you can successfully replace your water heater and enjoy a reliable and efficient hot water supply for years to come.
Frequently Asked Questions about How To Change Out Water Heater
Was this page helpful?
At Storables.com, we guarantee accurate and reliable information. Our content, validated by Expert Board Contributors, is crafted following stringent Editorial Policies. We're committed to providing you with well-researched, expert-backed insights for all your informational needs.


0 thoughts on “How To Change Out Water Heater”