Articles
How To Clean Water Heater Thermocouple
Modified: May 6, 2024
Learn how to clean the water heater thermocouple in this informative article. Keep your water heater running efficiently with these expert tips.
(Many of the links in this article redirect to a specific reviewed product. Your purchase of these products through affiliate links helps to generate commission for Storables.com, at no extra cost. Learn more)
Introduction
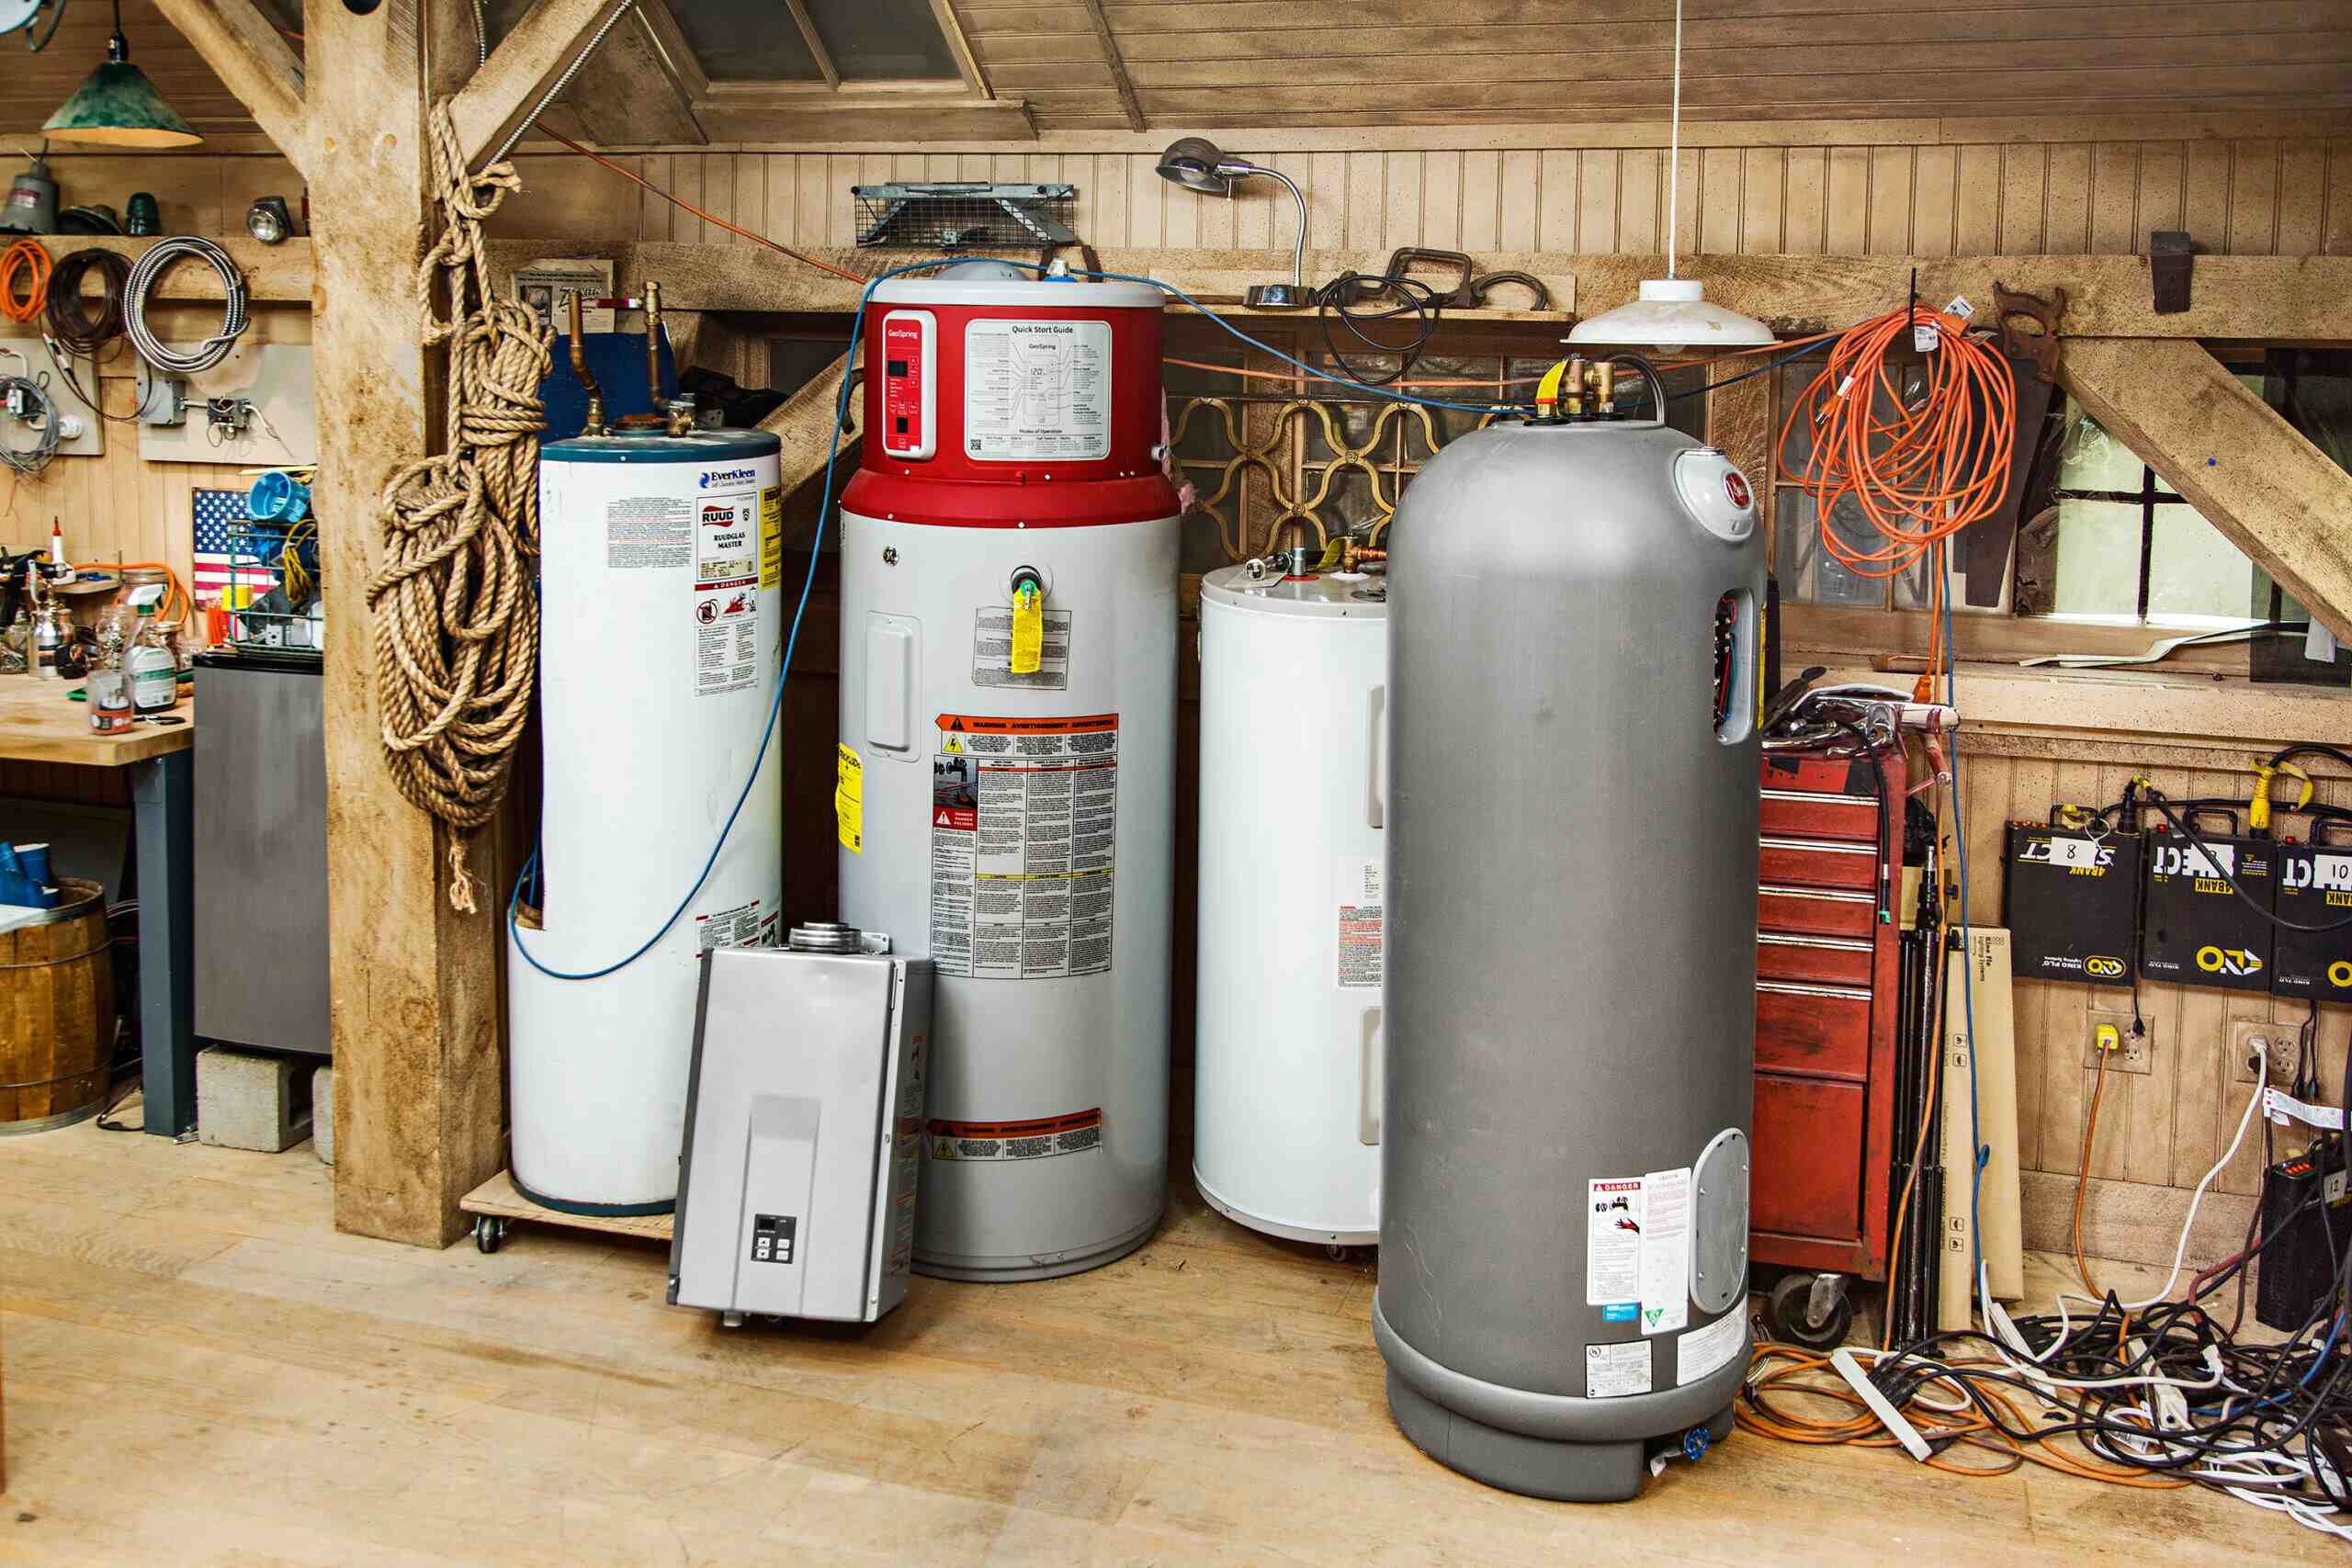
A water heater is an essential component of any household, providing hot water for everyday tasks such as showering, washing dishes, and doing laundry. One crucial part of a water heater is the thermocouple, which plays a critical role in ensuring the safe and efficient operation of the appliance.
The thermocouple is a device that detects the presence of a flame in the burner assembly. It acts as a safety mechanism by shutting off the gas supply if it senses that the pilot light has gone out or if there is a malfunction. Over time, the thermocouple can become clogged with dirt, dust, or other debris, compromising its functionality. It is important to regularly clean the thermocouple to maintain the proper functioning of your water heater and avoid potential issues.
In this article, we will guide you through the process of cleaning your water heater thermocouple. We will explain the signs that indicate a dirty or faulty thermocouple, the tools and materials you will need, and the step-by-step process to clean the thermocouple effectively. By following these instructions, you can ensure that your water heater remains in optimal condition and continues to provide hot water when you need it.
Key Takeaways:
- Regularly cleaning the water heater thermocouple is crucial to prevent issues like pilot light outages, gas leaks, and inconsistent hot water. Follow the simple steps and maintenance tips to ensure a reliable supply of hot water.
- Keep your water heater thermocouple clean and well-maintained to avoid safety hazards, ensure optimal performance, and extend the lifespan of your water heater. Regular inspections and annual cleaning are key to a trouble-free hot water supply.
Read more: How To Test Thermocouple On Water Heater
Understanding the Water Heater Thermocouple
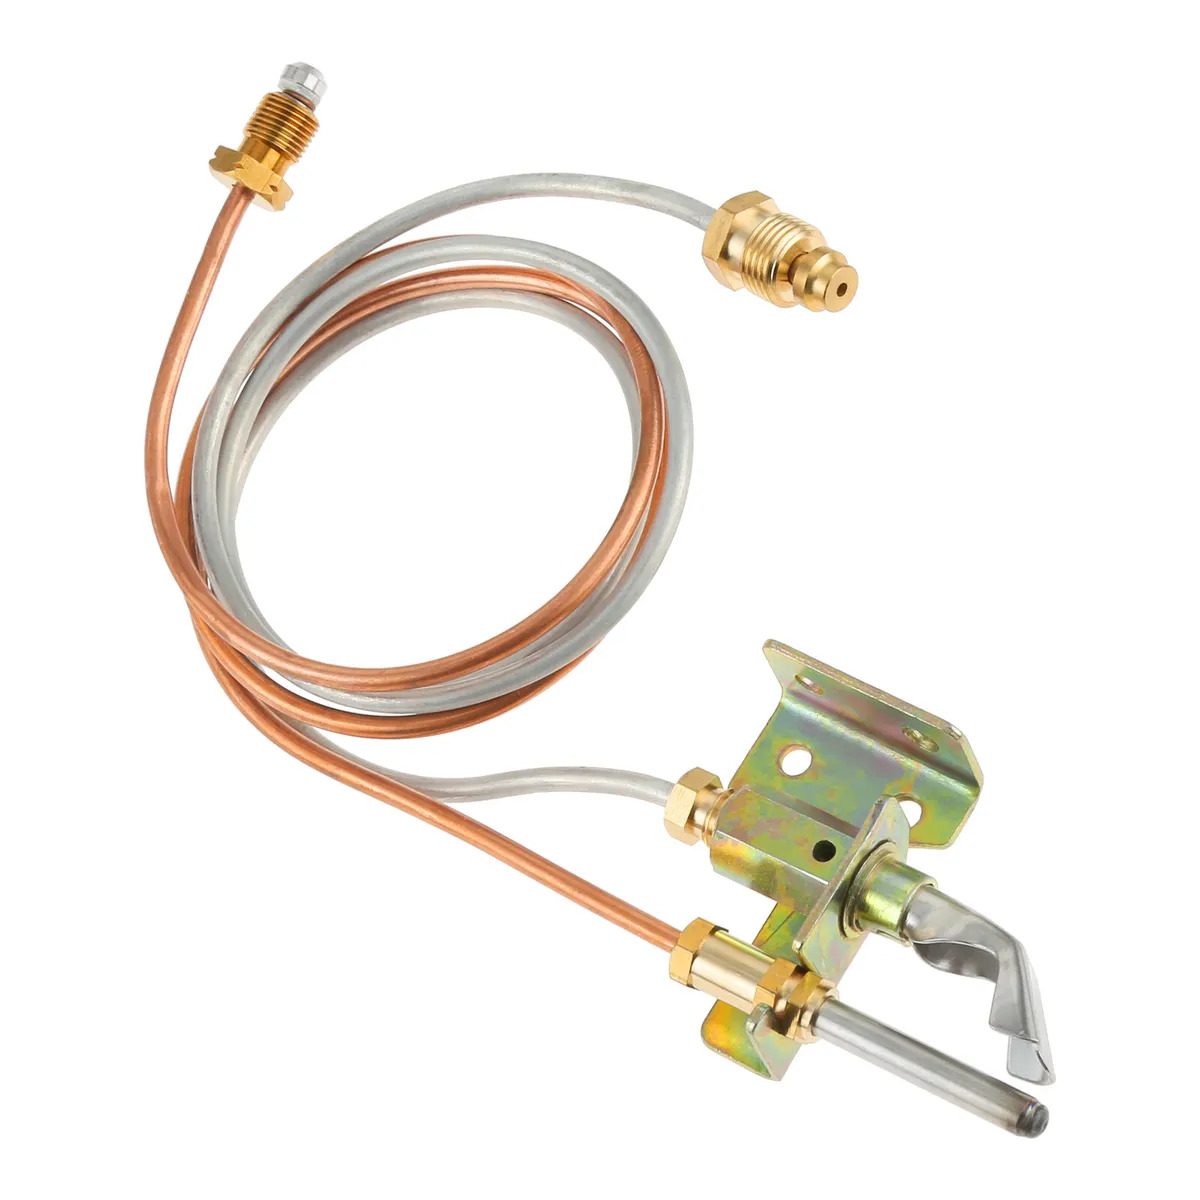
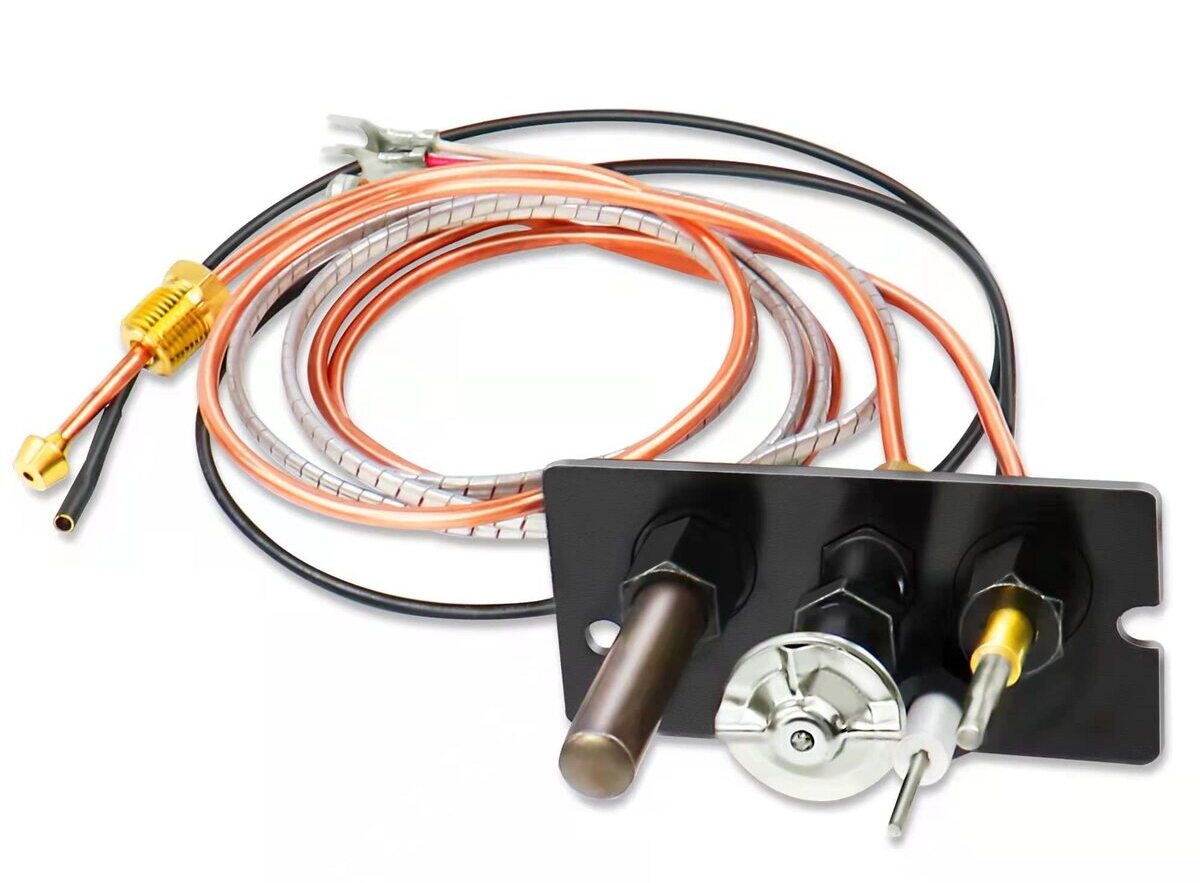
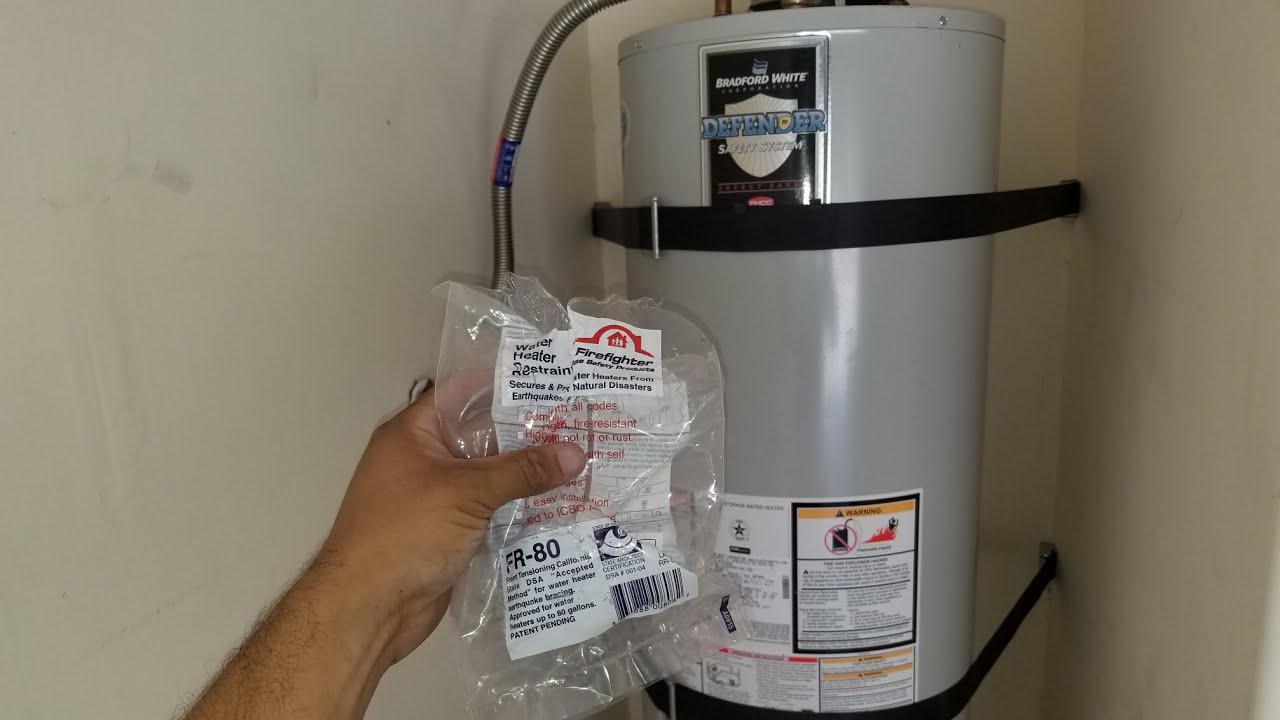
Before diving into the process of cleaning the water heater thermocouple, it is essential to have a basic understanding of how this component works. The thermocouple is a safety device that is typically located near the pilot light of the water heater. Its primary function is to detect the presence of a flame and regulate the flow of gas to the burner assembly.
The thermocouple consists of two dissimilar metals that are joined together at one end and connected to the gas valve at the other end. When the pilot light is lit, the flame heats up the thermocouple, generating a small electrical voltage. This voltage is then sent to the gas valve, keeping it open and allowing gas to flow to the burner assembly. As long as the pilot light remains lit and the thermocouple continues to generate this voltage, the gas valve will remain open, and the water heater will continue to operate.
However, if the pilot light goes out or if there is a malfunction that prevents the thermocouple from generating the necessary voltage, the gas valve will close, shutting off the gas supply to the burner assembly. This safety feature ensures that in the absence of a flame, no gas is released into the appliance, reducing the risk of gas leaks and potential hazards.
Over time, the thermocouple can become dirty or clogged with debris such as dirt, dust, or corrosion. When this happens, the thermocouple may not be able to detect the flame accurately, leading to issues such as the pilot light going out or the water heater failing to ignite. Cleaning the thermocouple regularly is crucial to ensure its proper operation and prevent any disruptions in the functioning of your water heater.
Signs of a Dirty or Faulty Thermocouple
A dirty or faulty thermocouple can lead to various issues with your water heater. It is important to recognize the signs that indicate a problem with the thermocouple so that you can take appropriate action and prevent any further complications. Here are some common signs to watch out for:
- Pilot Light Won’t Stay Lit: If you notice that your pilot light keeps going out, it could be a sign of a dirty or malfunctioning thermocouple. The thermocouple may not be able to detect the flame, causing the gas valve to close and extinguishing the pilot light.
- Water Heater Doesn’t Ignite: A dirty thermocouple can prevent the water heater from igniting even if the pilot light is lit. This can result in a lack of hot water and inconvenience.
- Intermittent Hot Water: If you experience fluctuating hot water temperatures, it could be due to a faulty thermocouple. The thermocouple may be unable to maintain a consistent flame, causing the water heater to cycle on and off randomly.
- Gas Smell: A gas leak is a serious safety concern. If you detect the smell of gas near your water heater or in your home, it could be a sign of a faulty thermocouple. The gas valve may not be closing properly, allowing gas to escape into the surrounding area.
- Noisy Water Heater: A dirty thermocouple can result in a noisy water heater. You may hear popping or rumbling sounds coming from the tank, indicating that the burner assembly is not functioning correctly.
If you notice any of these signs, it is important to address the issue promptly. Ignoring a dirty or faulty thermocouple can lead to further damage to your water heater or pose safety risks. Cleaning the thermocouple is often the first step in resolving these problems and restoring the optimal performance of your water heater.
Preparing for Cleaning the Thermocouple
Before you begin the process of cleaning your water heater thermocouple, it is important to make sure you have the necessary tools and materials on hand. By being prepared, you can ensure a smooth and efficient cleaning process. Here are the things you will need:
- Safety Gear: It is essential to prioritize safety when working with your water heater. Wear protective gear such as gloves and safety goggles to protect your hands and eyes from any debris or chemicals that may come into contact during the cleaning process.
- Owner’s Manual: Keep the owner’s manual of your water heater handy. The manual will provide specific instructions and guidelines for your particular model, including any precautions or considerations to keep in mind during the cleaning process.
- Cleaning Solution: Prepare a mild cleaning solution to clean the thermocouple. You can use a mixture of warm water and dish soap or vinegar. Avoid using harsh chemicals or excessive force when cleaning, as this can damage the thermocouple.
- Brush or Soft Cloth: You will need a brush or a soft cloth to gently clean the thermocouple. Make sure the brush or cloth is clean and does not leave any residue or fibers that could affect the operation of the thermocouple.
- Compressed Air: Compressed air can be used to blow away any loose debris or dust from the thermocouple. Ensure that the air pressure is set to a safe level and use a nozzle or straw attachment to direct the airflow accurately.
- Flashlight: A flashlight will come in handy to provide adequate lighting and visibility while you work on the thermocouple. It will help you see any dirt, dust, or corrosion that may be present and guide your cleaning efforts.
Once you have gathered all the necessary tools and materials, you are ready to proceed with the cleaning process. Before starting, make sure to turn off the gas supply to your water heater and allow it to cool down. Safety should always be a priority when working with any appliance, especially one that involves gas and heat.
Tip: Use a small wire brush to gently clean the thermocouple’s sensor. Be sure to turn off the gas and let the water heater cool down before attempting any maintenance.
Tools and Materials Needed
For successfully cleaning the water heater thermocouple, you will need a few tools and materials to ensure a thorough and effective cleaning process. Having these items readily available will save you time and make the task more manageable. Here is a list of the tools and materials you will need:
- Safety Gear: Ensure you have the appropriate safety gear, including gloves and safety goggles, to protect yourself from any potential hazards or chemical exposure during the cleaning process. Safety should always be a priority.
- Owner’s Manual: Keep the owner’s manual of your water heater nearby. It will provide specific instructions and guidelines for your particular model, ensuring you clean the thermocouple correctly according to the manufacturer’s recommendations.
- Cleaning Solutions: Prepare some cleaning solutions such as warm water and mild dish soap or a mixture of vinegar and water. These solutions will help remove dirt, debris, and any buildup on the thermocouple.
- Brush or Soft Cloth: Use a brush with soft bristles or a soft cloth to gently scrub the thermocouple and remove any accumulated residue or grime. Avoid using abrasive materials that could scratch or damage the thermocouple.
- Compressed Air: A can of compressed air or an air compressor can be helpful to blow away any loose debris or dust that may be trapped in the thermocouple. Use a fine nozzle attachment to ensure precise and controlled airflow.
- Flashlight: Use a flashlight to illuminate the area around the thermocouple, providing better visibility of any dirt or debris that needs to be cleaned. This will help ensure a thorough cleaning process.
- Lint-Free Cloth: Have a lint-free cloth available to dry the thermocouple thoroughly after cleaning. This will help prevent any moisture from affecting the functioning of the thermocouple.
- Screwdriver or Wrench: Depending on your water heater model, you may need a screwdriver or wrench to remove the access panel or housing cover that protects the thermocouple. Check your owner’s manual to determine the appropriate tool needed.
Having these tools and materials readily available will make the cleaning process more efficient and ensure that you have everything you need to clean the water heater thermocouple effectively and without any unnecessary delays.
Steps to Clean the Water Heater Thermocouple
Cleaning the water heater thermocouple is a relatively straightforward process that can be done with a few simple steps. By following these steps, you can maintain the optimal performance of your water heater and ensure the longevity of the thermocouple. Here are the steps to clean the water heater thermocouple:
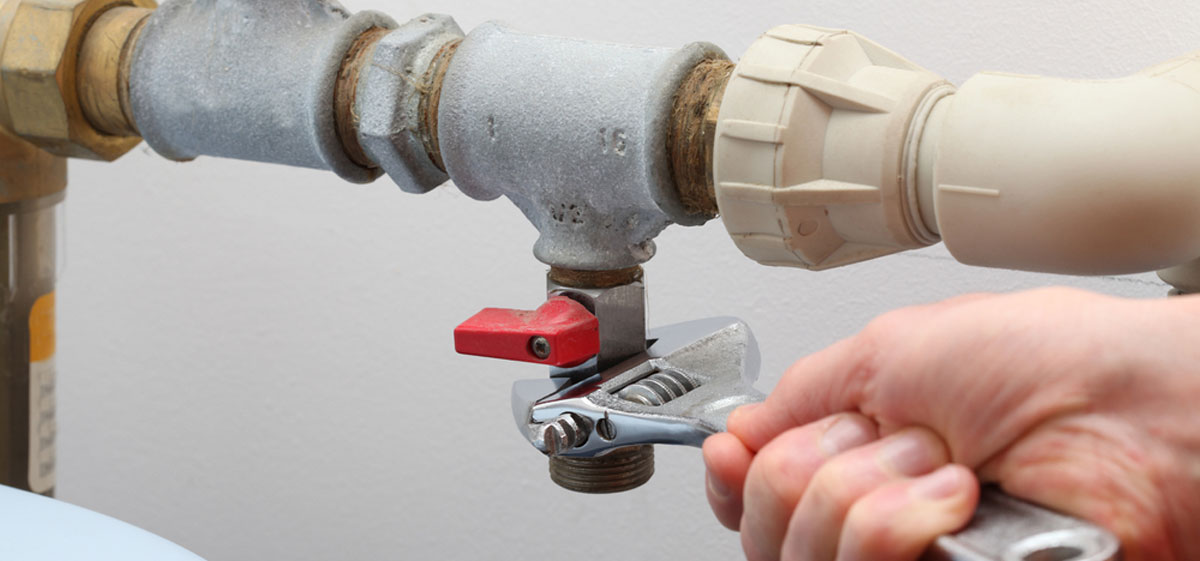
- Turn off the Gas Supply: Before starting, make sure to turn off the gas supply to your water heater. This is crucial for your safety and to prevent any accidental gas leaks during the cleaning process.
- Allow the Water Heater to Cool: Give your water heater sufficient time to cool down completely before attempting to clean the thermocouple. This will help prevent any burns or injuries while you work on the appliance.
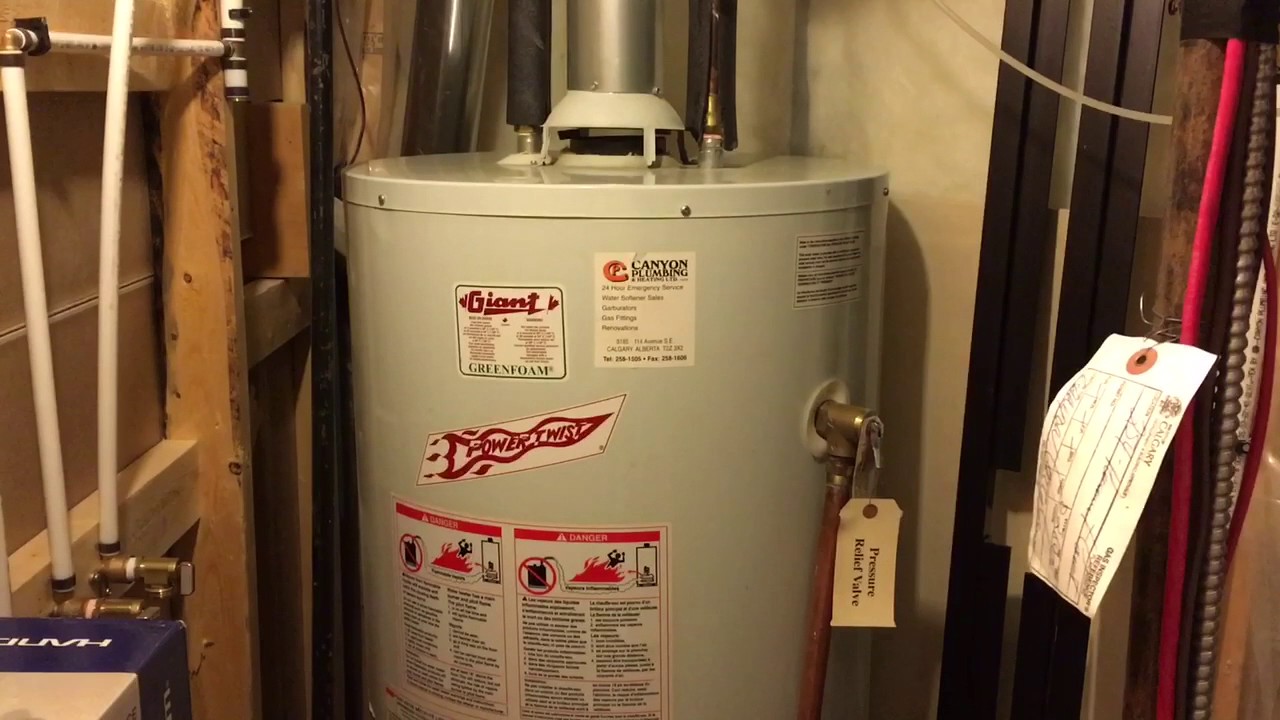
- Locate the Thermocouple: Find the thermocouple, which is typically located near the pilot light assembly. Consult your owner’s manual for specific instructions on identifying the thermocouple in your particular water heater model.
- Remove the Access Panel: Using a screwdriver or wrench, remove the access panel or housing cover that protects the thermocouple. Set the panel aside in a safe place for reinstallation later.
- Inspect the Thermocouple: Examine the thermocouple for any visible dirt, debris, or corrosion. Additionally, check for any loose connections or signs of damage that may require further attention or professional assistance.
- Clean the Thermocouple: Using a soft brush or cloth, gently scrub the surface of the thermocouple to remove any accumulated residue. Dip the brush or cloth in a mild cleaning solution, such as warm soapy water or a vinegar-water mixture, if needed to aid in the cleaning process.
- Blow Away Loose Debris: Utilize compressed air or an air compressor with a fine nozzle attachment to blow away any loose debris or dust from the thermocouple. Direct the airflow carefully to avoid causing any damage to the delicate components.
- Dry the Thermocouple: Once the thermocouple is clean, use a lint-free cloth to dry it thoroughly. Any residual moisture can interfere with the functioning of the thermocouple and potentially cause issues.
- Reinstall the Access Panel: Carefully reattach the access panel or housing cover onto the water heater, ensuring it is securely fastened. Double-check that all connections are tight and in their correct positions.
- Turn on the Gas Supply: Finally, once you have completed the cleaning and reinstallation process, turn on the gas supply to the water heater. Verify that the pilot light ignites correctly and that the water heater operates as expected.
Regularly cleaning the thermocouple will help maintain its proper functioning and extend its lifespan. By following these steps, you can ensure that your water heater operates efficiently, providing you with a continuous supply of hot water whenever you need it.
Final Thoughts and Maintenance Tips
Now that you have successfully cleaned your water heater thermocouple, it is important to keep up with regular maintenance to ensure optimal performance and prevent any future issues. Here are some final thoughts and maintenance tips to keep in mind:
1. Regular Inspections: Make a habit of inspecting your water heater periodically for any signs of dirt, debris, or corrosion on the thermocouple. By catching any buildup early on, you can address the issue promptly and prevent it from affecting the thermocouple’s functionality.
2. Clean Annually: It is recommended to clean the thermocouple at least once a year, or more frequently if you notice any signs of dirt or malfunction. Regular cleaning will help maintain the thermocouple’s sensitivity and ensure its accurate detection of the flame.
3. Check for Gas Leaks: Along with cleaning the thermocouple, always check for gas leaks around your water heater. If you detect the smell of gas or suspect a leak, turn off the gas supply immediately and contact a professional plumber or gas technician to inspect and repair the issue.
4. Follow Manufacturer’s Instructions: Refer to your water heater’s owner’s manual for specific maintenance guidelines and instructions. Different models may have unique requirements or recommendations, and it is important to follow them to ensure safe operation and avoid voiding any warranties.
5. Professional Servicing: If you are unsure about cleaning the thermocouple yourself or if you encounter any persistent issues, it is advisable to seek professional servicing. A qualified plumber or technician can clean and inspect the thermocouple and other components of your water heater more thoroughly.
6. Clean Surrounding Areas: Keep the area around your water heater clean and free from dust, debris, and any flammable materials. This will help maintain proper airflow and prevent any obstructions that could impact the performance of the thermocouple or the water heater as a whole.
7. Monitor Hot Water Temperature: Regularly monitor the hot water temperature to ensure it is at the desired level. If you notice fluctuations or inconsistent temperatures, it could indicate a problem with the thermocouple or other parts of the water heater that may require attention.
By following these maintenance tips and staying proactive in caring for your water heater, you can enjoy reliable hot water and extend the lifespan of your appliance. Remember, when in doubt or if you encounter complex issues, always consult a professional plumber or technician for assistance.
Now that you've mastered cleaning your water heater's thermocouple, why not tackle some larger projects around your home? Check out our easy-to-follow guide on home repairs, where we break down complex tasks into manageable steps. Whether you're dealing with a leaky faucet or a creaky floorboard, our practical advice will have your space in tip-top shape in no time. Don't let those pesky problems linger any longer—get started on your next home improvement today!
Frequently Asked Questions about How To Clean Water Heater Thermocouple
Was this page helpful?
At Storables.com, we guarantee accurate and reliable information. Our content, validated by Expert Board Contributors, is crafted following stringent Editorial Policies. We're committed to providing you with well-researched, expert-backed insights for all your informational needs.


0 thoughts on “How To Clean Water Heater Thermocouple”