Articles
How To Clean Primo Water Dispenser Top Load
Modified: December 7, 2023
Learn the best techniques and tips for cleaning your Primo Water Dispenser top load model in this comprehensive guide. Follow our step-by-step instructions and keep your dispenser in pristine condition.
(Many of the links in this article redirect to a specific reviewed product. Your purchase of these products through affiliate links helps to generate commission for Storables.com, at no extra cost. Learn more)
Introduction
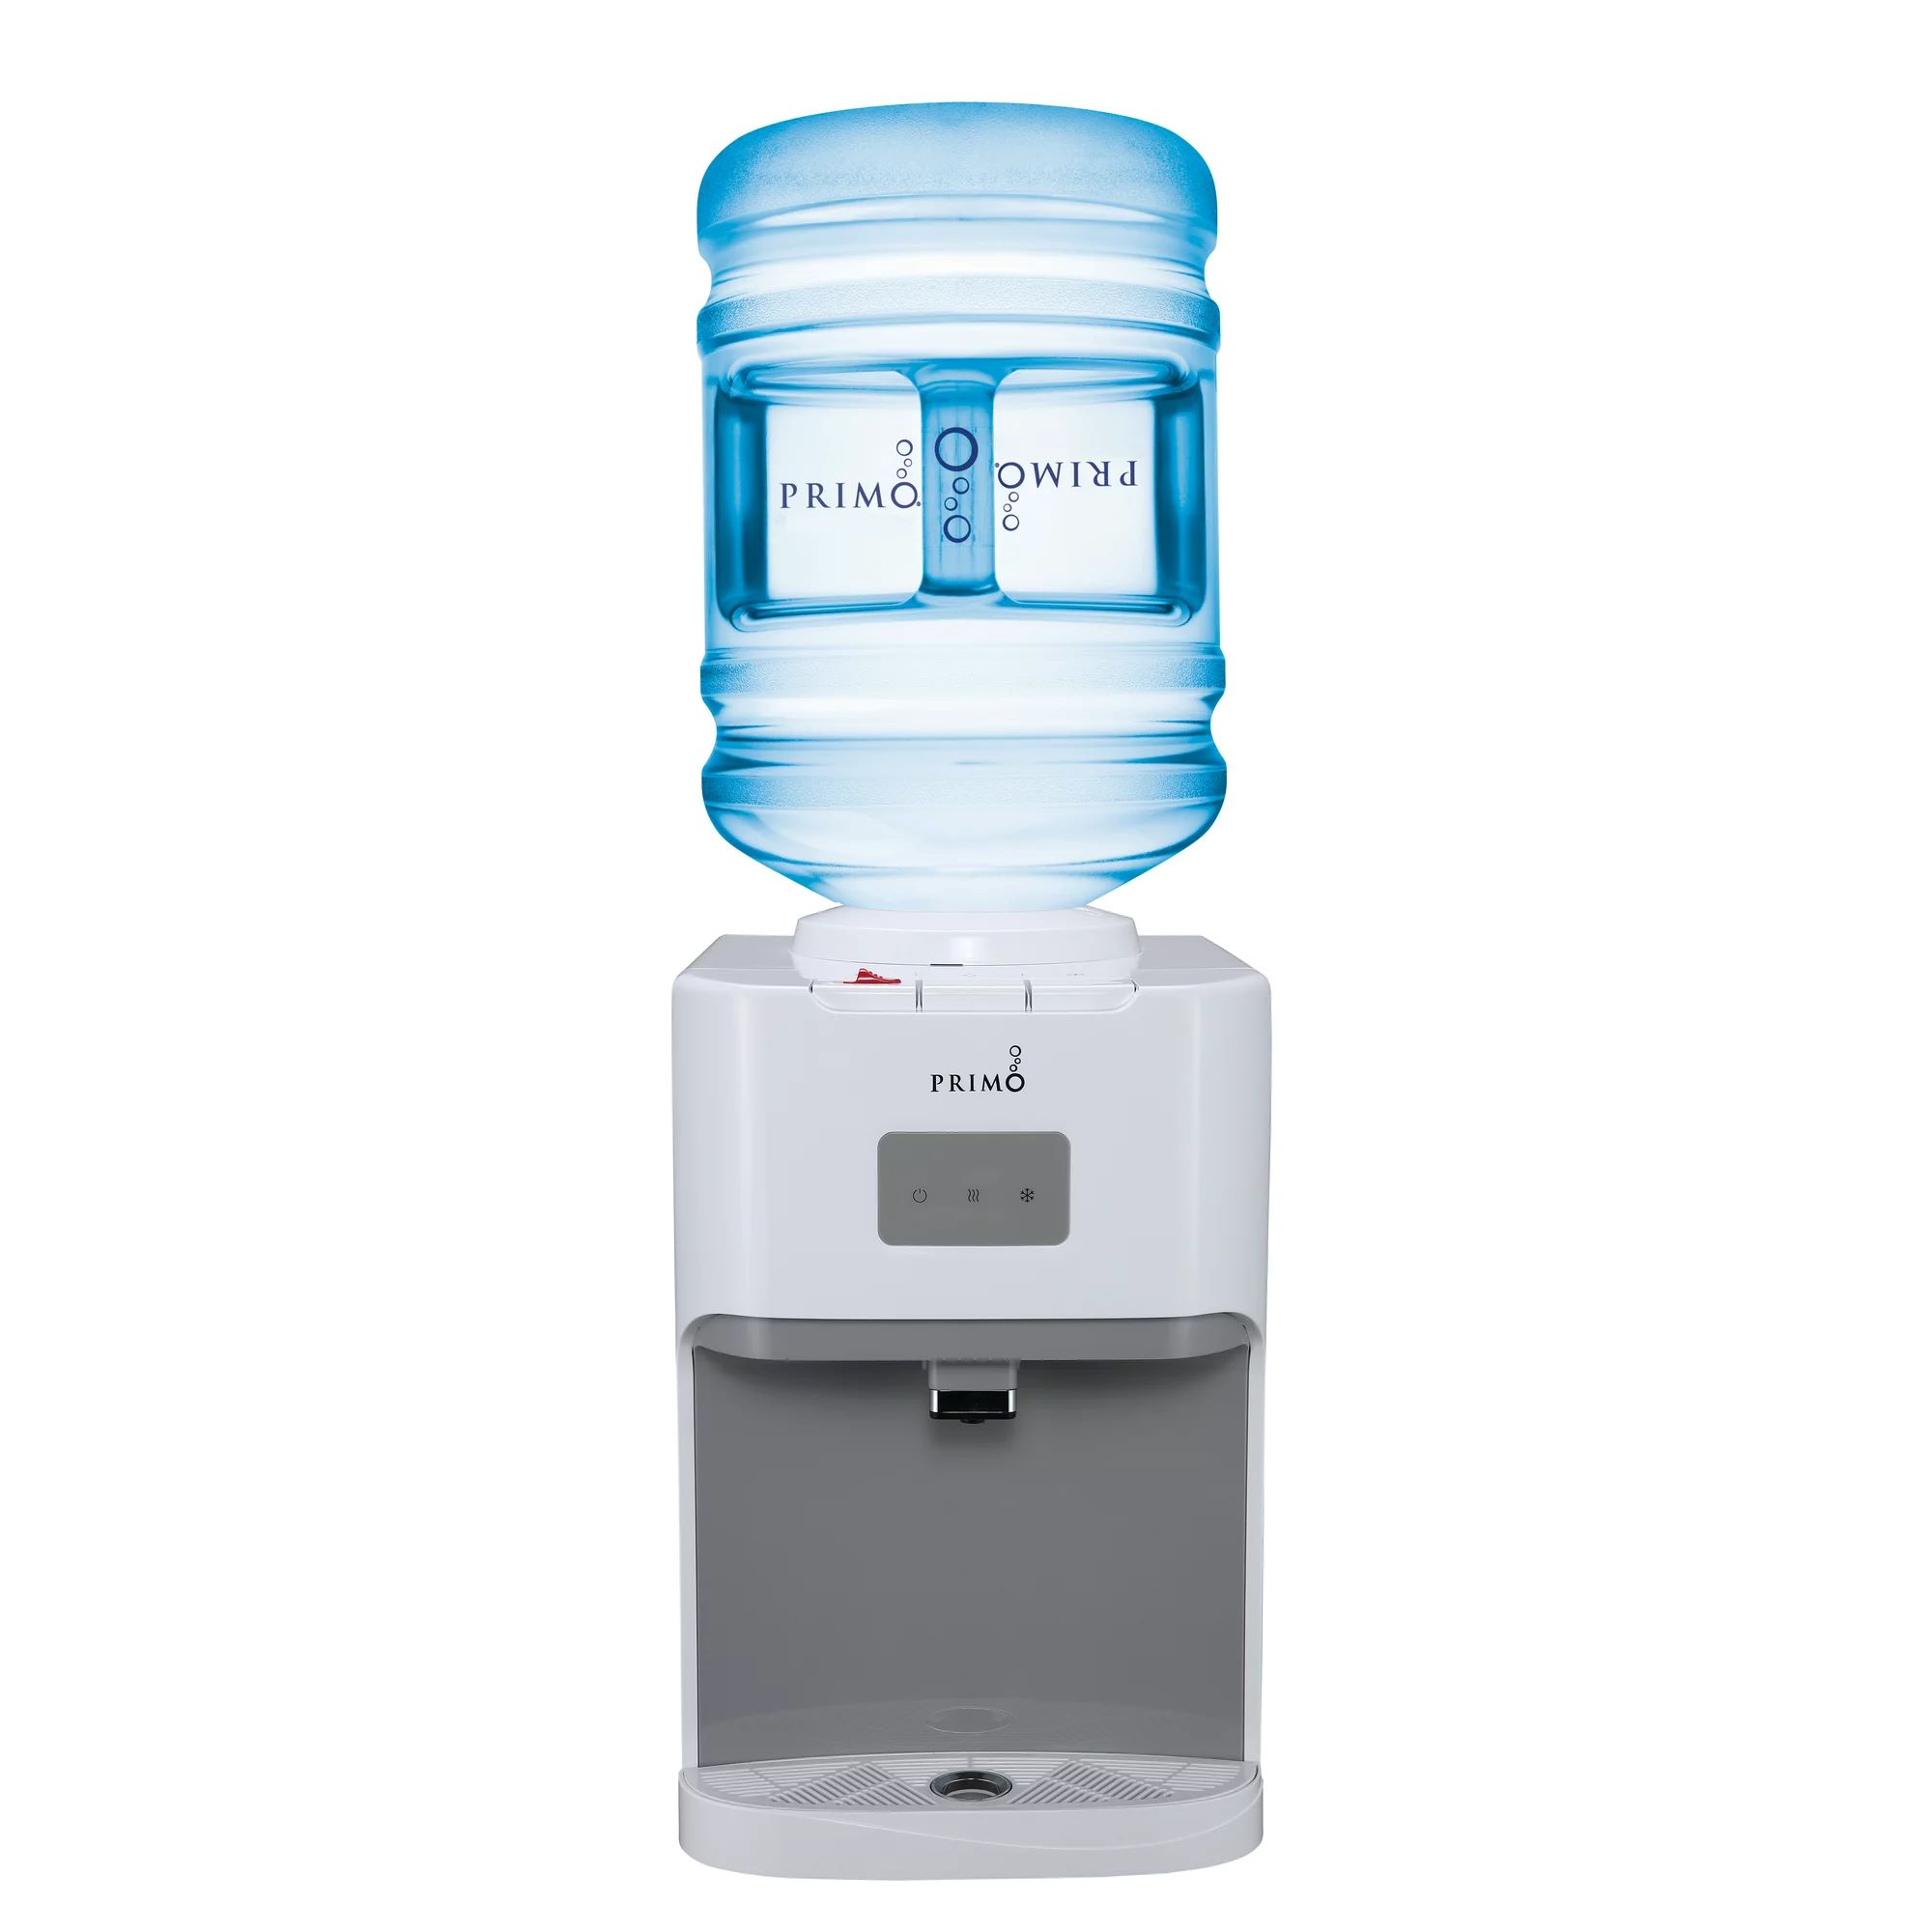
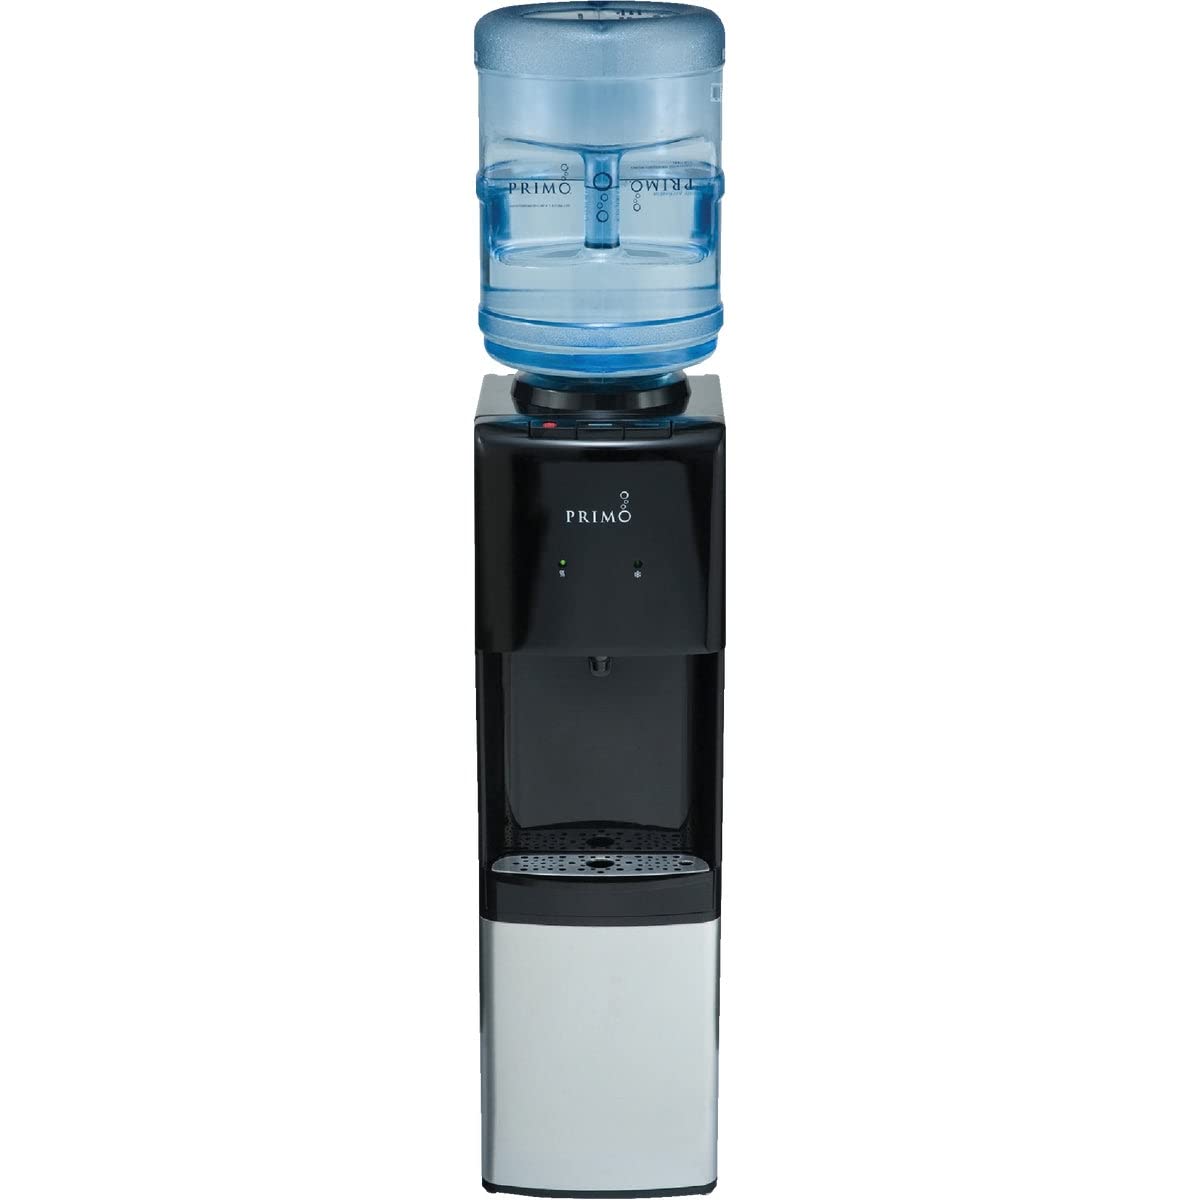
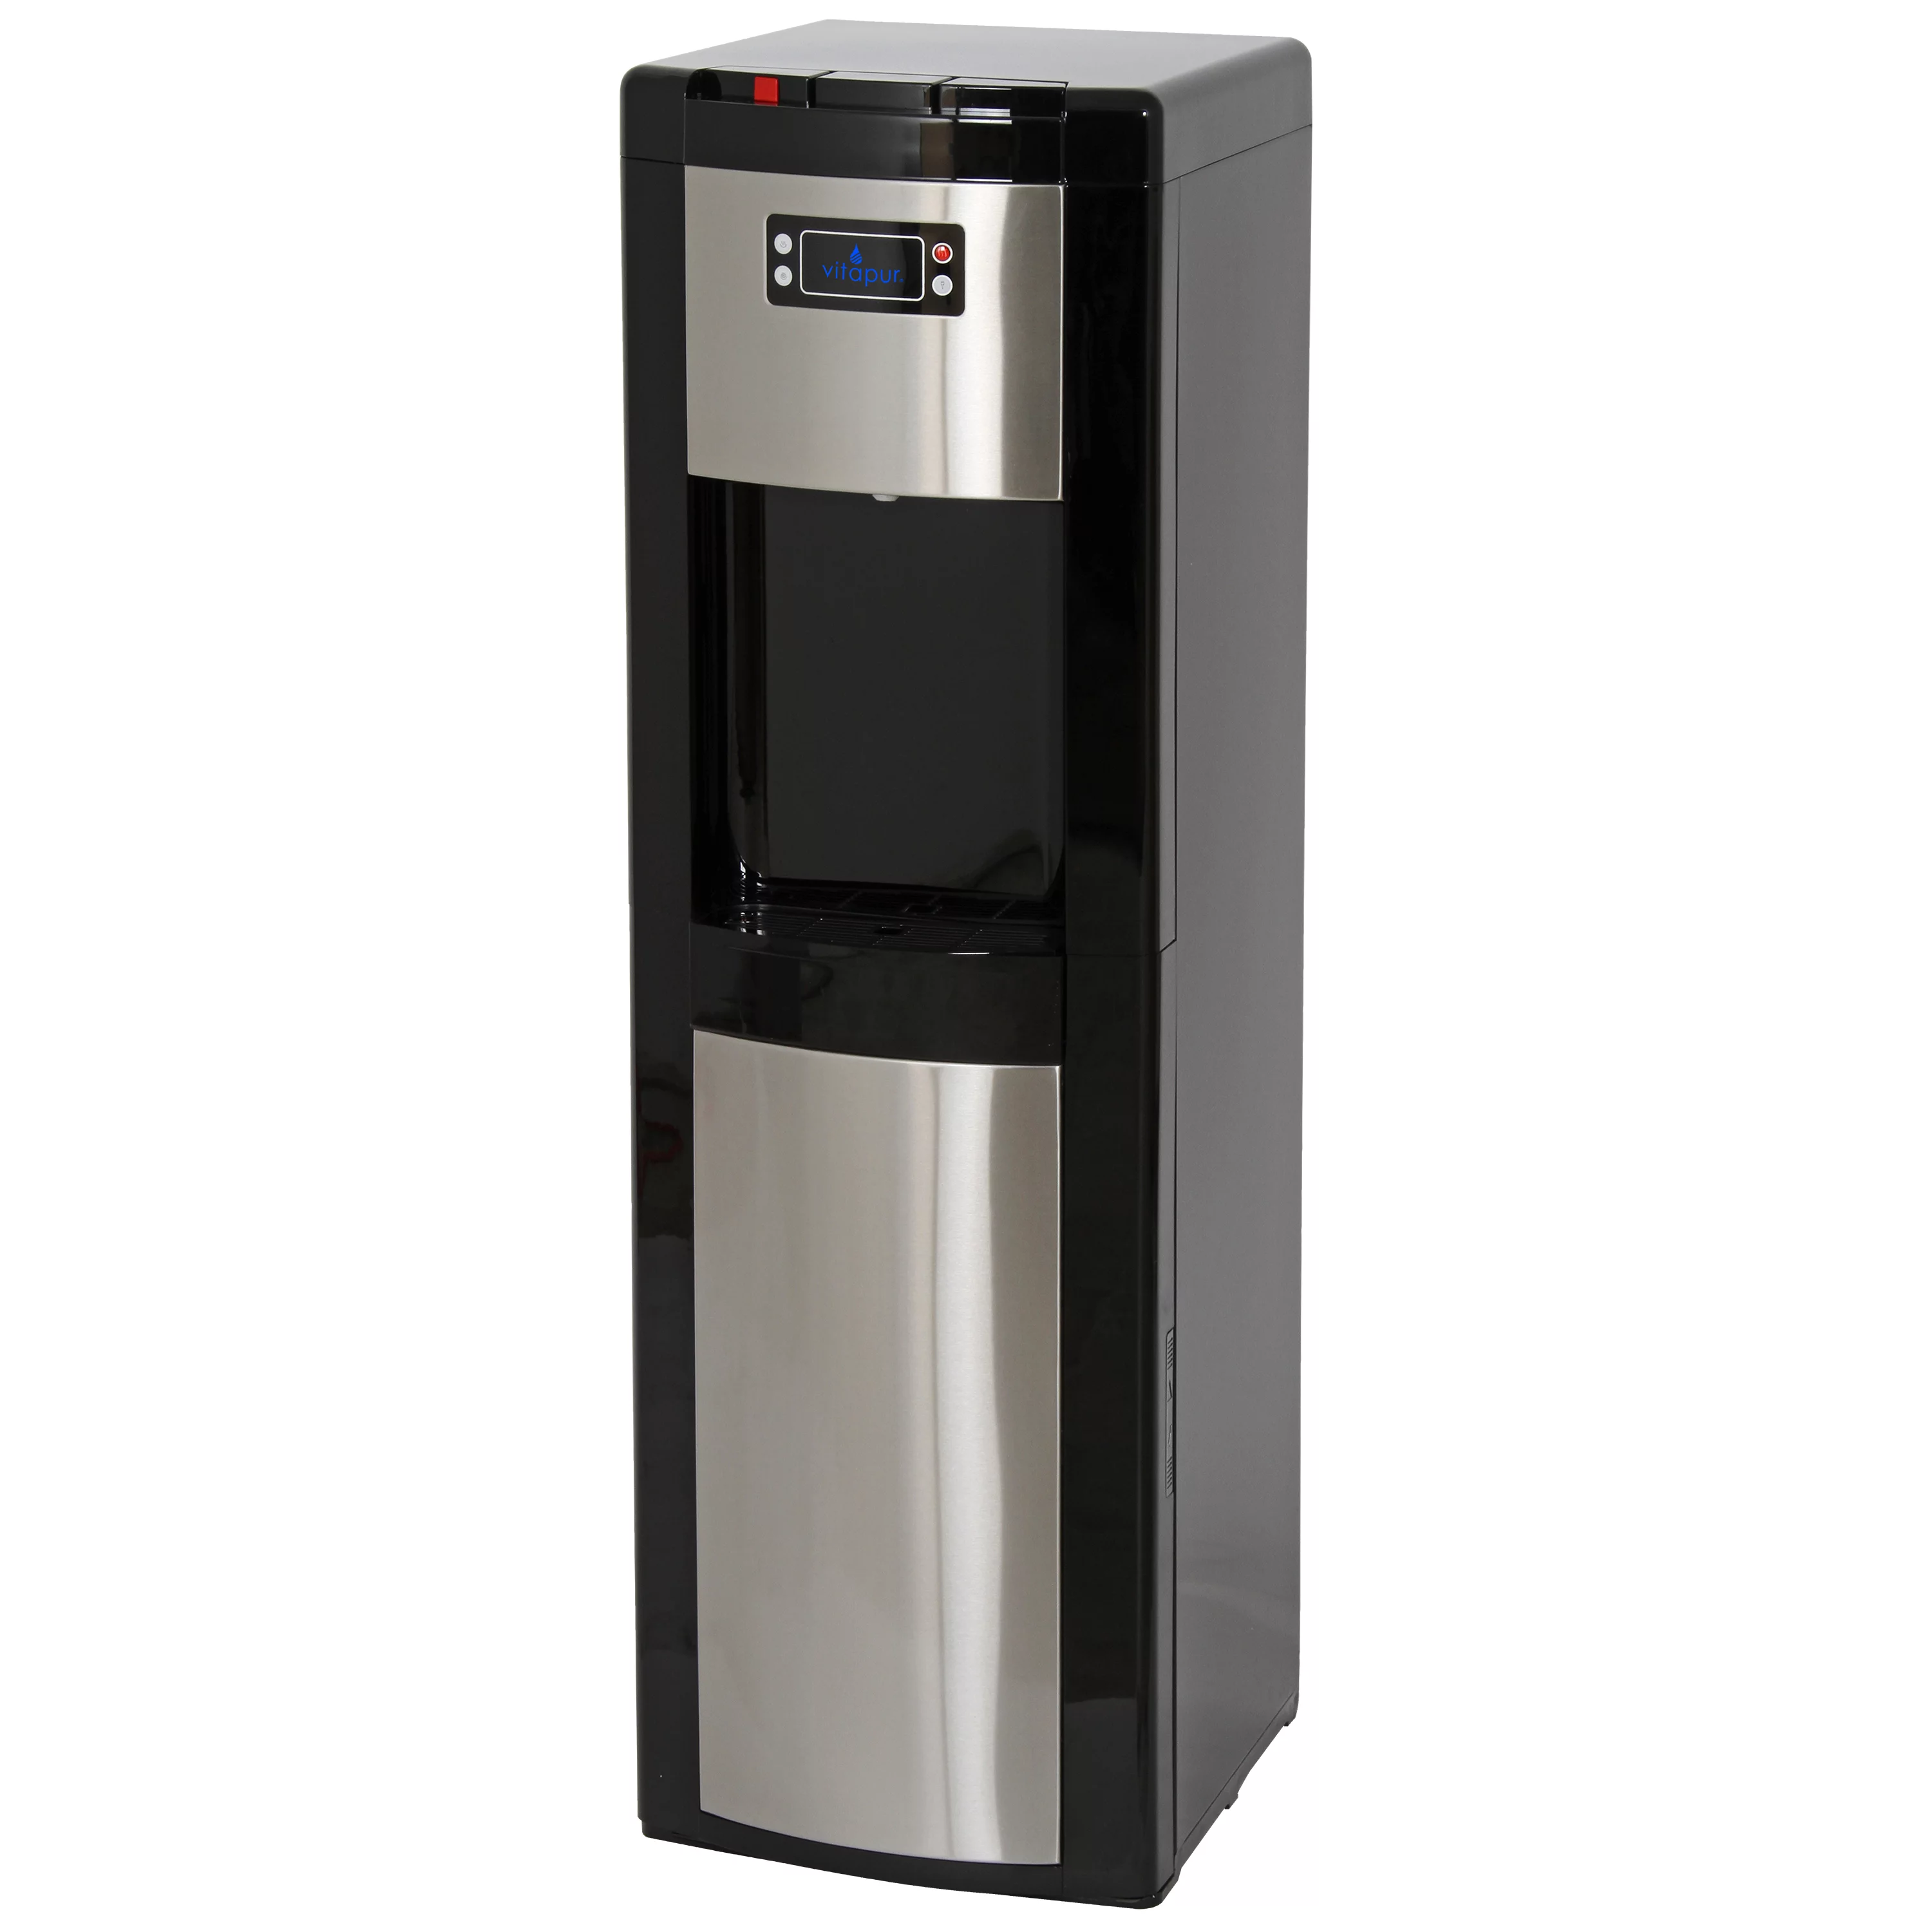
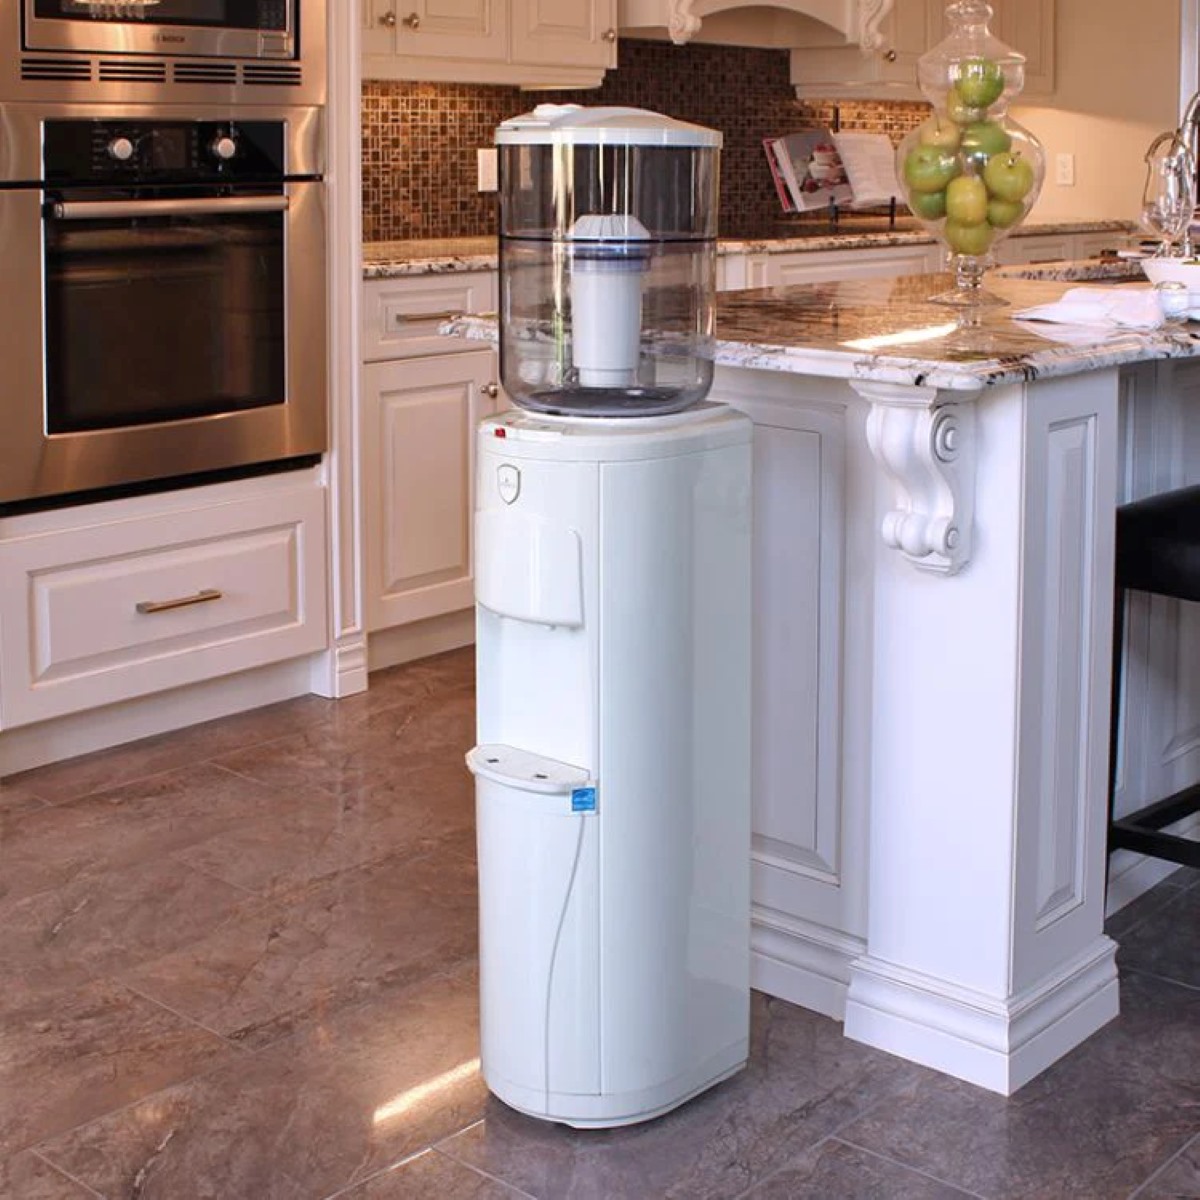
Welcome to the comprehensive guide on how to clean a Primo Water Dispenser, specifically the top load model. Primo Water Dispensers are a convenient and eco-friendly option for dispensing clean and refreshing water in your home or office. Regular cleaning and maintenance of your water dispenser are essential to ensure the quality of the water and the optimal performance of the appliance.
Throughout this article, we will go step by step through the cleaning process, providing you with all the necessary information and tips to maintain a clean and hygienic water dispenser.
Before we dive into the specific cleaning steps, it is crucial to emphasize the importance of safety when handling electrical appliances and cleaning chemicals. Always refer to the manufacturer’s instructions and follow the safety precautions provided. If you have any concerns or doubts, it is advisable to contact Primo Water or consult a professional.
Now, let’s gather our supplies and get ready to give your Primo Water Dispenser a thorough cleaning!
Key Takeaways:
- Regularly cleaning your Primo Water Dispenser, including the exterior, drip tray, water reservoir, faucet, bottle cap, and neck, ensures clean and refreshing water for your home or office.
- Following safety precautions, gathering necessary supplies, and reassembling the dispenser are crucial steps in maintaining the optimal performance and cleanliness of your Primo Water Dispenser.
Read more: How To Clean Out A Primo Water Dispenser
Safety Precautions
Before you begin cleaning your Primo Water Dispenser, it is important to take some safety precautions to ensure your well-being and the longevity of the appliance:
- Read the manufacturer’s instructions: Familiarize yourself with the specific cleaning guidelines provided by Primo Water for your particular model. Follow their instructions carefully to avoid any damage or accidents.
- Turn off and unplug the dispenser: Before starting the cleaning process, make sure the water dispenser is turned off and unplugged from the electrical outlet. This will minimize the risk of electric shock.
- Wear protective gloves: Cleaning solutions and chemicals can sometimes be harsh on the skin. To protect your hands from any potential irritation or chemical sensitivity, wear a pair of protective gloves.
- Work in a well-ventilated area: Some cleaning products may have strong fumes. To avoid inhaling potentially harmful vapors, make sure to work in a well-ventilated area. Open windows or turn on a fan to improve air circulation.
- Avoid harsh chemicals: Stick to mild, non-abrasive cleaning solutions recommended by the manufacturer. Harsh chemicals can damage the internal components of the dispenser and may leave a residual taste in the water.
- Keep children and pets away: During the cleaning process, it is advisable to keep children and pets away from the area to prevent accidents or ingestion of cleaning solutions.
- Take extra care with electrical components: When cleaning near electrical components, such as the power cord or the control panel, be cautious not to get them wet. Avoid spraying or pouring water directly onto these areas.
- Allow time to dry: After cleaning, give the dispenser enough time to dry completely before plugging it back in and using it. Moisture can lead to electrical malfunctions or the growth of mold and bacteria.
By following these safety precautions, you can ensure a safe and effective cleaning process for your Primo Water Dispenser.
Gather Necessary Supplies
Before you begin cleaning your Primo Water Dispenser, it is important to gather all the necessary supplies. Having these items ready will make the cleaning process more efficient and ensure that you have everything you need on hand. Here are the supplies you will need:
- Clean, lint-free cloths or microfiber towels: These will be used for wiping down the exterior of the dispenser and drying it after cleaning.
- Mild dish soap or vinegar: These are gentle cleaning agents that can effectively remove dirt and grime from the exterior surfaces of the dispenser.
- A small brush or toothbrush: This will come in handy for scrubbing hard-to-reach areas, such as the faucet and the bottle cap.
- A sponge or soft cloth: You will use this to clean the drip tray and the water reservoir.
- A bucket or basin: This will be used to hold water and cleaning solution for soaking parts of the dispenser.
- A spray bottle: Fill this with a mixture of water and mild cleaning solution to spray on the exterior surfaces.
- A clean, empty spray bottle: Fill this with plain water to rinse off any cleaning solution residue.
- A small funnel: This will be useful for pouring the cleaning solution into the water reservoir.
- A towel or absorbent mat: Place this under the dispenser while cleaning to catch any spills or drips.
Make sure you have all these supplies ready before you start cleaning your Primo Water Dispenser. Having everything organized and within reach will save you time and make the process smoother.
Unplug the Water Dispenser
Before you begin the cleaning process, it is essential to unplug your Primo Water Dispenser from the electrical outlet. This step ensures your safety and prevents any accidental damage to the appliance.
Follow these steps to properly unplug the water dispenser:
- Locate the power cord at the back or side of the dispenser.
- Gently pull the plug out of the electrical outlet.
- Make sure the cord is completely disconnected from the socket.
Once you have unplugged the dispenser, you can proceed with the cleaning process. This step is crucial to prevent any electrical accidents or shocks while handling water and cleaning solutions near the appliance.
Remember to keep the electrical cord away from any water or cleaning solutions during the cleaning process to avoid damage to the cord and electrical components.
Once you have completed the cleaning process and reassembled the dispenser, you can plug it back in and enjoy the clean and refreshing water it provides.
Remove the Bottle and Drip Tray
Before you can start cleaning the interior and exterior of your Primo Water Dispenser, you need to remove the water bottle and the drip tray. These steps will allow you better access to the various components of the dispenser and ensure a thorough cleaning.
Follow these steps to remove the bottle and drip tray:
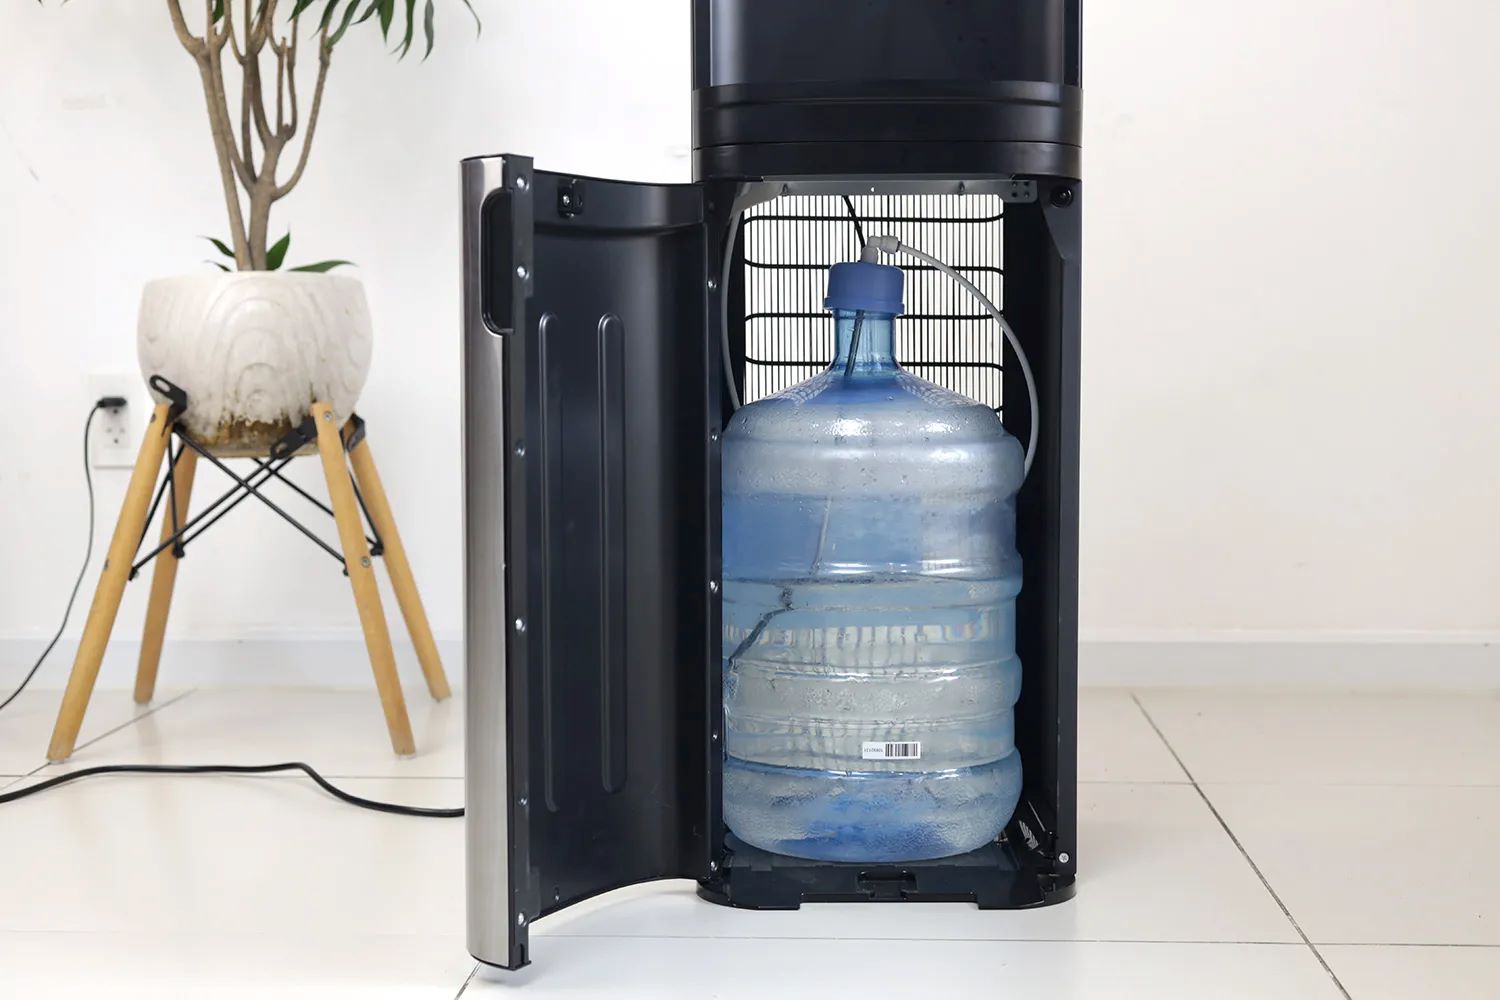
- Locate the water bottle at the top of the dispenser.
- Gently lift the bottle straight up to detach it from the dispenser. Some top load models may have a locking mechanism that needs to be released before the bottle can be removed.
- Set the water bottle aside in a safe place.
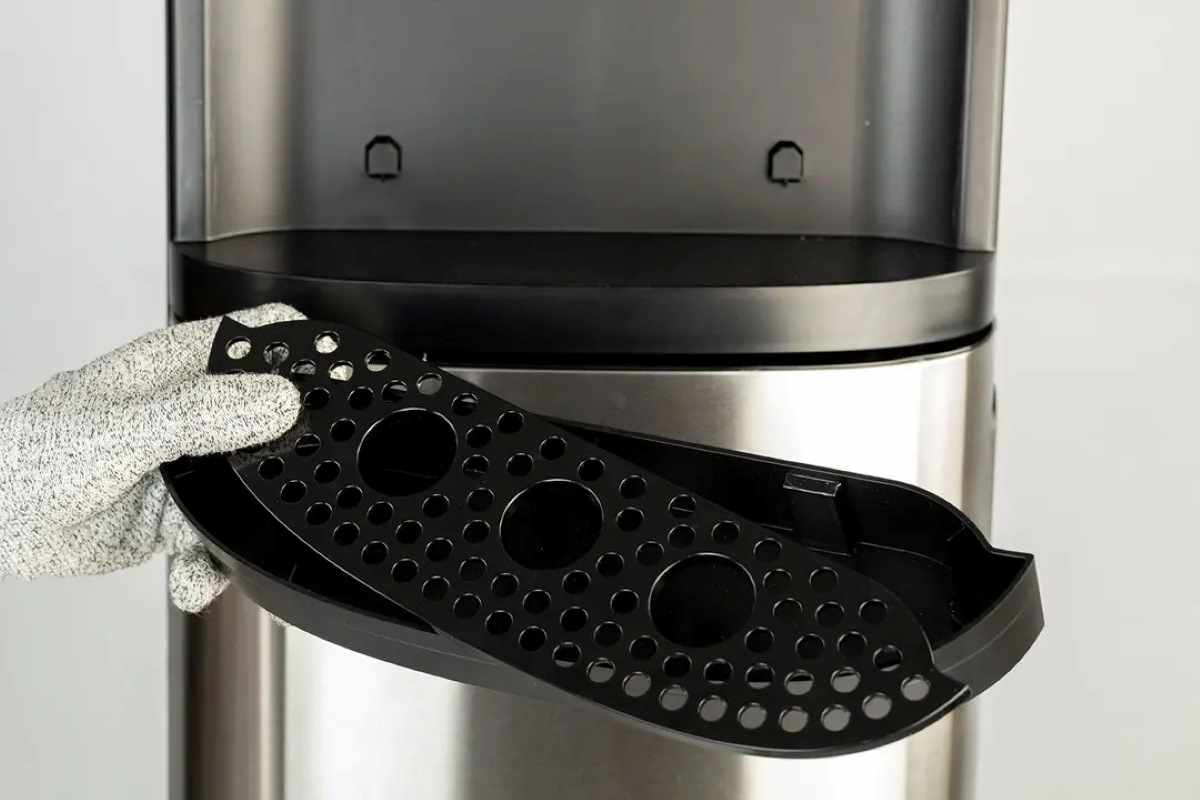
- Locate the drip tray at the bottom front of the dispenser.
- Slide the drip tray out using both hands. Some models may have a release lever or button to detach the drip tray.
- Once removed, empty any water or debris from the drip tray into a sink or bucket.
Removing the water bottle and drip tray will allow you to clean these components separately and ensure that no dirt or residue remains. It also provides better access to clean the interior and exterior of the dispenser thoroughly.
Set the bottle and drip tray aside for now, and let’s move on to cleaning the exterior surface of the dispenser.
Read more: How To Use Primo Water Dispenser
Clean the Exterior of the Dispenser
Keeping the exterior of your Primo Water Dispenser clean not only enhances its appearance but also prevents the accumulation of dirt and bacteria. Follow these steps to clean the exterior surface of the dispenser:
- Prepare a solution of mild dish soap or vinegar and warm water in a bucket or spray bottle. Alternatively, you can use a manufacturer-recommended cleaning solution.
- Dip a clean cloth or sponge into the cleaning solution or spray the solution directly onto the cloth.
- Gently scrub the entire outer surface of the dispenser, including the sides, top, and front panel.
- Pay special attention to areas that are prone to fingerprints or stains, such as the control panel and the dispenser spout.
- Use a small brush or toothbrush to clean any crevices or hard-to-reach areas.
- Rinse the cloth or sponge with clean water and wipe off any soapy residue from the dispenser.
- Use a dry, lint-free cloth or microfiber towel to thoroughly dry the exterior surface.
- If there are any stubborn stains or marks, you can use a non-abrasive cleaner specifically designed for the material of your dispenser. Follow the instructions provided by the cleaner manufacturer.
By regularly cleaning the exterior surface of your Primo Water Dispenser, you keep it looking its best and maintain a hygienic environment. A clean exterior also helps prevent the spread of germs and maintains the overall cleanliness of your home or office.
Now that the exterior is clean, let’s move on to cleaning the drip tray.
To clean a Primo water dispenser top load, mix a solution of 1 part vinegar to 3 parts water and run it through the dispenser. Then, rinse with clean water to remove any residue. Wipe the exterior with a damp cloth.
Clean the Drip Tray
The drip tray of your Primo Water Dispenser is responsible for collecting any spills or excess water that may occur during use. Regular cleaning of the drip tray is essential to prevent the build-up of dirt, mold, and bacteria. Follow these steps to clean the drip tray:
- Remove the drip tray from the dispenser, as explained in the previous section.
- Empty any water or debris from the drip tray into a sink or bucket.
- Prepare a solution of mild dish soap or vinegar and warm water in a basin or sink.
- Place the drip tray in the solution and let it soak for a few minutes.
- Use a sponge, soft cloth, or brush to scrub the drip tray, removing any residue or stains.
- Pay attention to the corners and crevices where dirt can accumulate.
- Rinse the drip tray thoroughly with clean water to remove any remaining soap or cleaning solution.
- Dry the drip tray completely using a clean, lint-free cloth or allow it to air dry.
It is important to clean the drip tray regularly to prevent the growth of mold, mildew, and bacteria, which can affect the cleanliness and taste of the water. By keeping the drip tray clean and free of dirt, you ensure that your Primo Water Dispenser dispenses fresh and clean water every time.
With the drip tray cleaned and dried, we can now move on to cleaning the water reservoir of the dispenser.
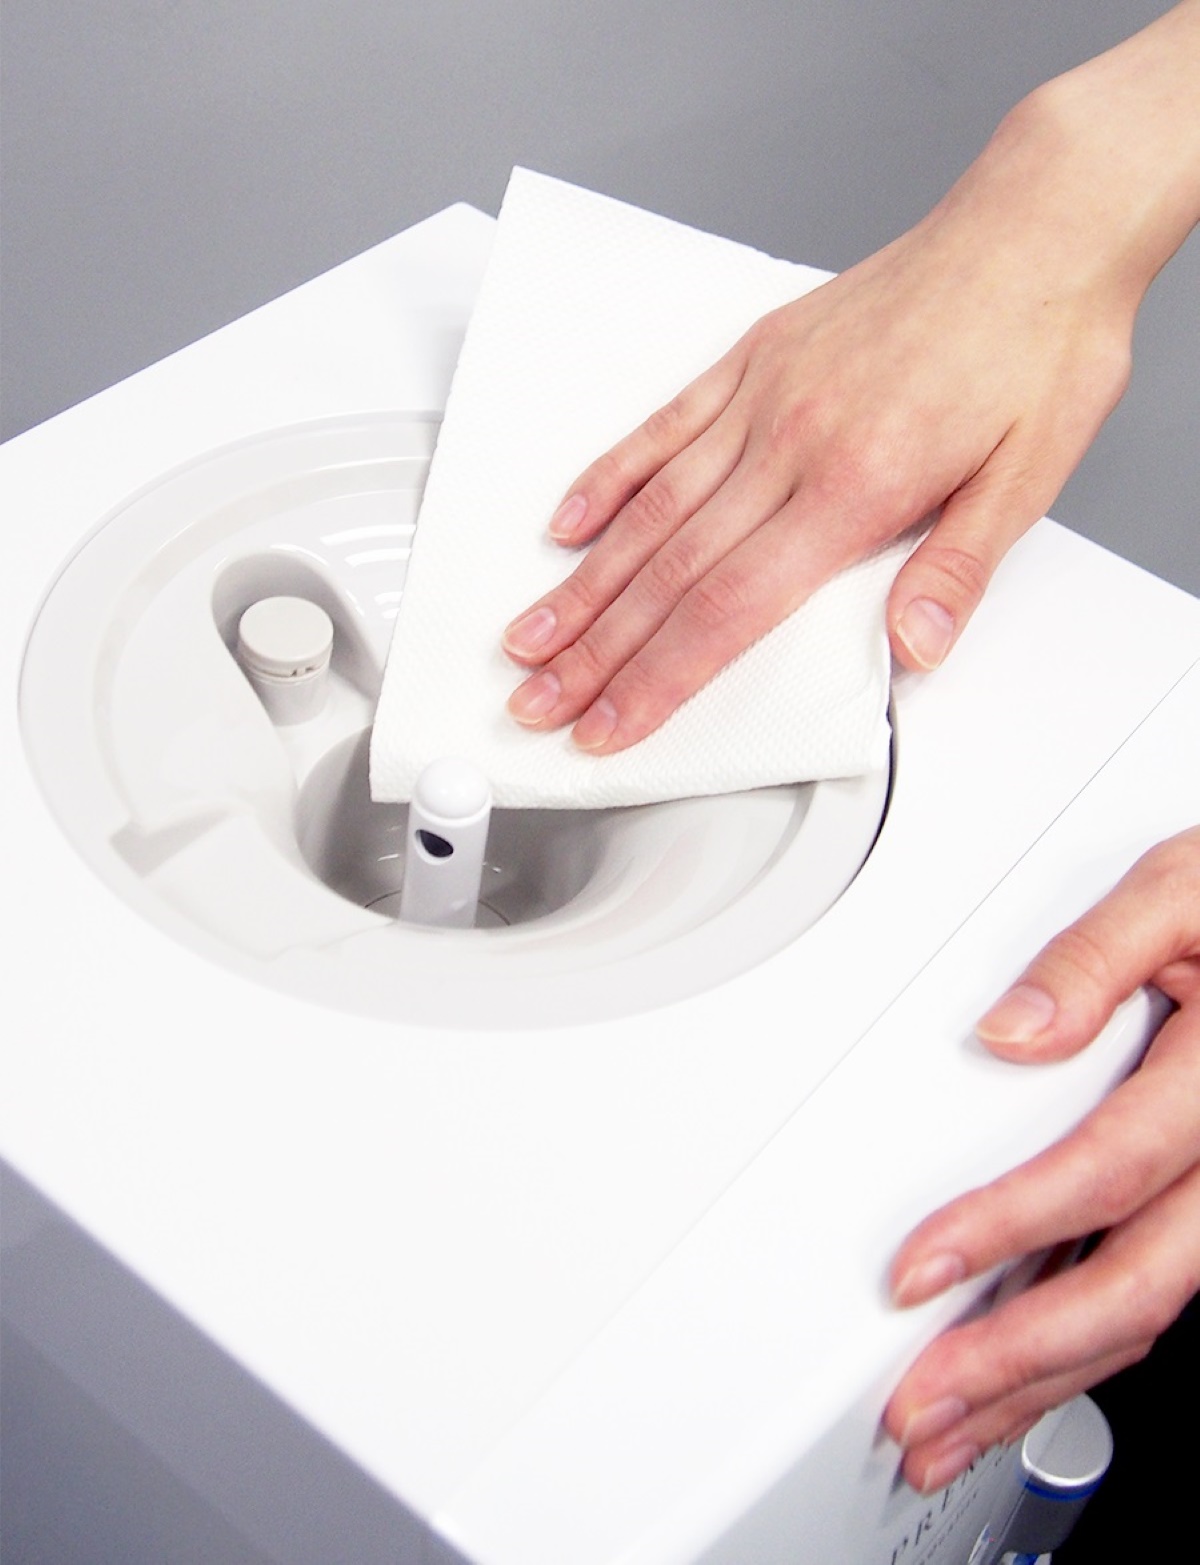
Clean the Water Reservoir
The water reservoir of your Primo Water Dispenser stores the water that is dispensed. Regular cleaning of the reservoir is essential to maintain the quality and taste of the water. Follow these steps to clean the water reservoir:
- Ensure that the dispenser is still unplugged.
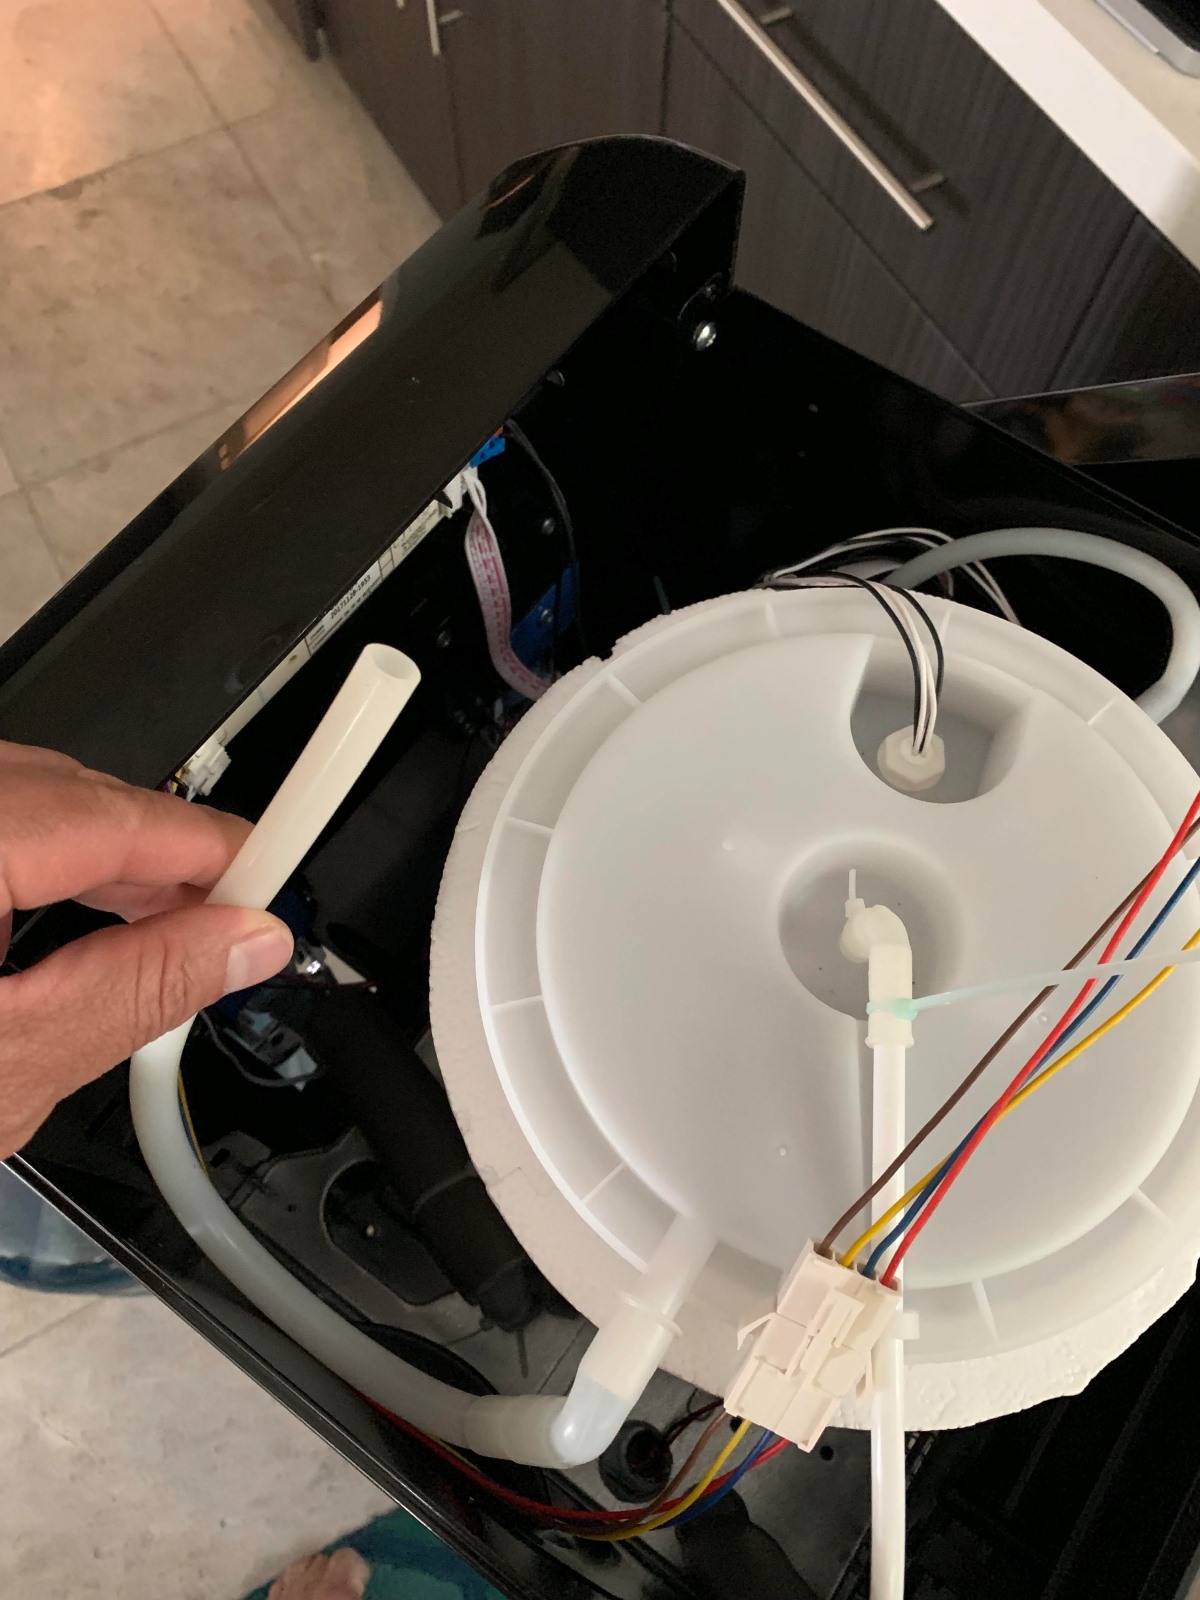
- Locate the water reservoir, usually located at the back or inside the dispenser.
- If there is any water remaining in the reservoir, carefully pour it out into a sink or bucket.
- Prepare a cleaning solution using a mild dish soap or vinegar and warm water.
- Dampen a sponge or soft cloth with the cleaning solution.
- Gently wipe the interior of the water reservoir, paying attention to any stains or buildup.
- If there are visible mineral deposits or stubborn stains, you can use a non-abrasive cleaner specifically designed for water dispensers. Follow the manufacturer instructions for usage.
- Rinse the water reservoir thoroughly with clean water to remove any soap or cleaning solution residue.
- Use a clean, lint-free cloth or towel to dry the water reservoir completely.
Regularly cleaning the water reservoir helps to eliminate any accumulated impurities, such as minerals and bacteria, ensuring that the water dispensed by your Primo Water Dispenser remains fresh and clean. It is also recommended to clean the water reservoir at least once every few months, or as advised by the manufacturer, to maintain optimal performance.
Now that the water reservoir is clean, let’s move on to cleaning the dispenser’s faucet.
Clean the Faucet
The faucet of your Primo Water Dispenser is the component that allows you to dispense water. It is important to clean the faucet regularly to prevent the build-up of dirt, bacteria, and mineral deposits. Follow these steps to clean the faucet:
- Prepare a solution of mild dish soap or vinegar and warm water in a small bowl or basin.
- Dampen a sponge or soft cloth with the cleaning solution.
- Gently wipe the exterior of the faucet, removing any dirt or residue.
- Pay attention to the crevices and around the base of the faucet where dirt can accumulate.
- Use a small brush or toothbrush to scrub the inside of the faucet, removing any mineral deposits or debris.
- Rinse the faucet with clean water to remove any remaining soap or cleaning solution.
- If there are stubborn mineral deposits, you can use a toothpick or a small brush to gently dislodge them.
- Use a clean, lint-free cloth or towel to dry the faucet thoroughly.
Regular cleaning of the faucet ensures that the water you dispense remains clean and free from any particles or contaminants. It also helps to maintain the functionality of the faucet and prevent any blockages.
With the faucet cleaned, we can now move on to cleaning the bottle cap and neck.
Read more: How To Clean Bottom Load Water Dispenser
Clean the Bottle Cap and Neck
The bottle cap and neck of your Primo Water Dispenser can accumulate dirt, bacteria, and mineral deposits over time. Cleaning these areas regularly is essential to maintain the cleanliness and taste of the water. Follow these steps to clean the bottle cap and neck:
- Remove the bottle cap from the dispenser’s water bottle.
- Inspect the cap and neck for any visible dirt or residue.
- Prepare a cleaning solution using mild dish soap or vinegar and warm water.
- Submerge the bottle cap and neck in the cleaning solution.
- Use a small brush or toothbrush to scrub the cap and neck, paying attention to any stubborn stains or mineral deposits.
- Rinse the bottle cap and neck thoroughly with clean water to remove any soap or cleaning solution residue.
- Place the clean bottle cap and neck on a clean towel or allow them to air dry.
Regularly cleaning the bottle cap and neck ensures that the water you dispense remains clean and free from any contaminants or unpleasant tastes. It also helps to maintain the proper functioning of the dispenser by preventing any blockages.
Now that we have cleaned the various components of the Primo Water Dispenser, we can move on to reassembling the dispenser and completing the cleaning process.
Reassemble the Dispenser
Now that you have thoroughly cleaned the various components of your Primo Water Dispenser, it’s time to reassemble the dispenser to ensure it is ready for use. Reassembling the dispenser is a straightforward process that involves carefully putting the components back in place. Follow these steps to reassemble your Primo Water Dispenser:
- Start by placing the drip tray back into its designated spot at the bottom front of the dispenser. Slide it in carefully until it locks into place.
- Next, take the water bottle and align it with the bottle neck on the dispenser. Ensure that it sits securely and is properly positioned before pushing it down gently until it is firmly in place.
- Double-check that all the components are correctly aligned, locked, and securely in place.
By properly reassembling the dispenser, you ensure that it functions correctly and dispenses water efficiently. Take a moment to inspect the reassembled dispenser to make sure everything is aligned and secure.
After reassembling the dispenser, let’s move on to the final step: plugging in and testing the dispenser.
Plug in and Test the Dispenser
After cleaning and reassembling your Primo Water Dispenser, the final step is to plug it back in and test its functionality. Follow these steps to ensure everything is working correctly:
- Find a suitable electrical outlet near the dispenser.
- Take the power cord and plug it securely into the outlet.
- Ensure that the dispenser is properly situated on a stable surface to prevent any accidents or spills.
- Allow the dispenser to power up, which usually takes a few seconds. You may hear the motor or compressor starting.
- Test the dispenser by pressing the dispense button or lever. Water should flow smoothly from the faucet.
- Observe the dispenser for any leaks or unusual sounds during the testing process.
If you notice any issues or abnormalities with the dispenser, such as leaks or unusual noises, it is advisable to consult the manufacturer’s manual or contact the Primo Water customer service for assistance.
Congratulations! You have successfully cleaned and reassembled your Primo Water Dispenser. With proper maintenance and regular cleaning, your dispenser will provide clean and refreshing water for your enjoyment.
Remember to schedule regular cleaning sessions to keep your dispenser in optimal condition and ensure the continued quality of the water it dispenses.
Frequently Asked Questions about How To Clean Primo Water Dispenser Top Load
Was this page helpful?
At Storables.com, we guarantee accurate and reliable information. Our content, validated by Expert Board Contributors, is crafted following stringent Editorial Policies. We're committed to providing you with well-researched, expert-backed insights for all your informational needs.

0 thoughts on “How To Clean Primo Water Dispenser Top Load”