Articles
How To Close Off A HVAC Duct
Modified: December 7, 2023
Learn how to effectively close off your HVAC duct with these informative articles. Gain knowledge and improve your home's energy efficiency.
(Many of the links in this article redirect to a specific reviewed product. Your purchase of these products through affiliate links helps to generate commission for Storables.com, at no extra cost. Learn more)
Introduction
When it comes to HVAC systems, properly sealing the ductwork is essential for ensuring efficient operation and minimizing energy loss. There may be instances where you need to close off a specific HVAC duct, whether it’s due to renovations, repairs, or simply redirecting airflow to different areas of your home or office. Closing off an HVAC duct may seem like a daunting task, but with the right tools and techniques, it can be a relatively simple process.
In this article, we will guide you through the step-by-step process of closing off an HVAC duct. We will cover everything from gathering the necessary tools and materials to checking for proper sealing after the duct closure. By following these instructions, you can ensure that your HVAC system operates optimally and efficiently.
Key Takeaways:
- Properly sealing HVAC ducts is essential for efficient operation and energy conservation. By following the step-by-step process outlined in this article, you can confidently close off ducts and ensure optimal HVAC system performance.
- Prioritizing safety, gathering necessary tools, and checking for proper sealing are crucial steps in the duct closure process. With the right approach, homeowners and professionals can successfully redirect airflow and address specific HVAC needs.
Read more: How To Clean HVAC Ducts
Step 1: Gathering the necessary tools and materials
Before you begin the process of closing off an HVAC duct, it’s important to gather all the necessary tools and materials. Having everything you need at hand will help streamline the process and avoid any delays. Here are the tools and materials you’ll need:
- Duct tape or foil tape
- Ductwork closure device (such as a manual or motorized damper, duct plug, or duct cap)
- Utility knife or tin snips
- Measuring tape
- Safety goggles and gloves
Duct tape or foil tape is used to create a temporary seal or patch in case you encounter any leaks or gaps in the ductwork. These tapes are specifically designed to adhere to the duct material and provide a reliable seal. The choice between duct tape and foil tape depends on the type of duct material you are working with.
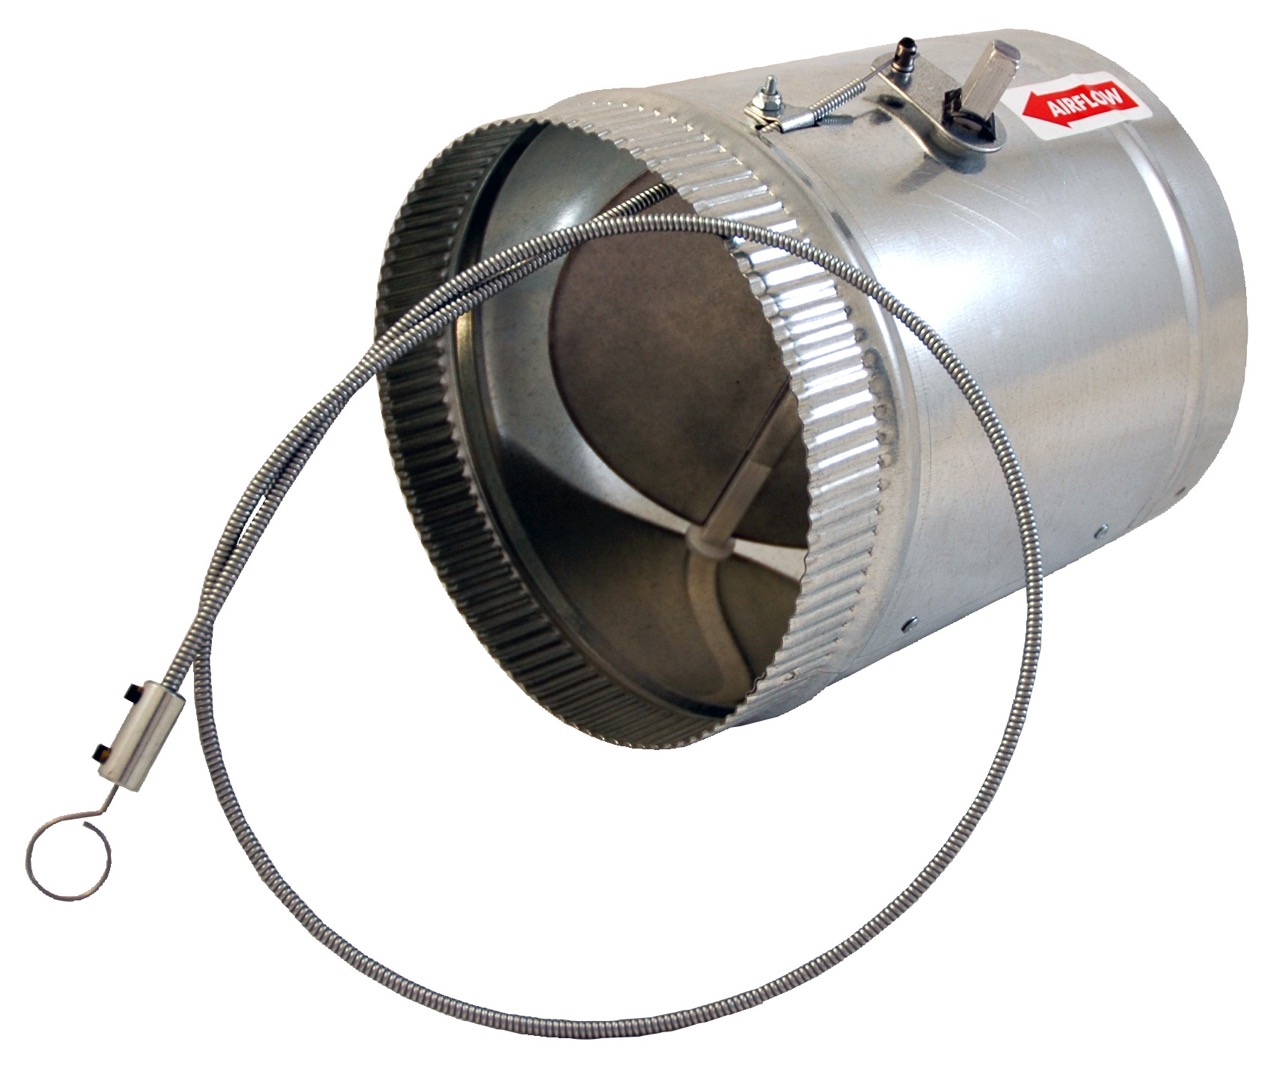
A ductwork closure device is essential for completely closing off the HVAC duct. Manual or motorized dampers are commonly used for this purpose. Manual dampers are adjusted by hand, while motorized dampers can be controlled electronically or through a thermostat. Duct plugs and duct caps are also effective closure devices, depending on the size and location of the duct.
A utility knife or tin snips will come in handy for cutting and trimming the duct tape or foil tape as needed. It’s important to have a clean and precise cut to ensure a tight seal. Additionally, a measuring tape will help you accurately measure the dimensions of the duct and the closure device, ensuring a proper fit.
Finally, don’t forget to prioritize safety by wearing goggles and gloves. These will protect your eyes and hands from any debris or sharp edges while working on the HVAC duct.
Once you have gathered all the necessary tools and materials, you’re ready to proceed to the next steps of closing off the HVAC duct.
Step 2: Shutting off the power supply
Before you begin working on closing off the HVAC duct, it’s crucial to ensure your safety by shutting off the power supply. This step is necessary to prevent any accidents or injuries while working with the ductwork.
The HVAC system is powered by electricity, and shutting off the power supply will disable the system temporarily. Here’s how you can shut off the power supply:
- Locate the main electrical panel of your home or office. Typically, it is located in the basement, utility room, or garage.
- Open the panel door to reveal the circuit breakers or fuses.
- Locate the circuit breaker that controls the HVAC system. It is usually labeled as “HVAC” or “Furnace”.
- Switch off the circuit breaker by flipping it to the “Off” position. If you have fuses, remove the fuse that corresponds to the HVAC system.
- Double-check that the power is indeed off by using a non-contact voltage tester. This device can detect the presence of electrical current without physical contact.
Once you have confirmed that the power supply is shut off, you can proceed with confidence to work on closing off the HVAC duct. Remember, safety should always be your top priority when working with electrical systems.
Step 3: Locating the HVAC duct to be closed off
Locating the HVAC duct that needs to be closed off is a crucial step in the process. It’s important to accurately identify the specific duct you wish to close off to ensure that the airflow is properly redirected.
To locate the HVAC duct, follow these steps:
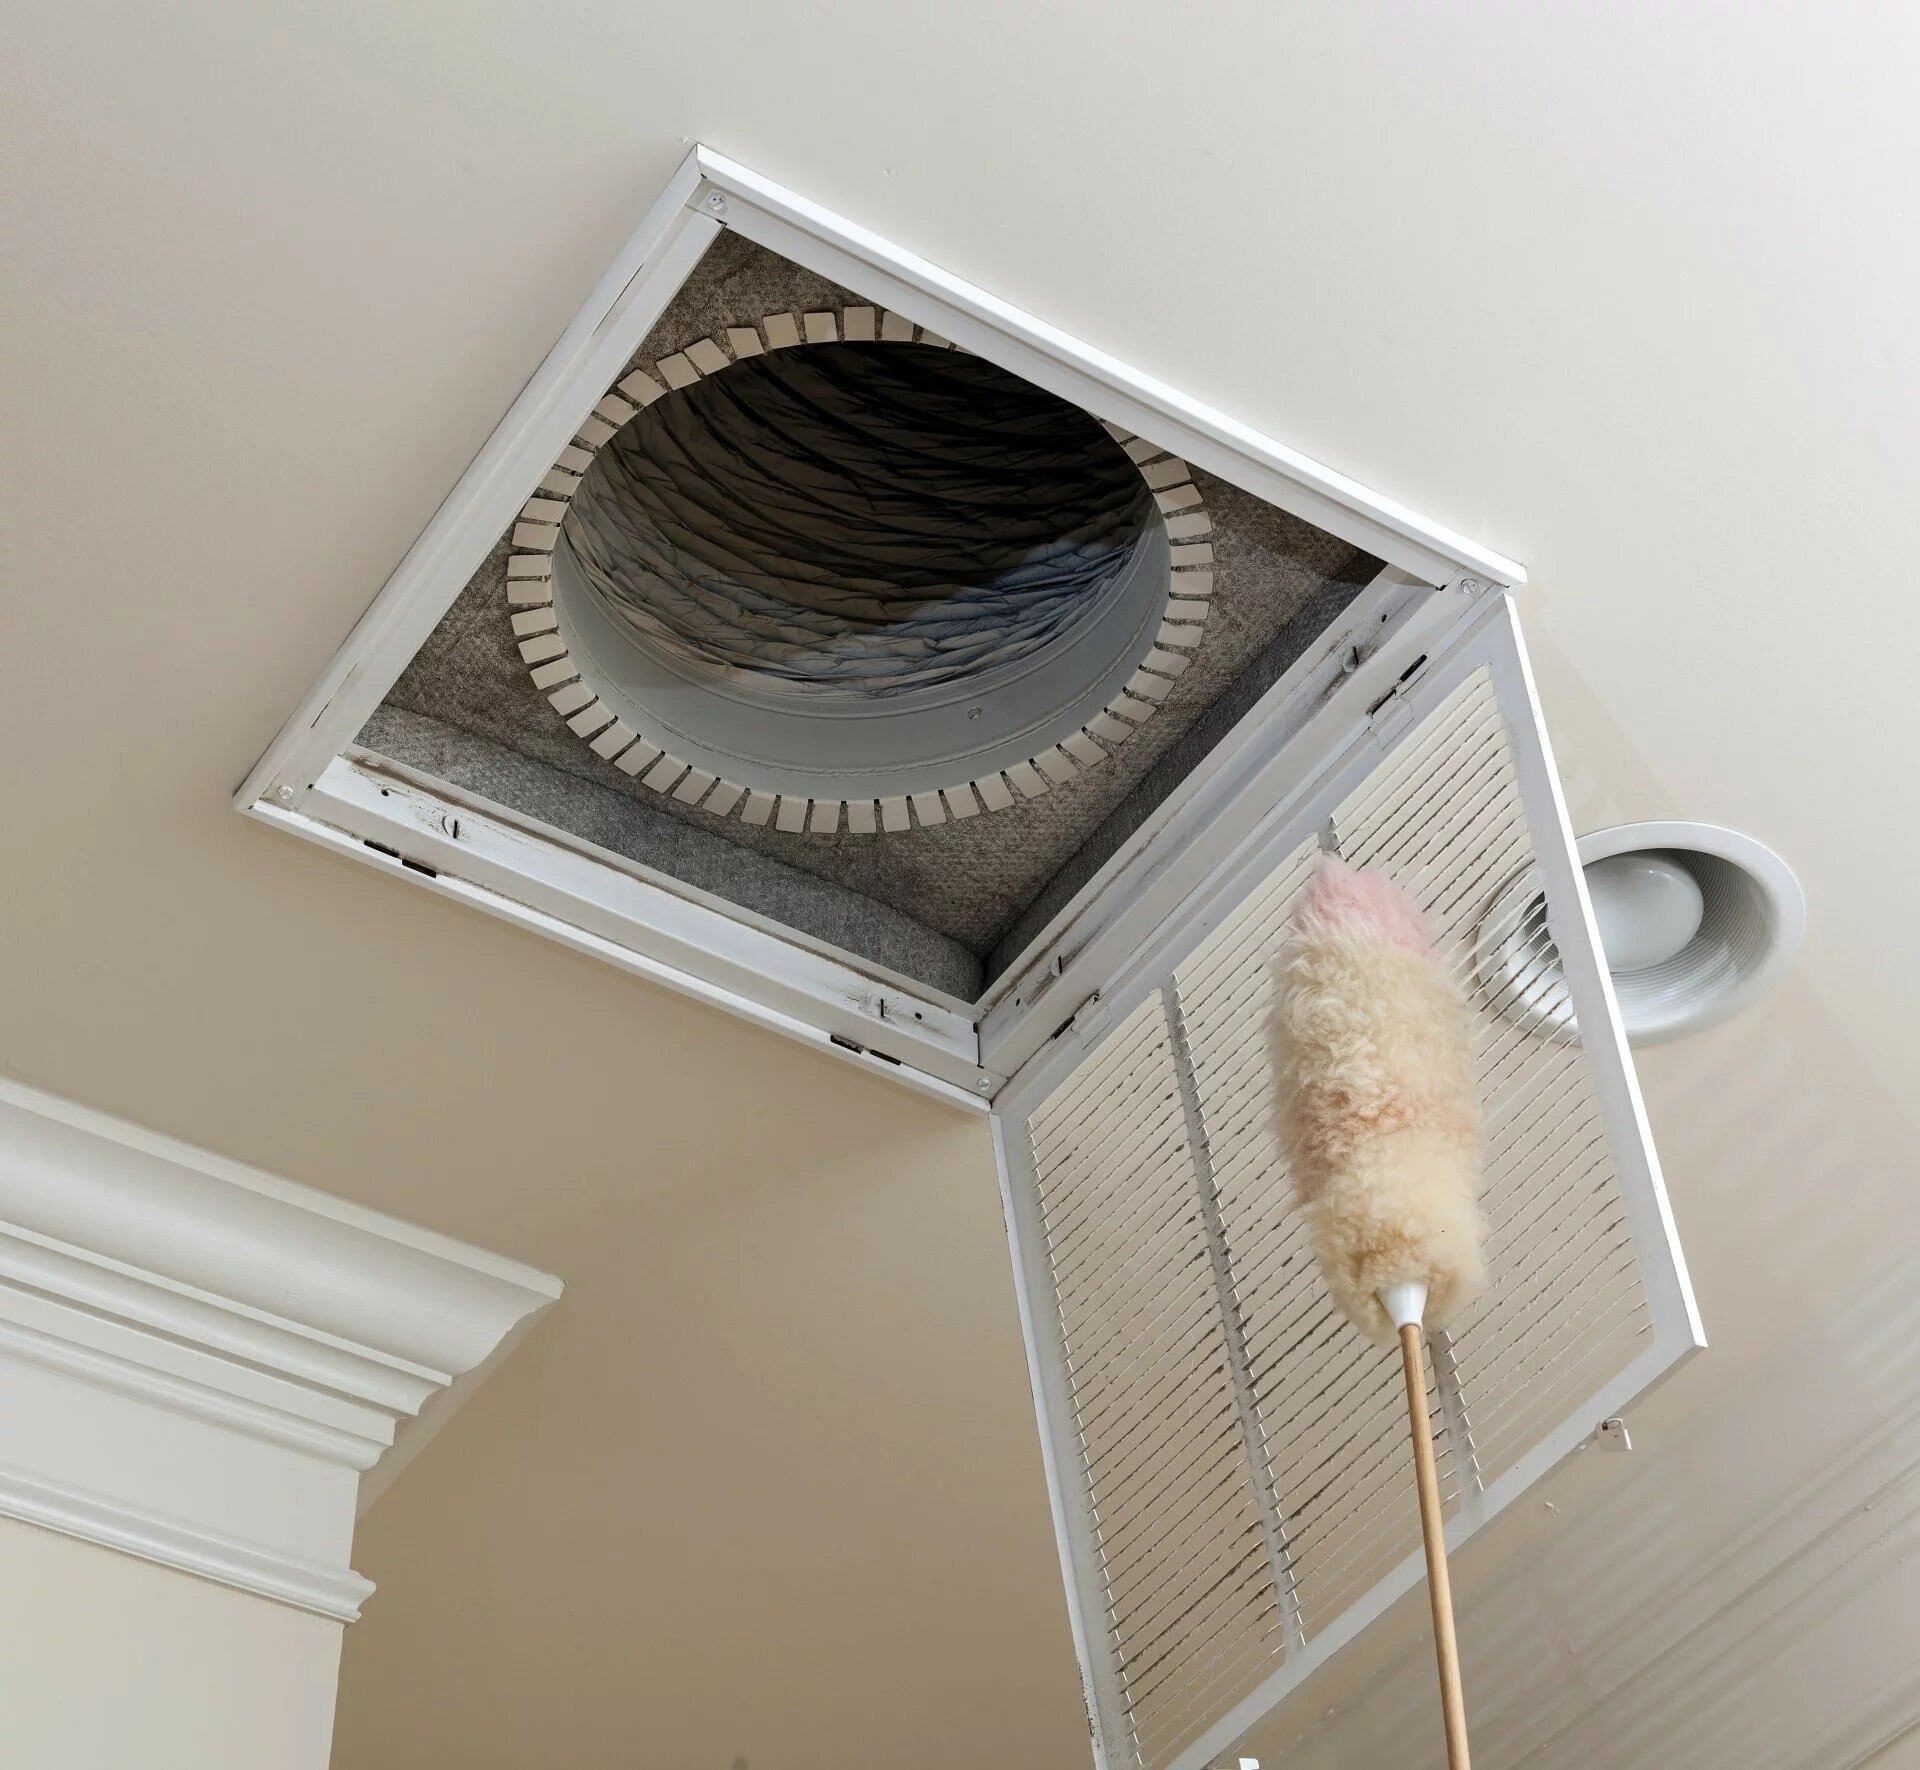
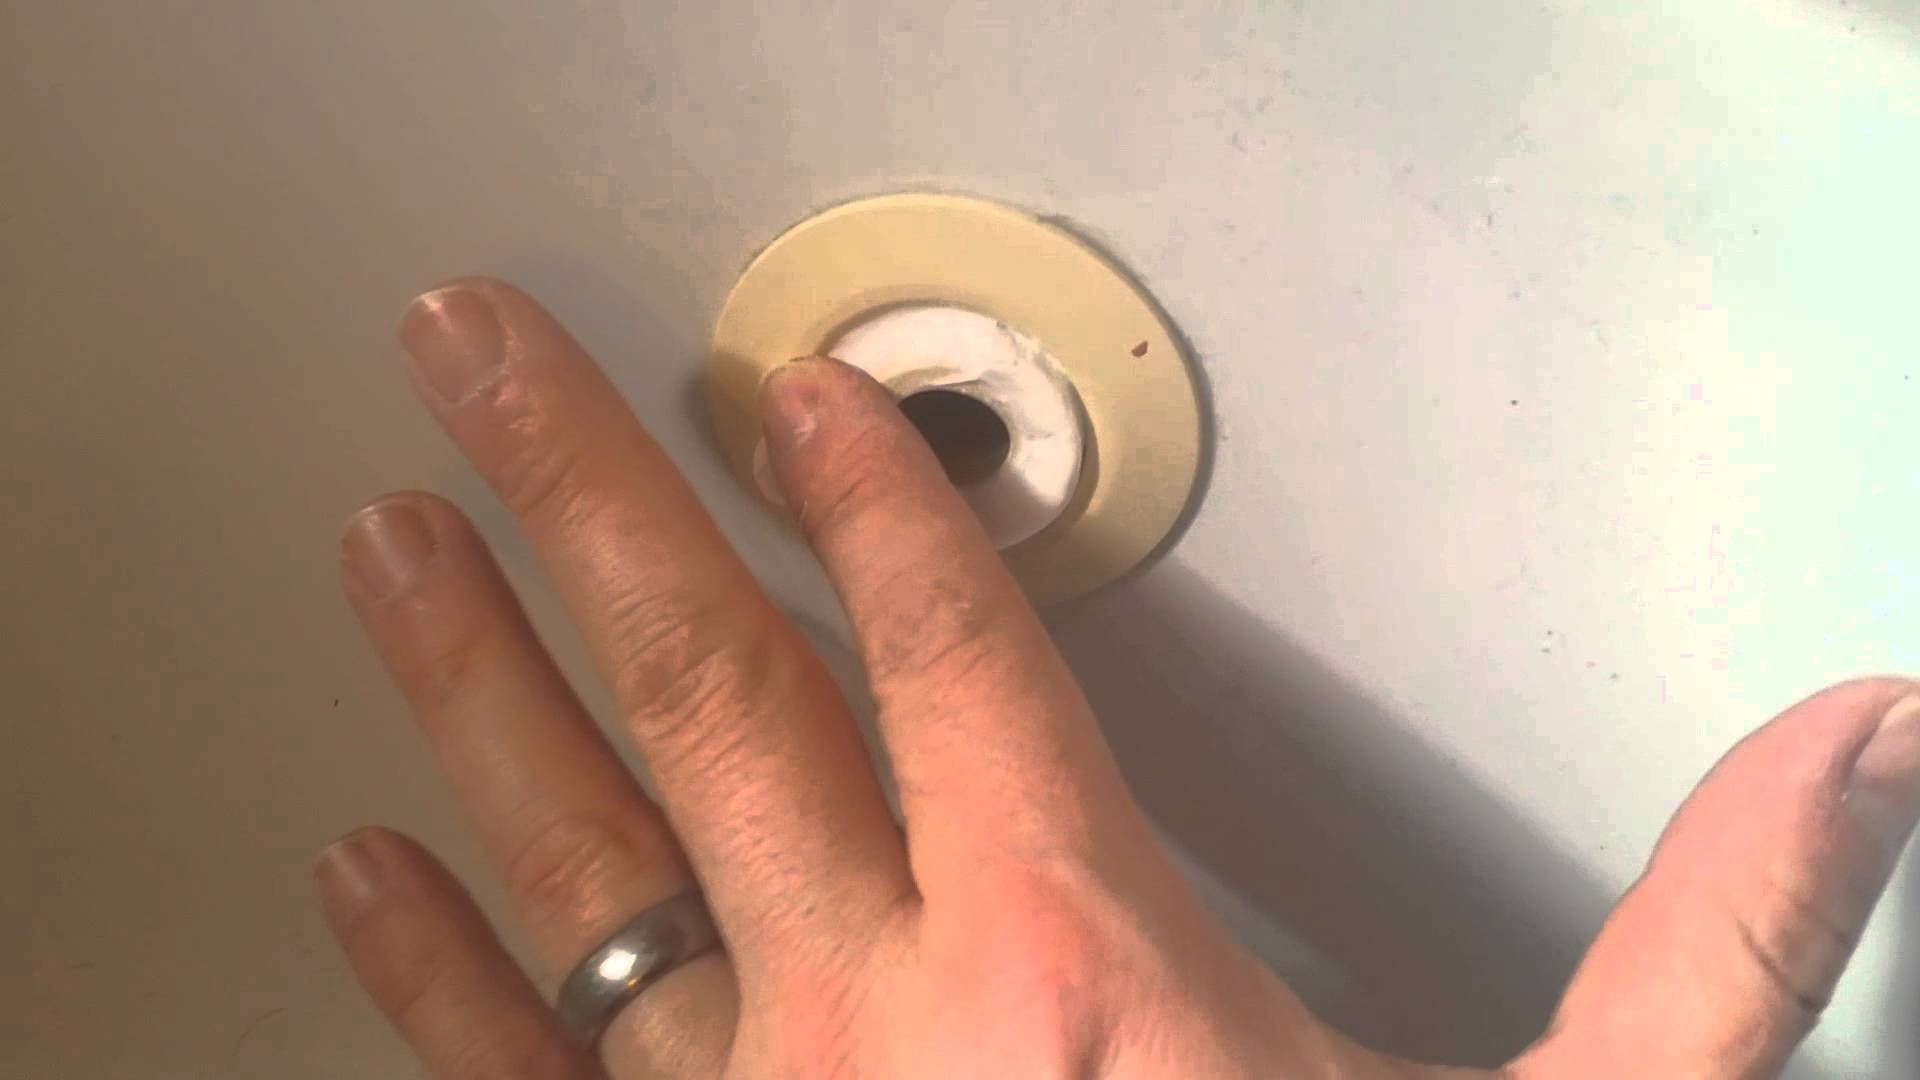
- Start by visually inspecting the area where the HVAC duct is located. Look for any visible ductwork, such as vents or registers, in the ceiling, walls, or floors.
- If you’re having trouble locating the duct visually, you can refer to the HVAC system’s blueprints or layout diagram. These documents should provide you with a clear indication of the duct’s exact location.
- If you still can’t determine the location of the duct, you can turn on the HVAC system and feel for the airflow. By placing your hand near the vents or registers, you should be able to detect the direction of the air movement. This will help you identify the specific duct you want to close off.
Once you have successfully located the HVAC duct, you’re ready to proceed to the next step of selecting the appropriate method to close off the duct.
It’s important to note that if you’re unsure about locating the HVAC duct or you’re dealing with a complex HVAC system, it may be best to consult a professional HVAC technician for assistance. They have the knowledge and expertise to accurately locate and close off the desired duct without causing any damage or disruption to the system.
Step 4: Selecting the appropriate method to close off the duct
Once you have identified the HVAC duct you want to close off, the next step is to determine the most suitable method to seal it. The method you choose will depend on various factors, including the size of the duct, its location, and any specific requirements for airflow redirection.
Here are some common methods for closing off HVAC ducts:
- Manual Dampers: Manual dampers are adjustable plates that can block or regulate the flow of air in the duct. They can be opened or closed manually, allowing you to control airflow at the specific duct location. To install a manual damper, you will need to cut a section of the duct and attach the damper using screws or duct tape.
- Motorized Dampers: Motorized dampers work similarly to manual dampers, but they can be remotely controlled or operated through a thermostat. These dampers offer more precise control over airflow and can be integrated into your HVAC system for automatic control. Motorized dampers may require professional installation due to electrical and wiring considerations.
- Duct Plugs: Duct plugs are inflatable devices designed to block off ducts temporarily. They can be inserted into the duct and inflated to create a tight seal. Duct plugs are ideal for sealing off smaller ducts or for temporary closures during maintenance or construction work.
- Duct Caps: Duct caps are solid covers that can be placed over the end of a duct to completely seal it off. They are typically used when a duct is no longer needed and needs to be permanently closed. Duct caps are available in various sizes and can be easily attached using screws or adhesive.
Consider the specific requirements of your situation and consult with a professional if needed to determine the most appropriate method for closing off your HVAC duct. It’s important to choose a method that provides a secure and airtight seal to effectively redirect or block airflow.
Once you have selected the method, you can proceed to the next step of preparing the chosen method for installation.
When closing off an HVAC duct, make sure to use the appropriate size and type of duct sealant or tape to ensure a tight and secure seal. This will help prevent air leaks and maintain the efficiency of your HVAC system.
Read more: How To Hide HVAC Ducts In Basement
Step 5: Preparing the chosen method
After selecting the appropriate method to close off your HVAC duct, it’s essential to prepare the chosen method before installation. Proper preparation ensures a smooth and effective sealing process.
The preparation steps will vary depending on the method you have chosen. Here are some general guidelines:
- Manual or Motorized Dampers: If you have chosen to use manual or motorized dampers, start by measuring the dimensions of the duct opening where the damper will be installed. Use a measuring tape to accurately determine the width and height of the opening. This will help you choose the correct size damper for a snug fit. Additionally, make sure you have the necessary tools, such as screws or duct tape, to secure the damper in place.
- Duct Plugs: If you have opted for duct plugs, ensure that you have the correct size plug for your duct. Carefully inspect the plug for any damages or leaks. If it’s an inflatable plug, familiarize yourself with the inflation mechanism and make sure it is in proper working condition. If there is a valve to inflate the plug, make sure it is closed before installation.
- Duct Caps: For duct caps, confirm that you have selected a cap of the appropriate size to fit snugly over the end of the duct. Ensure that you have the necessary tools, such as screws or adhesive, to secure the cap in place.
Regardless of the chosen method, it’s important to follow the manufacturer’s instructions for any specific preparation steps. This ensures that you are properly preparing the closure device and maximizing its effectiveness in closing off the HVAC duct.
Once you have completed the necessary preparations, you are ready to move on to the next step of closing off the HVAC duct.
Step 6: Closing off the HVAC duct
Now that you have gathered the necessary tools and materials, located the HVAC duct, and prepared the chosen closure method, it’s time to proceed with the process of closing off the duct.
Follow these steps to effectively close off the HVAC duct:
- For manual or motorized dampers, carefully attach the damper to the duct opening using screws or duct tape, ensuring a secure fit. If the damper requires adjustment, follow the manufacturer’s instructions to set it to the desired position.
- If using a duct plug, insert the plug into the duct opening and position it properly. If the plug is inflatable, ensure that it is fully inserted and aligned with the opening. If necessary, inflate the plug according to the manufacturer’s instructions to create a tight seal within the duct.
- For duct caps, place the cap over the end of the duct and secure it in place using screws or adhesive. Ensure that the cap is tightly sealed to prevent any air leakage.
During the installation process, be mindful of creating airtight seals to effectively close off the duct. Use the appropriate tools and techniques to ensure that no air escapes through gaps or openings.
If you encounter any issues, such as difficulty securing the closure method or identifying leaks, refer to the manufacturer’s instructions or consult with a professional HVAC technician for guidance. They can provide additional assistance specific to your situation.
Once you have successfully closed off the HVAC duct, you’re one step closer to achieving efficient airflow redirection or completing necessary repairs or renovations.
Step 7: Checking for proper sealing
After closing off the HVAC duct, it’s important to verify that it has been properly sealed to ensure optimal performance and energy efficiency. Checking for proper sealing helps identify any potential leaks or gaps that may compromise the effectiveness of the closure.
Follow these steps to check for proper sealing:
- Visually inspect the area around the closure method, such as the edges of the damper, plug, or cap. Look for signs of air leakage, such as gaps, cracks, or loose fittings. If any issues are identified, address them by tightening screws, applying additional tape, or making necessary adjustments.
- Run your hand along the sealed area, feeling for any air movement or drafts. Pay close attention to the edges and connections of the closure method. If you detect any air leakage, consider reinforcing the seal with additional duct tape or using a sealant specifically designed for HVAC systems.
- Turn on the HVAC system and observe the airflow in the surrounding areas. Check if there are any noticeable changes in the airflow pattern or any signs of air escaping from the closed-off duct. If you observe any abnormalities, it may indicate a problem with the seal that requires further attention.
If you encounter any issues during the sealing check, it is recommended to consult with a professional HVAC technician. They have the expertise to identify and resolve any sealing issues, ensuring that your HVAC system operates efficiently and effectively.
Ensuring the proper sealing of the closed-off HVAC duct is crucial for maintaining energy efficiency and preventing air leakage. By taking the time to check for proper sealing, you can address any potential issues and optimize the performance of your HVAC system.
Step 8: Restoring power supply
After successfully closing off the HVAC duct and ensuring proper sealing, the final step is to restore the power supply to your HVAC system. This step allows you to reactivate the system and resume its normal operation.
Follow these steps to restore the power supply:
- Locate the main electrical panel of your home or office where you previously shut off the power supply.
- Open the panel door to access the circuit breakers or fuses.
- Locate the circuit breaker that controls the HVAC system and flip it back to the “On” position. If you have fuses, install the fuse that corresponds to the HVAC system.
- Ensure that the circuit breaker or fuse is securely in place.
- Close the panel door.
With the power supply restored, the HVAC system will be operational once again, and the closed-off duct will redirect the airflow as intended.
It’s essential to double-check that the power supply has been fully restored before relying on the HVAC system. Take a moment to test the system and ensure that it is functioning properly. If you notice any issues or irregularities, consult with a professional HVAC technician for further assessment and assistance.
By following these steps and restoring the power supply correctly, you can confidently enjoy the benefits of your closed-off HVAC duct without compromising the functionality or safety of your HVAC system.
Read more: How To Repair A Hole In HVAC Duct
Conclusion
Closing off an HVAC duct may seem like a daunting task, but with the right tools and techniques, it can be a straightforward process. By following the step-by-step instructions outlined in this article, you can effectively close off an HVAC duct to redirect airflow or address specific needs in your home or office space.
Throughout the process, it’s crucial to prioritize safety by shutting off the power supply and wearing appropriate protective gear. Gathering the necessary tools and materials beforehand will help streamline the process and ensure you have everything you need at hand.
Locating the HVAC duct accurately is essential, whether through visual inspection, referring to blueprints, or feeling for airflow. This step allows you to focus your efforts on the specific duct you wish to close off.
Choosing the appropriate method for closing off the duct, such as manual or motorized dampers, duct plugs, or duct caps, ensures an effective seal. Careful preparation of the chosen method, such as measuring and inspecting for any damages or leaks, will contribute to a successful closure.
After closing off the duct, it’s important to check for proper sealing by visually inspecting, feeling for air movement, and observing the airflow in the surrounding areas. This step ensures the efficiency of the closure and allows you to address any issues promptly.
Lastly, restoring the power supply to the HVAC system completes the process. By following the necessary steps of flipping the circuit breaker or installing the fuse, you can reactivate the system and resume its normal operation.
In conclusion, with the right knowledge and approach, closing off an HVAC duct is achievable for both homeowners and professionals alike. By following the steps outlined in this article, you can effectively redirect airflow, address specific requirements, or facilitate repairs or renovations in your HVAC system. Remember to prioritize safety, consult professionals when needed, and enjoy the benefits of a properly closed-off HVAC duct.
Frequently Asked Questions about How To Close Off A HVAC Duct
Was this page helpful?
At Storables.com, we guarantee accurate and reliable information. Our content, validated by Expert Board Contributors, is crafted following stringent Editorial Policies. We're committed to providing you with well-researched, expert-backed insights for all your informational needs.


0 thoughts on “How To Close Off A HVAC Duct”