Articles
How To Repair A Hole In HVAC Duct
Modified: October 19, 2024
Learn how to repair a hole in your HVAC duct with these informative articles. Find step-by-step instructions and expert tips for a seamless fix.
(Many of the links in this article redirect to a specific reviewed product. Your purchase of these products through affiliate links helps to generate commission for Storables.com, at no extra cost. Learn more)
Introduction
When your HVAC (Heating, Ventilation, and Air Conditioning) system has a hole in its ductwork, it can lead to energy loss, decreased efficiency, and compromised indoor air quality. Repairing the hole in the HVAC duct is crucial to ensure that the system functions optimally and maintains a comfortable living environment.
In this article, we will guide you through the step-by-step process of repairing a hole in HVAC ductwork. From gathering the necessary materials to applying the appropriate patching techniques, you will learn how to effectively fix the hole, restore airflow, and prevent further damage.
Key Takeaways:
- Properly repairing a hole in HVAC ductwork involves gathering materials, measuring, cleaning, applying a temporary fix, and securing a metal patch with adhesive, screws, and sealant. This ensures a durable, airtight seal and optimal system functionality.
- After repairing the hole, it’s crucial to turn on the HVAC system and check for leaks. Addressing any issues promptly maintains system efficiency and prevents further damage. Regular maintenance and professional consultation contribute to long-term HVAC performance.
Read more: How To Clean HVAC Ducts
Step 1: Gather the necessary materials
Before you begin repairing the hole in the HVAC duct, it is important to gather all the necessary materials. Having everything ready will make the process smoother and more efficient. Here are the materials you will need:
- Duct tape: This will be used as a temporary fix to secure the hole until you can apply a more permanent solution.
- Measuring tape: You will need this to measure the size of the hole accurately.
- Sheet metal patching material: This material will be used to cover the hole in the ductwork and create a durable seal.
- Adhesive: Choose a high-quality adhesive specifically designed for HVAC systems to ensure a strong bond between the patch and the ductwork.
- Screws or rivets: These will be used to secure the patch in place.
- Drill or screwdriver: Depending on the type of fasteners you are using, you will need a drill or a screwdriver to attach the patch to the ductwork.
- Duct sealant: This specialized sealant will be applied over the patch to create an airtight seal and prevent leaks.
- Clean cloth or brush: You will need this to clean the area around the hole before applying the patch.
Gathering these materials beforehand will ensure that you have everything you need to successfully repair the hole in your HVAC duct. With these materials at hand, you can proceed to the next steps of the repair process.
Step 2: Turn off the HVAC system
Before you begin working on repairing the hole in the HVAC duct, it is crucial to turn off the HVAC system. This is for your safety and to prevent any potential damage to the system.
Turning off the HVAC system will ensure that there is no air pressure flowing through the ductwork, making it easier to work on and repair the hole. It will also prevent any debris or dust from being circulated throughout your home.
To turn off the HVAC system, locate the main power switch or circuit breaker that controls the system. Switch it off or turn off the corresponding breaker to cut off the electricity supply to the HVAC unit.
It is also a good idea to turn off the thermostat to prevent any accidental activation while you are working on the ductwork. This will further ensure your safety and prevent any disruptions during the repair process.
Remember to take necessary precautions and follow any additional safety protocols provided by the manufacturer of your HVAC system. Once the system is completely turned off, you can proceed with confidence to the next step of locating the hole in the HVAC duct.
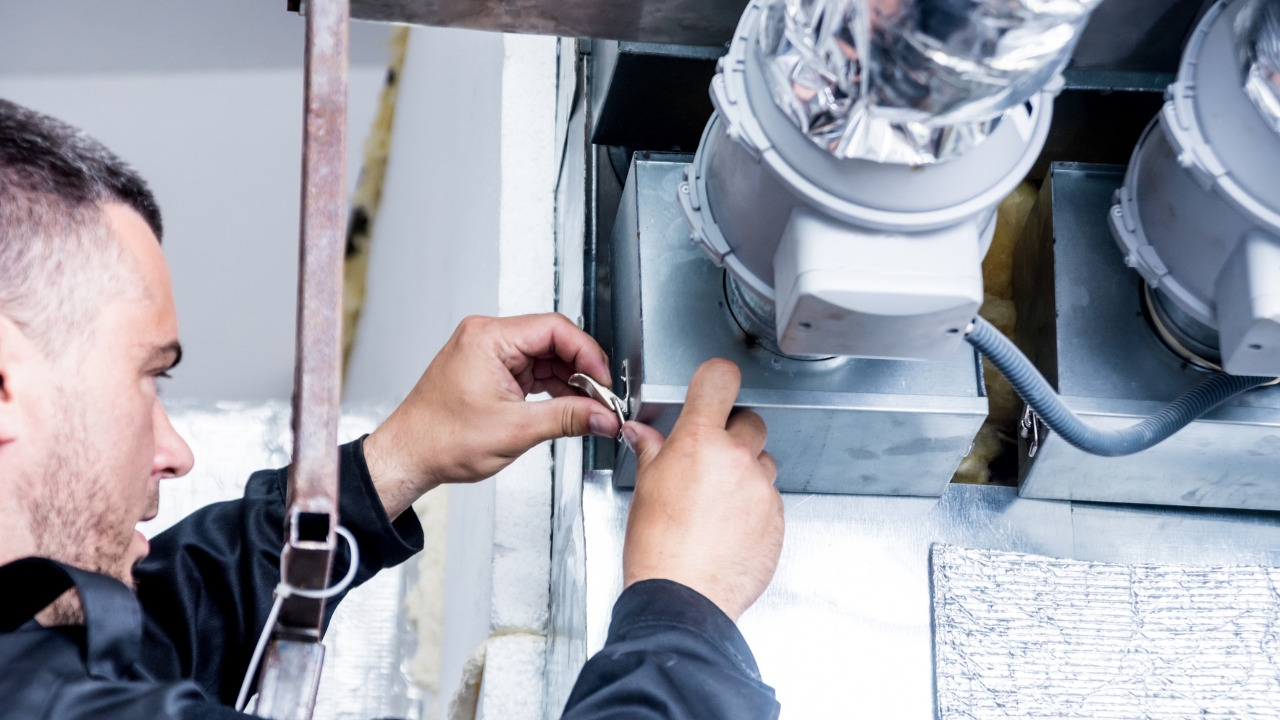
Step 3: Locate the hole in the HVAC duct
Locating the hole in the HVAC duct is an important step in the repair process. This will help you accurately assess the extent of the damage and determine the best course of action to fix it.
Start by visually inspecting the ductwork for any visible signs of a hole or gap. Look for areas where the ducts may have separated, or where there are visible cracks or openings. Pay attention to any air leaks or noticeable drops in airflow, as these could indicate the location of the hole.
If the hole is not readily visible, you can use the following techniques to help you locate it:
- Listen for air hissing sounds: Turn on the HVAC system briefly and listen for any hissing sounds in the vicinity of the ductwork. This could indicate the presence of a hole or gap where air is escaping.
- Feel for air drafts: Run your hand along the ductwork, feeling for any air drafts. You may notice a significant airflow near the area with the hole.
- Use smoke or a candle flame: Light a candle or stick of incense and hold it near the ductwork. Observe the flame or smoke to see if it wavers or is drawn towards a specific area. This can help you pinpoint the location of the hole.
Once you have located the hole in the HVAC duct, mark it using a pen or a small piece of tape. This will make it easier for you to clean and repair the specific area later on.
By properly identifying and marking the hole, you can proceed to the next steps of cleaning the area and preparing it for repair.
Step 4: Clean the area around the hole
Before you start repairing the hole in the HVAC duct, it is essential to clean the area surrounding the hole. Cleaning the area ensures that the patching material adheres properly and creates a tight seal, preventing any air leakage.
Here’s how to effectively clean the area:
- Start by removing any debris, dust, or loose particles around the hole. Use a clean cloth or a brush to gently wipe away any dirt or grime. Be careful not to damage the ductwork or enlarge the hole accidentally.
- If the area is greasy or dirty, you can use a mild soap solution or a dedicated duct cleaning solution to clean the surface. Apply the solution to a clean cloth and gently wipe the area, ensuring that it is thoroughly cleaned. Avoid excessive moisture as it may interfere with the patch adhering properly.
- Once the area is cleaned, allow it to dry completely. Any residual moisture can affect the bonding of the adhesive and compromise the effectiveness of the repair. You can use a fan or a hairdryer on low heat to speed up the drying process if necessary.
- Inspect the cleaned area once it is dry. If you notice any stubborn dirt or residue, repeat the cleaning process until the surface is clean and smooth.
By cleaning the area around the hole, you are ensuring a clean and properly prepared surface for the patching process. This will promote better adhesion and a more effective repair, ultimately preventing any air leakage or energy loss.
Read more: How To Close Off A HVAC Duct
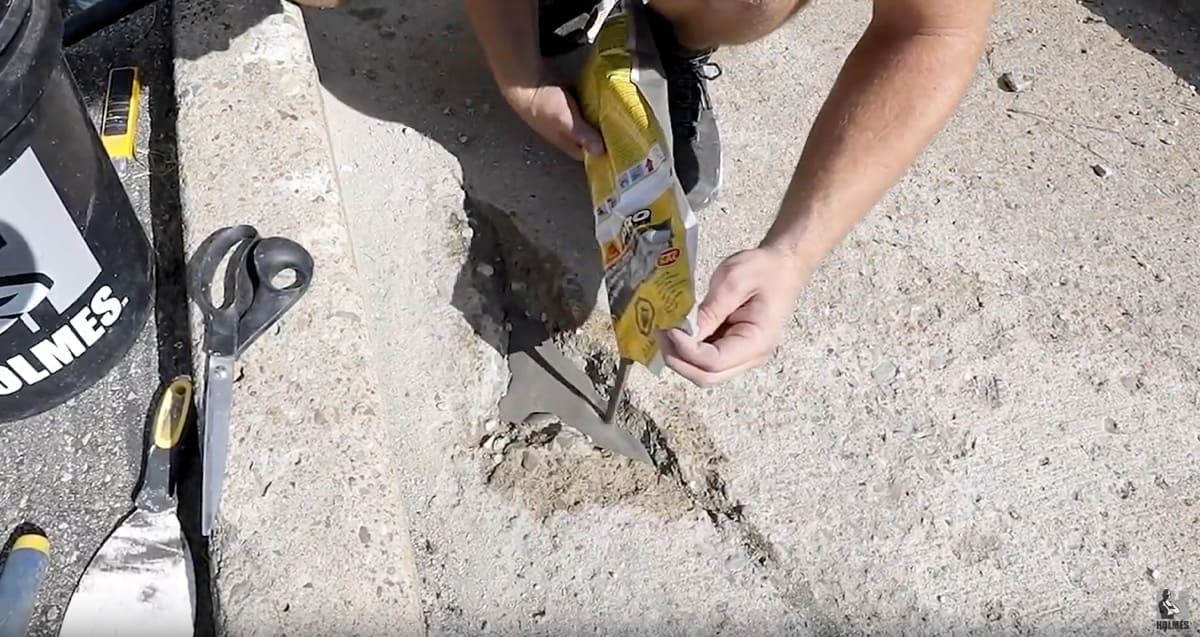
Step 5: Apply duct tape as a temporary fix
In some cases, you may need to apply a temporary fix to the hole in the HVAC duct before proceeding with a more permanent repair. Duct tape can be used as a temporary solution to seal the hole and prevent any immediate air leakage.
Here’s how to apply duct tape as a temporary fix:
- Cut a piece of duct tape that is slightly larger than the size of the hole.
- Ensure that the area around the hole is clean and dry.
- Place the duct tape over the hole, pressing it firmly to create a tight seal. Make sure the tape extends beyond the edges of the hole for better coverage.
- Smooth out any wrinkles or air bubbles in the tape to ensure a secure bond.
While duct tape can provide a temporary solution, it is important to note that it is not a long-term fix. Duct tape may deteriorate over time, especially when exposed to temperature changes and environmental factors. It is crucial to proceed with a permanent repair to ensure the integrity of the HVAC duct.
Using duct tape as a temporary fix allows you to temporarily seal the hole and prevent further air leakage while you gather the necessary materials and prepare for the permanent repair process.
Step 6: Measure the size of the hole
Accurately measuring the size of the hole in the HVAC duct is crucial to ensure that you obtain the appropriate-sized patching material for the repair. This will help create a strong and effective seal.
To measure the size of the hole, you can follow these steps:
- Take a measuring tape and place it near the hole.
- Measure the width and height of the hole carefully. Take into account any irregularities or additional gaps around the hole.
- Record the measurements in inches or centimeters for future reference.
It is important to measure the hole accurately to ensure that the patching material covers both the hole itself and a sufficient area around it for a secure repair. This will prevent any air leakage and maintain the efficiency of the HVAC system.
By measuring the size of the hole beforehand, you can proceed to the next step of cutting the appropriate-sized patching material for the repair process.
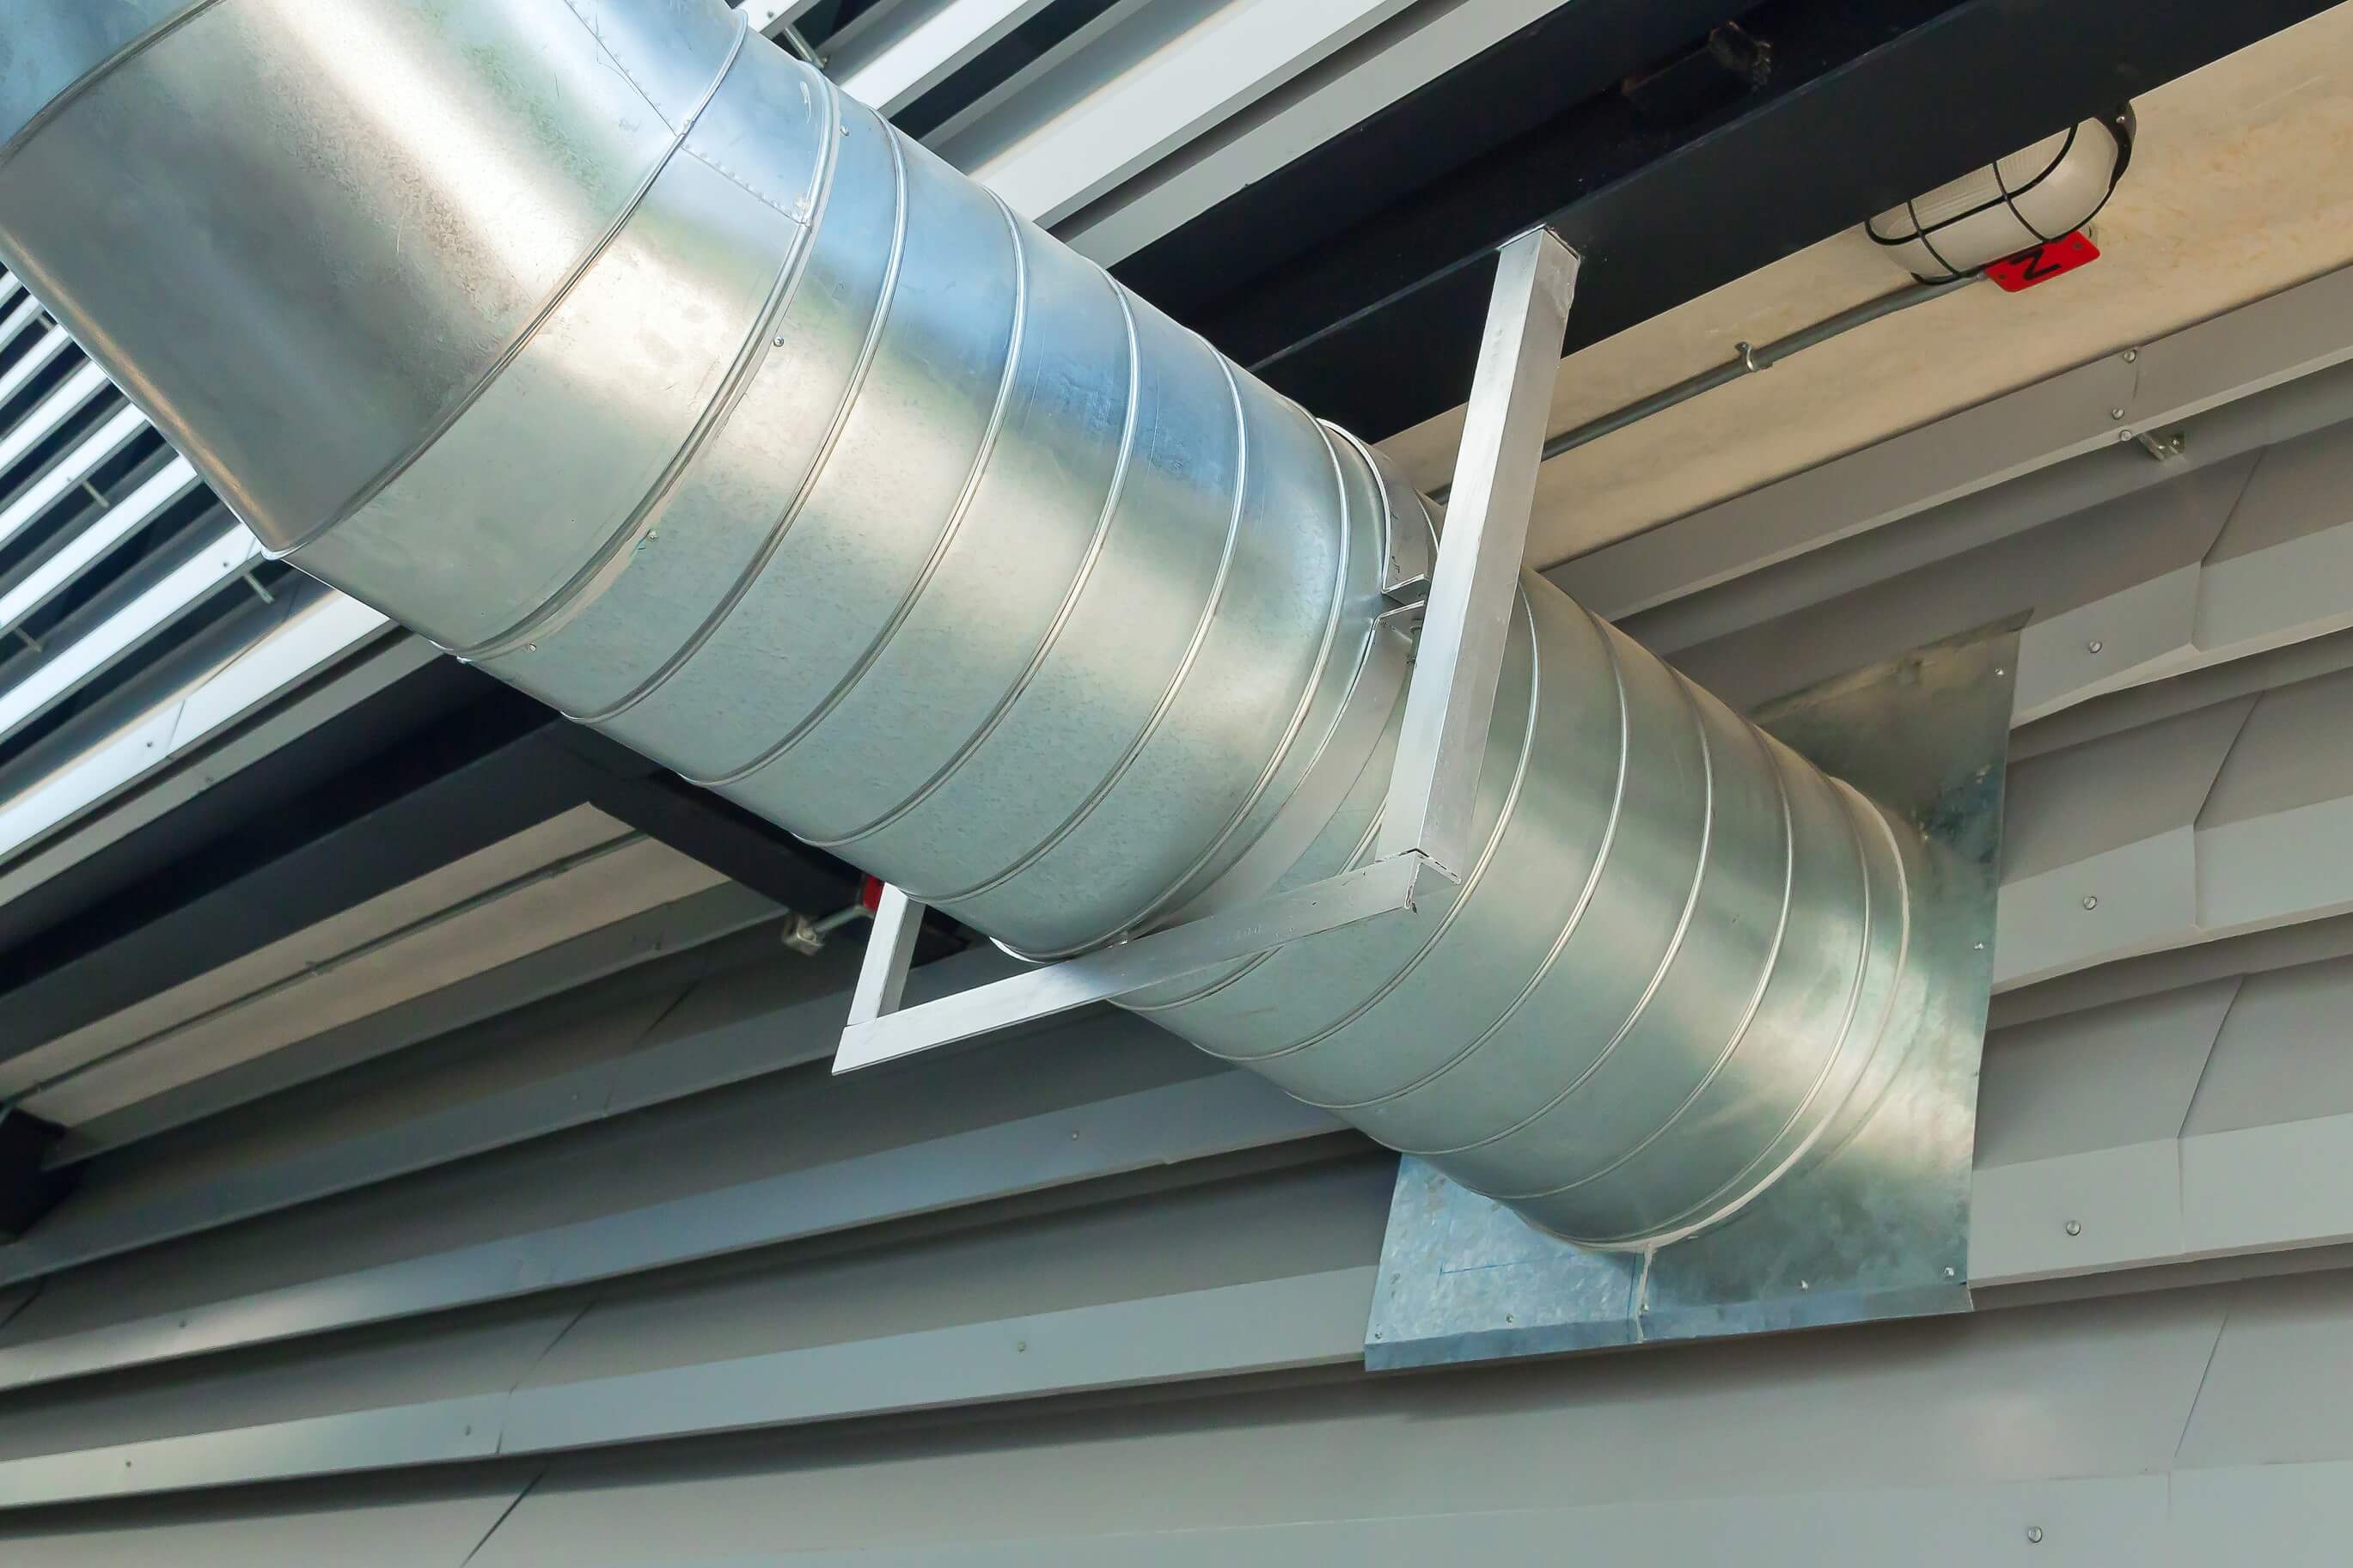
Step 7: Cut a metal patching material
After measuring the size of the hole in the HVAC duct, the next step is to cut a metal patching material that fits perfectly over the hole. The metal patch will provide a durable and long-lasting solution to repair the duct.
Here’s how you can cut a metal patching material:
- Select a sheet metal material that is sturdy and compatible with HVAC systems. Aluminum or galvanized steel are commonly used for patching ductwork.
- Measure the dimensions of the hole from the previous step.
- Transfer the measurements onto the sheet metal, marking the dimensions of the hole onto the material with a pen or marker.
- Using metal snips or tin snips, carefully cut along the marked lines to create a patch that matches the size of the hole.
- Once the patch is cut, ensure that the edges are smooth to avoid any sharp edges that could cause injury or damage to the HVAC system.
It is important to note that the patch should be slightly larger than the actual size of the hole. This allows for better coverage and ensures a secure fit when attaching the patch to the ductwork.
By cutting a properly-sized metal patch, you are one step closer to effectively repairing the hole in the HVAC duct and restoring the functionality of the system.
Use aluminum foil tape to cover the hole in the HVAC duct. Make sure the tape is firmly pressed to create a tight seal and prevent air leakage.
Step 8: Apply adhesive to the patching material
Applying adhesive to the patching material is an important step in the repair process, as it creates a strong bond between the patch and the HVAC ductwork. This adhesive ensures a secure and long-lasting repair that prevents any future air leakage.
Follow these steps to apply adhesive to the patching material:
- Choose a high-quality adhesive that is specifically designed for HVAC applications. Make sure to read and follow the manufacturer’s instructions for the adhesive.
- Apply a thin layer of the adhesive onto the side of the patch that will come into contact with the ductwork. Use a brush or a spatula to evenly spread the adhesive over the surface.
- Ensure that the adhesive covers the entire surface of the patch, extending slightly beyond the edges. This will create a strong seal and prevent any potential gaps or air leakage.
- Allow the adhesive to set according to the manufacturer’s instructions. The drying or curing time may vary depending on the specific adhesive used.
By applying adhesive to the patching material, you are ensuring a secure attachment between the patch and the HVAC ductwork. This step plays a crucial role in the longevity and effectiveness of the repair.
Once the adhesive has set, you can proceed to the next step of placing the patch over the hole in the ductwork.
Read more: How To Hide HVAC Ducts In Basement
Step 9: Place the patch over the hole
After applying adhesive to the patching material, the next step is to carefully place the patch over the hole in the HVAC duct. This step is critical to ensure a proper seal and effective repair.
Follow these steps to place the patch over the hole:
- Position the patching material over the hole, ensuring that it covers the entire area of the hole and extends slightly beyond the edges.
- Press the patch firmly against the ductwork, applying even pressure to create a secure bond.
- Make sure that the patch is centered over the hole and aligned properly with the ductwork. This will ensure a seamless repair and prevent any potential air leakage.
When placing the patch, be cautious not to disturb the adhesive layer. This can compromise the integrity of the bond and affect the effectiveness of the repair.
Once the patch is securely in place, you can proceed to the next step of securing the patch using screws or rivets.
By carefully placing the patch over the hole, you are taking a major step towards restoring the functionality of the HVAC duct and preventing any air leakage.
Step 10: Secure the patch with screws or rivets
Securing the patch with screws or rivets is an essential step in the repair process. It provides additional stability and ensures that the patch remains firmly attached to the HVAC ductwork, creating a robust and airtight seal.
Follow these steps to secure the patch with screws or rivets:
- Mark the locations for screw or rivet placement around the edges of the patch. Ensure that the marks are evenly spaced and provide sufficient support to hold the patch in place.
- Using a drill or screwdriver, carefully create pilot holes at the marked locations. These pilot holes will help guide the screws or rivets and prevent any damage to the patch or ductwork.
- Place the patch back on top of the hole, aligning it with the pilot holes.
- Insert screws or rivets through the pilot holes and secure them tightly. If using screws, make sure to tighten them enough to create a firm grip without damaging the ductwork.
- If using rivets, follow the manufacturer’s instructions to properly fasten them and create a secure attachment.
- Check that the patch is securely fastened by gently tugging on it. It should be firmly in place with no movement.
Securing the patch with screws or rivets provides a robust and durable solution to repair the hole in the HVAC duct. It ensures that the patch remains in place, even under pressure or airflow, preventing any air leakage and maintaining the efficiency of the system.
With the patch securely fastened, you can proceed to the next step of applying duct sealant over the patch for added protection.
Step 11: Apply duct sealant over the patch
Applying duct sealant over the patch is a crucial step to create an airtight seal and further enhance the integrity of the repair. The duct sealant acts as a protective barrier, preventing any potential air leakage and maximizing the efficiency of the HVAC system.
Follow these steps to apply duct sealant over the patch:
- Choose a high-quality duct sealant that is specifically designed for HVAC applications. Make sure to read and follow the manufacturer’s instructions for the sealant.
- Using a brush or spatula, apply a thin layer of duct sealant over the entire patch and around the edges. Make sure to cover the patch completely, extending slightly beyond the edges.
- Smooth out the sealant, ensuring that it fills any gaps or crevices around the patch and creates a seamless barrier.
- Depending on the specific sealant, you may need to allow it to dry or cure according to the manufacturer’s instructions.
The duct sealant forms an additional layer of protection, preventing any air leakage through the repaired area. It also helps to minimize the risk of any future damage or deterioration of the patching material.
Allow the sealant to fully dry or cure before proceeding to the next step of the repair process.
Applying duct sealant over the patch ensures a reliable and long-lasting repair, contributing to the overall efficiency and performance of the HVAC system.
Step 12: Allow the sealant to dry
After applying the duct sealant over the patch, it is important to allow sufficient time for it to fully dry and cure. Drying the sealant is crucial to ensure a strong and durable bond that effectively seals the repaired area and prevents any air leakage.
Follow these guidelines to allow the sealant to dry properly:
- Check the manufacturer’s instructions for the recommended drying time. Different types of duct sealants may require varying drying durations.
- Avoid touching or disturbing the repaired area during the drying process. This can compromise the effectiveness of the sealant bonding.
- Ensure proper ventilation in the area to facilitate the drying process. Good airflow helps the moisture in the sealant to evaporate more efficiently.
- Monitor the repaired area periodically to ensure that the sealant is drying properly and there are no signs of any issues.
It is crucial to allow the sealant to fully dry before turning on the HVAC system or subjecting the repaired area to any air pressure or stress. Rushing the drying process can weaken the sealant and compromise the overall effectiveness of the repair.
Once the sealant has dried completely, you can proceed to the final step of turning on the HVAC system and checking for any leaks.
Patience and proper drying time are essential in order to ensure a successful repair and achieve optimal results for the longevity of your HVAC system.
Read more: How To Calculate Duct Size For HVAC
Step 13: Turn on the HVAC system and check for leaks
Once the sealant has dried and cured, you are ready to turn on the HVAC system and check for any leaks in the repaired area. This final step is crucial to ensure that the repair is effective and that the ductwork is functioning properly.
Follow these steps to turn on the HVAC system and check for leaks:
- Turn on the HVAC system using the thermostat or the main power switch.
- Allow the system to run for a few minutes, giving it enough time to cycle through its normal operation.
- Inspect the repaired area carefully for any signs of air leakage. Look for any hissing sounds, visible air leaks, or drops in airflow.
- If you notice any leaks or believe that the repair is not fully effective, it may be necessary to revisit the earlier steps in the repair process. Assess the area, clean it if necessary, and apply additional sealant or reinforcement as needed.
- If there are no visible leaks or issues, closely monitor the repaired area over the next few days to ensure that the repair holds up under normal operation.
Checking for leaks after repairing the HVAC duct is essential to ensure that the system is working efficiently and effectively. It allows you to identify any issues promptly and address them before they potentially cause further damage.
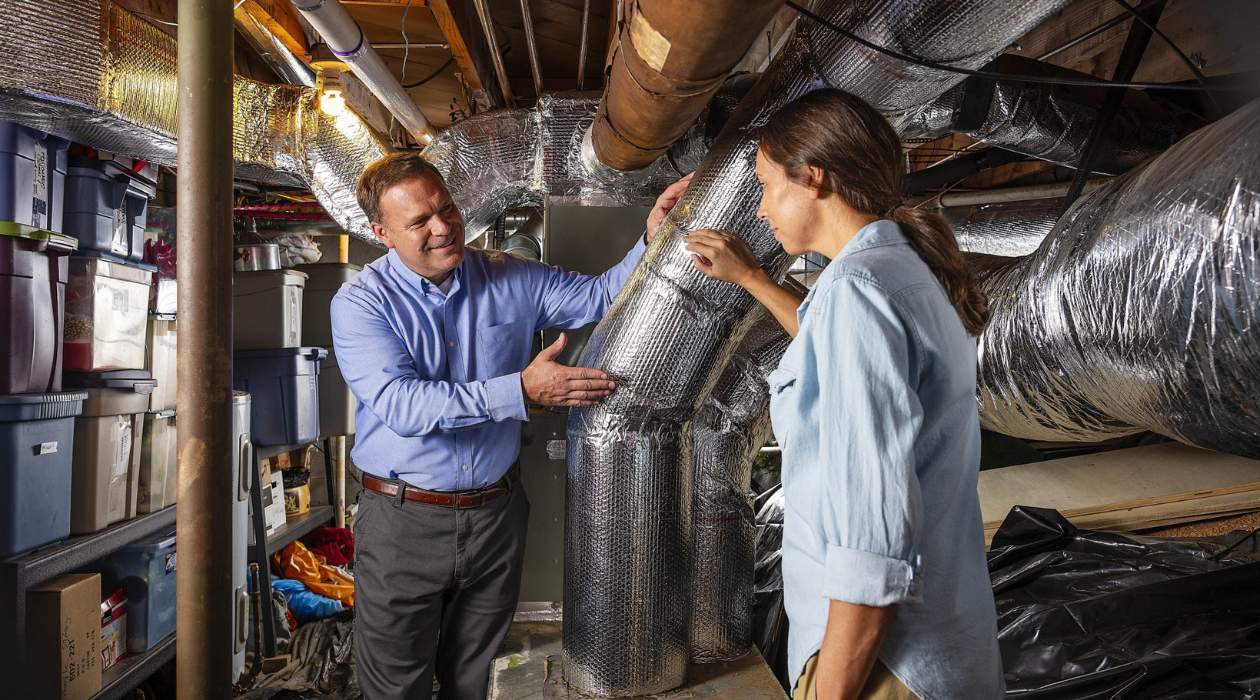
If you are uncertain about the effectiveness of the repair or if you continue to experience air leakage, it is recommended to consult with a professional HVAC technician who can provide expert guidance and assistance.
By carefully checking for leaks and addressing any potential issues, you can have confidence in the repair and enjoy the optimal functioning of your HVAC system.
Conclusion
Repairing a hole in the HVAC duct is a crucial maintenance task that helps to maintain the efficiency and functionality of your heating and cooling system. By following the step-by-step process outlined in this article, you can effectively repair a hole in your HVAC duct and prevent any air leakage or energy loss.
From gathering the necessary materials to turning off the HVAC system, locating the hole, cleaning the area, applying a temporary fix, and ultimately, applying a permanent patch, each step is essential to ensure a successful repair. By taking the time to measure the hole accurately, cut a properly-sized patch, and secure it with screws or rivets, you are creating a durable and long-lasting seal. Applying sealant and allowing it to dry further enhances the repair and guarantees an airtight seal.
Once the repair is completed, it is crucial to turn on the HVAC system and check for any leaks. This final step ensures that the repair is effective and that the ductwork is functioning optimally. Addressing any leaks promptly will help maintain the efficiency of your HVAC system and prevent further damage.
Remember, if you are unsure about any step of the repair process or encounter difficulties, it is always best to consult a professional HVAC technician. They can provide expert guidance and ensure that the repair is done correctly.
By taking the time to repair holes in your HVAC ductwork, you will not only enhance the efficiency of your system but also improve indoor air quality and potentially save on energy costs. Regular maintenance and prompt repairs are key to keeping your HVAC system running smoothly for years to come.
Frequently Asked Questions about How To Repair A Hole In HVAC Duct
Was this page helpful?
At Storables.com, we guarantee accurate and reliable information. Our content, validated by Expert Board Contributors, is crafted following stringent Editorial Policies. We're committed to providing you with well-researched, expert-backed insights for all your informational needs.


0 thoughts on “How To Repair A Hole In HVAC Duct”