Articles
How To Replace Air Ducts In The Attic
Modified: December 7, 2023
Learn how to replace air ducts in your attic with our informative articles. Improve your home's energy efficiency and air quality today!
(Many of the links in this article redirect to a specific reviewed product. Your purchase of these products through affiliate links helps to generate commission for Storables.com, at no extra cost. Learn more)
Introduction
Welcome to our comprehensive guide on how to replace air ducts in the attic. Air ducts play a crucial role in distributing heated or cooled air throughout your home, ensuring optimal comfort levels. Over time, however, these ducts may become worn out or damaged, leading to poor airflow, inefficient performance, and even health concerns. It is essential to address any issues with your air ducts promptly to maintain a healthy and comfortable living environment.
In this article, we will walk you through each step of the process, from assessing the condition of the air ducts to completing the installation of new ones. We will provide you with helpful tips, techniques, and insights to ensure a successful replacement of your attic air ducts. So, let’s get started!
Before we dive into the steps, it’s important to note that replacing air ducts in the attic is a task that requires certain skills and knowledge. It may be best to consult with a professional HVAC technician if you are unsure about any aspect of the process. Additionally, ensure that you follow all safety precautions and use appropriate personal protective equipment to minimize any risks.
Are you ready? Let’s begin by assessing the condition of your air ducts in the attic, so we can determine if replacement is necessary.
Key Takeaways:
- Properly assessing the condition of your air ducts is crucial before replacement. Look for visible damage, leaks, and insulation issues to determine if replacement is necessary for optimal HVAC system performance.
- Gathering the right tools and materials, removing old ducts, installing new ones, and sealing connections are essential steps for successful air duct replacement. Prioritize safety and thoroughness throughout the process for improved home comfort.
Read more: How To Insulate HVAC Ducts In An Attic
Step 1: Assessing the condition of the air ducts
Before proceeding with the replacement of your air ducts, it is crucial to assess their condition. This step will help you determine if replacement is necessary or if a simple repair will suffice. Here are a few key points to consider:
- Inspect for visible damage: Begin by visually inspecting the air ducts for any signs of damage or deterioration. Look for holes, cracks, loose connections, or collapsed sections. These issues can significantly impact the efficiency and effectiveness of your HVAC system.
- Check for leaks: Air leaks in your ductwork can lead to significant energy loss and reduced airflow. Carefully examine the ducts for any noticeable air leaks. A good tip is to run your hand along the ducts while your HVAC system is running to feel for any air escaping.
- Consider the age of the ducts: The age of your air ducts can also be a factor in their condition. Ducts that are older may be more prone to wear and tear, and replacement might be a better long-term solution.
- Assess insulation: Insulation is essential for preventing heat loss or gain in your ductwork. Check the condition of the insulation, ensuring that it is intact and not degraded. Damaged insulation can lead to energy inefficiency.
Once you have assessed the condition of your air ducts and identified any issues, you will have a better understanding of whether replacement is necessary. If the damage is extensive or if there are multiple leaks and cracks, it is generally recommended to replace the ducts rather than attempting to repair them.
Remember, if you are unsure or uncomfortable with assessing your ductwork’s condition, it’s best to consult with a professional HVAC technician. They will have the expertise to accurately evaluate the state of your air ducts and provide appropriate recommendations.
Now that you have assessed the condition of your air ducts, it’s time to gather the necessary tools and materials for the replacement process. Let’s move on to step 2!
Step 2: Gathering necessary tools and materials
Before you begin the process of replacing your air ducts in the attic, it is essential to gather all the necessary tools and materials. Having everything ready beforehand will help streamline the installation process. Here is a list of common tools and materials you might need:
- Tape measure: A tape measure is crucial for accurately measuring the length of the new air ducts and ensuring a proper fit.
- Utility knife: A utility knife will come in handy for cutting through the old insulation and making precise cuts when installing new air ducts.
- Sheet metal snips: Sheet metal snips are necessary for cutting through metal ductwork and making any necessary adjustments during installation.
- Screwdriver or drill: Depending on the fasteners used, you may need either a screwdriver or a drill to remove and install screws or bolts.
- Metal connectors: Metal connectors, such as duct clamps or zip ties, are used to secure the connections between the air ducts and other components of the HVAC system.
- Insulation materials: Insulation is essential to prevent heat loss or gain in your air ducts. Make sure to have proper insulation materials like fiberglass insulation or foam board insulation, as per your HVAC system requirements.
- Gloves and safety goggles: It is crucial to prioritize your safety during the replacement process. Wear gloves to protect your hands and safety goggles to shield your eyes from any debris or insulation particles.
- Duct mastic or foil tape: These materials are used to seal the connections between the air ducts and ensure airtightness. Duct mastic is a gooey substance that is applied with a brush, while foil tape is a self-adhesive tape specifically designed for ductwork sealing.
Ensure that you have all the necessary tools and materials listed above before starting the replacement process. This will prevent any delays or interruptions during installation. It’s also a good idea to have a clean, well-lit workspace in your attic to make the process more organized and efficient.
Once you have gathered all the tools and materials, you’re ready to move on to the next step: removing the old air ducts. Stay tuned!
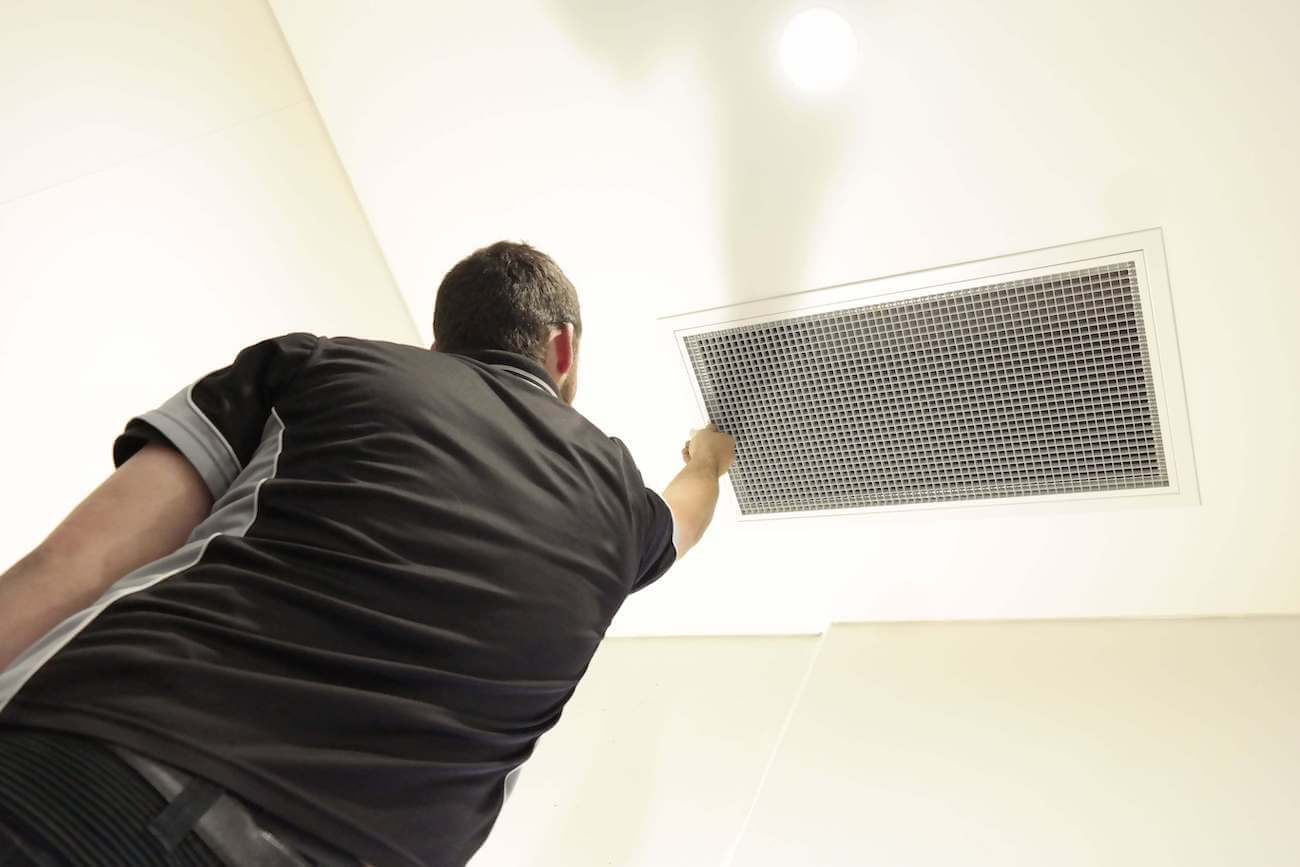
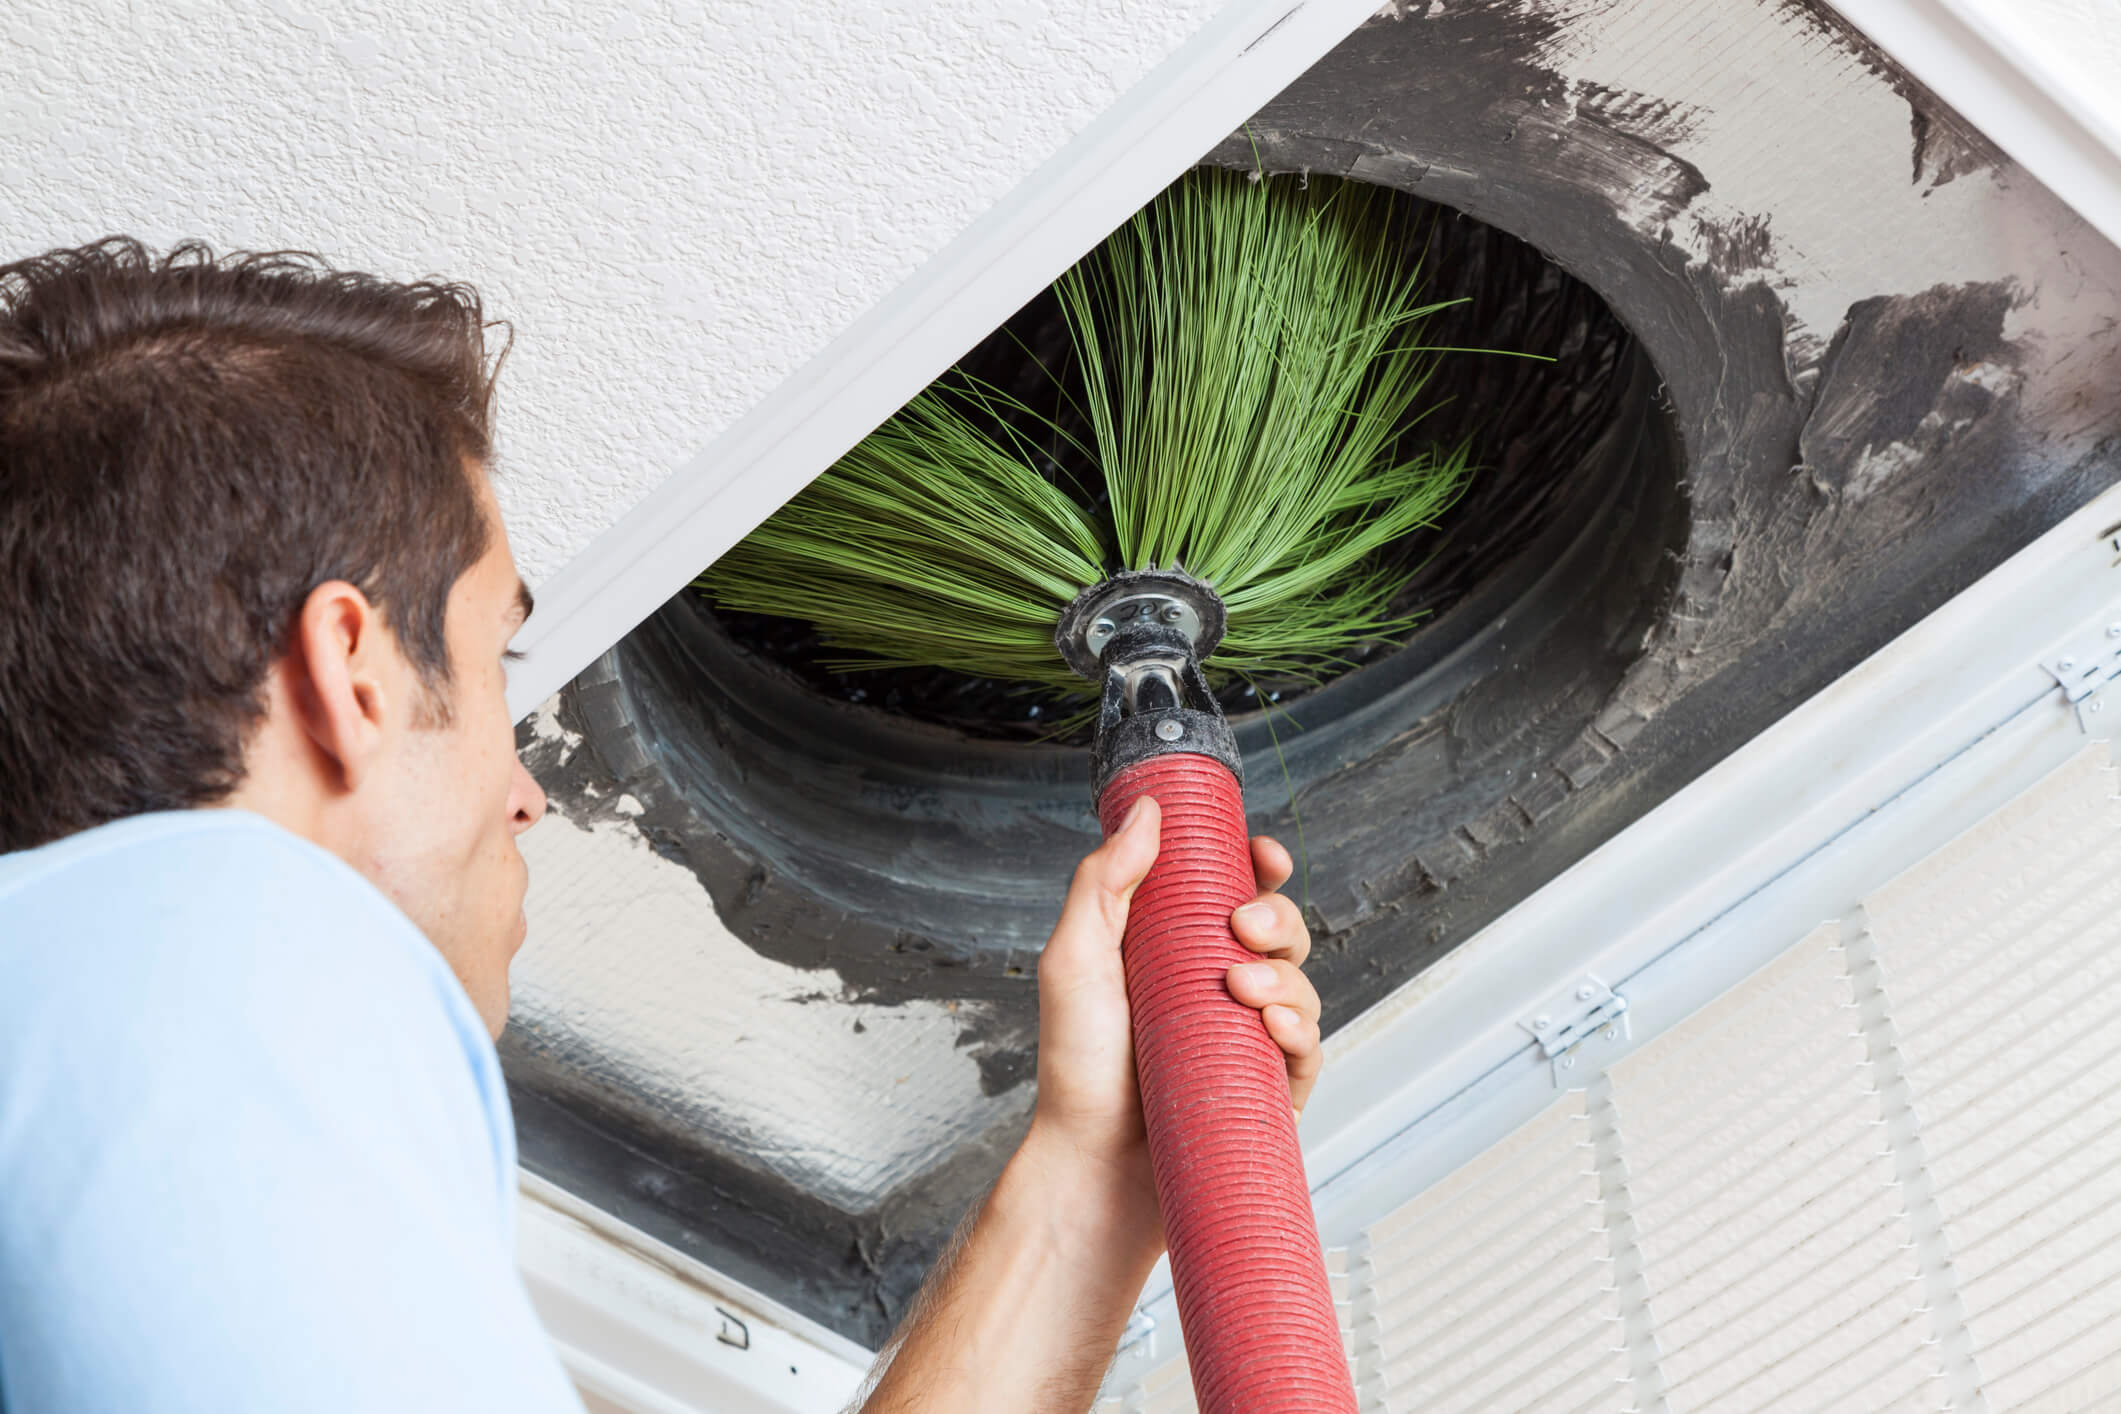
Step 3: Removing the old air ducts
Now that you have gathered all the necessary tools and materials, it’s time to remove the old air ducts from your attic. Removing the old ductwork can be a bit challenging, but with the right approach, you can make the process smoother. Here’s a step-by-step guide:
- Turn off the HVAC system: Before starting the removal process, it’s essential to turn off your HVAC system to ensure your safety.
- Locate and identify the old ducts: Carefully identify the sections of the ductwork that need to be removed. Take note of any areas where the ducts are connected to other components, such as vents or the main supply line.
- Disconnect the old ducts: Loosen any screws or clamps connecting the ducts to the vents or other components. Use a screwdriver or a drill, depending on the type of fasteners used. Gently pull the ducts apart and remove them one section at a time.
- Remove the old insulation: Once the ducts are disconnected, remove the insulation that was surrounding them. Use a utility knife or scissors to carefully cut through and remove any old insulation. Dispose of the old insulation properly.
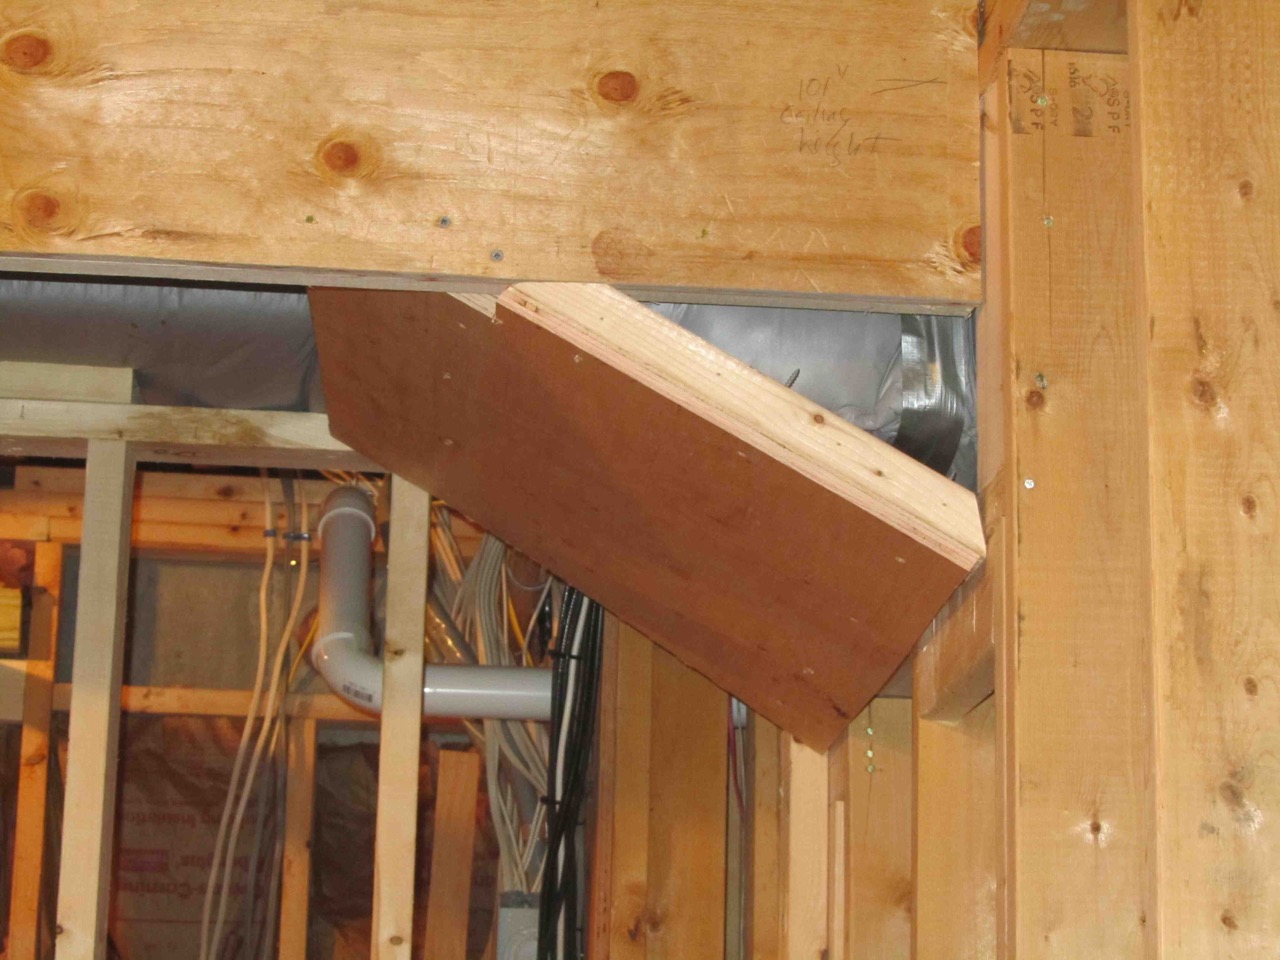
- Inspect the area: With the old ducts and insulation removed, take the opportunity to inspect the area for any signs of damage, mold, or pests. If any issues are found, address them before proceeding with the installation of new air ducts.
Removing the old air ducts requires patience and attention to detail. Take your time and ensure that you disconnect and remove each section properly to avoid damaging other components. It may also be helpful to have an extra set of hands to assist you with the removal process.
Once you have successfully removed the old ductwork and cleaned the area, you are ready to move on to the next step: installing the new air ducts. Stay tuned for step 4!
Step 4: Installing new air ducts
With the old air ducts removed and the area prepared, it’s time to install the new air ducts in your attic. Proper installation is crucial to ensure efficient airflow and optimal performance of your HVAC system. Follow these steps to install the new air ducts:
- Measure and cut the new ducts: Using a tape measure, carefully measure the length needed for each new air duct. Double-check your measurements to ensure accuracy. Using a utility knife or sheet metal snips, cut the new ducts according to the measurements.
- Position the new ducts: Position the new ducts in the desired locations, aligning them with the vents or other components. Make sure the connections are secure and properly aligned.
- Secure the connections: Depending on the type of ductwork you are using, secure the connections using metal connectors like duct clamps or zip ties. Ensure that the connections are tight, but be careful not to overtighten and damage the ducts.
- Seal the connections: Seal the connections between the air ducts and the vents or other components using duct mastic or foil tape. Apply the mastic or tape generously around the connections to ensure an airtight seal. This will prevent any air leaks and optimize airflow.
- Support the ducts: Use hangers or straps to support the new air ducts and keep them in place. Make sure they are securely fastened to provide stability and prevent sagging.
It is important to follow any specific instructions provided by the manufacturer of the air ducts you are using. Different duct materials may require specific installation techniques and fasteners.
Throughout the installation process, pay close attention to the alignment and integrity of the new air ducts. Make any necessary adjustments to ensure they are properly positioned and free from any kinks or obstructions that may hinder airflow.
Now that the new air ducts are installed, it’s time to move on to step 5: sealing the connections to ensure optimal performance. Stay tuned!
When replacing air ducts in the attic, make sure to properly seal all joints and connections to prevent air leaks. Use insulated ducts to improve energy efficiency and consider hiring a professional for complex installations.
Read more: How To Replace An Attic Fan Motor
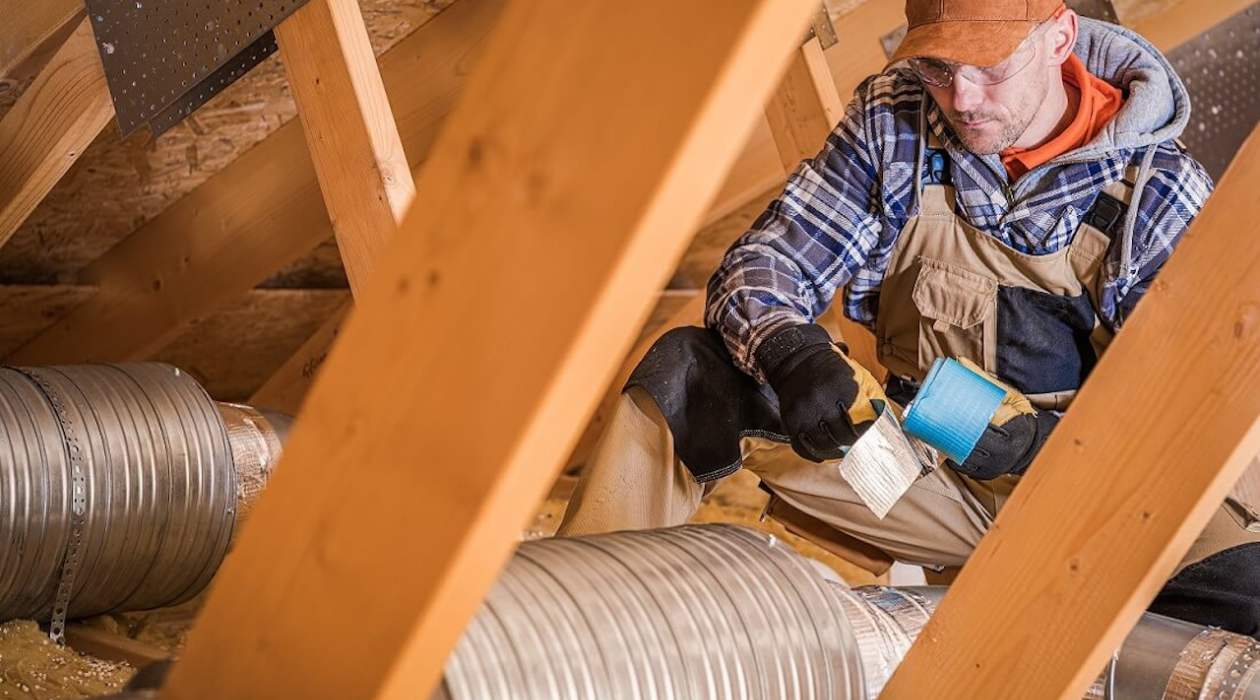
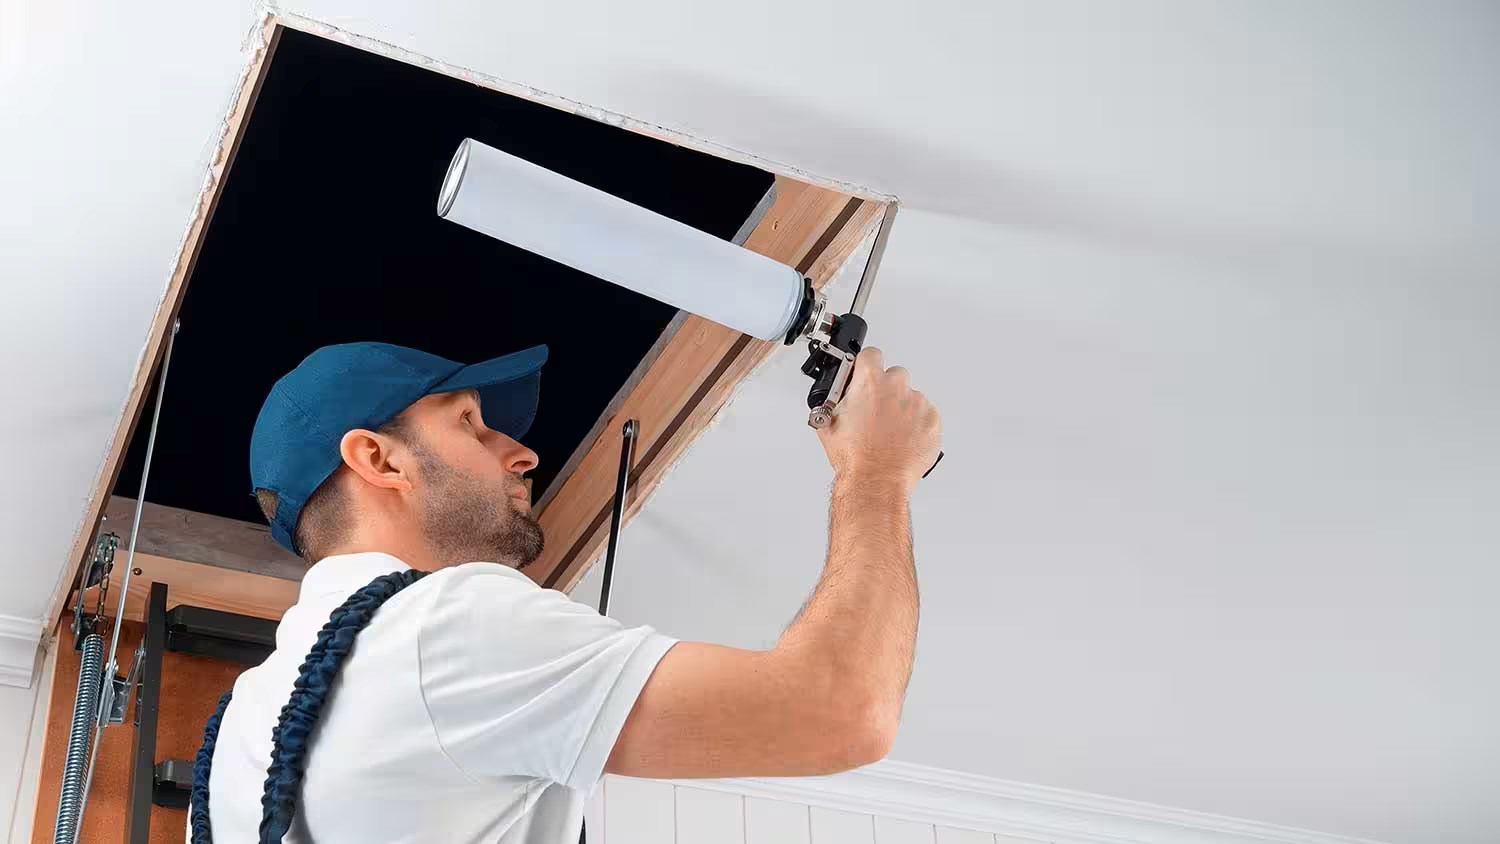
Step 5: Sealing the connections
Now that the new air ducts are installed, it’s essential to seal the connections between the ducts and vents or other components. Properly sealing the connections will ensure optimal airflow and prevent any air leaks that can reduce the efficiency of your HVAC system. Follow these steps to seal the connections:
- Inspect the connections: Take a close look at the connections between the air ducts and the vents or other components. Check for any gaps or areas where the connections may not be tight.
- Clean the surfaces: Before applying any sealing material, make sure the surfaces of the air ducts and the connections are clean and free from debris, dirt, or dust. Use a damp cloth to wipe them clean if necessary.
- Choose the appropriate sealing material: Depending on the type of ductwork and the connections, you can use either duct mastic or foil tape to seal the connections.
- Duct mastic: If you choose to use duct mastic, apply a generous amount around the connections using a brush or gloved fingers. Make sure to cover the entire connection area to create an airtight seal. Duct mastic dries and hardens, providing long-lasting and robust sealing.
- Foil tape: If you prefer using foil tape, cut pieces of the tape to fit around the connections. Wrap the tape tightly around the connections, ensuring it adheres well to both the ducts and the components. Press and smooth the tape to create an effective seal. Foil tape is a convenient option as it has a strong adhesive backing and can provide immediate sealing.
It’s important to note that duct mastic is generally the preferred option for sealing connections, as it provides a more durable and long-lasting seal. However, in certain situations, foil tape may be more suitable or recommended by the manufacturer.
Take your time to ensure that all the connections are sealed properly. Careful sealing will help prevent any air leaks and optimize the airflow within your HVAC system.
Now that the connections are sealed, it’s time to move on to step 6: insulating the new air ducts. Stay tuned for important tips and techniques!
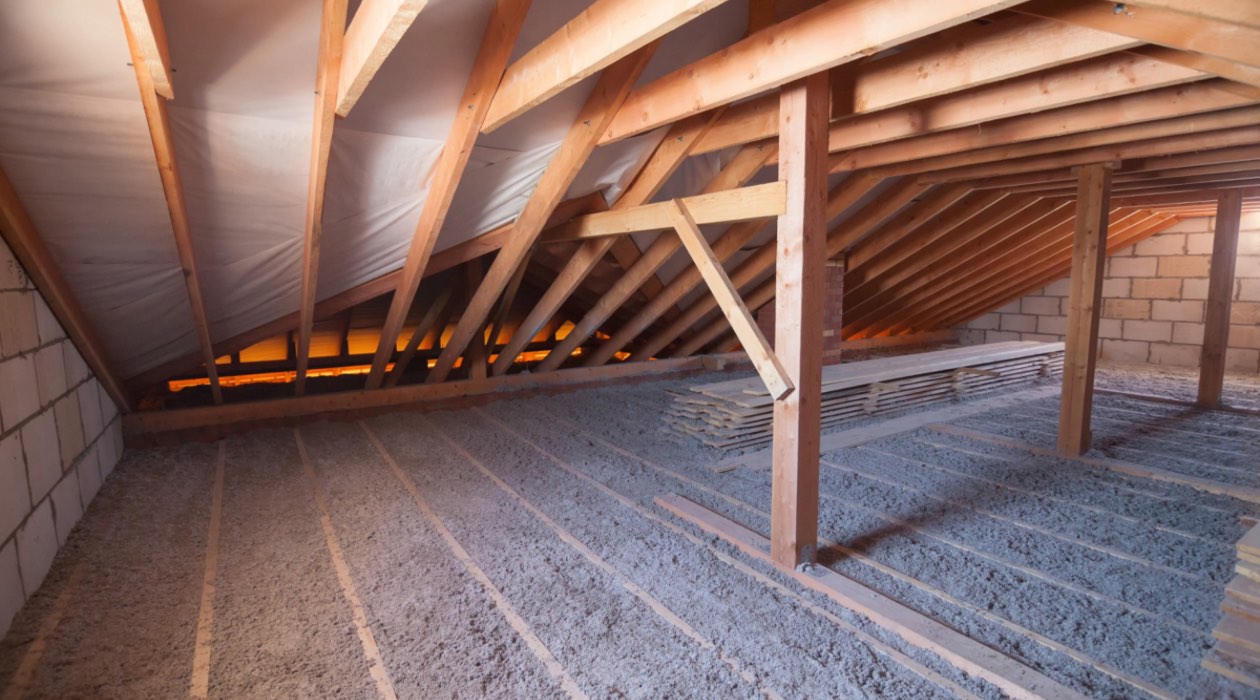
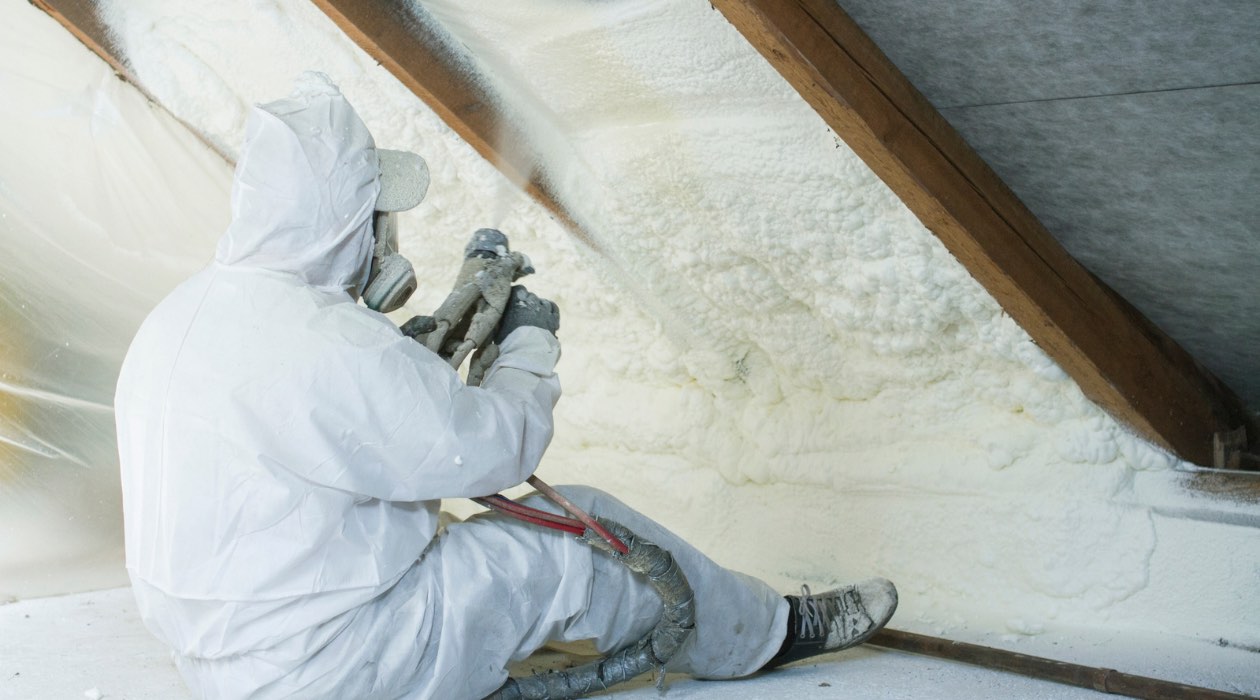
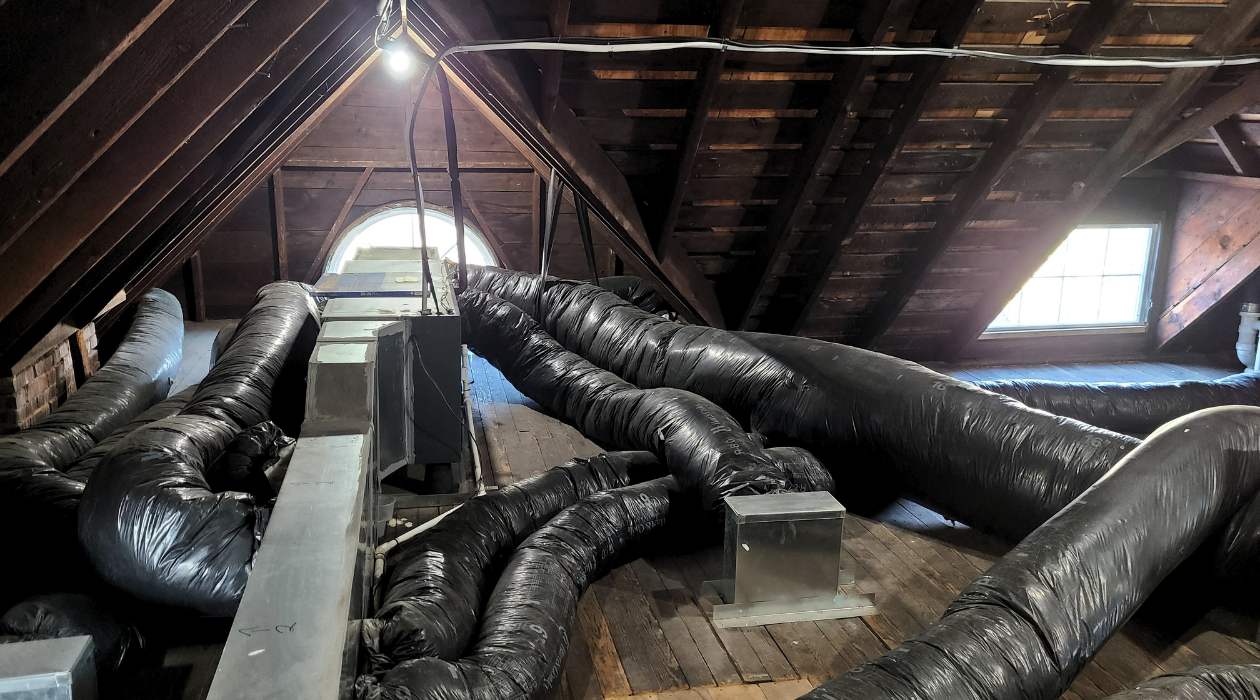
Step 6: Insulating the new air ducts
Insulating the new air ducts in your attic is crucial for maintaining energy efficiency and preventing temperature loss or gain. Insulation helps to regulate the temperature of the air flowing through the ductwork, ensuring optimal performance of your HVAC system. Follow these steps to properly insulate the new air ducts:
- Choose the right insulation: Select the appropriate insulation material for your ductwork. The most common options are fiberglass insulation and foam board insulation. Consider the R-value of the insulation, which indicates its thermal resistance. Higher R-values provide better insulation.
- Measure and cut the insulation: Using a tape measure, measure the circumference and length of each new air duct. Cut the insulation material according to the measurements, ensuring a snug fit around the ducts. Use a utility knife or scissors to make clean cuts.
- Install the insulation: Carefully wrap the insulation around the ducts, starting from one end and working your way to the other end. Make sure the insulation overlaps slightly to create a continuous barrier. Use adhesive or tape to secure the insulation in place, ensuring it doesn’t come loose over time.
- Seal any gaps or seams: Inspect the insulation after installation to check for any gaps or seams where air might escape. Use duct mastic or foil tape to seal these areas, ensuring a tight and effective seal.
Proper insulation helps to minimize energy loss, improve HVAC system efficiency, and reduce the risk of condensation. It’s essential to insulate all exposed ductwork in your attic to maintain consistent temperatures and prevent any potential damage caused by temperature fluctuations.
Remember to follow the manufacturer’s instructions for the specific insulation material you are using. They may provide additional guidelines or recommendations for proper installation and sealing.
Now that the new air ducts are properly insulated, it’s time to move on to step 7: testing the airflow to ensure everything is functioning correctly. Let’s dive in!
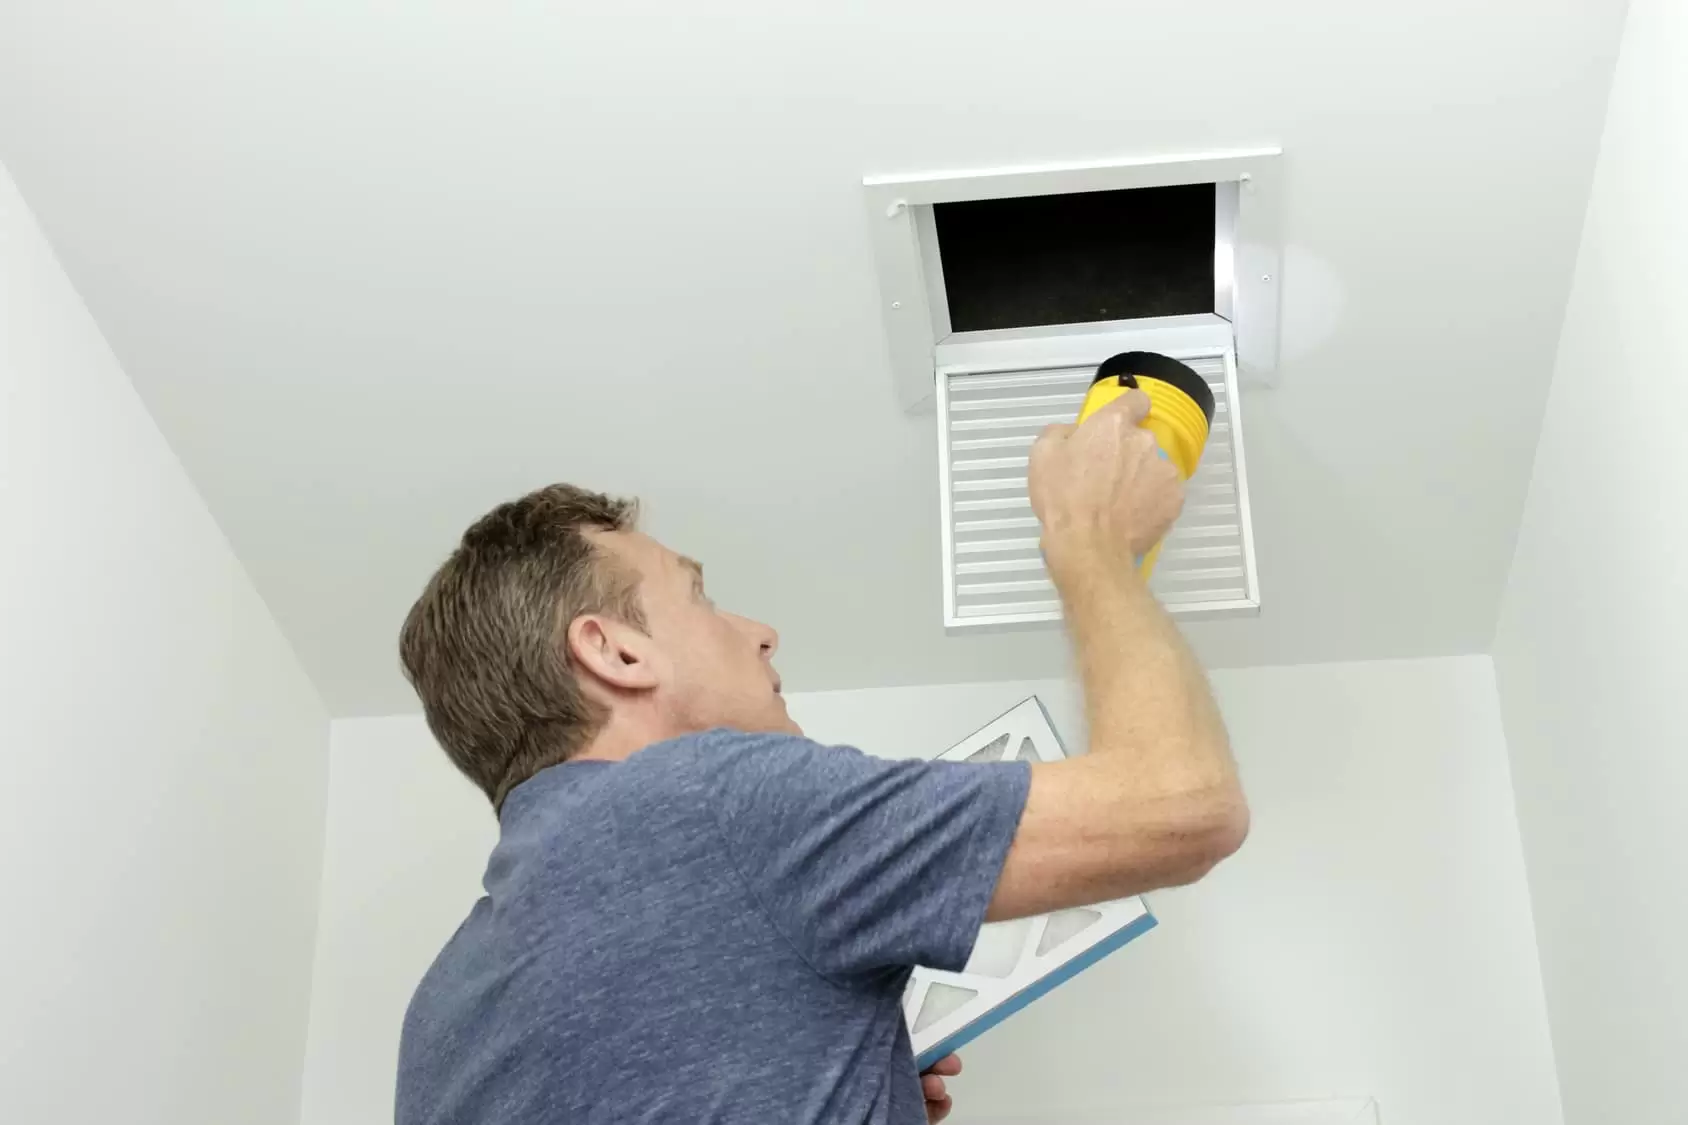
Step 7: Testing the airflow
After replacing and insulating the air ducts in your attic, it’s crucial to test the airflow to ensure that everything is functioning correctly. Testing the airflow will help you identify any issues or restrictions in the system that may affect its efficiency or performance. Follow these steps to properly test the airflow:
- Turn on the HVAC system: Before conducting the airflow test, ensure that your HVAC system is turned on and running at the appropriate setting.
- Feel the airflow at each vent: Go to each vent in your home and check the airflow. Place your hand near the vent and feel the strength and consistency of the air coming out. Pay attention to any weak airflow or uneven distribution, as these could indicate potential issues.
- Listen for any unusual noises: While the HVAC system is running, listen for any unusual noises coming from the air ducts, such as whistling sounds or rattling. Unusual noises could indicate blockages, loose connections, or other issues that need to be addressed.
- Monitor the temperature: Use a thermometer to measure the temperature of the air coming out of the vents. Compare it to the desired temperature set on your thermostat. Ensure that the air is being heated or cooled to the appropriate level for comfort.
- Check for any leaks: Inspect the connections, seams, and joints of the new air ducts for any signs of air leakage. Look for any gaps or loose connections where air might escape. If you notice any leaks, use duct mastic or foil tape to seal them properly.
By testing the airflow, you can identify and address any potential issues before they escalate or cause further complications. If you notice any significant airflow problems, weak airflow, or temperature inconsistencies, it may be advisable to consult a professional HVAC technician for further inspection and assistance.
Congratulations! You have successfully replaced and tested the airflow in your attic air ducts. By following this comprehensive guide, you have taken an important step towards improving the efficiency and performance of your HVAC system.
If you have any further questions or require additional assistance, don’t hesitate to reach out to a qualified professional. Taking care of your air ducts ensures a comfortable and healthy living environment for you and your family.
Thank you for following our step-by-step guide on how to replace air ducts in the attic. We hope you found it informative and helpful. Happy air duct replacement!
Conclusion
Congratulations on successfully replacing the air ducts in your attic! By following the steps outlined in this comprehensive guide, you have taken a proactive approach to maintaining the efficiency and functionality of your HVAC system. Replacing air ducts in the attic is no small task, but by carefully assessing the condition, gathering the necessary tools and materials, removing the old ducts, installing new ones, sealing the connections, insulating, and testing the airflow, you have ensured optimal performance and comfort in your home.
Properly functioning air ducts are essential for the effective distribution of heated or cooled air throughout your home. By conducting regular inspections and addressing any issues promptly, you can prevent energy loss, improve indoor air quality, and ensure consistent temperatures in every room.
Throughout the process, it’s important to prioritize safety. Always follow safety guidelines and wear appropriate protective equipment when working with tools, removing old ducts, and handling insulation materials. If you are uncertain about any aspect of the replacement process, it is advisable to consult with a professional HVAC technician who can provide expert guidance and assistance.
Remember, maintaining healthy air ducts goes beyond just the replacement process. Regular maintenance, such as cleaning and inspections, should be conducted to prevent any future issues and prolong the lifespan of your air duct system.
We hope this guide has empowered you to confidently tackle the replacement of air ducts in your attic. By following these steps and considering safety precautions, you can ensure a smooth and successful process. Enjoy the improved functionality and efficiency of your HVAC system and the enhanced comfort it brings to your home.
Thank you for choosing our guide as your resource for replacing air ducts in the attic. If you have any further questions or need assistance, feel free to reach out to a qualified professional. Happy home improvement!
Frequently Asked Questions about How To Replace Air Ducts In The Attic
Was this page helpful?
At Storables.com, we guarantee accurate and reliable information. Our content, validated by Expert Board Contributors, is crafted following stringent Editorial Policies. We're committed to providing you with well-researched, expert-backed insights for all your informational needs.

0 thoughts on “How To Replace Air Ducts In The Attic”