Home>Home Appliances>Lighting Appliances>How To Install A Ceiling Light Without A Junction Box

Lighting Appliances
How To Install A Ceiling Light Without A Junction Box
Modified: August 16, 2024
Learn how to install a ceiling light without a junction box with our step-by-step guide. Upgrade your lighting appliances hassle-free.
(Many of the links in this article redirect to a specific reviewed product. Your purchase of these products through affiliate links helps to generate commission for Storables.com, at no extra cost. Learn more)
Introduction
Installing a ceiling light without a junction box may seem like a daunting task, but with the right tools, materials, and a clear understanding of the process, it can be a manageable and rewarding project. Whether you're looking to add a stylish pendant light to your living room or brighten up a dimly lit hallway, this guide will walk you through the steps to successfully install a ceiling light without the need for a junction box.
By following these instructions, you can illuminate your space with a beautiful light fixture without the hassle of dealing with a junction box. This method offers flexibility and convenience, making it a viable option for homeowners who want to avoid the complexities of working with a junction box or those who simply want to update their lighting fixtures without major renovations.
In the following sections, we will cover the essential tools and materials you'll need for the installation, the different types of ceiling lights suitable for this method, and the step-by-step process to mount and wire the light fixture securely. Additionally, we'll provide tips for testing the light and making any necessary adjustments to ensure that it functions perfectly.
Whether you're a seasoned DIY enthusiast or a novice looking to tackle your first home improvement project, this guide will equip you with the knowledge and confidence to install a ceiling light without a junction box. So, gather your tools, roll up your sleeves, and let's shed some light on this illuminating endeavor.
Key Takeaways:
- Upgrade your lighting without a junction box! Follow simple steps and choose the right tools and materials for a safe and stylish ceiling light installation.
- Select a suitable mounting location and test the light for optimal functionality. Enjoy a visually appealing and functional lighting upgrade with confidence and convenience.
Read more: How To Install Vanity Light Junction Box
Step 1: Gather the Necessary Tools and Materials
Before embarking on the installation of a ceiling light without a junction box, it's crucial to gather all the essential tools and materials to ensure a smooth and efficient process. Here's a comprehensive list of what you'll need:
Tools:
-
Voltage Tester: This tool is indispensable for ensuring that the power is turned off before beginning any electrical work. It helps to prevent electrical accidents and ensures your safety throughout the installation process.
-
Screwdriver Set: A set of screwdrivers, including both flathead and Phillips head varieties, will be necessary for removing any existing fixtures and securing the new ceiling light in place.
-
Wire Cutters/Strippers: These tools are essential for cutting and stripping the electrical wires with precision, allowing for a secure and reliable connection.
-
Pliers: Needle-nose pliers and standard pliers will be useful for bending and securing wires, as well as tightening any connectors during the installation process.
-
Ladder or Step Stool: Depending on the height of the ceiling, a sturdy ladder or step stool will be necessary to safely access the installation area.
-
Adjustable Wrench: An adjustable wrench will come in handy for securing the mounting bracket and ensuring a stable installation.
-
Wire Nuts: These small, insulated connectors are essential for joining and securing the electrical wires, providing a safe and reliable connection.
Materials:
-
Ceiling Light Fixture: Choose a ceiling light that is suitable for installation without a junction box. This could include pendant lights, flush mount fixtures, or other styles designed for direct mounting.
-
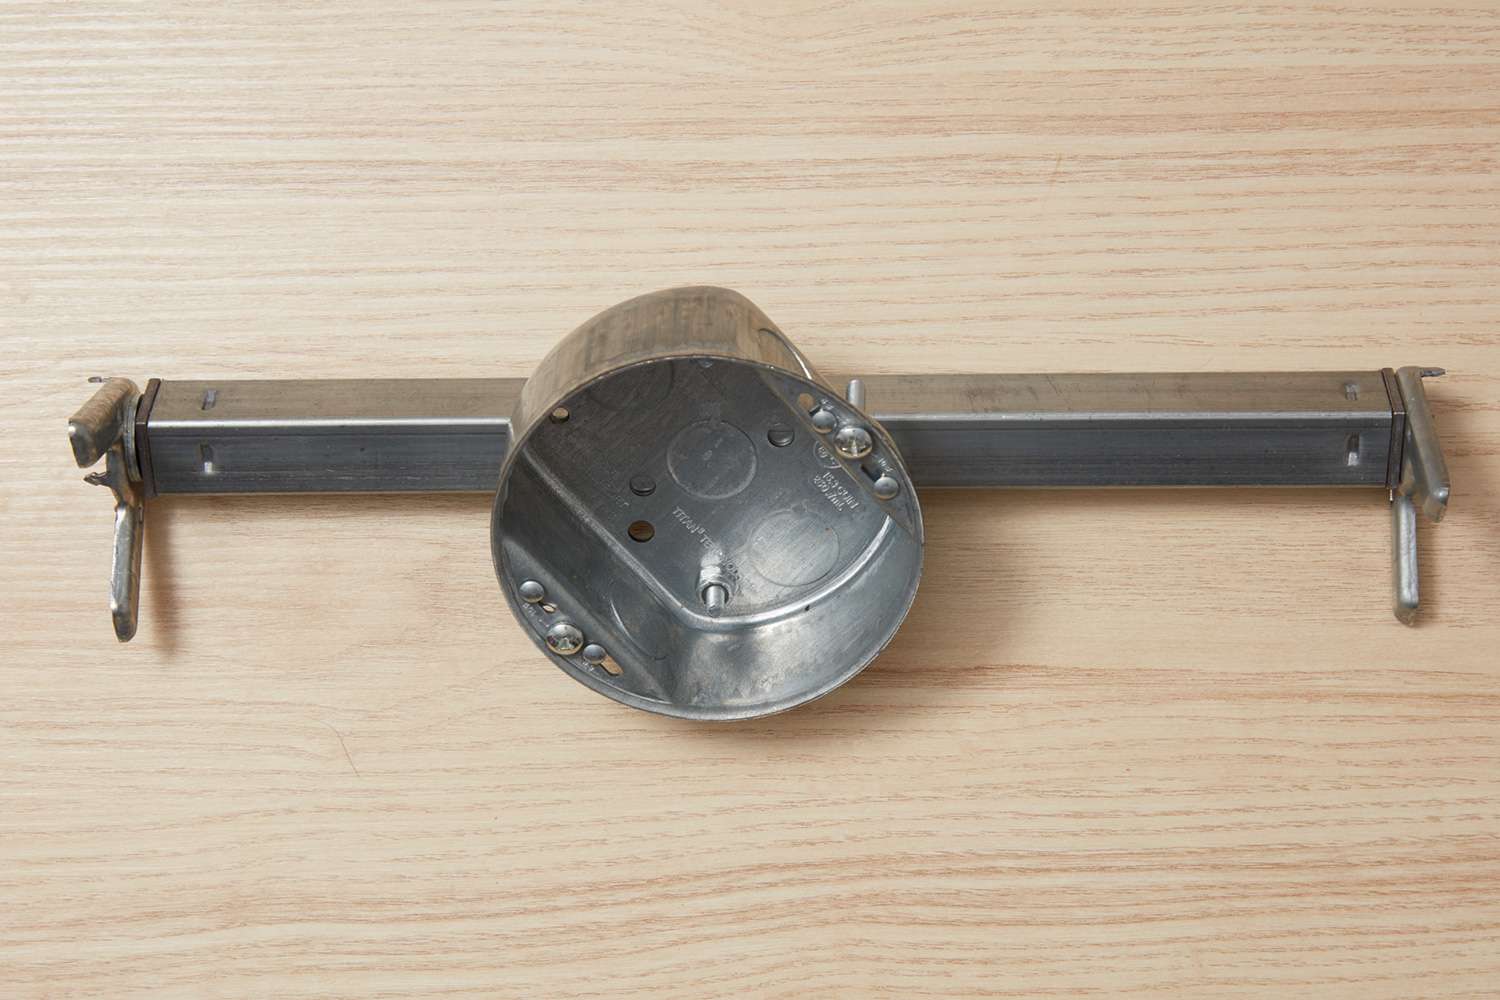
Mounting Bracket: If the chosen light fixture does not come with a mounting bracket, you will need to purchase one separately. The mounting bracket provides a secure base for attaching the light fixture to the ceiling.
-
Electrical Tape: Electrical tape is essential for insulating and securing wire connections, providing an added layer of protection.
-
Wire Connectors: These connectors are crucial for joining and insulating the electrical wires, ensuring a safe and reliable electrical connection.
-
Mounting Screws: Depending on the type of ceiling and the mounting bracket, you may need screws to secure the mounting bracket in place.
By ensuring that you have all the necessary tools and materials at your disposal, you'll be well-prepared to proceed with the installation of your ceiling light without a junction box. This proactive approach will help streamline the process and minimize any potential delays or interruptions, allowing you to focus on achieving a successful and visually appealing lighting upgrade.
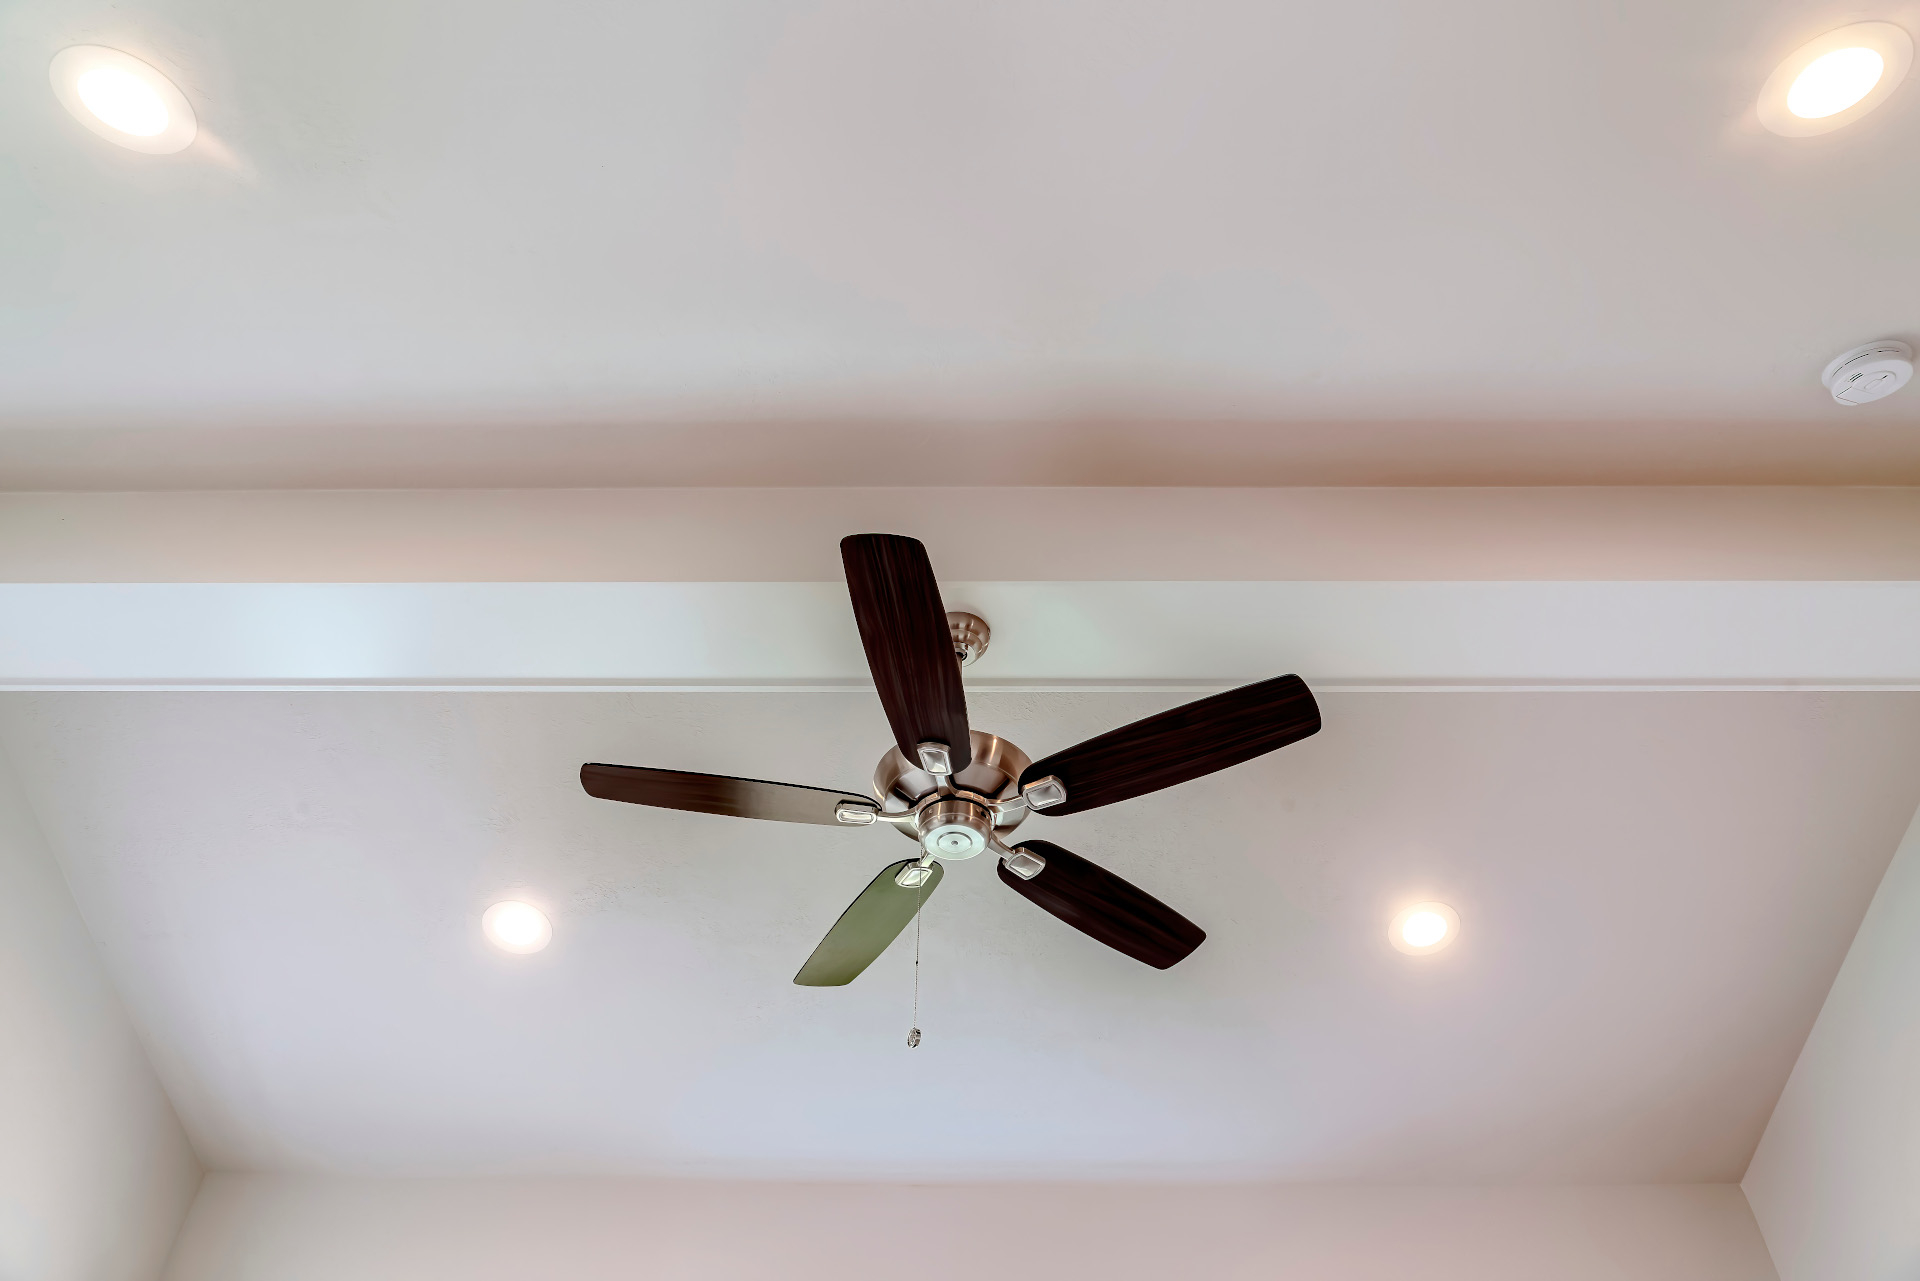
Step 2: Choose the Right Type of Ceiling Light
Selecting the appropriate type of ceiling light is a pivotal decision that significantly influences the ambiance and functionality of the space. When installing a ceiling light without a junction box, it's essential to opt for a fixture that is specifically designed for this purpose. Here are several types of ceiling lights suitable for this installation method:
-
Pendant Lights: Pendant lights are versatile and stylish fixtures that hang from the ceiling, typically suspended by a rod, chain, or cord. They come in various designs, ranging from sleek and modern to ornate and decorative, allowing you to choose a pendant light that complements your interior decor. When installing a pendant light without a junction box, ensure that it is designed for direct mounting and does not require a traditional junction box for support.
-
Flush Mount Fixtures: Flush mount ceiling lights are ideal for spaces with lower ceilings or where a streamlined, unobtrusive lighting option is preferred. These fixtures attach directly to the ceiling without the need for a visible junction box, providing a clean and seamless look. When selecting a flush mount fixture for installation without a junction box, verify that it is specifically designed for this mounting method to ensure a secure and stable installation.
-
Track Lighting: Track lighting systems offer flexibility and versatility, allowing you to adjust the position of individual light fixtures along a track to illuminate specific areas or accentuate features in the room. When choosing track lighting for installation without a junction box, ensure that the track can be securely mounted to the ceiling without the need for a traditional junction box, and that the individual light fixtures are compatible with this installation method.
-
Recessed Lighting: While recessed lighting typically requires a junction box for installation, there are specialized retrofit kits available that allow for the installation of recessed lights without the need for a traditional junction box. These kits are designed to be mounted directly to the ceiling surface, providing a sleek and modern lighting solution without the complexities of working with a junction box.
When selecting a ceiling light for installation without a junction box, it's crucial to verify that the chosen fixture is explicitly designed for this purpose. Additionally, consider the size, style, and illumination requirements of the space to ensure that the selected light fixture not only meets the installation criteria but also enhances the overall aesthetic and functionality of the room. By choosing the right type of ceiling light, you can set the stage for a successful and visually impactful installation process.
Read more: How To Install Ceiling Lights Without Wiring
Step 3: Locate a Suitable Mounting Location
Before proceeding with the installation of a ceiling light without a junction box, it is crucial to identify a suitable mounting location that not only accommodates the chosen light fixture but also ensures a secure and stable installation. The mounting location plays a pivotal role in determining the visual impact and functionality of the lighting, making it essential to approach this step with careful consideration.
When determining the mounting location for the ceiling light, several factors should be taken into account. Firstly, consider the intended purpose of the lighting and the specific areas within the room that require illumination. Whether it's a focal point such as a dining table or a general lighting requirement for a hallway, identifying the precise location where the light will be most effective is essential.
Additionally, take into consideration the ceiling structure and material. Different ceiling types, such as drywall, plaster, or suspended ceilings, may require specific mounting techniques or hardware to ensure a secure attachment. It's important to assess the ceiling's composition and select an appropriate mounting method that aligns with the structural integrity of the ceiling.
Furthermore, the proximity to electrical wiring and power sources should be evaluated when determining the mounting location. Access to electrical wiring is essential for connecting the light fixture to the power supply, so identifying a location that allows for convenient and safe electrical connections is paramount.
In some cases, it may be necessary to reinforce the mounting location to ensure a stable installation, especially if the chosen light fixture is relatively heavy or if the ceiling material requires additional support. This may involve using anchors, braces, or other reinforcement methods to bolster the mounting area and provide a secure foundation for the light fixture.
Once a suitable mounting location has been identified, it's advisable to mark the precise placement of the fixture to guide the installation process. This can be achieved by using a pencil to mark the positions for mounting screws or brackets, ensuring accuracy and alignment before proceeding with the installation.
By carefully evaluating the mounting location and considering factors such as lighting requirements, ceiling structure, electrical accessibility, and reinforcement needs, you can effectively pinpoint the ideal placement for the ceiling light. This thoughtful approach sets the stage for a successful and visually impactful installation, ensuring that the light fixture not only enhances the aesthetics of the space but also functions optimally in its designated location.
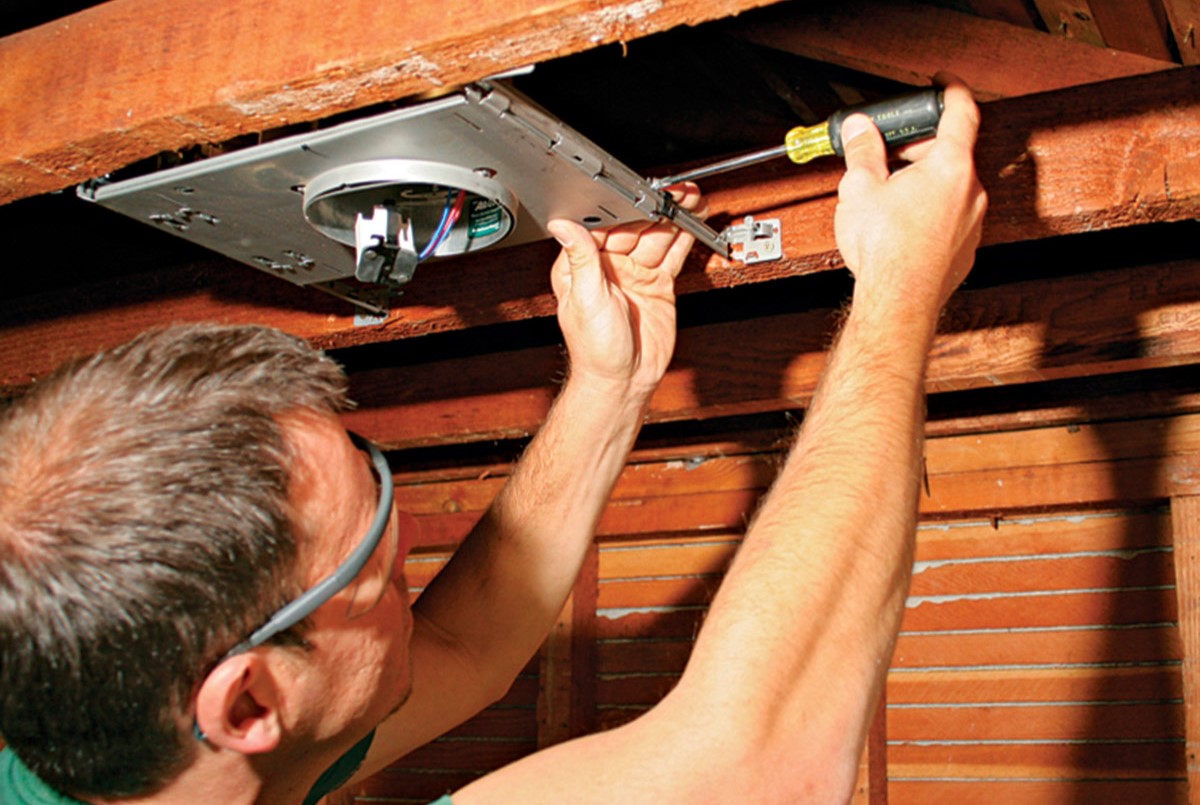
Step 4: Install a Ceiling Light Without a Junction Box
With the mounting location identified and the necessary tools and materials at hand, it's time to proceed with the installation of the ceiling light without a junction box. This step-by-step process will guide you through the essential tasks to securely mount and wire the light fixture, ensuring a safe and visually appealing result.
-
Prepare the Mounting Area: Begin by ensuring that the power to the existing light fixture or the designated installation area is turned off at the circuit breaker. Use a voltage tester to verify that no electrical current is present before proceeding. Once confirmed, remove any existing light fixture or components from the mounting area, exposing the electrical wiring and the ceiling surface.
-
Attach the Mounting Bracket: If the chosen ceiling light fixture does not come with a mounting bracket, secure the appropriate mounting bracket to the ceiling surface using the provided screws or suitable hardware. Ensure that the mounting bracket is level and firmly anchored to the ceiling, providing a stable base for attaching the light fixture.
-
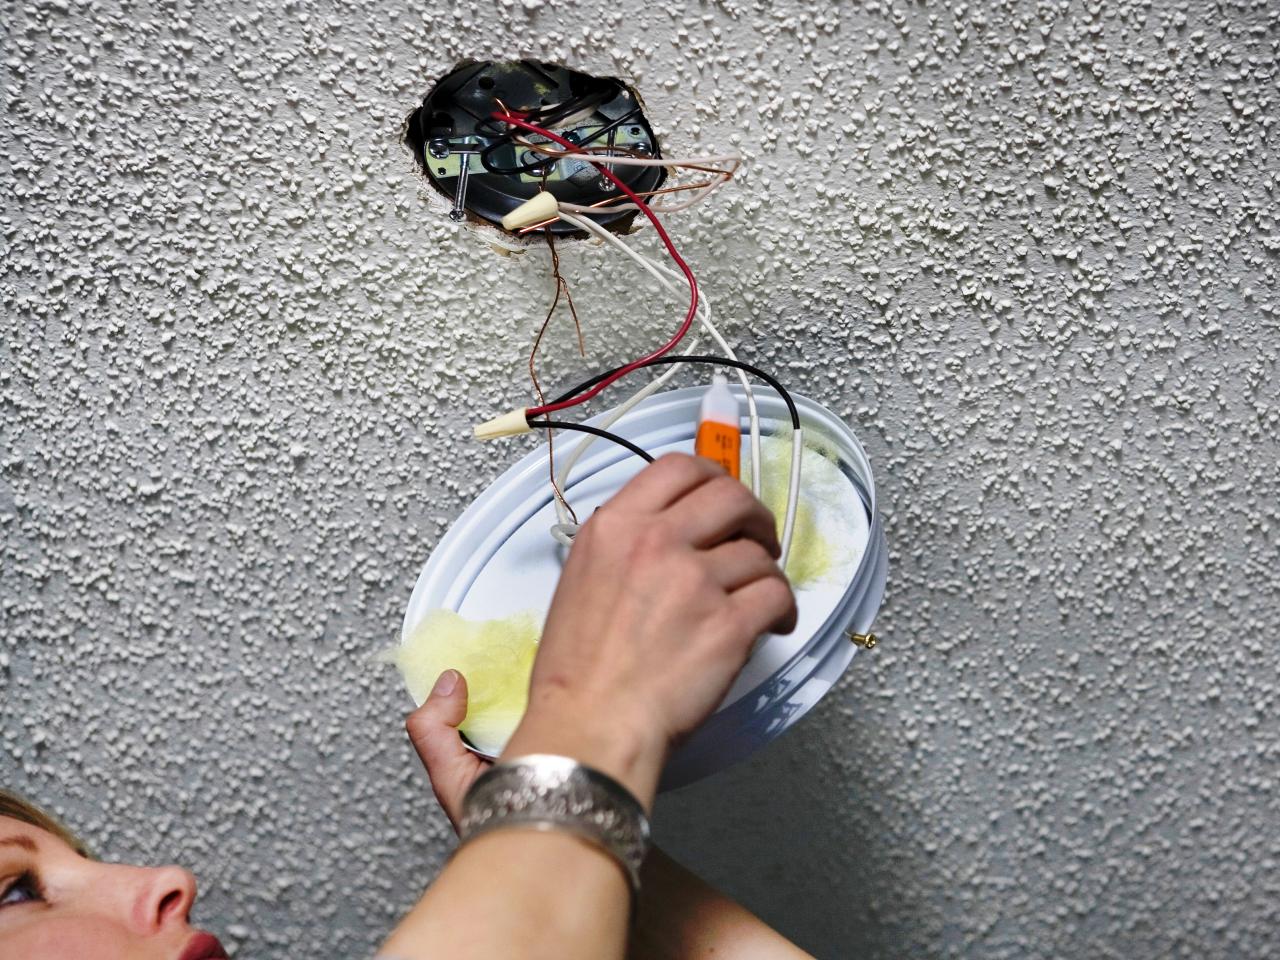
Prepare the Electrical Wiring: Carefully examine the electrical wiring in the installation area, ensuring that the wires are in good condition and free from any damage or wear. If necessary, trim and strip the ends of the wires to expose a sufficient length for secure connections. Use wire nuts to join the corresponding wires, following the manufacturer's instructions and ensuring a tight and insulated connection.
-
Attach the Light Fixture: With the mounting bracket in place and the electrical wiring prepared, proceed to attach the ceiling light fixture to the bracket. Depending on the design of the fixture, this may involve securing the fixture base to the mounting bracket using screws or other fastening methods. Ensure that the fixture is securely attached and aligned with the mounting area, making any necessary adjustments for proper positioning.
-
Connect the Electrical Wiring: Carefully connect the prepared electrical wiring from the light fixture to the corresponding wires in the installation area. Use wire nuts to secure the connections, ensuring that the wires are properly insulated and that no exposed conductors are present. Tuck the connected wires into the electrical box or designated enclosure, ensuring that they are neatly arranged and do not interfere with the installation of the light fixture.
-
Secure the Light Fixture: Once the electrical connections are made, secure the light fixture in place according to the manufacturer's instructions. This may involve attaching a decorative cover, canopy, or other components to conceal the wiring and provide a finished look. Ensure that the fixture is stable and properly aligned with the mounting area, making any final adjustments as needed.
By following these steps, you can successfully install a ceiling light without a junction box, providing a stylish and functional lighting solution for your space. Once the light fixture is securely mounted and the electrical connections are verified, you can proceed to test the light and make any necessary adjustments to ensure optimal performance. With the installation complete, you can enjoy the enhanced ambiance and illumination provided by your new ceiling light fixture.
You can use a retrofit ceiling fan brace to install a ceiling light without a junction box. It provides support and can be installed through the hole for the light fixture. Always follow the manufacturer’s instructions.
Step 5: Test the Light and Make Adjustments if Necessary
After completing the installation of the ceiling light without a junction box, it's crucial to thoroughly test the functionality of the light and make any necessary adjustments to ensure optimal performance. This final step ensures that the newly installed light fixture not only illuminates the space effectively but also operates safely and reliably.
To begin, restore power to the circuit at the breaker panel and switch on the newly installed ceiling light. Observe the light fixture to ensure that it turns on as expected and emits a consistent and pleasing illumination. Take note of any flickering, dimming, or irregular behavior, as these may indicate underlying issues that require attention.
Once the light is illuminated, assess the distribution and intensity of the light within the space. Verify that the positioning and orientation of the fixture provide the desired illumination, whether it's focused task lighting or ambient, overall illumination. Consider any shadows or dark spots that may need to be addressed through adjustments to the fixture's position or the direction of the light output.
In addition to the visual assessment, it's essential to verify the stability and security of the installed light fixture. Gently shake or tap the fixture to ensure that it is firmly anchored to the ceiling and does not exhibit any wobbling or movement. Any signs of instability should prompt a reassessment of the mounting and fastening of the fixture to prevent potential hazards.
Furthermore, conduct a thorough inspection of the electrical connections to confirm that they are secure and properly insulated. Check for any exposed wiring, loose connections, or signs of overheating. If any issues are identified, promptly disconnect the power and address the electrical components to mitigate potential safety risks.
If adjustments are necessary, such as repositioning the light fixture, fine-tuning the orientation, or addressing any electrical concerns, take the time to make these refinements before considering the installation complete. This may involve revisiting the mounting bracket, adjusting the wiring connections, or repositioning the fixture to achieve the desired lighting effect.
By meticulously testing the light and making any required adjustments, you can ensure that the installation of the ceiling light without a junction box culminates in a safe, visually appealing, and fully functional lighting solution. This meticulous approach guarantees that the newly installed light fixture not only meets your aesthetic preferences but also operates reliably and enhances the ambiance of the space.
Conclusion
In conclusion, the installation of a ceiling light without a junction box offers a versatile and accessible approach to enhancing the lighting in your living space. By following the outlined steps and leveraging the right tools and materials, you can achieve a successful installation that not only illuminates your room but also adds a touch of style and functionality.
The process begins with gathering the necessary tools and materials, ensuring that you are well-equipped to tackle the installation with confidence. From voltage testers to wire cutters and mounting screws, having the right resources at your disposal sets the stage for a smooth and efficient installation process.
Choosing the right type of ceiling light is a crucial decision that significantly impacts the ambiance and visual appeal of the space. Whether it's a pendant light, flush mount fixture, track lighting, or specialized retrofit kits for recessed lighting, selecting a fixture designed for direct mounting without a junction box ensures a seamless and secure installation.
Locating a suitable mounting location involves careful consideration of the lighting requirements, ceiling structure, and electrical accessibility. By identifying the ideal placement for the light fixture and preparing the mounting area accordingly, you can ensure a stable and visually impactful installation.
The step-by-step process of installing the ceiling light without a junction box encompasses preparing the mounting area, attaching the mounting bracket, preparing the electrical wiring, attaching the light fixture, connecting the electrical wiring, and securing the light fixture. Following these steps diligently results in a secure and visually appealing installation that enhances the overall lighting in your space.
Finally, testing the light and making necessary adjustments ensure that the newly installed ceiling light operates safely, reliably, and effectively. By conducting thorough assessments of the light's functionality, stability, and electrical connections, you can address any potential issues and fine-tune the installation to achieve the desired lighting effect.
In essence, the installation of a ceiling light without a junction box empowers homeowners to upgrade their lighting fixtures with confidence and convenience. By embracing this approach, you can transform your living space with a stylish and functional lighting solution, adding both illumination and aesthetic appeal to your home.
Frequently Asked Questions about How To Install A Ceiling Light Without A Junction Box
Was this page helpful?
At Storables.com, we guarantee accurate and reliable information. Our content, validated by Expert Board Contributors, is crafted following stringent Editorial Policies. We're committed to providing you with well-researched, expert-backed insights for all your informational needs.


0 thoughts on “How To Install A Ceiling Light Without A Junction Box”