Articles
How To Cover Outdoor Electrical Wire
Modified: October 20, 2024
Discover helpful articles on how to safely cover outdoor electrical wire, ensuring protection and functionality. Learn DIY techniques and best practices.
(Many of the links in this article redirect to a specific reviewed product. Your purchase of these products through affiliate links helps to generate commission for Storables.com, at no extra cost. Learn more)
Introduction
Outdoor electrical wiring is an essential aspect of creating a safe and functional outdoor living space. Whether you want to install outdoor lighting, power outlets, or other electrical devices, it is crucial to ensure that the electrical wiring is properly covered and protected. This not only enhances the aesthetics of your outdoor area but also safeguards against any potential hazards.
In this article, we will guide you through the step-by-step process of covering outdoor electrical wire. We will discuss the materials you need, how to determine the route for the wiring, preparing the trench, protecting the wires with conduit or raceway, securing the conduit to the ground, installing electrical boxes and outlets (if necessary), connecting the wires to the power source, and finally, testing the wiring to ensure everything is working correctly.
By the end of this article, you will have the knowledge and confidence to cover outdoor electrical wire effectively and safely, allowing you to enjoy your outdoor space with peace of mind.
Key Takeaways:
- Prioritize safety and functionality when covering outdoor electrical wire by gathering necessary materials, planning the wiring route, and ensuring proper protection with conduit or raceway. This creates a safe and aesthetically pleasing outdoor environment.
- Secure the conduit, install electrical boxes and outlets, and connect the wire to the power source while following safety guidelines. Thoroughly test the system to ensure reliable power and a seamless outdoor living experience.
Read more: How To Run Outdoor Electrical Wire
Step 1: Gather necessary materials
Before you begin covering outdoor electrical wire, it is essential to gather all the necessary materials to avoid any unnecessary delays or trips to the store. Here’s a list of materials you will need:
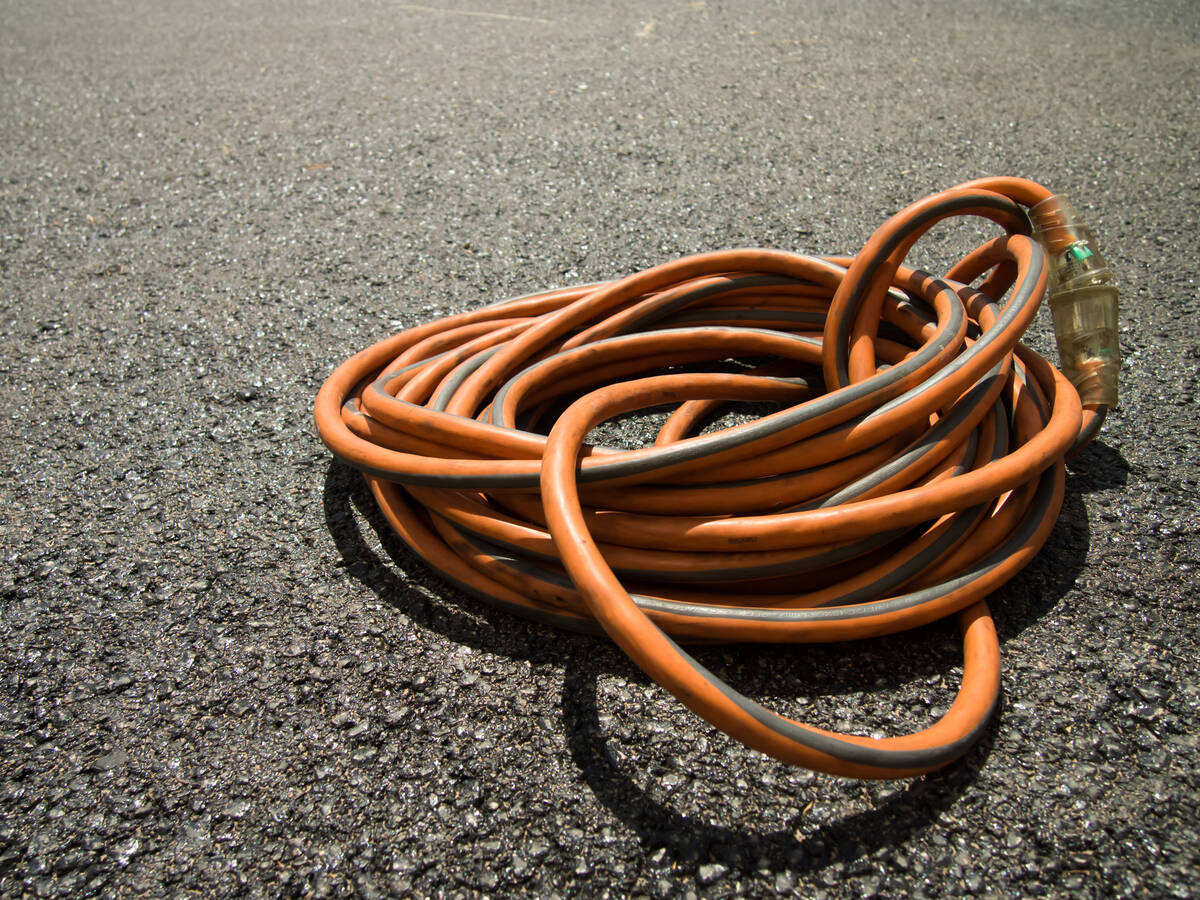
- Electrical wire suitable for outdoor use: Make sure to select wire that is specifically rated for outdoor applications. This type of wire is designed to withstand outdoor conditions such as moisture, sunlight, and temperature variations.
- Conduit or raceway: Conduit or raceway is used to protect and cover the electrical wire. Choose the appropriate type and size of conduit or raceway based on the electrical wire and the particular requirements of your project.
- Conduit connectors and couplings: These fittings are used to connect and secure the conduit sections together.
- Electrical boxes and outlets (if necessary): If you plan to install outlets or other electrical devices along the outdoor wiring, make sure to have the required electrical boxes and outlets on hand. These should also be suitable for outdoor use.
- Trenching tools: To bury the electrical wire, you will need tools such as a shovel or trenching machine to dig the trench in which the wire will be laid.
- Fasteners and anchors: Depending on the type of conduit or raceway, you may need fasteners and anchors to secure it to the ground or other surfaces.
- Wire connectors: These are used to join and secure the electrical wire to the power source and to any electrical devices.
- Measuring tape and marking tools: Use these tools to measure and mark the route for the outdoor electrical wiring.
- Safety equipment: Always prioritize safety when working with electrical installations. Don’t forget to have safety goggles, work gloves, and any other necessary protective equipment.
By ensuring you have all the materials before you start, you can work efficiently and avoid any interruptions during the project. Now that you have gathered the necessary materials, let’s move on to the next step: determining the route for outdoor electrical wiring.
Step 2: Determine the route for outdoor electrical wiring
Before you begin digging a trench and laying the electrical wire, it is crucial to plan and determine the route for the outdoor electrical wiring. Here are a few factors to consider when deciding on the route:
- Consider the purpose: Determine the specific areas or features in your outdoor space that require electrical power. This could include lighting fixtures, power outlets, garden features, or outdoor appliances. Assess the desired locations and their proximity to the power source.
- Observe the landscape: Take note of any obstacles in your outdoor area, such as trees, shrubs, pathways, or other structures. Consider how the electrical wiring will need to be routed around or under these obstacles to ensure a safe and efficient installation.
- Plan for future expansion: If you anticipate adding more electrical devices in the future, it is wise to plan for additional wiring capacity. Leave space in the conduit or raceway for future wires or consider installing a larger conduit to accommodate potential expansion.
- Ensure code compliance: Consult local building codes and regulations to ensure that your planned route is compliant. Some areas may have specific requirements or restrictions when it comes to outdoor electrical installations.
Once you have considered these factors, you can create a rough diagram or sketch of the planned route for your outdoor electrical wiring. This will serve as a visual reference during the installation process.
Remember to avoid routes that may pose potential hazards, such as crossing water features, areas prone to flooding, or locations where the electrical wiring may be exposed to excessive heat or direct sunlight.
By carefully planning and determining the route for your outdoor electrical wiring, you can ensure a safe and efficient installation that meets your specific needs. Now that you have determined the route, let’s move on to the next step: digging a trench for the wiring.
Step 3: Dig a trench for the wiring
Once you have determined the route for your outdoor electrical wiring, it’s time to dig a trench to bury the electrical wire. Here’s how you can do it:
- Mark the trench location: Use your diagram or sketch to mark the exact path of the trench on the ground. This will serve as a guide as you dig.
- Gather the necessary tools: Depending on the size and length of the trench, you may need a shovel, a trenching machine, or a garden spade. Ensure you have the appropriate tools on hand.
- Start digging the trench: Begin digging the trench along the marked path. Dig to the appropriate depth to accommodate the size of the conduit or raceway. This depth is typically around 18 inches, but it may vary depending on local building codes and the type of wiring you are using. Make sure the trench is wide enough to comfortably fit the conduit or raceway.
- Smooth the bottom of the trench: Once you have dug the trench to the desired depth and width, smooth the bottom of the trench to create a level surface for the electrical wire.
- Remove any sharp objects or debris: Inspect the trench for any sharp rocks, roots, or debris that could potentially damage the electrical wire. Remove any obstructions to ensure a clear and safe pathway for the wiring.
While digging the trench, it’s crucial to be mindful of any existing utility lines such as gas, water, or other buried cables. Contact your local utility company to mark the location of any underground lines before you begin digging. This will help you avoid any potential accidents or damage to existing infrastructure.
By following these steps, you can properly dig a trench for your outdoor electrical wiring. Once the trench is complete, you can move on to the next step: protecting the electrical wire with conduit or raceway.
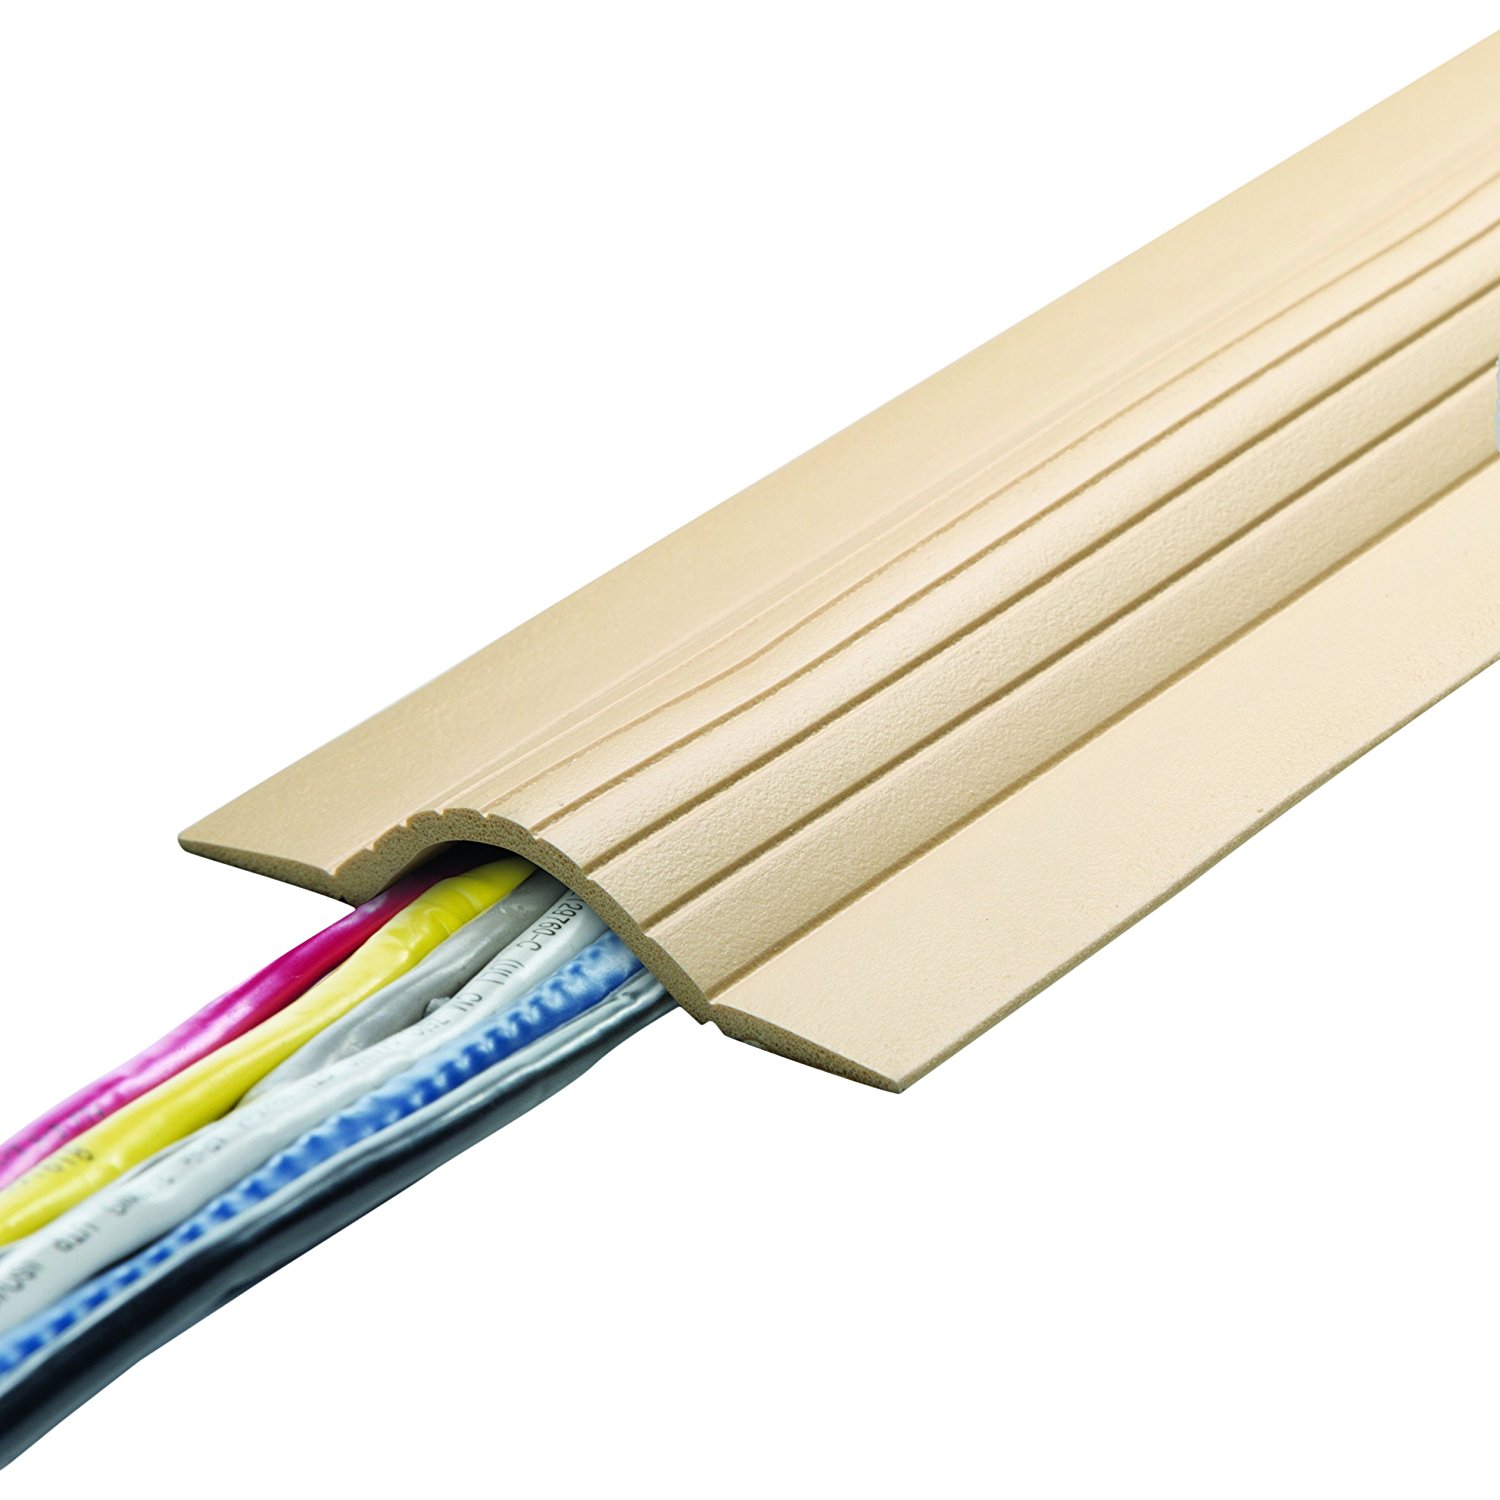
Step 4: Protect the electrical wire with conduit or raceway
Protecting the electrical wire is crucial to ensure its safety and longevity. Conduit or raceway serves as a protective covering that shields the wire from environmental elements and potential damage. Here’s how you can protect the electrical wire with conduit or raceway:
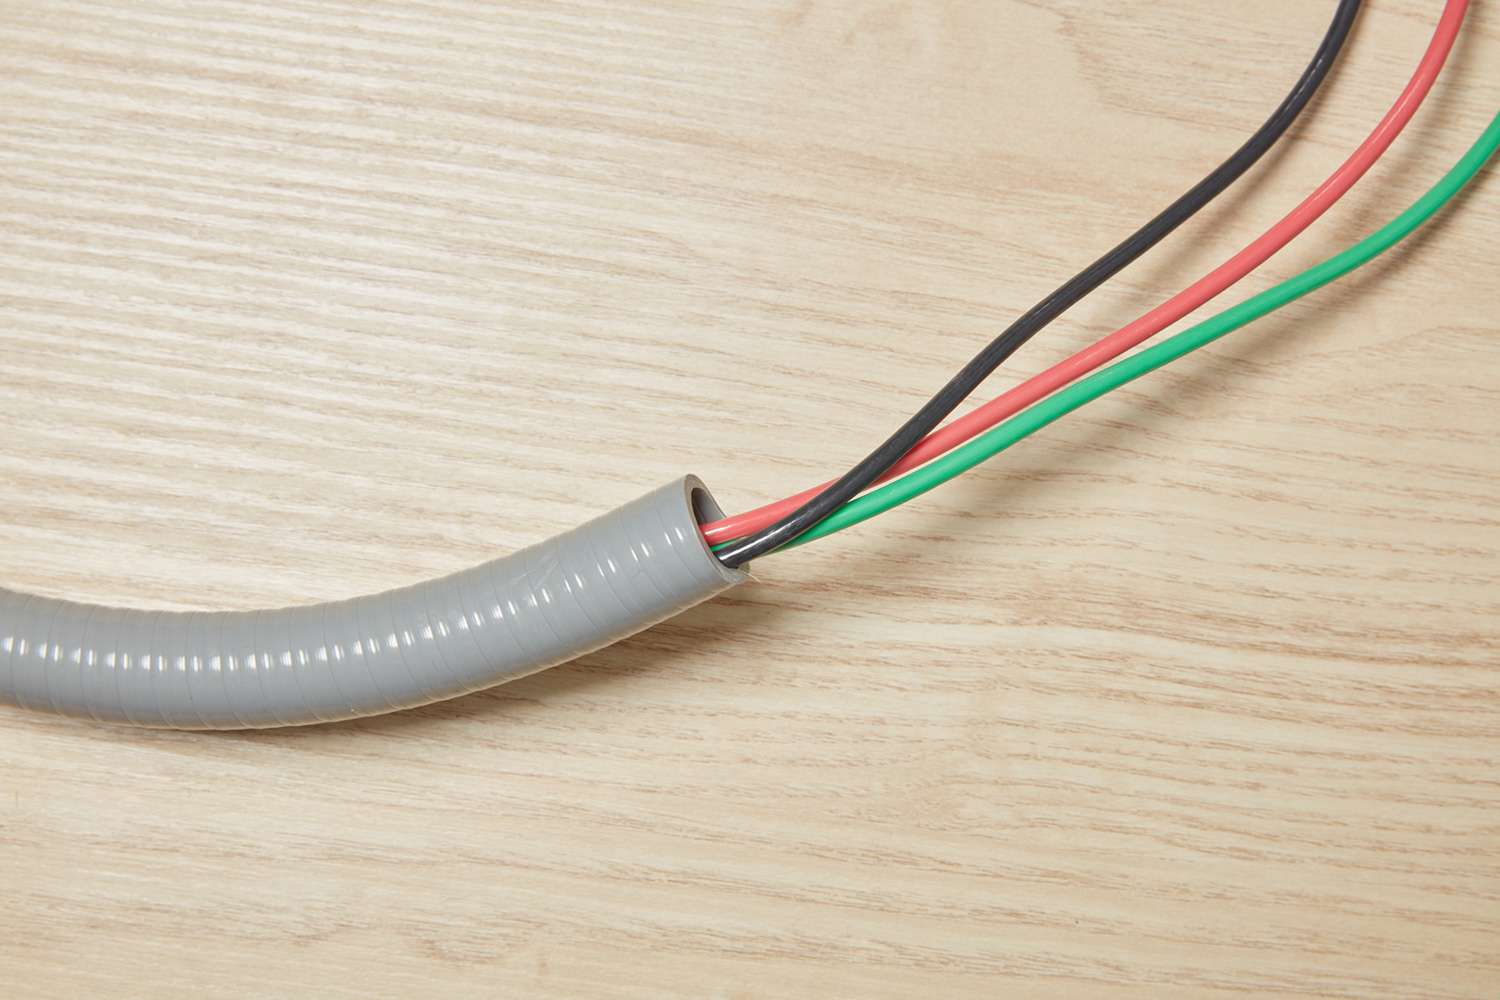
- Choose the appropriate type of conduit or raceway: There are various types of conduit and raceway available, including metal, PVC, or flexible options. Consider the specific needs of your project, such as environmental conditions and wiring size, to select the most suitable option.
- Measure and cut the conduit or raceway: Use a measuring tape to determine the required length of the conduit or raceway. Use a hacksaw or conduit cutter to cut the conduit to the desired length.
- Thread the electrical wire through the conduit or raceway: Carefully thread the electrical wire through the conduit or raceway. Ensure that the wire is not twisted or kinked during the process.
- Secure the conduit or raceway: Fasten the conduit or raceway to the ground using appropriate fasteners or anchors. This will ensure that the conduit or raceway remains securely in place and provides adequate protection for the electrical wire.
- Seal the ends of the conduit or raceway: To further enhance protection against moisture and debris, seal the ends of the conduit or raceway. This can be done using specialized conduit caps or sealant.
It’s important to note that when running multiple electrical wires or cables, you may need to use separate conduits or raceways to prevent any interference or electrical issues. Additionally, you may need to use conduit connectors and couplings to connect different sections of the conduit or raceway together.
By following these steps, you can effectively protect the electrical wire with conduit or raceway, ensuring its safety and longevity. Now that you have protected the wire, let’s move on to the next step: securing the conduit or raceway to the ground.
When covering outdoor electrical wire, use a weatherproof conduit to protect the wire from the elements and prevent damage. Be sure to bury the conduit at the appropriate depth to meet local building codes.
Read also: 8 Best Electrical Wire Covers for 2025
Step 5: Secure the conduit or raceway to the ground
Securing the conduit or raceway to the ground is an essential step in the process of covering outdoor electrical wire. This ensures that the wiring remains stable and protected from any potential damage. Here’s how you can secure the conduit or raceway to the ground:
- Determine the mounting method: Depending on the type of conduit or raceway you are using, there are different mounting methods available. Some options include using mounting straps, fasteners, stakes, or anchors. Choose the method that is suitable for your specific situation.
- Measure and mark the placement: Use a measuring tape to determine the spacing between the mounting points along the conduit or raceway. Mark these points on the ground to ensure a consistent and accurate placement.
- Prepare the mounting accessories: Depending on the mounting method chosen, gather the necessary accessories such as mounting straps, screws, stakes, or anchors.
- Attach the mounting accessories: Following the manufacturer’s instructions, securely attach the mounting accessories to the ground. This can be done by drilling holes for screws or driving stakes or anchors into the ground.
- Secure the conduit or raceway: Place the conduit or raceway onto the mounting accessories and secure it in place. This may involve using screws, straps, or other fastening mechanisms provided with the chosen mounting method.
- Check for stability: Once the conduit or raceway is secured to the ground, check for stability by gently shaking or applying slight pressure. Ensure that it is firmly held in place and does not move or shift.
It is important to consider the terrain and environmental conditions when securing the conduit or raceway. For example, in areas with heavy foot traffic or lawn maintenance activities, it may be necessary to bury the conduit or raceway slightly deeper or use additional securing methods to prevent accidental damage.
By following these steps, you can effectively secure the conduit or raceway to the ground, ensuring that the outdoor electrical wiring remains in place and undisturbed. Now that the conduit or raceway is secured, let’s move on to the next step: installing electrical boxes and outlets (if necessary).
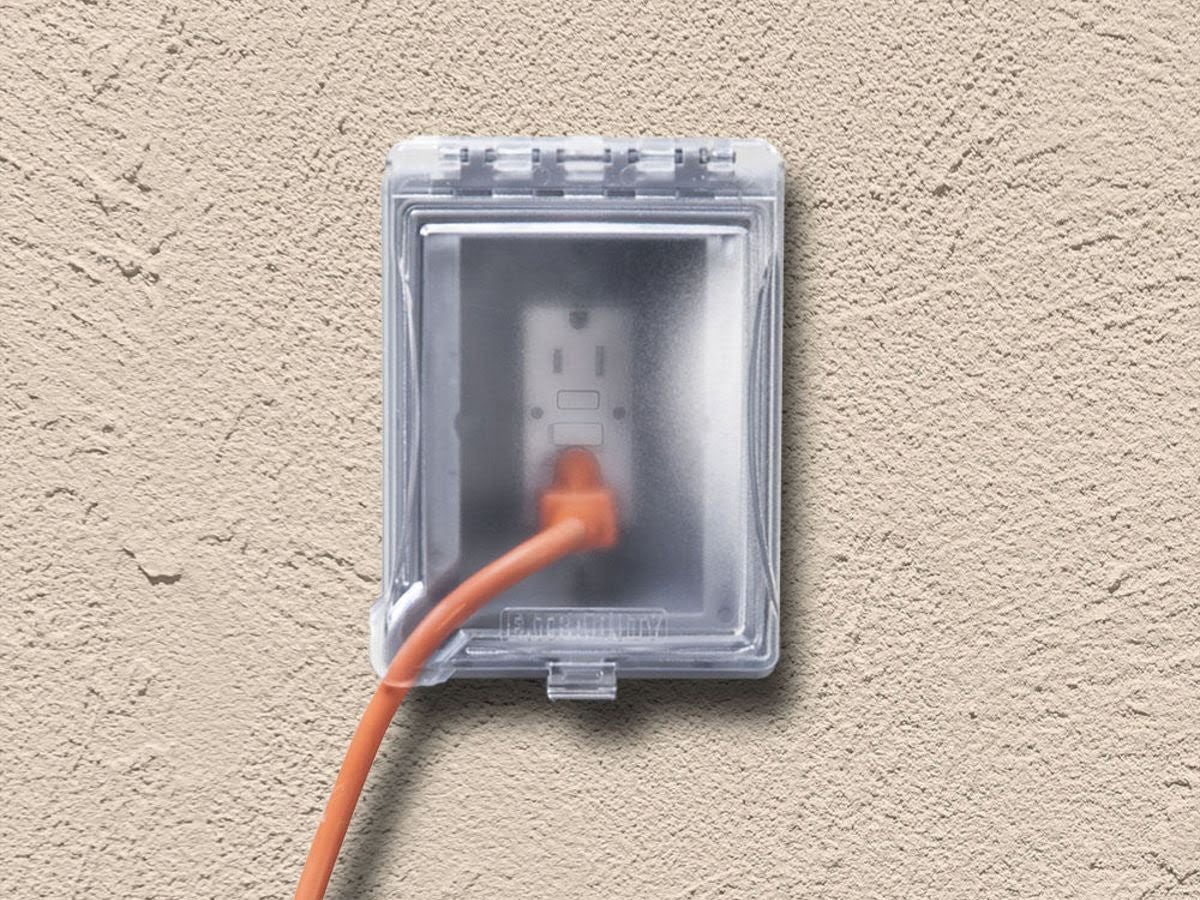
Step 6: Install electrical boxes and outlets if necessary
If you plan to have electrical outlets or other electrical devices along your outdoor wiring, it is important to install electrical boxes. Electrical boxes provide a safe and secure housing for the outlets and help protect the wiring connections. Here’s how you can install electrical boxes and outlets if necessary:
- Determine the location: Decide where you want to install the electrical box and outlet. Consider factors such as convenience, accessibility, and the intended use of the outlet.
- Mark the location: Use a pencil or marker to mark the exact location where the electrical box will be installed.
- Prepare the installation area: Clear the area of any debris or obstructions that could interfere with the installation process.
- Insert the electrical box: Place the electrical box against the surface and align it with the marked location. Ensure that the box is centered and level.
- Secure the electrical box: Depending on the type of electrical box, use the appropriate mounting method to secure it in place. This may involve screws, anchors, or other fasteners provided with the box.
- Connect the electrical wires: Follow the manufacturer’s instructions to connect the electrical wires to the outlets inside the box. Make sure to follow proper wiring techniques and ensure that the connections are secure.
- Attach the outlet cover plate: Once the wiring connections are made, attach the outlet cover plate securely to the electrical box.
- Test the outlet: Finally, test the outlet to ensure it is functioning correctly. Use a voltage tester or plug in a device to verify power supply.
It is important to ensure that the electrical boxes and outlets you choose are suitable for outdoor use and rated for the specific purpose. Outdoor electrical boxes and outlets are designed to withstand exposure to the elements and provide maximum safety.
By following these steps, you can confidently install electrical boxes and outlets along your outdoor wiring, adding convenience and functionality to your outdoor space. Now that the electrical boxes and outlets are in place, let’s move on to the next step: connecting the electrical wire to the power source.
Step 7: Connect the electrical wire to the power source
After completing the installation of electrical boxes and outlets, it’s time to connect the outdoor electrical wire to the power source. Here’s how you can do it:
- Locate the power source: Identify the location of the power source, which could be an existing electrical panel or an outdoor power outlet.
- Turn off the power: Before making any electrical connections, ensure that the power to the circuit is turned off. This helps prevent any accidental electrical shocks.
- Prepare the wire ends: Strip the outer sheath of the electrical wire to expose the individual conductors. Use wire strippers to remove about ¾ inch of insulation from the ends of the wires.
- Terminate the wire: Depending on the type of power source, you will need to terminate the wire appropriately. For example, if connecting to an electrical panel, you may need to connect the wires to circuit breakers or bus bars. Follow the manufacturer’s instructions or consult a qualified electrician for guidance.
- Make the electrical connections: Use wire connectors or appropriate terminal blocks to connect the wires from the outdoor electrical wire to the power source. Ensure that the connections are secure and properly insulated.
- Double-check the connections: Once the connections are made, double-check them for accuracy and tightness. An improper or loose connection can lead to electrical issues or hazards.
- Secure the wire in the electrical box: If necessary, use cable clamps or conduit connectors to secure the outdoor electrical wire in the electrical boxes. This helps protect the wire from inadvertently being pulled or damaged.
It is crucial to follow all electrical codes and safety guidelines when connecting the outdoor electrical wire to the power source. If you are unsure or uncomfortable with making the connections, it is wise to consult a licensed electrician to ensure a safe and compliant installation.
By following these steps, you can successfully connect the outdoor electrical wire to the power source. This allows for the safe and reliable operation of your outdoor electrical system. Now that the connections are made, let’s move on to the final step: testing the outdoor electrical wiring.
Step 8: Test the outdoor electrical wiring
Once all the outdoor electrical wiring is in place and connected, it is crucial to test the system to ensure everything is functioning correctly and safely. Testing the outdoor electrical wiring provides peace of mind and helps identify any potential issues that need to be addressed. Here’s how you can test the outdoor electrical wiring:
- Turn on the power: Before testing, ensure that the power to the circuit is turned on. Check the main electrical panel or the power source to verify that the circuit is live.
- Verify power at the outlets: Use a voltage tester to check for power at the installed outlets. Insert the tester into the outlets and verify that it indicates the presence of power.
- Test the functionality of the outlets: Plug in a device, such as a lamp or small appliance, into each outdoor outlet to ensure that they are providing power and functioning properly.
- Check for any tripped breakers or blown fuses: If an outlet or the entire circuit is not receiving power, check the main electrical panel for any tripped breakers or blown fuses. Reset or replace them if necessary.
- Inspect for proper grounding: Ensure that the outdoor electrical wiring system is properly grounded. This is essential for safety and helps protect against electrical hazards. Follow local electrical codes and regulations for proper grounding requirements.
- Look for any signs of damage or overheating: Inspect the outdoor electrical wiring system for any signs of damage, overheating, or loose connections. Check for frayed wires, exposed conductors, or scorched components. Address any issues promptly to ensure the safety of the system.
It is important to exercise caution and follow safety measures when testing electrical systems. If you are unsure about performing the testing yourself, it is advisable to seek assistance from a licensed electrician who can help ensure a thorough and accurate evaluation of the outdoor electrical wiring.
By following these steps and conducting a thorough test, you can verify that the outdoor electrical wiring is functioning properly and safely. This final step ensures that your outdoor electrical system will provide reliable power and enhance your outdoor living experience.
Congratulations! You have successfully covered the outdoor electrical wire. By following these steps, you have created a safe and functional outdoor electrical system. Now, you can enjoy your outdoor living space with peace of mind, knowing that your electrical wiring is properly covered and protected.
Conclusion
Covering outdoor electrical wire is essential for creating a safe and functional outdoor living space. By following the step-by-step process outlined in this article, you can effectively protect and hide the electrical wiring, providing a seamless and aesthetically pleasing outdoor environment.
Starting with gathering the necessary materials, determining the route for the wiring, digging a trench, protecting the wire with conduit or raceway, securing the conduit to the ground, installing electrical boxes and outlets (if necessary), connecting the wire to the power source, and finally testing the wiring, each step plays a critical role in ensuring a successful installation.
Throughout the process, it’s important to prioritize safety by following electrical codes, turning off the power when necessary, and using appropriate safety equipment. Additionally, always consider environmental factors, such as potential obstacles or future expansion, when planning and executing the installation of outdoor electrical wiring.
By taking the time and effort to cover outdoor electrical wire properly, you can not only ensure the safety and functionality of your electrical system but also enhance the overall aesthetics of your outdoor space. Whether you want to install outdoor lighting, power outlets, or other electrical devices, following these steps will provide you with the guidance and confidence to carry out the project effectively.
Remember, if at any point you feel unsure or uncomfortable working with electrical wiring, it is advisable to consult a licensed electrician who can assist you with your project. Safety should always be the top priority when working with electricity.
Now that you have the knowledge and understanding to cover outdoor electrical wire, go ahead and transform your outdoor living space into a haven of convenience, functionality, and beauty.
Frequently Asked Questions about How To Cover Outdoor Electrical Wire
Was this page helpful?
At Storables.com, we guarantee accurate and reliable information. Our content, validated by Expert Board Contributors, is crafted following stringent Editorial Policies. We're committed to providing you with well-researched, expert-backed insights for all your informational needs.


0 thoughts on “How To Cover Outdoor Electrical Wire”