Home>Home Security and Surveillance>How To Wire An Outdoor Camera
Home Security and Surveillance
How To Wire An Outdoor Camera
Modified: March 6, 2024
Learn how to wire an outdoor camera for your home security and surveillance. Step-by-step guide to ensure a secure and reliable installation.
(Many of the links in this article redirect to a specific reviewed product. Your purchase of these products through affiliate links helps to generate commission for Storables.com, at no extra cost. Learn more)
Introduction
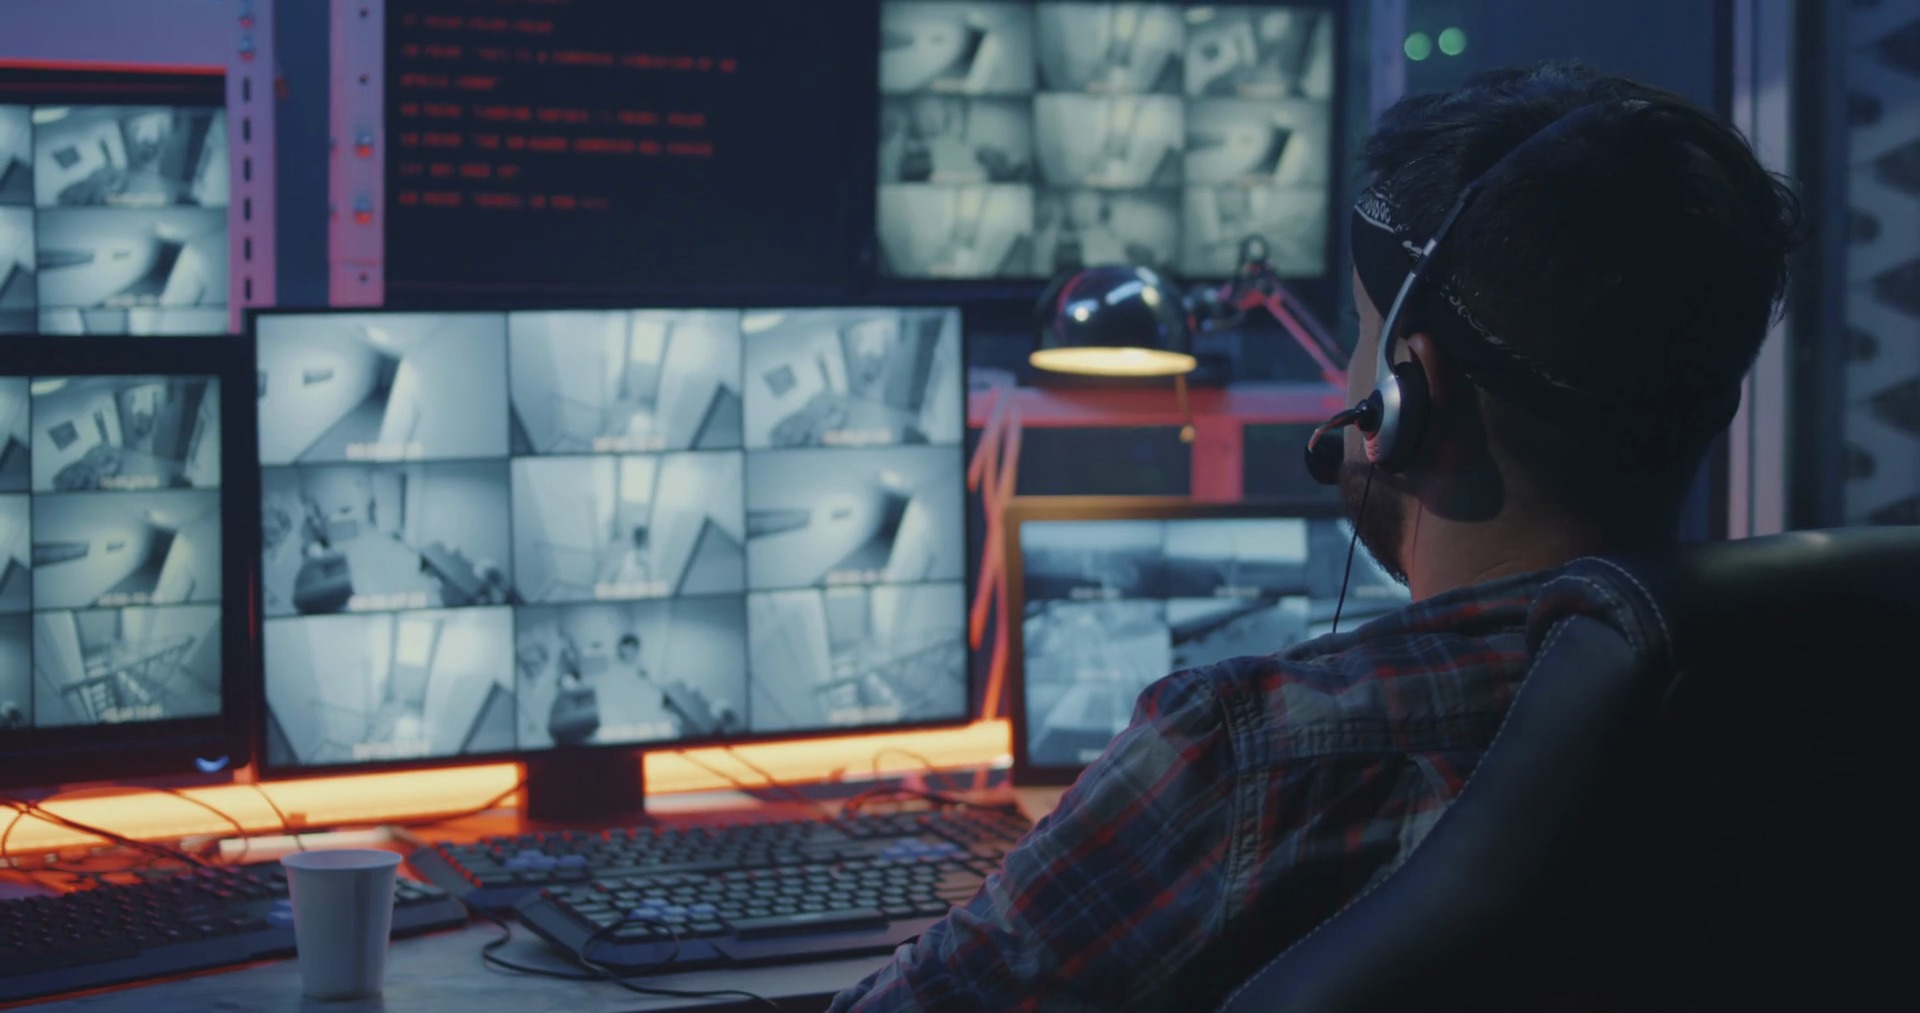
Welcome to our comprehensive guide on how to wire an outdoor camera. Whether you’re looking to enhance the security of your home or monitor your property, installing an outdoor surveillance camera can provide you with peace of mind and added protection. However, the process of wiring an outdoor camera can seem daunting, especially if you’re not familiar with electrical work. In this article, we’ll break down the steps involved and provide you with the tools and information you need to successfully wire your outdoor camera.
Having a properly wired outdoor camera is crucial to ensure it functions effectively and reliably. It allows you to power the camera and connect it to a recording device or monitor. Additionally, proper wiring ensures that the camera is securely mounted and that the wires are hidden and protected from the elements.
Before we dive into the step-by-step process, it’s important to note that if you’re not comfortable working with electrical wiring, it’s best to hire a professional. They have the expertise and knowledge to ensure the job is done safely and correctly. However, if you’re confident in your abilities and willing to learn, let’s proceed with the necessary tools and materials.
Key Takeaways:
- Properly wiring an outdoor camera involves gathering tools, planning placement, and running cables neatly. It’s crucial for home security and surveillance, but professional help is recommended if you’re unsure.
- Testing and adjusting the camera after installation ensures it captures clear footage. Prioritize safety, consider camera placement, and connect it to a power source and recording device for added security.
Read more: How To Wire Outdoor Security Cameras
Step 1: Gather the Necessary Tools and Materials
Before you begin wiring your outdoor camera, it’s essential to gather all the tools and materials you’ll need to complete the project. This will ensure a smooth installation process and prevent delays. Here’s a list of the items you’ll need:
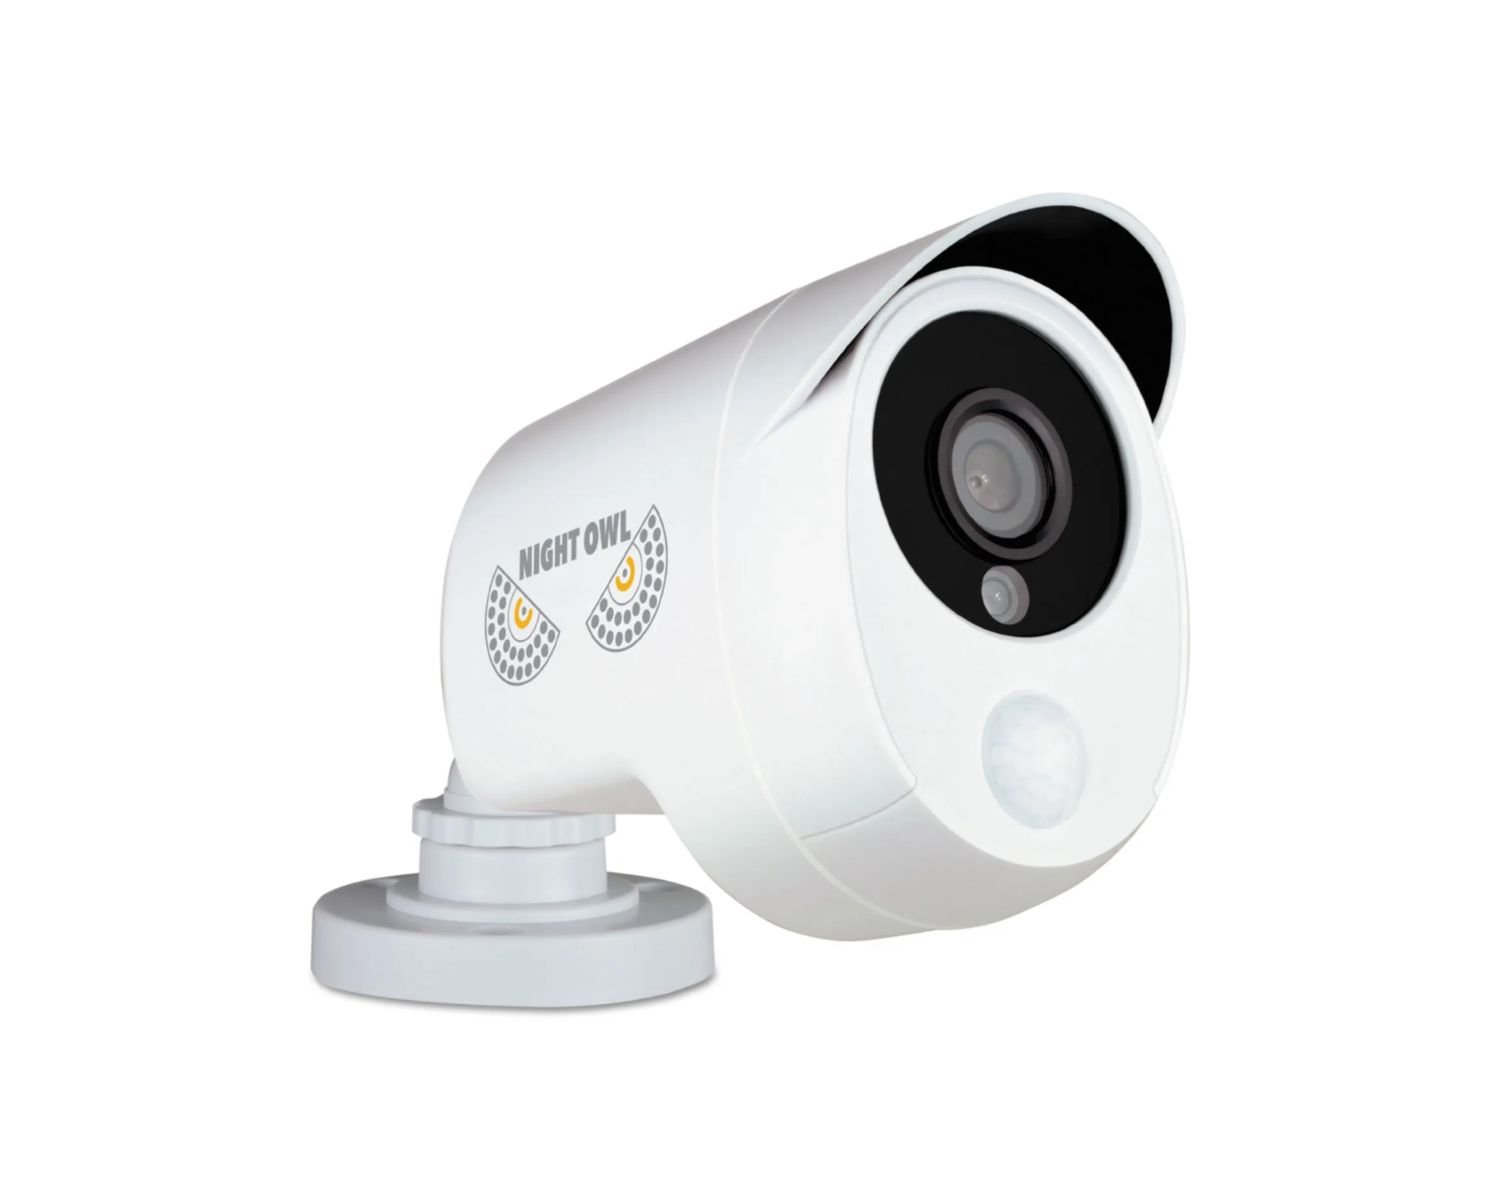
- Outdoor camera: Choose a camera that suits your specific needs, such as a weatherproof and night vision-enabled model.
- Mounting bracket: This will be used to securely attach the camera to the desired location.
- Power supply: Depending on the camera model, you may need a 12V DC power supply.
- Power cable: Determine the appropriate length needed to connect the camera to the power supply.
- Video cable: If you plan to connect the camera to a recording device or monitor, you’ll need a video cable of suitable length.
- Drill: Use a drill to create holes for mounting the camera and running the cables.
- Screwdriver: Both Phillips and flathead screwdrivers will likely be necessary for tightening screws and securing the camera.
- Wire stripper: This tool will be needed to remove the insulation from the power and video cables.
- Zip ties: These are useful for organizing and securing the cables during installation.
- Fish tape: If you need to run the cables through walls or conduit, a fish tape will make the process much easier.
- Silicone sealant: To protect the camera and prevent water damage, apply silicone sealant around the cable entry points and mounting bracket.
- Extension cables or connectors (if necessary): Depending on the distance between the camera and the power source, you may need extension cables or connectors to extend the cables.
Make sure to have all the necessary tools and materials on hand before you start the installation process. This will save you time and frustration later on. Once you’ve gathered everything, you’re ready to move on to the next step: determining the camera placement.
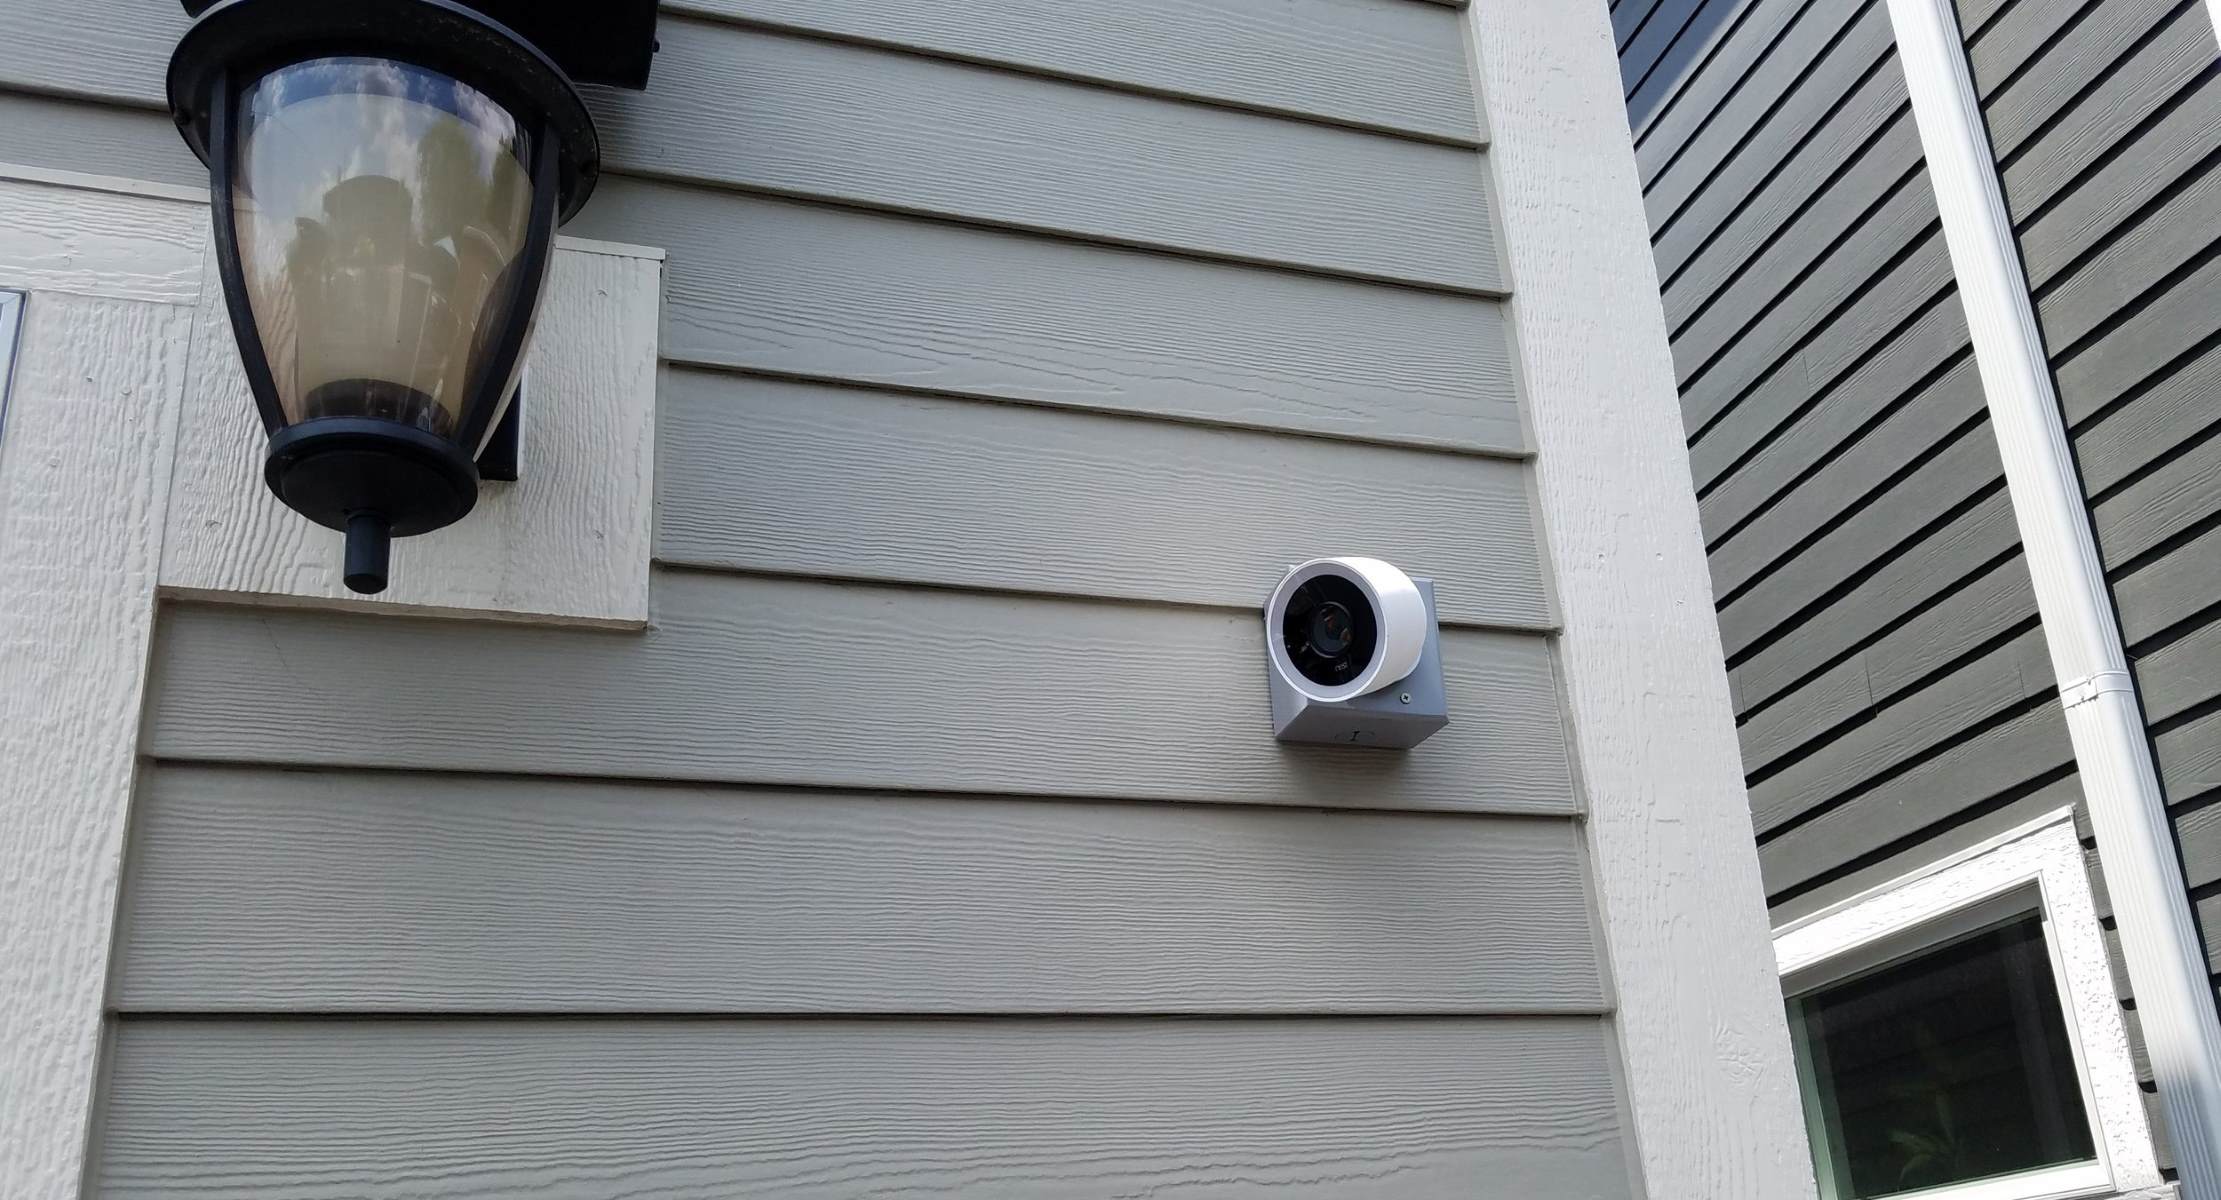
Step 2: Determine the Camera Placement
Choosing the right location for your outdoor camera is crucial for maximizing its effectiveness. You want to ensure that it captures a wide field of view and provides optimal surveillance coverage. Here are some factors to consider when determining the camera placement:
- Area to monitor: Identify the specific areas of your property that you want to monitor. This could include entrances, walkways, driveways, or backyard spaces.
- Field of view: Consider the camera’s field of view and angle of coverage. Make sure it can capture the desired areas without any blind spots.
- Height and angle: Determine the appropriate height and angle for the camera to capture the best footage. Mount the camera at a height that provides a clear view while remaining inconspicuous.
- Obstructions: Take note of any potential obstructions that could hinder the camera’s view, such as trees, large shrubs, or fences. Clearing any obstructions or adjusting the camera’s position may be necessary.
- Accessibility: Ensure that the camera is easily accessible for maintenance or adjustments. Consider factors such as ladder access and proximity to power sources.
- Visibility and deterrent effect: Consider the visibility of the camera to deter potential intruders. Visible cameras can act as a deterrent, while hidden cameras may be better suited for discreet surveillance purposes.
- Lighting conditions: Take into account the lighting conditions in the area. Ensure the camera has adequate lighting or night vision capabilities to capture clear footage, especially in low-light or nighttime situations.
Once you’ve determined the optimal camera placement, mark the chosen spot on the wall or surface where you’ll mount the camera. This will help you proceed with planning the wiring route in the next step.
Remember, the goal is to strategically place the camera in a location that captures important areas of your property while minimizing blind spots and obstructions. Taking the time to carefully consider the camera placement will greatly enhance the effectiveness of your outdoor surveillance system.
Step 3: Plan the Wiring Route
Planning the wiring route is a crucial step in ensuring a clean and organized installation of your outdoor camera. It involves determining the path that the power and video cables will take from the camera to the power source or recording device. Here’s how to effectively plan the wiring route:
- Measure the distances: Measure the distance between the camera and the power source or recording device. This will help you determine the length of the cables you’ll need.
- Consider aesthetics: Think about the visual aspect and try to keep the cables as hidden as possible. Avoid running cables in plain sight or across walkways where they could be a trip hazard. If necessary, you can use conduit or cable covers to conceal the cables.
- Evaluate the environment: Take into account the outdoor environment and any potential hazards. Avoid running cables through areas that are prone to moisture, extreme heat, or direct sunlight to prevent damage. If you need to run cables through walls or structures, ensure that you comply with building codes and regulations.
- Utilize existing structures: Look for existing structures such as fences, walls, or gutters that you can use to conceal the cables. Utilizing these structures can help you create a neater and more efficient wiring route.
- Plan for future expansion: If you anticipate the need for additional cameras in the future, consider that when planning the wiring route. Leave room for expansion and make note of any potential junction points for connecting future cameras.
Once you have a clear plan for the wiring route, you can proceed with the installation process with confidence. Proper planning will not only ensure a professional-looking installation but will also make maintenance and troubleshooting easier in the long run.
Keep in mind that every installation will have unique challenges and considerations. Adapt your wiring route plan accordingly to accommodate the specific requirements of your property and camera setup.
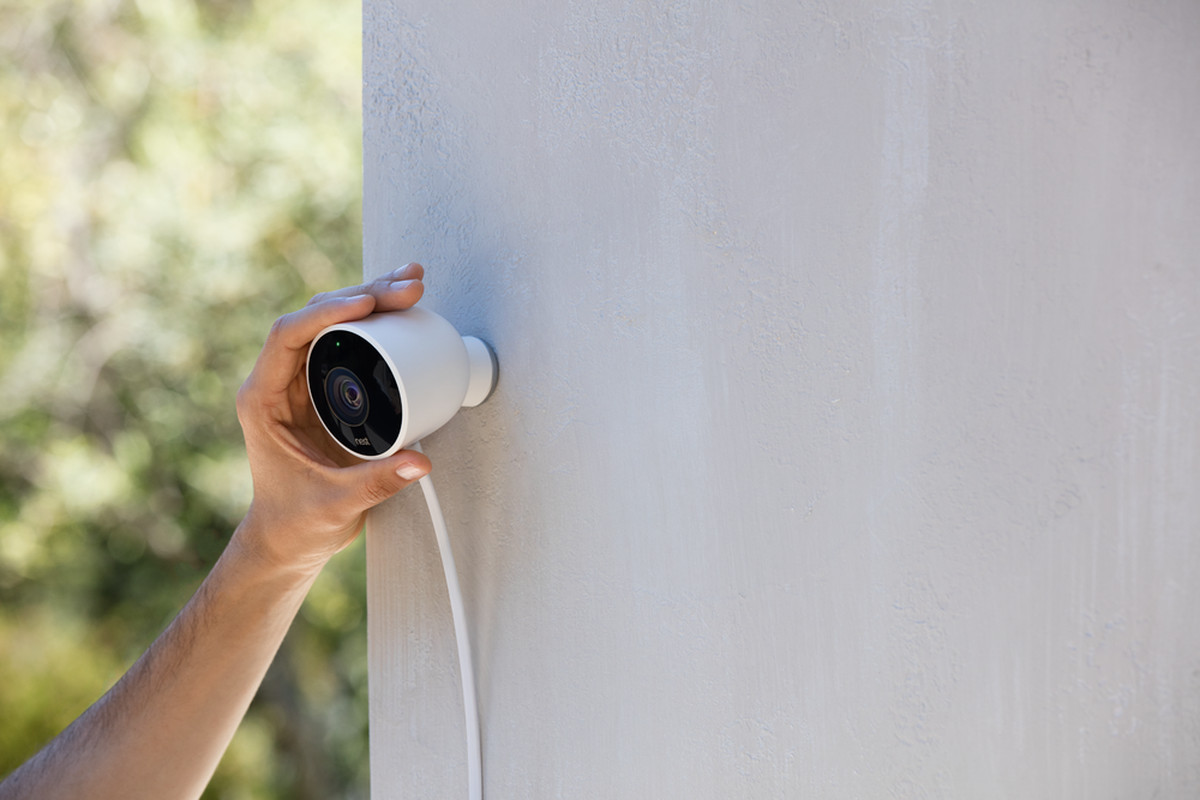
Step 4: Prepare the Camera Mounting Location
Before mounting your outdoor camera, it’s important to properly prepare the mounting location. This involves ensuring a secure and stable surface for the camera and making any necessary adjustments to ensure the best viewing angle. Follow these steps to prepare the camera mounting location:
- Inspect the surface: Thoroughly inspect the surface where you will mount the camera. Ensure it is sturdy and can support the weight of the camera.
- Clean the area: Clean the mounting surface to remove any dirt, dust, or debris. This will help create a strong and durable connection between the camera and the wall or surface.
- Select the appropriate mounting method: Choose the mounting method that works best for your camera and the selected location. Wall mounts, pole mounts, and ceiling mounts are common options. Follow the manufacturer’s instructions for your specific camera model.
- Position the mounting bracket: Attach the mounting bracket to the selected location using screws or other provided hardware. Ensure it is level and securely tightened.
- Adjust the angle: Depending on the camera model, you may have the ability to adjust the angle of the camera. Use this feature to position the camera at the desired angle for optimal surveillance coverage.
- Secure the camera to the mounting bracket: Once the bracket is securely in place, attach the camera to the bracket using the provided hardware. Ensure it is tightly secured to prevent any movement or dislodging.
By properly preparing the camera mounting location, you are ensuring a solid foundation for your camera installation. This will help maintain stability and ensure the camera remains in its desired position over time.
Remember to refer to your camera’s specific instructions and guidelines for mounting and adjusting. If you have any doubts or concerns, consult with a professional to ensure a safe and secure installation.
Read more: How To Hide Outdoor Camera Wires
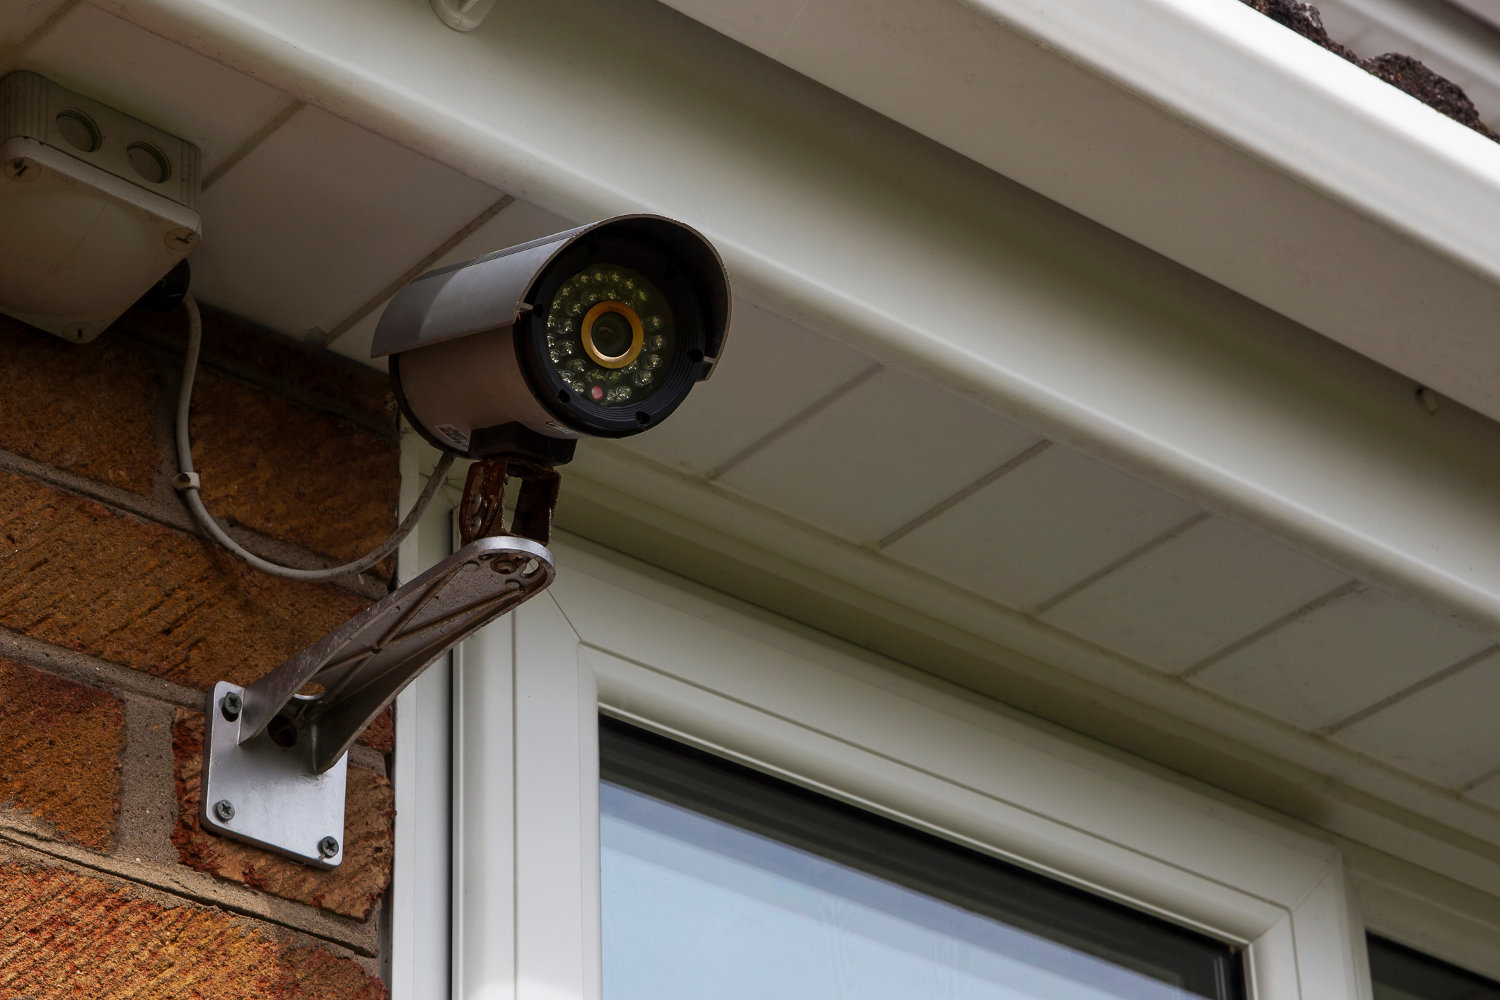
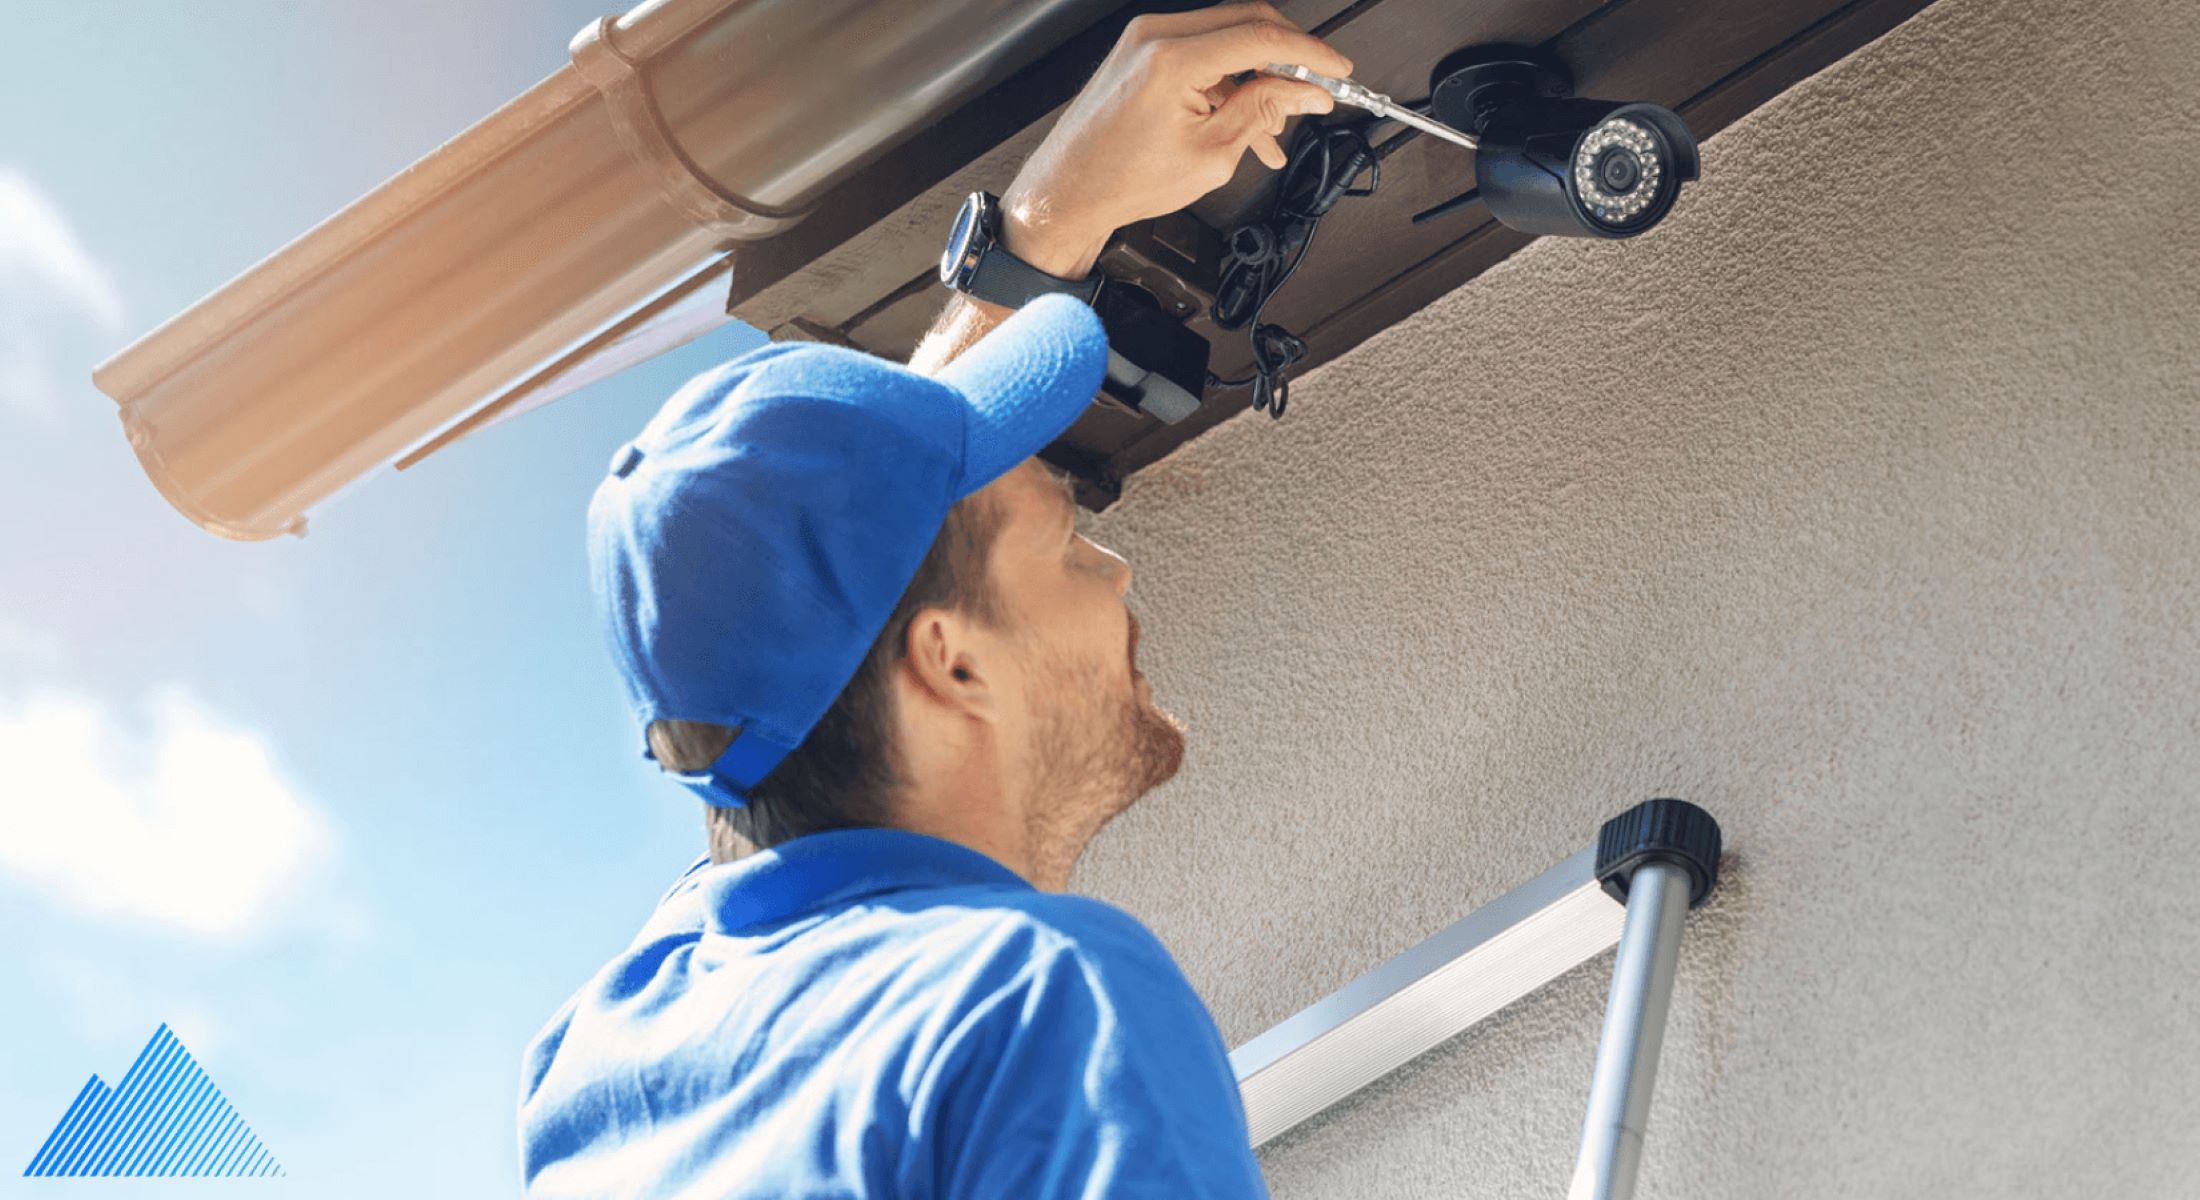
Step 5: Install the Camera Mount
With the camera mounting location prepared, it’s time to install the camera mount. The mount will provide a secure and stable base for your outdoor camera. Follow these steps to install the camera mount:
- Align the mount: Position the camera mount against the prepared mounting location, ensuring that it aligns with any pre-drilled holes or markings.
- Mark the hole positions: Use a pencil or marker to mark the position of the screw holes on the mounting surface. This will serve as a guide for drilling the holes.
- Drill pilot holes: Use an appropriate-sized drill bit to create pilot holes for the screws. Be careful to choose a drill bit size that matches the screws provided with the camera mount.
- Secure the mount: Place the camera mount back against the mounting surface and align it with the pilot holes. Insert the screws into the holes and tighten them securely using a screwdriver or drill.
- Check the stability: Once the camera mount is securely attached, check for any wobbling or movement. Ensure that the mount is stable and can support the weight of the camera.
It’s important to note that the installation process may vary based on the specific camera mount and your mounting surface. Always refer to the manufacturer’s instructions for your camera model to ensure proper installation.
By properly installing the camera mount, you are providing a stable foundation for your outdoor camera. This will help ensure that the camera remains securely in place and captures clear footage without any unwanted movement.
Once the camera mount is installed, you’re ready to move on to the next step: running the wiring for the camera.
When wiring an outdoor camera, make sure to use weatherproof cables and connectors to protect the camera from the elements. It’s also important to follow the manufacturer’s instructions for proper installation and wiring to ensure the camera functions correctly.
Step 6: Run the Wiring
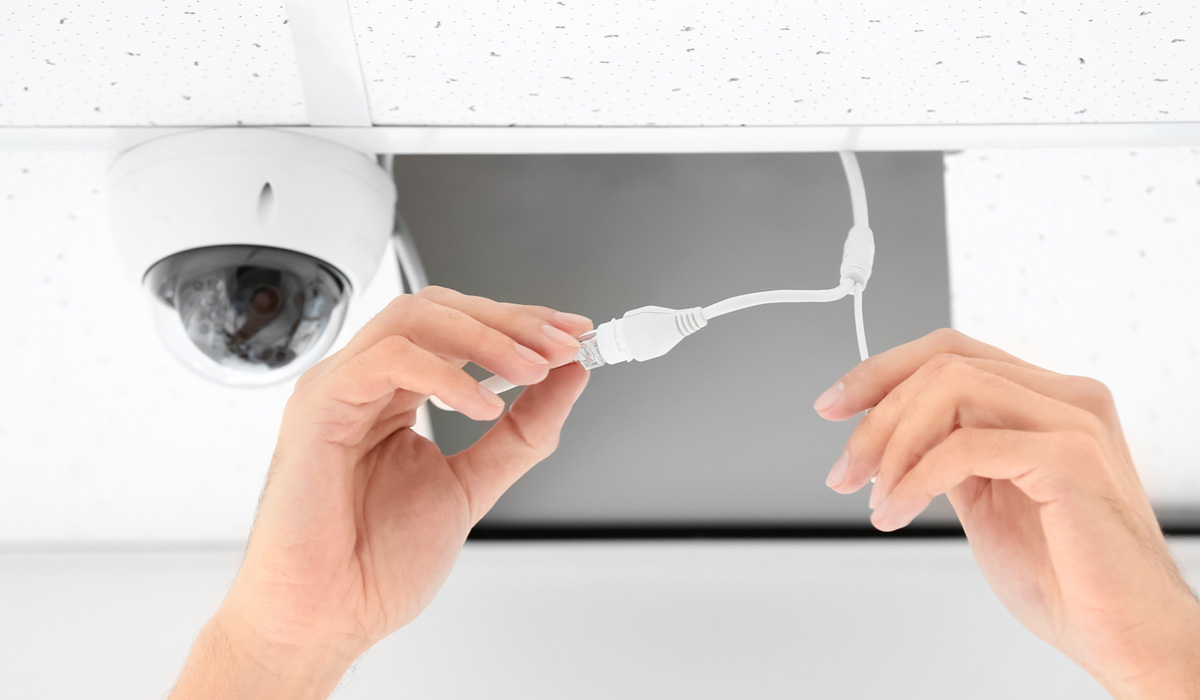
Now that the camera mount is securely in place, it’s time to run the wiring for your outdoor camera. Running the wiring properly is crucial to ensure that the camera is powered and connected to a recording device or monitor. Follow these steps to run the wiring:
- Plan the cable route: Determine the path that the power and video cables will take from the camera to the power source or recording device. This will help you determine the length of the cables you’ll need and avoid any obstacles or hazards.
- Safely route the cables: Start by running the necessary cables through any conduit, if applicable. Use fish tape or cable clips to secure the cables and prevent them from getting tangled or damaged during installation. If you need to run the cables along the exterior of your home or through walls, consider using cable covers to protect them.
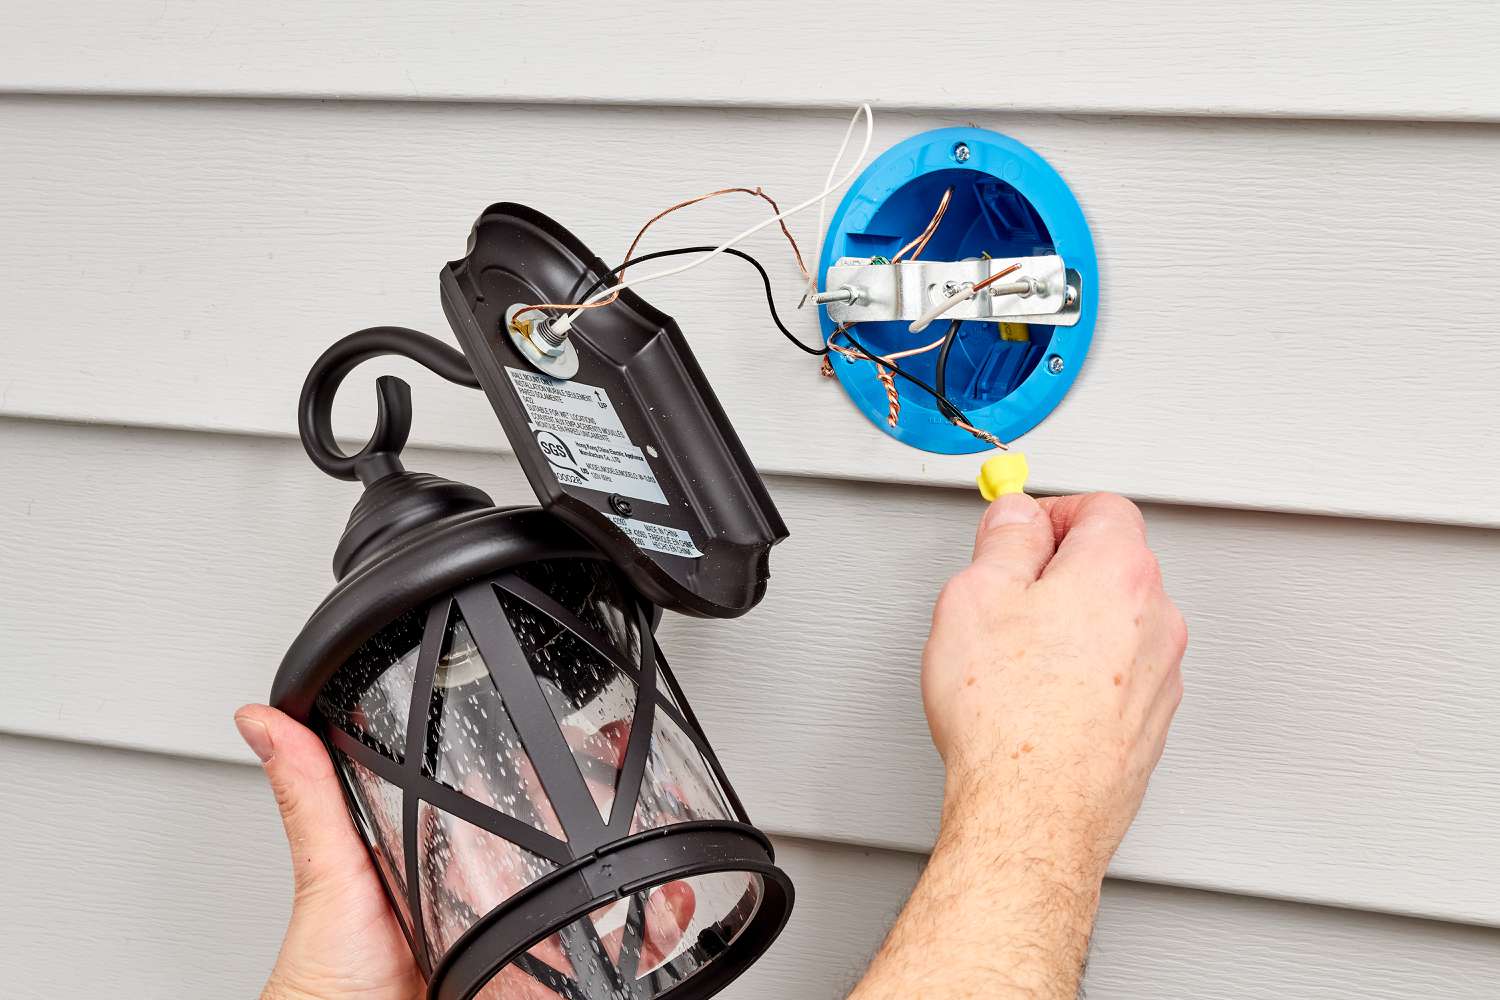
- Connect the power cable: Connect one end of the power cable to the power source, such as a power supply or outlet. Depending on the camera model, you may need to strip the ends of the power cable and use wire connectors to make the connection.
- Route the power cable to the camera: Carefully run the power cable along the planned route, ensuring that it is securely attached and hidden from view. Be mindful of any sharp edges or rough surfaces that could damage the cable.
- Connect the video cable (if applicable): If you’re connecting the camera to a recording device or monitor, attach one end of the video cable to the camera and the other end to the corresponding input on the recording device or monitor. Follow the manufacturer’s instructions for proper connection.
- Secure and conceal the cables: Use zip ties or cable clips to secure the cables along the route, keeping them neat and organized. Conceal the cables as much as possible to maintain a clean and professional appearance.
Take your time when running the wiring to ensure that it is done neatly and securely. Avoid any sharp bends or kinks in the cables, as this can affect their performance and longevity. Additionally, ensure that all connections are tight and secure to prevent any potential issues.
Once you’ve successfully run the wiring, you’re ready to proceed to the next step of connecting the camera to power.
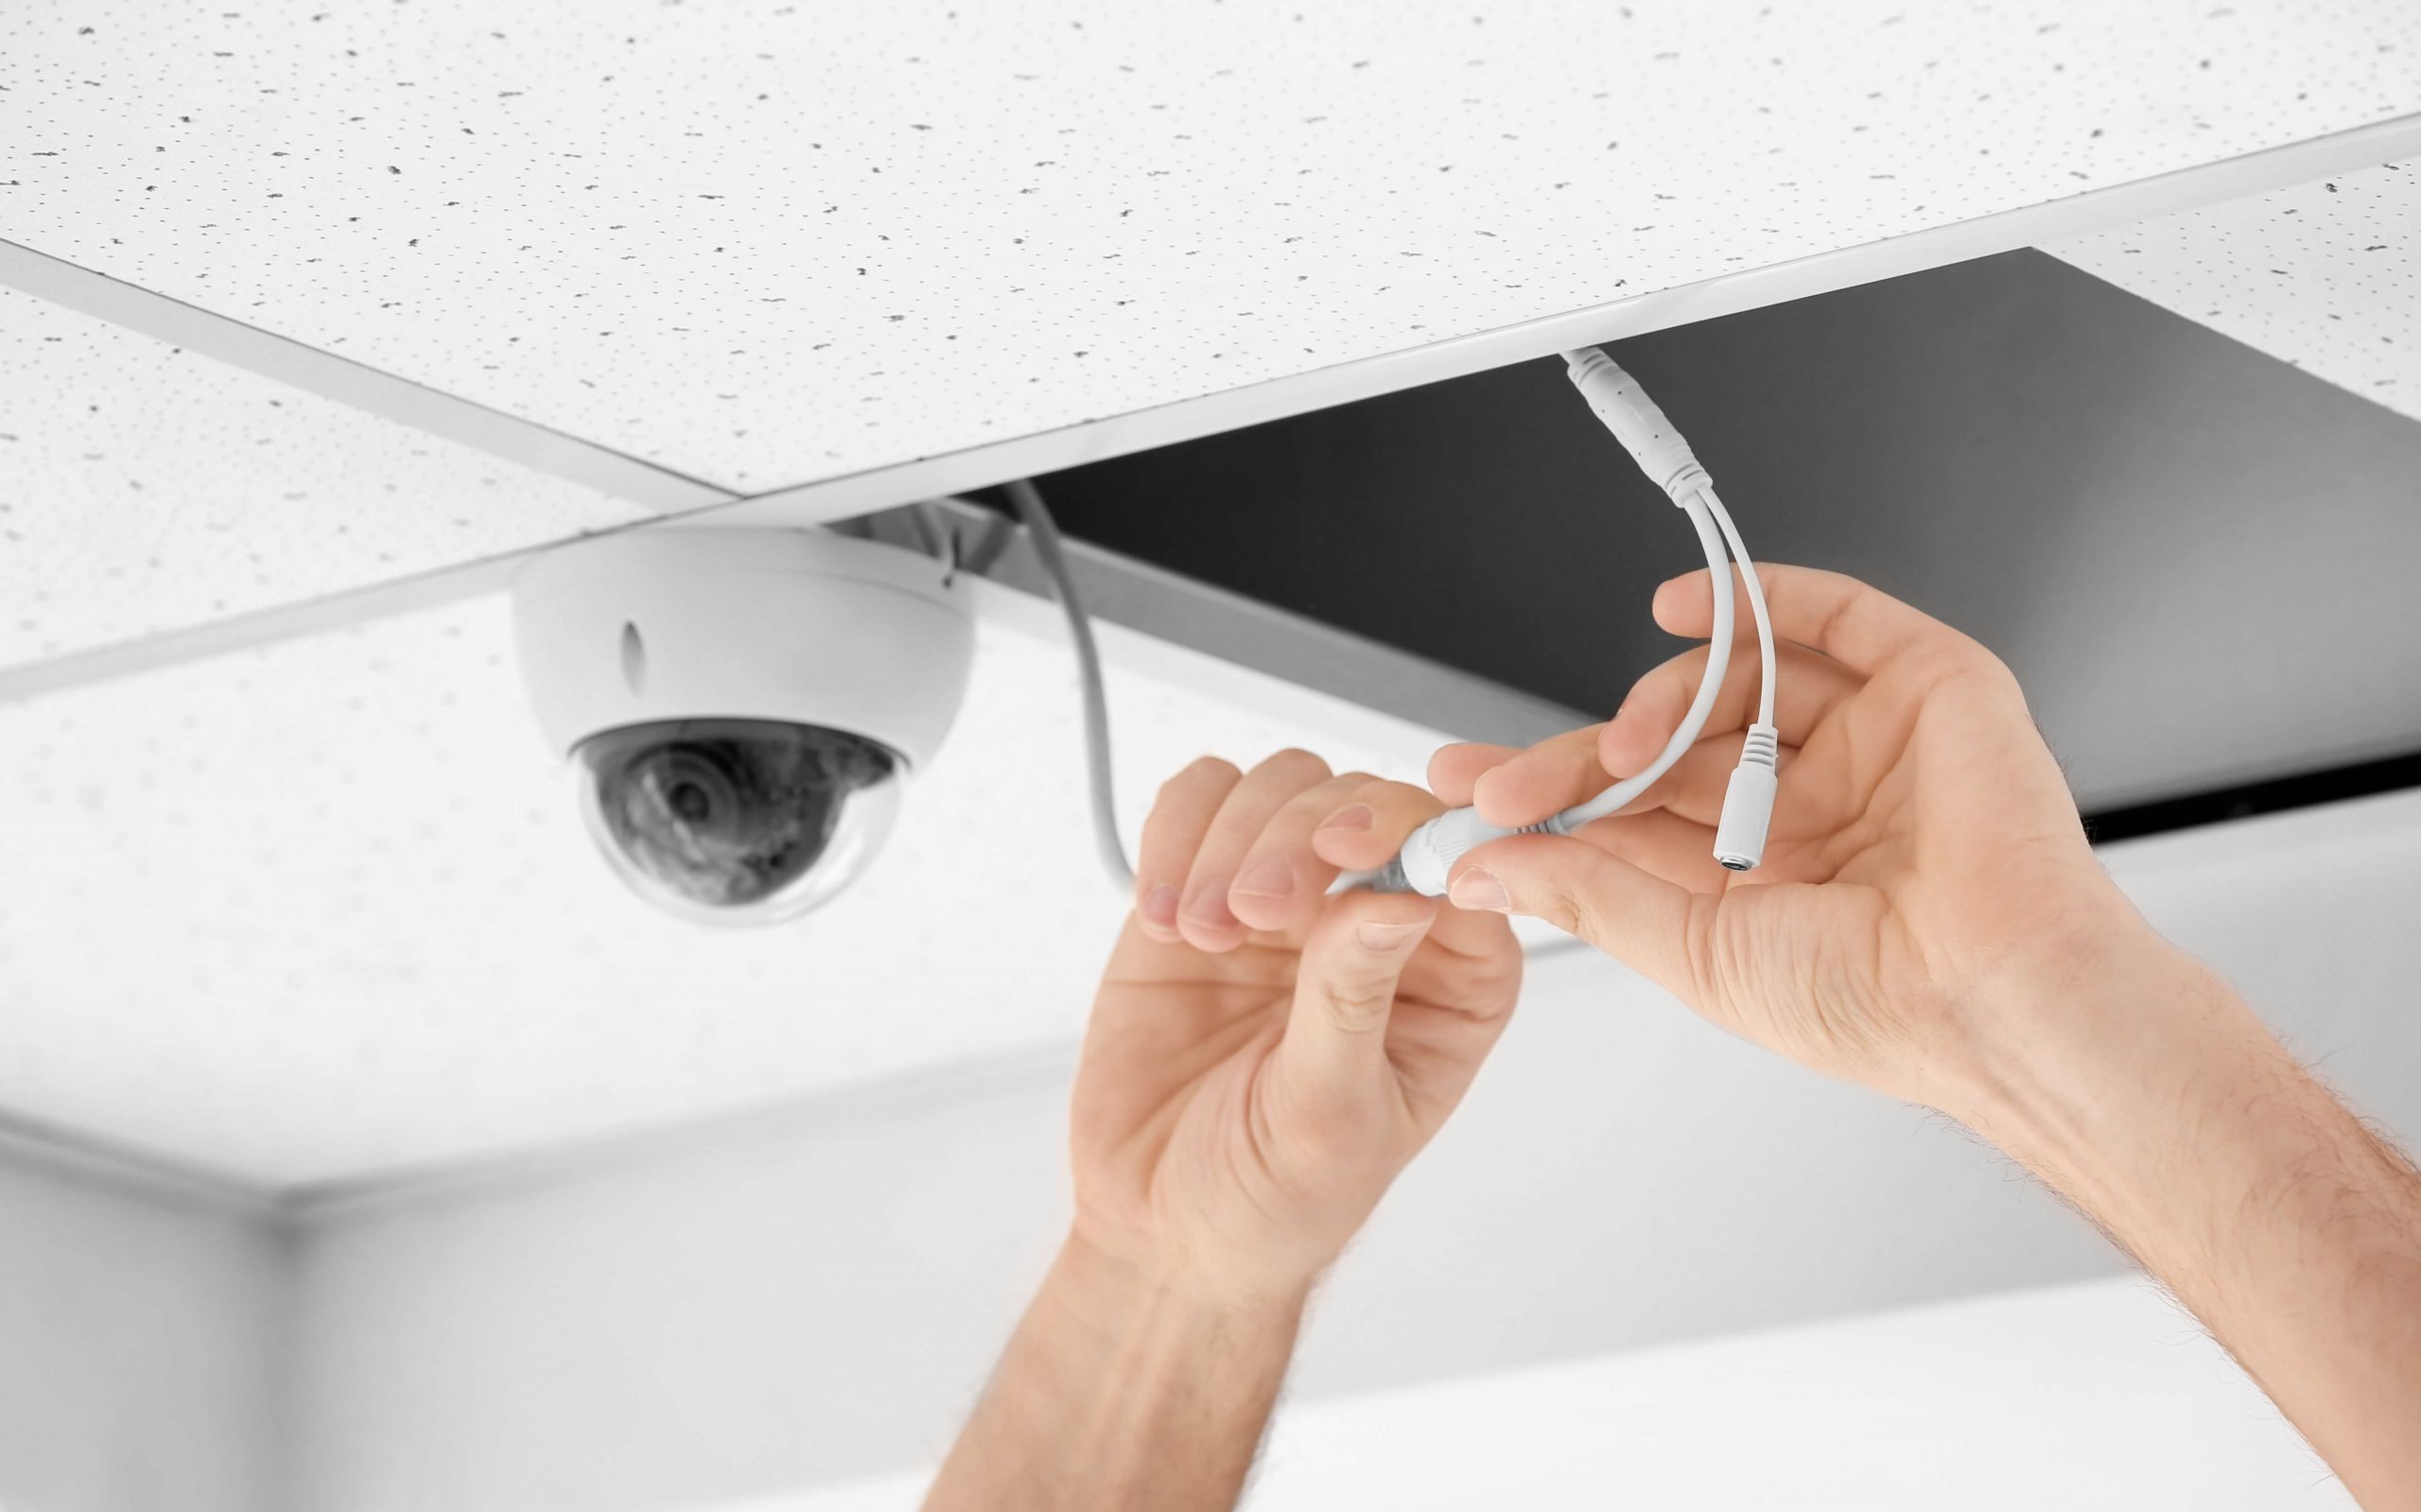
Step 7: Connect the Camera to Power
With the wiring in place, it’s time to connect the outdoor camera to power. This step ensures the camera has a reliable power source to operate continuously. Follow these steps to connect the camera to power:
- Locate the power source: Identify the power source you will be using for your camera. This could be an electrical outlet or a dedicated power supply.
- Prepare the power cable: If necessary, strip the end of the power cable to expose the wires. Follow the manufacturer’s instructions for proper stripping.
- Connect the power cable: Depending on the camera’s power requirements, connect the appropriate wires to the power source. This may involve using wire connectors, screw terminals, or other methods specified by the camera manufacturer. Ensure that the connections are secure and there are no loose wires.
- Test the power connection: Once the camera is connected to power, plug in the power supply or switch on the power outlet to provide electricity. Verify that the camera receives power by checking for any LED lights or indicators on the camera.
- Double-check the power supply: Ensure that the power supply is functioning correctly and delivering the required voltage to the camera. Refer to the camera’s specifications for the appropriate power requirements and check that they align with the power supply.
It’s essential to follow the manufacturer’s guidelines and instructions when connecting the camera to power. This will help prevent any electrical issues and ensure the camera operates safely and efficiently.
Once the camera is successfully connected to power, you can move on to the next step: connecting the camera to a recording device or monitor (if desired).
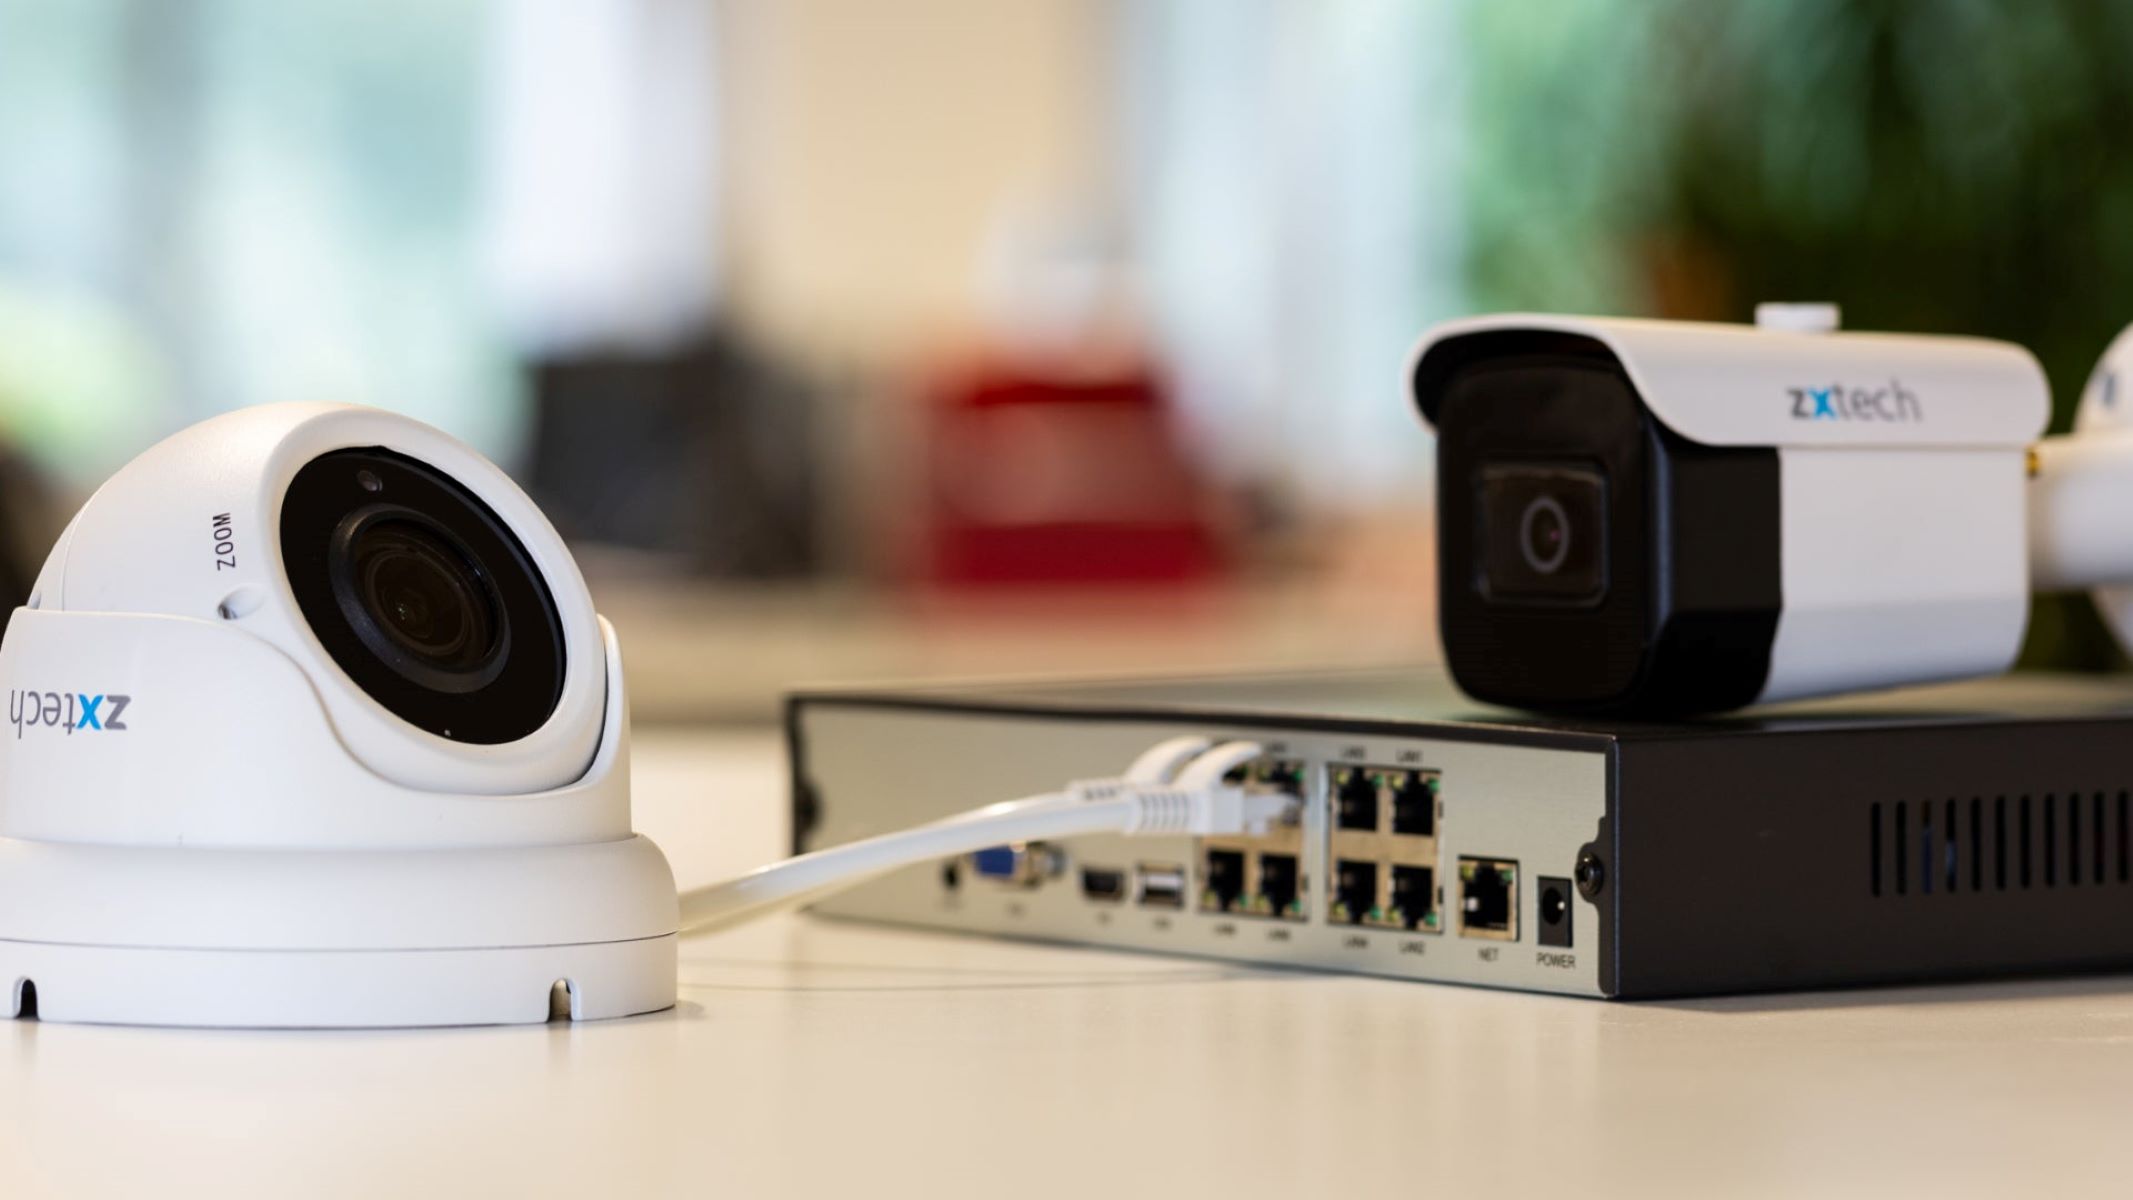
Step 8: Connect the Camera to a Recording Device or Monitor
If you want to view the footage captured by your outdoor camera in real-time or record it for future reference, you’ll need to connect the camera to a recording device or monitor. This step allows you to access and manage the camera feed efficiently. Follow these steps to connect the camera to a recording device or monitor:
- Identify the recording device or monitor: Determine the type of recording device or monitor you’ll be using to view and store the camera footage. This could be a DVR (Digital Video Recorder), NVR (Network Video Recorder), or a computer with video surveillance software.
- Check the camera’s video output: Inspect the camera to determine its video output options. Most outdoor cameras use BNC (Bayonet Neill-Concelman) connectors or RCA (Radio Corporation of America) connectors. Ensure that your recording device or monitor has compatible video inputs.
- Choose the appropriate video cable: Select a video cable that matches the camera’s video output and the recording device’s or monitor’s video input. Common video cable options include BNC cables or RCA cables. Consider the length needed to connect the camera to the recording device or monitor.
- Connect the camera to the recording device or monitor: Attach one end of the video cable to the camera’s video output, following the manufacturer’s instructions. Connect the other end of the cable to the corresponding video input on the recording device or monitor.
- Secure the connections: Ensure that the video cable connections are tight and secure to prevent any issues with transmission or image quality. Double-check that the connections are properly aligned with the video input and output ports.
- Configure the recording device or monitor: Follow the instructions provided by the manufacturer to configure the recording device or monitor to recognize and display the camera’s footage. This may involve selecting the appropriate video input and adjusting settings such as resolution and frame rate.
- Test the connection: Power on the camera, as well as the recording device or monitor, and review the video feed to confirm that the connection is working correctly. Make any necessary adjustments to optimize the image quality and ensure proper functionality.
By connecting your outdoor camera to a recording device or monitor, you’ll have the ability to monitor your property, review footage, and enhance the security of your home. Enjoy the added peace of mind that comes with having a comprehensive surveillance system in place.
Note that the specific steps for connecting the camera to a recording device or monitor may vary depending on the equipment you’re using. Always refer to the manufacturer’s instructions for your camera and recording device to ensure proper connection and compatibility.
Read more: How Is The Geeni Outdoor Camera Wired In
Step 9: Test the Camera and Adjust as Necessary
After completing the installation and connection process, it’s important to test your outdoor camera to ensure it is functioning properly. Testing allows you to identify any issues or adjustments that need to be made for optimal performance. Follow these steps to test the camera and make necessary adjustments:
- Power on the camera: Ensure that the camera is receiving power and has been properly connected to the power source or power supply.
- Check the camera feed: View the camera feed on your recording device or monitor to verify that the image is clear, and the camera is capturing the desired area.
- Adjust the camera position: If needed, make adjustments to the camera’s position or angle to achieve the desired field of view. Consider factors such as blind spots, obstructions, and lighting conditions.
- Test camera features: If your camera has additional features such as pan, tilt, or zoom, test these functionalities to ensure they are working correctly. Adjust the camera settings as necessary to optimize its performance.
- Verify night vision capabilities: If your camera has night vision capabilities, test it by checking how well it captures footage in low-light or nighttime conditions. Make adjustments to improve visibility if needed.
- Review video recording: If you have set up recording on your recording device or monitor, review the recorded video to ensure the quality and clarity meet your expectations. Adjust settings if necessary.
- Test remote access (if applicable): If you plan to access the camera feed remotely, test the remote access features using your smartphone, tablet, or computer. Ensure that you can view the camera feed and make any necessary adjustments to enable remote access.
By thoroughly testing your outdoor camera, you can identify any issues or areas for improvement. This step allows you to make necessary adjustments, ensuring that the camera is capturing the desired footage and meeting your surveillance needs.
Remember to consult the camera’s instruction manual or contact customer support for any specific troubleshooting or adjustment instructions. Fine-tuning the camera settings and performing regular maintenance will help maintain the camera’s performance and extend its lifespan.
Congratulations! You have successfully completed the process of wiring your outdoor camera. Enjoy the peace of mind and added security that comes with a properly installed and functioning surveillance system.
Conclusion
Securing your home and ensuring the safety of your loved ones is of utmost importance. Installing an outdoor camera is a proactive step towards enhancing the security and surveillance of your property. By following the steps outlined in this guide, you have now learned how to wire an outdoor camera, from gathering the necessary tools and materials to testing and adjusting the camera for optimal performance.
Throughout the installation process, it is vital to prioritize safety and adhere to any applicable building codes and regulations. If you are unsure about any electrical work, it is recommended to consult a professional to ensure a safe and successful installation.
Remember to carefully consider the camera placement, as it plays a crucial role in monitoring the desired areas and minimizing blind spots. Planning the wiring route also ensures a clean and organized installation, minimizing any potential hazards or issues.
Connecting the camera to a power source and a recording device or monitor allows you to view real-time footage and store recordings for future reference. Performing thorough testing and making necessary adjustments ensure that the camera is operating effectively and capturing the desired surveillance footage.
By completing these steps, you have taken a significant stride towards improving the security and surveillance of your home. Enjoy the peace of mind and added protection that an outdoor camera provides, knowing that you have taken an active role in safeguarding your property.
Remember to regularly maintain and update your outdoor camera system, ensuring that it continues to operate at its best. Stay informed about new technologies and upgrades that can further enhance your home security, and never hesitate to seek professional assistance when needed.
Thank you for choosing our guide on how to wire an outdoor camera. Stay safe, stay secure!
Frequently Asked Questions about How To Wire An Outdoor Camera
Was this page helpful?
At Storables.com, we guarantee accurate and reliable information. Our content, validated by Expert Board Contributors, is crafted following stringent Editorial Policies. We're committed to providing you with well-researched, expert-backed insights for all your informational needs.