
Articles
How To Trace An Electrical Wire
Modified: August 27, 2024
Learn how to trace an electrical wire with our informative articles. Discover tips and techniques for locating and identifying wiring in your home or workspace.
(Many of the links in this article redirect to a specific reviewed product. Your purchase of these products through affiliate links helps to generate commission for Storables.com, at no extra cost. Learn more)
Introduction
Tracing an electrical wire is a skill that can come in handy when conducting repairs or renovations around your home or office. Whether you need to identify a specific wire for troubleshooting purposes or you simply want to understand the wiring layout of a particular circuit, being able to trace an electrical wire can save you time and effort in the long run. In this article, we will walk you through the step-by-step process of tracing an electrical wire, from gathering the necessary tools to ensuring the safety precautions are in place.
Before we dive into the details, it’s important to note that working with electrical wires can be dangerous if not done properly. It’s always recommended to consult a licensed electrician for any major electrical work. However, for smaller tasks like tracing a wire, you can safely follow the guidelines we outline here.
Throughout the process, make sure to prioritize your safety by wearing safety gloves and goggles. It’s also crucial to turn off the power to the circuit you’ll be working on and double-check that the power is off by using a voltage tester or multimeter. Additionally, be cautious of any live wires you may encounter during the tracing process.
Now that we have the safety precautions covered, let’s gather the necessary tools and equipment before diving into the steps of wire tracing.
Key Takeaways:
- Prioritize safety by wearing gloves and goggles, turning off the power, and checking for live wires before tracing an electrical wire. Having the right tools and following a systematic approach ensures a successful and safe wire tracing process.
- Use a wire tracer or toner to locate and follow the path of the wire, noting any junction boxes or connections along the way. Verify the traced wire, perform any necessary repairs, and test the circuit to ensure proper functionality.
Read more: What Is 4 Wire Electrical Wire
Tools and Equipment Needed
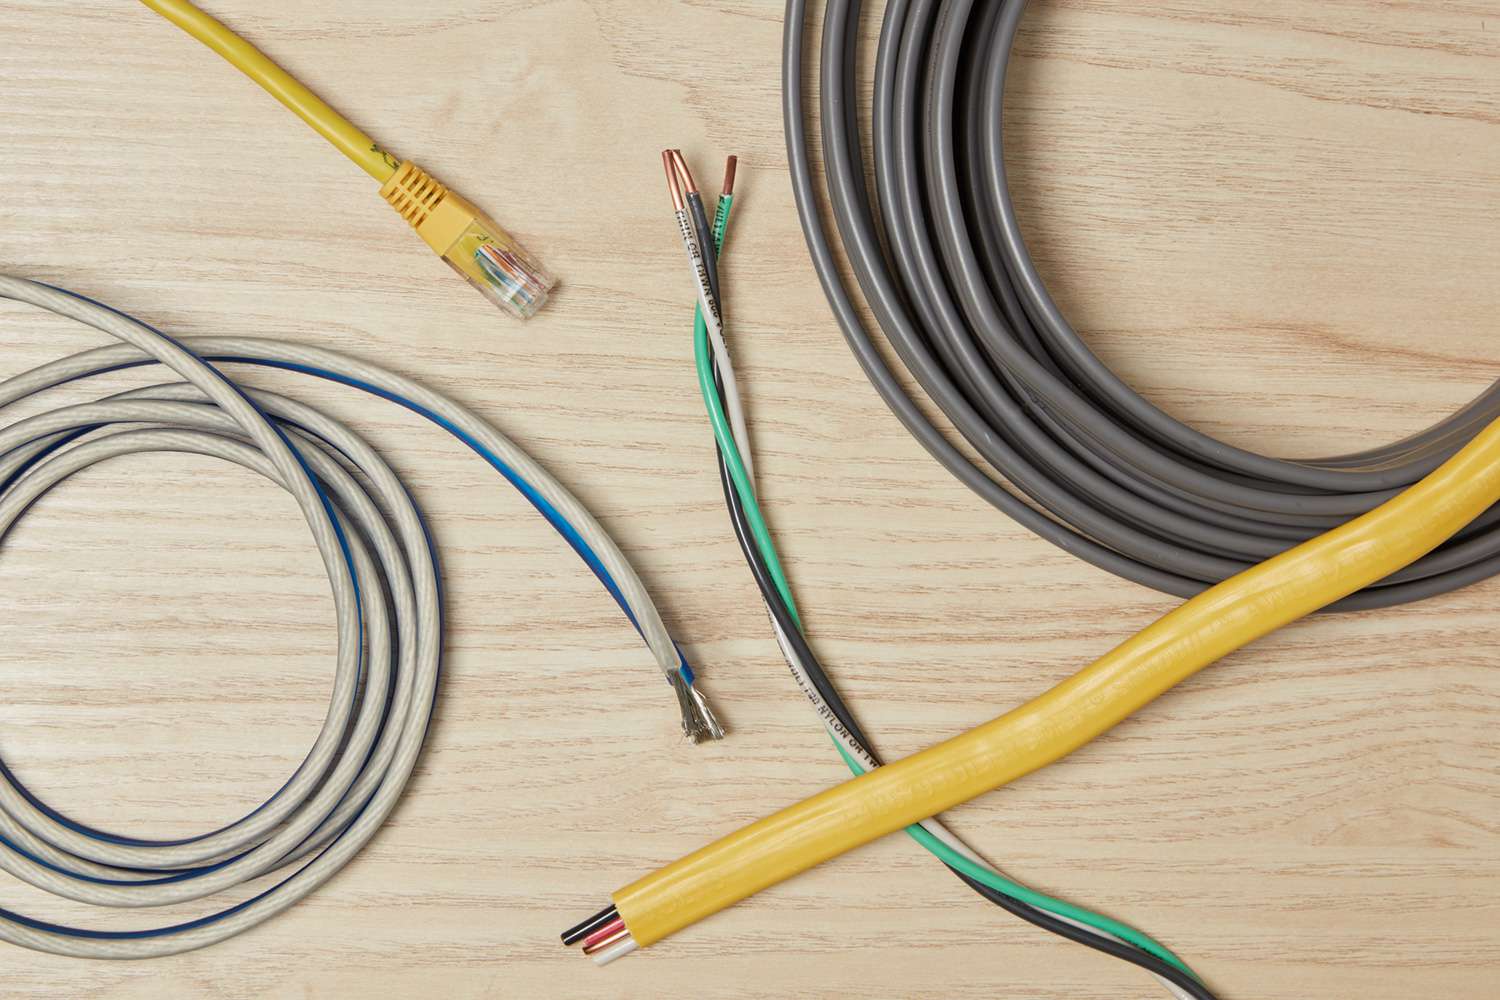
When it comes to tracing an electrical wire, having the right tools and equipment is essential. These tools will help you accurately locate and track the wire, ensuring a smooth and successful tracing process. Here are some of the tools you’ll need:
- Multimeter: A multimeter is an essential tool for any electrical work. It allows you to measure voltage, current, and resistance. You’ll need a multimeter to check for continuity and ensure the correct wire is being traced.
- Wire tracer or toner: A wire tracer or toner is specifically designed to locate and follow the path of an electrical wire. It emits a signal that can be detected using a receiver. This tool is invaluable when it comes to tracing wires hidden inside walls or ceilings.
- Circuit breaker finder: A circuit breaker finder is used to identify which circuit breaker is connected to a specific electrical outlet or wire. It saves you from having to guess or turn off multiple breakers to find the right one. This tool is especially useful when tracing wires that are connected to multiple circuits.
- Wire strippers: Wire strippers are used to remove the insulation from the ends of electrical wires. They have different-sized cutting slots to accommodate various wire gauges. When tracing a wire, you may need to strip the insulation to check for continuity or make repairs.
- Screwdrivers (flathead and Phillips head): Screwdrivers are essential for removing screws and accessing electrical panels, junction boxes, or other electrical fixtures. Make sure to have both flathead and Phillips head screwdrivers on hand, as they are commonly used in electrical work.
- Wire nuts: Wire nuts are used to secure and connect wires together. When tracing a wire, you may need to disconnect and reconnect the wires, especially if you encounter a junction box. Wire nuts ensure a secure and reliable connection.
- Electrical tape: Electrical tape is used to insulate and protect wire connections. It helps prevent any exposed wires from coming into contact with each other or with other conductive materials. It’s an essential tool for ensuring the safety and longevity of your electrical system.
Having these tools readily available will make the process of tracing an electrical wire much smoother. Before you begin, double-check that you have everything you need, as having the right tools on hand can save you time and frustration during the tracing process. Now, let’s move on to the next step: safety precautions.
Safety Precautions
When working with electricity, safety should always be your top priority. Before you begin tracing an electrical wire, it’s important to take the necessary safety precautions to protect yourself and prevent any potential accidents. Here are some safety measures you should follow:
- Turning off the power: Before working on any electrical circuit, ensure that you have turned off the power. This can be done by switching off the relevant circuit breaker in the electrical panel. Turning off the power eliminates the risk of electric shock while you are tracing the wire.
- Using safety gloves and goggles: Whenever you work with electrical wires, it’s crucial to protect yourself by wearing safety gloves and goggles. Safety gloves provide insulation and prevent direct contact with live wires, reducing the risk of electric shock. Goggles protect your eyes from any sparks or debris that may be generated during the tracing process.
- Checking for live wires: Even after turning off the power, it’s important to double-check for any live wires before you start tracing. Use a voltage tester or a multimeter to ensure that there is no electricity flowing through the wires. This is a critical step to ensure your safety and avoid any potential accidents.
By following these safety precautions, you minimize the risk of electrical accidents and ensure a safer environment while tracing electrical wires. Remember, if you are unsure or uncomfortable performing any electrical work, it’s always best to consult a licensed electrician for assistance.
Now that you’ve taken the necessary safety measures, you are ready to move on to the next step: preparing for wire tracing.
Step 1: Preparing for Wire Tracing
Before you begin tracing an electrical wire, it’s important to properly prepare yourself and the work environment. By taking the time to gather the necessary tools and equipment and following a systematic approach, you’ll be able to trace the wire effectively. Here are the steps to prepare for wire tracing:
- Gather necessary tools and equipment: As mentioned earlier, ensure that you have all the tools and equipment required for wire tracing. This includes a multimeter, wire tracer or toner, circuit breaker finder, wire strippers, screwdrivers (flathead and Phillips head), wire nuts, and electrical tape. Having all these tools at hand will make the process smoother and save you time searching for them later.
- Turn off the power to the circuit: Before you can safely trace an electrical wire, you must turn off the power to the specific circuit you’ll be working on. Locate the circuit breaker panel and identify the breaker that controls the circuit. Flip the breaker switch to the “off” position to cut off the power supply to that circuit. This step is crucial to protect yourself from any potential electrical hazards while tracing the wire.
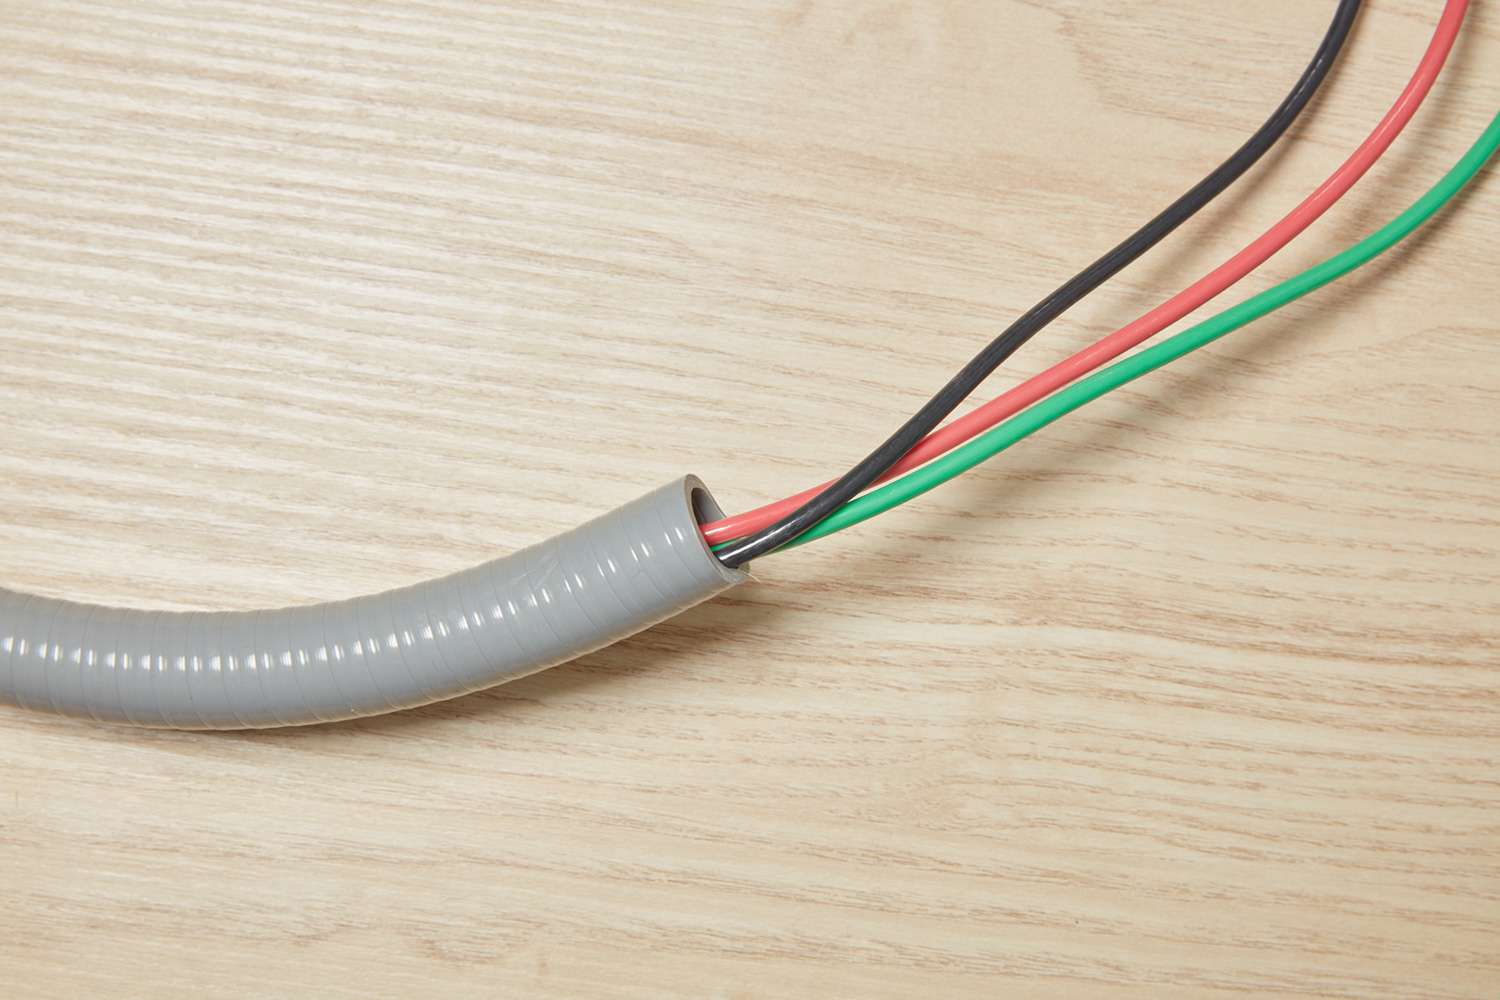
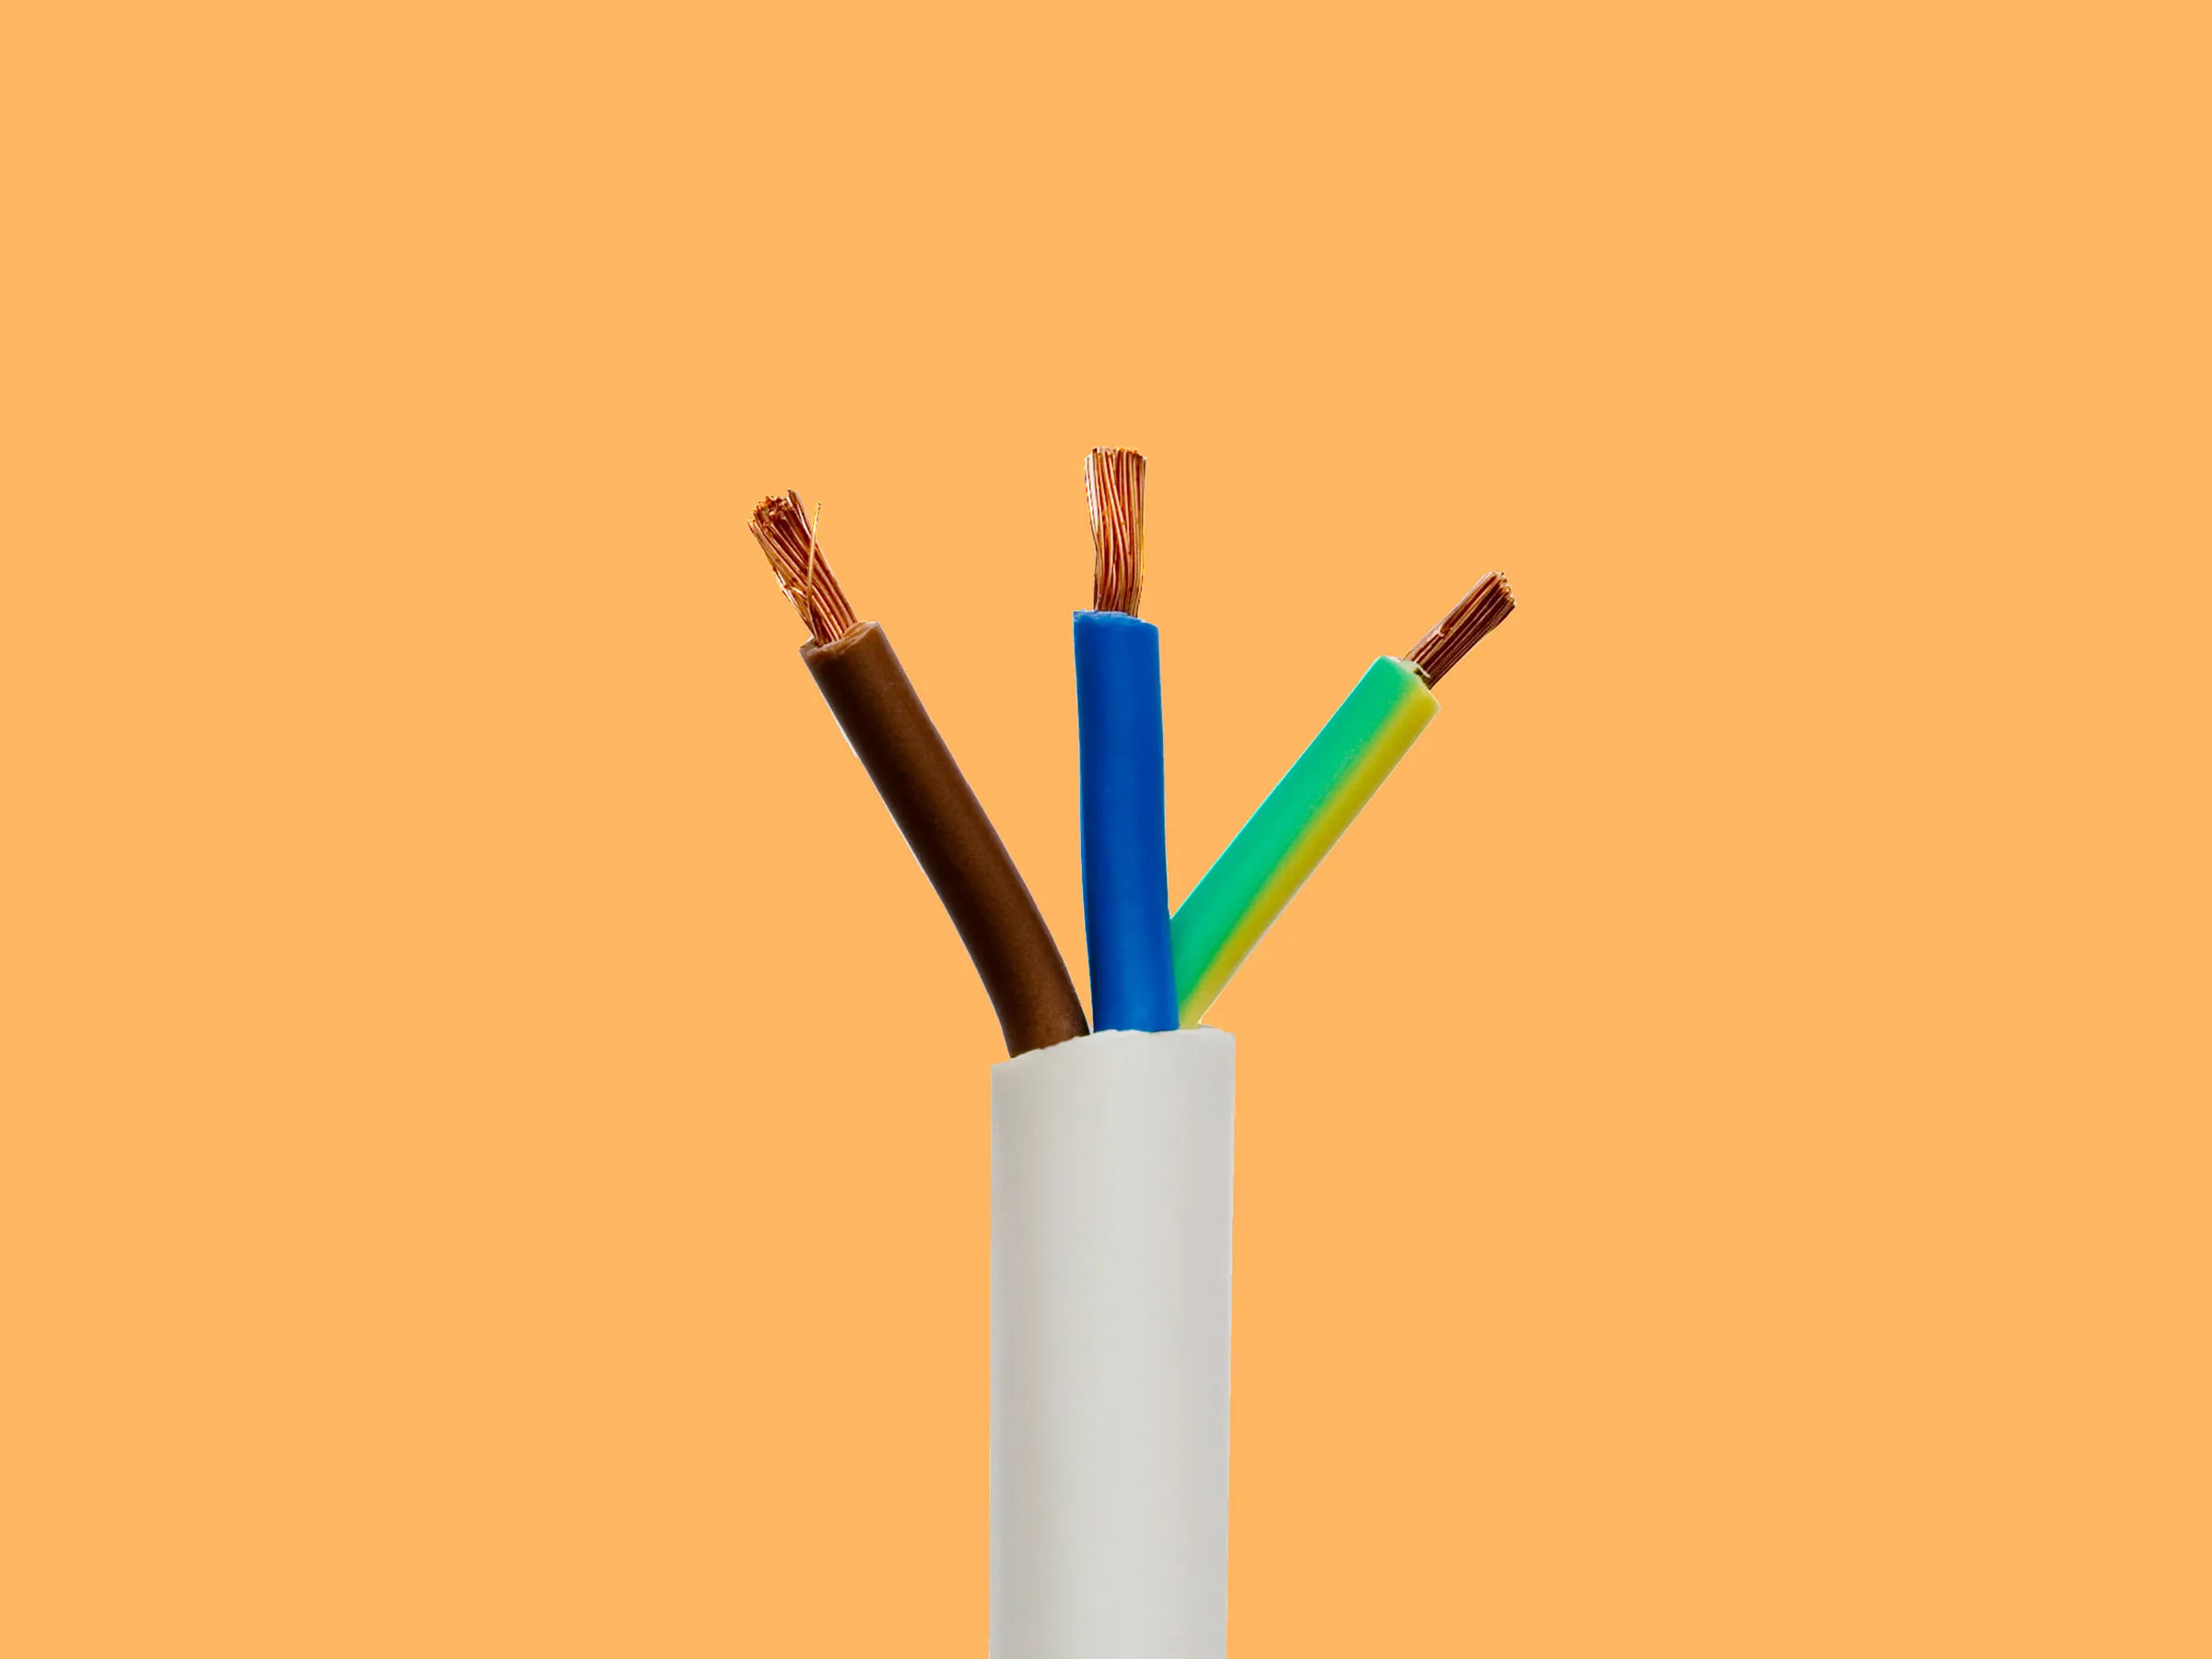
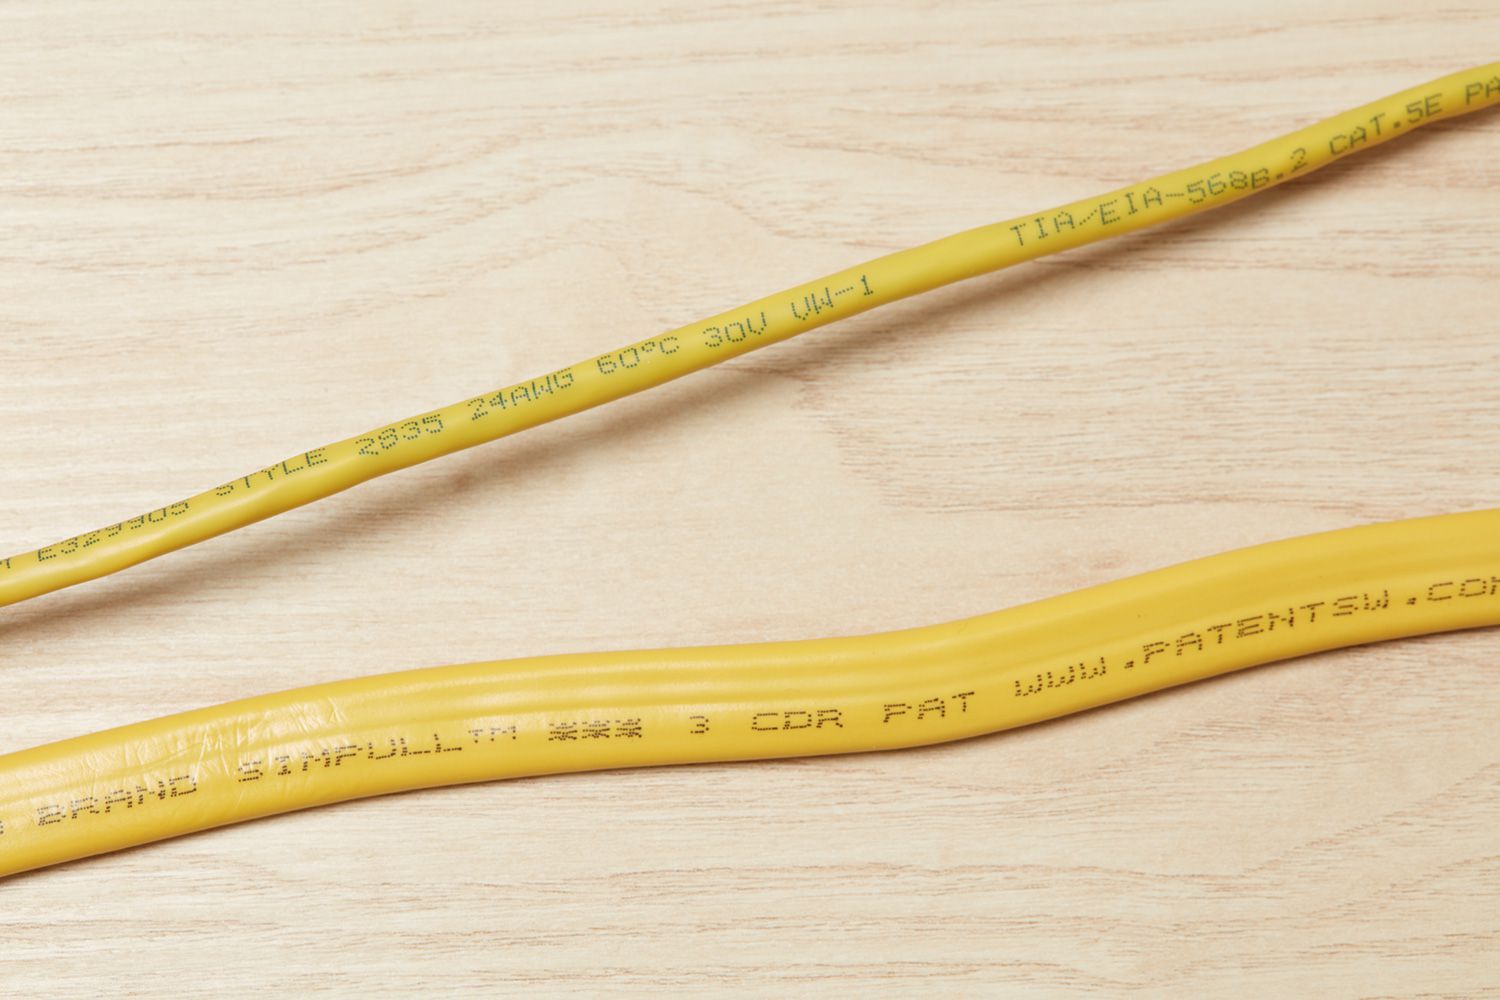
- Identify the starting and ending points of the wire: Once you’ve turned off the power, carefully identify the starting and ending points of the wire you intend to trace. This can be done by visually inspecting the wires, looking for any markings or labels that indicate their purpose or destination. Additionally, you can refer to a wiring diagram or consult an electrical professional for guidance. Clearly noting the starting and ending points will help you stay on track and ensure accurate wire tracing.
By following these steps, you’ll be well-prepared to start tracing the electrical wire. Remember to always prioritize safety and take necessary precautions before proceeding further. In the next step, we’ll delve into the process of wire tracing itself using a wire tracer or toner.
Step 2: Tracing the Wire
Now that you’ve prepared yourself and identified the starting and ending points of the wire, it’s time to start tracing it. This step involves using a wire tracer or toner to locate the wire and following the signal emitted by the tracer to trace its path. Here’s how to proceed:
- Use a wire tracer or toner to locate the wire: Begin by using a wire tracer or toner, which is a specialized tool designed to locate and trace electrical wires. Attach the transmitter to the wire at the starting point, following the manufacturer’s instructions. The transmitter emits a signal onto the wire, making it easier to track its path. Ensure that the tracer is set to the appropriate mode for wire tracing.
- Follow the signal emitted by the tracer to trace the wire path: With the tracer set and attached to the wire, slowly move the receiver along the path of the wire. Listen for the tone or look for the signal strength indicator on the receiver. The tone will increase in strength or the signal indicator will become stronger as you get closer to the wire. This will help you follow the wire’s path accurately.
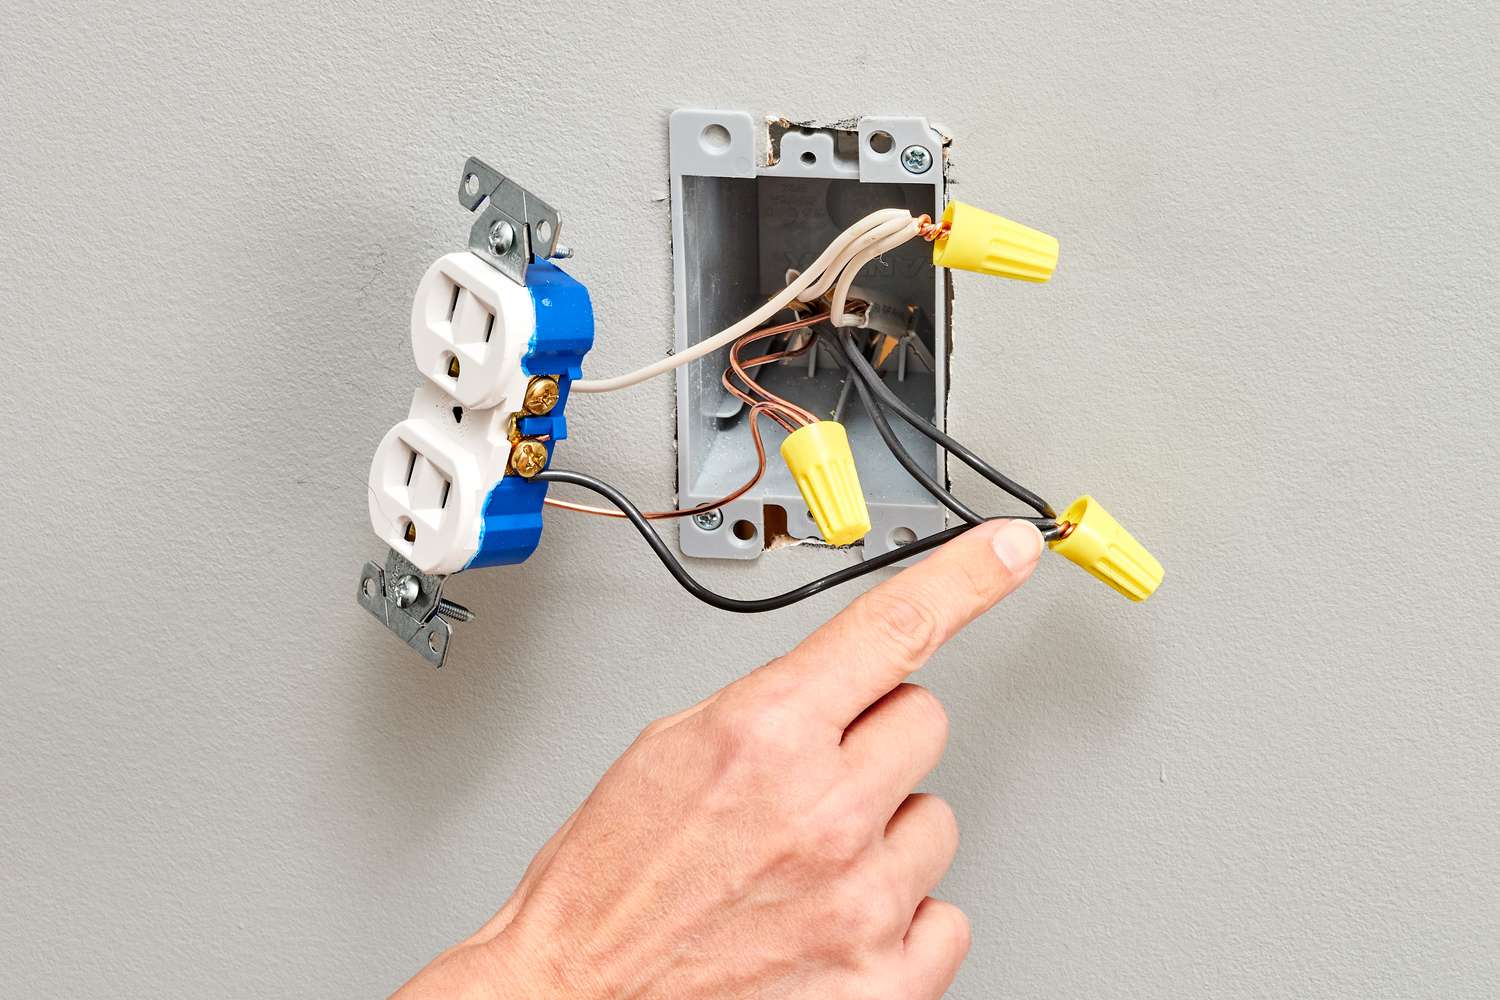
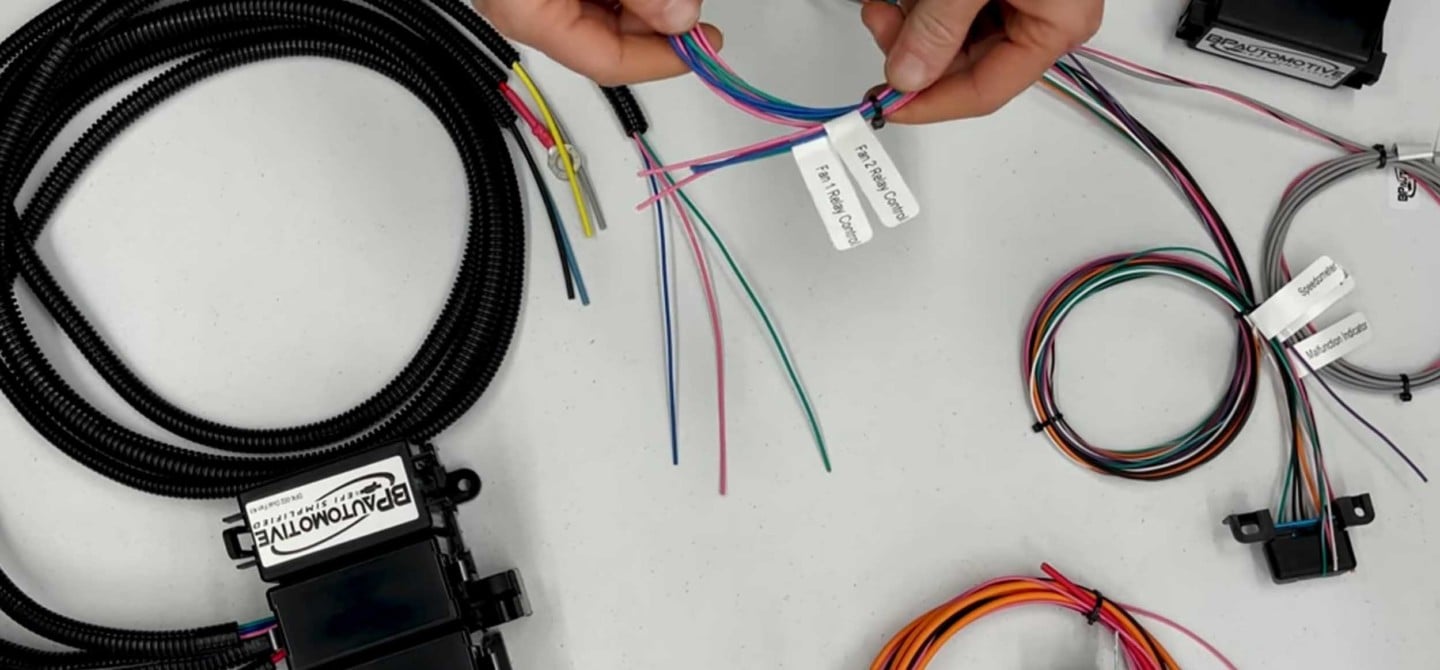
- Take note of any junction boxes or connections: As you trace the wire, make note of any junction boxes, connections, or other fixtures that the wire passes through. Junction boxes are typically located where multiple wires meet or where wires branch off to different areas. These boxes are important landmarks in the wire’s path and can give you valuable information about the wiring layout.
By using a wire tracer or toner and following the signal, you’ll be able to trace the wire effectively. Pay attention to any junction boxes or connections along the way as they can provide useful information during troubleshooting or repairs. In the next step, we’ll discuss how to verify that you’ve traced the correct wire.
When tracing an electrical wire, use a tone generator and probe to locate the wire within the walls or ceilings. The tone generator sends a signal through the wire, allowing you to easily trace its path.
Read more: How To Wire An Electric Cooktop
Step 3: Verifying the Wire
After tracing the wire using a wire tracer or toner, it’s crucial to verify that you have indeed traced the correct wire. This step involves confirming the traced wire, checking for continuity using a multimeter, and inspecting the wire for any visible damage or wear. Here’s what you need to do:
- Confirm the traced wire is the correct one: Ensure that the wire you have traced matches the wire you intended to trace. Verify the starting and ending points to make sure they align with your initial identification. Take note of any unique characteristics or markings on the wire to further confirm its identity.
- Check for continuity using a multimeter: To further validate your wire tracing, use a multimeter to test for continuity. Set the multimeter to the continuity or resistance mode and place the probes on opposite ends of the wire. If the multimeter shows continuity (a complete path for the electricity to flow), it confirms that you have indeed traced the correct wire.
- Inspect any visible damage or wear on the wire: While verifying the wire, visually inspect it for any signs of damage or wear. Look for frayed or damaged insulation, exposed or loose wiring, or any other indications of potential issues. If you notice any damage, it’s important to address it before proceeding further.
By confirming the traced wire, checking for continuity, and inspecting for visual damage, you can ensure that you have accurately traced the correct wire. This verification step is crucial to avoid any confusion or mistakes during the tracing process. In the next step, we’ll discuss what to do if the wire needs to be reconnected or repaired.
Step 4: Reconnecting or Repairing the Wire
In some cases, after tracing a wire, you may find the need to reconnect or repair it. This step guides you through the process of reconnection or repair to ensure that the wire is properly restored. Here’s what you need to do:
- If the wire needs to be reconnected, strip the insulation from the ends: If you have identified a break or disconnection in the wire that needs to be fixed, strip off the insulation from the ends using wire strippers. Carefully expose about half an inch of bare wire on each end. Be cautious not to damage the wire strands while stripping the insulation.
- Twist the wires together and secure with wire nuts: Once the ends of the wire are exposed, twist them together. Make sure the wire strands are tightly interlocked to create a secure connection. Once twisted, cover the connection with a wire nut. Twist the wire nut clockwise onto the wires until it is snug and secure. This will prevent any loose or exposed wires that could lead to a short circuit.
- Use electrical tape to insulate the connection: After securing the wire nut, wrap electrical tape around the wire nut and a portion of the insulated wire on either side of the connection. This provides an additional layer of insulation and protects the connection from moisture or accidental contact with other wires or conductive objects. Wrap the electrical tape tightly and evenly to provide a secure and effective seal.
Following these steps will ensure that the wire is properly reconnected or repaired, restoring its functionality and ensuring a safe electrical connection. However, if the wire is severely damaged or if you are uncertain about the repairs, it’s recommended to consult a licensed electrician for further assistance.
Now that you have successfully reconnected or repaired the wire, it’s time to move on to the final step: testing the circuit to ensure proper functionality.
Step 5: Testing the Circuit
After reconnecting or repairing the wire, it’s important to test the circuit to ensure that everything is functioning properly. This step involves turning the power back on, using a circuit breaker finder to identify the correct breaker, and testing the circuit for proper functionality. Here’s how to proceed:
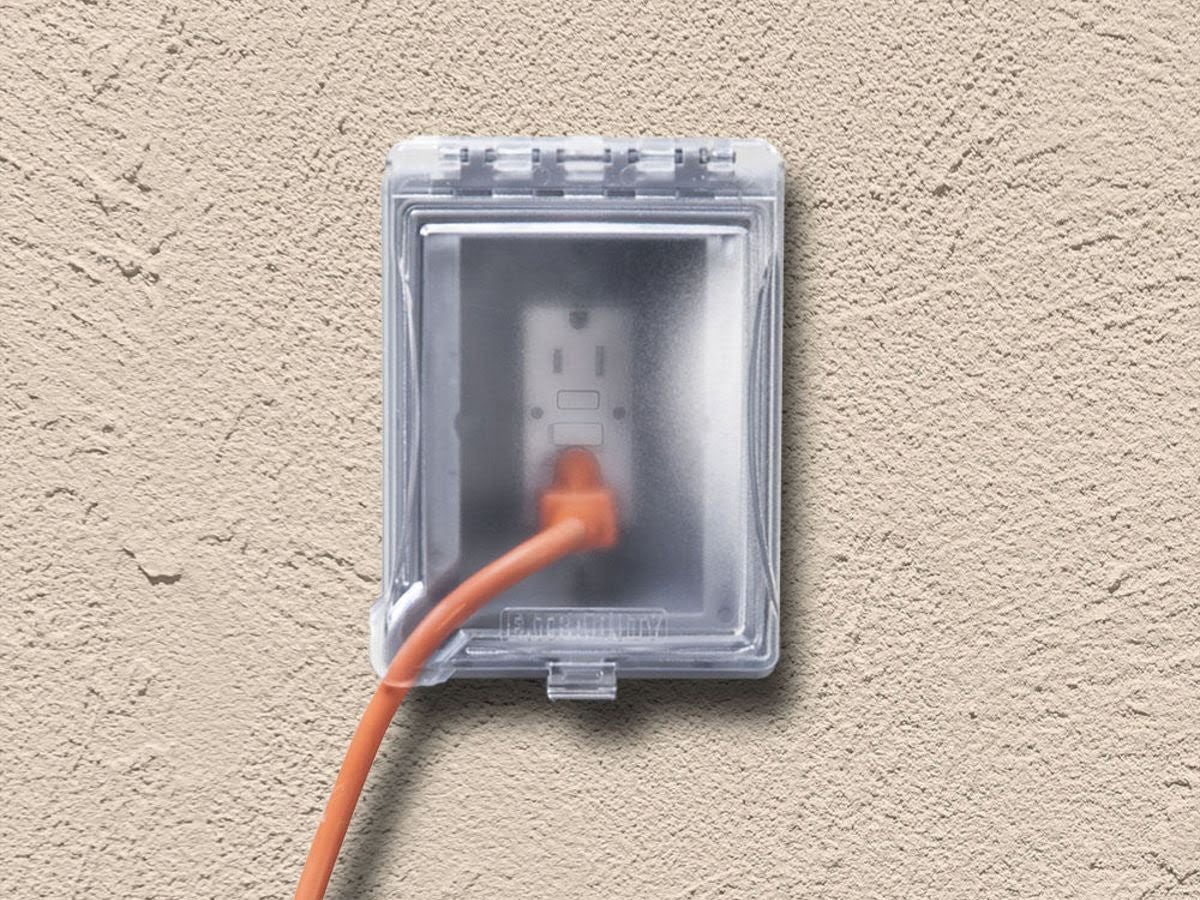
- Turn the power back on: Now that the wire has been reconnected or repaired, it’s time to restore power to the circuit. Go to the circuit breaker panel and switch the breaker back to the “on” position for the respective circuit. This will supply power to the circuit and allow you to test its functionality.
- Use a circuit breaker finder to identify the correct breaker: Once the power is restored, you may need to identify the correct breaker if it wasn’t clearly marked during the tracing process. A circuit breaker finder is a handy tool that helps locate the specific breaker connected to the circuit. Follow the manufacturer’s instructions to use the circuit breaker finder and identify the correct breaker.
- Test the circuit to ensure proper functioning: With the breaker identified, it’s time to test the circuit to ensure it is working correctly. Turn on the switches or outlets connected to the traced wire and verify that they are operational. If there were any issues or malfunctions prior to tracing the wire, check if they have been resolved. You can also use a multimeter to measure the voltage or perform other tests to confirm that the circuit is functioning as expected.
By testing the circuit, you can verify that the repairs or reconnection of the wire have been successful and that the circuit is back to normal functioning. This final step ensures that the traced wire is fully operational and that any issues or faults have been addressed.
With the testing complete, you have successfully traced an electrical wire, performed any necessary repairs, and ensured the proper functioning of the circuit. It’s important to remember that electrical work can be complex and potentially hazardous, so always exercise caution and seek professional assistance if needed.
Conclusion
Tracing an electrical wire can seem like a daunting task, but with the right tools, knowledge, and safety precautions, it becomes a manageable and rewarding endeavor. By following the step-by-step process outlined in this article, you can successfully trace a wire and carry out any necessary repairs or reconnections.
We started by emphasizing the importance of safety and discussed the essential safety precautions to follow, such as turning off the power, using safety gloves and goggles, and checking for live wires. These precautions are crucial for protecting yourself and mitigating the risks associated with working with electricity.
Next, we covered the tools and equipment needed for wire tracing, including a multimeter, wire tracer or toner, circuit breaker finder, wire strippers, screwdrivers, wire nuts, and electrical tape. Having these tools readily available ensures that you can properly trace and repair the wire without delays.
We then walked through the step-by-step process, starting with preparing for wire tracing by gathering the necessary tools, turning off the power to the circuit, and identifying the starting and ending points of the wire. With these preparations in place, you were ready to move on to the actual wire tracing process.
Using a wire tracer or toner, you learned how to locate the wire and follow the signal emitted to trace its path. Along the way, we emphasized the importance of noting any junction boxes or connections, as they provide valuable information about the wiring layout and aid in troubleshooting or repairs.
Once the wire was traced, we discussed how to verify that you have indeed traced the correct wire. This involved confirming the traced wire, checking for continuity using a multimeter, and inspecting the wire for any visible damage or wear.
If repairs or reconnection were necessary, we explained how to strip the insulation, twist the wires together, and secure them with wire nuts. Additionally, we highlighted the importance of using electrical tape to insulate the connections, ensuring a safe and reliable electrical connection.
Lastly, we covered the final step of testing the circuit by turning the power back on, using a circuit breaker finder to identify the correct breaker, and testing the circuit’s functionality. This step ensures that the wire has been properly connected or repaired and that the circuit is functioning as expected.
By following these steps and exercising caution throughout the process, you can successfully trace an electrical wire and carry out any necessary repairs or reconnections. However, if you encounter more complex issues or feel unsure about any electrical work, it’s always best to consult a licensed electrician for professional assistance.
Remember, electrical work can be potentially dangerous, so prioritize your safety and take the necessary precautions at all times. With proper planning, the right tools, and a systematic approach, you’ll be able to tackle wire tracing confidently and ensure the efficient and reliable functioning of your electrical system.
Frequently Asked Questions about How To Trace An Electrical Wire
Was this page helpful?
At Storables.com, we guarantee accurate and reliable information. Our content, validated by Expert Board Contributors, is crafted following stringent Editorial Policies. We're committed to providing you with well-researched, expert-backed insights for all your informational needs.


0 thoughts on “How To Trace An Electrical Wire”