Articles
How To Run Electrical Wire On Concrete Wall
Modified: October 19, 2024
Learn how to run electrical wire on a concrete wall with our informative articles. Find step-by-step guides, tips, and tricks for a successful installation.
(Many of the links in this article redirect to a specific reviewed product. Your purchase of these products through affiliate links helps to generate commission for Storables.com, at no extra cost. Learn more)
Introduction
Running electrical wire on a concrete wall can be a tricky task, but with the right tools and techniques, it can be accomplished effectively and safely. Whether you are wiring a new electrical circuit or adding outlets to an existing one, running the wire on a concrete wall requires careful planning and precise execution.
In this article, we will walk you through the step-by-step process of running electrical wire on a concrete wall. By following these guidelines, you can ensure a successful and compliant installation while maintaining the integrity of your wall.
Before we dive into the details, it is important to note that electrical work should be done by qualified professionals. If you are not experienced or comfortable with electrical work, it is recommended to hire a licensed electrician to perform the installation. Safety is paramount when working with electricity, so always prioritize your well-being and follow local regulations and codes.
Now, let’s gather the necessary tools and materials before we begin.
Key Takeaways:
- Planning and precision are essential when running electrical wire on a concrete wall. From mapping the wiring path to testing the electrical connection, attention to detail ensures a safe and compliant installation.
- Prioritize safety and consider consulting a licensed electrician if you’re not experienced with electrical work. Following the step-by-step process and adhering to local regulations will result in a successful and reliable electrical installation.
Tools and Materials Needed
To successfully run electrical wire on a concrete wall, you will need the following tools and materials:
- Hammer drill: This specialized drill is designed to penetrate concrete efficiently.
- Masonry drill bits: Select drill bits specifically designed for drilling into concrete. These bits are made of harder materials to withstand the rigors of drilling through solid surfaces.
- Tape measure: Used for measuring distances and ensuring accurate placement of electrical boxes and wire runs.
- Pencil or chalk: These tools are used for marking the wall to indicate the path of the electrical wire and the location of electrical boxes.
- Cordless drill or screwdriver: Used for securing electrical boxes to the wall.
- Screwdriver: For attaching wires to electrical outlets and switches.
- Wire cutters/strippers: These tools are essential for cutting and stripping the insulation from electrical wires.
- Cable staples or clips: Used to secure the electrical wire to the wall at regular intervals, ensuring a neat and organized installation.
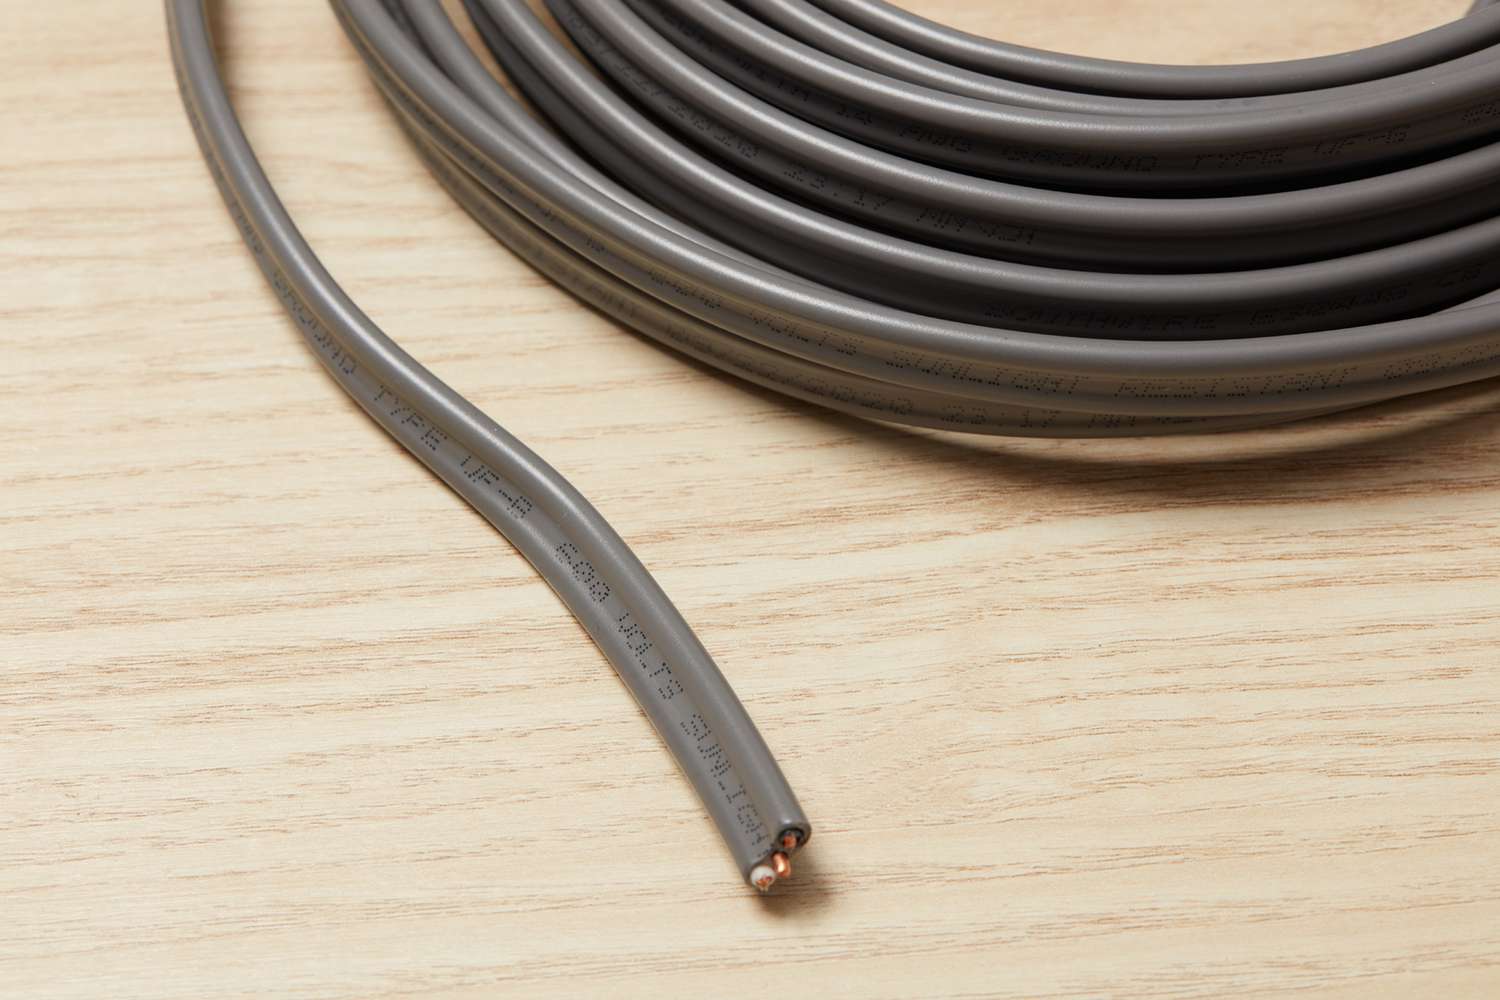
- Electrical wire: Select the appropriate gauge and type of wire for your specific electrical needs. Ensure that it meets local electrical codes and regulations.
- Electrical boxes: Used to house electrical switches, outlets, and other electrical components. Choose boxes that are compatible with your wire and meet the required standards.
- Wire connectors: These are used to securely connect wires together within an electrical box. Make sure to use connectors that are rated for the wire size and type.
- Level: Used to ensure the electrical boxes are installed straight and level.
- Safety glasses and gloves: Essential for protecting your eyes and hands while drilling, cutting, and handling wire.
Now that you have the necessary tools and materials, you can proceed to the next step: determining the wiring path.
Step 1: Determine Wiring Path
Before you start drilling into the concrete wall, it is essential to carefully plan the path that the electrical wire will take. This includes identifying the locations where you will install electrical boxes and determining the most efficient route for the wire.
Here are some considerations to keep in mind:
- Mapping out the electrical outlets and switches: Determine where you want to install electrical outlets, switches, and other electrical components on the wall. Take into account the functionality and convenience of these locations.
- Following electrical codes and regulations: Ensure that you are following the local electrical codes and regulations regarding the placement of outlets and switches. The codes may dictate the spacing and height requirements for these devices.
- Avoiding obstacles: Take note of any obstacles on the wall, such as pipes, structural elements, or other installations that may hinder the wire’s pathway. Plan to route the wire around these obstacles or find ways to work around them.
- Considering aesthetics: Plan the wiring path with aesthetics in mind. Try to hide the wire as much as possible or route it in a way that is visually appealing. Concealing the wire behind furniture, baseboards, or using cable management solutions can help achieve a cleaner and more professional look.
Once you have determined the wiring path, mark the locations of the electrical boxes on the wall using a pencil or chalk. These marks will serve as your guides during the drilling and installation process.
Now that you have mapped out the wiring path, it’s time to move on to the next step: drilling holes in the concrete wall.
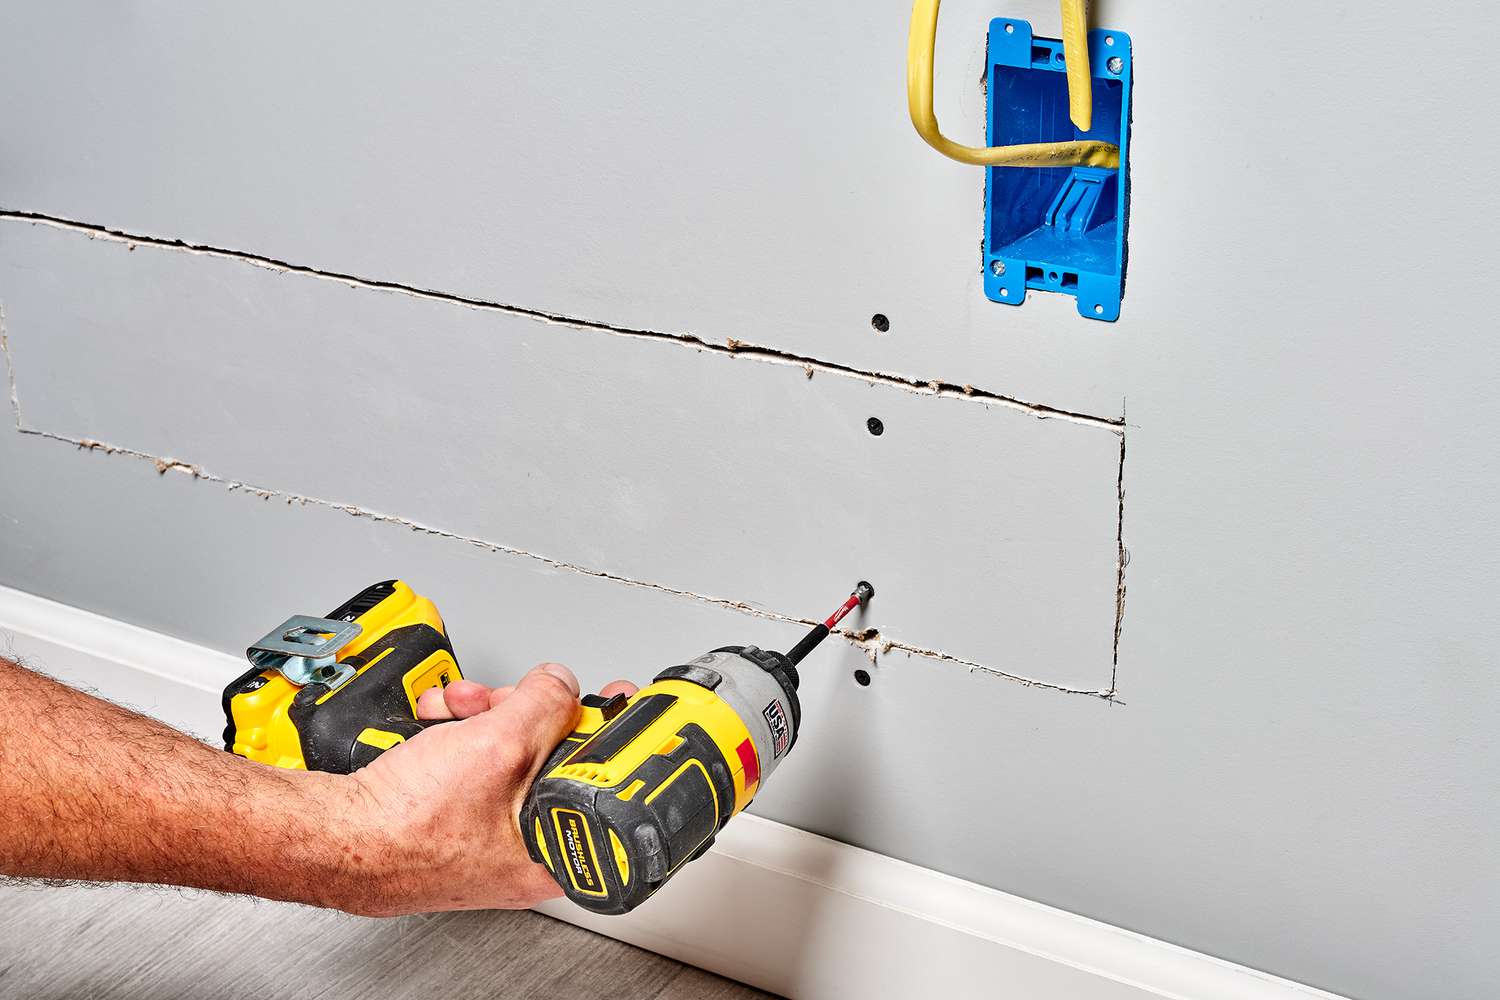
Step 2: Mark the Wall
After you have determined the wiring path and the locations for the electrical boxes, it’s time to mark the wall accordingly. This step is crucial to ensure that you drill the holes in the correct positions and maintain a neat and organized installation.
Here’s how to mark the wall:
- Start by measuring and marking the height at which you want the electrical boxes to be installed. Use a tape measure and a pencil or chalk to make precise marks on the wall.
- Measure and mark the distance between the electrical boxes. This will depend on the electrical code requirements and your specific needs. Make sure to accurately measure and mark the locations for all the boxes along the wiring path.
- Double-check your measurements and marks to ensure accuracy. It’s important to take your time and be as precise as possible, as any errors in the marking stage can lead to unnecessary drilling and potential damage to the wall.
- Draw straight lines connecting the marked locations of the electrical boxes. This will give you a clear visual guide for drilling the holes and running the wire along the wall.
Once you have completed marking the wall, you are ready to move on to the next step: drilling holes for the electrical wire.
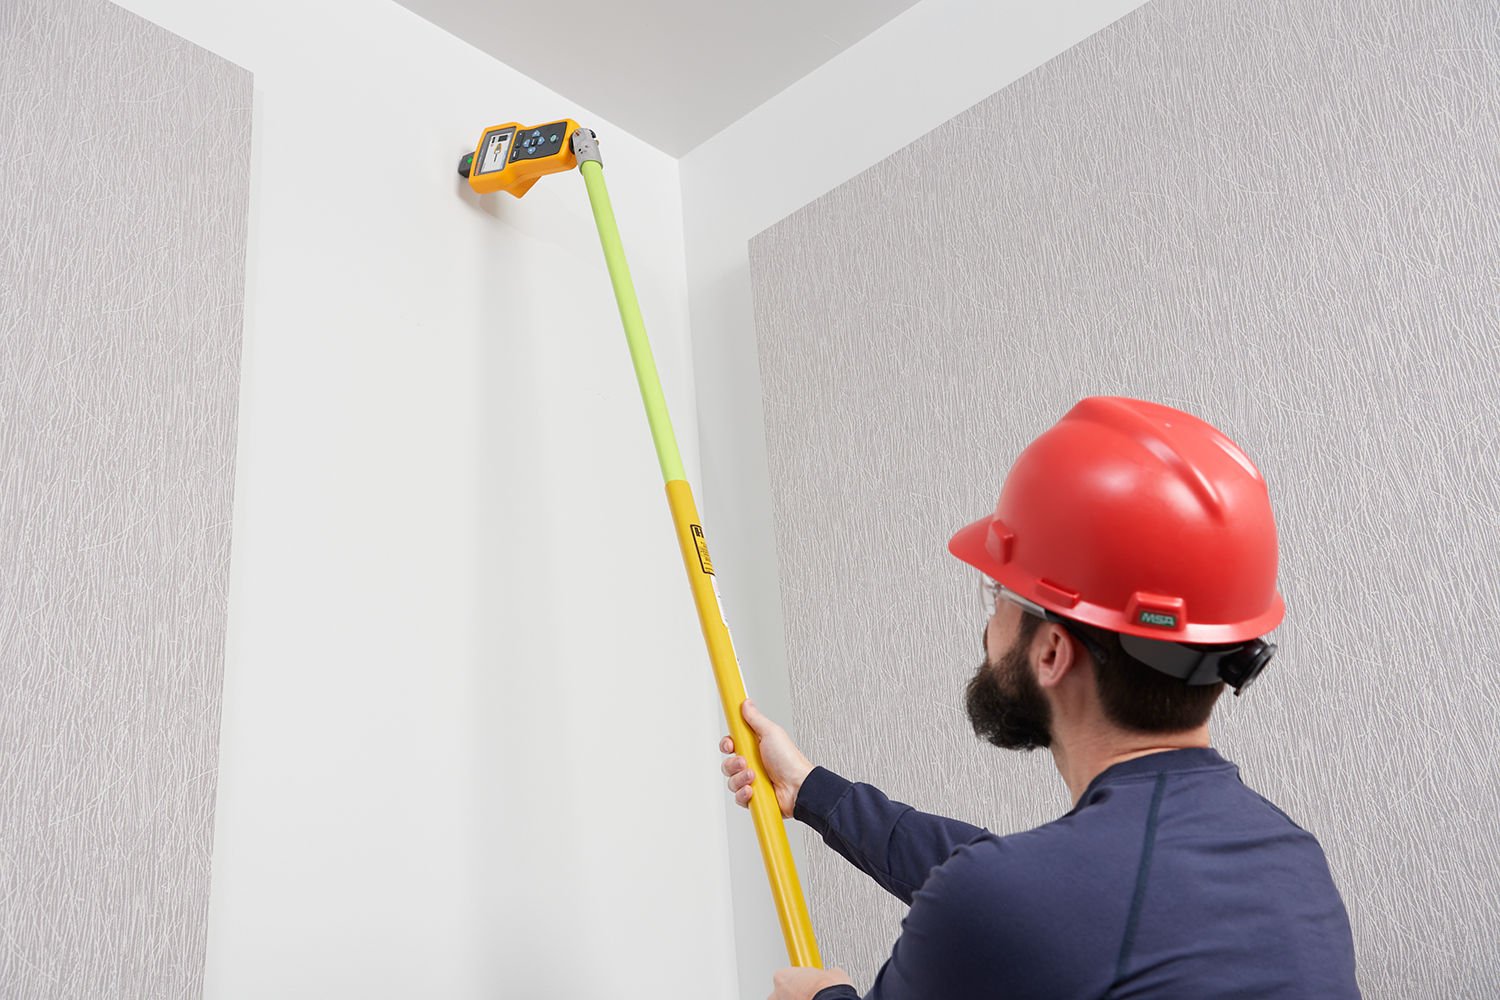
Note: Before drilling any holes, make sure to locate any hidden electrical wires, plumbing pipes, or other utilities that may be behind the wall. Use a stud finder or consult a professional if needed to avoid accidentally damaging any existing infrastructure.
Step 3: Drill Holes
Now that you have marked the wall with the locations for the electrical boxes and the wiring path, it’s time to drill the holes that will accommodate the electrical wire. This step requires a hammer drill and masonry drill bits designed for concrete walls.
Follow these steps to drill the holes:
- Put on your safety glasses and gloves to protect yourself from flying debris while drilling.
- Insert the appropriate masonry drill bit into the hammer drill, ensuring that it is securely tightened.
- Position the drill bit at the marked location for the first hole.
- Apply gentle pressure and start the drilling process. Begin with a slow speed until the bit gains traction, then gradually increase the speed to create a clean and smooth hole.
- Continue drilling until the hole reaches the desired depth. The depth will depend on the size and type of electrical wire you are using.
- Repeat the process for all the marked hole locations along the wiring path.
- Remove the drill bit from the hole and use a brush or vacuum to clear any debris from the holes.
It’s important to note that drilling into concrete can create a significant amount of dust and debris. Take necessary precautions to ensure your safety and minimize the amount of debris in the work area.
Once you have drilled all the necessary holes, you are ready to move on to the next step: running the electrical wire on the concrete wall.
Read more: How To Run Electrical Wire Through Walls
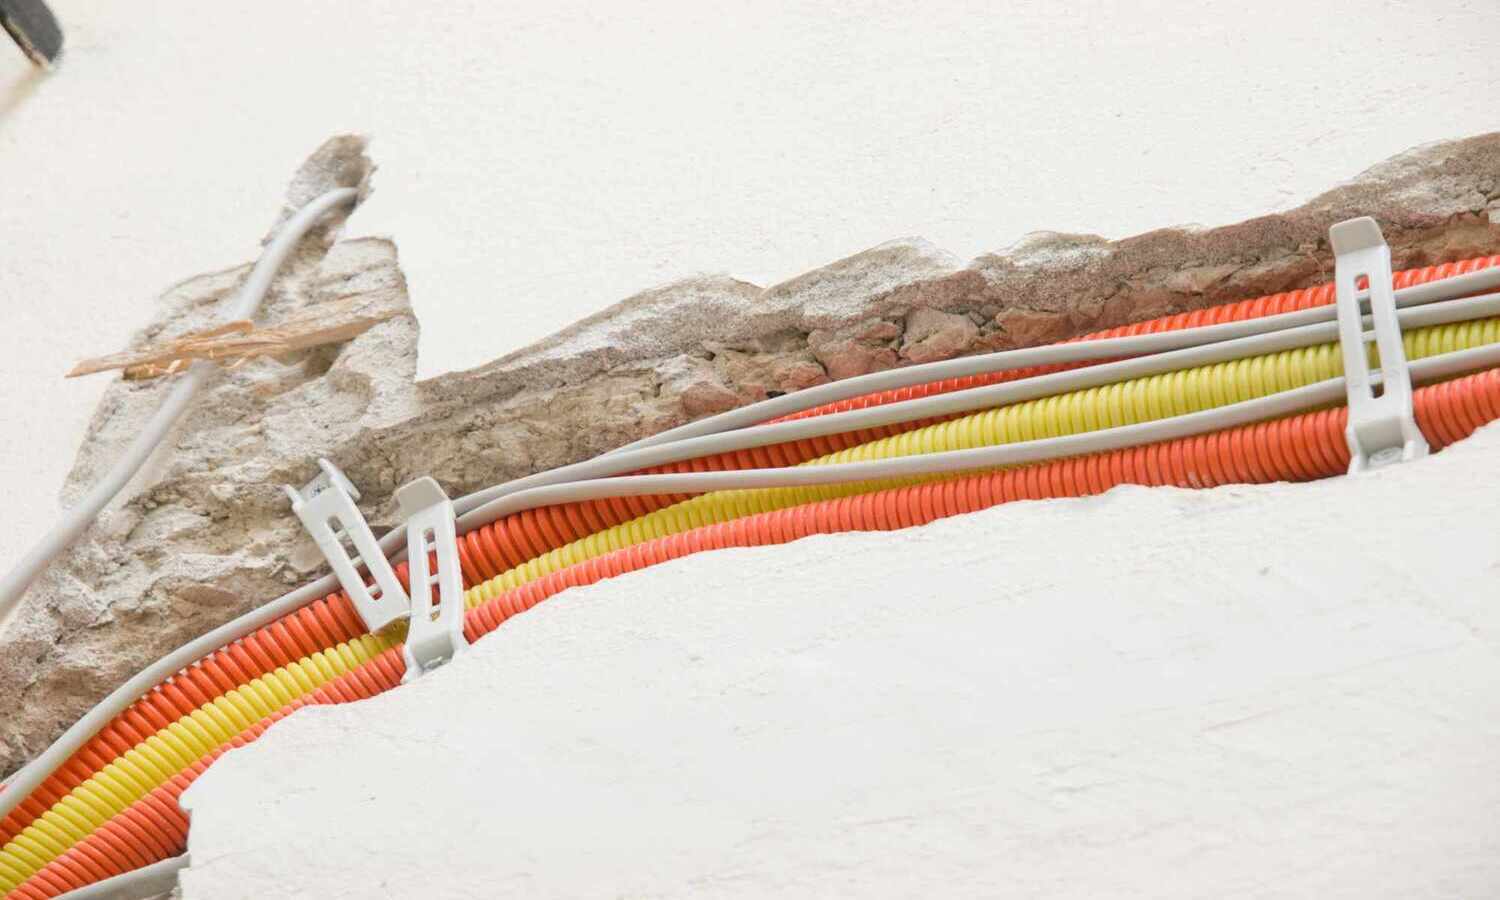
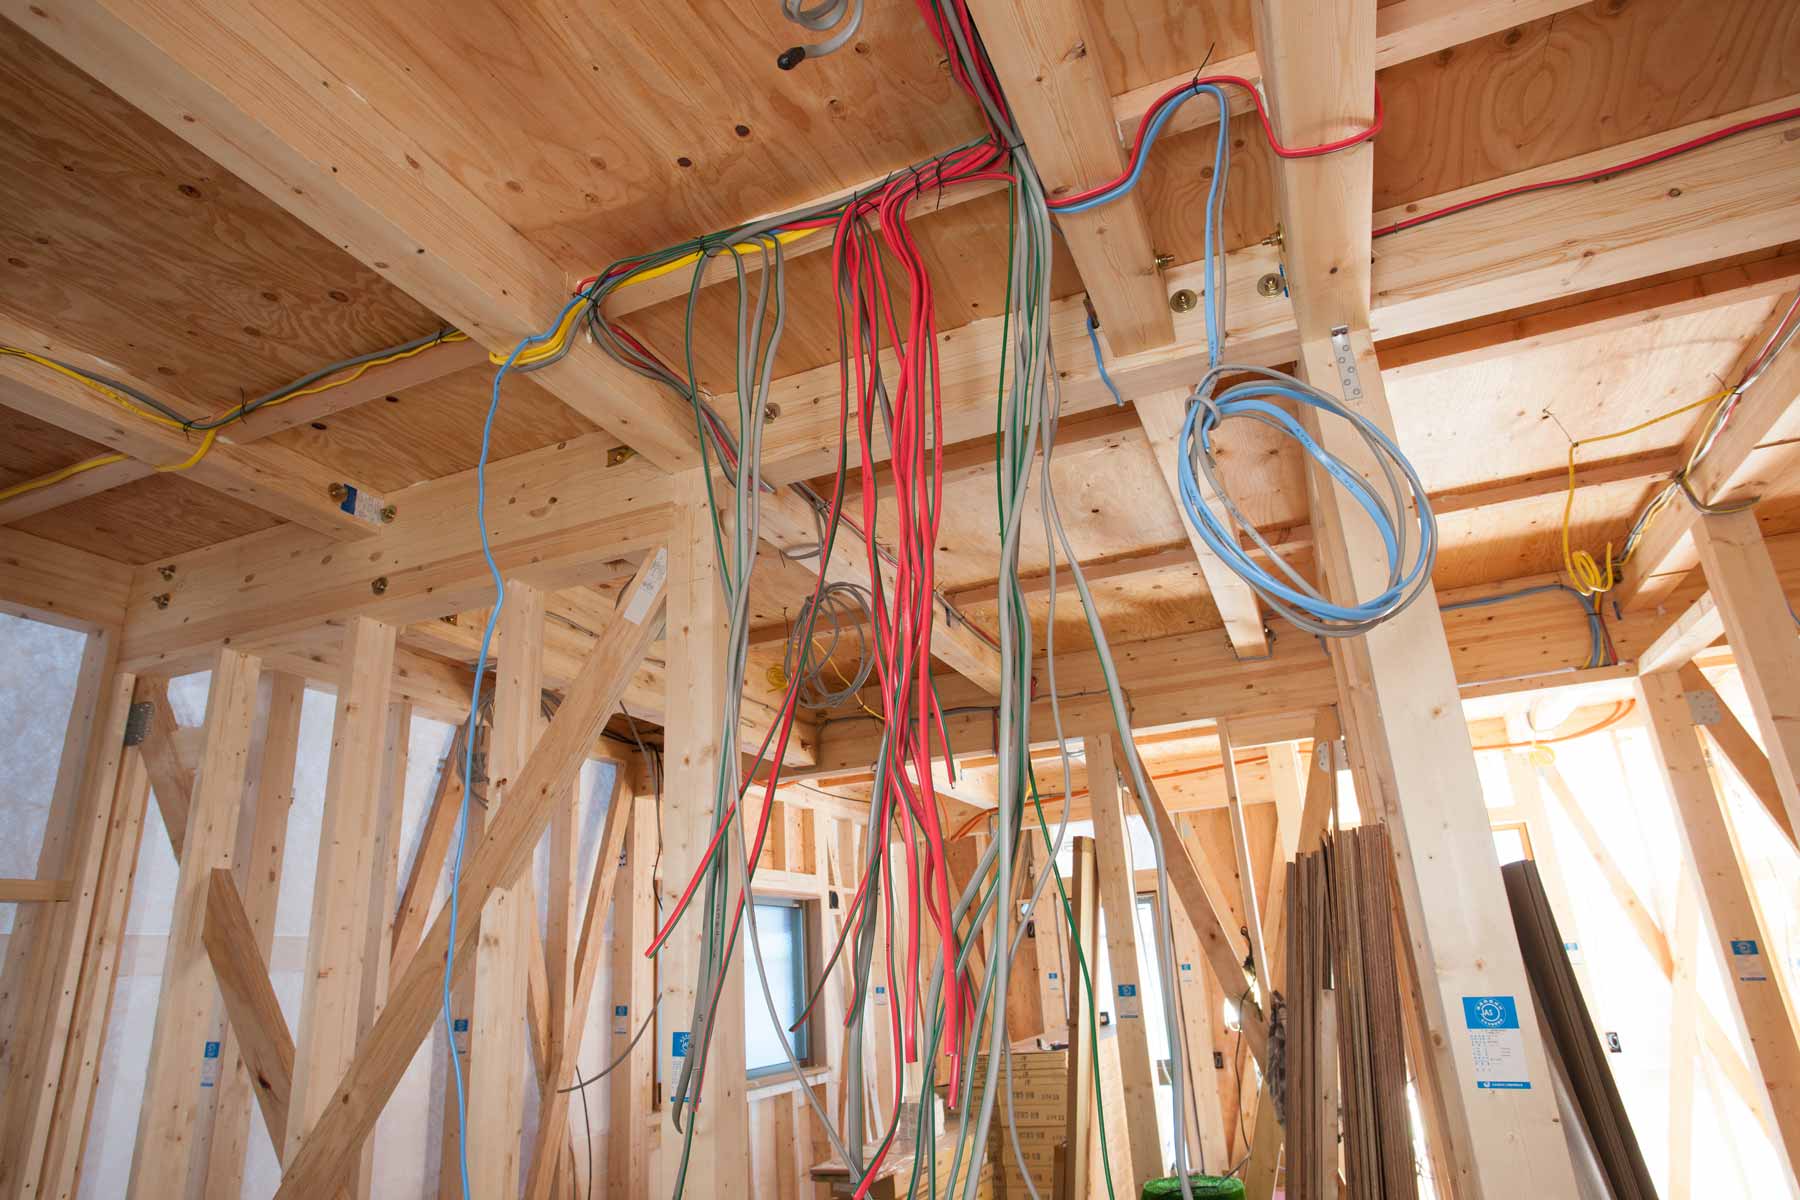
Step 4: Run the Electrical Wire
Now that you have drilled the holes in the concrete wall, it’s time to run the electrical wire along the marked wiring path. This step requires careful handling of the wire to ensure a safe and secure installation.
Follow these steps to run the electrical wire:
- Start at one end of the wiring path and feed the electrical wire through the first hole you drilled. Gently push the wire through the hole, taking care not to damage the insulation.
- Continue feeding the wire through each hole along the wiring path, pulling out any excess wire as you go. Be mindful of any bends or sharp turns in the path and adjust the wire accordingly.
- If the wire needs to cross an open area or pass through larger holes, use wire staples or clips to secure it to the wall at regular intervals. This will prevent the wire from sagging or getting tangled.
- Be cautious of any obstacles or obstructions along the way, such as pipes or structural elements. Ensure that the wire is routed around them or find a suitable alternative path.
- Continue running the wire until you reach the last hole on the wiring path. Leave a few extra inches of wire at the end to allow for easy connection to electrical devices.
It’s important to handle the electrical wire with care to avoid causing any damage to the insulation or conductors. Avoid pulling or stretching the wire excessively, as this may lead to issues with conductivity or insulation integrity.
With the electrical wire securely in place along the wall, you are now ready to move on to the next step: securing the wire.
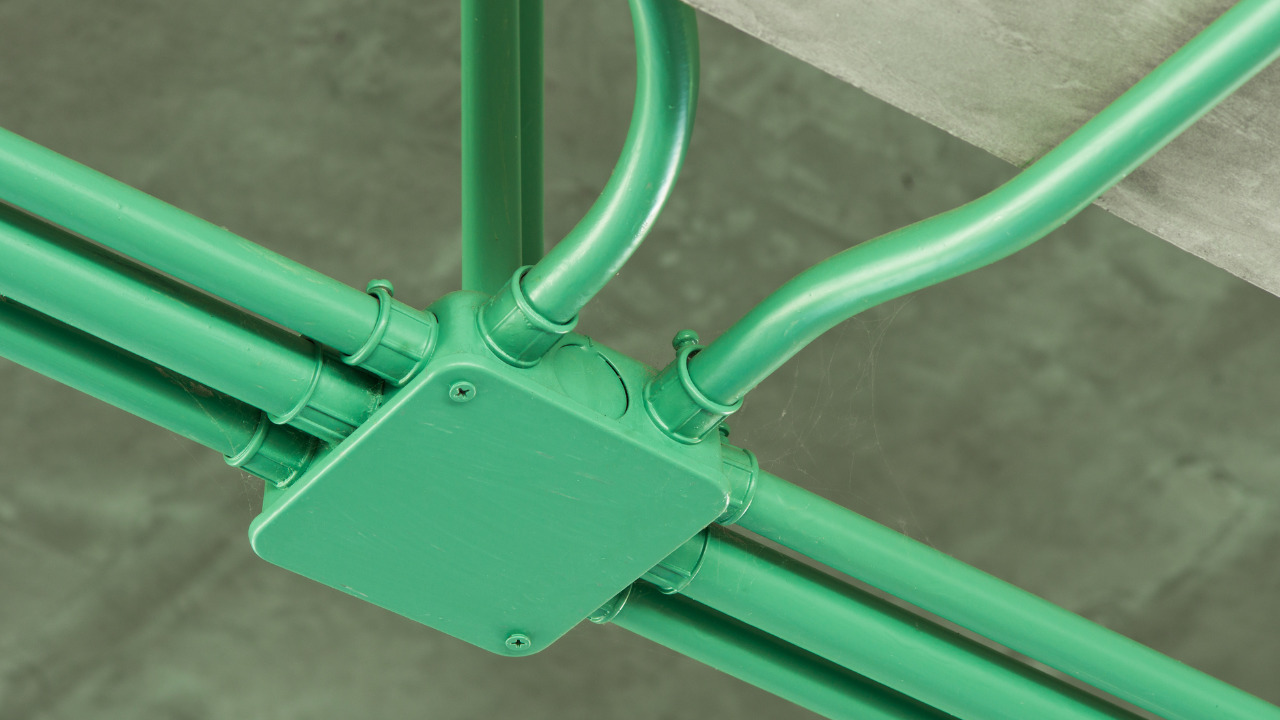
When running electrical wire on a concrete wall, use plastic or metal conduit to protect the wire from damage and ensure it is securely attached to the wall using appropriate fasteners.
Step 5: Secure the Wire
After running the electrical wire along the concrete wall, it’s important to secure it in place to maintain a neat and organized installation. This step involves using cable staples or clips to keep the wire flush against the wall and prevent it from moving or becoming a tripping hazard.
Follow these steps to secure the wire:
- Start at one end of the wiring path and position a cable staple or clip against the wall, just above or below the wire.
- Use a hammer or another suitable tool to gently tap the staple or clip into the wall, ensuring that it holds the wire firmly in place. Be careful not to hit the wire or damage the insulation.
- Continue placing staples or clips along the entire length of the wire, keeping them evenly spaced and securing the wire firmly against the wall. Aim to create a clean and organized appearance.
- Inspect the secured wire to check for any sagging or loose spots. Adjust the staples or clips as needed to ensure that the wire is flush against the wall from end to end.
By securing the wire, you prevent it from moving or accidentally getting pulled out of the holes in the wall. This step is important for the long-term reliability and safety of your electrical installation.
With the electrical wire securely fastened to the wall, you are now ready to move on to the next step: installing electrical boxes.
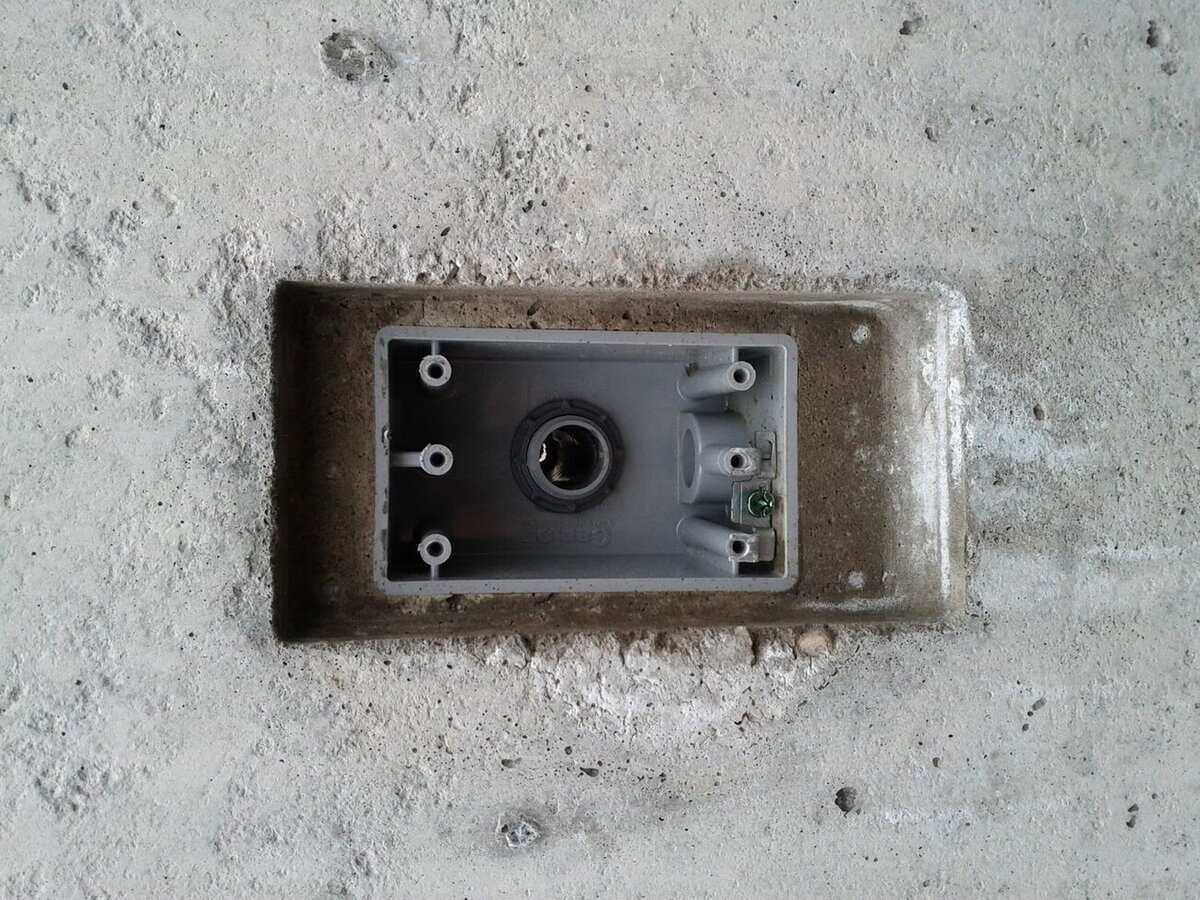
Step 6: Install Electrical Boxes
Now that the electrical wire is securely in place along the concrete wall, it’s time to install the electrical boxes. These boxes serve as the housing for switches, outlets, and other electrical devices, ensuring their proper installation and providing protection.
Follow these steps to install electrical boxes:
- Start at the first marked location for an electrical box along the wiring path.
- Hold the electrical box against the wall, aligning it with the marked location. Use a level to ensure that the box is straight and level.
- Mark the positions of the screw holes on the wall using a pencil or marker.
- Using a cordless drill or screwdriver, install screws through the holes in the electrical box and into the wall. Ensure that the screws are securely fastened and hold the box in place.
- Repeat the process for each marked location where an electrical box is to be installed.
It’s essential to install the electrical boxes securely and properly aligned with the wiring path. This will ensure that the devices you connect to the wire, such as outlets or switches, fit correctly and function as intended.
Once all the electrical boxes are installed, you can proceed to the next step: connecting the wiring.
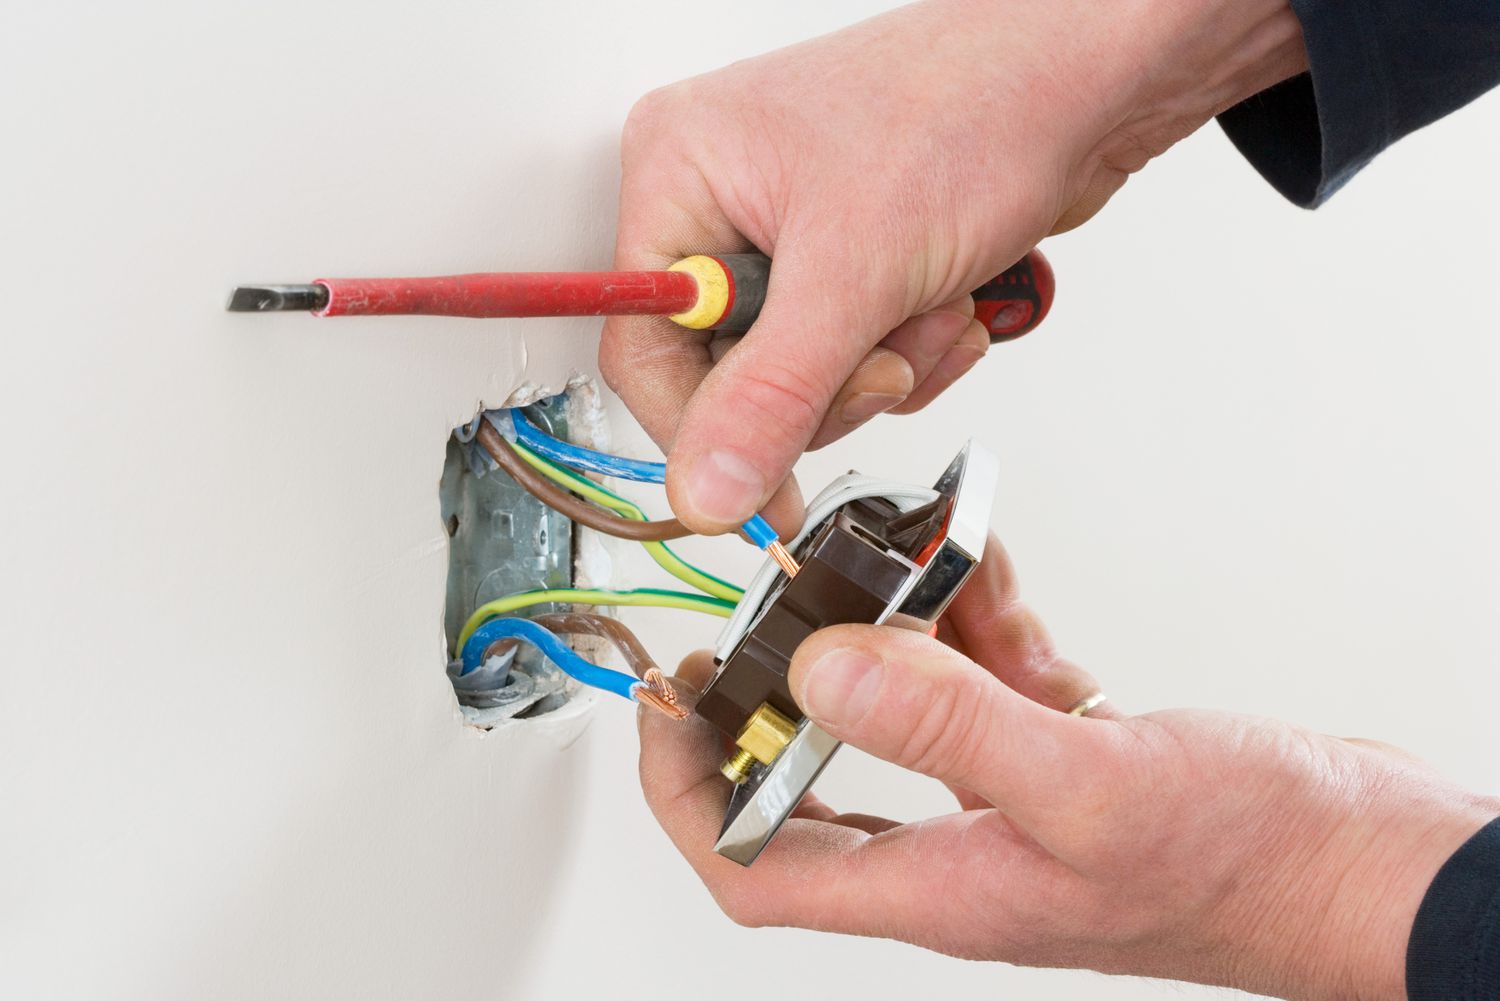
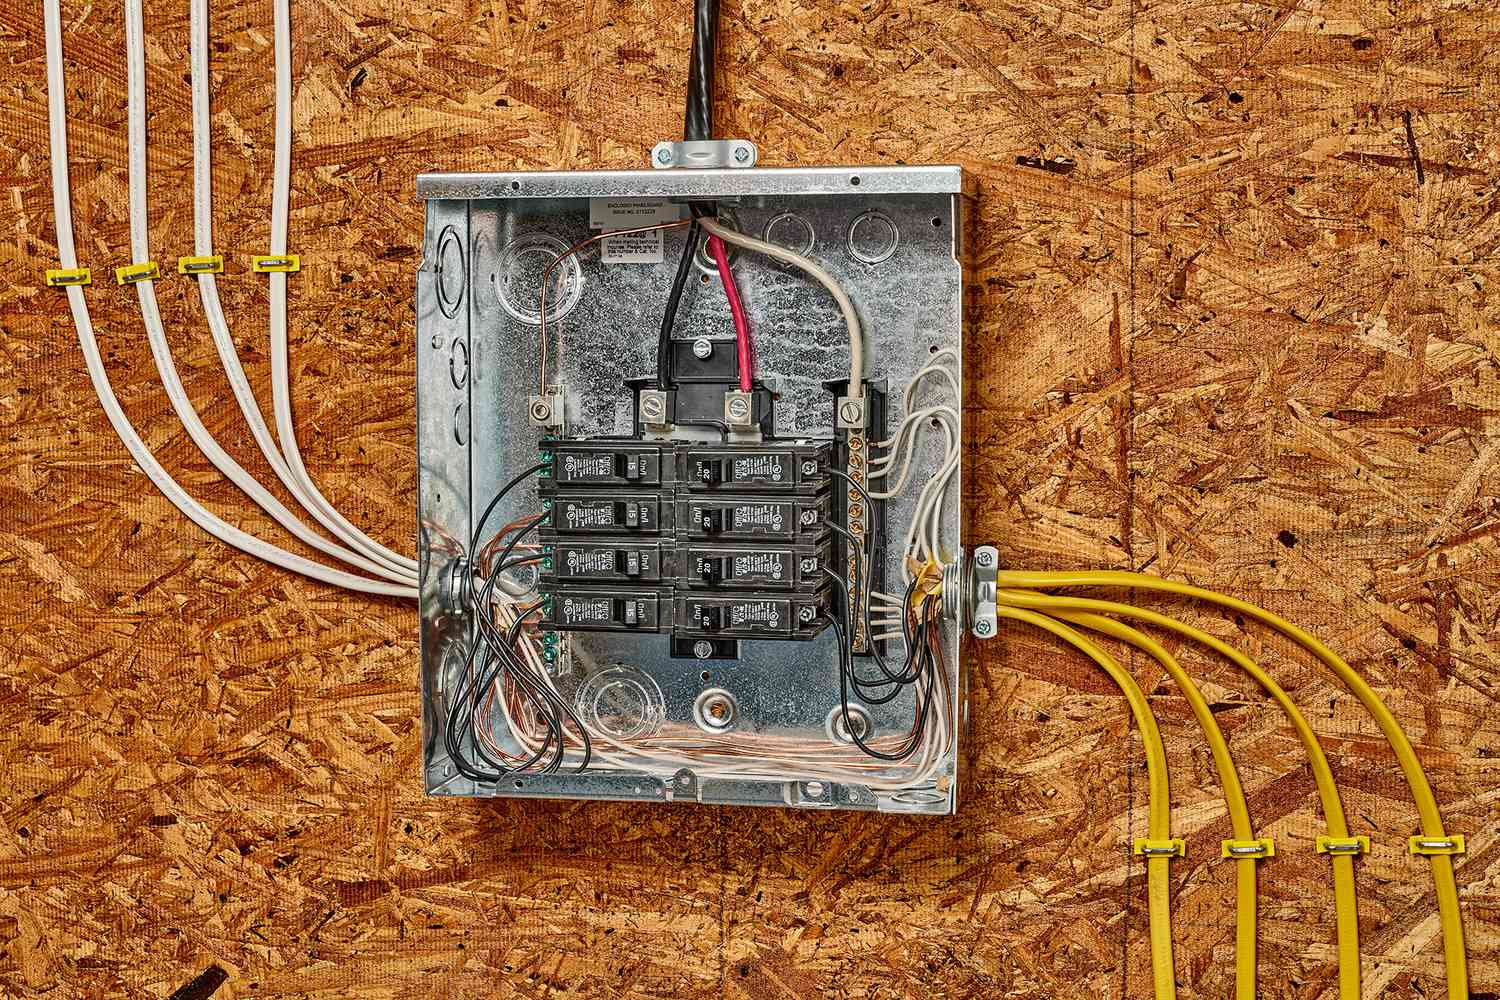
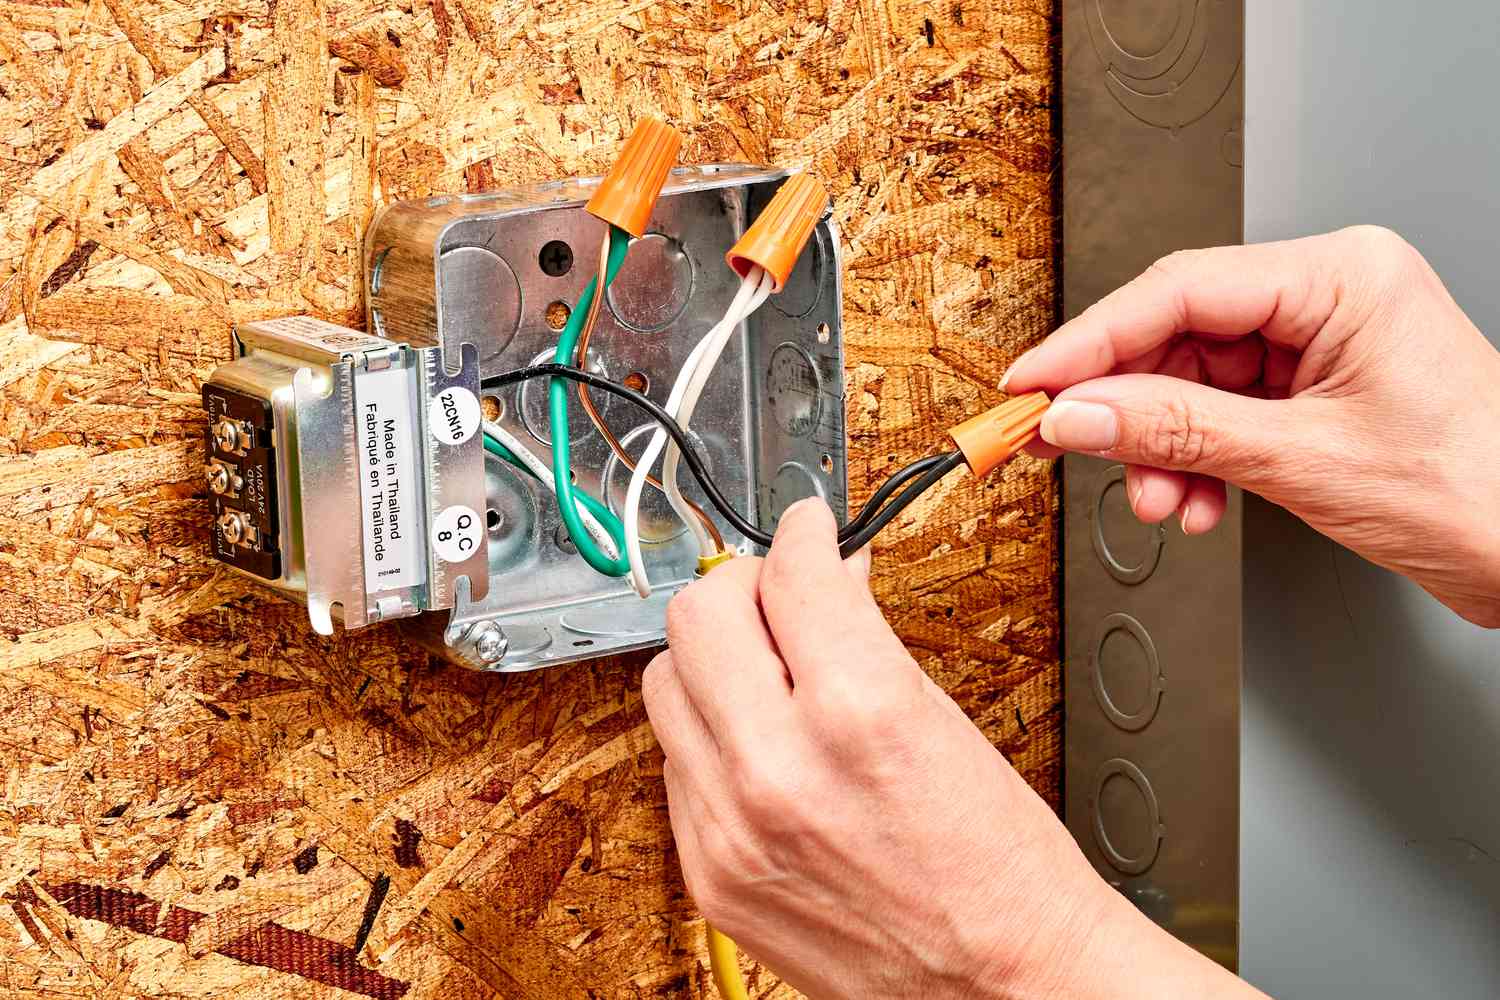
Step 7: Connect the Wiring
With the electrical boxes securely installed, it’s time to connect the wiring to the outlets, switches, or other electrical devices. This step involves making the necessary electrical connections to ensure proper functionality and adherence to safety standards.
Follow these steps to connect the wiring:
- Start with the electrical box closest to the power source or the main electrical panel.
- Carefully thread the wire through the opening in the electrical box, ensuring that there is enough excess wire inside to make the necessary connections.
- Inside the electrical box, strip about half an inch of insulation from the end of each wire using wire cutters/strippers.
- Connect the wires based on their color coding. Typically, black wires are “hot” or live wires, white wires are neutral, and green or bare copper wires are grounding wires.
- Once the wires are stripped, make the appropriate connections. This can involve twisting the wires together and securing them with wire connectors, or connecting them to the terminals on outlets or switches.
- Ensure that the connections are secure and tight. Give them a gentle tug to ensure they are properly secured.
- Repeat the process for each electrical box, connecting the wiring to the respective outlets, switches, or devices.
During the connection process, it’s crucial to adhere to proper wiring techniques and follow electrical codes and regulations. If you are unsure about any aspect of the wiring or connections, consult a licensed electrician to ensure a safe and compliant installation.
Now that the wiring is properly connected, you can proceed to the final step: testing the electrical connection.
Read more: How To Run Electrical Wire In A House
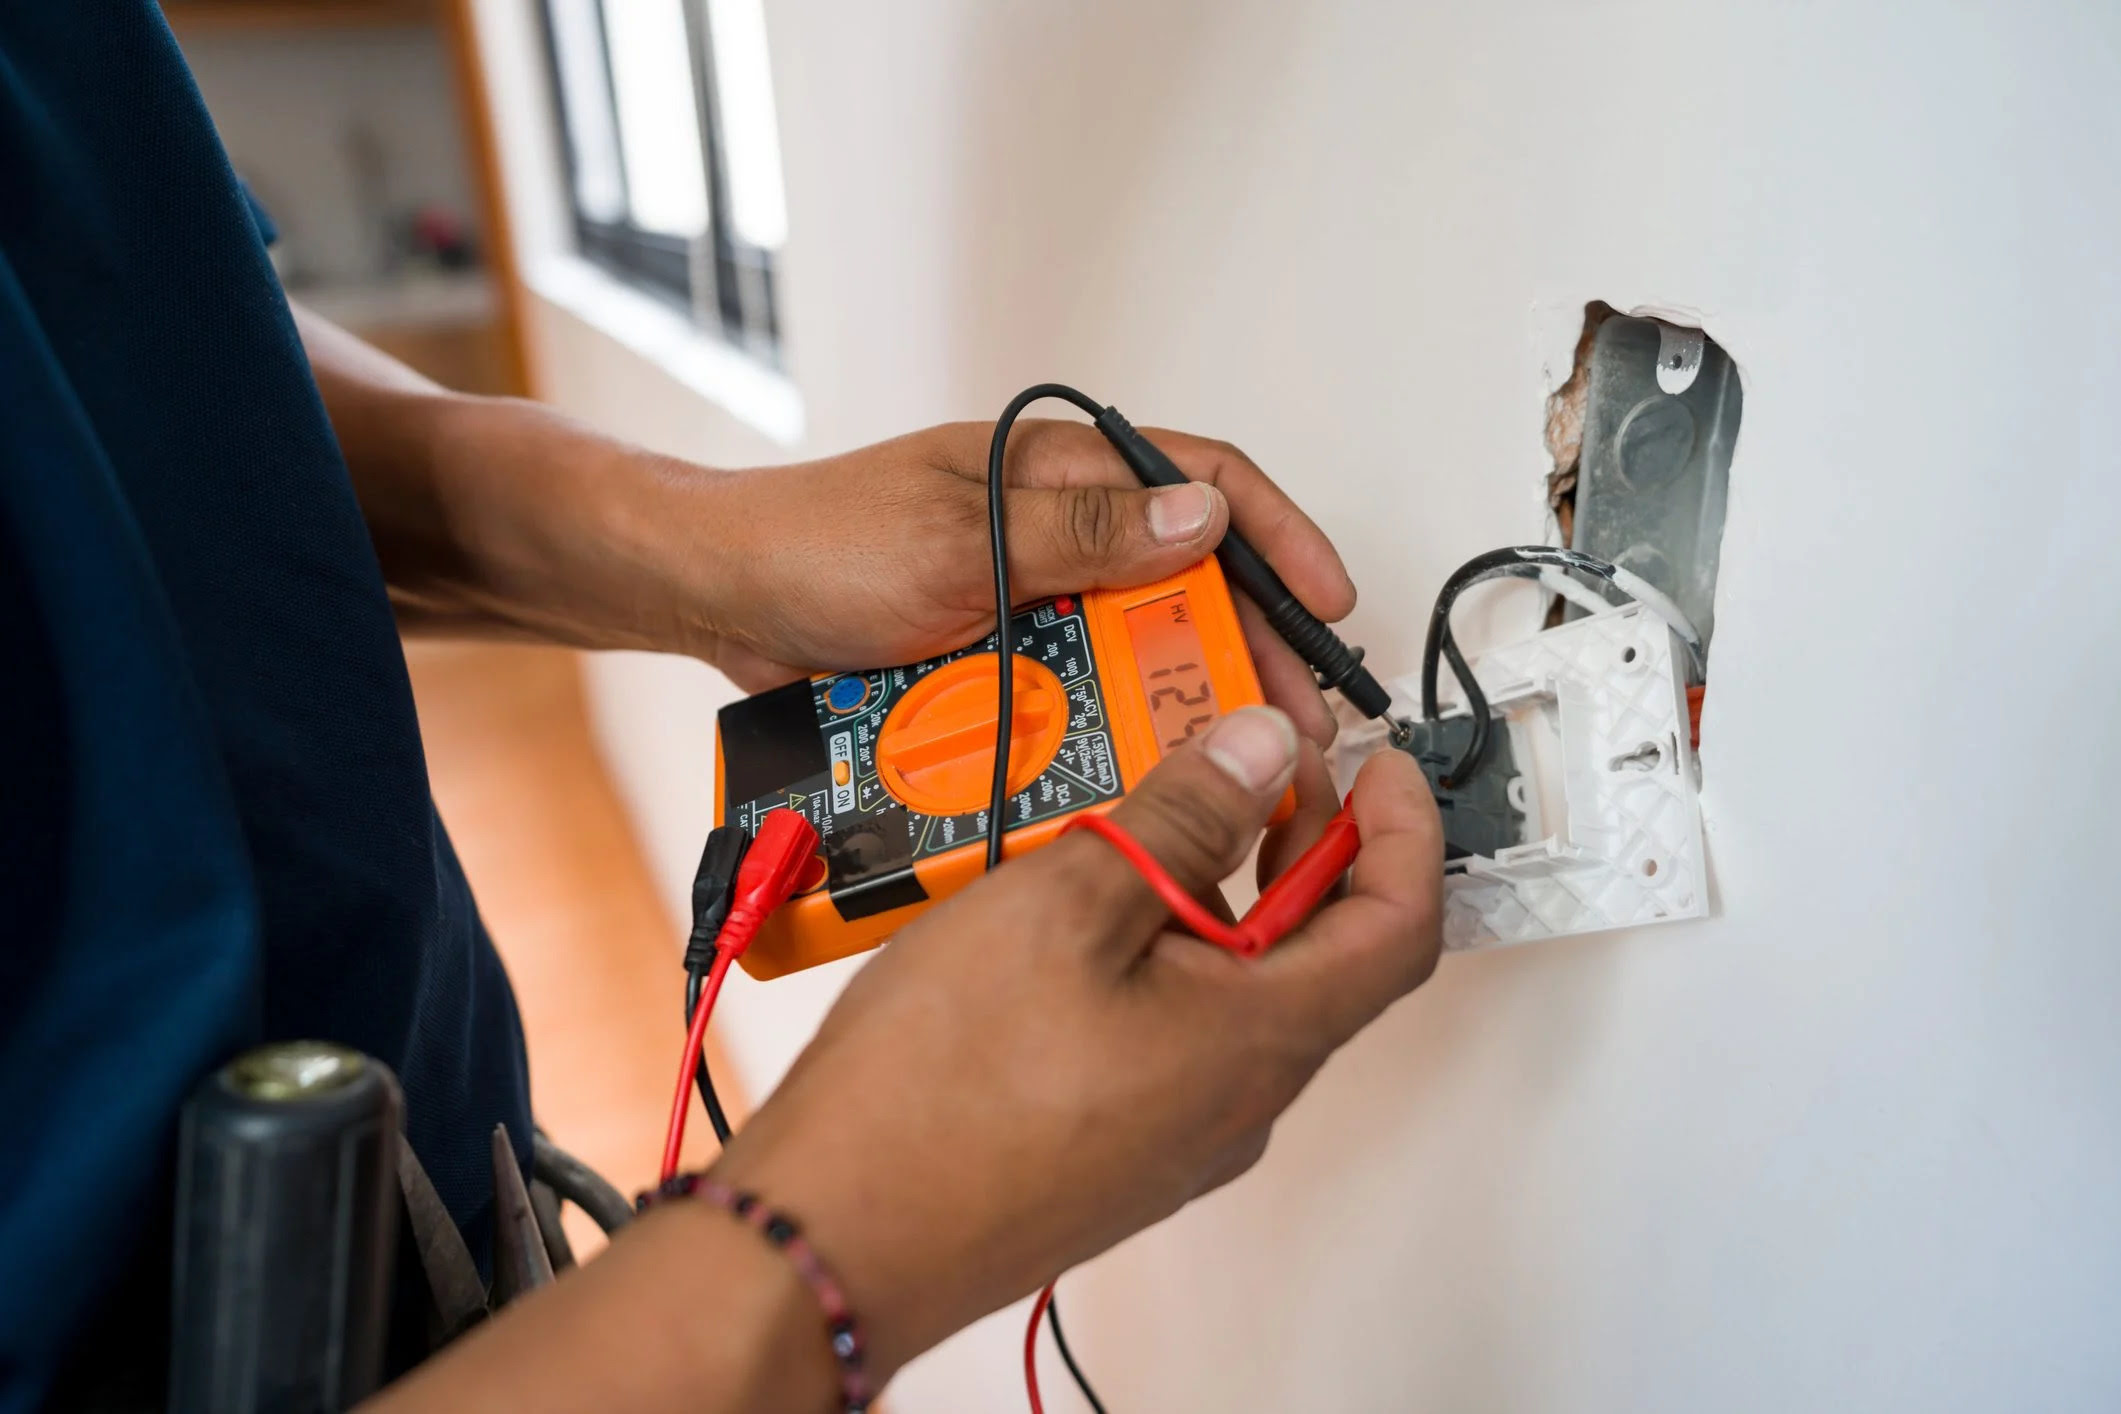
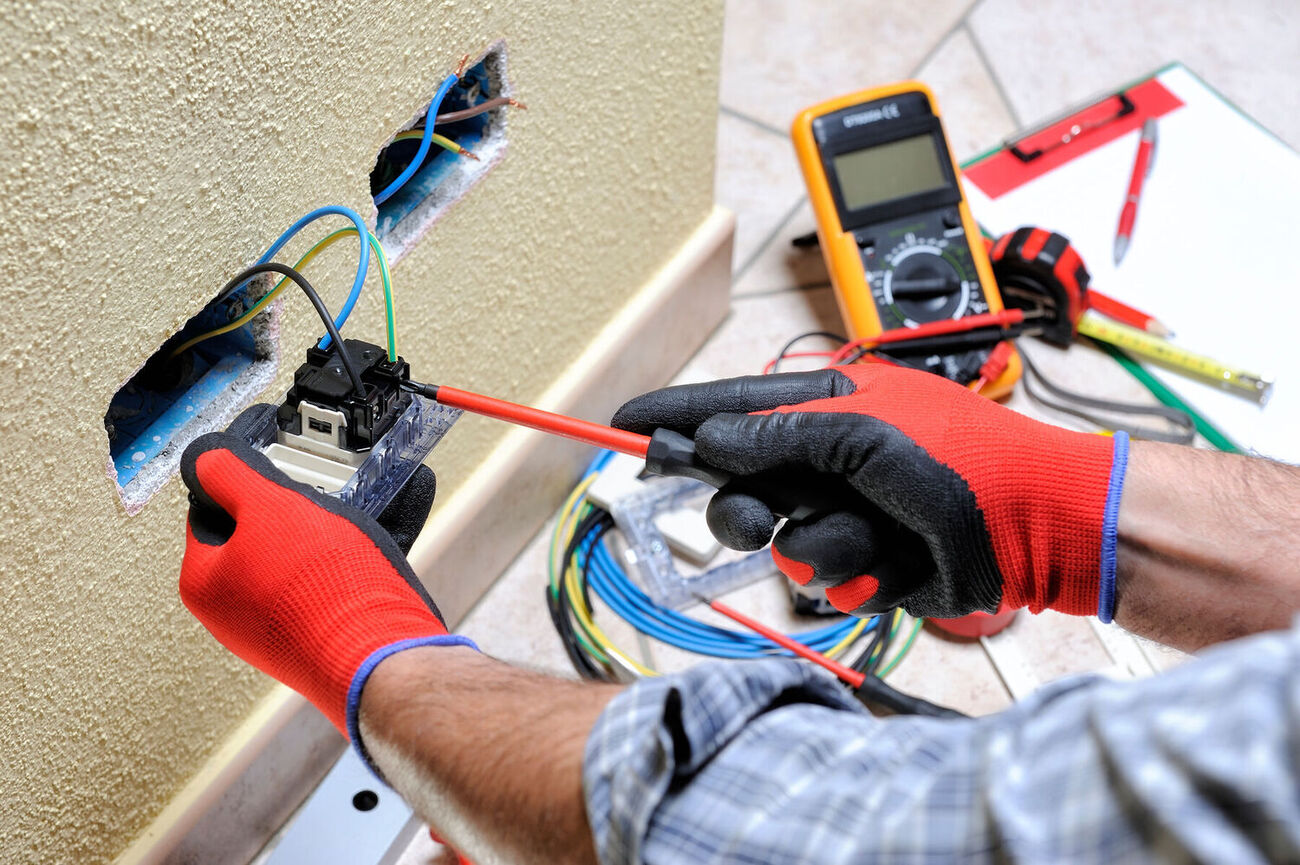
Step 8: Test the Electrical Connection
After completing the wiring connections, it is crucial to test the electrical connection to ensure everything is functioning properly and safely. Testing the connection will help identify any issues or errors that may need to be addressed before finalizing the installation.
Follow these steps to test the electrical connection:
- Switch off the power supply to the circuit you have been working on at the main electrical panel. This step is essential for your safety during testing.
- Once the power is turned off, switch on a nearby light or plug in a small electrical device to verify that there is no power flowing to the circuit you just worked on. If the light does not turn on or the device does not receive power, it is an indication that the circuit is correctly isolated.
- Switch the power supply back on at the main electrical panel.
- Test each outlet and switch along the wiring path using a voltage tester. Insert the tester’s probes into each outlet to ensure that the wiring is properly connected and that there are no issues with power flow.
- If any issues are detected during testing, such as no power or inconsistent power, it may indicate a problem with the wiring connections. In such cases, it is essential to consult a licensed electrician to investigate and resolve any issues.
- Ensure that all outlets, switches, and devices are working properly and providing consistent power.
Testing the electrical connection is a crucial step in the installation process, as it ensures the safety and functionality of the electrical system. If any issues are detected during testing, it is important to address them promptly to avoid any potential hazards.
With the electrical connection successfully tested, you have completed the process of running electrical wire on a concrete wall. Remember to follow local codes and regulations throughout the installation and consult a professional electrician if needed.
Finally, conduct a final inspection of the entire installation to ensure that it is secure, neat, and compliant with the necessary standards. By doing so, you can have peace of mind knowing that your electrical wiring is safe and efficiently running along the concrete wall.
For your safety and the safety of others, always exercise caution and adhere to safety guidelines when working with electricity.
Happy wiring!
Conclusion
Running electrical wire on a concrete wall can seem like a challenging task, but with proper planning and execution, it is an achievable project. By following the step-by-step process outlined in this article, you can successfully run electrical wire on your concrete wall while ensuring safety, functionality, and compliance with electrical codes and regulations.
We began by emphasizing the importance of safety and the recommendation to hire a licensed electrician if you are not experienced or comfortable with electrical work. Electrical installations require knowledge and expertise to ensure optimal performance and safeguard against potential hazards.
We then discussed the tools and materials you will need for the project, including a hammer drill, masonry drill bits, tape measure, pencil or chalk, and various electrical components like wire cutters, electrical wire, and electrical boxes.
We walked you through the step-by-step process of determining the wiring path, marking the wall, drilling holes, running the electrical wire, securing the wire, installing electrical boxes, connecting the wiring, and testing the electrical connection.
Throughout the process, we emphasized the importance of accuracy, following electrical codes, and proper wiring techniques. We also highlighted the significance of testing the electrical connections to ensure functionality and safety.
Remember, it is important to always prioritize safety when working with electricity. Take the necessary precautions, follow electrical codes, and consult a professional if you have any doubts or concerns.
By following this comprehensive guide, you can successfully run electrical wire on a concrete wall, bringing power to the desired locations and ensuring a functional electrical system.
Now, armed with the knowledge and understanding of the process, you can confidently tackle your electrical installation project. Good luck with your endeavor and may your electrical system bring you convenience and efficiency!
After mastering how to run electrical wire on a concrete wall, you might be curious about tackling more ambitious projects. For instance, if you're considering powering up your garage with its own electrical service, our guide on how to run overhead electrical wire to a garage will prove invaluable. This thorough piece simplifies the process, ensuring you handle every step with confidence. Perfect for DIY enthusiasts, this article breaks down the essentials, making sure you're powered up and ready to go.
Frequently Asked Questions about How To Run Electrical Wire On Concrete Wall
Was this page helpful?
At Storables.com, we guarantee accurate and reliable information. Our content, validated by Expert Board Contributors, is crafted following stringent Editorial Policies. We're committed to providing you with well-researched, expert-backed insights for all your informational needs.

0 thoughts on “How To Run Electrical Wire On Concrete Wall”