
Articles
How To Splice Electrical Wire
Modified: October 20, 2024
Learn how to splice electrical wire with our informative articles. Get step-by-step instructions and tips for safe and effective wire splicing.
(Many of the links in this article redirect to a specific reviewed product. Your purchase of these products through affiliate links helps to generate commission for Storables.com, at no extra cost. Learn more)
Introduction
Splicing electrical wire is an essential skill for any DIY enthusiast or electrician. Whether you’re extending an existing wire or replacing a damaged section, knowing how to splice wires correctly is crucial to ensure the safety and efficiency of electrical installations.
Splicing involves joining two or more wires together to create a secure and reliable connection. It is commonly used in various applications, such as household wiring, automotive repairs, and electronic projects. While the process may seem complex at first, with the right tools, materials, and a systematic approach, anyone can successfully splice electrical wires.
In this article, we will guide you through the step-by-step process of splicing electrical wire, while also highlighting important safety precautions and common mistakes to avoid. By the end, you’ll have the knowledge and confidence to perform wire splicing tasks effectively and safely.
Key Takeaways:
- Master the art of splicing electrical wire by following safety precautions, using the right tools, and testing the connections. Avoid common mistakes to ensure secure and reliable electrical installations.
- Prioritize safety, gather essential tools, and follow step-by-step instructions to splice wires effectively. Test the connections and seek professional guidance for complex projects.
Tools and Materials Needed
Before you begin splicing electrical wire, it’s essential to gather all the necessary tools and materials. Having everything prepared beforehand will save you time and ensure a smooth and efficient splicing process. Here’s a list of the items you’ll need:
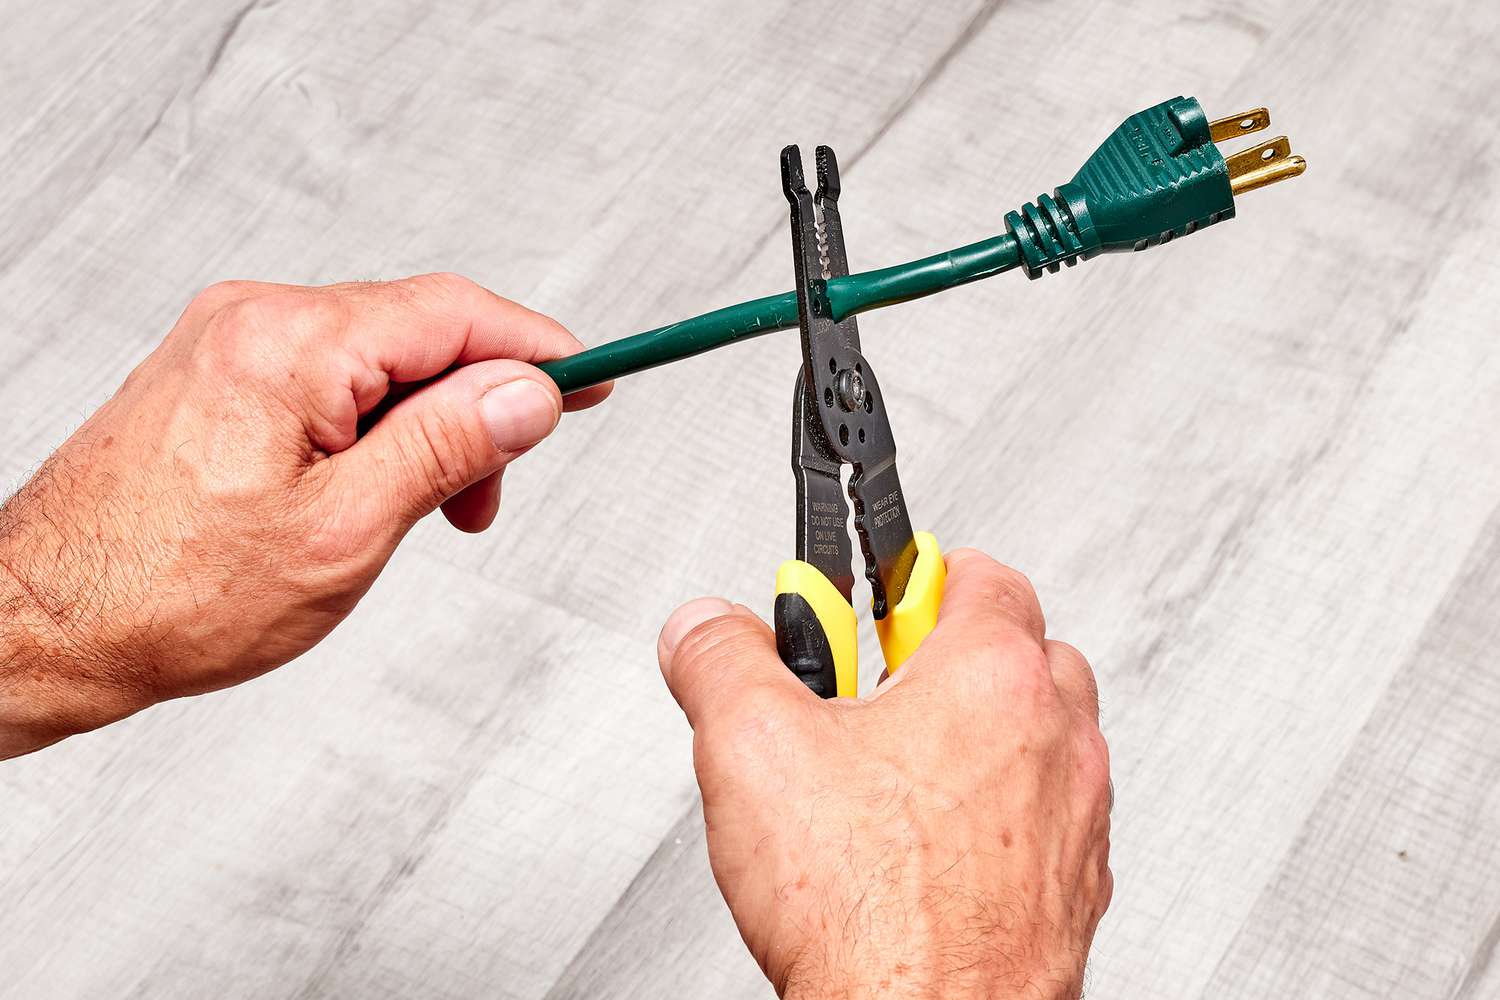
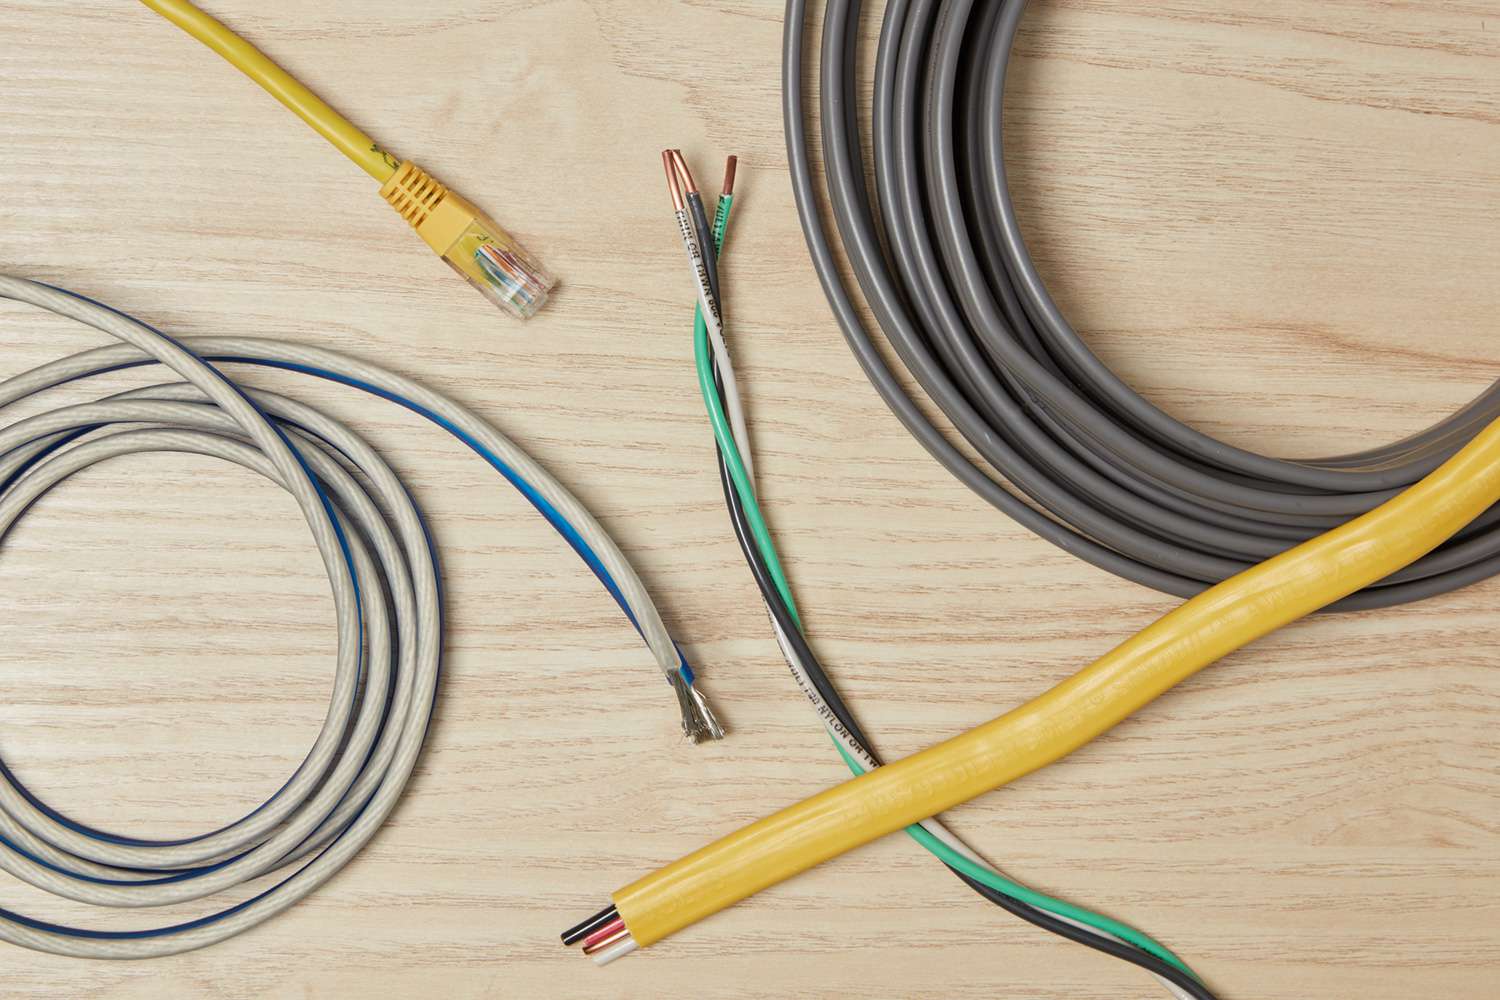
- Wire cutters or wire stripping tool: These tools are used to remove the insulation from the ends of the wires, allowing for a clean and secure connection.
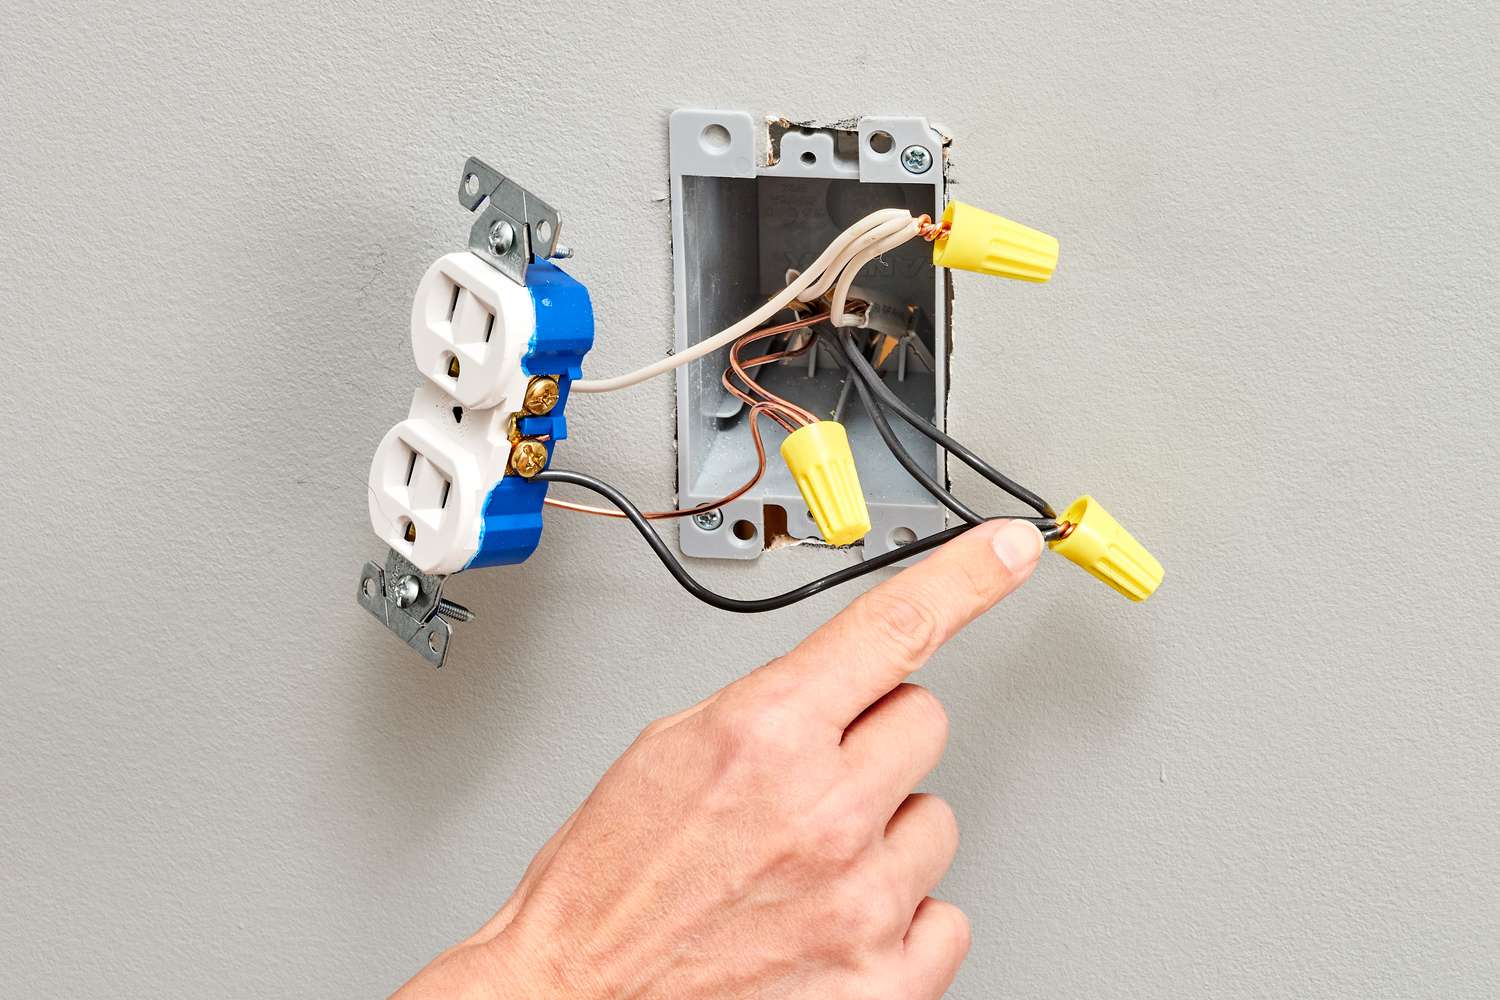
- Wire connectors: Also known as wire nuts, these small plastic caps are used to connect and insulate the spliced wires. Make sure to choose the appropriate size and type of connector for the wire gauge you’re working with.
- Electrical tape: This is used to provide an additional layer of insulation and protection for the spliced wires. Look for high-quality electrical tape that is resistant to heat and moisture.
- Wire strippers: These tools are used to strip the insulation from the wires. They have different-sized notches to accommodate various wire gauges.
- Voltage tester: It’s crucial to have a voltage tester on hand to ensure that the power is properly disconnected before working on any electrical wires.
- Light source: A flashlight or work lamp will come in handy, especially when working in areas with limited lighting.
- Electrical gloves: Although not mandatory, wearing electrical gloves adds an extra layer of protection when handling electrical wires.
These are the basic tools and materials you’ll need for most wire splicing tasks. However, depending on the specific project or situation, you may require additional items. It’s always a good idea to assess the requirements before starting any electrical work to ensure that you have everything you need to complete the task safely and effectively.
Safety Precautions
Working with electrical wire can be hazardous if proper safety precautions are not followed. Electric shocks, fires, and injuries can occur if the necessary safety measures are neglected. Before you start splicing electrical wire, it’s crucial to prioritize safety. Here are some important safety precautions to keep in mind:
- Turn off the power: Always make sure to turn off the power supply to the circuit you’ll be working on. Use a voltage tester to ensure that the power is completely disconnected.
- Wear protective gear: Protect yourself by wearing appropriate safety gear, including safety glasses and, if possible, electrical gloves. These items can shield you from potential hazards and reduce the risk of injury.
- Work in a well-ventilated area: Adequate ventilation is crucial when working with electrical wires. Good airflow helps dissipate any potential heat generated during the splicing process, reducing the risk of overheating or fires.
- Inspect the wires: Before splicing, thoroughly inspect the wires for any signs of damage, such as frayed insulation or exposed conductors. If you notice any issues, replace the wire instead of attempting to splice it.
- Properly strip the wires: Use wire strippers or wire cutters to remove the insulation from the ends of the wires. Be careful not to nick or damage the metal conductors, as this can lead to faulty connections.
- Avoid overcrowding the electrical box: If you’re splicing wires in an electrical box, ensure that there is enough space to properly accommodate the splices. Overcrowding can increase the risk of overheating and create a fire hazard.
- Secure all connections: After splicing the wires, make sure to securely fasten the connectors. Tug gently on each wire to ensure they are firmly connected, and use electrical tape to provide an extra layer of insulation.
- Test the circuit: Once the splicing is completed, test the circuit with a voltage tester before restoring power. This ensures that the connection is functioning properly and that there are no loose wires or faulty connections.
Remember, safety should always be a top priority when working with electrical wires. If you have any doubts or concerns, it’s best to consult a qualified electrician. They can provide professional guidance and ensure that the splicing process is carried out safely and effectively.
Step-by-Step Guide to Splicing Electrical Wire
Now that you have gathered the necessary tools and learned about the safety precautions, let’s dive into the step-by-step process of splicing electrical wire. Follow these instructions carefully to ensure a successful and safe splice:
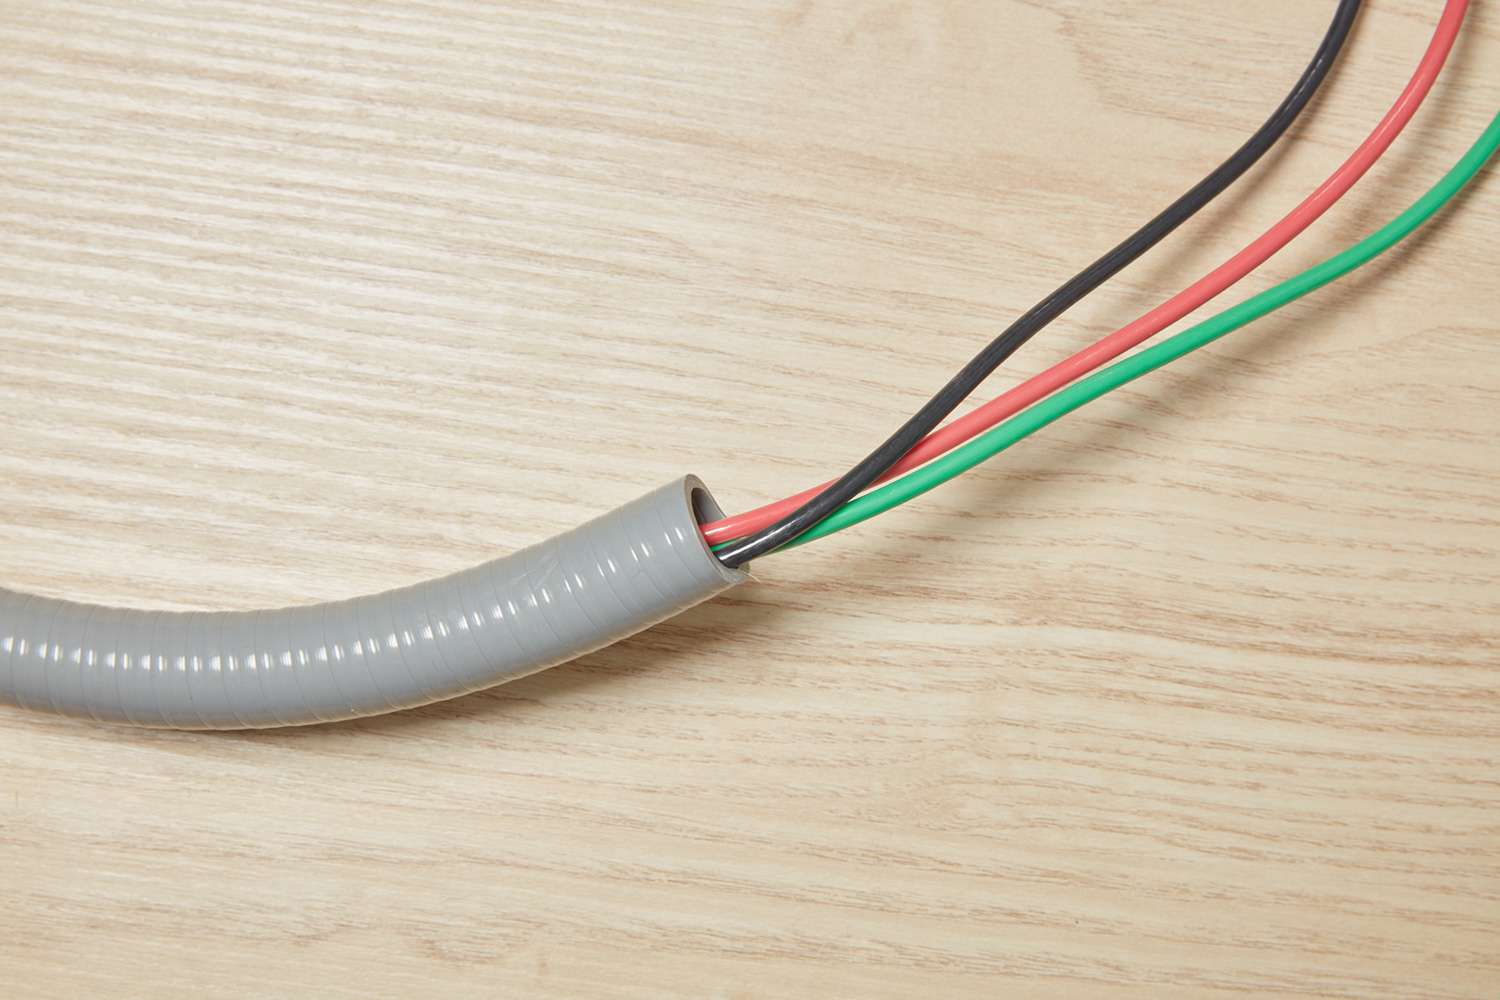
- Prepare the wires: Start by cutting the wires to the desired length, ensuring that they are long enough to make the splice. Strip approximately 3/4 inch of insulation from the ends of the wires using wire strippers or wire cutters.
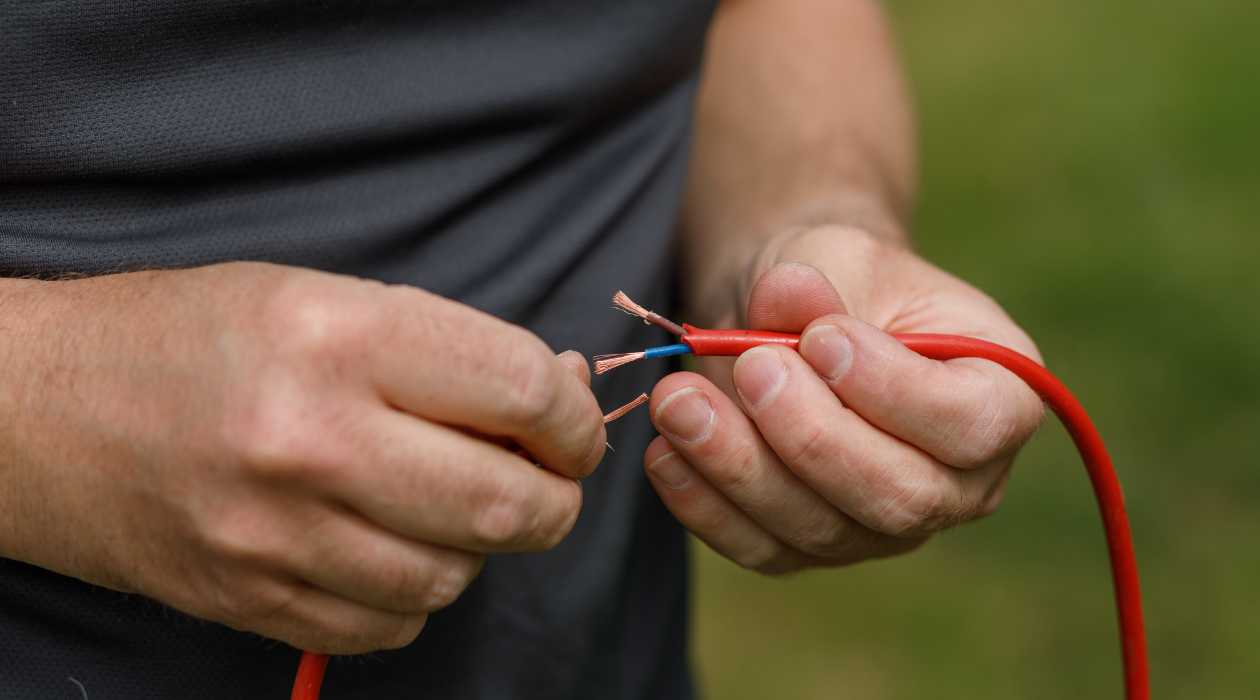
- Twist the exposed wire ends: Take each wire end and twist the exposed metal strands together in a clockwise direction. This helps create a solid and secure connection.
- Insert the wires into a wire connector: Place the twisted wire ends into a wire connector, making sure that all the exposed metal strands are fully inserted. Hold the connector securely and twist it clockwise until it is tight and snug.
- Tug the wires gently: Once the wire connector is tightened, give each wire a gentle tug to ensure they are securely held in place. If any wire slips out, untwist the connector and repeat the process.
- Trim any excess wire: Use wire cutters to trim any excess wire protruding from the connector. Leaving excess wire can create a messy and potentially hazardous situation.
- Insulate the connection: Wrap the wire connector and the exposed wire ends with electrical tape. Start a few inches away from the splice and wrap the tape tightly, overlapping each layer. This provides an additional layer of insulation and protects the connection from moisture and other external elements.
- Repeat for multiple splices: If you need to splice multiple wires together, repeat the above steps for each splice. Make sure to keep the wires organized and properly labeled to avoid confusion.
Following these step-by-step instructions will result in a secure and reliable splice. Remember to consult the manufacturer’s instructions for any specific guidance related to the wire connectors you are using. Additionally, always adhere to local electrical codes and regulations when performing any electrical work.
When splicing electrical wire, always make sure to use the appropriate wire connectors and follow the manufacturer’s instructions for a secure and safe connection. Double check your work and test the connection before using the electrical circuit.
Testing the Splice
After completing the splice, it’s essential to test it to ensure that the connection is secure and functioning properly. Testing the splice not only provides peace of mind but also helps identify any potential issues that may need to be addressed. Follow these steps to test the splice:
- Restore power: Before testing the splice, ensure that the power supply to the circuit is turned on. Follow appropriate safety precautions and use a voltage tester to confirm that there is power.
- Check for continuity: Use a multimeter set to measure continuity or resistance. Touch the probes of the multimeter to the exposed wire ends on either side of the splice. If the connection is secure, the multimeter should indicate a continuous circuit.
- Inspect for heat or unusual odor: While the power is flowing through the splice, inspect the connections for any signs of heat or unusual odor. These can be indicators of a faulty connection or improper splicing technique. If you notice any abnormalities, immediately disconnect the power and reassess the splice.
- Perform a functionality test: If the splice is part of a larger electrical system, such as a circuit for lighting or appliances, test the functionality of the system. Switch on the relevant devices or lights to ensure that they are operating as expected. If you encounter any issues, go back and double-check the splice and connections.
It’s important to remember that testing should be conducted with caution and in compliance with electrical safety guidelines. If you are unsure about performing these tests or encounter any problems, it is advisable to seek assistance from a licensed electrician.
By thoroughly testing the splice, you can be confident in its reliability and integrity. Regular inspections and maintenance are also recommended to ensure the ongoing functionality of the spliced wires.
Read also: 8 Best Electrical Cord Splice for 2025
Common Mistakes to Avoid
While splicing electrical wire may seem straightforward, it’s important to be aware of common mistakes that can compromise the safety and effectiveness of the splice. Avoiding these mistakes will help ensure a successful and reliable electrical connection. Here are some common mistakes to watch out for:
- Inadequate wire stripping: Properly stripping the insulation from the wire ends is crucial for a secure connection. Avoid leaving too much or too little exposed wire. Follow the manufacturer’s guidelines or use wire strippers with the appropriate notch for the wire gauge.
- Improper wire twisting: When twisting the exposed wire ends, make sure to twist them firmly and tightly in a clockwise direction. Insufficient twisting can result in loose connections, leading to potential electrical hazards.
- Incorrect wire connector choice: Selecting the wrong size or type of wire connector can lead to insecure connections. Ensure that the wire connector is compatible with the wire gauge being spliced. If in doubt, consult a professional or refer to the manufacturer’s recommendations.
- Loose connections: After twisting the wires and securing them with a wire connector, always give the wires a gentle tug to verify that they are firmly held in place. Loose connections can cause intermittent electrical issues or even lead to electrical fires.
- Neglecting insulation and strain relief: After splicing the wires, it’s crucial to properly insulate and protect the connection. Failing to do so can result in exposed wires, which can pose a safety risk. Additionally, providing strain relief by securing the wires in place can prevent unnecessary stress on the splice.
- Forgetting to test the splice: Testing the splice is essential to confirm its integrity and functionality. Skipping this step can lead to undetected faults or problems that may cause issues down the line. Always remember to test the splice using appropriate tools and techniques.
- Ignoring safety precautions: Electrical work always carries risks, so it’s crucial to prioritize safety. Neglecting safety precautions such as turning off the power, wearing protective gear, and working in a well-ventilated area can result in accidents or injuries.
By avoiding these common mistakes, you can ensure that your spliced electrical wires are reliable, safe, and meet the necessary standards. Always take your time, follow proper procedures, and seek professional guidance if needed.
Conclusion
Mastering the skill of splicing electrical wire is valuable for both DIY enthusiasts and professionals in the field of electrical work. By following the step-by-step guide and keeping safety precautions in mind, you can successfully splice wires and create secure electrical connections.
Remember to gather all necessary tools and materials before starting, ensuring you have wire cutters or strippers, wire connectors, electrical tape, and a voltage tester. Prioritize safety by turning off the power, wearing protective gear, and working in a well-ventilated area.
Strip the wire ends, twist them together, and secure them with the appropriate wire connectors. Insulate the connections with electrical tape and test the splices to ensure they are properly functioning.
Avoid common mistakes such as inadequate wire stripping, improper wire twisting, using the wrong wire connectors, and neglecting insulation and strain relief. Always test the splice and adhere to safety precautions to prevent accidents and ensure the longevity of the electrical connection.
By acquiring the skill of splicing electrical wires, you gain the ability to extend existing wiring, repair damaged wires, and complete various electrical projects with confidence. However, if you encounter complex or unfamiliar situations, it’s wise to consult a professional electrician who can provide expert guidance.
Remember, ensuring the safety and reliability of electrical connections should be the utmost priority. With practice and knowledge, you can become proficient in splicing electrical wire, enhancing your DIY abilities or professional expertise in the electrical field.
Frequently Asked Questions about How To Splice Electrical Wire
Was this page helpful?
At Storables.com, we guarantee accurate and reliable information. Our content, validated by Expert Board Contributors, is crafted following stringent Editorial Policies. We're committed to providing you with well-researched, expert-backed insights for all your informational needs.


0 thoughts on “How To Splice Electrical Wire”