Home>Articles>How To Cut And Set Deck Posts For A Solid Frame
Articles
How To Cut And Set Deck Posts For A Solid Frame
Modified: January 24, 2024
Learn how to cut and set deck posts for a solid frame with our informative articles. Find step-by-step instructions and expert tips to ensure a sturdy and durable deck.
(Many of the links in this article redirect to a specific reviewed product. Your purchase of these products through affiliate links helps to generate commission for Storables.com, at no extra cost. Learn more)
Introduction
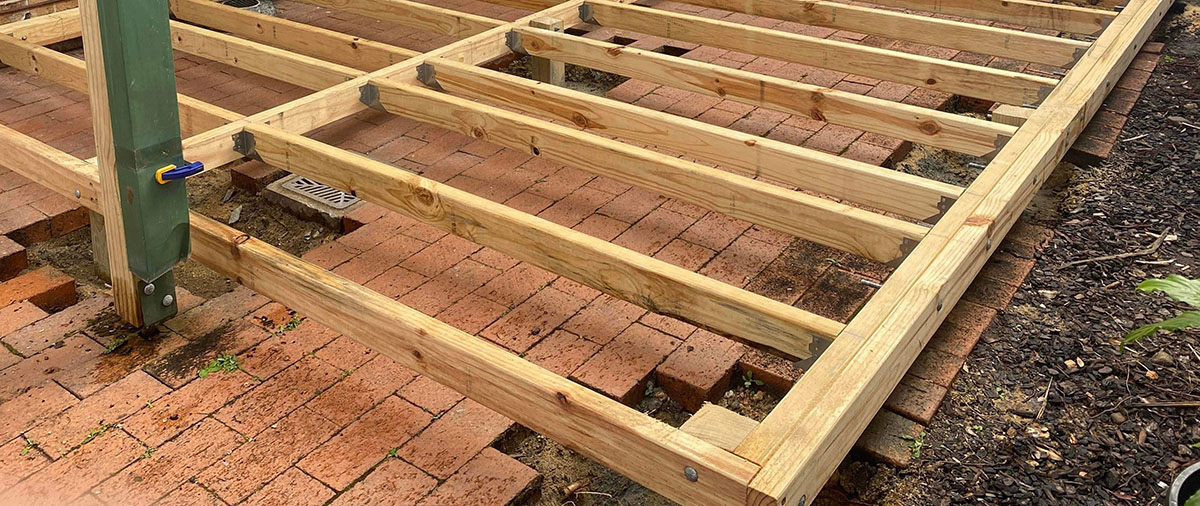
When it comes to building a solid and sturdy deck, one of the most crucial steps is cutting and setting the deck posts. Properly positioned and securely installed deck posts are essential for creating a strong foundation that can support the weight of the deck and withstand the elements.
In this article, we will guide you through the process of cutting and setting deck posts, ensuring that you have the knowledge and confidence to create a solid frame for your deck. Whether you are a seasoned DIY enthusiast or a beginner tackling your first deck project, our step-by-step instructions will help you achieve professional-grade results.
Before we dive into the details, let’s take a look at the tools and materials you will need for this project.
Key Takeaways:
- Properly placed and accurately cut deck posts are essential for a strong and durable deck foundation. Following local building codes and precise measurements ensures a solid frame for your deck.
- Setting and securing deck posts with concrete, brackets, and screws provides stability and longevity for your deck. Prioritize safety, follow guidelines, and enjoy the process of building a reliable deck structure.
Read more: How To Install Deck Railing Posts
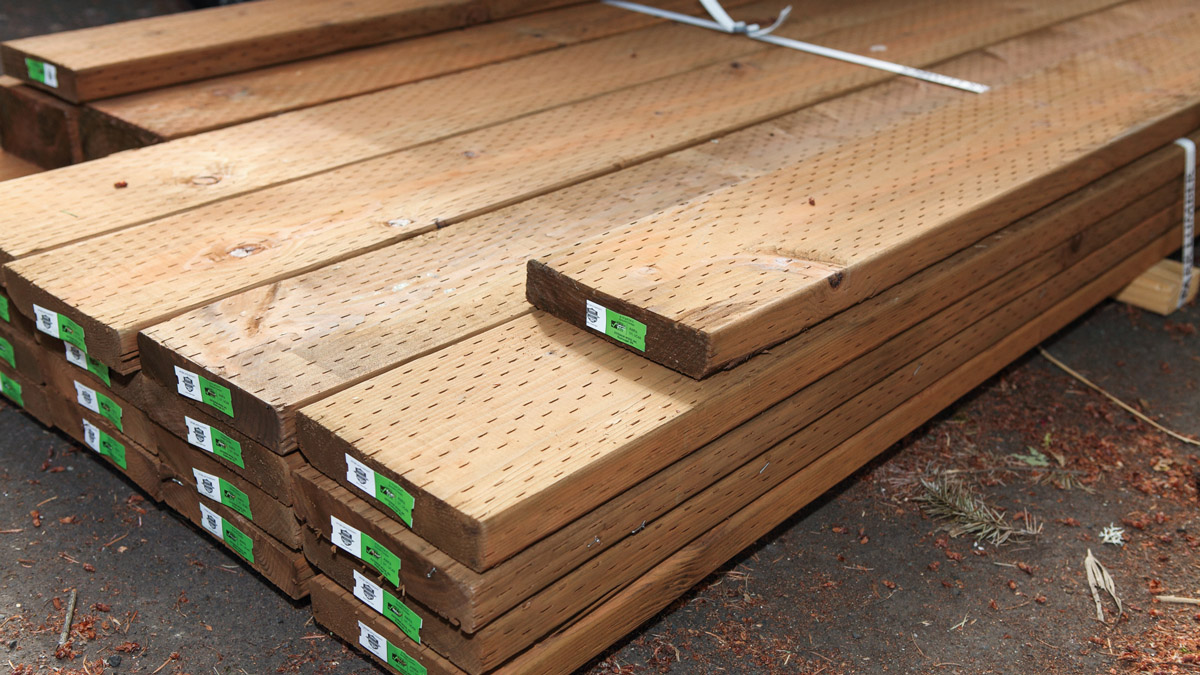
Tools and Materials
Before you begin cutting and setting deck posts, gather the following tools and materials:
- Measuring tape
- Pencil or marker
- Miter saw or circular saw
- Level
- Drill
- Deck post brackets or anchor plates
- Screws or bolts
- Post-hole digger
- Concrete mix
- Water source
- Shovel
Having these tools and materials readily available will make the process of cutting and setting deck posts much smoother and more efficient.
Now that you’re equipped with the necessary tools, let’s proceed to the first step: determining post placement.
Step 1: Determining Post Placement
The first step in cutting and setting deck posts is determining the proper placement for each post. This involves understanding the layout of your deck and taking into consideration factors such as the size and shape of the deck, the load-bearing capacity, and local building codes.
Here are some guidelines to help you determine the ideal placement for your deck posts:
- Check local building codes: Before starting any deck project, it’s crucial to research and comply with the building codes in your area. These codes dictate the required spacing between deck posts and can vary depending on factors such as deck height and load-bearing capacity.
- Plan the deck layout: Decide on the size, shape, and orientation of your deck. Take into account any existing structures, trees, or obstacles that may affect the placement of your deck posts.
- Measure the deck area: Use a measuring tape to determine the dimensions of your deck. Take accurate measurements of the length and width to ensure proper spacing between the posts.
- Consider load-bearing capacity: Determine the weight that your deck will bear, including the weight of the deck itself, furniture, and the number of people it will accommodate. This will help you calculate the required number of support posts.
- Mark the post locations: Once you have determined the appropriate placement for your deck posts, use a pencil or marker to mark the locations on your deck frame. Make sure to double-check your measurements and adjust them if needed.
By following these guidelines, you will ensure that your deck posts are placed correctly, providing adequate support for your deck structure. With post placement determined, you can proceed to the next step: measuring and marking the posts.
Step 2: Measuring and Marking the Posts
After determining the proper placement for your deck posts, the next step is to accurately measure and mark the posts before cutting them. This will ensure that each post is cut to the correct height and properly aligned with the deck frame.
Here’s how you can measure and mark the posts:
- Measure the desired post height: Use a measuring tape to determine the desired height of each deck post. Take into consideration the thickness of the support beams and the desired height of the deck surface. Mark this measurement on each post.
- Double-check the measurements: Once you have marked the desired heights on the posts, double-check the measurements to ensure accuracy. It is important to have consistent post heights throughout the deck.
- Mark the cutting line: To ensure a clean and accurate cut, use a straight edge or level to draw a cutting line on each post. This will serve as a guide when it’s time to cut the posts.
- Label the posts: To avoid confusion during the installation process, label each post with its corresponding location on the deck frame. For example, mark the posts as “A,” “B,” “C,” and so on. This will help you easily identify where each post should be placed.
By taking the time to measure and mark each post accurately, you will minimize errors during the cutting and installation process. This step sets the foundation for a well-aligned and visually appealing deck structure.
With the posts measured and marked, it’s time to move on to the next step: cutting the deck posts.
When cutting deck posts, be sure to measure and mark each post carefully before cutting to ensure a precise fit. Use a level to ensure the posts are set straight and plumb before securing them in place.
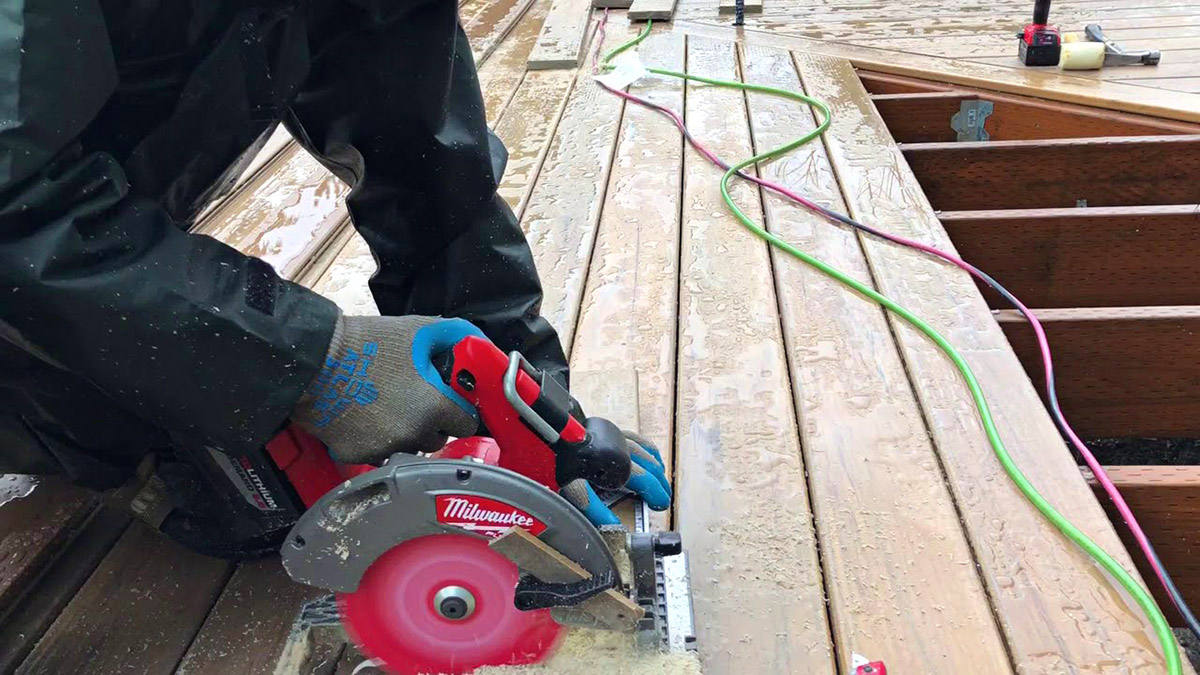
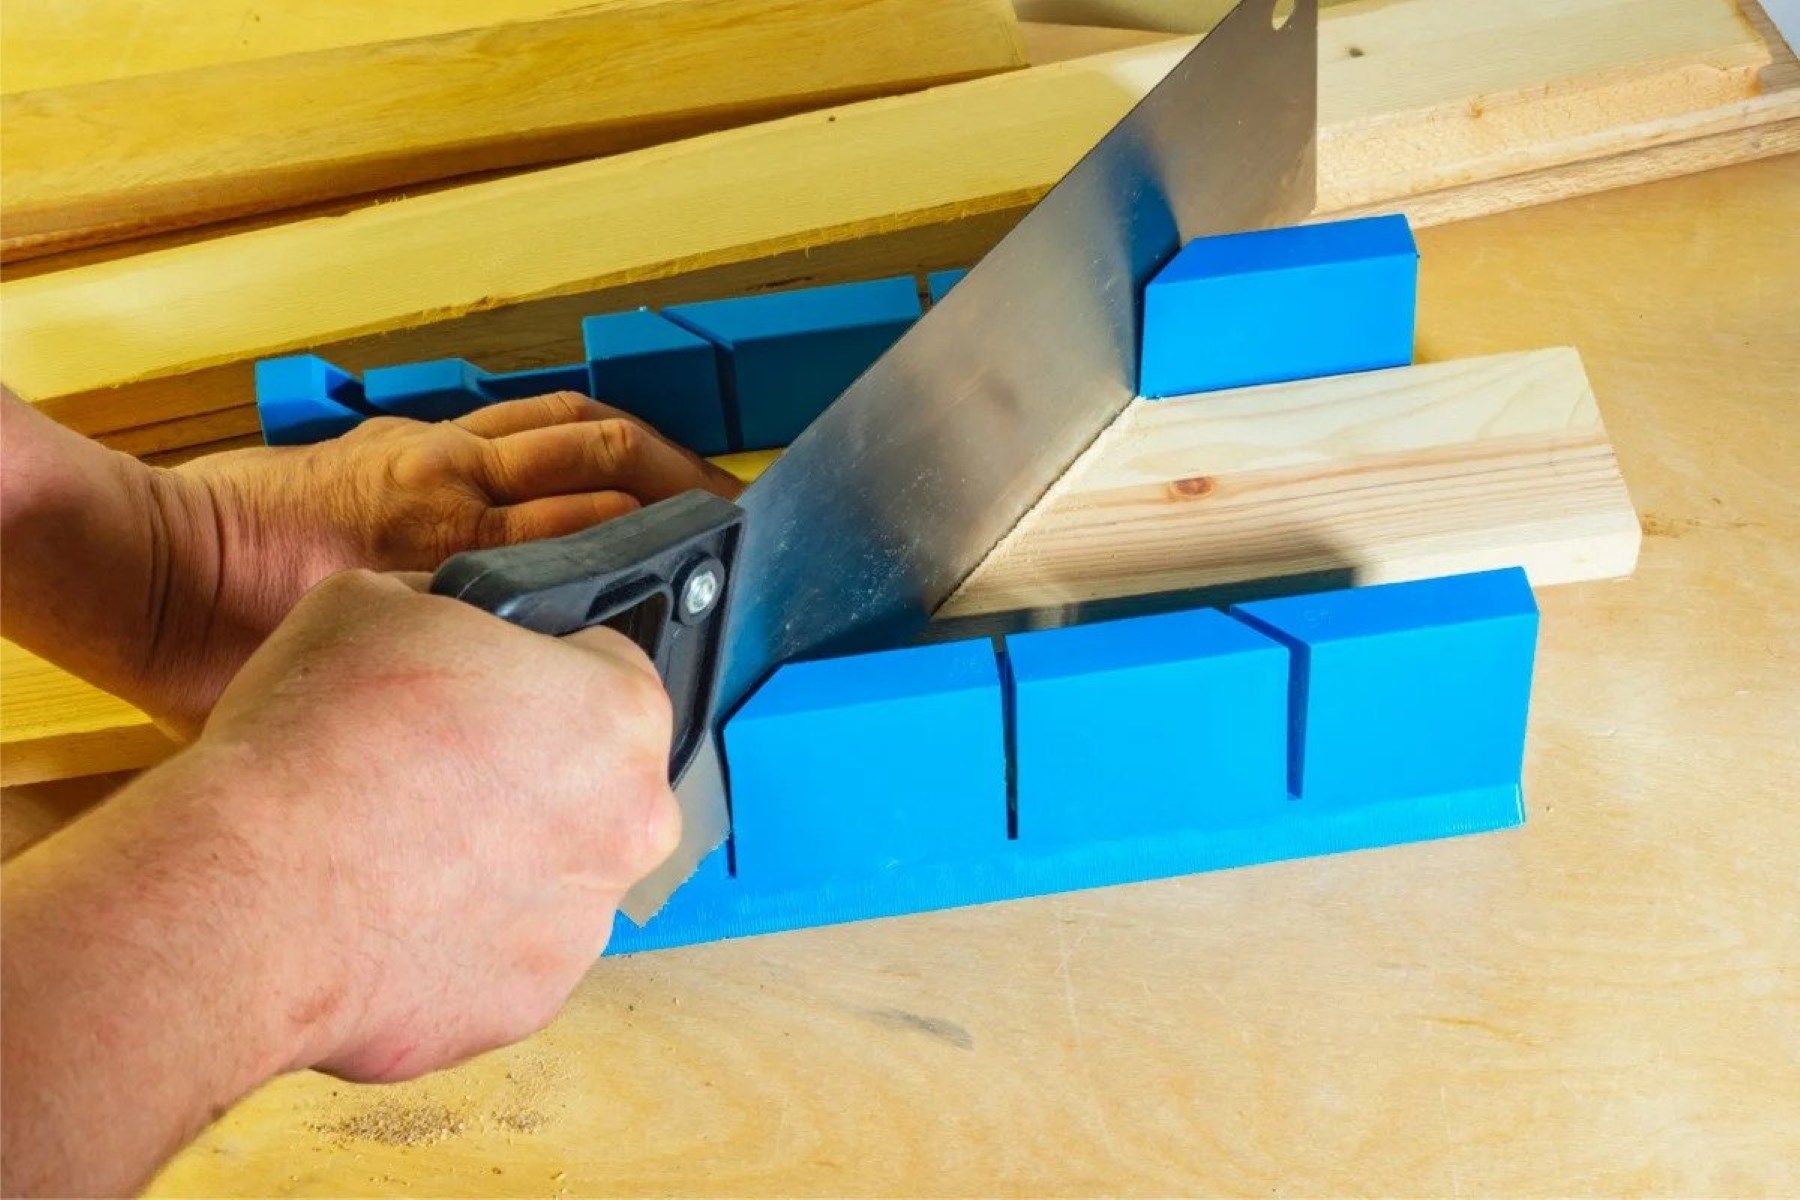
Step 3: Cutting the Deck Posts
Once you have measured and marked the deck posts, it’s time to cut them to the appropriate height. This step is crucial for achieving a level and aesthetically pleasing deck.
Here are the steps to follow when cutting the deck posts:
- Safety first: Before beginning any cutting, ensure that you are wearing the necessary safety gear, such as safety glasses and gloves. Safety should always be a top priority when operating power tools.
- Set up your saw: If you’re using a miter saw or circular saw, set it up on a stable work surface. Make sure the blade is sharp and properly aligned.
- Align the cutting line: Position each marked post under the blade of the saw, aligning the cutting line with the blade’s path. Take your time to ensure accuracy and precision.
- Make the cuts: With the post securely positioned, carefully lower the blade and make the cut. Use a smooth, controlled motion to achieve a clean and even cut.
- Check the post height: After making each cut, double-check the height of the post to ensure it matches the desired measurement. Make any adjustments if necessary.
- Repeat for all posts: Continue cutting the remaining deck posts using the same process. Take your time and maintain consistency to ensure all posts are cut to the correct height.
By following these steps, you will be able to cut the deck posts accurately and efficiently. Remember to always prioritize safety and take the necessary precautions when using power tools.
With the deck posts cut to size, it’s time to move on to the next step: setting the deck posts.
Read more: What Is A Post-Frame In Construction
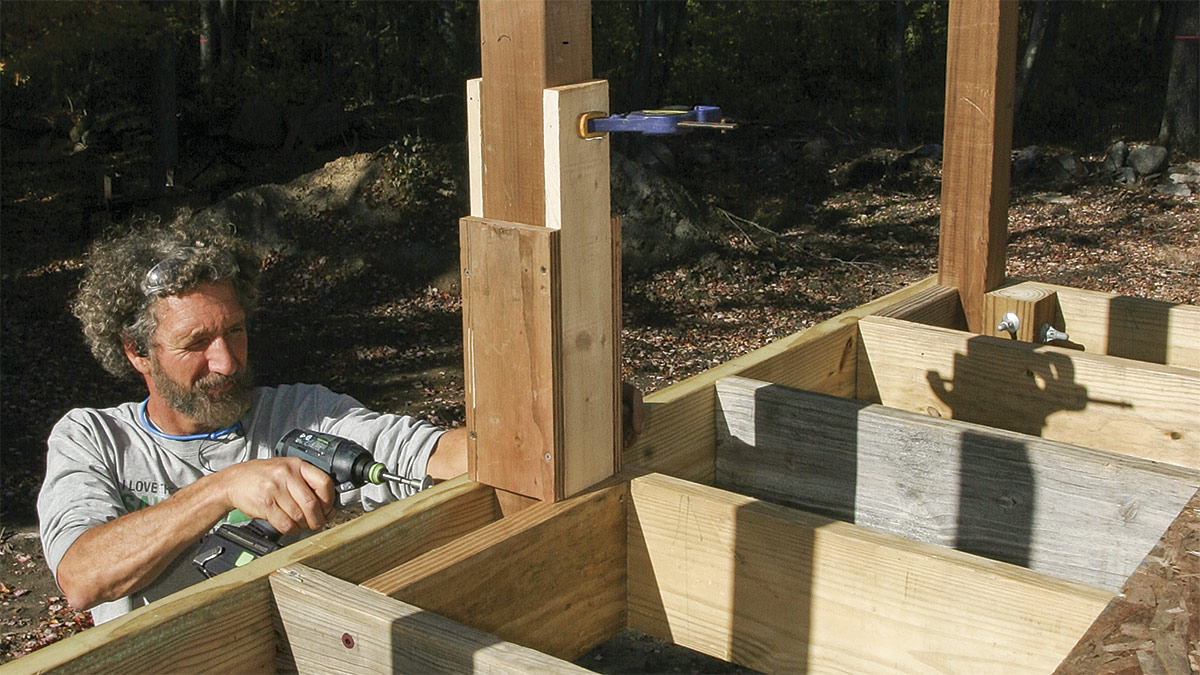
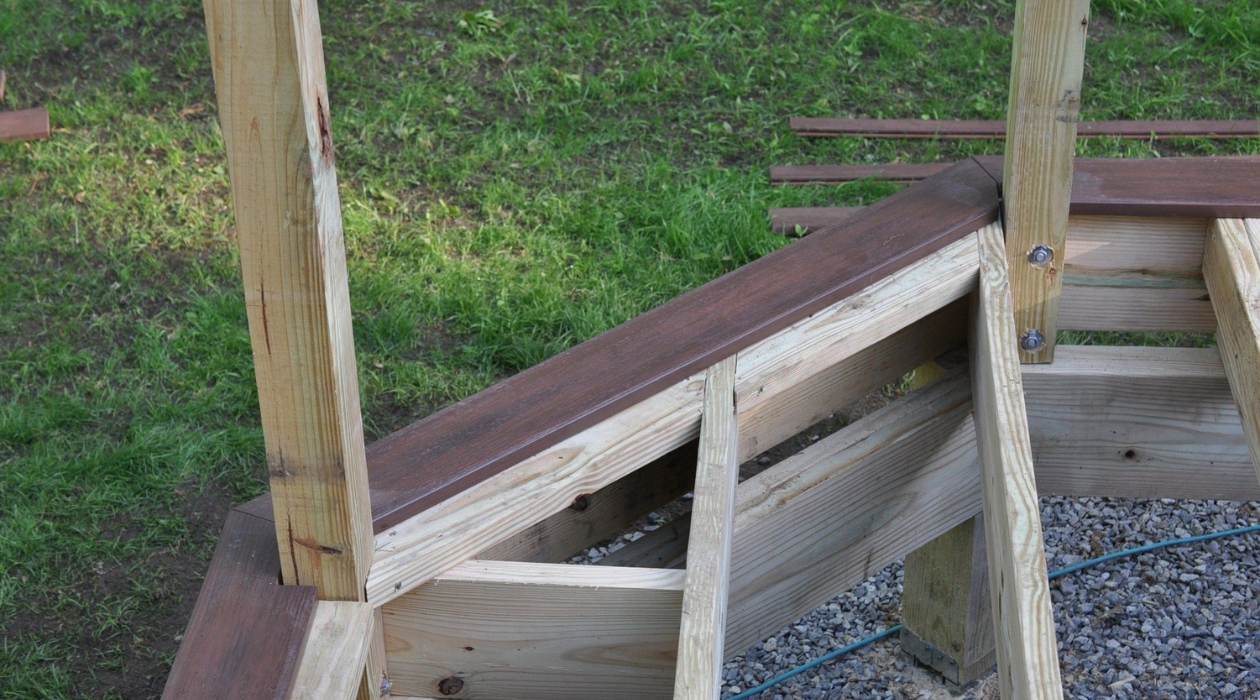
Step 4: Setting the Deck Posts
Setting the deck posts is a crucial step in the construction process, as it establishes the foundation for your deck. Properly setting the posts ensures stability and durability for your entire deck structure.
Follow these steps to set the deck posts:
- Dig the post holes: Use a post-hole digger to excavate holes for each deck post. The depth and diameter of the holes will depend on local building codes and the size of your deck. Ensure that the holes are deep enough to provide a stable base for the posts.
- Place the posts in the holes: Carefully place each post into its respective hole, making sure they are centered and plumb. Use a level to ensure that each post is perfectly vertical.
- Stabilize the posts: To prevent the posts from shifting during the installation process, use temporary supports or braces to stabilize them. This will help maintain their alignment while the concrete sets.
- Mix and pour the concrete: Follow the instructions on the concrete mix package to properly mix the concrete. Pour the concrete into each post hole, making sure it completely fills the hole around the post. Use a shovel to eliminate any air pockets and smooth the surface of the concrete.
- Check for level: While the concrete is still wet, check the level of each post and make any necessary adjustments. Ensure that the posts are plumb and aligned with the deck frame.
- Allow the concrete to cure: Leave the posts undisturbed until the concrete has fully cured. Curing times can vary depending on the type of concrete mix used. Refer to the instructions on the packaging for specific details.
Following these steps will ensure that your deck posts are properly set and securely anchored in place. Taking the time to set the posts correctly will contribute to the overall stability and longevity of your deck.
Now that the deck posts are securely set, let’s move on to the final step: securing the deck posts.
Step 5: Securing the Deck Posts
Securing the deck posts is the final step in creating a solid frame for your deck. Properly securing the posts will provide the necessary stability and support for your deck structure, ensuring its longevity and safety.
Here’s how you can secure the deck posts:
- Attach brackets or anchor plates: Depending on your deck design and local building codes, you may need to attach brackets or anchor plates to the deck posts. These will provide additional stability and prevent the posts from shifting over time. Follow the manufacturer’s instructions for proper installation.
- Use screws or bolts: Once the brackets or anchor plates are in place, secure them to the deck posts using screws or bolts. Make sure to use the appropriate fasteners for your specific materials and structural needs.
- Check for level: As you secure the brackets or anchor plates, double-check the level of each post to ensure they are still plumb and aligned with the deck frame. Make any necessary adjustments to maintain proper alignment.
- Tighten all connections: After securing the brackets or anchor plates, ensure that all connections between the posts, beams, and other structural elements are properly tightened. This will ensure a solid and rigid frame for your deck.
- Inspect for stability: Once all connections are tightened, give your deck posts a thorough inspection for stability. Apply pressure and shake the posts lightly to check for any wobbling or movement. If any issues are detected, reinforce the connections or consult a professional.
By following these steps, you will ensure that your deck posts are securely attached and provide a stable foundation for your deck. Taking the time to properly secure the posts will contribute to the overall integrity and longevity of your deck structure.
With the deck posts now securely in place, you have successfully completed the process of cutting and setting the posts. Congratulations! Your deck frame is now solid and ready for the next steps of your deck construction project.
As a final note, always refer to local building codes and consult the appropriate professionals if you have any concerns or questions about building a deck. Safety and compliance should always be at the forefront of your deck construction endeavors.
Best of luck with your deck project!
Conclusion
Building a solid and sturdy deck starts with cutting and setting the deck posts. By following the steps outlined in this article, you now have the knowledge and confidence to create a strong and durable foundation for your deck.
We began by determining the proper placement of the deck posts, considering factors such as local building codes and the layout of your deck. Accurate measurements and markings were then made on the posts before proceeding to cut them to the desired height.
Next, we covered the process of setting the deck posts, ensuring they were properly aligned and securely anchored in place. The use of concrete and temporary supports helped establish a stable foundation while allowing the concrete to cure.
Securing the deck posts was the final step, where brackets, anchor plates, screws, and bolts were used to provide additional stability and prevent shifting over time. Double-checking for level and inspecting for stability ensured a solid and reliable deck frame.
Remember, it is essential to adhere to local building codes and follow safety guidelines throughout the entire deck project. Consult the appropriate professionals if needed and always prioritize safety.
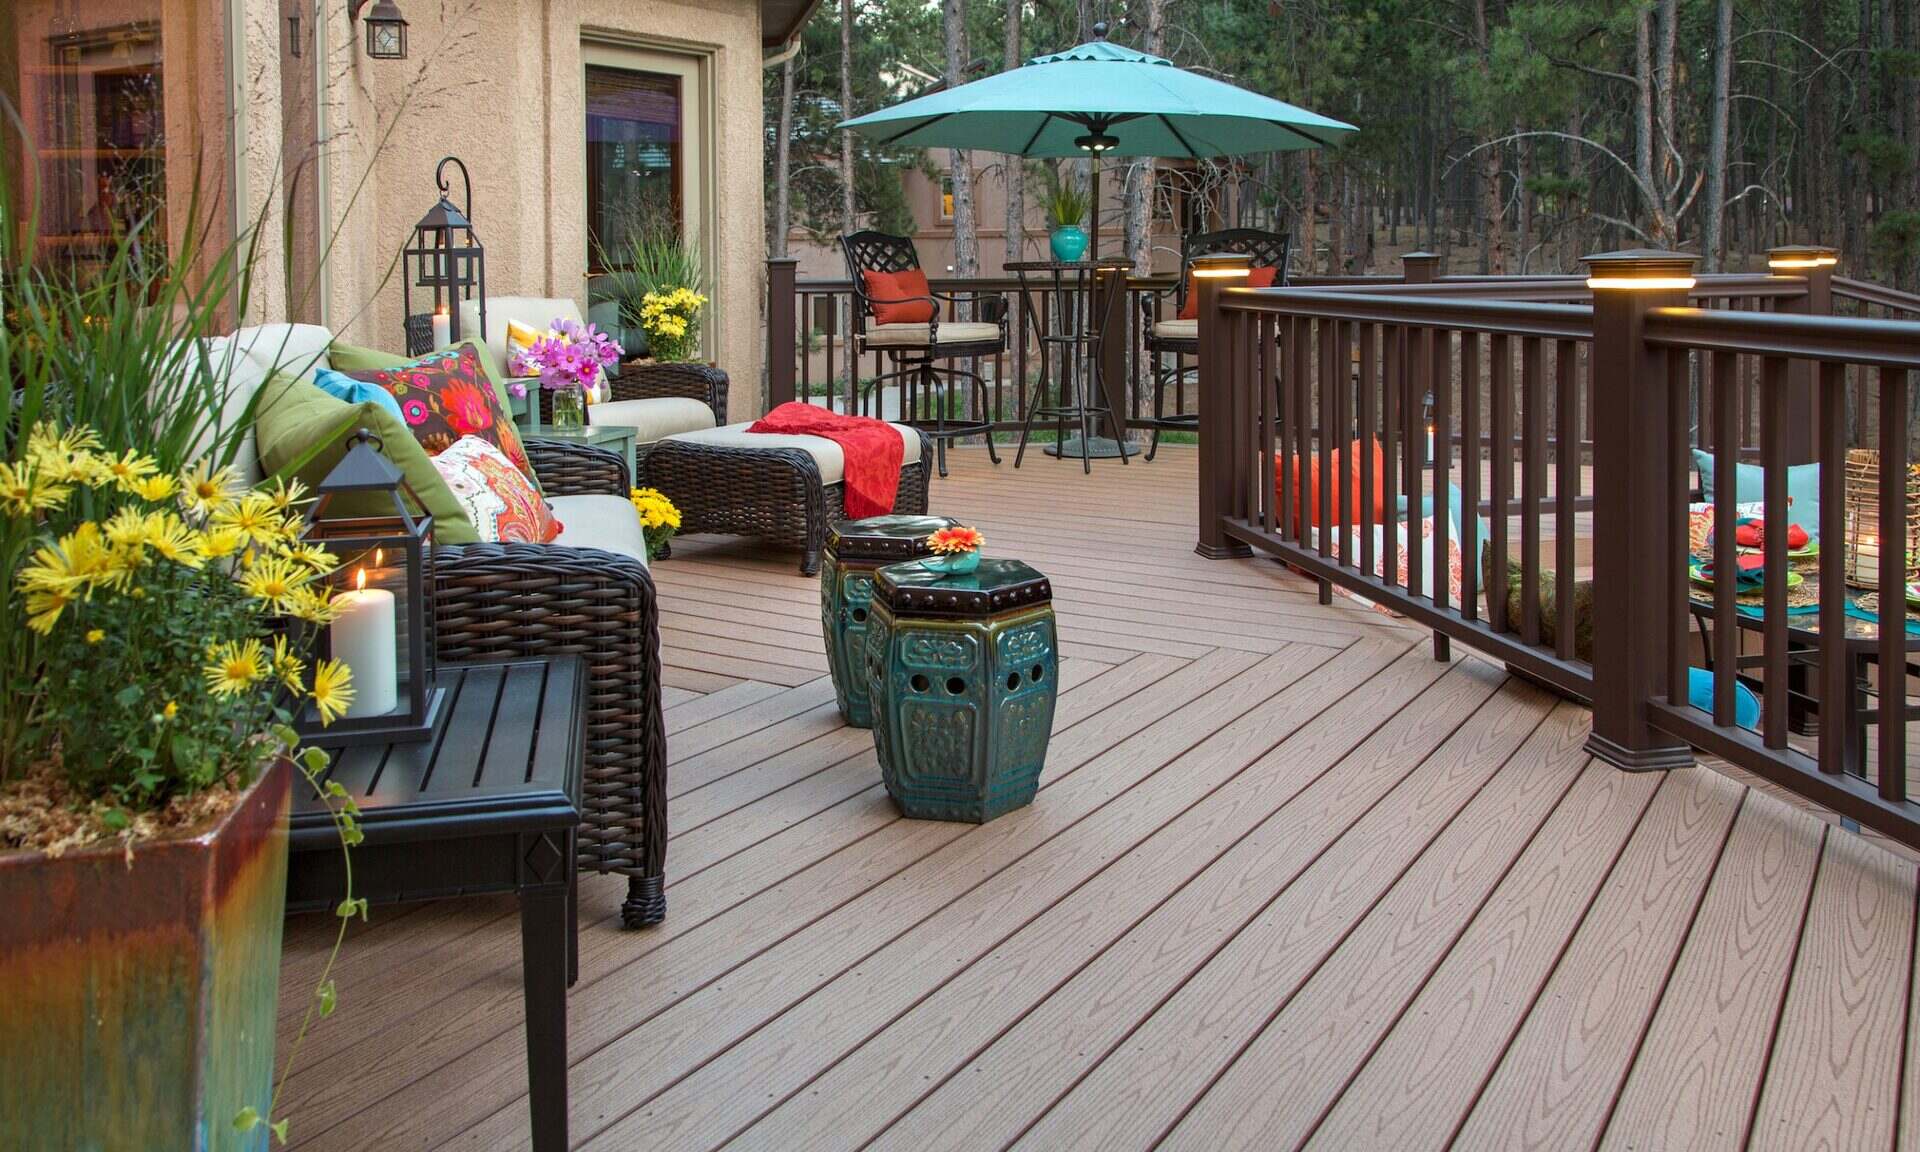
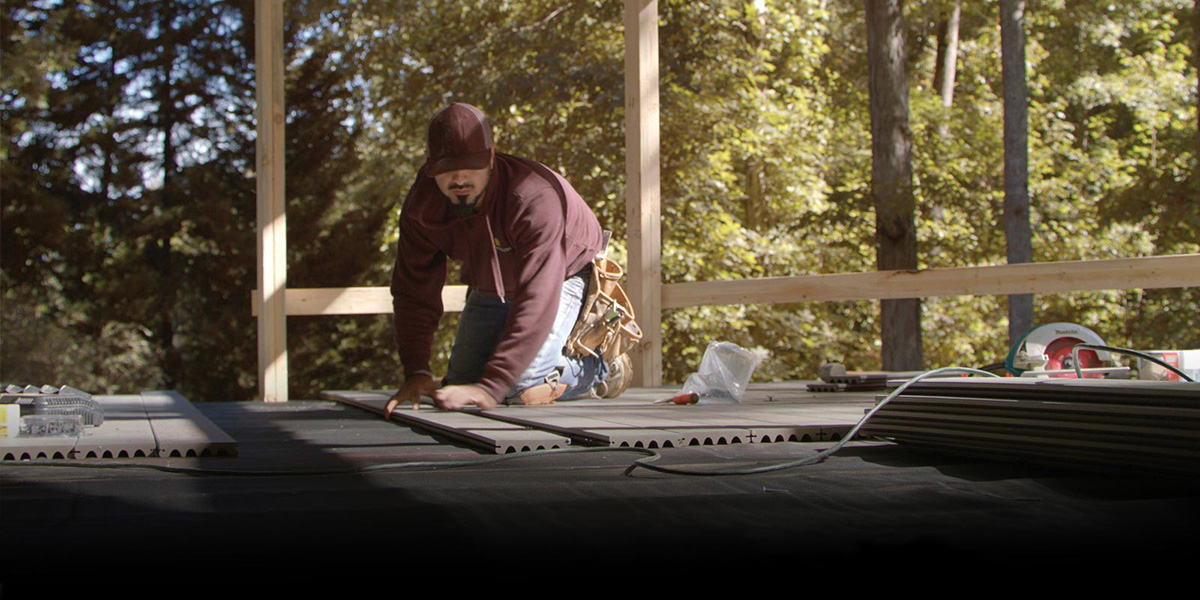
By following these steps, you have laid the groundwork for a successful deck construction project. Now, it’s time to move on to the next stages of your deck build, such as installing the beams, joists, and decking material.
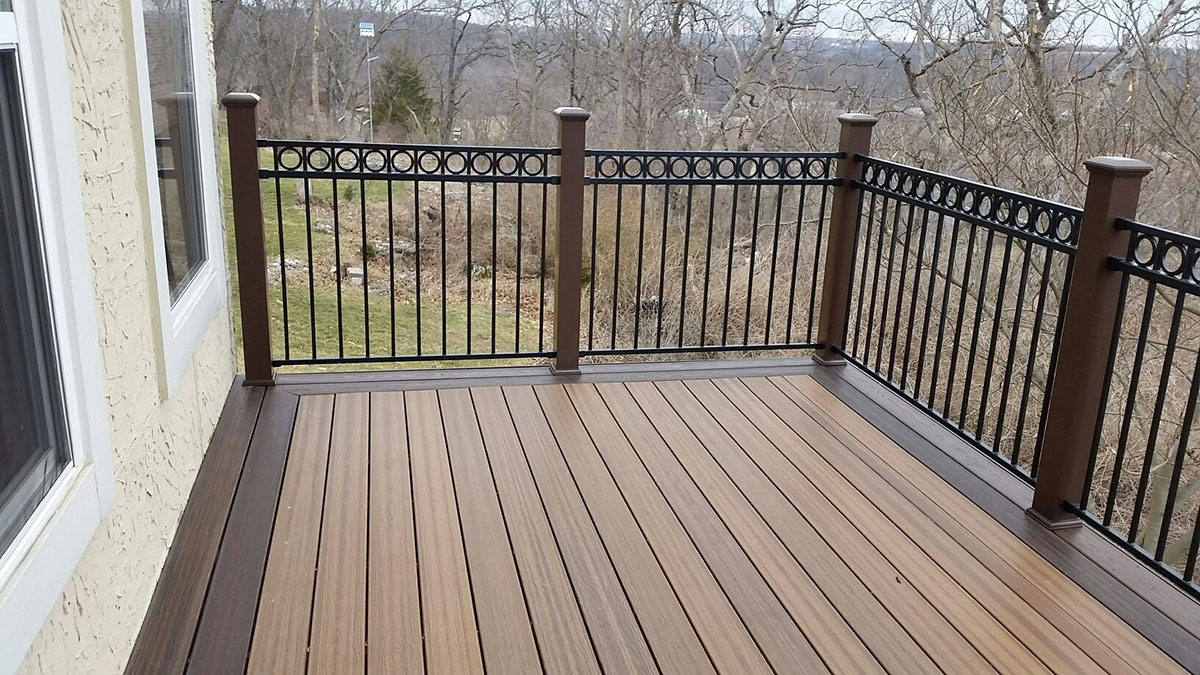
Enjoy the process, and soon enough, you’ll have a beautiful, functional, and long-lasting deck to enjoy with family and friends for years to come.
Frequently Asked Questions about How To Cut And Set Deck Posts For A Solid Frame
Was this page helpful?
At Storables.com, we guarantee accurate and reliable information. Our content, validated by Expert Board Contributors, is crafted following stringent Editorial Policies. We're committed to providing you with well-researched, expert-backed insights for all your informational needs.


0 thoughts on “How To Cut And Set Deck Posts For A Solid Frame”